You are using an out of date browser. It may not display this or other websites correctly.
You should upgrade or use an alternative browser.
You should upgrade or use an alternative browser.
The Book of Eli machete pattern - FREE
- Thread starter Ghostsoldier
- Start date
-
- Tags
- the book of eli
fuelish
Sr Member
HOW TO PIN YOUR GRIP(Or how I do it) Lots of pictures
First you want a nice, clean, open work area like this
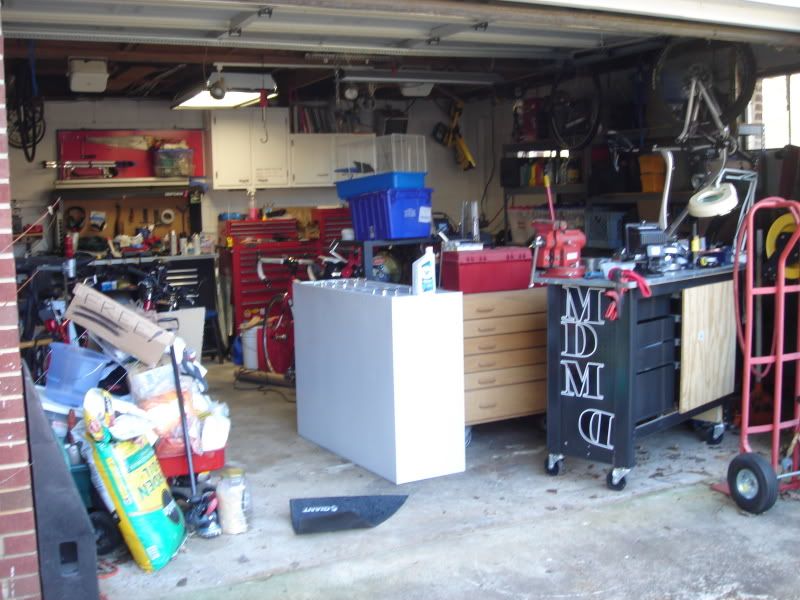
(I KEED, I actually had to do this on a bench outside)
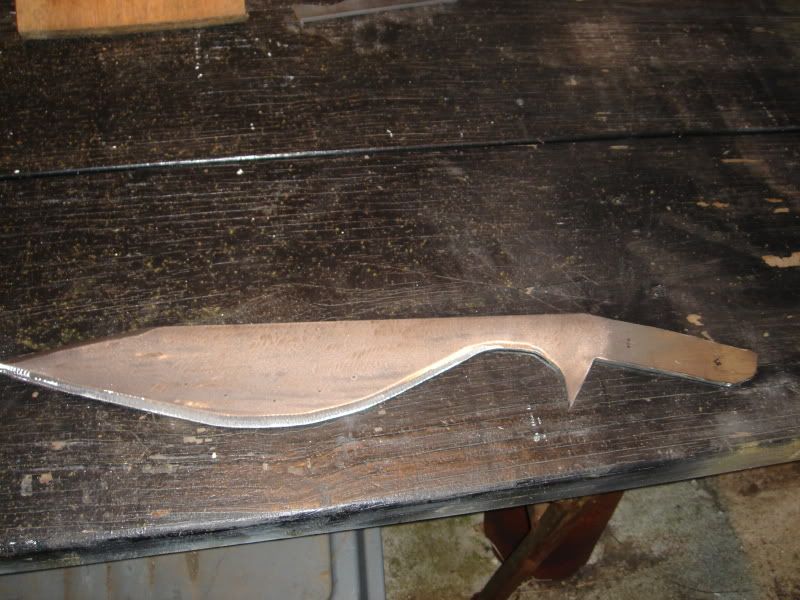
I was going to just do a little demo with some scrap, but then I got to thinking and next thing you know:
My scrap:
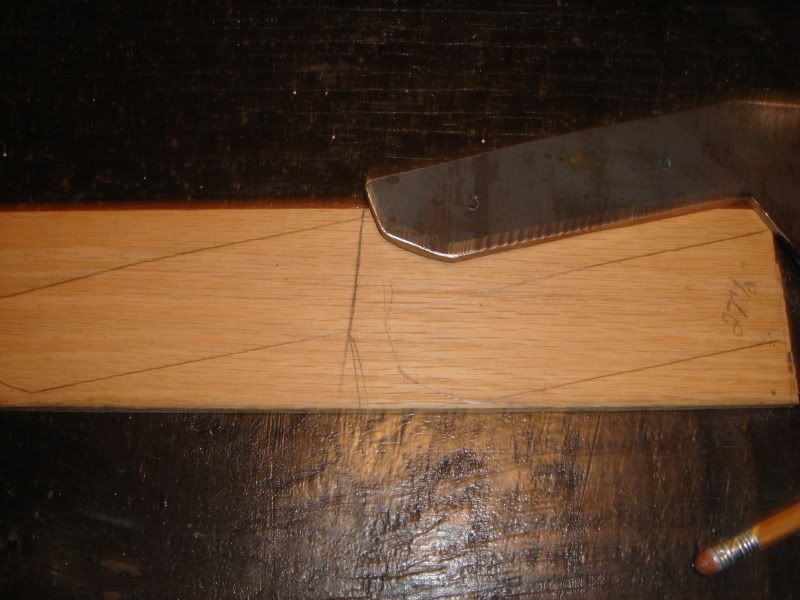
You want to cut your scales out a little over size because you are going to shape them back to the tang. Mark them left and right.
Now take the steel rod you have chosen to use as a pin (This is 5/16ths) and measure it with a caliper, because the size on the label is nominal.
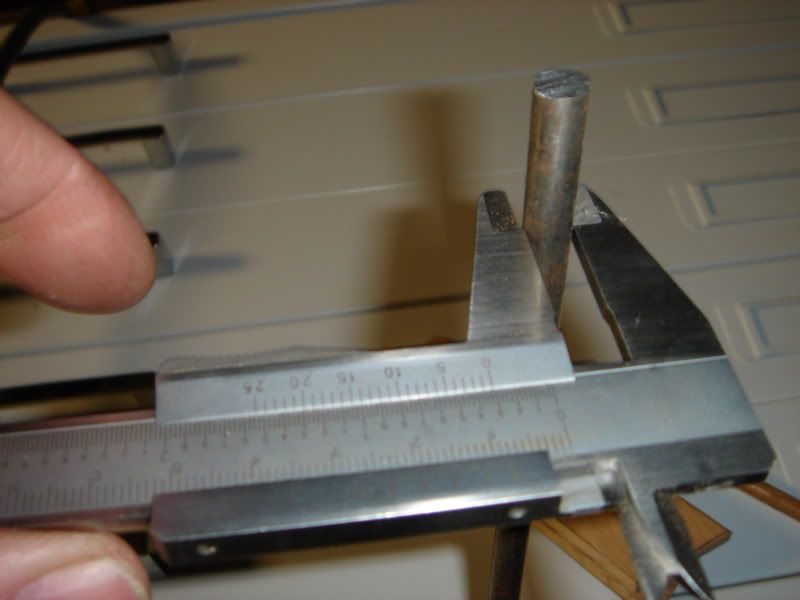
This piece measured slightly over 5/16 and I picked the first drill undersize of my measurement(Which turned out to be 21/64).
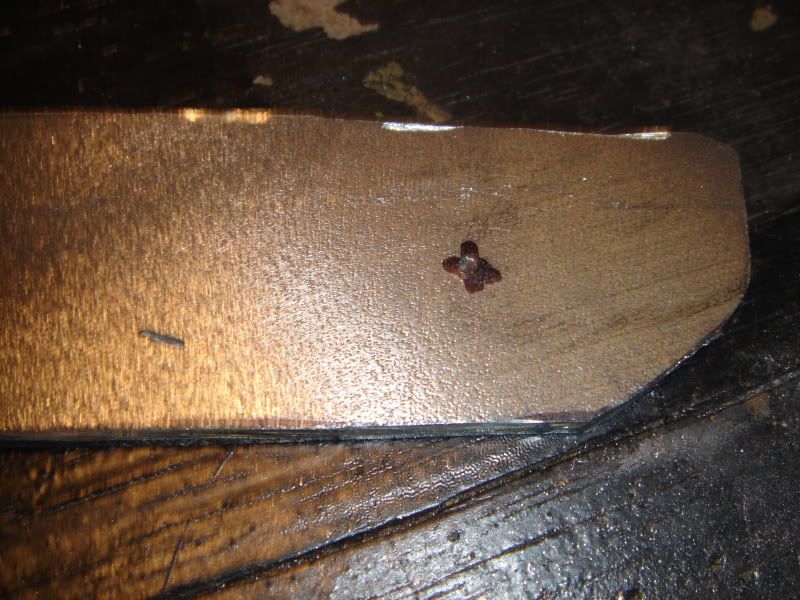
Be sure to pin punch your center so the drill will not walk off point
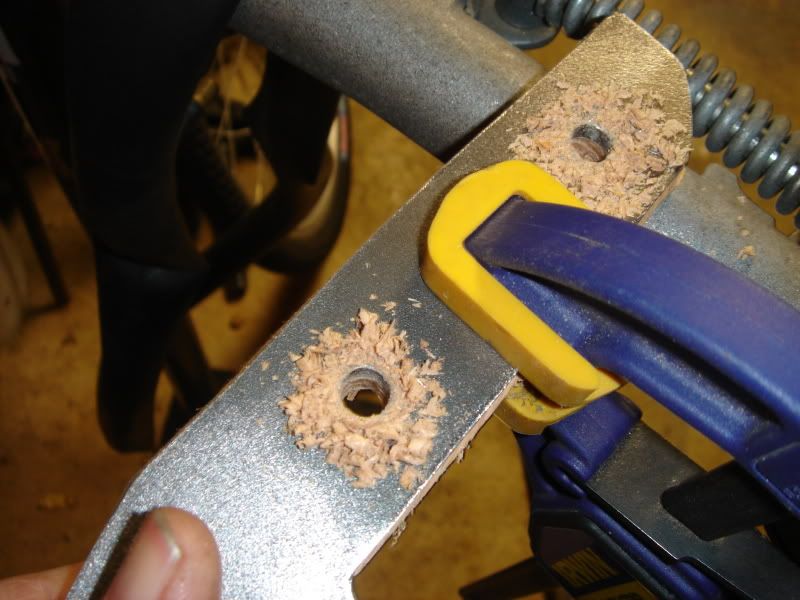
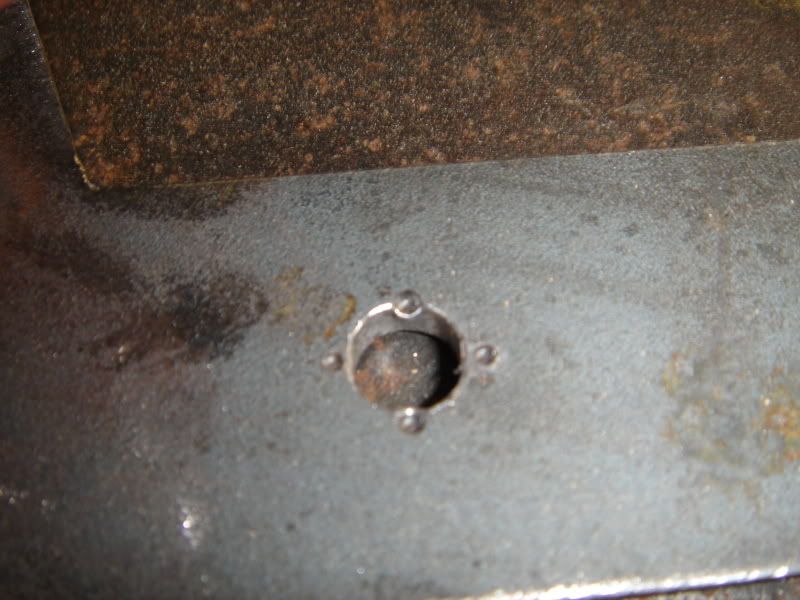
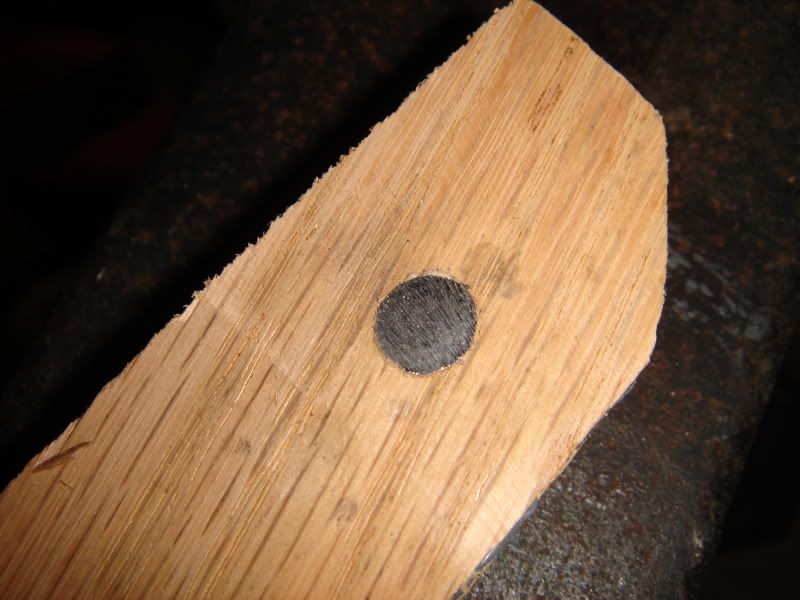
After you drill out the holes chamfer them slightly. You can do this with a larger drill bit, a file or a counter sink(pictured)

Now we come to why you have your scales marked left and right. You want to clamp the left scale to the right side(or right scale to left side) of the tang and drill thru holes in the tang. This will give you a nice clean hole facing out and leave the rough punch thru facing the tang, when you install them. Repeat for the other side. I use a drill press for all the other holes but this is easier to do with a hand drill. Use the same bit you drilled the tang with.
Measure the width of the tang and both scales then cut the rod a little wider( 1mm+) You want to be sure and have a little hanging out of either side of the grip, so err on the wide side.
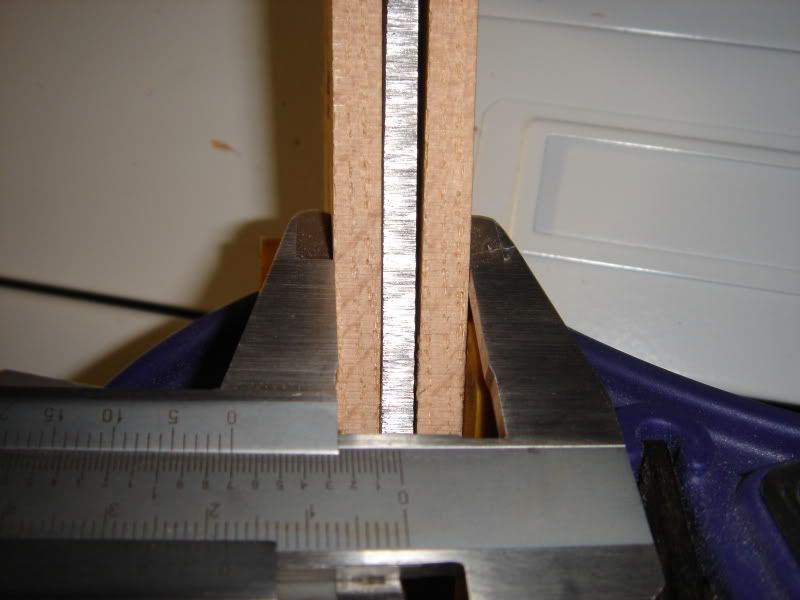
Check the clearance of the pin thru the tang, if you can push it thru with your fingers, use a pin punch to shrink the hole, like this:
Finally we are ready to put the scales on. Drive the pins thru one of the scales part way. Apply some epoxy to one side of the tang(The side for the scale you put the pins in) and put the scale on. Drive the pins thru the tang far enough that you can line up the other scale. Now epoxy this side and tap the scale on. Clamp it together and make sure there is some pin sticking out on either side.
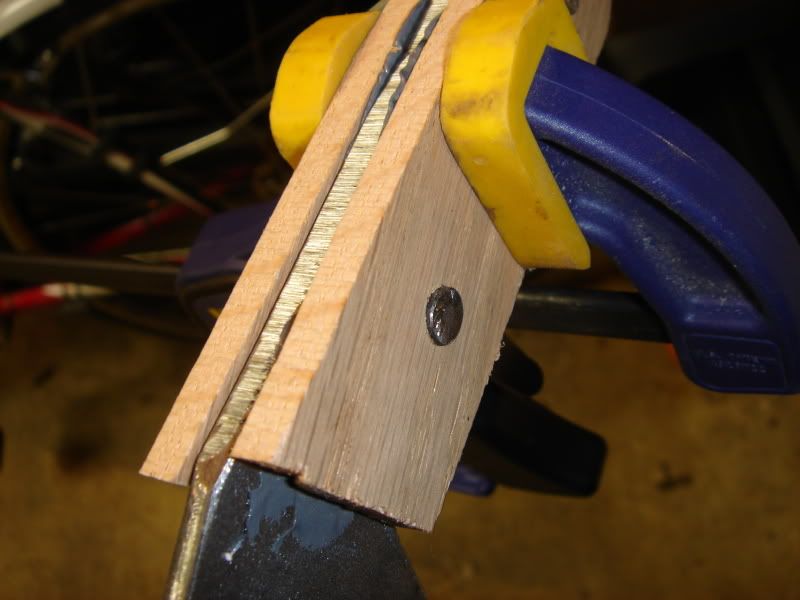
Clamp the heck out of it and go look at RPF for a little while,
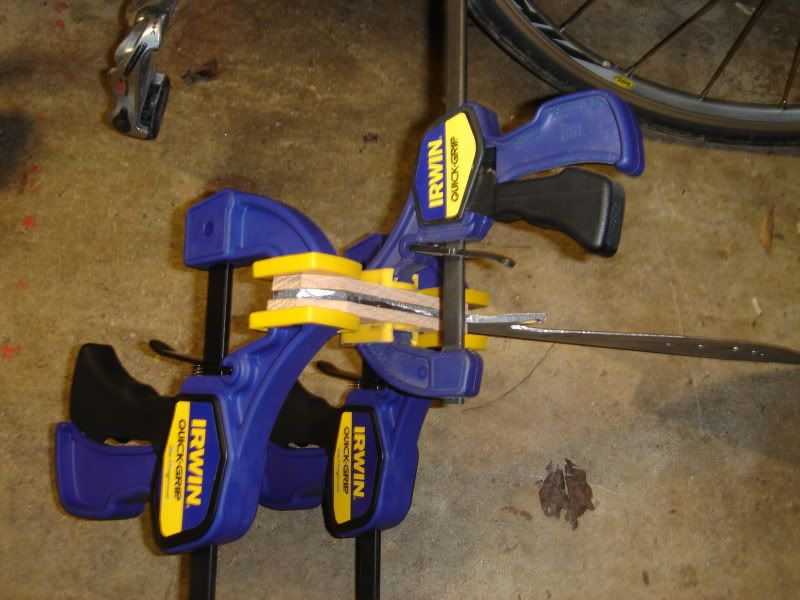
Remove the clamps and peen over the pins. Peening is using the ball end of a hammer(Not a claw hammer) to expand the pins making a tighter fit. It will look like this:
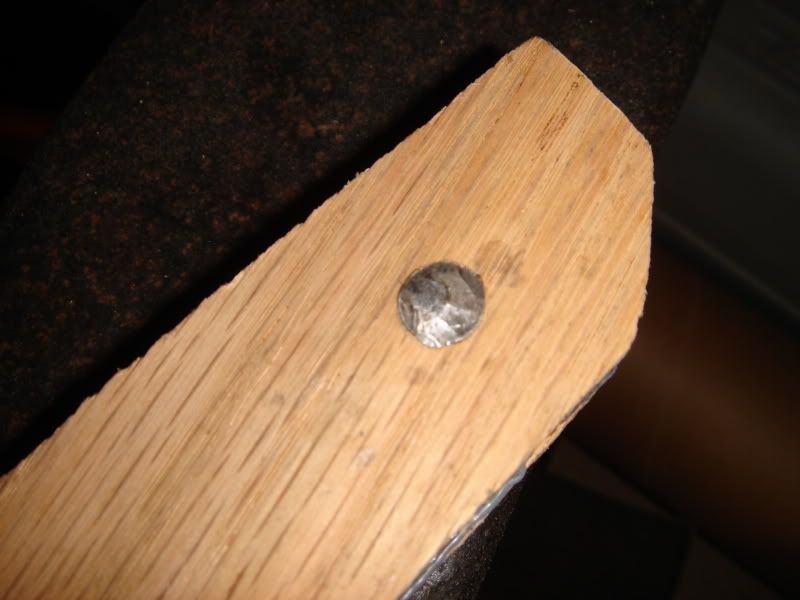
Now use a flat file to smooth the pin to flush with the scale
Finish your scales with a wood file and sand paper. Then stain and/or cover them. Ta-Da.
First you want a nice, clean, open work area like this
(I KEED, I actually had to do this on a bench outside)
I was going to just do a little demo with some scrap, but then I got to thinking and next thing you know:
My scrap:
You want to cut your scales out a little over size because you are going to shape them back to the tang. Mark them left and right.
Now take the steel rod you have chosen to use as a pin (This is 5/16ths) and measure it with a caliper, because the size on the label is nominal.
This piece measured slightly over 5/16 and I picked the first drill undersize of my measurement(Which turned out to be 21/64).
Be sure to pin punch your center so the drill will not walk off point
After you drill out the holes chamfer them slightly. You can do this with a larger drill bit, a file or a counter sink(pictured)
Now we come to why you have your scales marked left and right. You want to clamp the left scale to the right side(or right scale to left side) of the tang and drill thru holes in the tang. This will give you a nice clean hole facing out and leave the rough punch thru facing the tang, when you install them. Repeat for the other side. I use a drill press for all the other holes but this is easier to do with a hand drill. Use the same bit you drilled the tang with.
Measure the width of the tang and both scales then cut the rod a little wider( 1mm+) You want to be sure and have a little hanging out of either side of the grip, so err on the wide side.
Check the clearance of the pin thru the tang, if you can push it thru with your fingers, use a pin punch to shrink the hole, like this:
Finally we are ready to put the scales on. Drive the pins thru one of the scales part way. Apply some epoxy to one side of the tang(The side for the scale you put the pins in) and put the scale on. Drive the pins thru the tang far enough that you can line up the other scale. Now epoxy this side and tap the scale on. Clamp it together and make sure there is some pin sticking out on either side.
Clamp the heck out of it and go look at RPF for a little while,
Remove the clamps and peen over the pins. Peening is using the ball end of a hammer(Not a claw hammer) to expand the pins making a tighter fit. It will look like this:
Now use a flat file to smooth the pin to flush with the scale
Finish your scales with a wood file and sand paper. Then stain and/or cover them. Ta-Da.
TallDarkandDisfigured
Sr Member
Awesome write up man!
I figured the pins had to have a "head" of some sorts, never thought of just peening it to get the mushoomed head. Looks like I could manage this after all.
I've got a workplace just like yours too!
I figured the pins had to have a "head" of some sorts, never thought of just peening it to get the mushoomed head. Looks like I could manage this after all.
I've got a workplace just like yours too!
Ghostsoldier
Sr Member
Excellent tutorial, fuel....you da man! :thumbsup
I do my scales the same way, except I use round-head or wagon-box head rivets and peen the ends over into a dome shape, which helps hold the wrapping from sliding up and down the grip as you use the knife/machete/tool....:cool
Rob
I do my scales the same way, except I use round-head or wagon-box head rivets and peen the ends over into a dome shape, which helps hold the wrapping from sliding up and down the grip as you use the knife/machete/tool....:cool
Rob
Balaram
New Member
What a great group this is ! VERY generous sharings--makes my comment to follow seem petty indeed--still...
The handle wrap is NOT the Tandy sinew braid product. I believe it is a 3 ply polypropolene twine, to date I have only experimented with a 2-ply which is close but too small. We used a 4-ply to bale hay back in the day. The leather round cord looks good tho so perhaps further research trials are unecessary. I'm not done yet however.
The handle wrap is NOT the Tandy sinew braid product. I believe it is a 3 ply polypropolene twine, to date I have only experimented with a 2-ply which is close but too small. We used a 4-ply to bale hay back in the day. The leather round cord looks good tho so perhaps further research trials are unecessary. I'm not done yet however.
Ghostsoldier
Sr Member
Believe it or not, I think I'm gonna try some 1/8" diameter leather thong I have lying around here, on a spool, left over from making Colt 1911 holsters...I'm going to try to weather it to look closer to the SA machete handle.
Speaking of the handle....can anyone identify how they did this cross-over weave, on the reverse side (pic 2)?


Rob
Speaking of the handle....can anyone identify how they did this cross-over weave, on the reverse side (pic 2)?
Rob
Balaram
New Member
I believe what you are seeing there as a crossover is the twist of a 2 or 3 strand poly--each strand of this stuff is not a thin fiber--if you unroll one strand, it is more like a thin strip of paper--these are rolled together, the resulting pattern is not the usual twisted, symmetrical rope look, but more what you see in that handle. I will try to post a pix tonite of a test poly wrap, see what you think--Believe it or not, I think I'm gonna try some 1/8" diameter leather thong I have lying around here, on a spool, left over from making Colt 1911 holsters...I'm going to try to weather it to look closer to the SA machete handle.
Speaking of the handle....can anyone identify how they did this cross-over weave, on the reverse side (pic 2)?
Rob

fuelish
Sr Member
That looks good, but it lacks the "organic" bulge in the prop. Hard to believe they would have gone to the lengths to twine leather for a grip you can barely see. There must be something premade. Maybe a combination of what you have with a cord that uses a straight wrapped core(to get the bulge)?
It also looks like they used something like orthidontic bands on the butt end.
It also looks like they used something like orthidontic bands on the butt end.
That weave you talk about is not from a special precess but from the material wrapped around the handle nothing else
Believe it or not, I think I'm gonna try some 1/8" diameter leather thong I have lying around here, on a spool, left over from making Colt 1911 holsters...I'm going to try to weather it to look closer to the SA machete handle.
Speaking of the handle....can anyone identify how they did this cross-over weave, on the reverse side (pic 2)?
Rob
TallDarkandDisfigured
Sr Member
It looks alot to me like plain paper twine. Obviously aged, waxed maybe? And I agree there appear to be small black elastics forming the bulges on the pommel.

TallDarkandDisfigured
Sr Member
The one on the left is what I was talking about. It'd have to be waxed or something to give it some aging..
Balaram
New Member
A quick and dirty trial of the paper cord--5 min wrap, 5 min "aging". This cord may be a bit too thick. Unwrapped, it is 4 in wide. 3 in-size may fit better, a little hard to judge with the handle used, as it was thick--full scales. Would look much better on an unscaled tang. Can also be made to look thinner, by twisting the cord tighter as you wrap. Easy to work with.
With more time, could look very close indeed.

With more time, could look very close indeed.

Ghostsoldier
Sr Member
Wow! I agree...that looks pretty darn good! :thumbsup
I was curious about how it would look on a tang with no scales (I put that as optional on the plan, because in some of the scenes, it looks like the screen used prop's handle is almost a flat-wrapped deal).
I'm leaning towards to the twisted paper cording myself now (or, maybe jute) because it looks so nice, instead of the flat leather thong I was going to use....
Rob
Ghostsoldier
Sr Member
Hey, Bal....what did you use to color it?
Rob
Rob
Similar threads
- Replies
- 3
- Views
- 1,268
- Replies
- 20
- Views
- 2,006