Studio Scale (:p) AT-AT

They are looking great, are the ones being trash because you are having bubbles in that area or is it too thin, it's a bit hard to tell from the pics.

A trick if it's bubbles in that front area/sides, and you may know this already, but a trick to consider is to poke a few holes with like a 3/32 brass tube, you will wind up with about a 1/16 hole in the rubber. I know it's counter intuitive to poke a hole in the rubber for fear of leakage, but it should push the air out of that area so the air winds up in the hole you made and not in the part. Any resin that does make it thru should terminate when it hits your mother mold/shell. But put some release on the inside of the shell just in case any tiny bit does get thru.

Please only try if you are comfortable with it, it's just a suggestion that has worked for me, but kind of do so at your own risk. I would only try it with a 3 to 5 minute resin also, anything like a 20 minute resin may provide too much time for the hydrostatic pressure to act on it, and remember to only do it with like a 3/32 tube, to big and it will definitely flow into the mother mold too much.
 
So amazing to see this come together!

And as for this:


To quote Darth Vader from ROTJ after Lucas messed around with it...

Instant No Button! Star Wars funnies FTW!

Haha funny ! :)

Very nice stuff here. Too bad about the trash bin though. Are they unrepairable?

No actually they can be repaired, only one cant be used because it has some uncured resin on one side, not a total loss though, I will use this shell to do some texturing experiment before doing it on my final shell ! I need to go back to the exhibit to take several close up pics of the texture to get as accurate as possible.


They are looking great, are the ones being trash because you are having bubbles in that area or is it too thin, it's a bit hard to tell from the pics.

A trick if it's bubbles in that front area/sides, and you may know this already, but a trick to consider is to poke a few holes with like a 3/32 brass tube, you will wind up with about a 1/16 hole in the rubber. I know it's counter intuitive to poke a hole in the rubber for fear of leakage, but it should push the air out of that area so the air winds up in the hole you made and not in the part. Any resin that does make it thru should terminate when it hits your mother mold/shell. But put some release on the inside of the shell just in case any tiny bit does get thru.

Please only try if you are comfortable with it, it's just a suggestion that has worked for me, but kind of do so at your own risk. I would only try it with a 3 to 5 minute resin also, anything like a 20 minute resin may provide too much time for the hydrostatic pressure to act on it, and remember to only do it with like a 3/32 tube, to big and it will definitely flow into the mother mold too much.

Thank you for the advice Mike !
Actually I did put some holes going from the armored panel edges and it worked great. But I did not for the upper front leading edge of the body. Those are airbubbles, you can see the biggest on the second hull (from the bottom).

I have found a way to get no bubble here but this is a tedious way and I need to do it in several pours. I will try to cut a channel into the mold at this place (that's were the mold is cut in half so I should be able to do something :)).
 
Thank you for the advice Mike !
Actually I did put some holes going from the armored panel edges and it worked great. But I did not for the upper front leading edge of the body. Those are airbubbles, you can see the biggest on the second hull (from the bottom).

I have found a way to get no bubble here but this is a tedious way and I need to do it in several pours. I will try to cut a channel into the mold at this place (that's were the mold is cut in half so I should be able to do something :)).[/QUOTE]


Yeah, the big at at body had a similar problem until I built a rig to hold it at a certain angle, pour, set a time, 2nd pour to change the angle, time 3rd pour, change the angle, time it and finish with a 4th pour. Guessing your in the same boat with your tedious method....
mike
 
Thanks guys,

For those who emailed me, I dont ignore you, I'm just extremely busy at the mo and the only freetime I have I spent it trying to mold and cast some parts :p I'll reply asap !

New part :


It was wet before I washed it but you get the idea ! :)
 
I made some progress.

I took another hull which was a very bad pull. Lots of airbubbles in the rear roof mechanical bay which usually cast very well, but I rushed this one ! :) Was doing an attempt to get the Flak38 good, which was successful, 25 out of 26 of them turned out OK. :) The rest of the casting hull was trash, lot of missing armored panel edges that I repaired. I didnt filled any airbubbles though, most of them will be covered with fake snow. ;) This wont be my hero hull, just a spare one, I'm planning to paint 3 hulls like the ones used for TESB so I can switch them.

The front plate was glued in place. This was a broken one (felt on the ground :p), an edge was broken and was repaired.


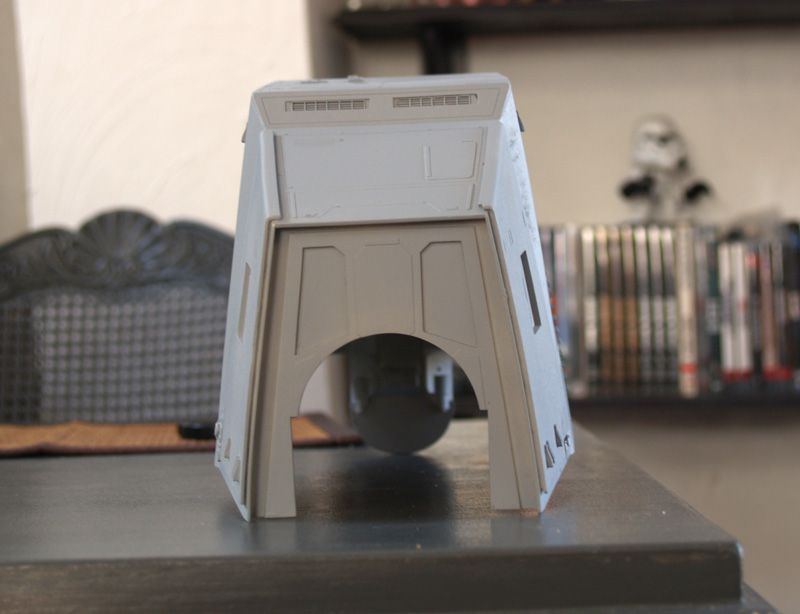
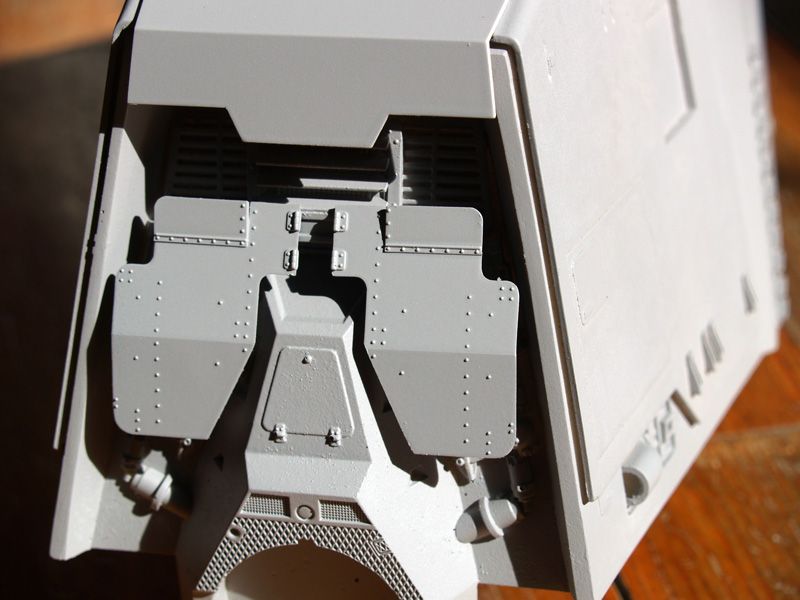
Rear shields added :


With the AT-AT the paintjob starts before the basecoat is applied.
I originally thought that only the additional side armored panels were textured but after having looking at thousand of ref pics and having seen one of the original in person, I found that the whole model was textured. With different techniques for different results. The ILM guys werent bad painters, this is intentional and this is what bring the model to life. That's one of the -several- thing the MR was lacking and why it looks like a toy.

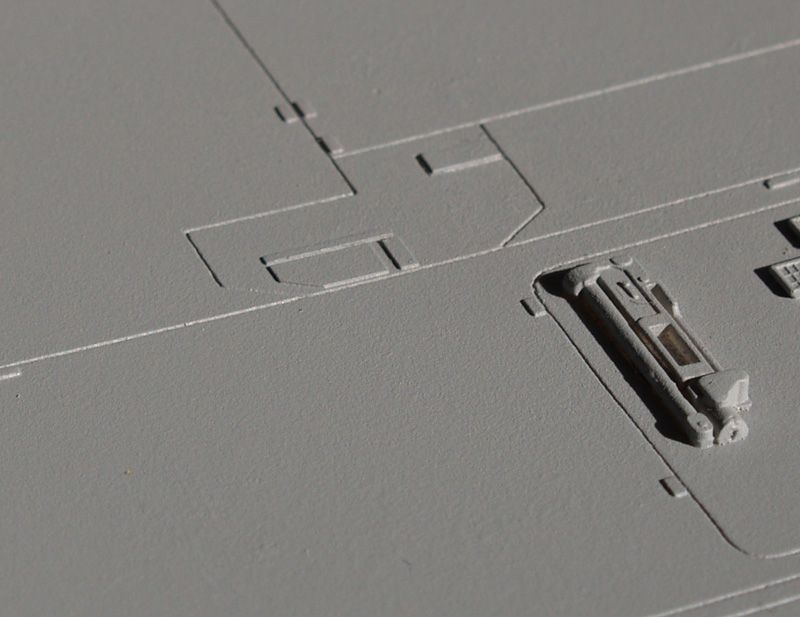
The roof is slighty textured :
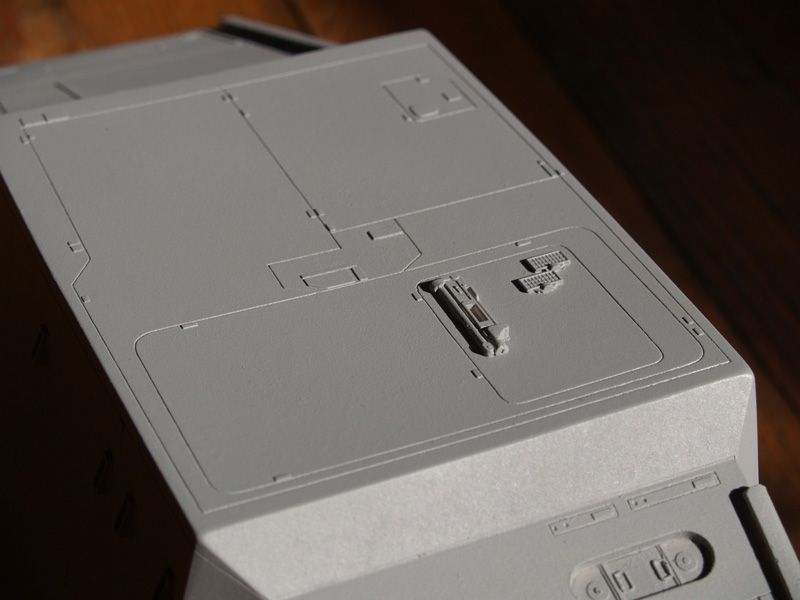


Close-up :


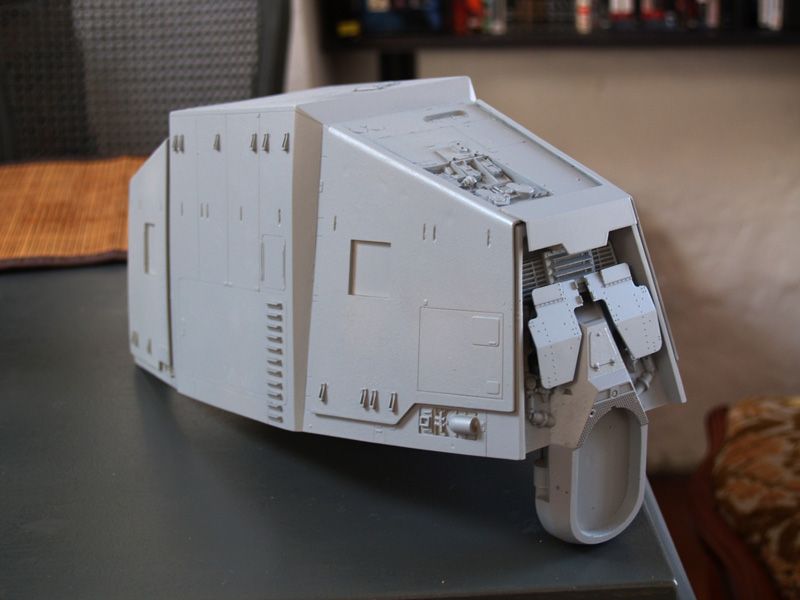
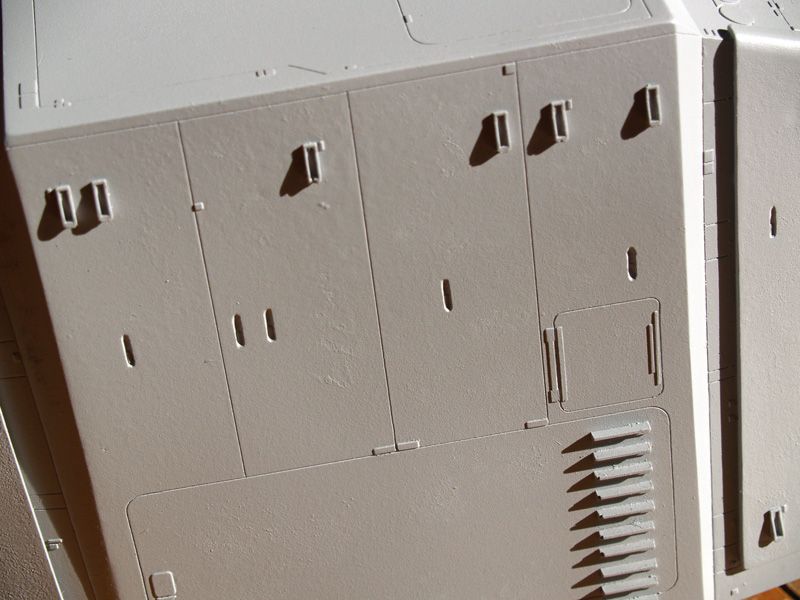
The armored side panels are heavily textured, a texture that is different than the rest of the model. It is part of the casting because I did it on the master. However it may be a bit to soft compared to the original (yeah really it is that textured !)


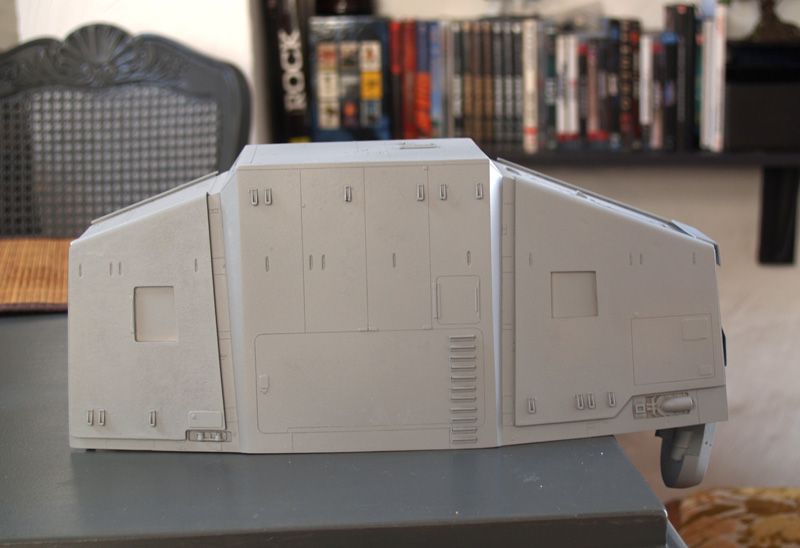
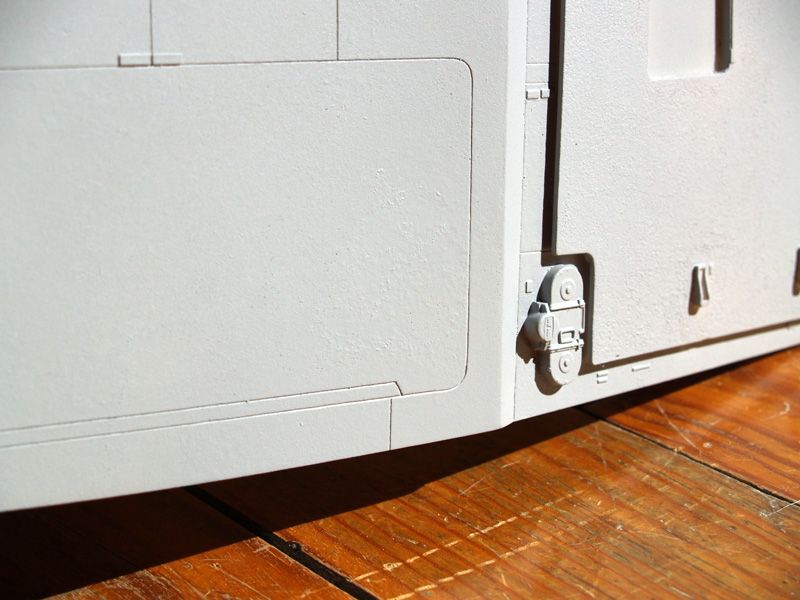
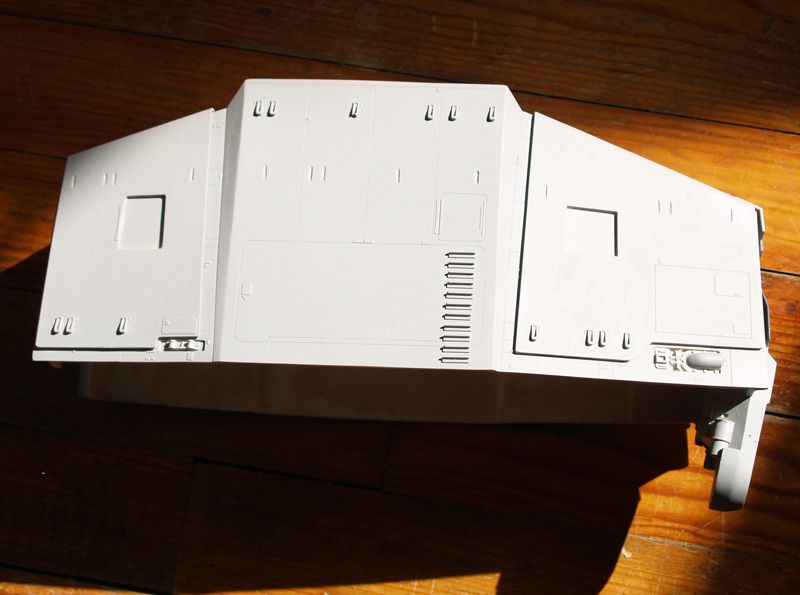
The middle box sides have different textures :
Some rounded/wavy texture, some dusty textured, some area were you see than some paint was stripped off etc... If you look at the ref pics of the original AT-AT before painting you'll notice the body have been primered/textured/sanded several times in several places.


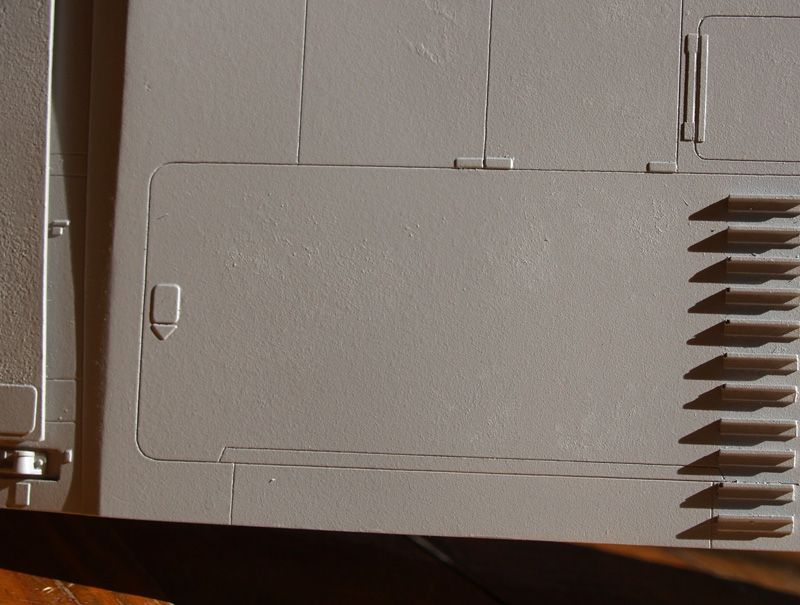
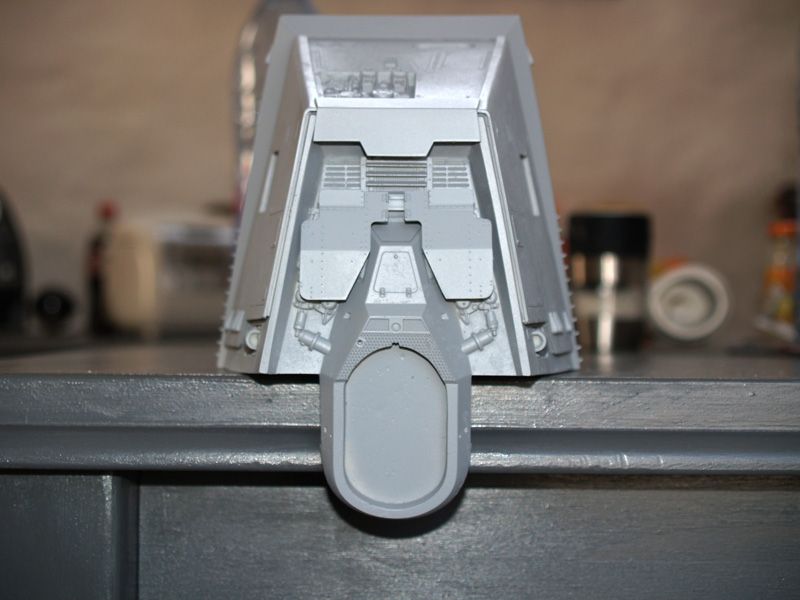
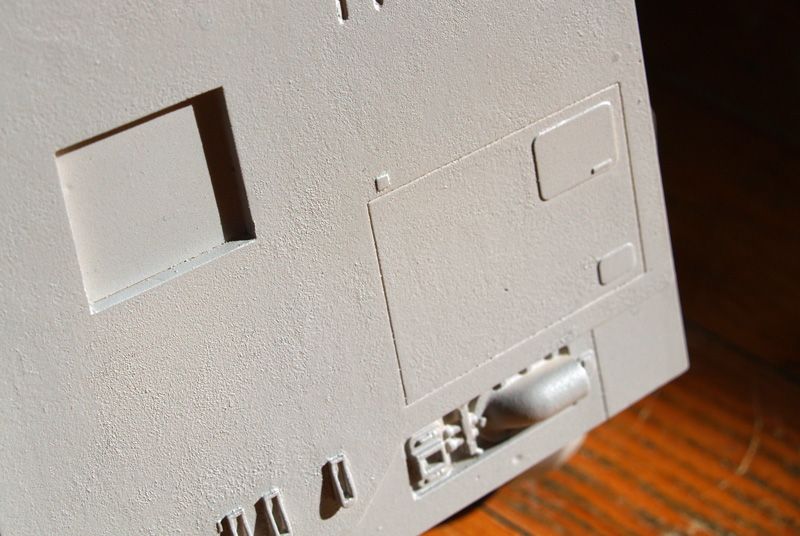
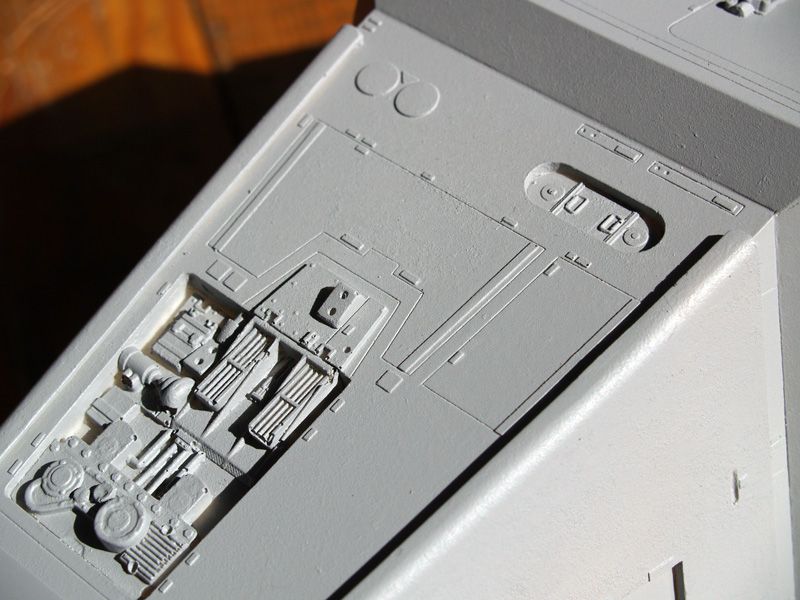
The front roof is slighty textured :


The 223 plate is textured before the shields are glued in place. The shield should remain smooth to add contrast.


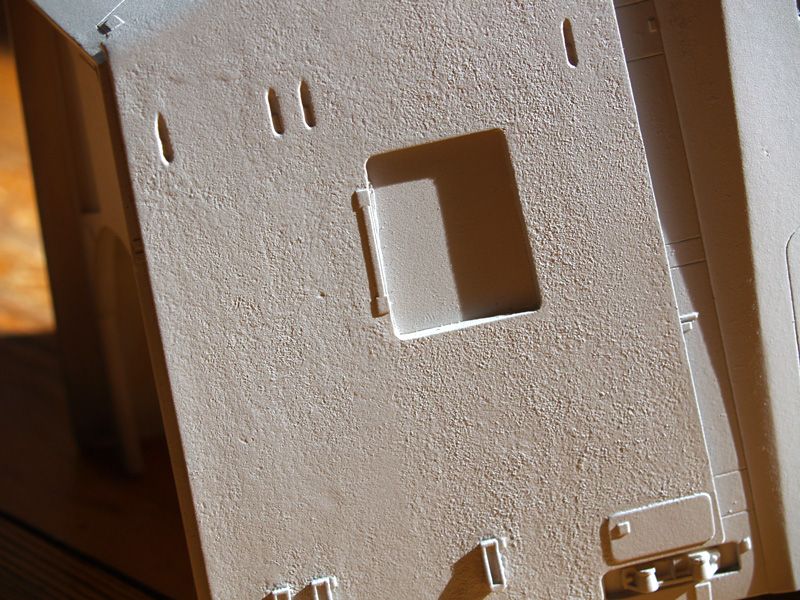
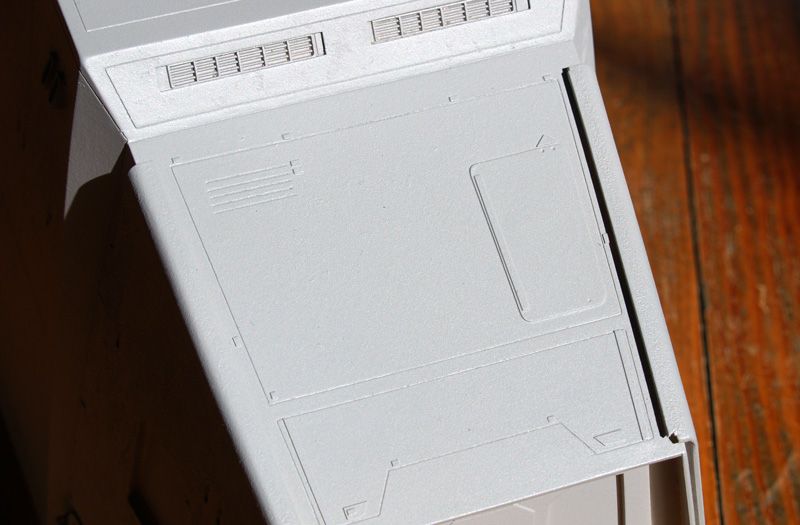
The rear roof has a moderate texturing effect :


All the details have to be textured too !

And the magical of light, the AT-AT looks smooth again ! :D


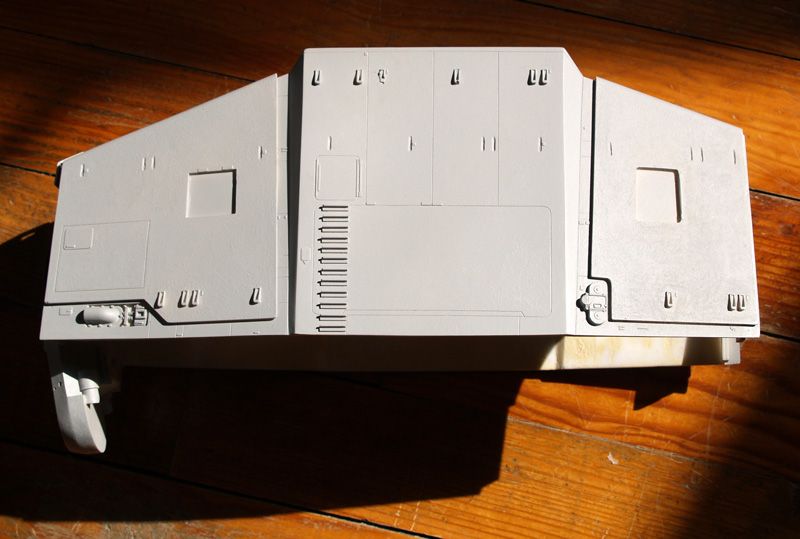
Those textures will catch the light under certain angles and help for the weathering process. Cant wait to paint it but I'll have to wait until I got an armature to be sure the paint matches all the components ! :)

Dont be affraid to be heavy on the texturing process. The original were very very rough ! :)
 
Did you use sand? Thats just one step closer to a knighthood, if only you were british the queen would be all over you :)


No sand, just a brush, acetone and putty. With different technique of applications. And also a certain way of spraying the primer (2 different ways for 2 different results). :)
 
In my experience this texture comes from paint that is either applied from to far away or not well enough diluted. Or both.
Anyhow looks great!!!
 
This thread is more than 8 years old.

Your message may be considered spam for the following reasons:

  1. This thread hasn't been active in some time. A new post in this thread might not contribute constructively to this discussion after so long.
If you wish to reply despite these issues, check the box below before replying.
Be aware that malicious compliance may result in more severe penalties.
Back
Top