IEDBOUNTYHUNTER
Sr Member
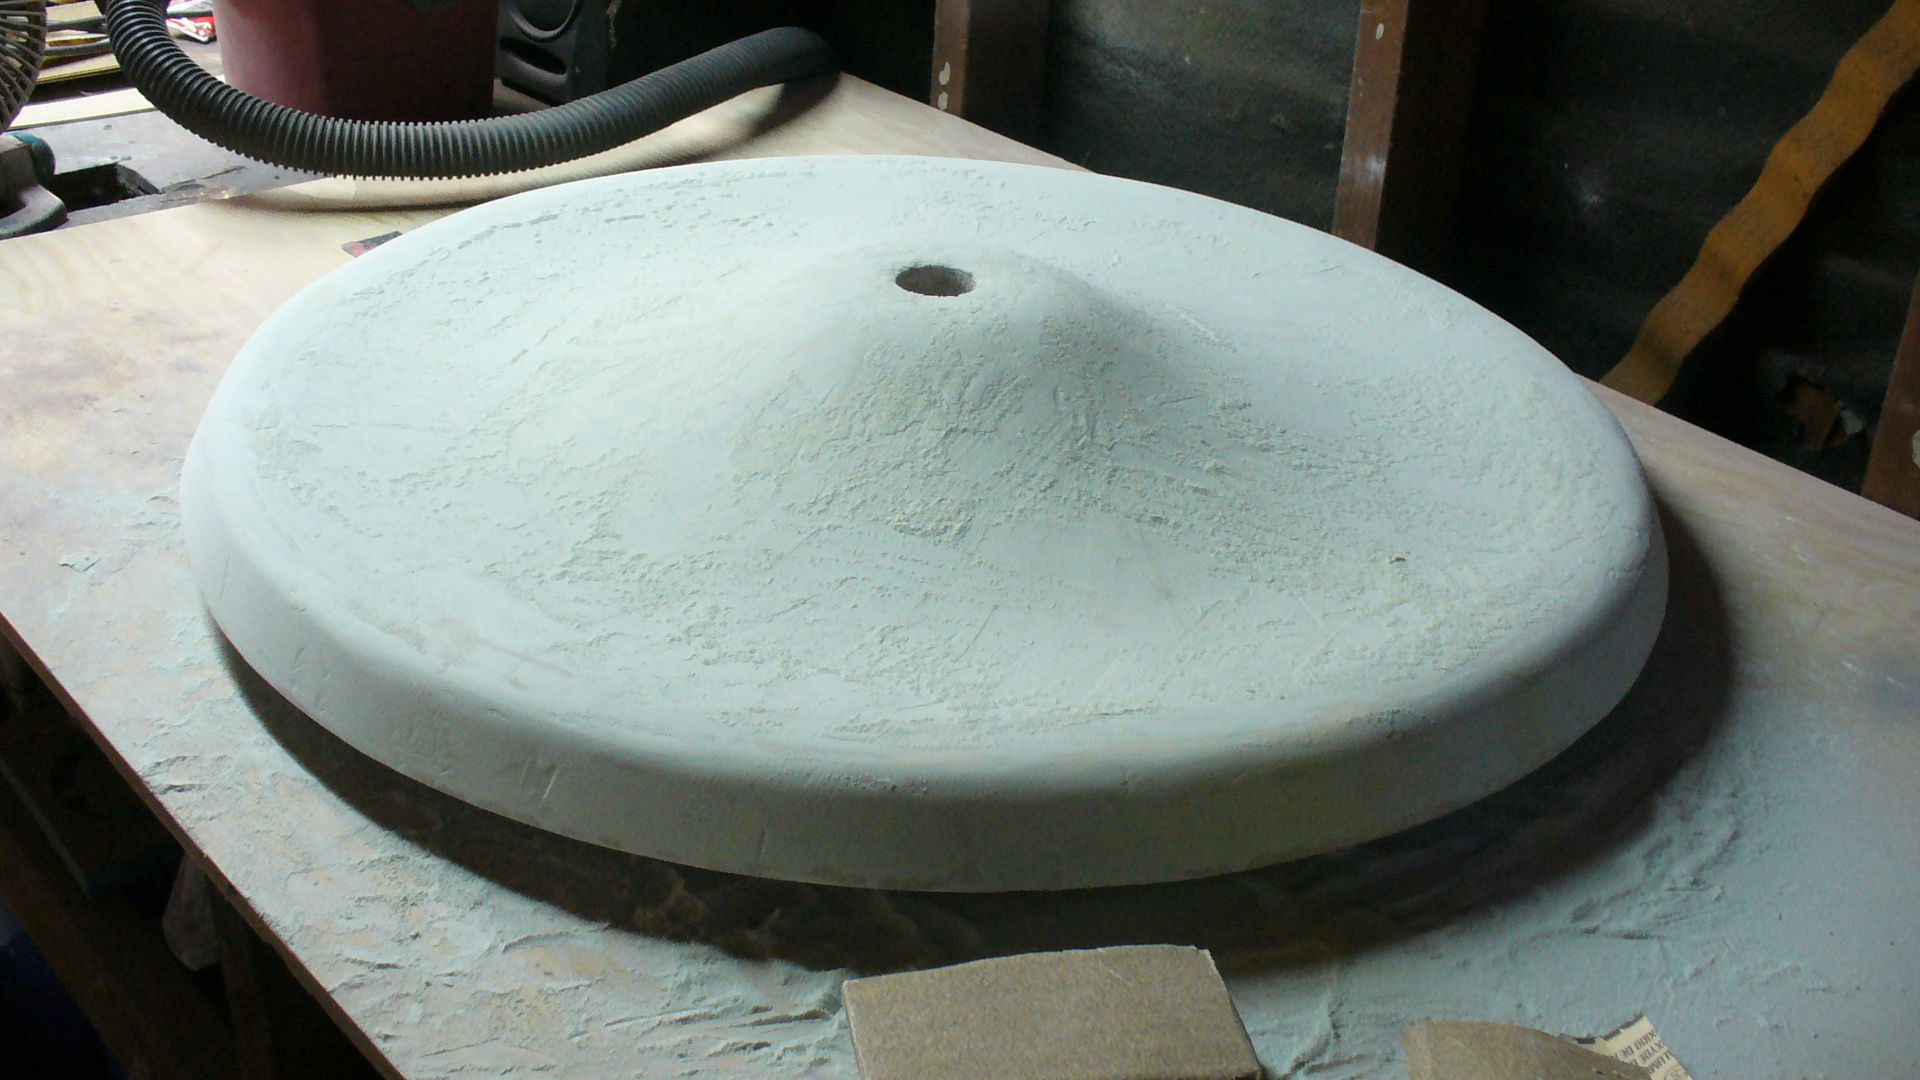
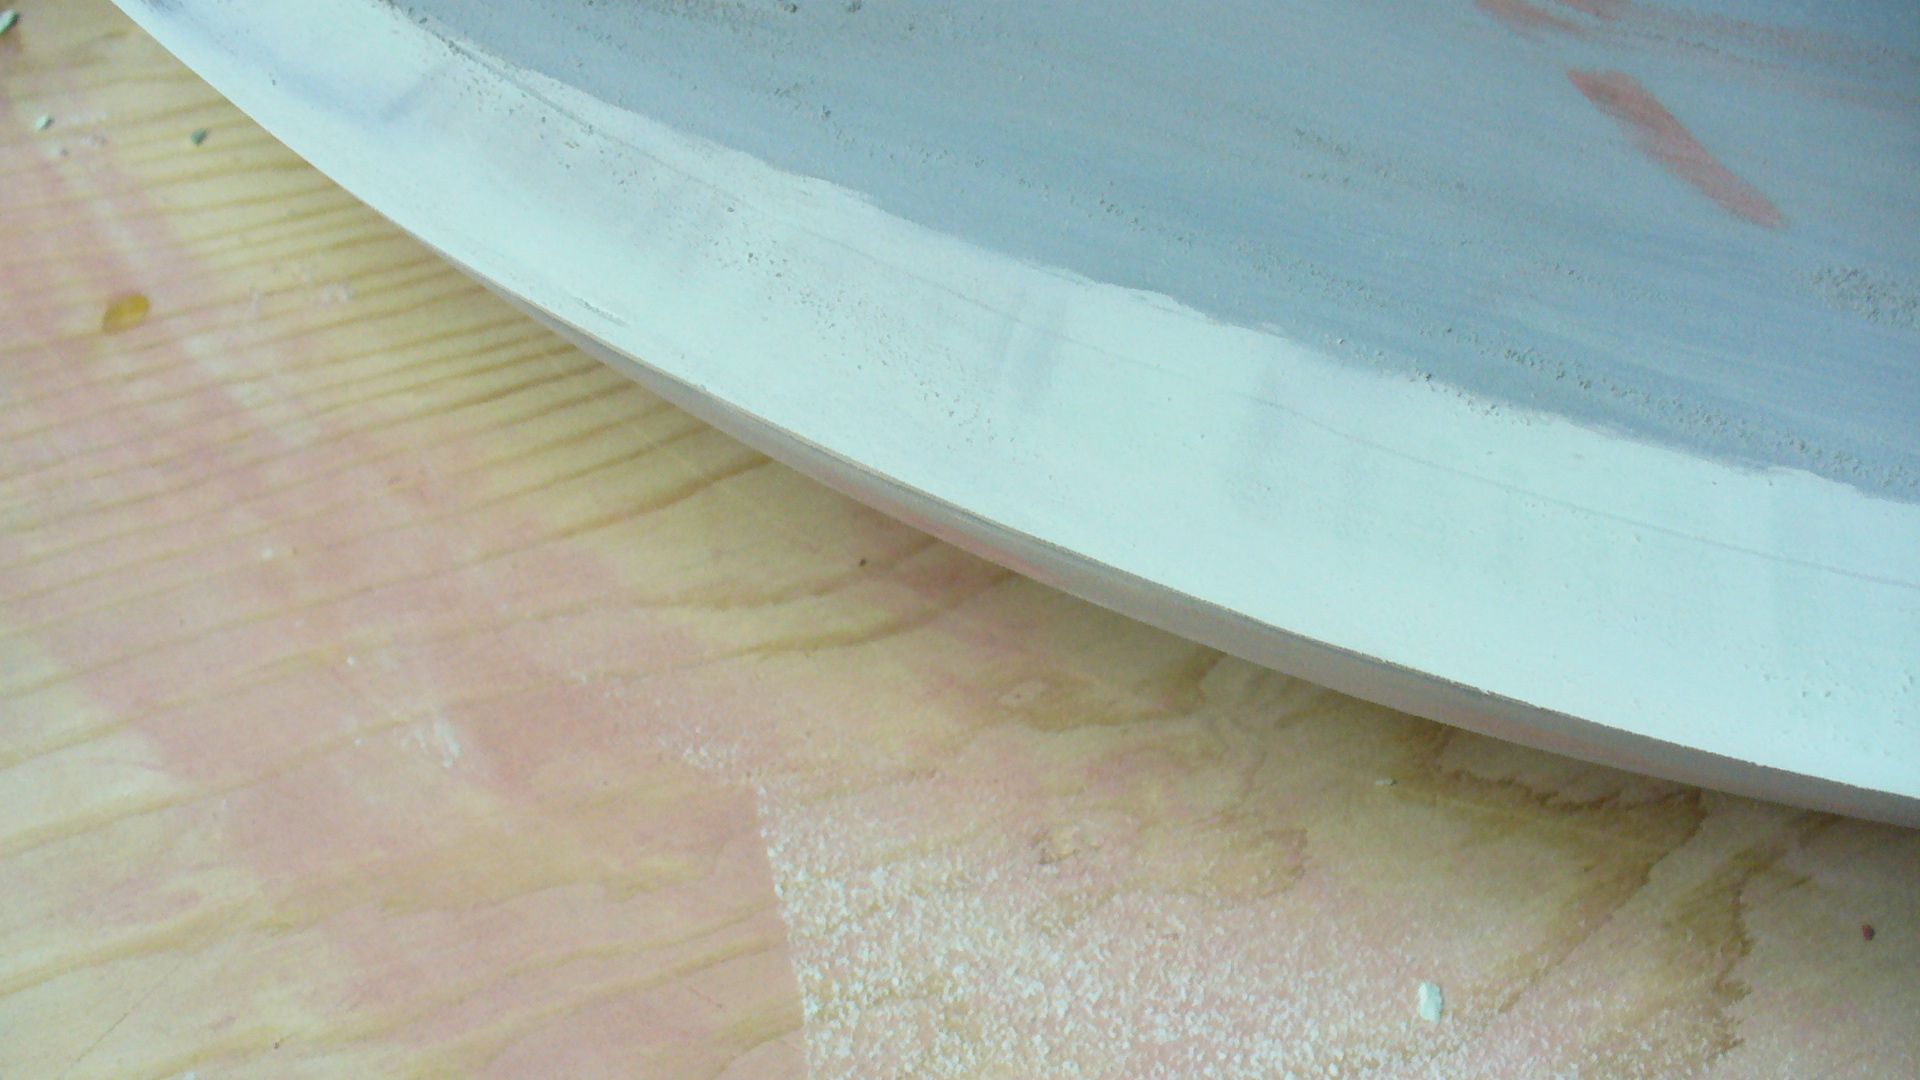
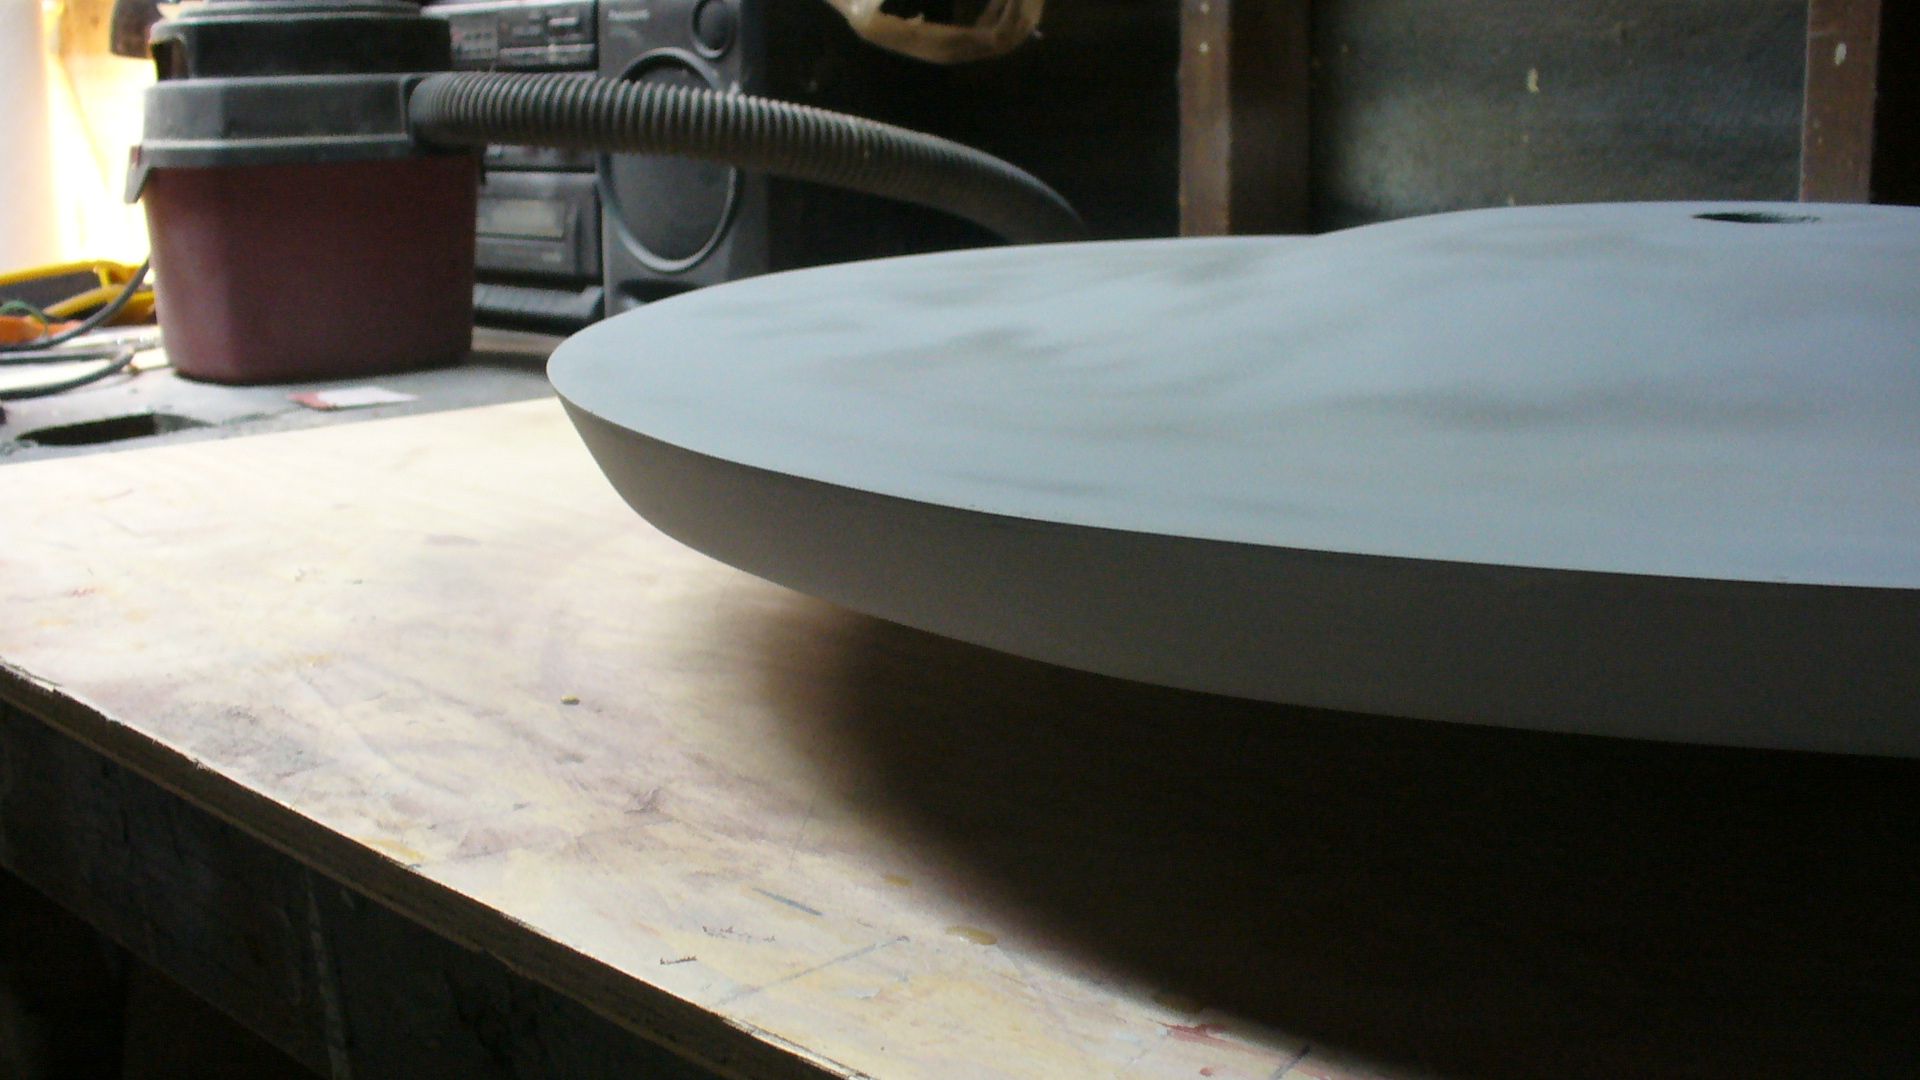
Reminds me of doing body work when i was younger. Looks great.
Al
Al
")
 So no worries here.
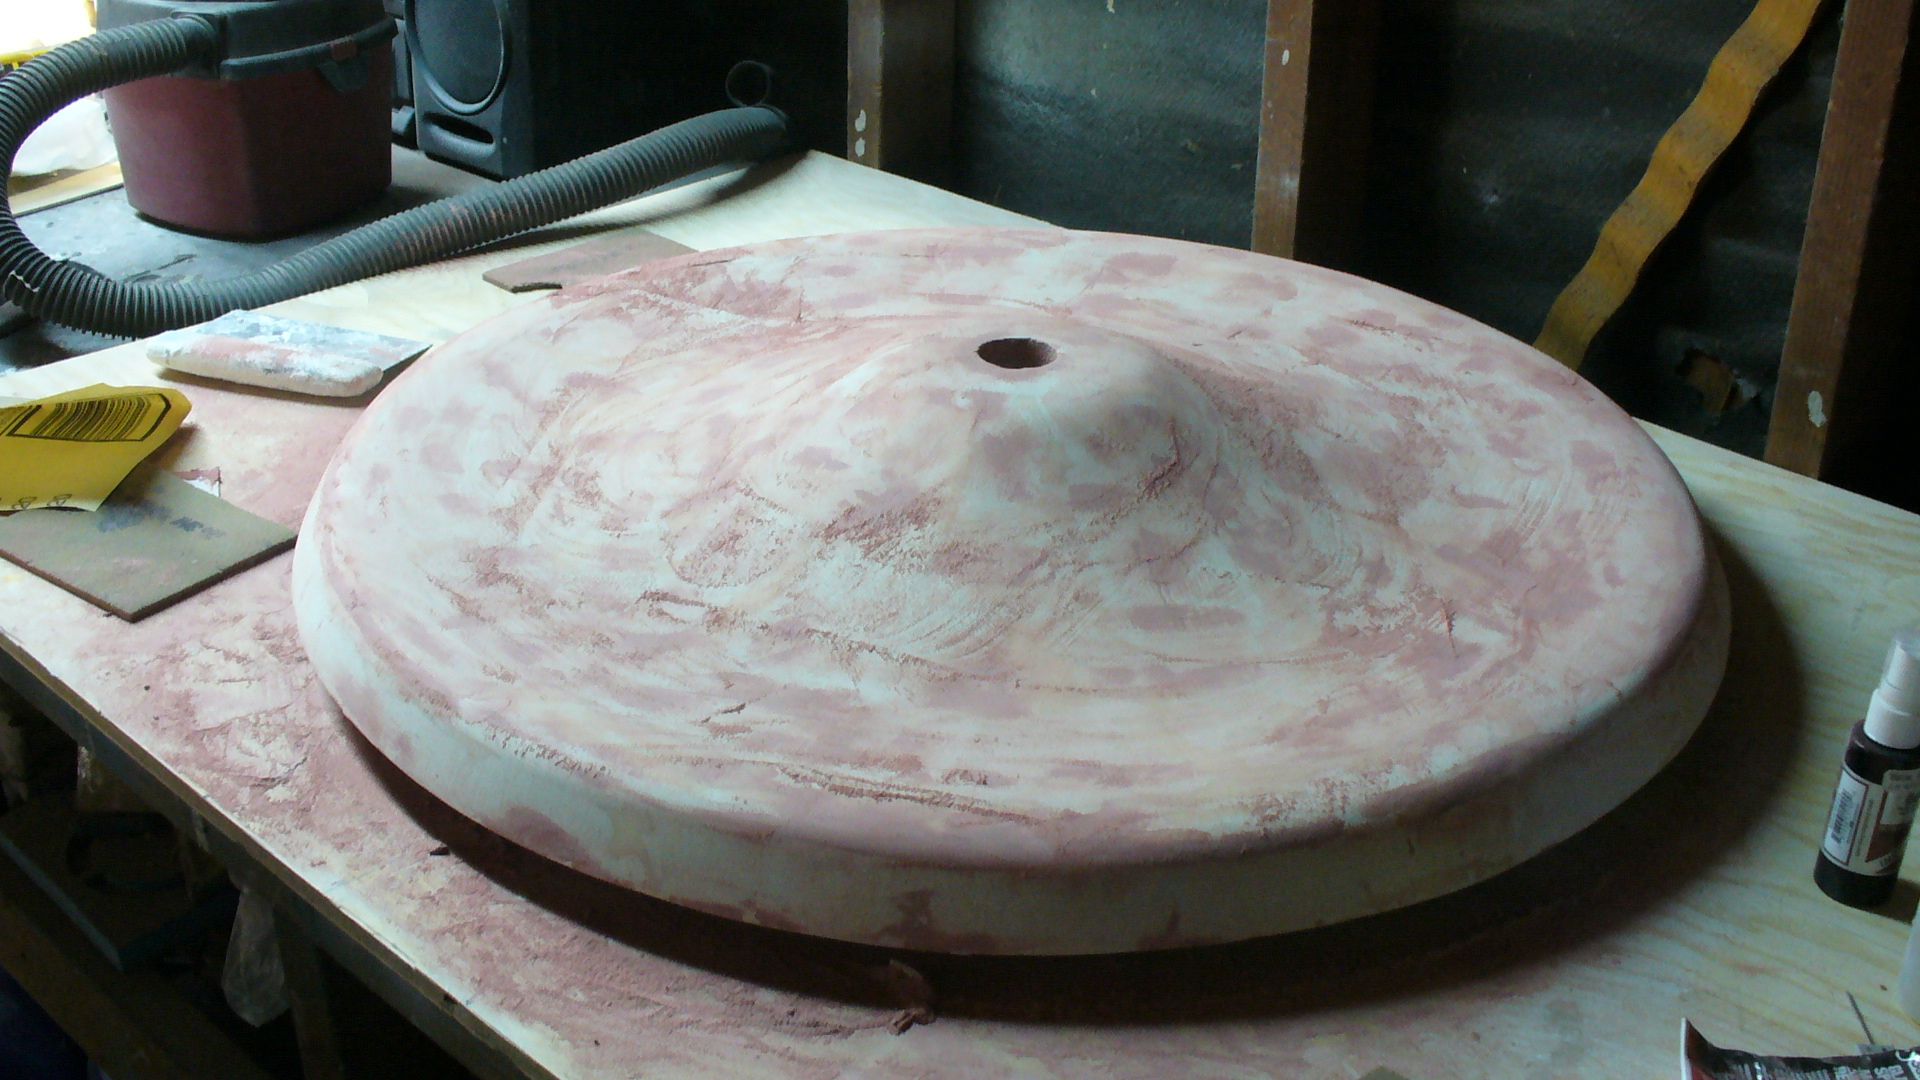
Steve, you are my new hero. This is absolutely outstanding.
It's also educational as hell for a relative beginner in the "big boy" modeling world such as I. Many thanks for taking the time to tell us (and show us) how you do this.