Gibbtall
Well-Known Member
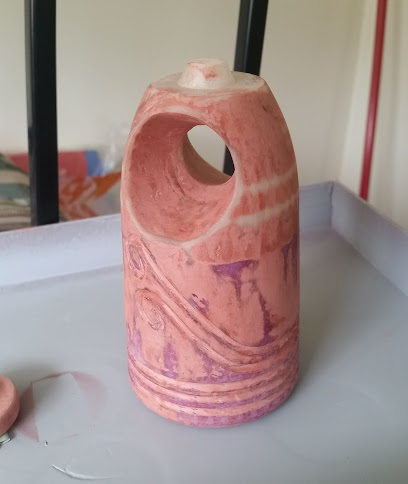
So at this point I'm not totally done, but I'm nearing the end of the gems. The wailing stone has a few more steps to go.
So first up I started off making Rose Quartz's/Steven's gem, a friend of mine is doing an awesome Rose cosplay, so the first proper one will go to her. I also plan on doing the other gems as well, so far except Pearl, I'm unsure how to get the pearl finish on it. I haven't started work on Peridot yet, but I figure the demand will be there.

I'm sorry for the large pictures if they're too big.
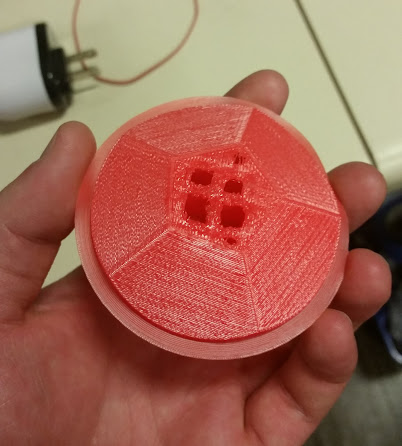
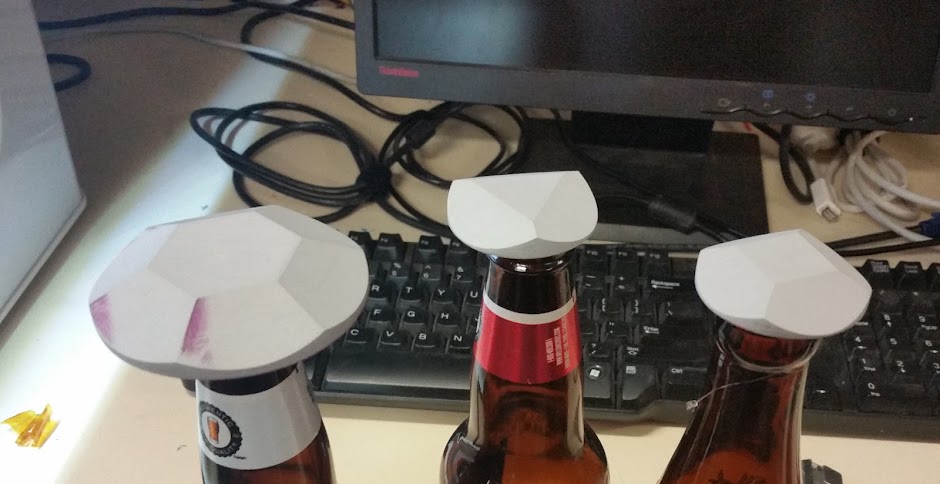
First print, the machine I used had a problem with the top, so I had to do some fixing but it all worked out.
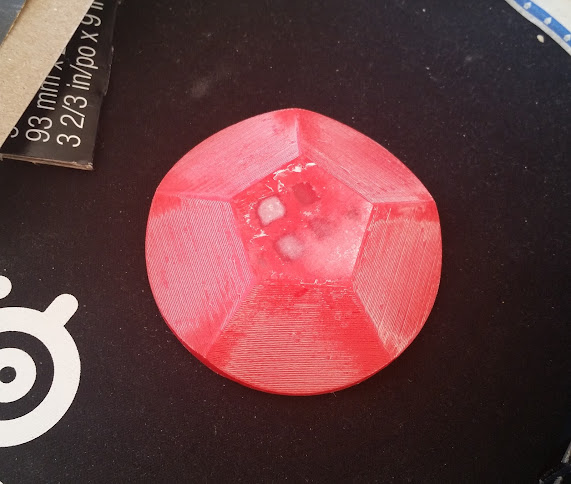
I slopped in a bunch of 5 minute epoxy and turned it upside down on a piece of paper, this is after some initial sanding once the paper had worn away.
Slapping some filler primer on in.

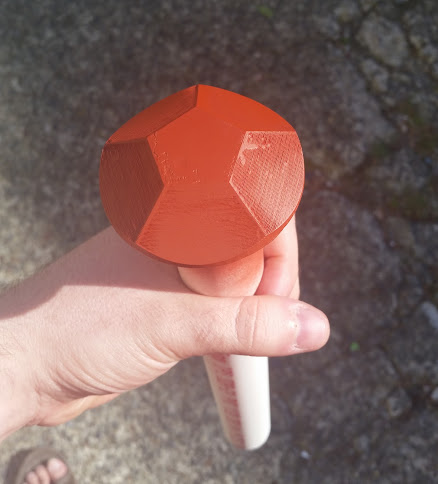
Lots of sanding and primer got me to this, it's actually got some tiny pits in it, but I'm pretty happy, I managed to get it shiny by polishing it with a t shirt.
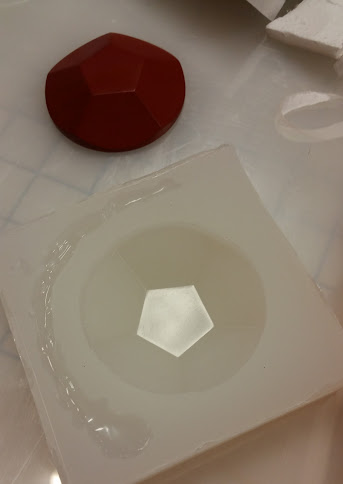
This was my first time making a silicone mold (full sized, I made a tiny one of a bolt to test and learn), I used Mold Max's Mold Star (i think) 220. I left a big goober of hot glue in the mold expecting to use it as a run off for extra resin, I ended up not needing it, and left it out in my next molds.
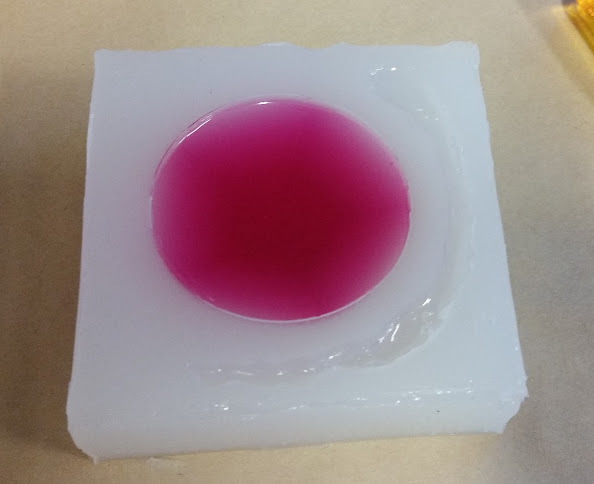
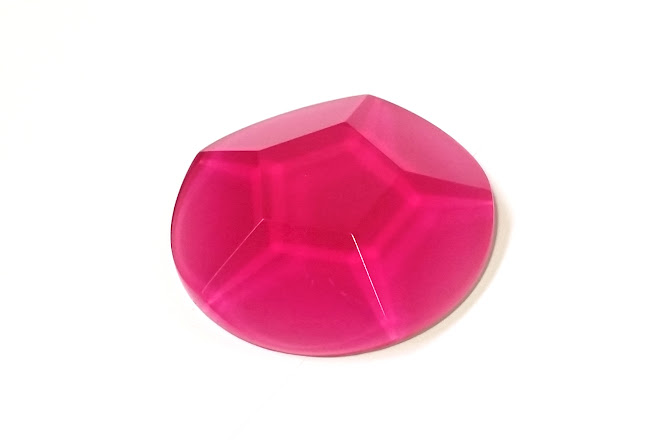
First resin pour, I underpoured, so it was a bit thin, but I did a good job, not many bubbles, it ended up being my test piece for finishing. I used Smooth-ons clear cast, the fastest curing version.
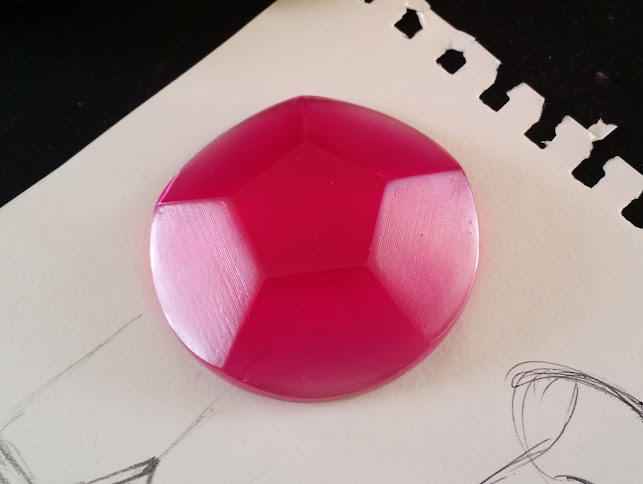
Preattyyy, you can see the print lines in this, they ended up showing up a day or so after I decided I was done finishing the master, turns out my primer shrinks a bit once it's fully dry.
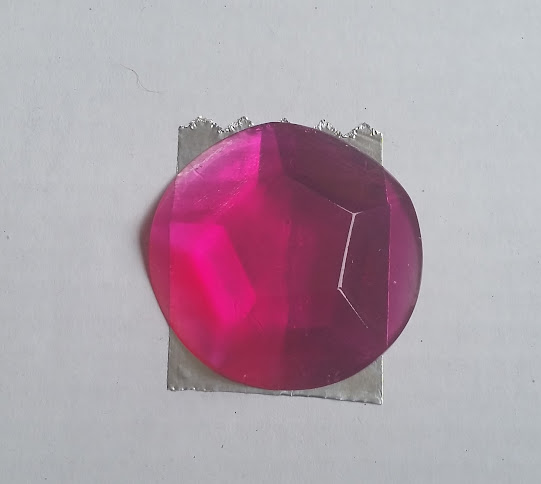
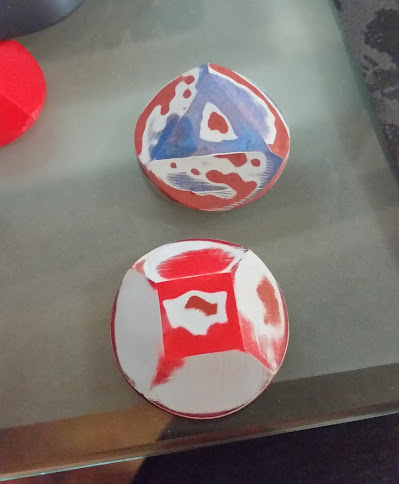
So lots of testing of different clear coat sprays and what to do with the back of the gem. This image has a clear coat on the top, on the bottom clear coat on the right and sanded on the left, on top of a piece of silver tape. I decided to go with a white back instead of the silver back, I found it was making the gem too dark and I's rather keep a nice bright colour to stay in line with the cartoon.
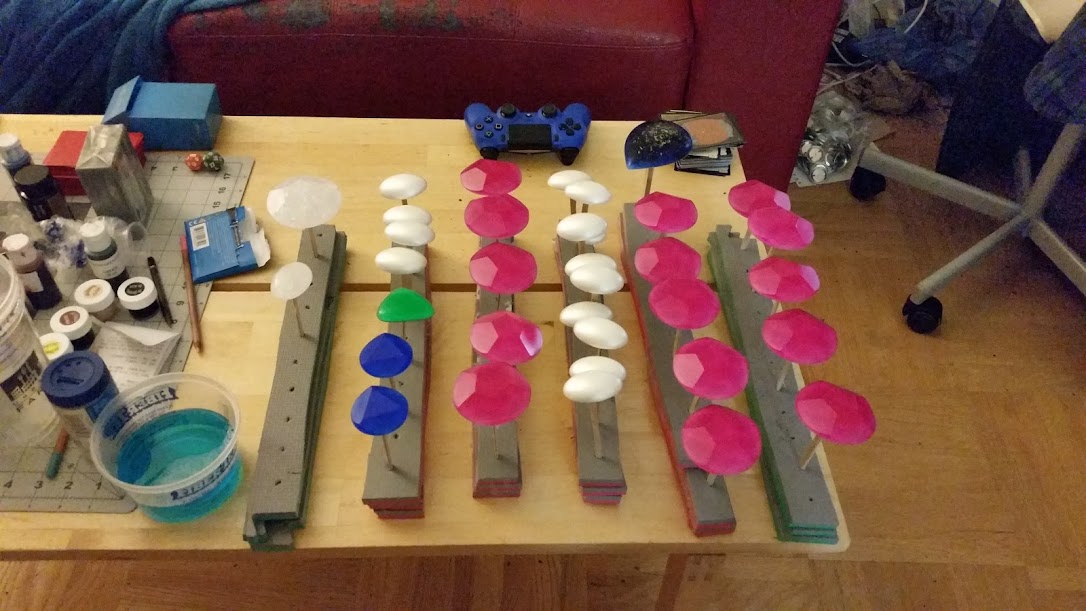
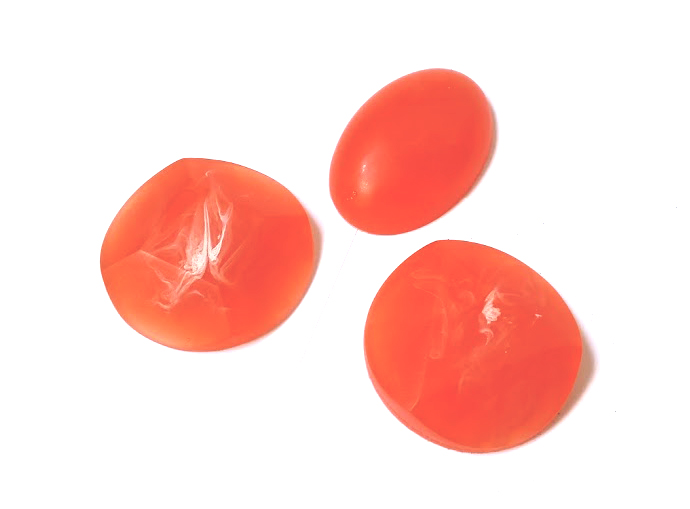
Working on Amethyst, Ruby and Sapphire, hopefully I'll have all of these available all at the same time.
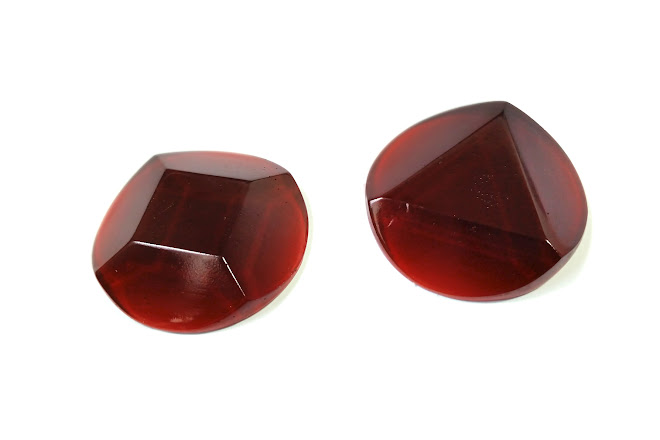
I left these on a window sill and they had a good melt in the sun This is after sanding them flat again. I was able to get them back to a good shape and shine and you can't really tell that they had melted.
I've since remolded the Rose Quartz gem along with the others using a vacuum chamber, so the molds are super nice. The Vancouver Hack Space is hopefully getting a pressure pot in the future but for right now to get things going I'm going to try and use the vacuum to degass the clear cast, I think that since it's pretty thin I'll be able to take out the air rather than crush it with pressure.
So first up I started off making Rose Quartz's/Steven's gem, a friend of mine is doing an awesome Rose cosplay, so the first proper one will go to her. I also plan on doing the other gems as well, so far except Pearl, I'm unsure how to get the pearl finish on it. I haven't started work on Peridot yet, but I figure the demand will be there.
I'm sorry for the large pictures if they're too big.
First print, the machine I used had a problem with the top, so I had to do some fixing but it all worked out.
I slopped in a bunch of 5 minute epoxy and turned it upside down on a piece of paper, this is after some initial sanding once the paper had worn away.
Slapping some filler primer on in.
Lots of sanding and primer got me to this, it's actually got some tiny pits in it, but I'm pretty happy, I managed to get it shiny by polishing it with a t shirt.
This was my first time making a silicone mold (full sized, I made a tiny one of a bolt to test and learn), I used Mold Max's Mold Star (i think) 220. I left a big goober of hot glue in the mold expecting to use it as a run off for extra resin, I ended up not needing it, and left it out in my next molds.
First resin pour, I underpoured, so it was a bit thin, but I did a good job, not many bubbles, it ended up being my test piece for finishing. I used Smooth-ons clear cast, the fastest curing version.
Preattyyy, you can see the print lines in this, they ended up showing up a day or so after I decided I was done finishing the master, turns out my primer shrinks a bit once it's fully dry.
So lots of testing of different clear coat sprays and what to do with the back of the gem. This image has a clear coat on the top, on the bottom clear coat on the right and sanded on the left, on top of a piece of silver tape. I decided to go with a white back instead of the silver back, I found it was making the gem too dark and I's rather keep a nice bright colour to stay in line with the cartoon.
Working on Amethyst, Ruby and Sapphire, hopefully I'll have all of these available all at the same time.
I left these on a window sill and they had a good melt in the sun
This is after sanding them flat again. I was able to get them back to a good shape and shine and you can't really tell that they had melted.I've since remolded the Rose Quartz gem along with the others using a vacuum chamber, so the molds are super nice. The Vancouver Hack Space is hopefully getting a pressure pot in the future but for right now to get things going I'm going to try and use the vacuum to degass the clear cast, I think that since it's pretty thin I'll be able to take out the air rather than crush it with pressure.