Lichtbringer
Master Member
I really like your build. :cool
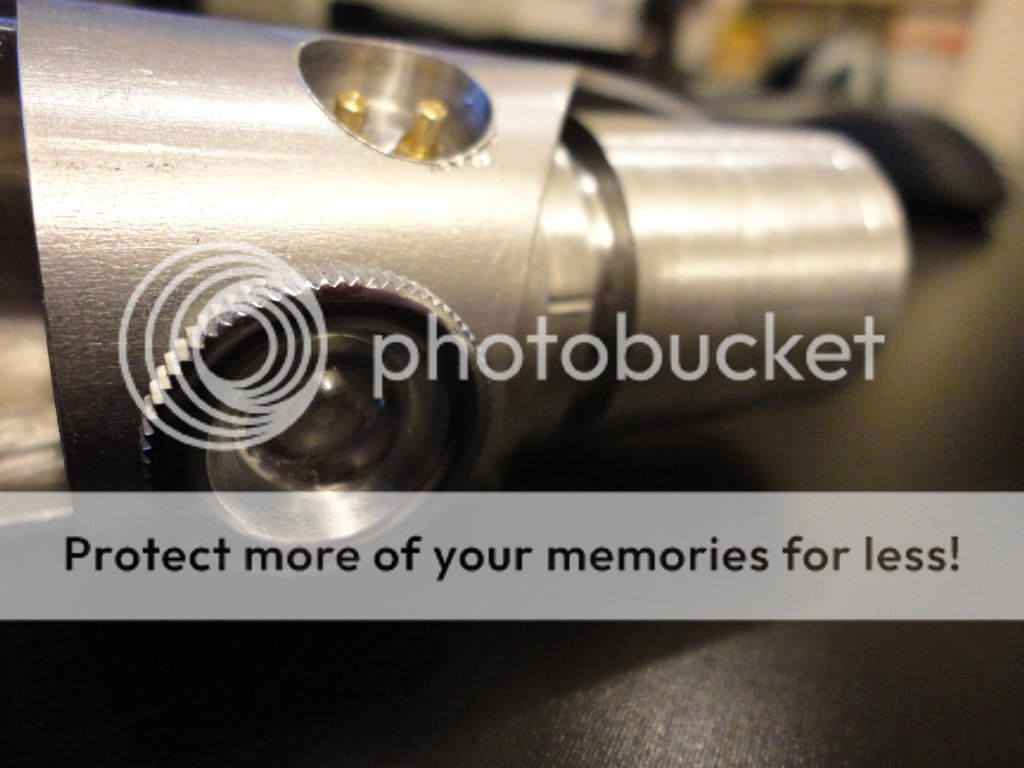
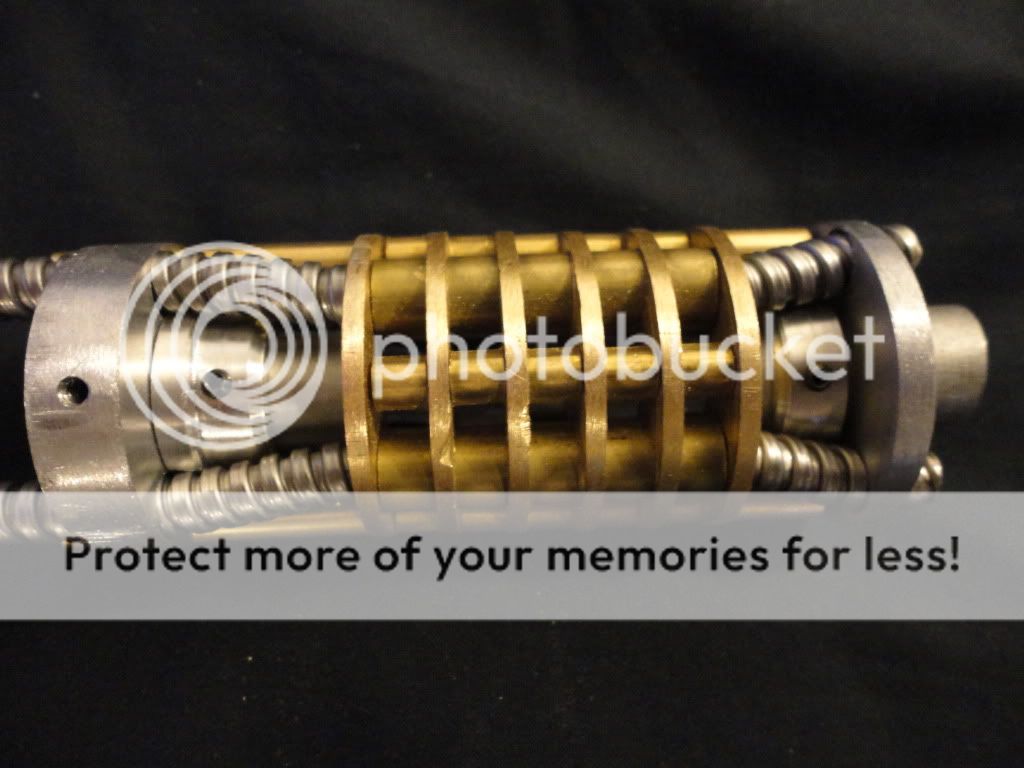
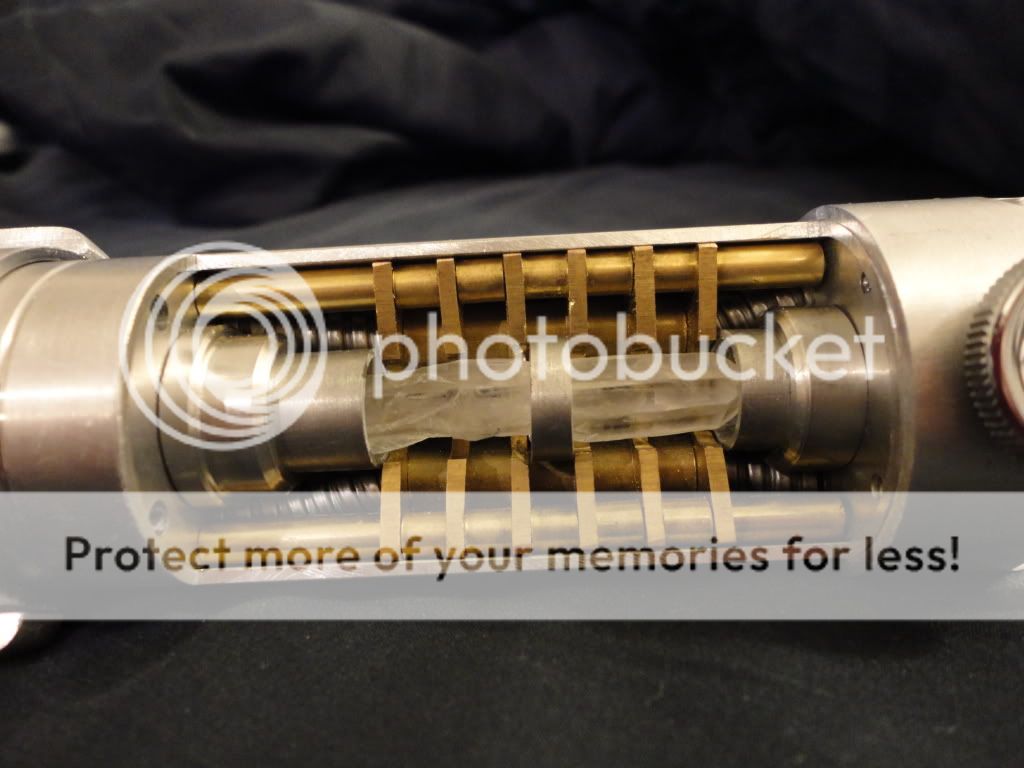
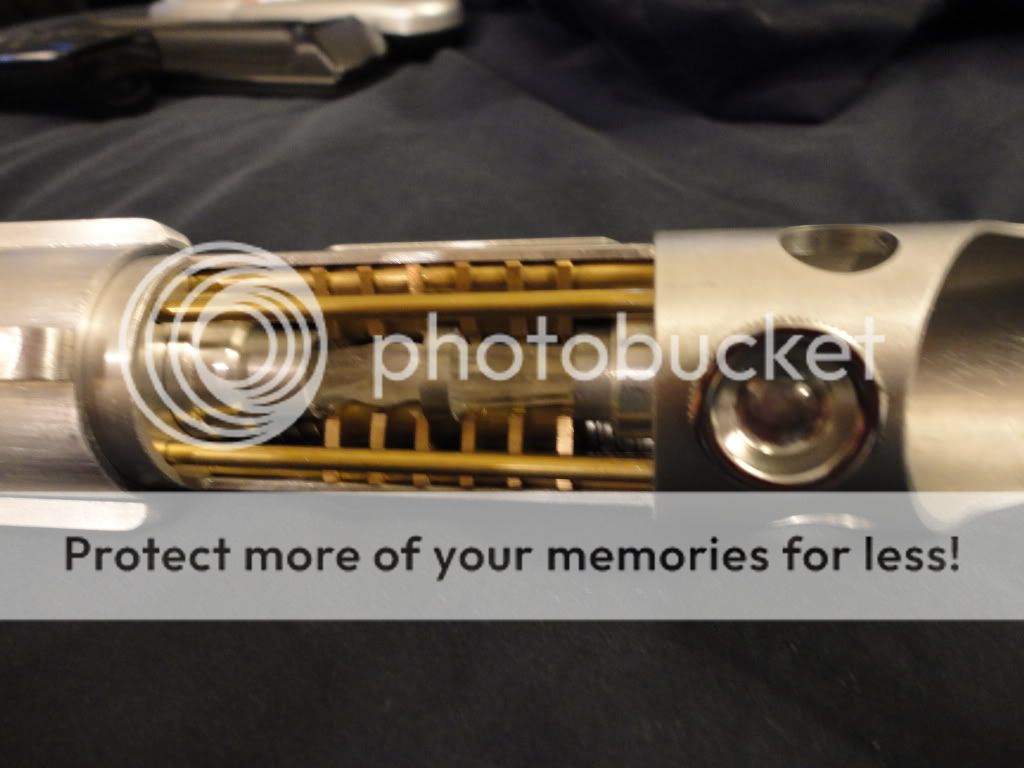
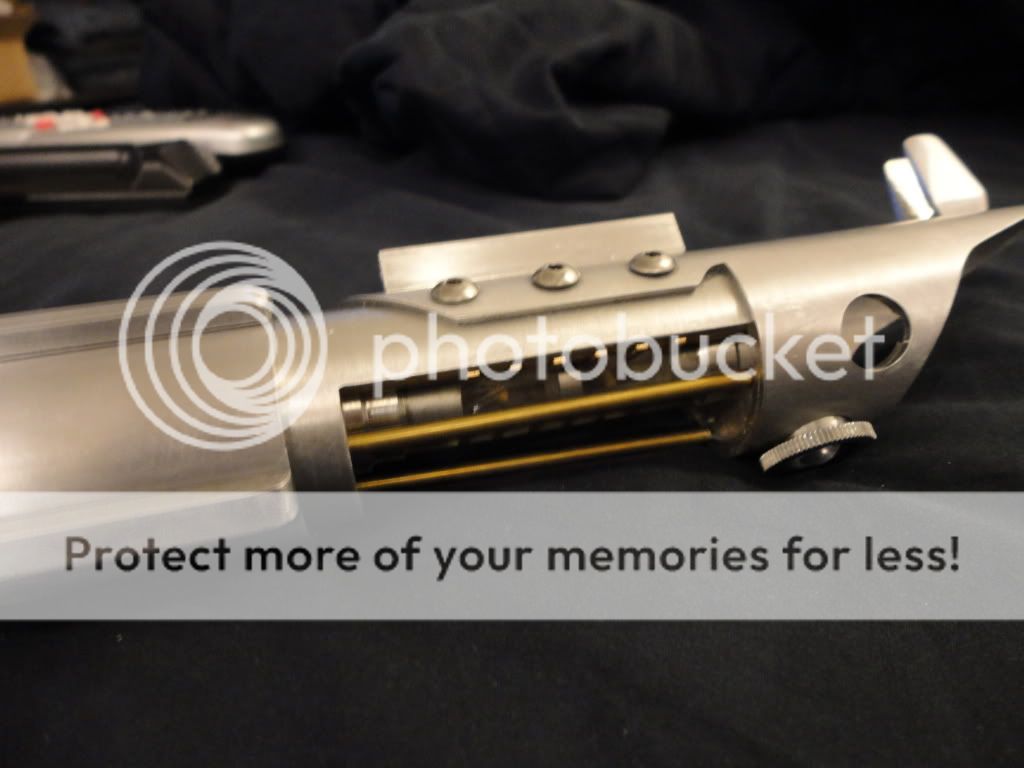
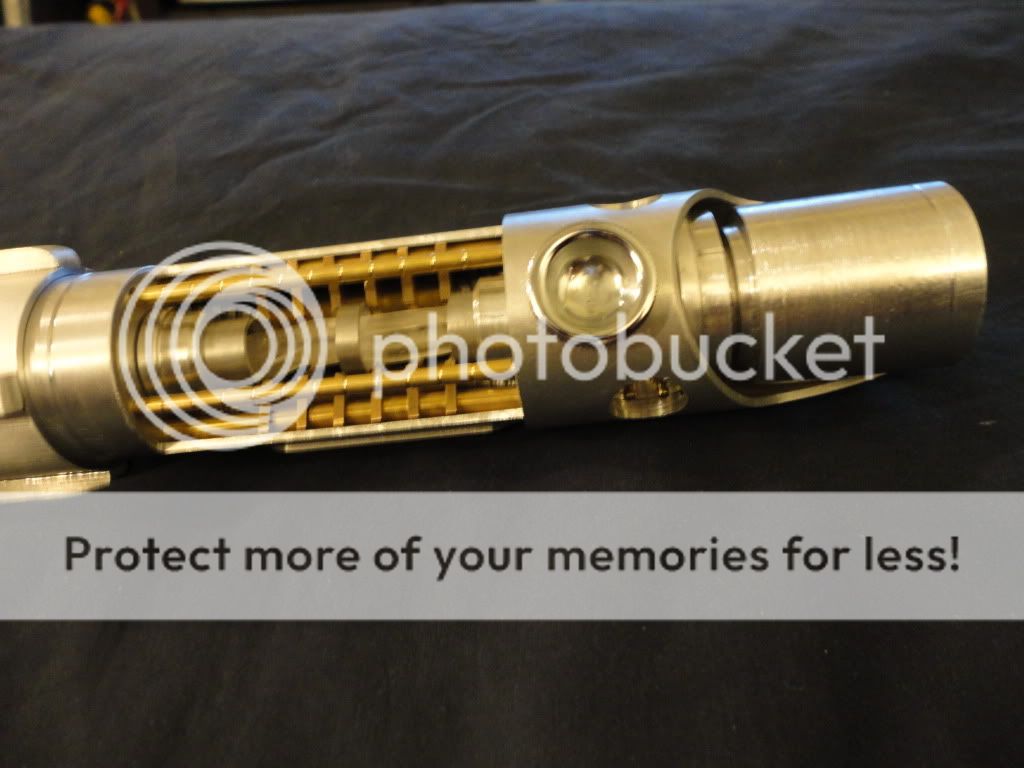
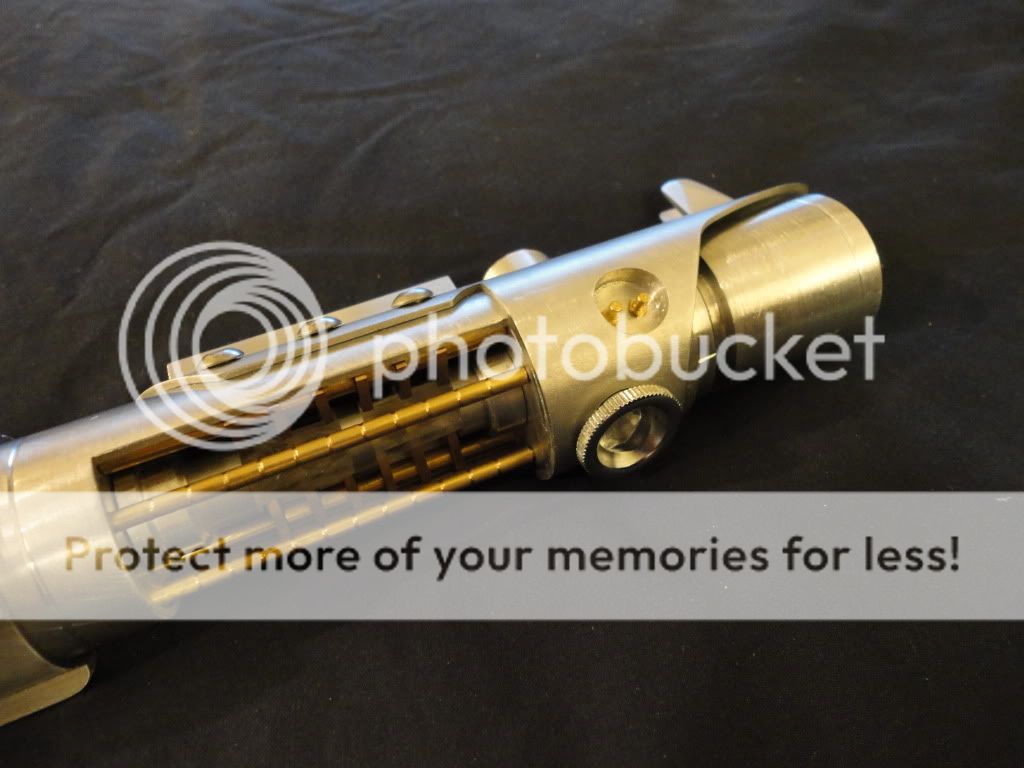
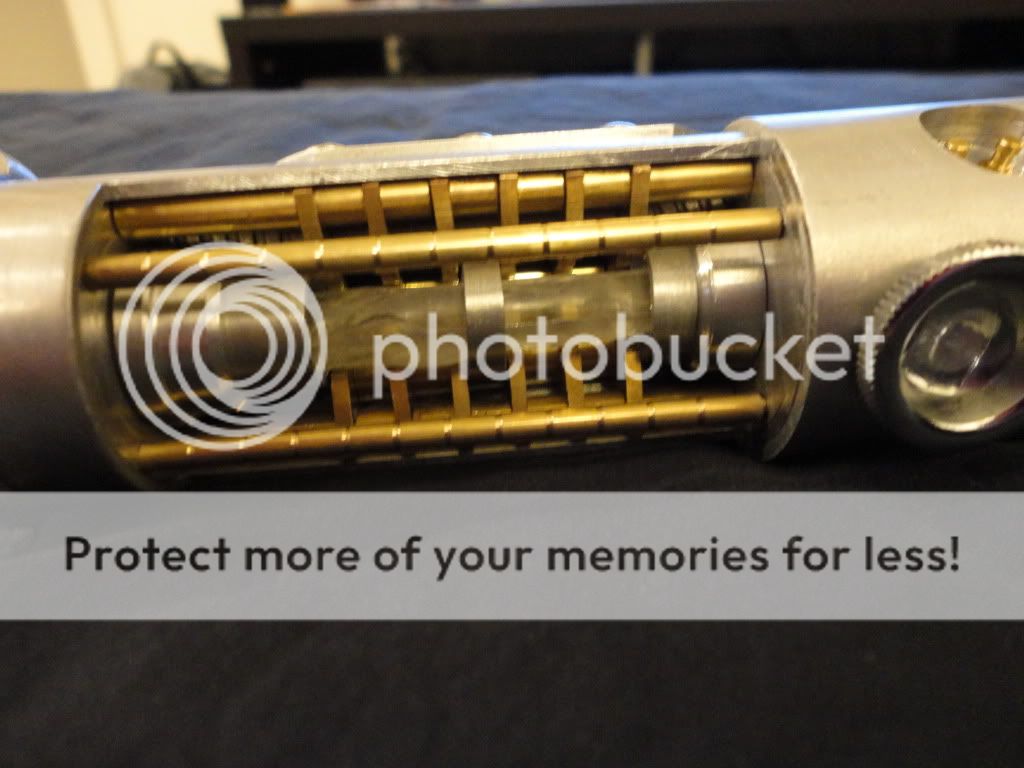
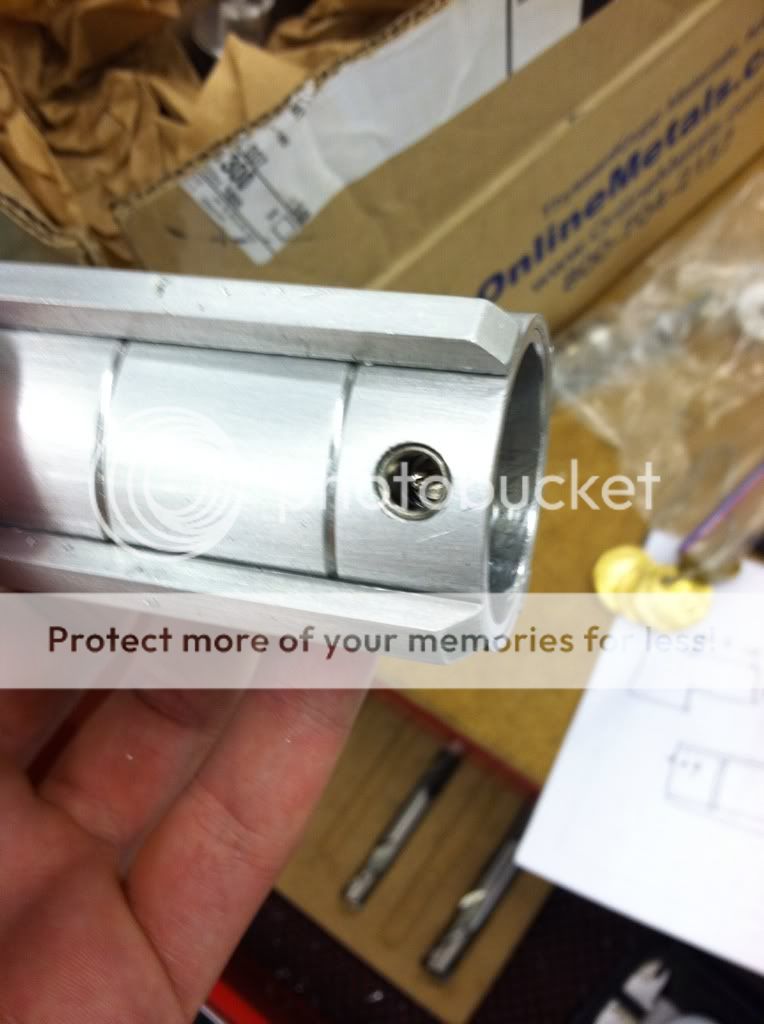
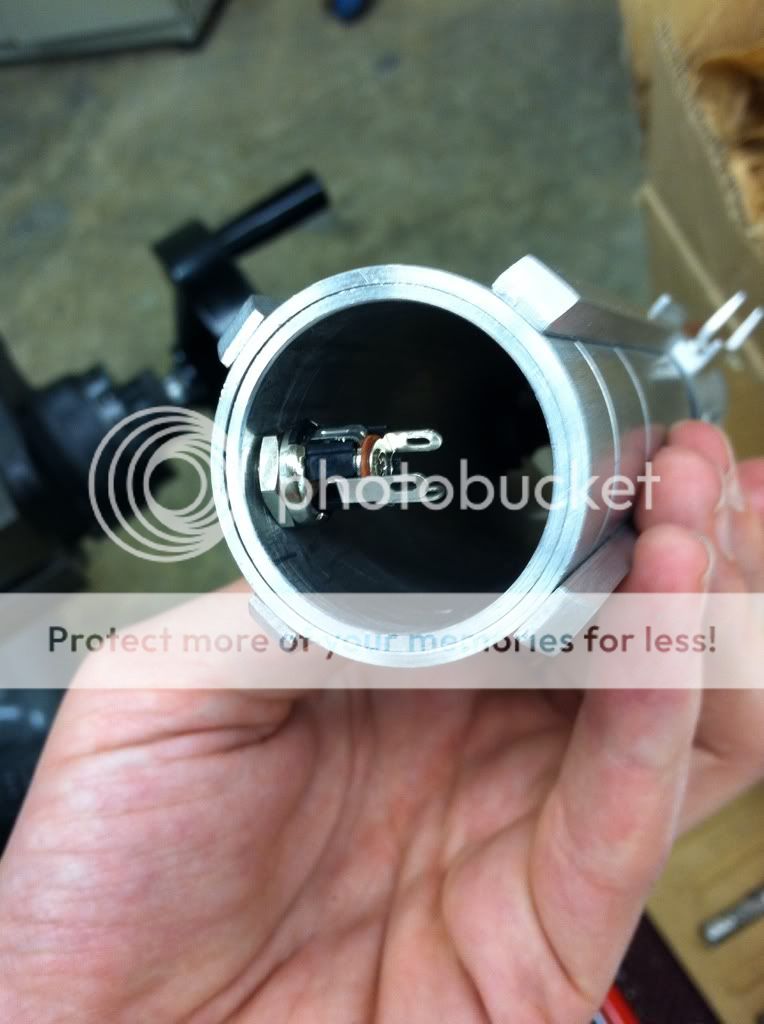
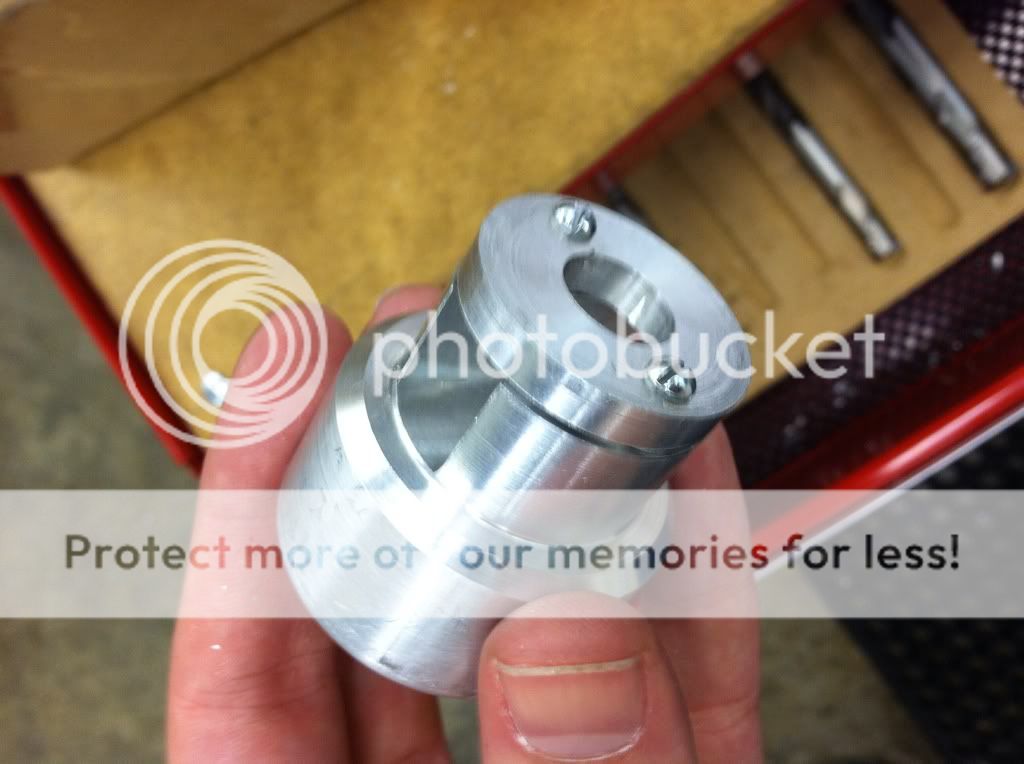
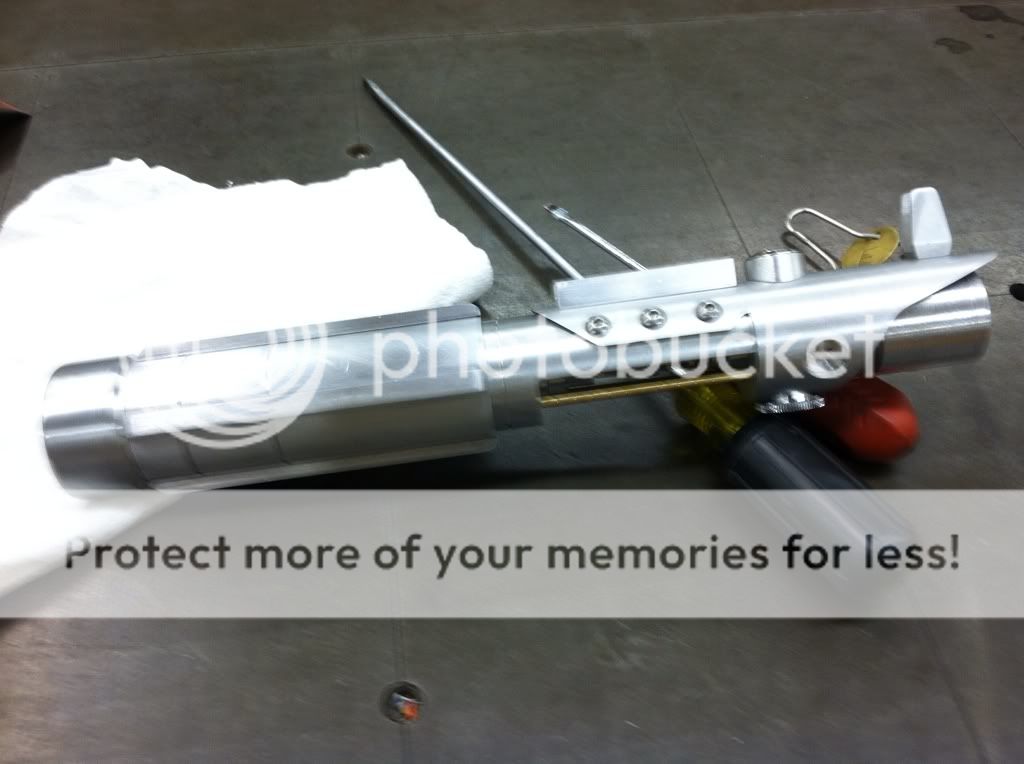
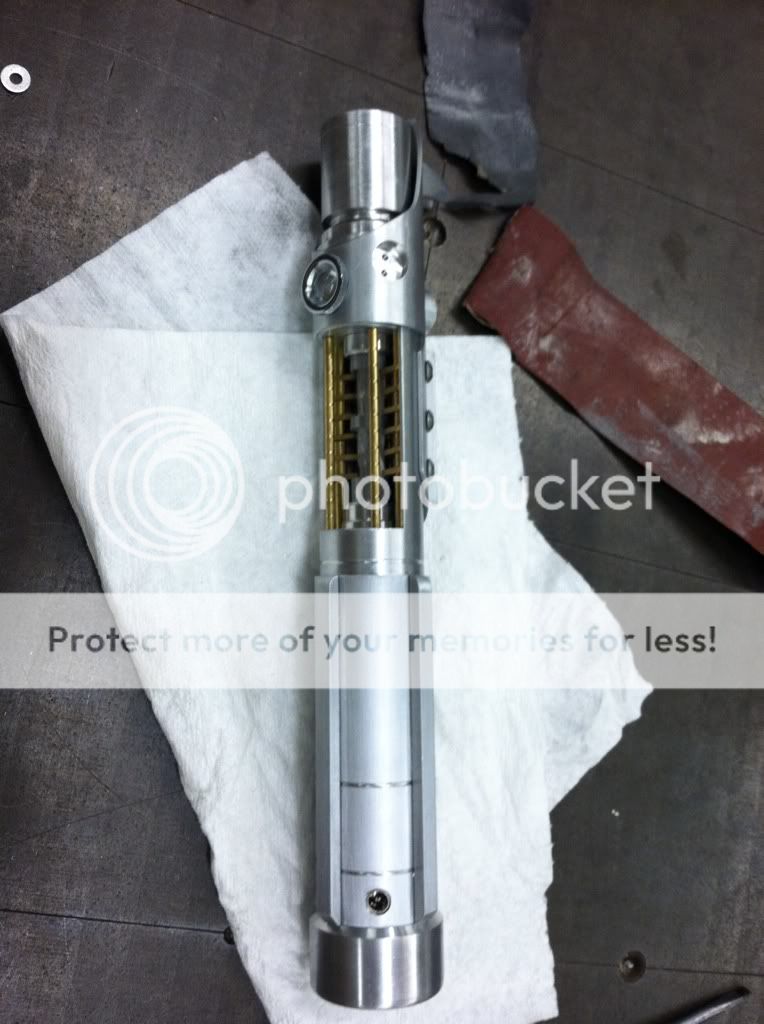
") Spent 4 hours in the shop today and here's what I got done. I had to do some weird stuff to make room for the button as you'll see. I'll get some more pics with the internal cylinder I machined eventually, it's just really snug so I need to hammer it out.
Spent 4 hours in the shop today and here's what I got done. I had to do some weird stuff to make room for the button as you'll see. I'll get some more pics with the internal cylinder I machined eventually, it's just really snug so I need to hammer it out.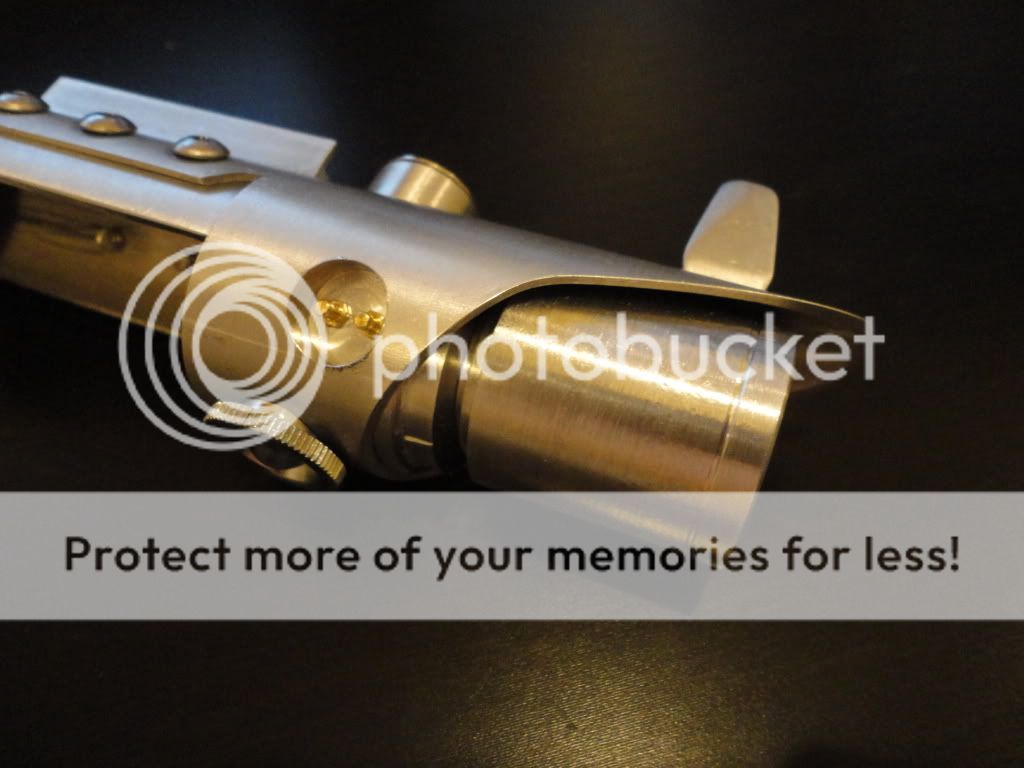
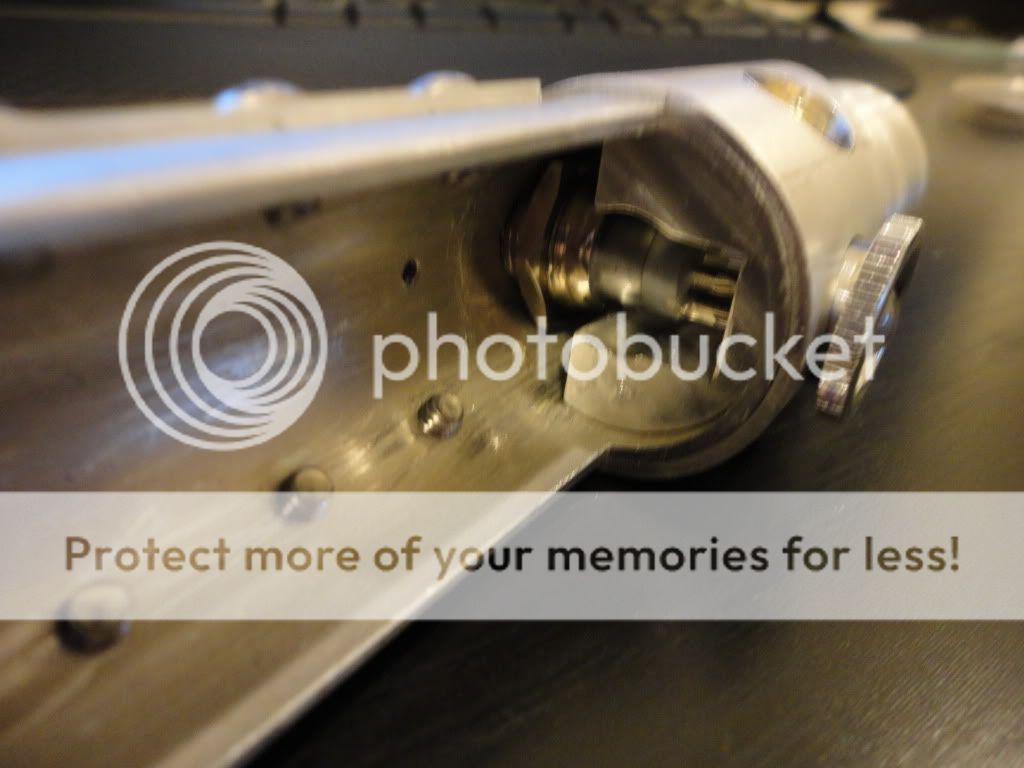

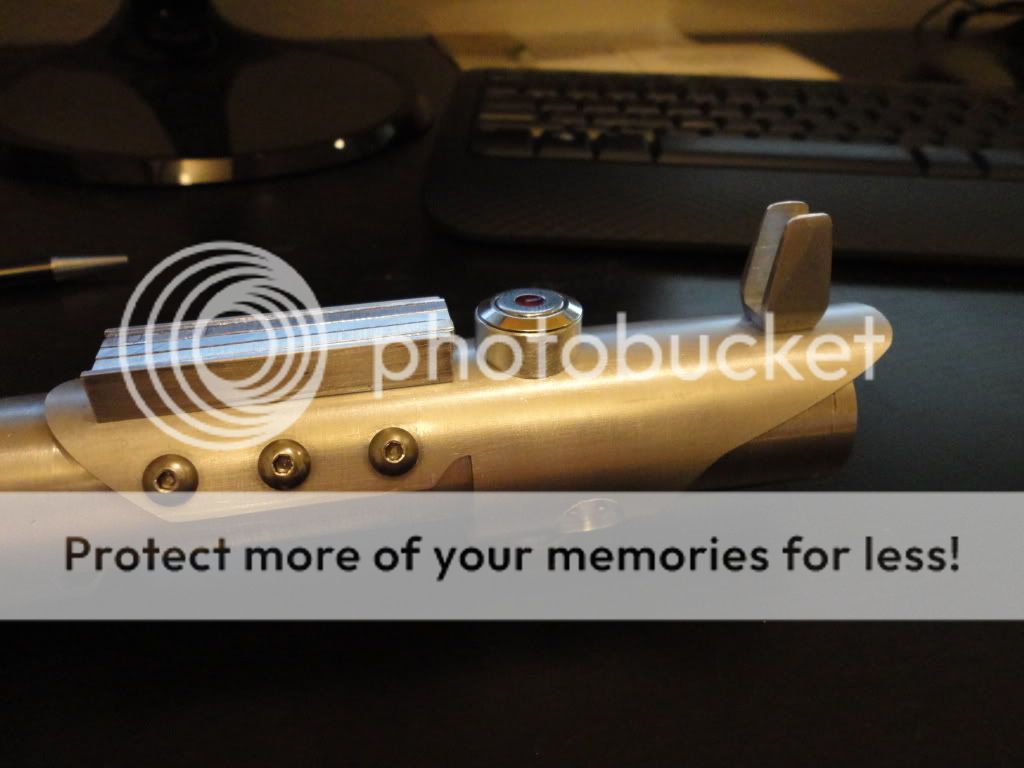
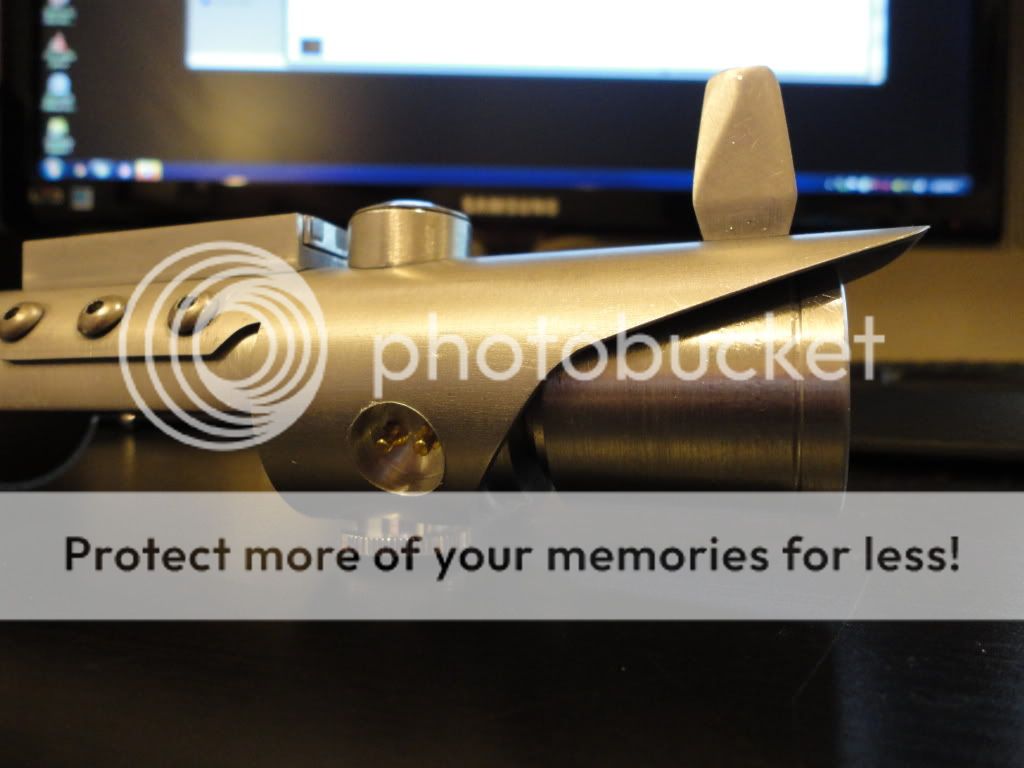


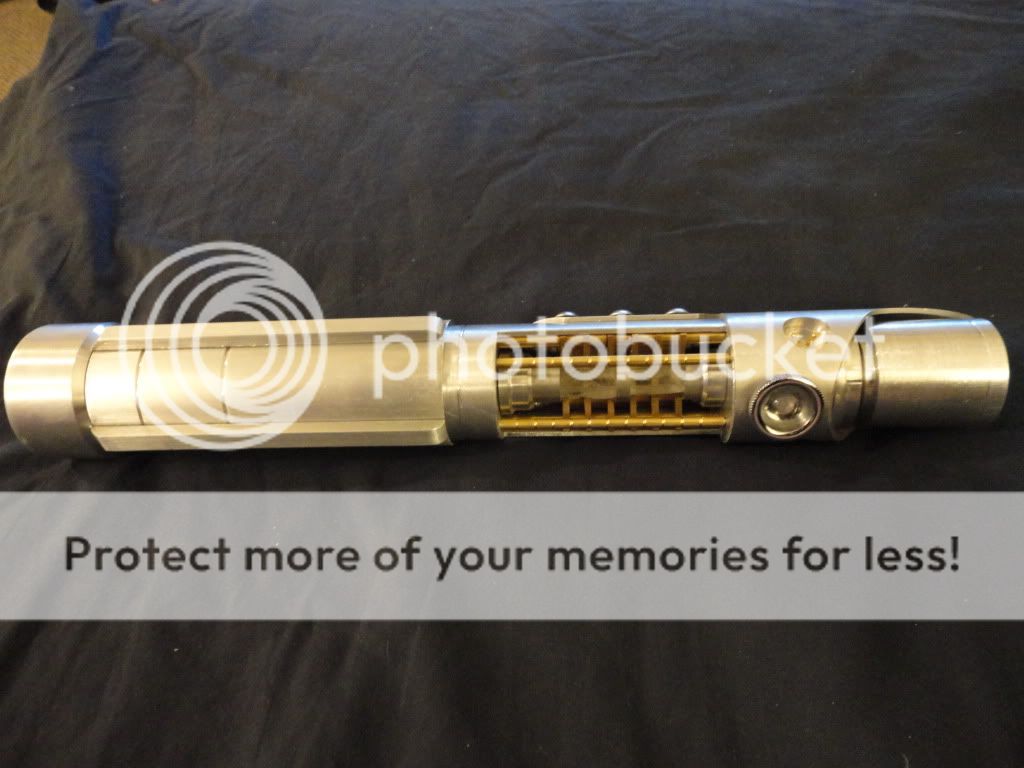
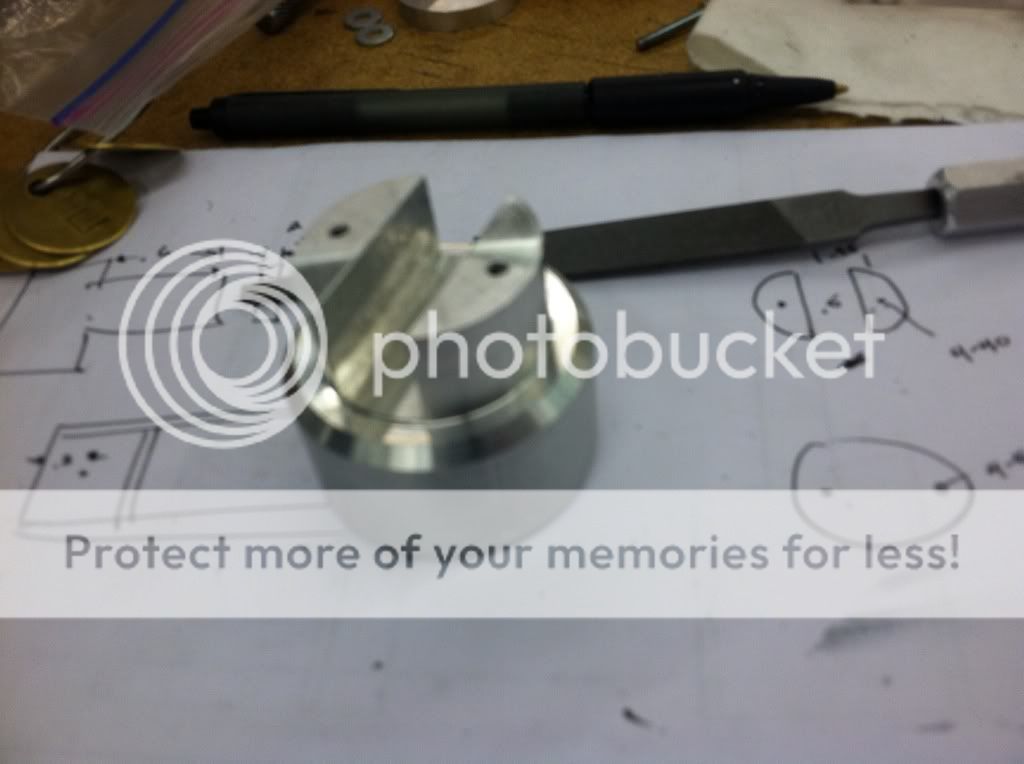
 It doesn't look much different but that was like 4 hours of work haha
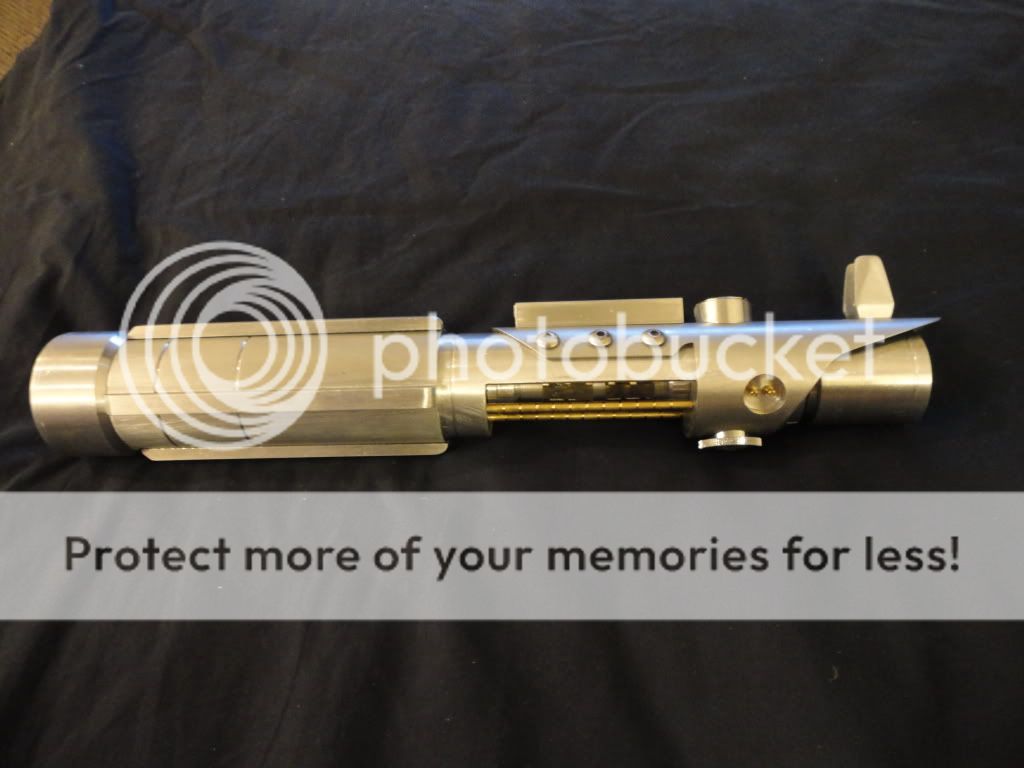
wow, i love to know how to work metal
Aye, indeed a outstanding fine build. :thumbsup