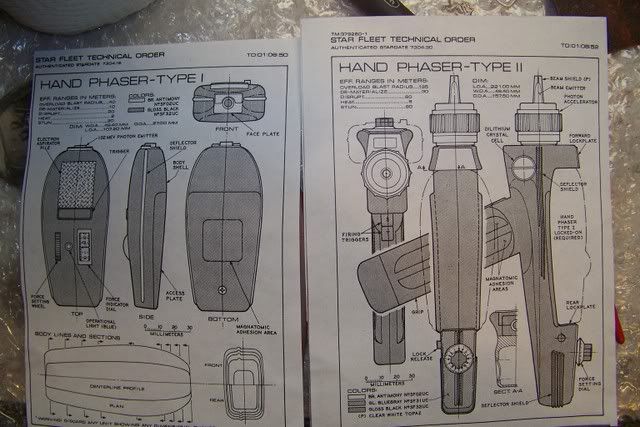
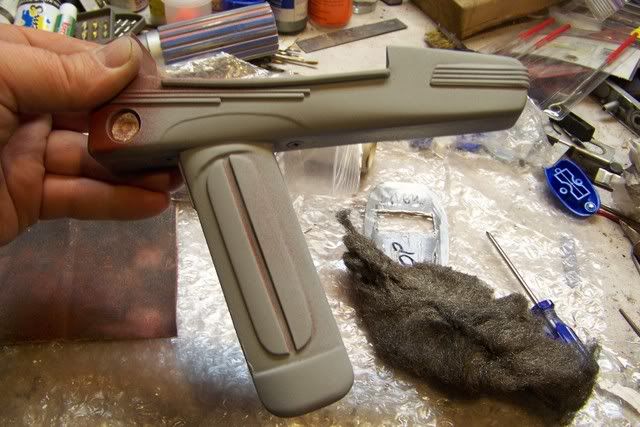
I've been commissioned to build and paint up a Star Trek Tech Manual Phaser. It's going to be a simple build-up, as the customer neither wants electronics, nor the ability to seperate the phasers; just a pretty static prop.
However, pretty is the thing it's furthest from right now. I aim to fix that. There's not much to look at right now, but more progress will be forthcoming.
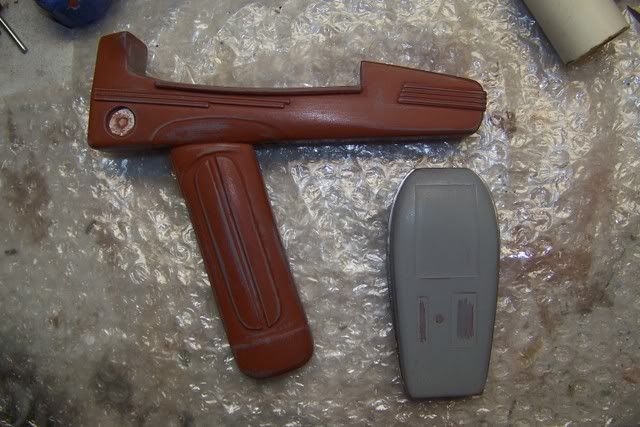
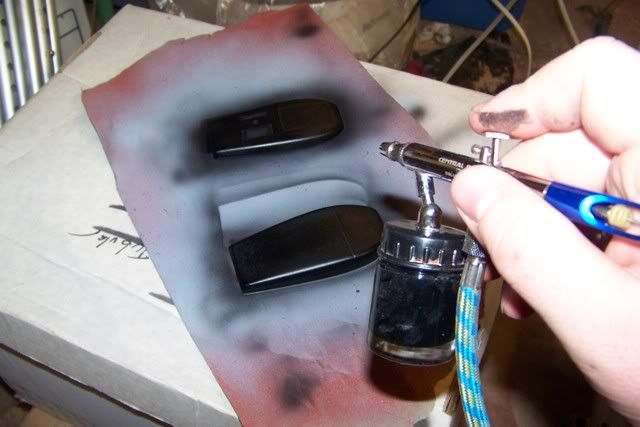
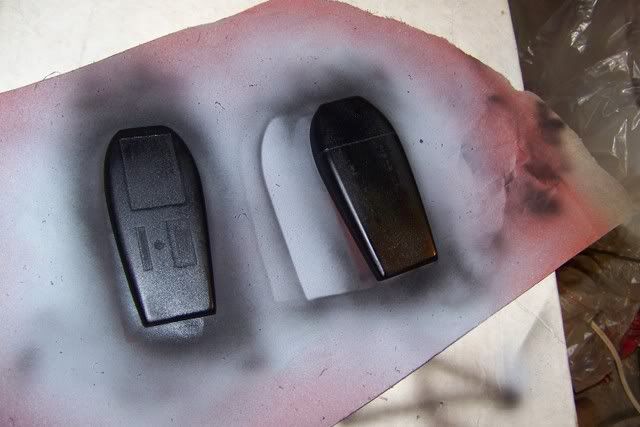
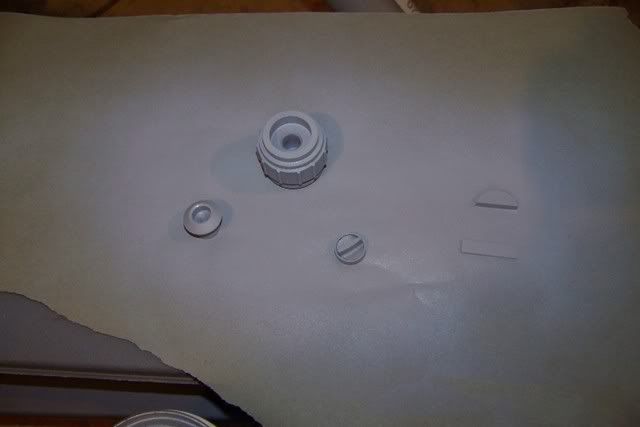
Here are the kit pieces:
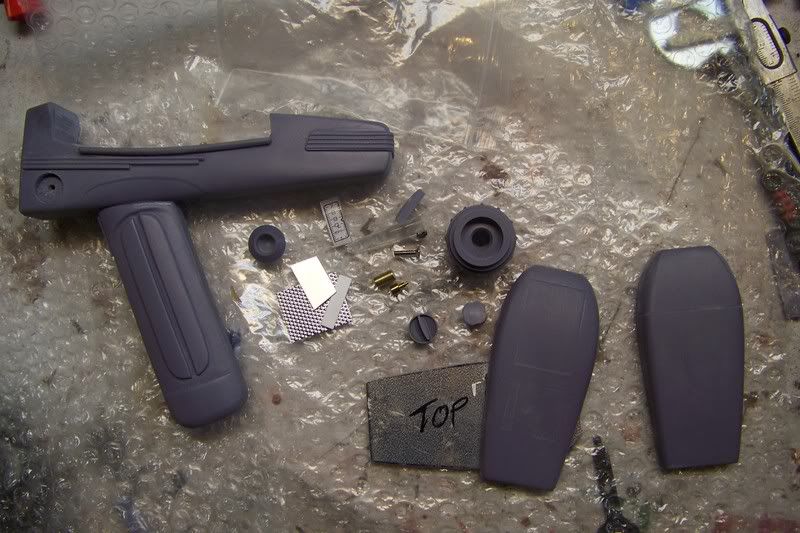
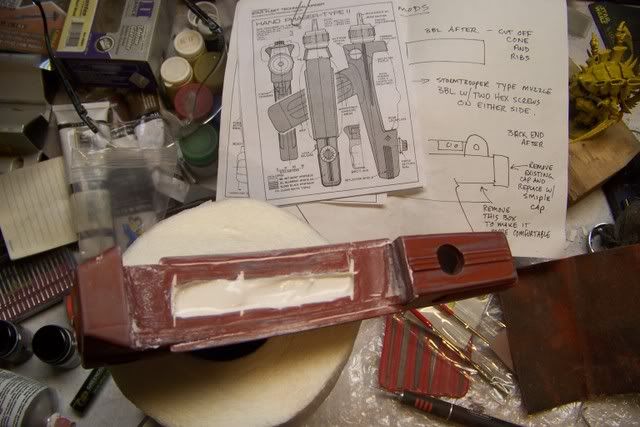
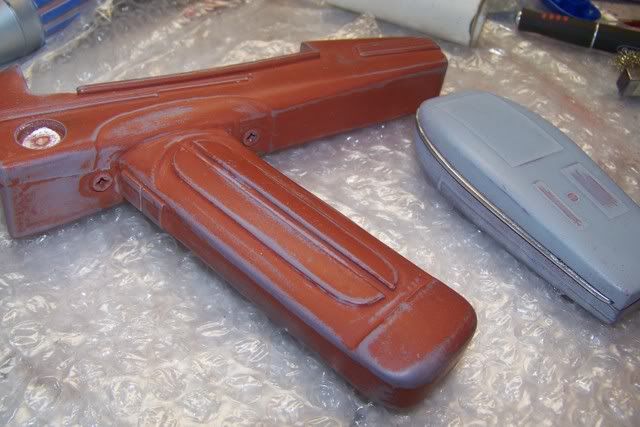
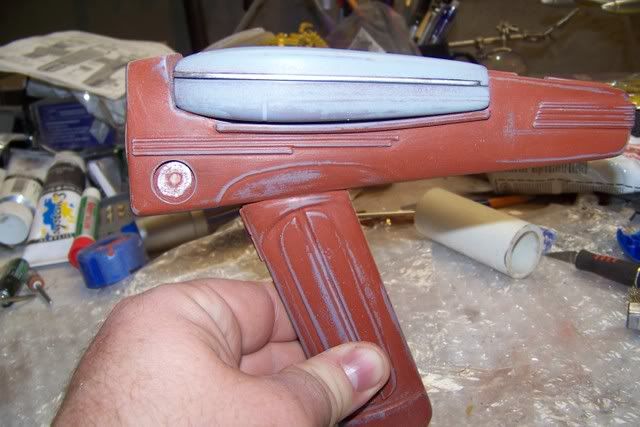
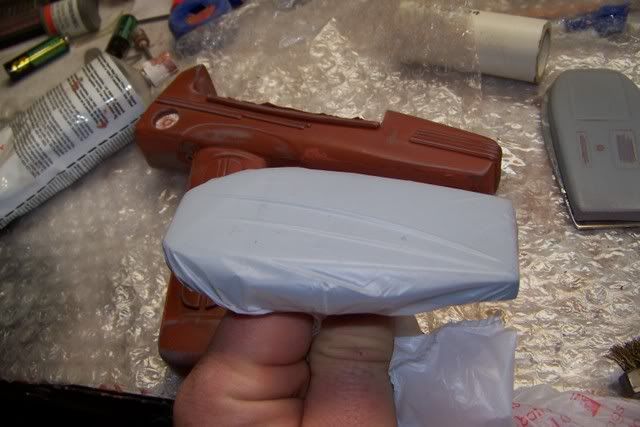
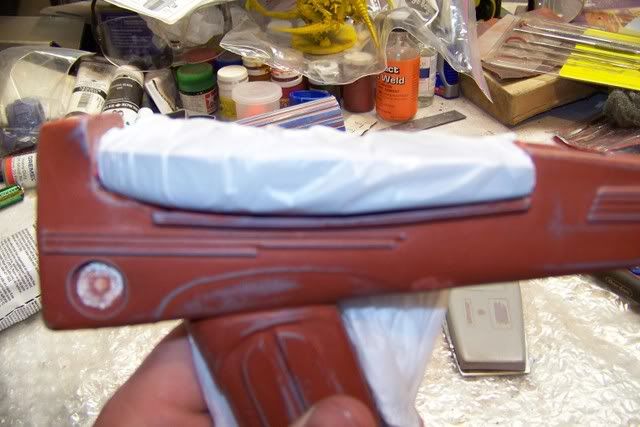
It's more or less hollow cast, so I opened a hole on the top where I will pour in a teeny bit of Plaster of Paris to give it a little weight and strength. That may be a bit of overkill, but the resin is very soft and plasticy; not brittle at all. So it may survive a fall, but pressure, heat, and gravity could cause distortion over time.
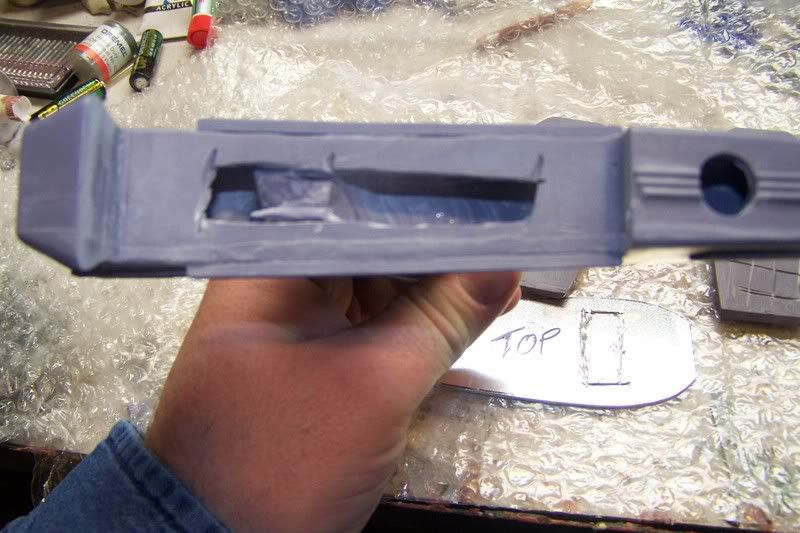
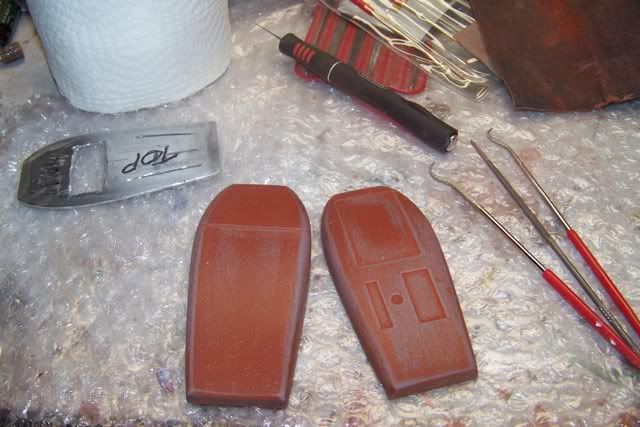
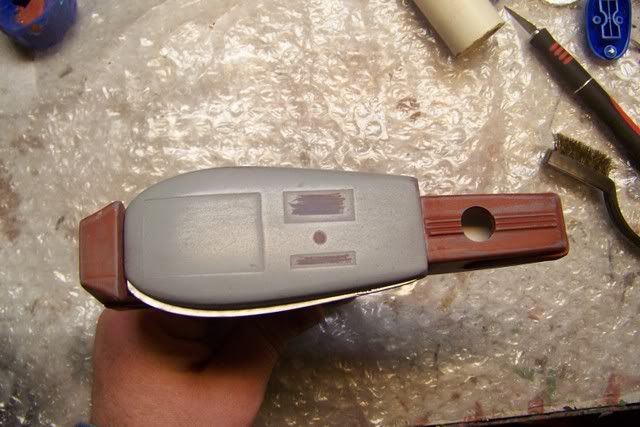
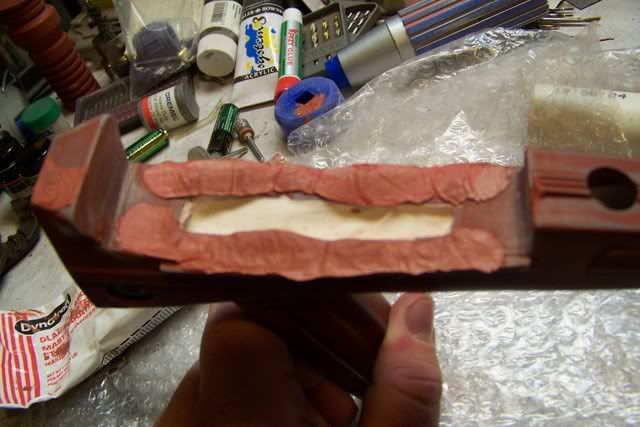
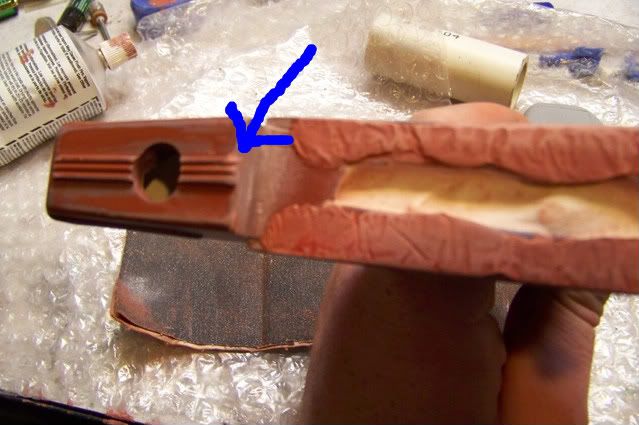
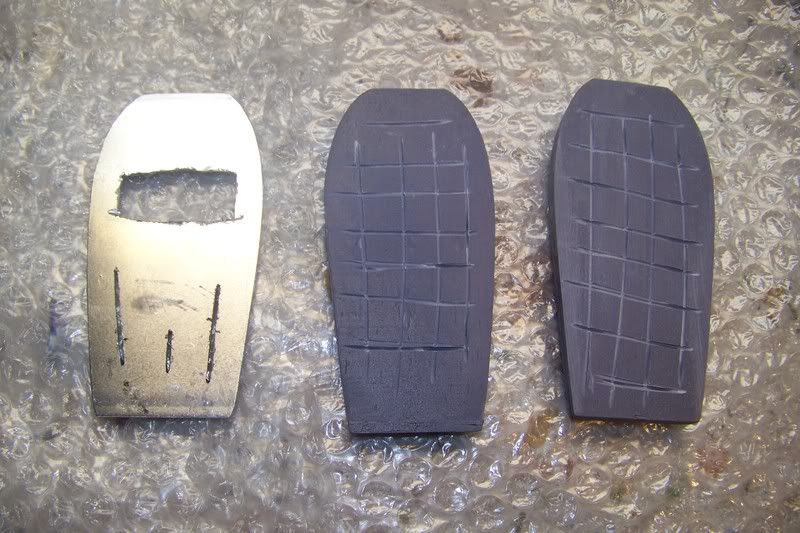
I scored the inside halves of the phaser 1, and opened some holes into the metal plate. This will ensure the glue has a lot to grip, and provides channels for excess to work into and grip and keep everything sandwiched together nice and flat. The metal plate was slightly pitted...which is odd for sheet metal, but i slapped on some polishing compound and buffed them out the best I could. They're still visible on close inspection, but as very little of the metal will be sticking out around the edges, it really won't be noticable.
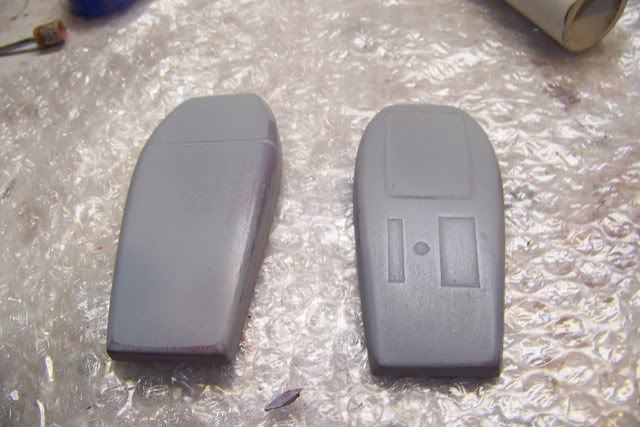
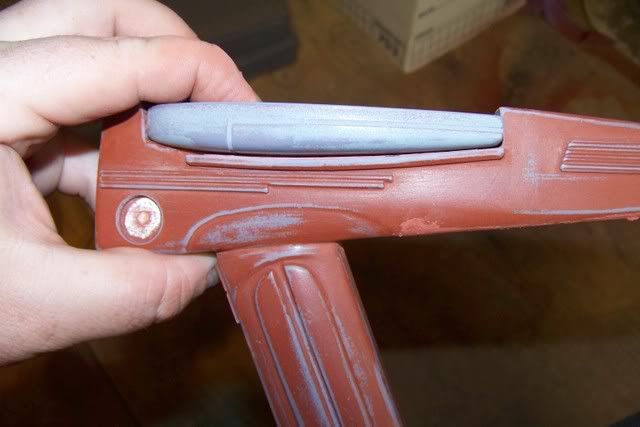
That's all I have photos of at the moment. RIght now I have some gap filling primer drying. Next step is making a grand canyon of a seam line disappear and smoothing out some very minor surface dimpling.
However, pretty is the thing it's furthest from right now. I aim to fix that. There's not much to look at right now, but more progress will be forthcoming.
Here are the kit pieces:

It's more or less hollow cast, so I opened a hole on the top where I will pour in a teeny bit of Plaster of Paris to give it a little weight and strength. That may be a bit of overkill, but the resin is very soft and plasticy; not brittle at all. So it may survive a fall, but pressure, heat, and gravity could cause distortion over time.

I scored the inside halves of the phaser 1, and opened some holes into the metal plate. This will ensure the glue has a lot to grip, and provides channels for excess to work into and grip and keep everything sandwiched together nice and flat. The metal plate was slightly pitted...which is odd for sheet metal, but i slapped on some polishing compound and buffed them out the best I could. They're still visible on close inspection, but as very little of the metal will be sticking out around the edges, it really won't be noticable.

That's all I have photos of at the moment. RIght now I have some gap filling primer drying. Next step is making a grand canyon of a seam line disappear and smoothing out some very minor surface dimpling.
Last edited:

