SS Y-Wing Yea the one no one wants to make?

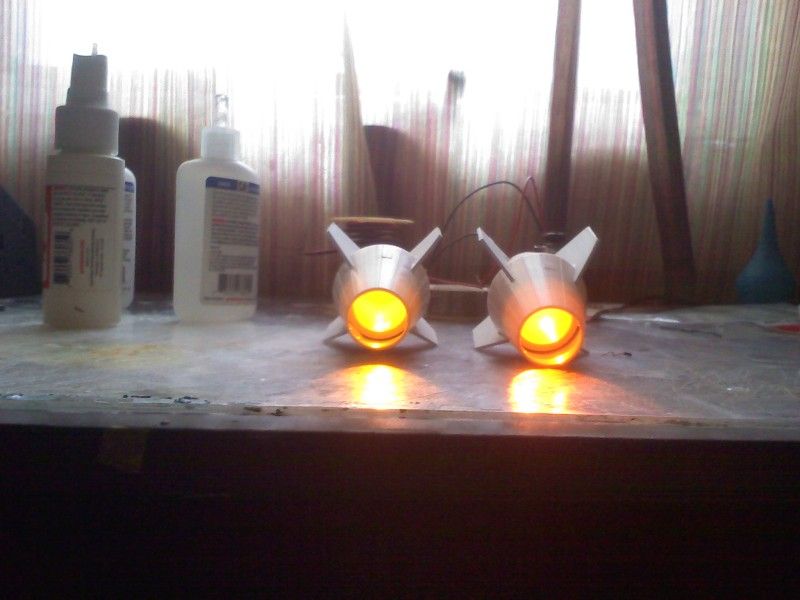
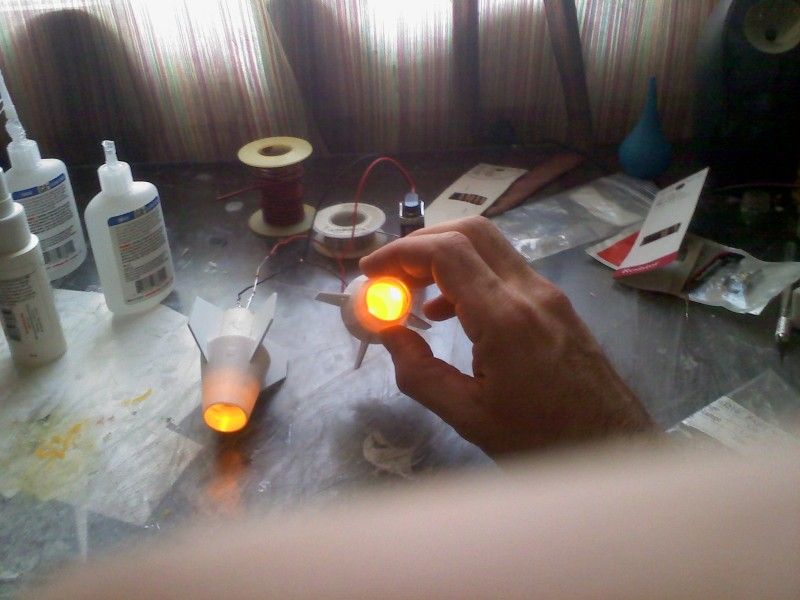
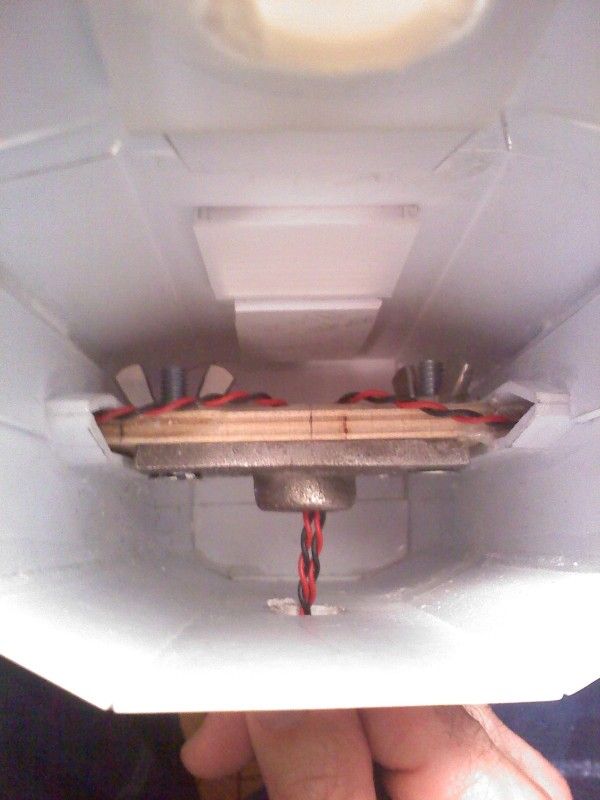
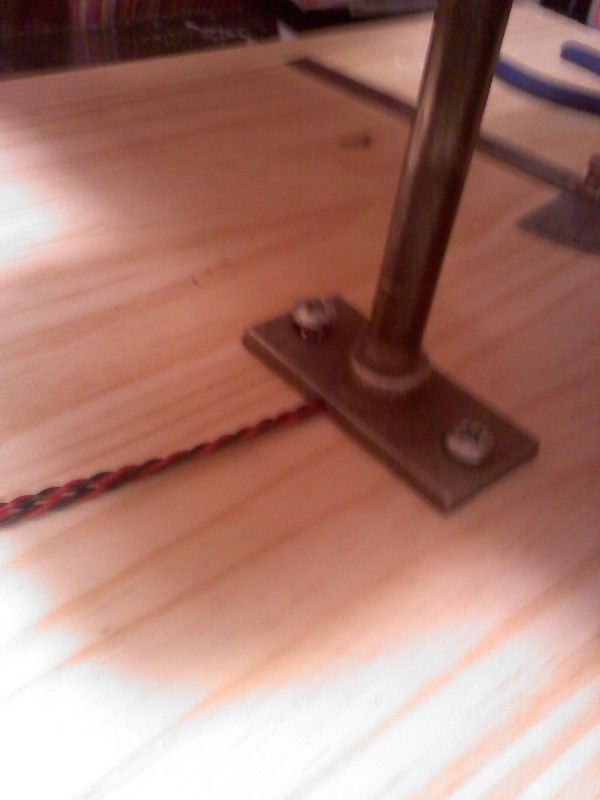
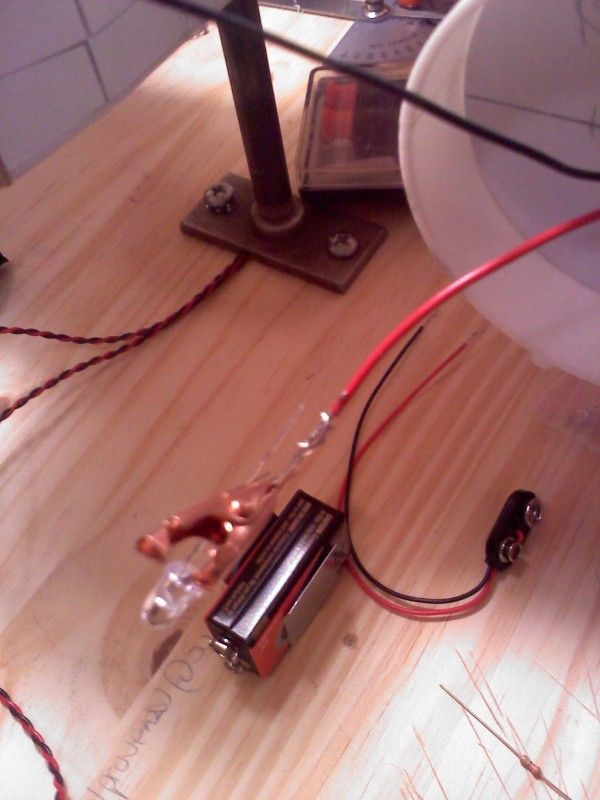
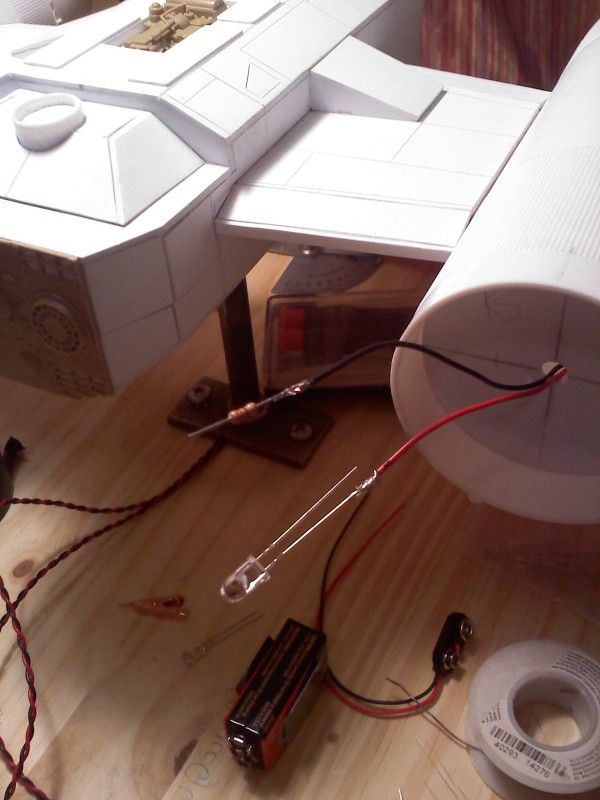
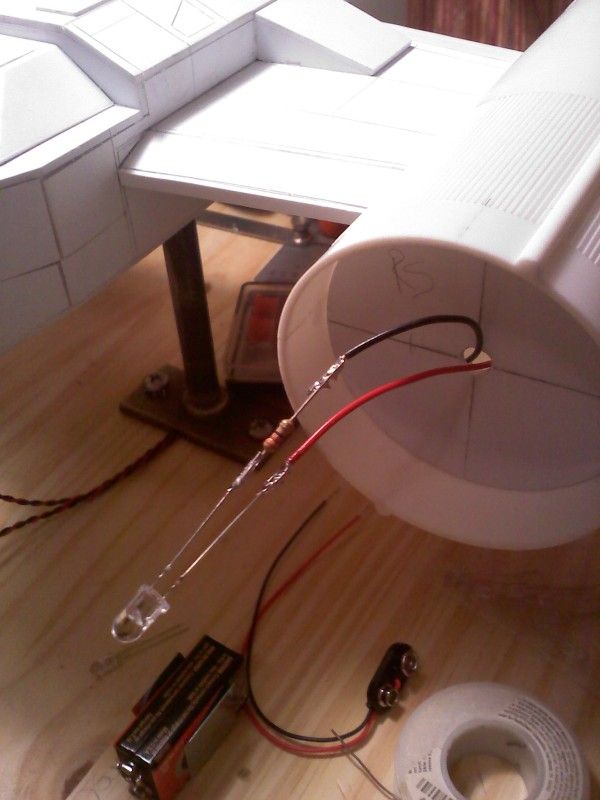
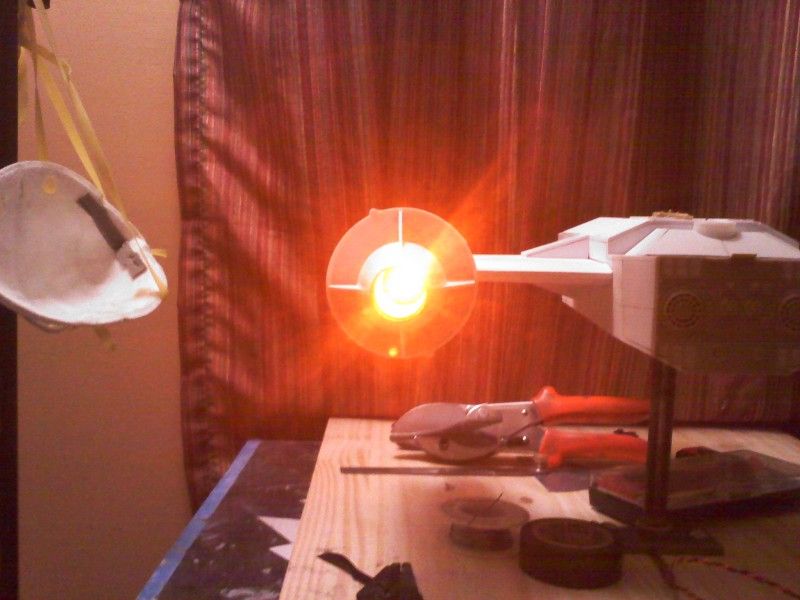
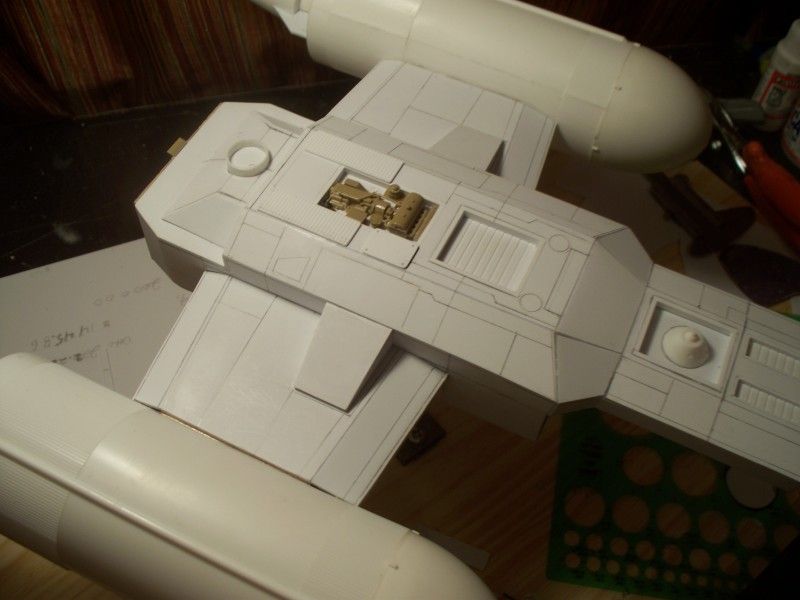
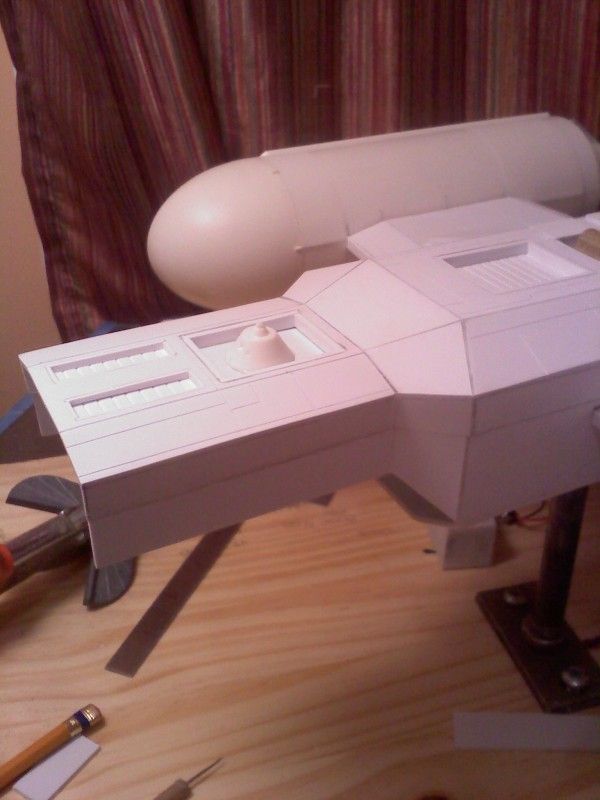
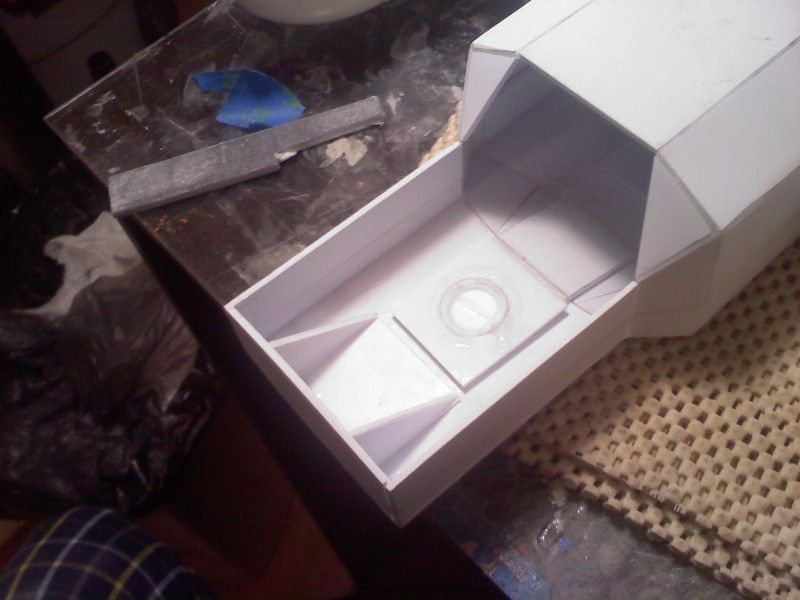
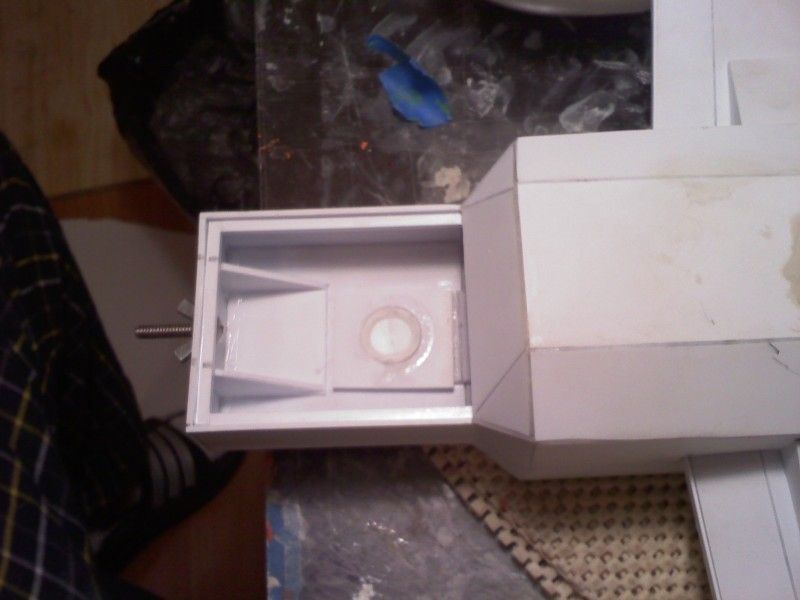
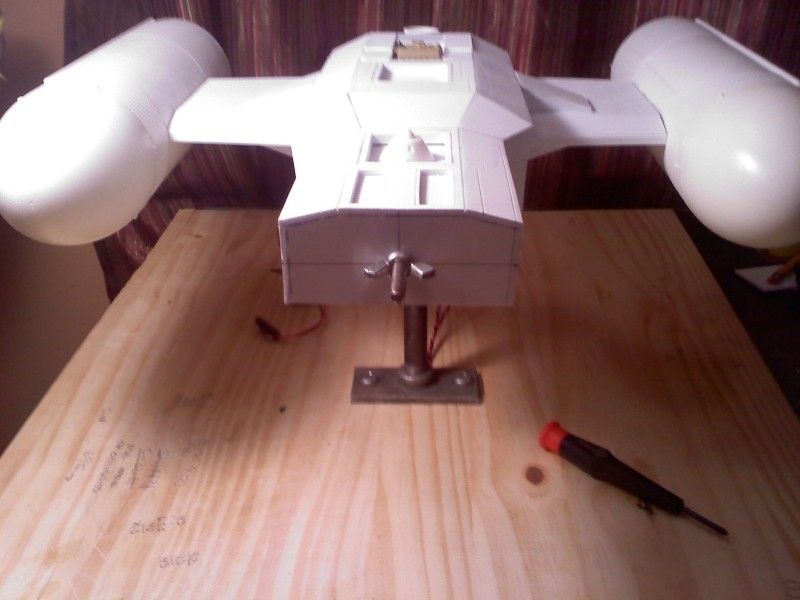
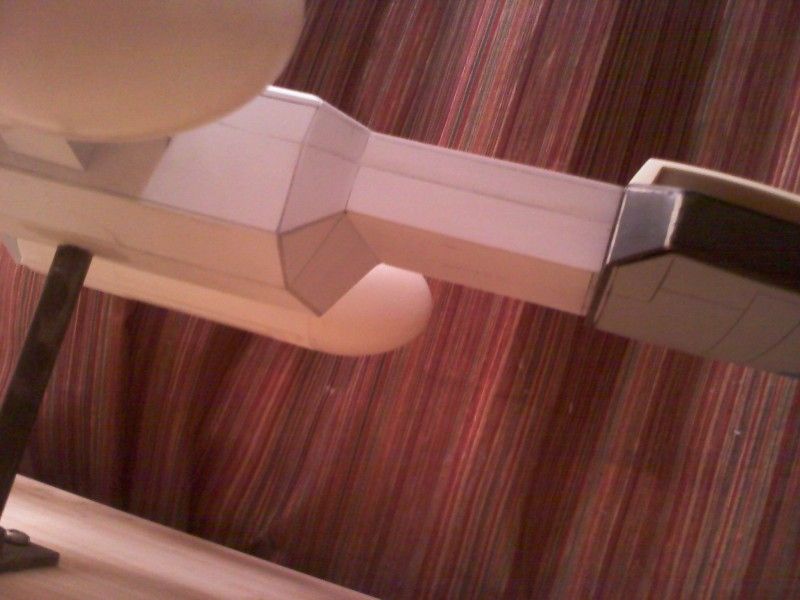
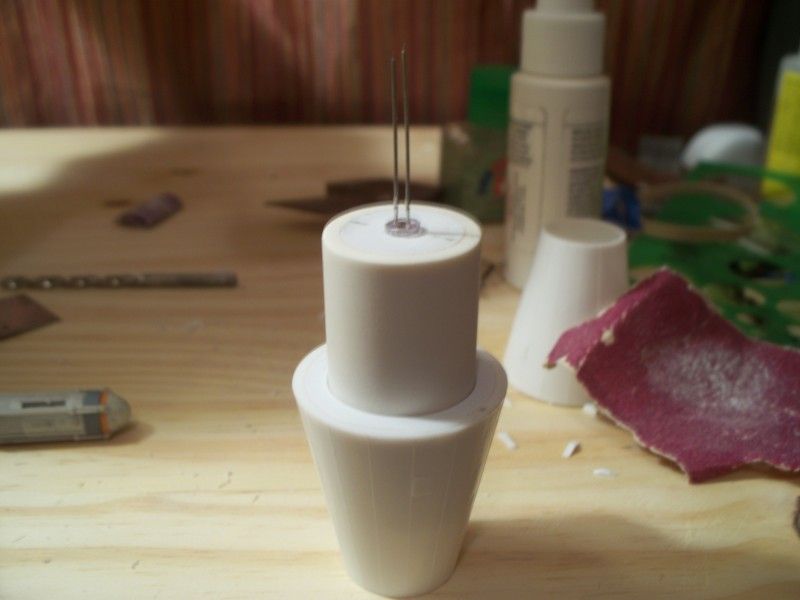
So there are 3 parts a piece of PVC, the mounting disk
and the nozzle. The PVC piece slides inside the nozzle,
on the back end of the PVC piece is a hole for a LED
to mount. I had to make a few rings to shim up
the kit part and a disc for PVC part.
006-8.jpg


010-5.jpg


011-2.jpg


001-7.jpg


006-9.jpg


008-7.jpg
 
The Lights.....

I left the neck open until I figured how I was
going to run the circuit for the engine glow.
I just left the spooled wire inside the hull

009-8.jpg


002-8.jpg


008-8.jpg


Then I just made a test circuit I used 2 amber 5 volt LED's (I Think they were 5 volts ? LOL) and 2 330 ohm resistors and I ran it off a 9 volt battery.
I ran it for 13 hours straight it was perfect for the entire
time. I did start with a 200 ohm resistor but I didn't like the heat
coming off the resistor with that set up so I bumped it up, I didn't loose to much brightness so I kept it this way.

Test circuit.....
01201311061.jpg

0120131115.jpg

0120131107.jpg
 
Thanks guys much appreciated......glad your enjoying it...:thumbsup

Final wiring.....

I ran the wires from each side down the mounting bracket.
0121131731.jpg


Then through the gas line pipe...
0121131733a.jpg


I had to file out the bracket on the bottom to allow the
wires to come through and not get pinched.
0121131741.jpg


0121131747.jpg


The rest was just putting together the circuit,
minus the switch which I can make any time,
the base is just temp at this time.
0121131816.jpg


0121131819.jpg


0121131822.jpg


0121131836.jpg


0121131856.jpg


0121131856b.jpg
 
I forgot these pics of the shield generator thing? LOL
And some panel line which I have scribed but don't
have pics of yet....?:confused

009-4.jpg


010-3.jpg


011-1.jpg


013-2.jpg


001-8.jpg
 
With the lighting in i decided to close up the neck.....

Building down the sides....
0121132044.jpg


0122131829.jpg


I made a recessed frame so the neck cover could come on
and off, as this is where I am going to make the connection
to the cockpit module with a bolt and wing nut. I will glue
it in final assembly with the hardware as well but this will
allow me to take it apart for now and put it back together.

0122131945.jpg


0122131946.jpg


0122131953.jpg


0122132003.jpg


0122132012.jpg


0122132010.jpg


0122132011.jpg
 
This post should be up to speed it's where I am sitting at right now....
Building the part that sits behind the launcher in the crook of the
neck.

Cheating using some evergreen strip to capture the angle...
try it lock it down with glue and your good to go!:thumbsup
0123131103.jpg


Poster board template......to check
0123131104.jpg


0123131152.jpg


0123131158.jpg


This part I am making is attached to the neck cover and
it will remove along with the cover I was careful not to glue
it to the angled section of the hull it sits in front of.
0123131314.jpg


It looks basic it will need some random kit parts to make
it interesting....I have some on there but have not taken
pics yet.
0123131315.jpg


So that's it this is where I am at currently......see ya when I
have more to show thanks for looking.:thumbsup
 
Mike your build is fantastic and you know I have never found anything off but I think your nacelles have a bit to much Egg Lol, look at pics of the Studio y or even the one Ralphee is doing the Leggs cone is a bit shorter even on the little one you have there don't knoe if it's something that can be adjusted at this point.
 
Mike your build is fantastic and you know I have never found anything off but I think your nacelles have a bit to much Egg Lol, look at pics of the Studio y or even the one Ralphee is doing the Leggs cone is a bit shorter even on the little one you have there don't knoe if it's something that can be adjusted at this point.

I never noticed Ray to tell you the truth....I only took the little
lip off them so they would sit flush on the Saturn V part. I would
probably destroy them now getting them off and I don't have any more. LOL
I am wondering if I used the wrong end of the legs egg container maybe the
bottom of the legs egg container goes to the front of the engine body, or does
it get cut? If the bottom of the container goes to the front then good I have 2 of
those.....LOL
 
Last edited:
I thought the bottoms of the container were used to make the
part the T-stock attches up to? If that's the case I will be needing
two more containers for the front.:thumbsdown
 
No they get cut down you could still cut it off, in Ralphees thread he has a pic of him cutting them down believe me he probably knows the correct height of them we must achieve nothing but the best! Lol.
 
Oh yea I could mark them off and dremel the excess from behind the container, then just remove what was left right back up to the Saturn V part, then re-install the part. Good eye Ray I mean this thing is different anyway, but I am not
sure I want that part that much different! LOOL If anyone can tell me how much I should take off the egg I would appreciate it.:thumbsup

Oh what's up with this "We must achieve the best"?
Good glad to hear that bring your butt up-state and help
cut these things off for me!!! LOL
 
I was looking through Lee's pics although pics can
be deceiving, it looks like he took off no less than
10mm maybe around 15mm? :confused
 
I kind of like the longer egg look. Keep it!

You know, the 1-2-3 block is the greatest tool no one ever talks about.
 
Back
Top