You are using an out of date browser. It may not display this or other websites correctly.
You should upgrade or use an alternative browser.
You should upgrade or use an alternative browser.
SS Y-Wing Yea the one no one wants to make?
- Thread starter 3d-builder
- Start date
3d-builder
Sr Member
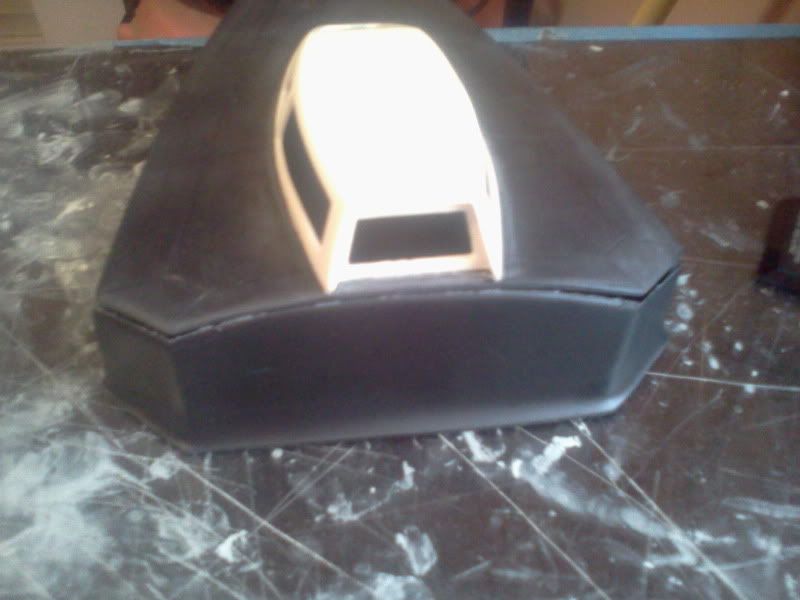
Thanks guys now for that pesky bulkhead at the
back!
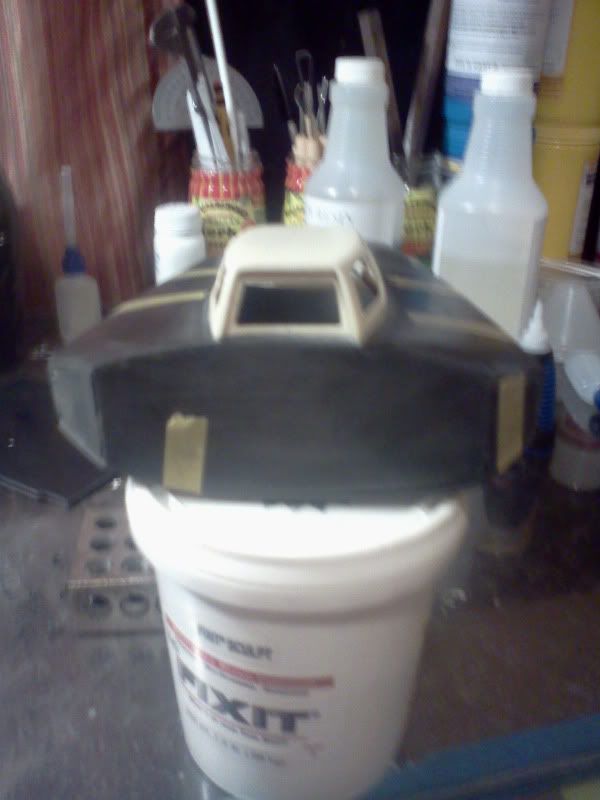
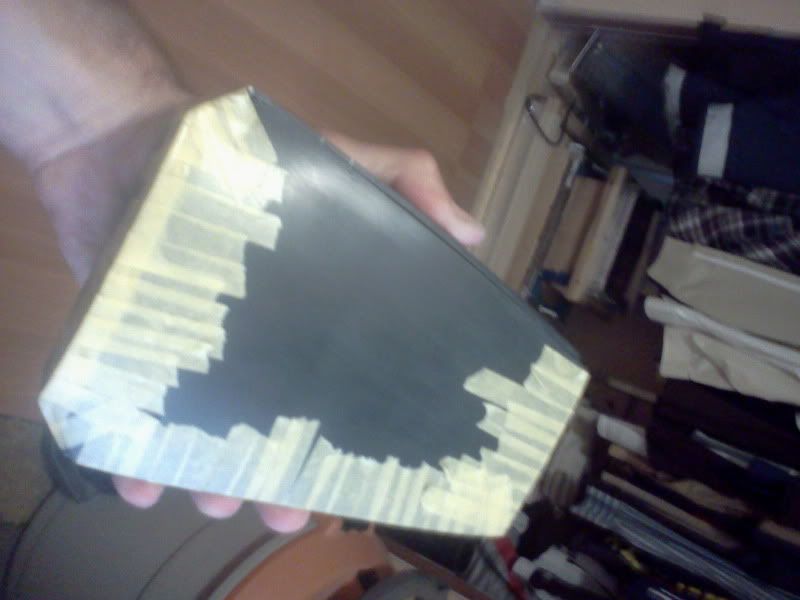
Here is the bottom of the cockpit module after i
formed it and cut away the flash.
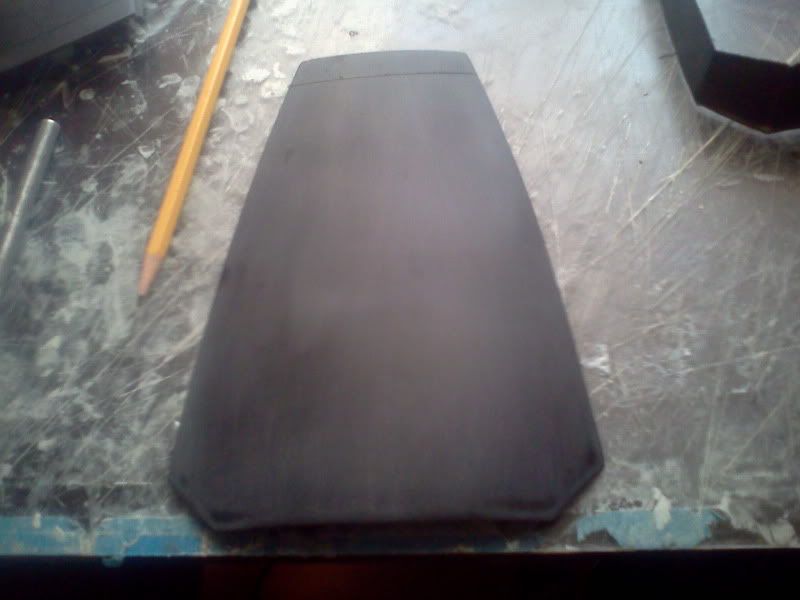
Here it is in place which gives me the big hole to
fill with the the bulkhead part. I am only going to
connect it to the top hull for now, so I can put
the cockpit tub in when it's detailed.
Ok to help figure out the shape I went back to the flash i trimmed off,
and used it as a guide to get half the shape.
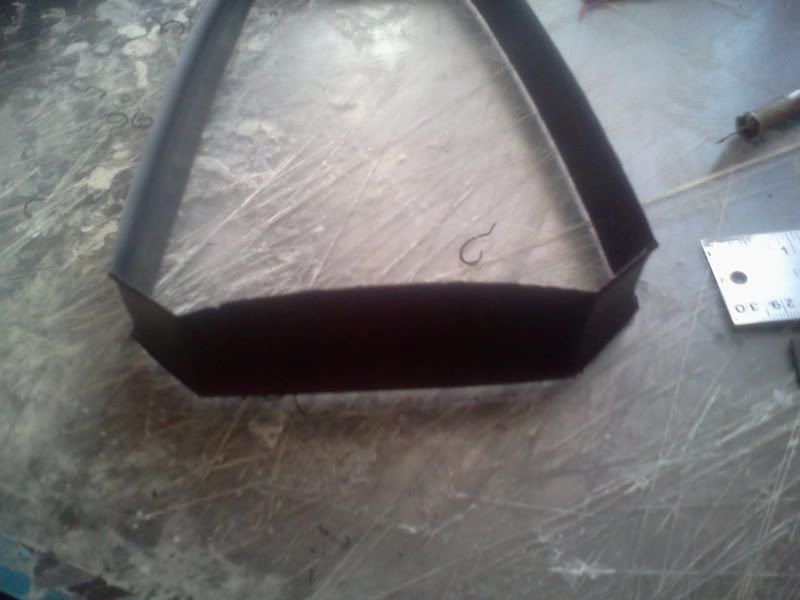
Cut to fit half the space......

Removed and full template drawn on some 3mm stock....
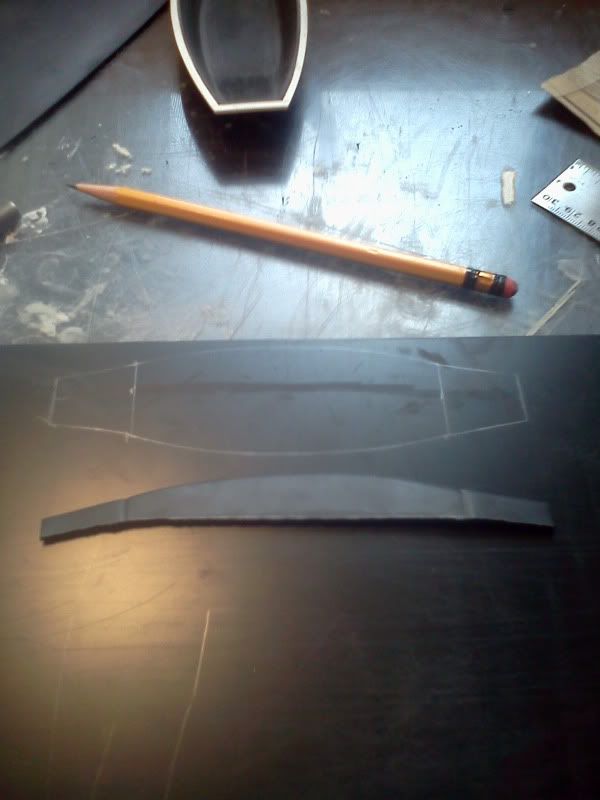
Rough fit......and getting closer
bulkhead glued in place.......
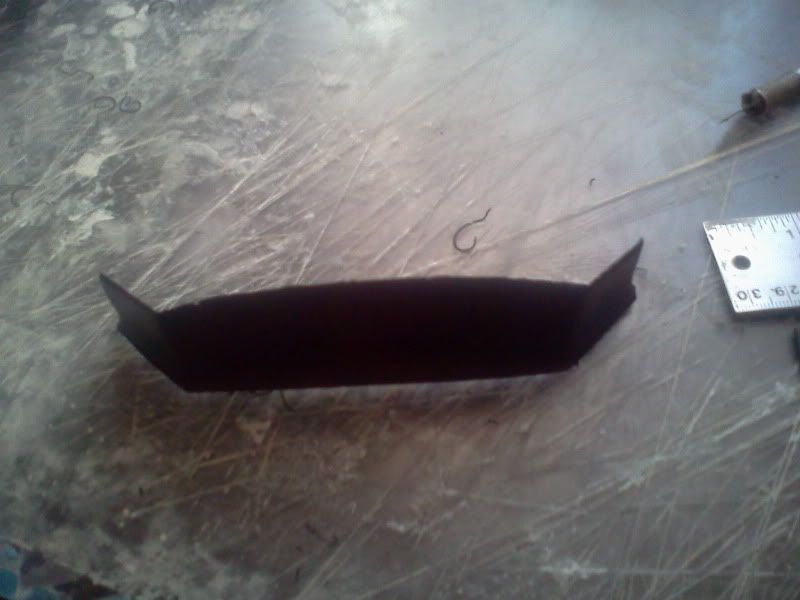
Some clay for the gaps on the hinged points and
a little sanding to do tomorrow....
back!
Here is the bottom of the cockpit module after i
formed it and cut away the flash.
Here it is in place which gives me the big hole to
fill with the the bulkhead part. I am only going to
connect it to the top hull for now, so I can put
the cockpit tub in when it's detailed.
Ok to help figure out the shape I went back to the flash i trimmed off,
and used it as a guide to get half the shape.
Cut to fit half the space......
Removed and full template drawn on some 3mm stock....
Rough fit......and getting closer
bulkhead glued in place.......
Some clay for the gaps on the hinged points and
a little sanding to do tomorrow....
IEDBOUNTYHUNTER
Sr Member
Its Looking, whats the word im looking for. spectacular, no. outstanding no. oh ill think of something, until then looks great.
3d-builder
Sr Member
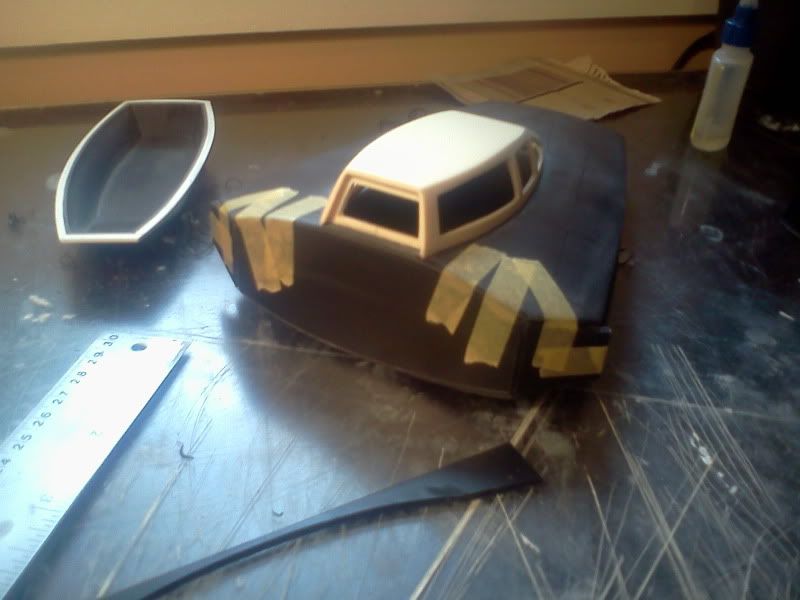
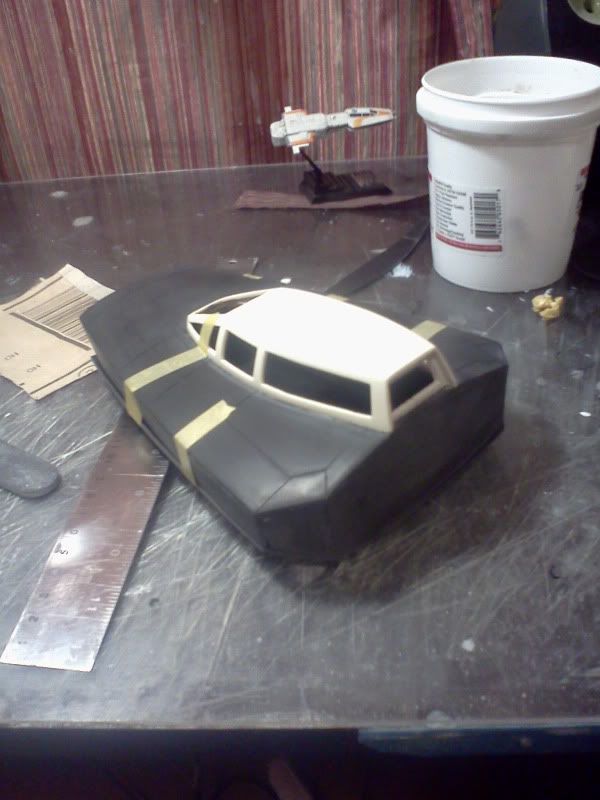
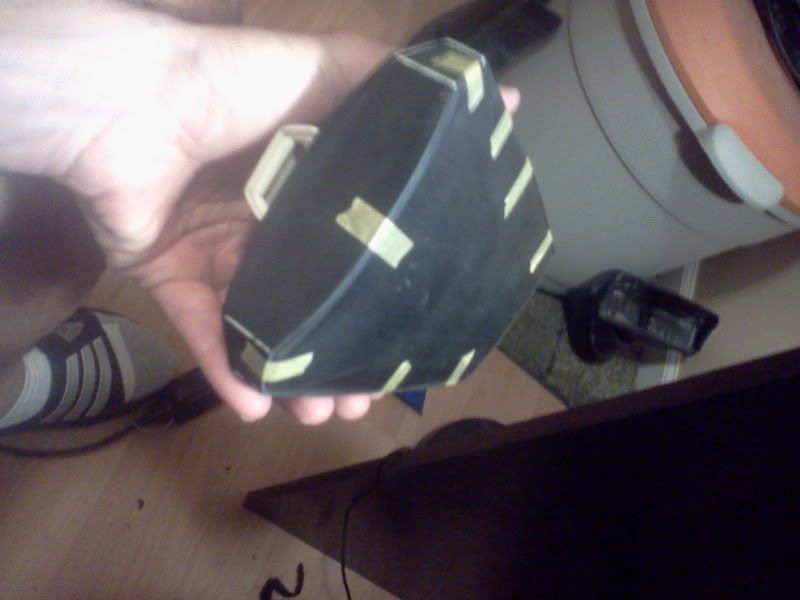
So here is the rear with the clay sanded nice and smooth,
a little primer and she will look uniformed.
Ok so I went back and forth with the bottom.....
should it sit on top or inside the side panels and in front
of the bulkhead? Well i had room to play with so I opted
for it to sit inside, I wasn't getting a good fit the other way
anyway. Plus having the bottom sit in between the sides would
not add more width to them.But it would add 2 hrs of cursing and
sanding but we all know anything cursed and sanded in mdeling
building is usually worth it! thumbsup
Tape down one side and run the sandpaper in between
the lower hull part and the side wall until it fits.

Good that side fits........repeat for other side,
then when you think your done......your not
keep sanding it's just never that easy!
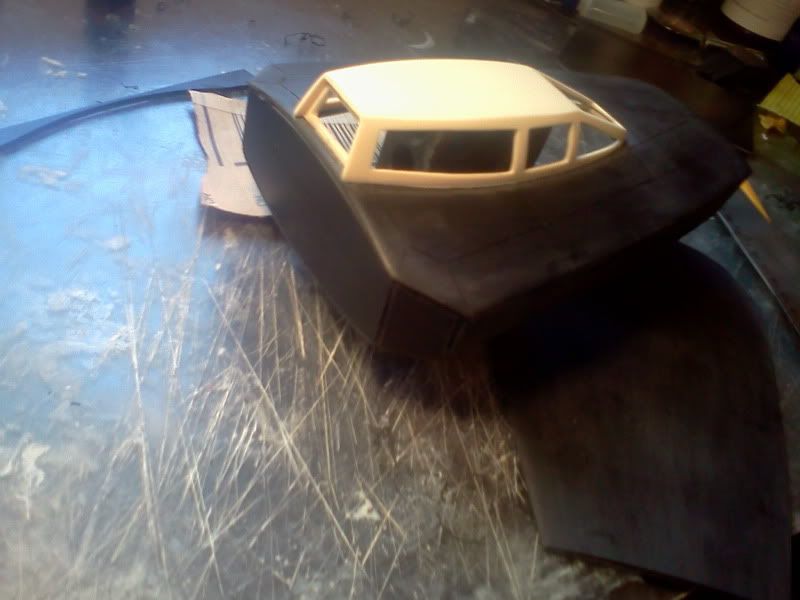
Eventually it did fit perfect but impossible to keep
it from sinking down inside, so some evergreen strip
is put in to rest it on......and have a surface to mount
it to later.

Here it is fitting nice and snug.......thank God!!:lol
a little primer and she will look uniformed.
Ok so I went back and forth with the bottom.....
should it sit on top or inside the side panels and in front
of the bulkhead? Well i had room to play with so I opted
for it to sit inside, I wasn't getting a good fit the other way
anyway. Plus having the bottom sit in between the sides would
not add more width to them.But it would add 2 hrs of cursing and
sanding but we all know anything cursed and sanded in mdeling
building is usually worth it!
thumbsupTape down one side and run the sandpaper in between
the lower hull part and the side wall until it fits.
Good that side fits........repeat for other side,
then when you think your done......your not
keep sanding it's just never that easy!
Eventually it did fit perfect but impossible to keep
it from sinking down inside, so some evergreen strip
is put in to rest it on......and have a surface to mount
it to later.
Here it is fitting nice and snug.......thank God!!:lol
3d-builder
Sr Member
LOL Thanks Jerry!:lol
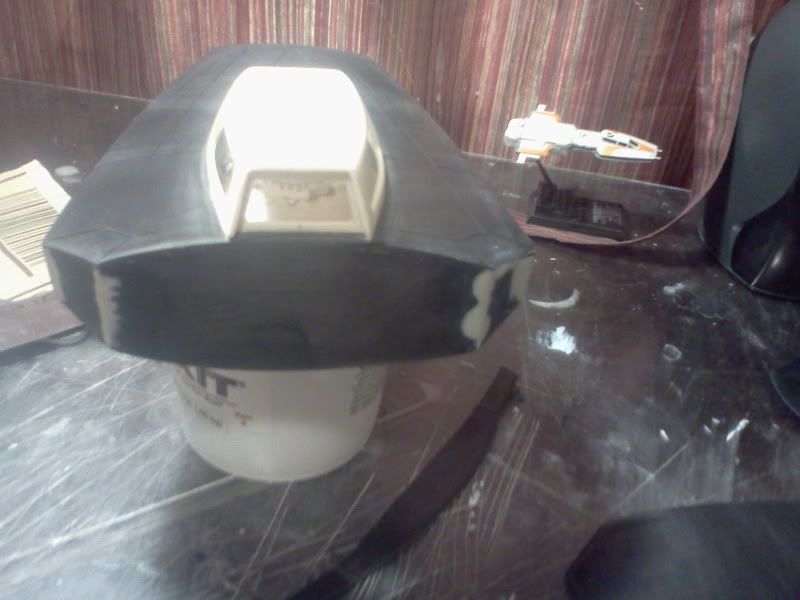
Ok got some panel lines on the bottom and
the launch tubes in there. Need some raised
details on the bottom but now moving onto
detailing the tub.


Ok got some panel lines on the bottom and
the launch tubes in there. Need some raised
details on the bottom but now moving onto
detailing the tub.
IEDBOUNTYHUNTER
Sr Member
Looking good, got some real building going on here.
yuumi2891103
Master Member
That's the master's work!!
It rocks me thinking about your further detailing!!
It rocks me thinking about your further detailing!!
3d-builder
Sr Member
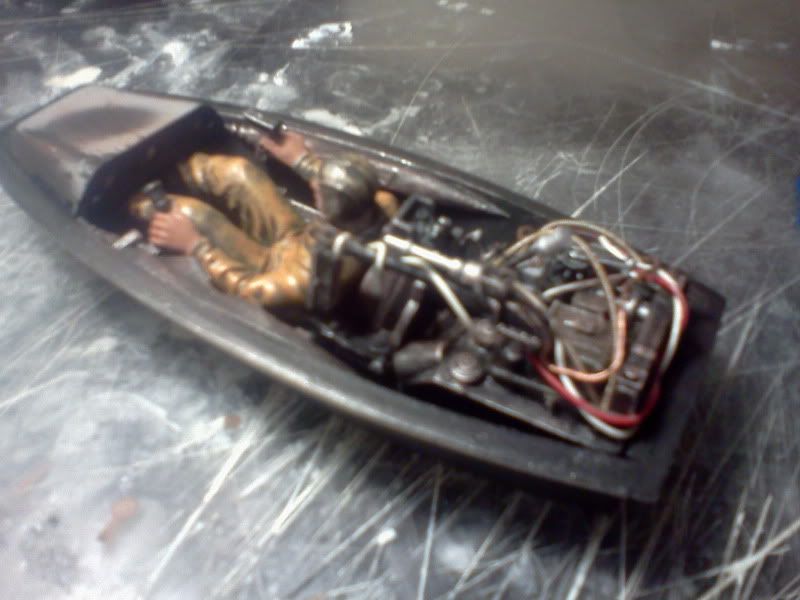
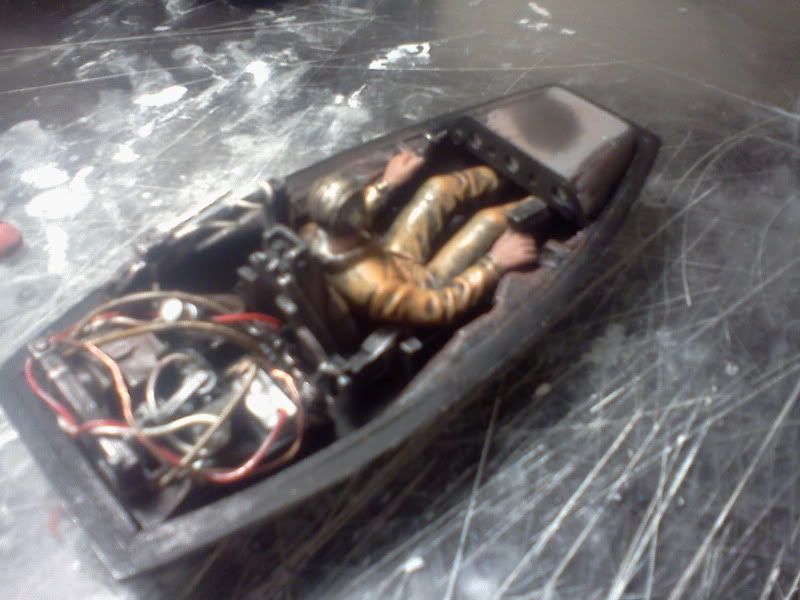
Thanks guys!:thumbsup
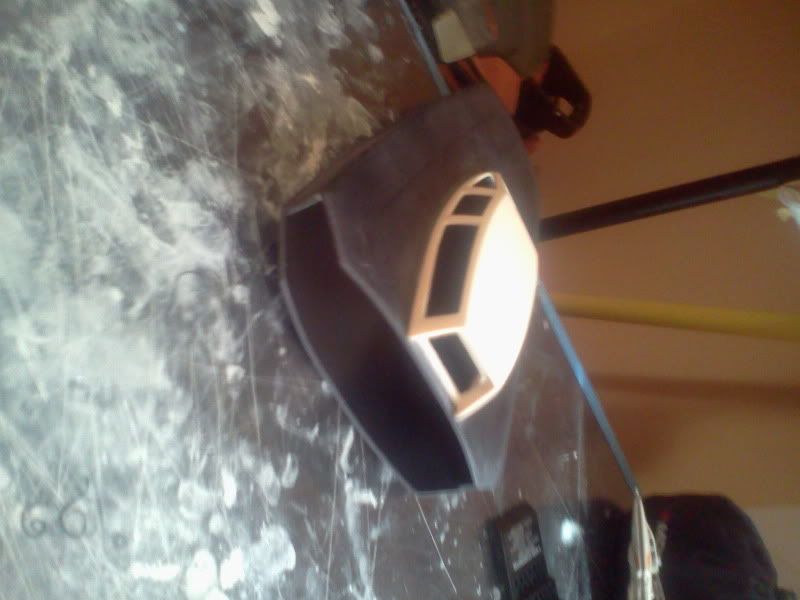
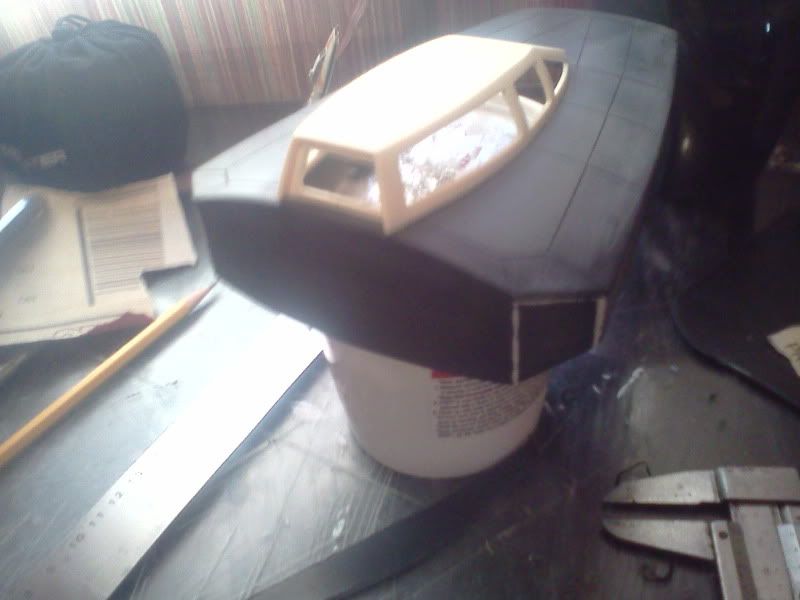
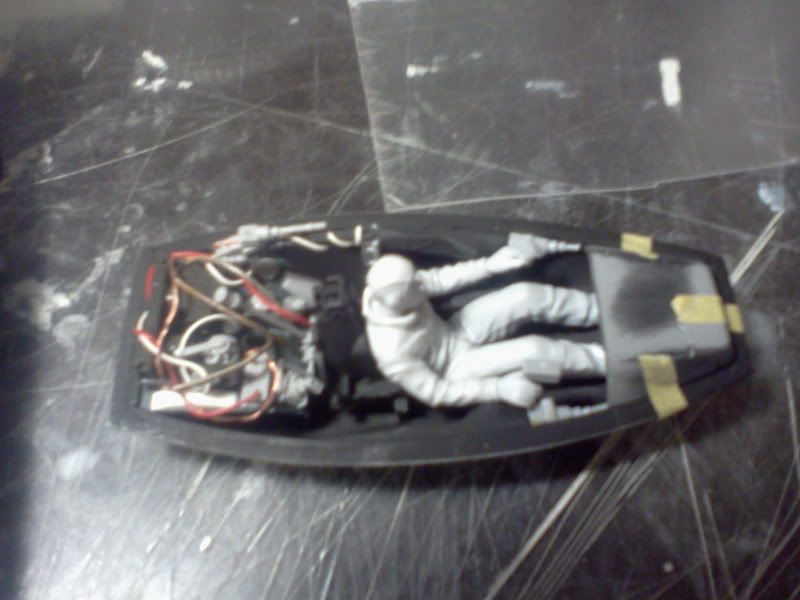
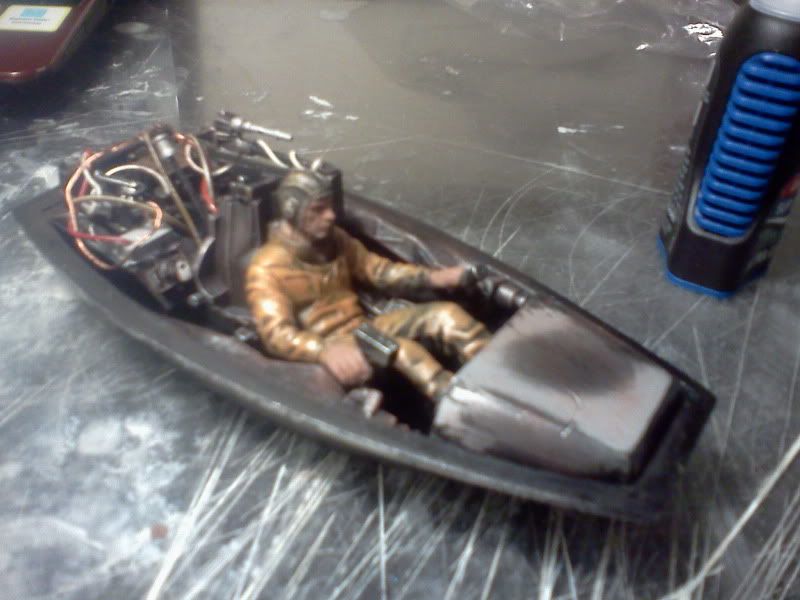
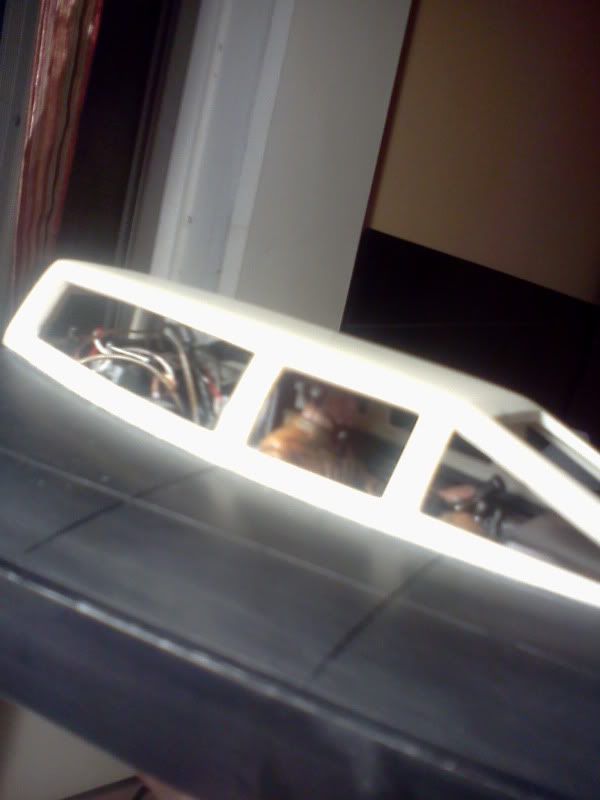
Well I went ahead and vacuum formed another canopy,
i figured cut off the front clip and turn it over and I have
my front instrumentation console.

the rest is detailing the seat is from a Mk2 Moebius viper
and random parts many from the Morsar Karl ..........glad
this is finished moving on to the hulls next!


Well I went ahead and vacuum formed another canopy,
i figured cut off the front clip and turn it over and I have
my front instrumentation console.
the rest is detailing the seat is from a Mk2 Moebius viper
and random parts many from the Morsar Karl ..........glad
this is finished moving on to the hulls next!
yuumi2891103
Master Member
Yes.yes, that's what I wanted to see !!
Similar threads
- Sale
- Replies
- 7
- Views
- 820
- Replies
- 5
- Views
- 1,657