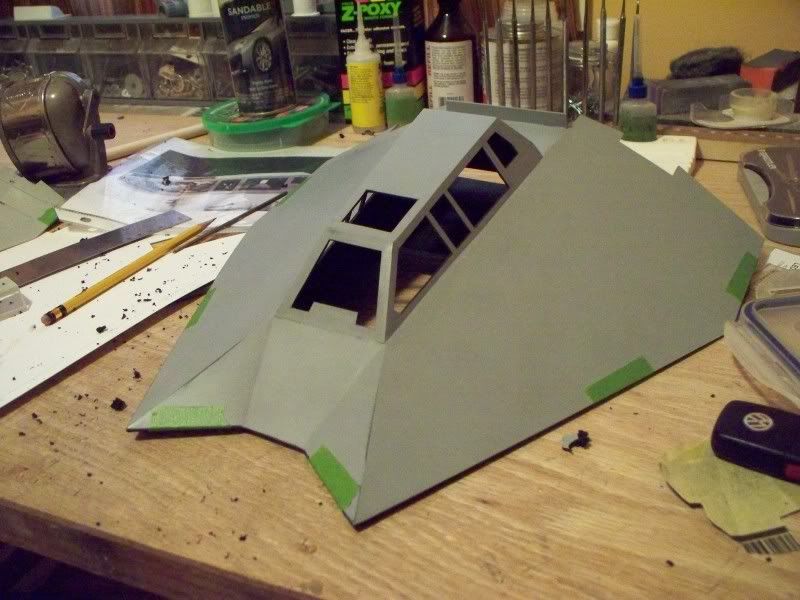
Snowspeeder Scratch-build

3d, this turning out awesome. That is a ton of pain staking work but it really shows. Great job. I also love the detailed explanations of what you are doing and how you are doing it. For a novice like me, I find the " how to do this" information very informative and helpful. Thanks and stay with it.

Will do and thank you!:thumbsup
 
This is looking utterly phenomenal!!!
Can i ask what do you use for scribing? Your panel lines are superb!!!!

Rich
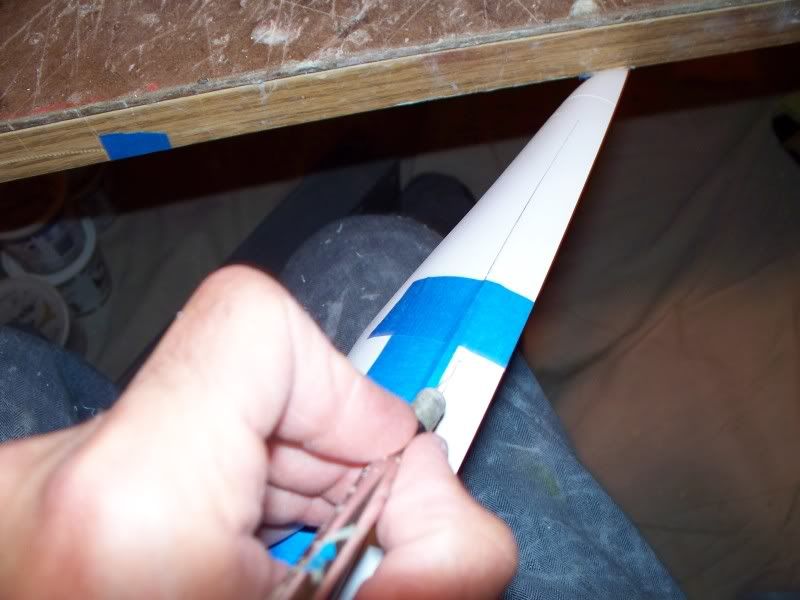
Nothing special i use my Exacto-knife, but i
break off the VERY end of the tip. Then i place
the cutting edge up when i do the scribing.

So it kind of looks like this....
100_0283.jpg
 
This is looking utterly phenomenal!!!
Can i ask what do you use for scribing? Your panel lines are superb!!!!

Rich
Oh and just so you know scribing panel lines is 100%
technique, you dont have to be a master modeler to do
it!:lol But you do have to sit down and practice! So its very
possible to have glue all over your model and have beautiful
panel lines.......:lol
 
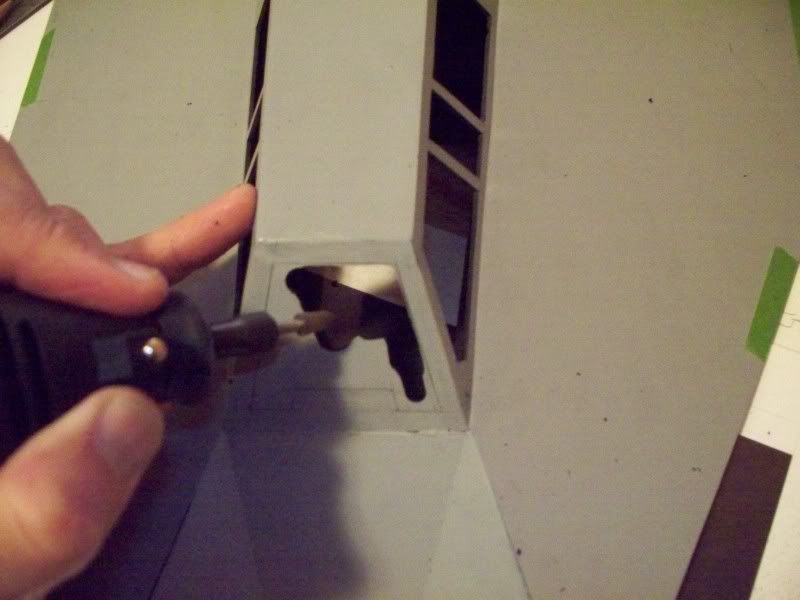
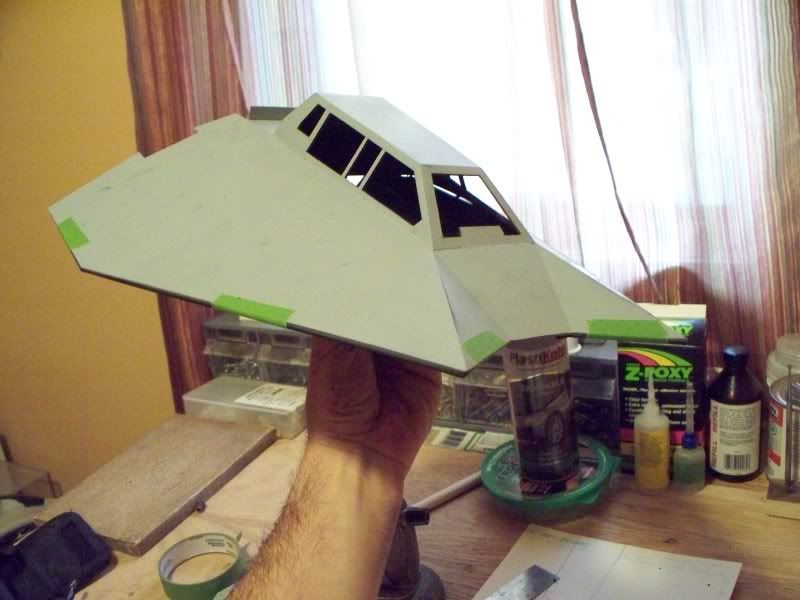
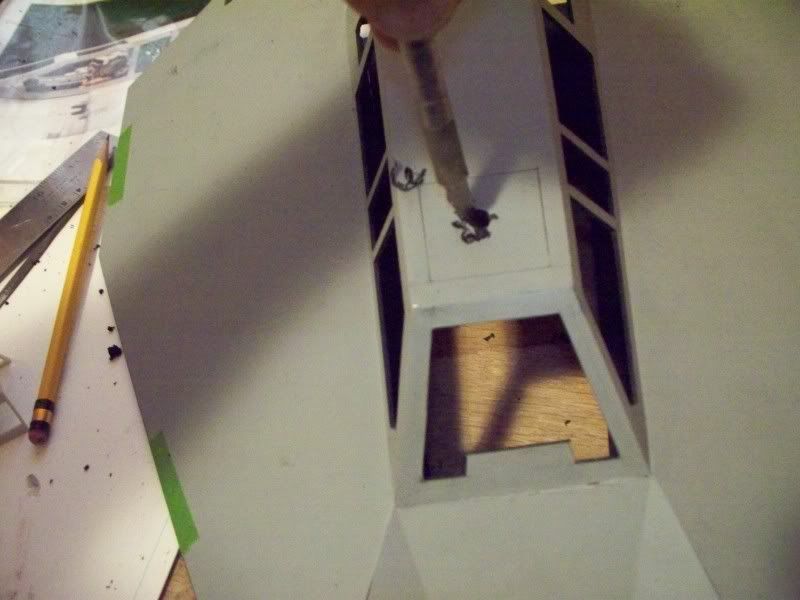
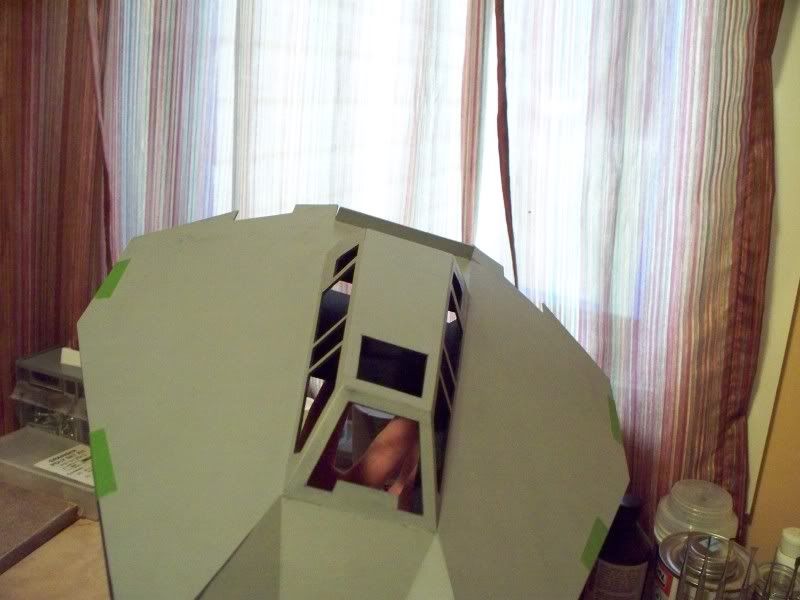
Ok carved out the other side windows then
got started on the front and top windows.

100_3277.jpg

100_3278.jpg

100_3279.jpg


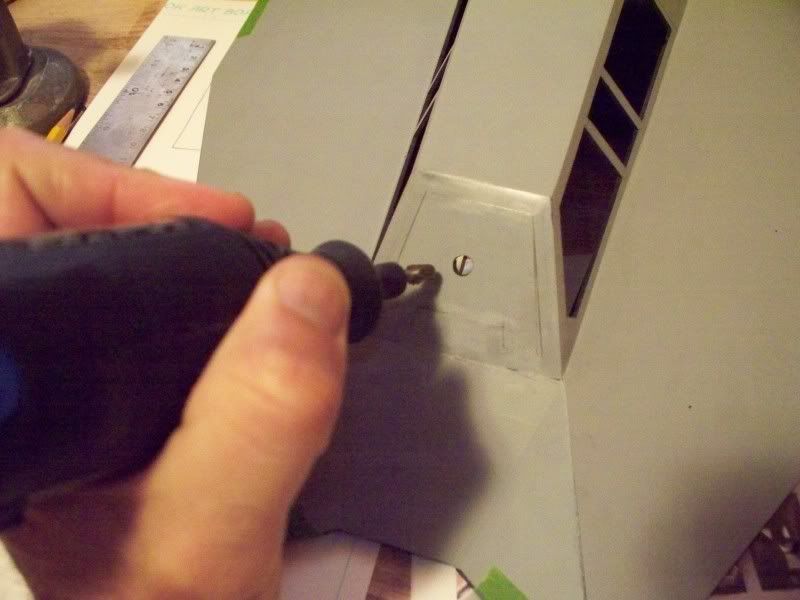
Exacto blade works just fine for rough drilling
of pilot holes!:lol
100_3280.jpg

100_3281.jpg

100_3282.jpg
 
Mike is a set of twins, that have been working together for years, its like the prestige movie in his work shop. Glad to be back off tour for a while mate & to catch up on this build.
 
Mike is a set of twins, that have been working together for years, its like the prestige movie in his work shop. Glad to be back off tour for a while mate & to catch up on this build.

Wow if i had a twin i would really be in trouble!!!:lol
Well that would be cool could send one to go out running
while i build, then when he gets back send him off to work
even better!:lol:thumbsup
 
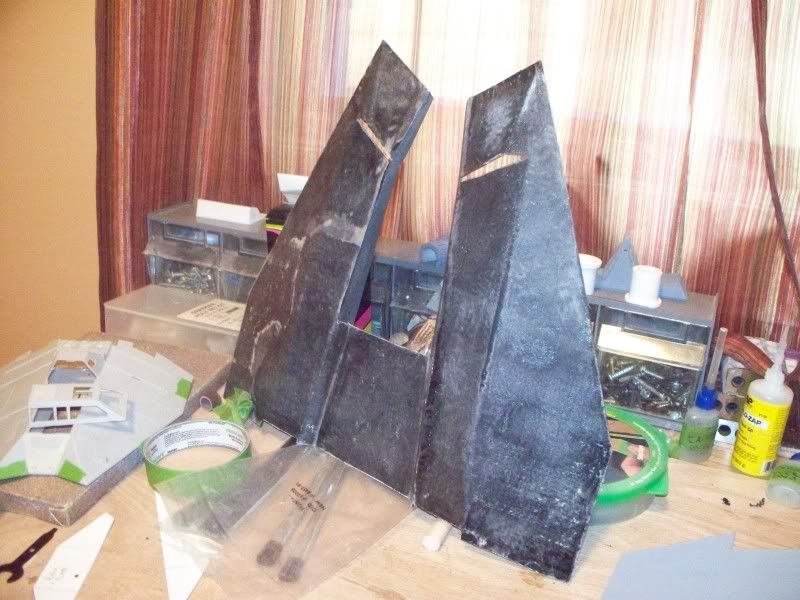
The lower hull is a bit flimsey so got some
Z-poxy and some fiberglass mat. Thanks to
Modman06 for bothering me o finally do it!:lol

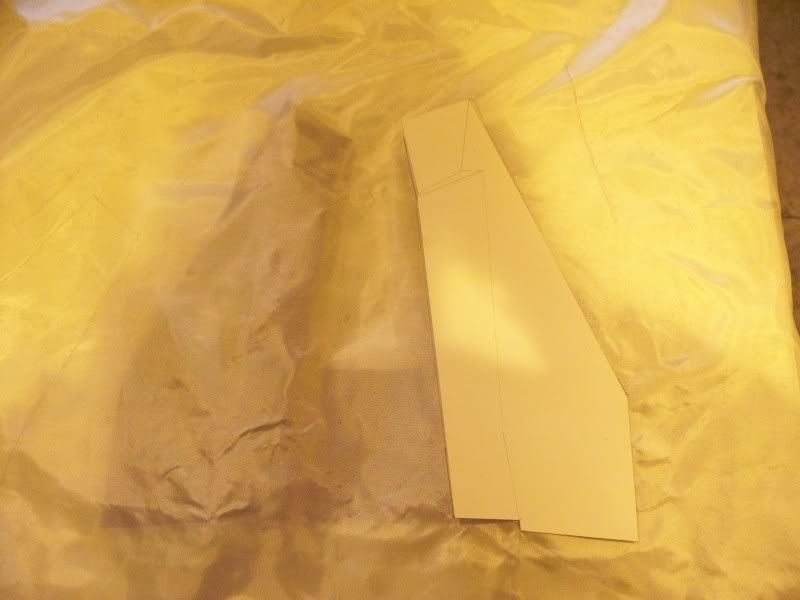
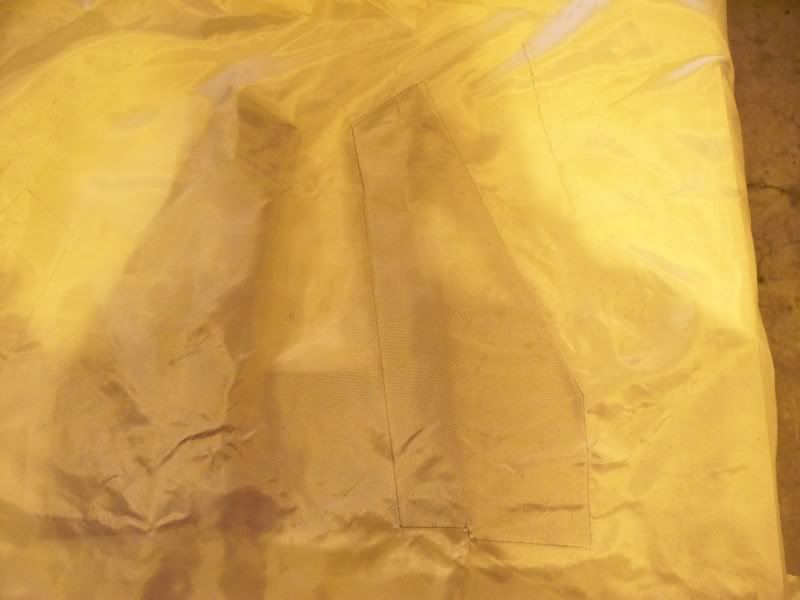
Placed the template on top of the mat over
the part and just traced it.
100_3283.jpg

100_3284.jpg


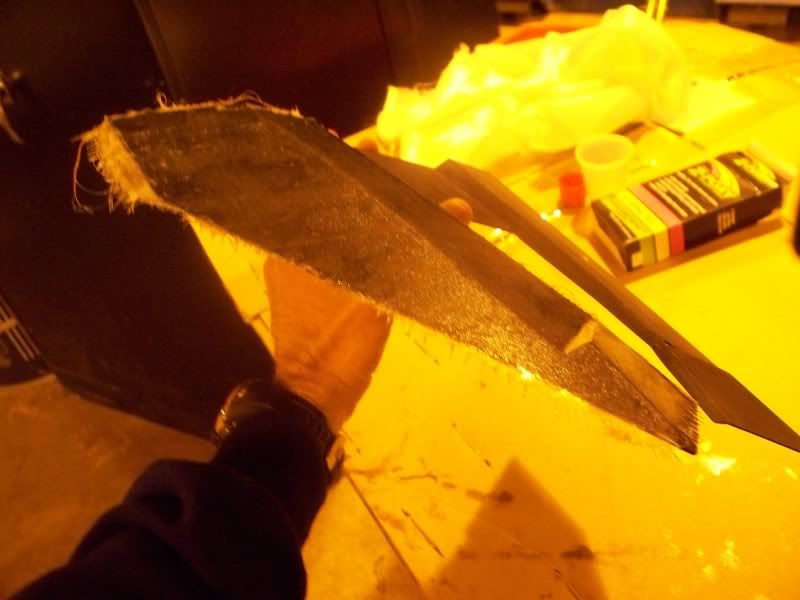
Then the fiberglass cloth was cut and the Z-poxy was
brushed over it. I need to get a little better at it, but since this side
is 100% un-seen its not that important.:lol:thumbsup
100_3286.jpg


Its super strong now and i have no problem
handeling it, so mission complete!:thumbsup
100_3288.jpg
 
Wow! Great job!!

FB

Franz whats up my man!:thumbsup

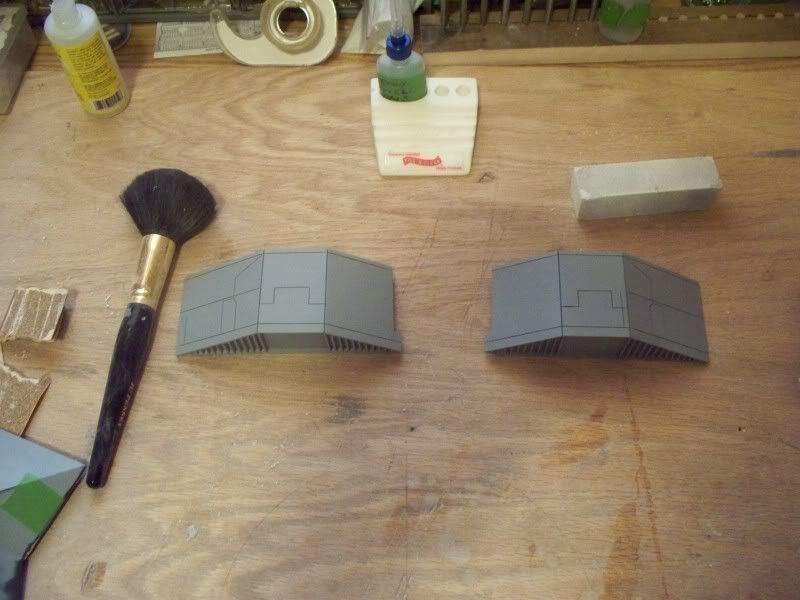
Ok i got the boxes finished again, they
still need the toe pockets cut out but
i am pretty happy.
100_3305.jpg


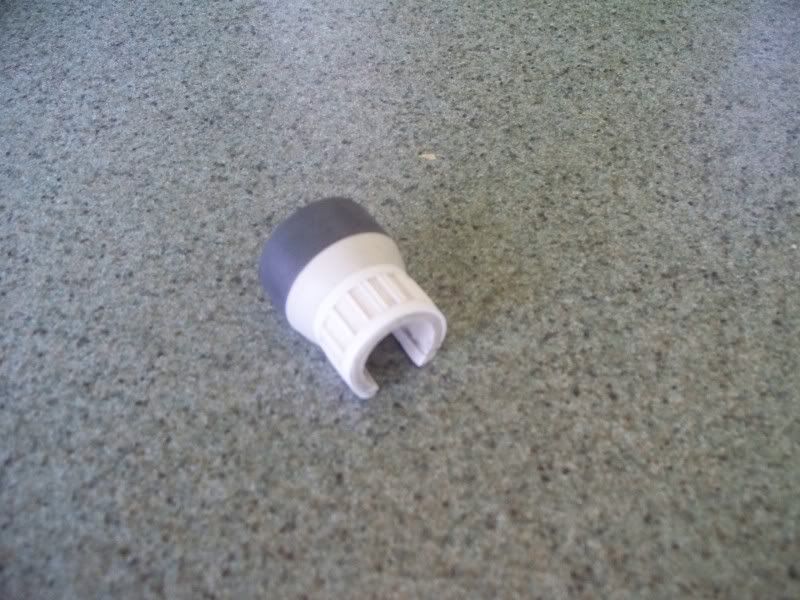
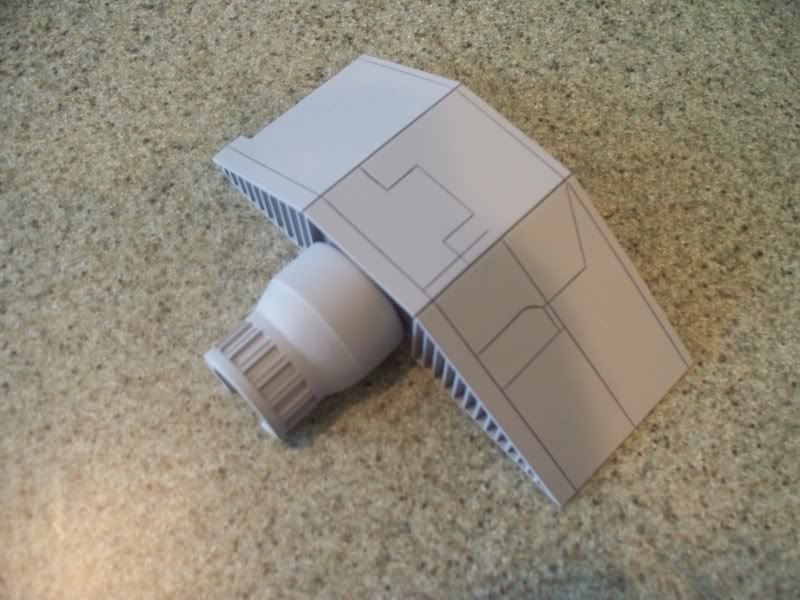
Here is part of the large begining stage of the
laser cannon. A little bit of PVC , channel strip, and clay in this
guy. Is it perfect........no do i loose sleep over it
......no lol Going to cast this part in resin.
100_3296.jpg


100_3297.jpg
 
This thread is more than 12 years old.

Your message may be considered spam for the following reasons:

  1. This thread hasn't been active in some time. A new post in this thread might not contribute constructively to this discussion after so long.
If you wish to reply despite these issues, check the box below before replying.
Be aware that malicious compliance may result in more severe penalties.
Back
Top