Snowspeeder Scratch-build

3d-builder

Sr Member
The plan is to try this again, using the AMT/ERTL kit
and scaling it up 2x's bigger. So far all i have is some templates
drawn out on oak tag, and a plan for the main hull. I should start
wasting styrene soon though!:lol:thumbsup
 
This is the top plate of the repulsor housing.
001.jpg


In this shot pics of the top plate again,
along with it's front and rear plates. Also
the template for the smaller box in the front,
the laser generator housing, and it's front and
rear plates.
008.jpg


Starti
009.jpg
ng to map out the main hull template.

I had this a bit off it was to skinny after checking some
measurements i had to widen it up.
010.jpg


Top view of main hull and templates.
011.jpg
 
everyone must hav caught snowspeeder fever around here :D, its looking good so far, cant wait to see more!
 
Thanks guys Ya this is like my third attempt,
Al u see it all eh can't slip one by U! LOL. Hey any
and all help is welcome! Al I am ordering clay for the
Geonosian next week!!:thumbsup
 
Nice looking work so far. It's the initial planning that I like, this is going to be a great thread!
 
Thanks guys small update.
I want to start using some solvents
to weld projects, in a way it makes
or forces you to be a little cleaner
with seams.Where the CA glues
will fill gaps they dry fast and
brittle, so for the speeder i am
really going to try to get away
from this. I pickrd up a can of
"Weld On 3" works great, i
dispense it out of a 27 gage
needle applicator.With this
size applicator there is basicaly
no odor.....that works for me!:thumbsup

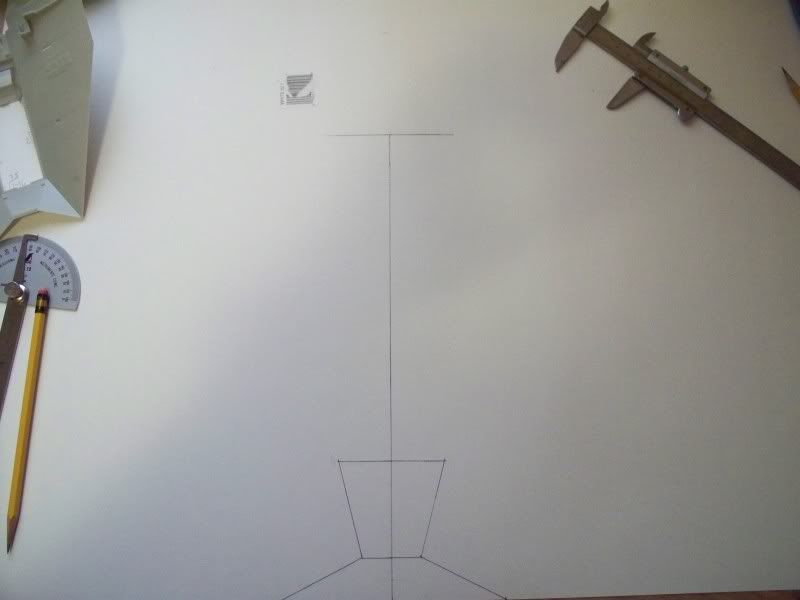
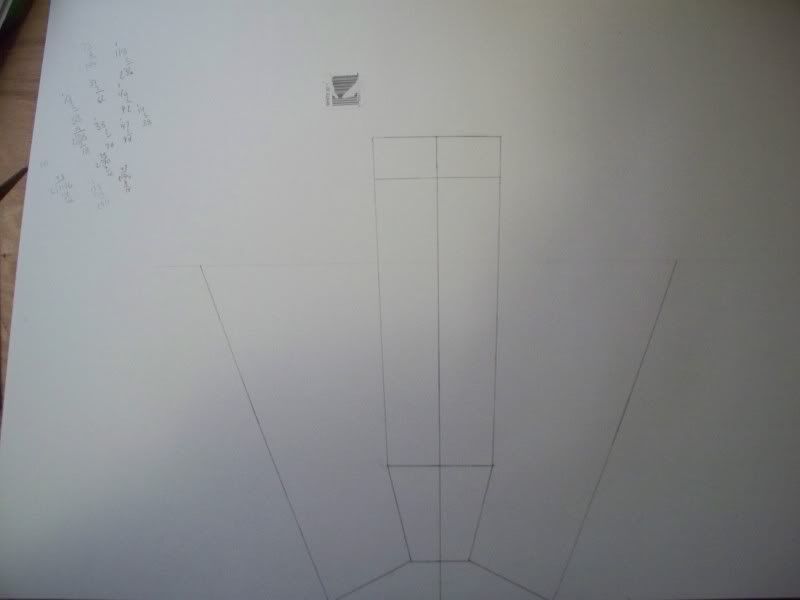
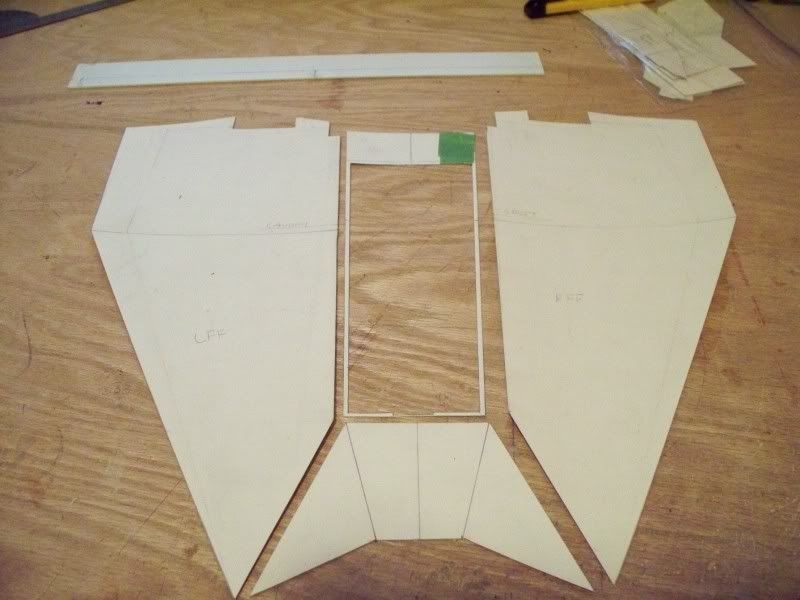
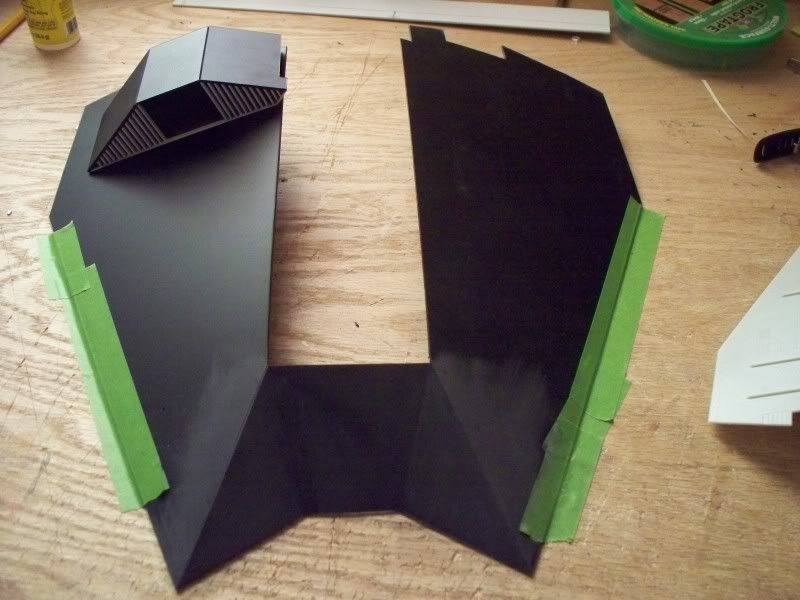
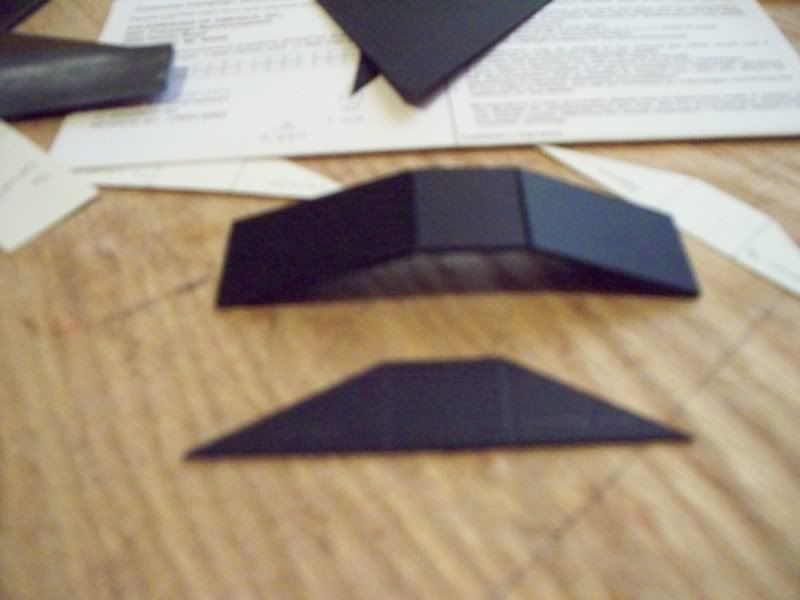
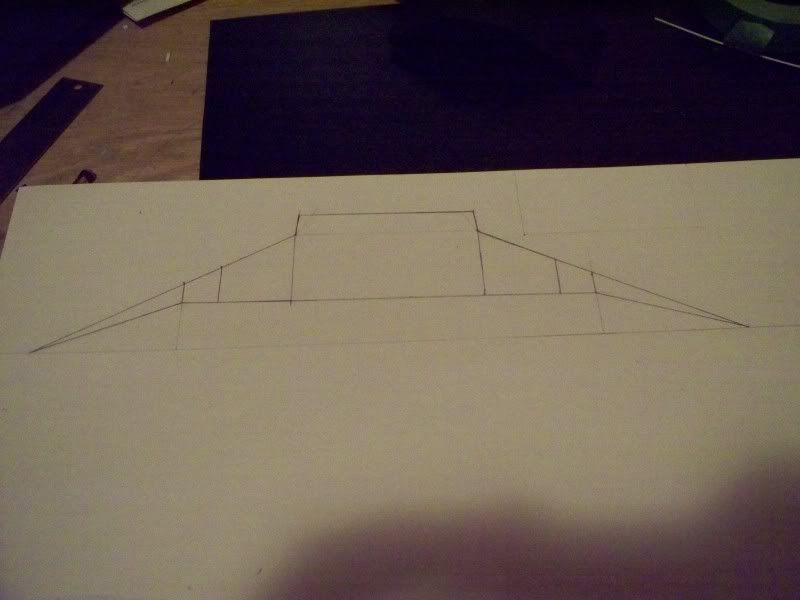
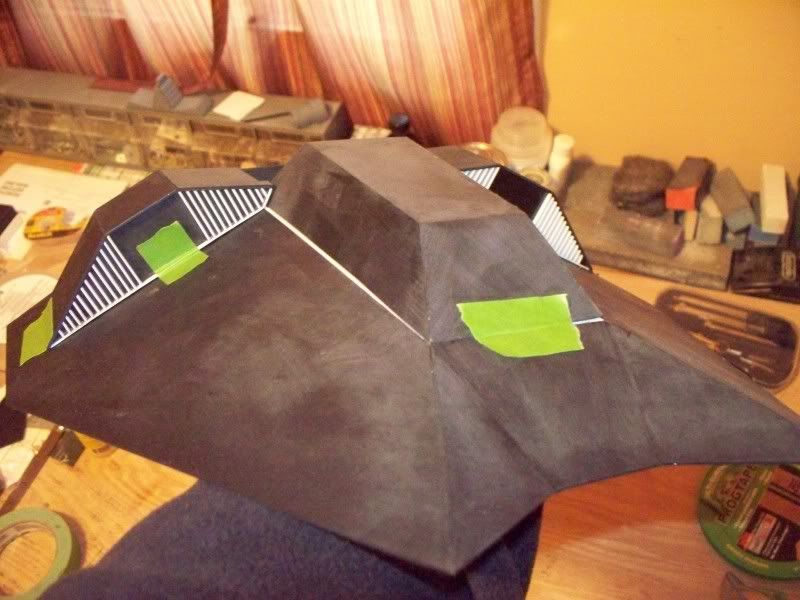
I took the hull plan template and just
fillet it up.
100_3152.jpg


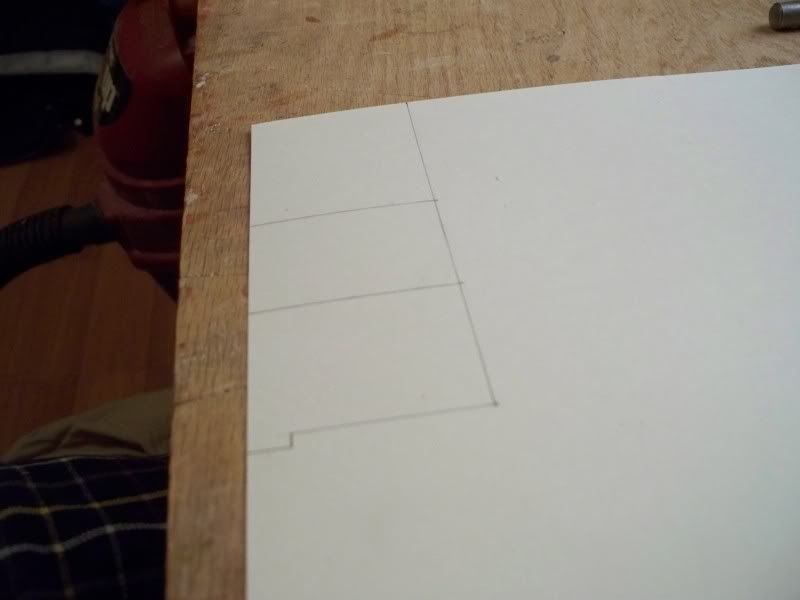
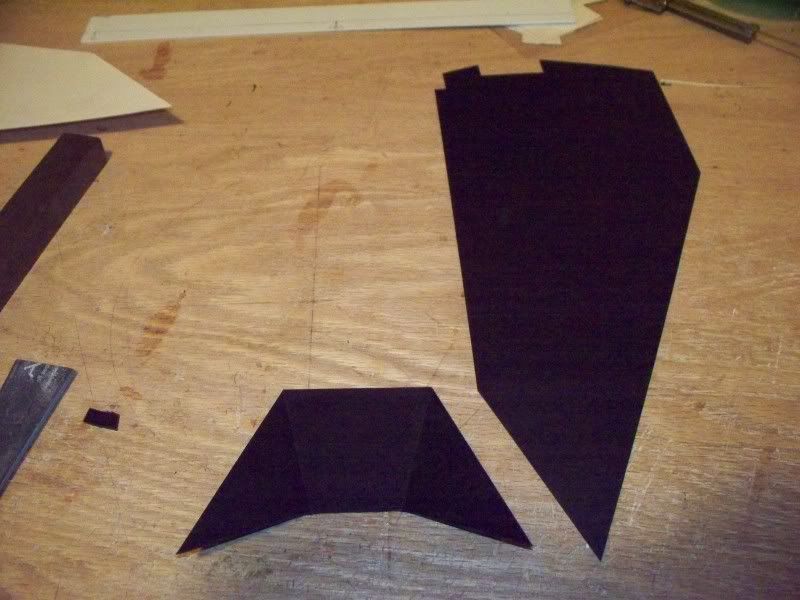
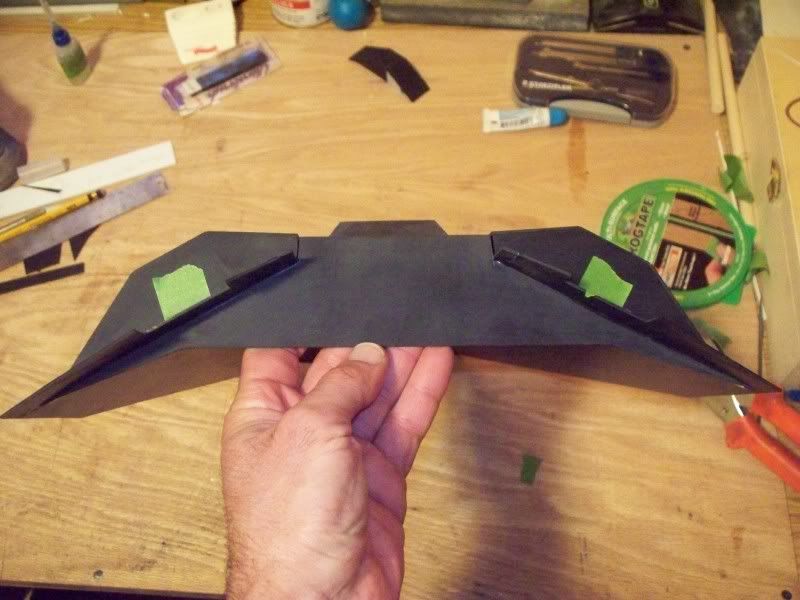
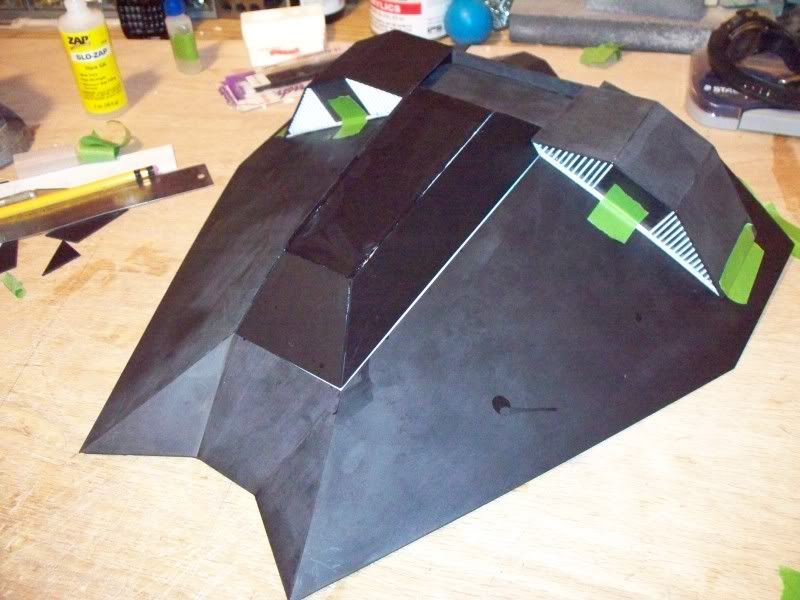
For the front clip piece in this photo
i just scored the reference lines
on the back side, and carefully
worked it until they split open,
but not enough to break it into
sections. The "opened" reference lines
on the back side are then filled with
the thick CA glue, this makes for a
100% seamless seems on the front.
100_3153.jpg


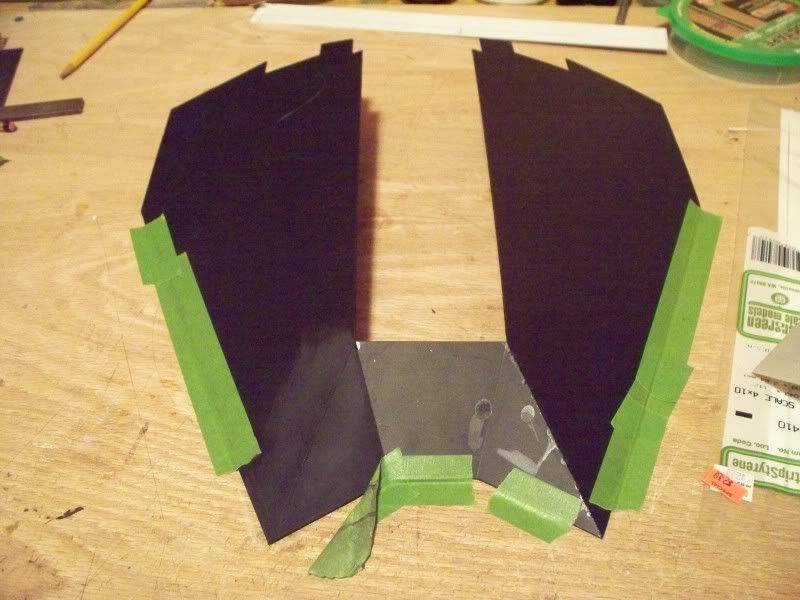
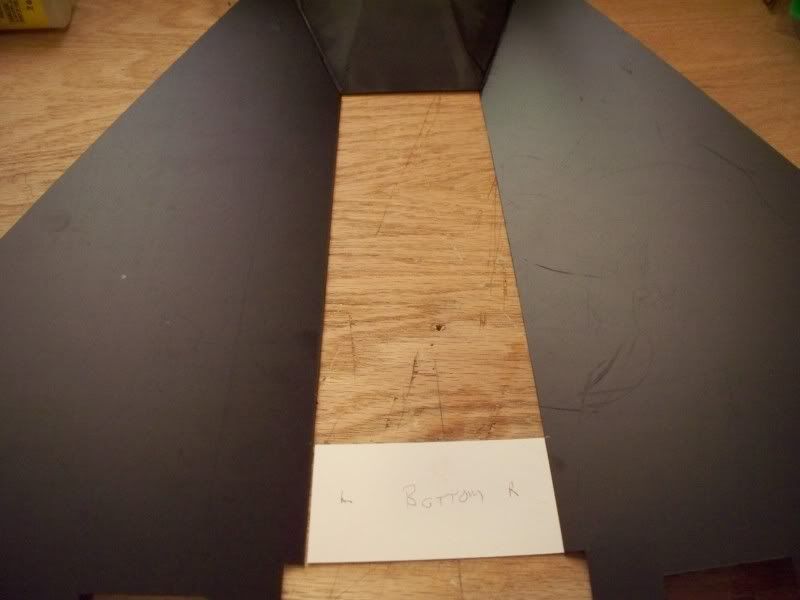
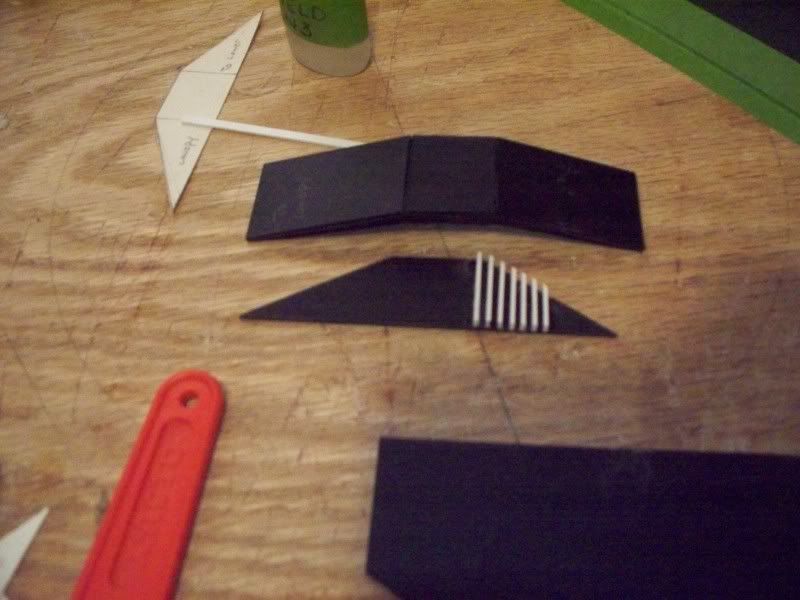
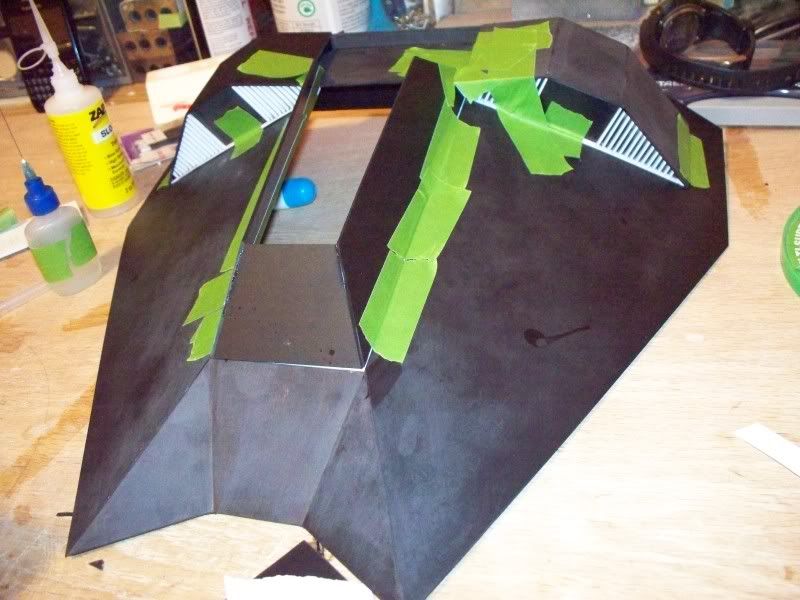
To get tight seems where the hull halves
meet the front clip, i sanded the leading
edges at angles then i was abke to use'the solvent
to join the plastic. I will get a litle cleaner with the
solvent, but as you can see on the left after it evaporates
it is easily sanded away.
100_3158.jpg


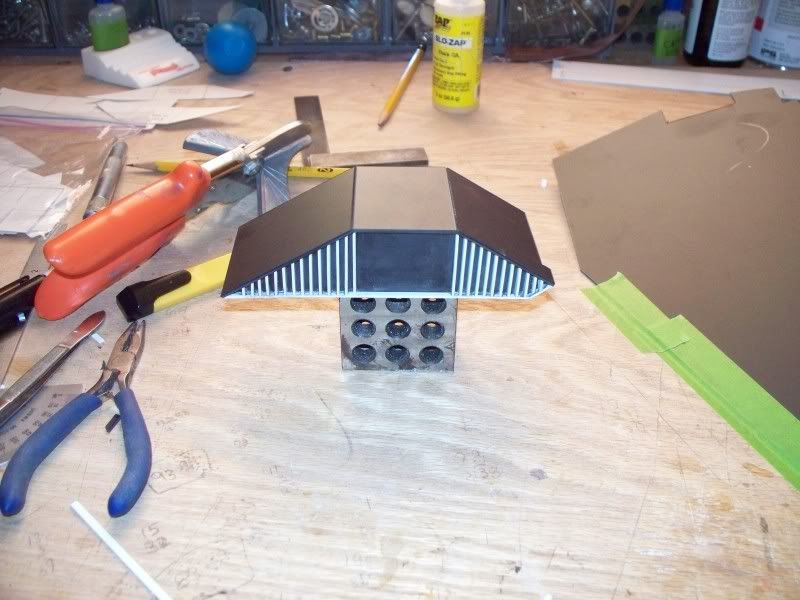
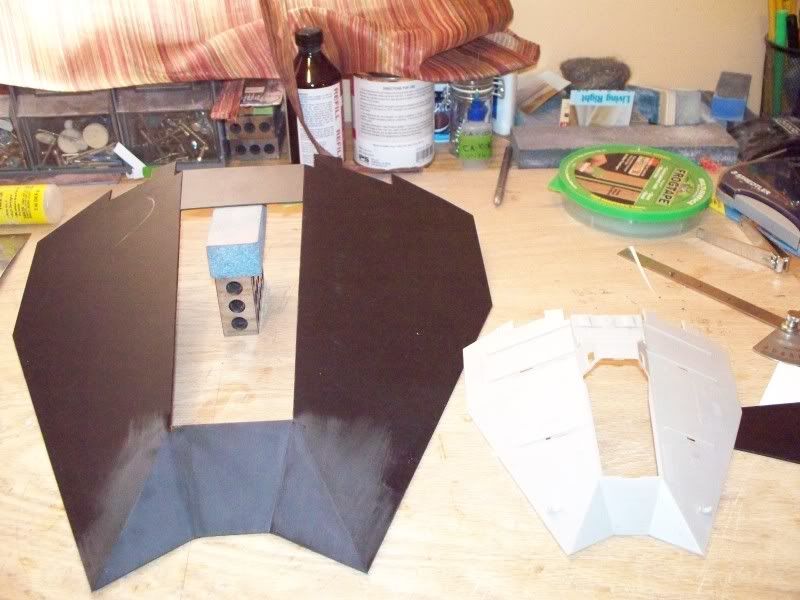
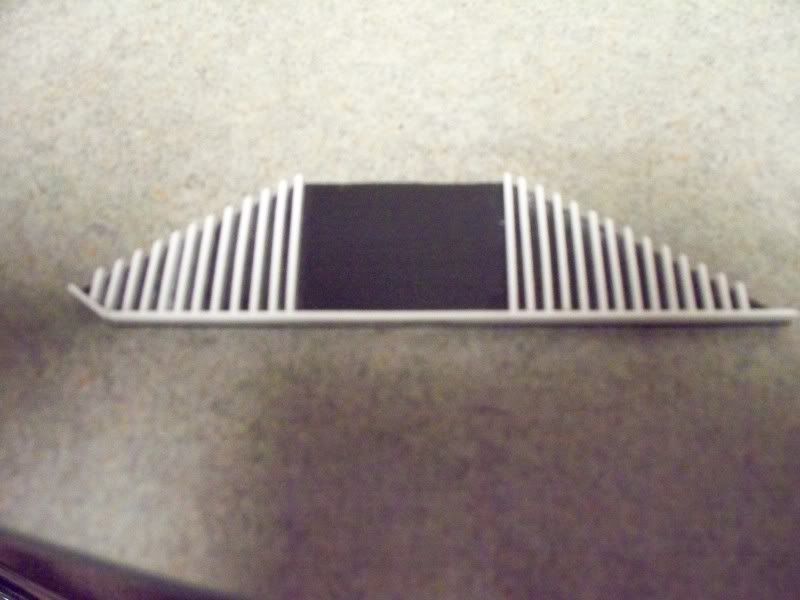
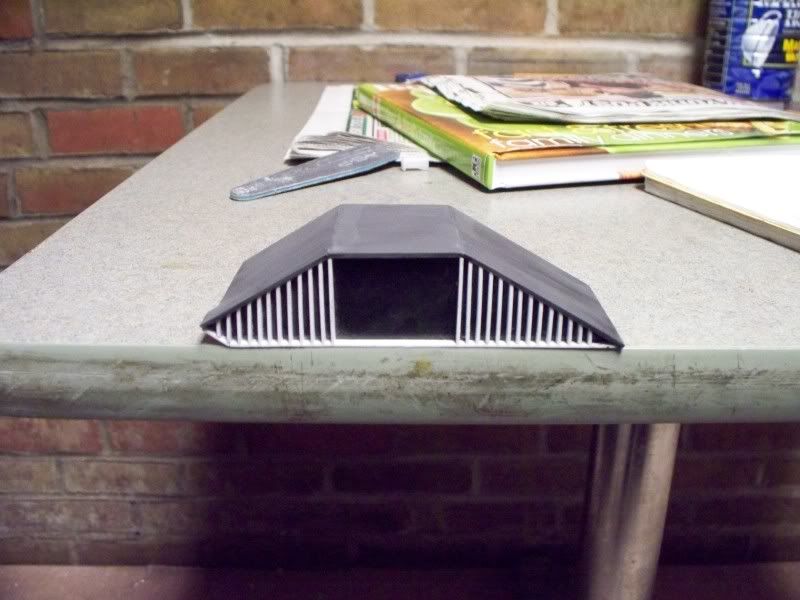
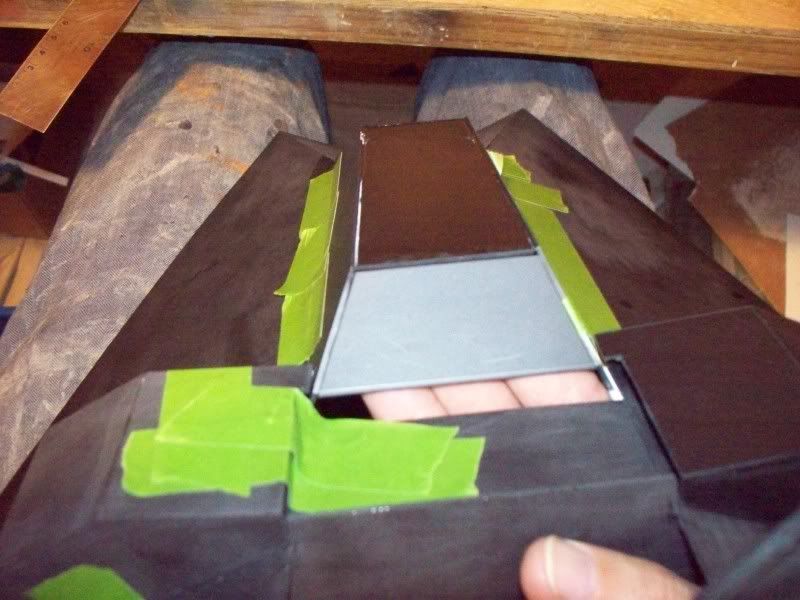
I wanted to knock out one of the rear boxes, I added
the small strip styrene to the bottom of the front plate
first.Then i cut the heat fins and trimmed them before
fitting the front plate to the top plate.
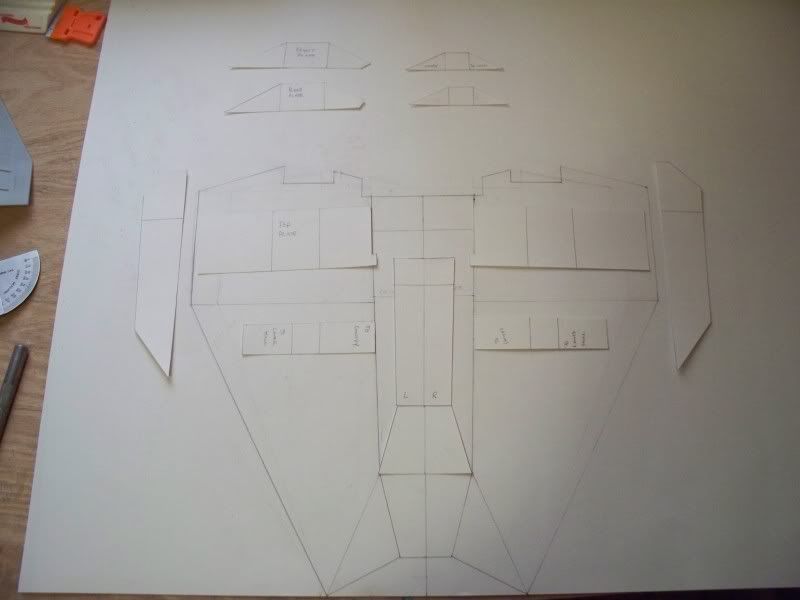
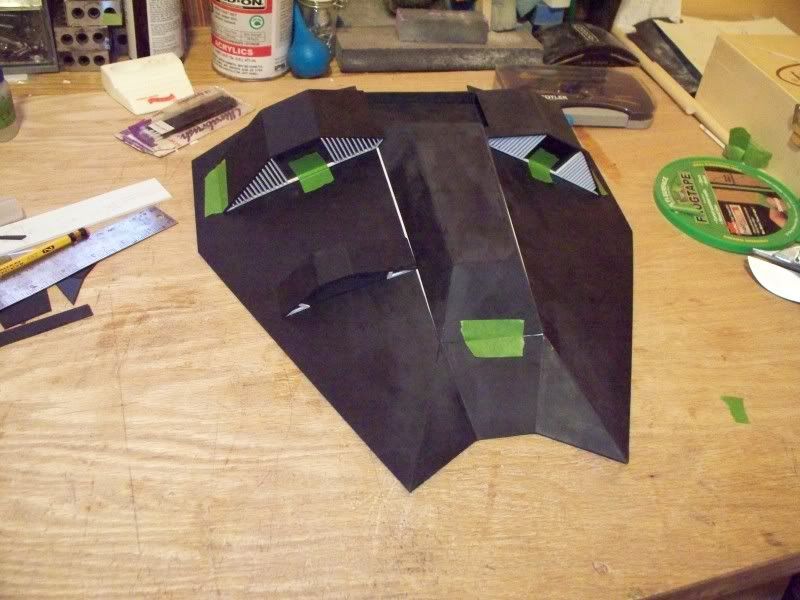
100_3159.jpg


Small mock up ....
100_3161.jpg
 
:thumbsup Thanks guys!

Just another quick update, i cut out
the rear deck just to give it a little
more stability.
100_3163.jpg

100_3164.jpg
 
Update.... finished up the rear boxes,
and one of the front ones, they all
need to be scribed and have the
toe pockets built in. Also got the canopy
finished and the rear bulkhead for the
power generator to mount to.

This should have gone in the last post
but you get the drift........
100_3168.jpg


100_3169.jpg


100_3172.jpg


Front box nice and blurry!!LOL
100_3175.jpg


Back of front box.
100_3176.jpg


rear power generator bulkhead worked out on poster board.
100_3178.jpg


rear bulkhead in place.....
100_3186.jpg


Building the canopy.....
100_3181.jpg


100_3182.jpg


Canopy finished needing sanding.......
100_3184.jpg


100_3187.jpg


I want to fill the canopy with ultracal 30 and make
a plug to vacuum form, so it's perfect inside and out
and 100% without seems.......will see if it happens? I
think if primed its close to seemless now, but the inside
would need some cleaning up.Plus wih the plug i never
have to make another canopy if it's succesfull!:love:thumbsup
100_3188.jpg
 
You're going at full sail on this speeder! :) Wonderful job so far:thumbsup Makes me feel my smaller speeder isn't worth the effort.:wacko
 
Sharp as ever mate, & I think we all like a fury front box.....sorry blurry!

I always love watching your threads its the best way to know its possible to tackle this stuff for me. Its like school but without the smoking & hiding, well I may still smoke!!! Doh!
 
You're going at full sail on this speeder! :) Wonderful job so far:thumbsup Makes me feel my smaller speeder isn't worth the effort.:wacko

Stop that i have been enjoying watching
you cut that bad boy up, and put it back
together even better!:lol:thumbsup
 
Sharp as ever mate, & I think we all like a fury front box.....sorry blurry!

I always love watching your threads its the best way to know its possible to tackle this stuff for me. Its like school but without the smoking & hiding, well I may still smoke!!! Doh!


LOL @ "Well I may still smoke!!! Doh!
 
Back
Top