DW Design Studios
Sr Member
First I want to say this project would not have gotten finished without Shawn's help. He is a amazing prop build and a hell of a nice guy! I wanted to share some of my build pics. I'm a little embarrassed because these are all over a year old. But it gives you some idea of how I went about sculpting and building some of my pieces.
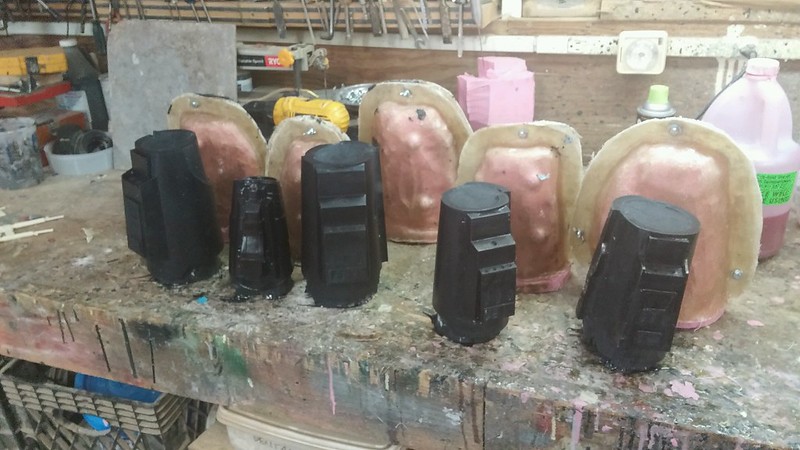
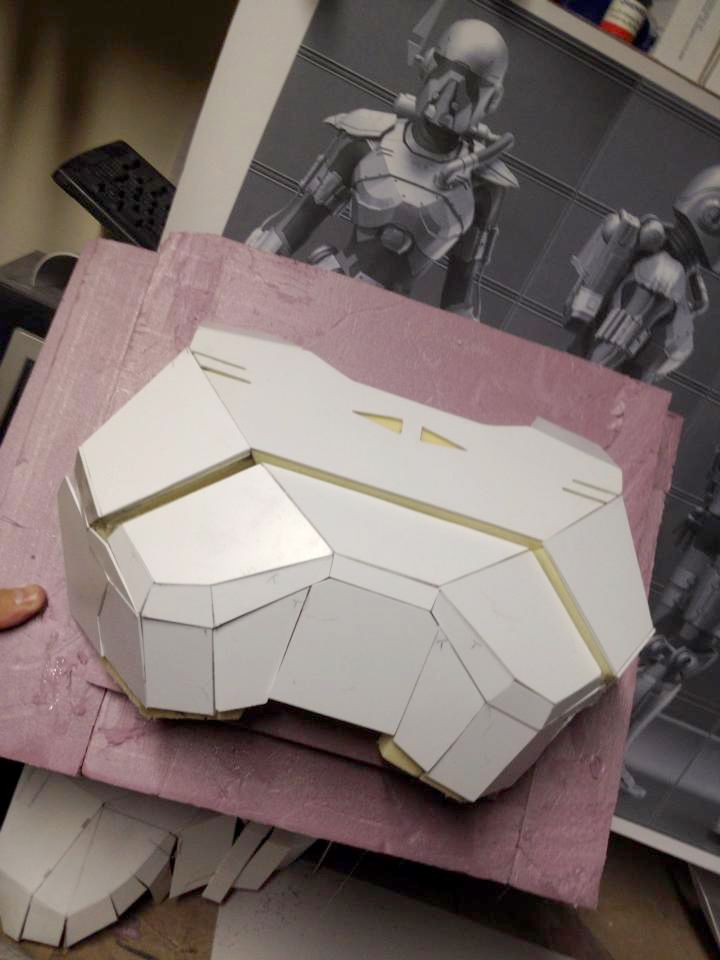
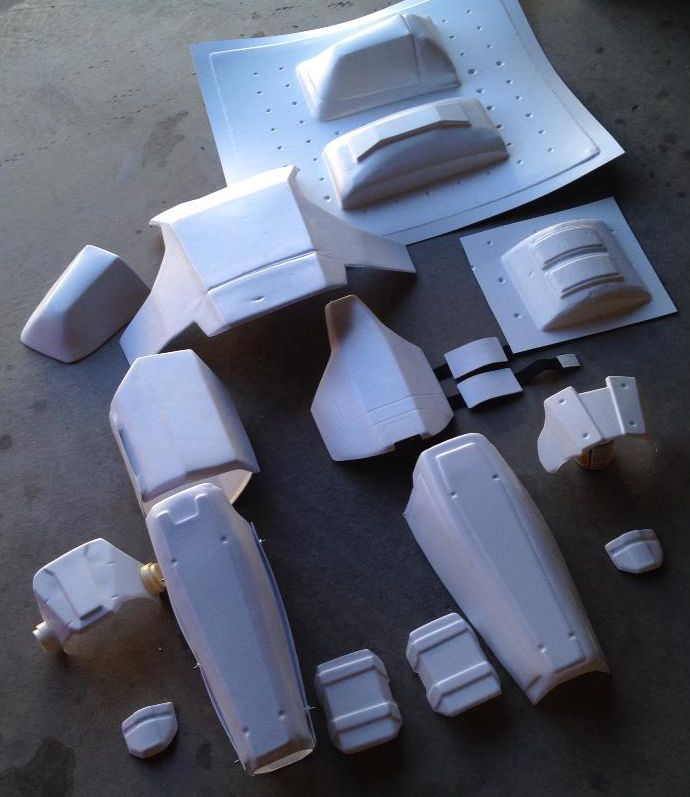
Here's a pic of my chest build as well as some of the vac bucks and pieces.

- - - Updated - - -
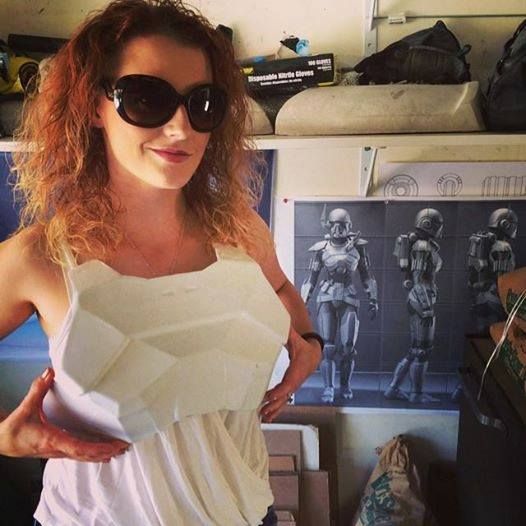
Here's Abby being cute!
- - - Updated - - -
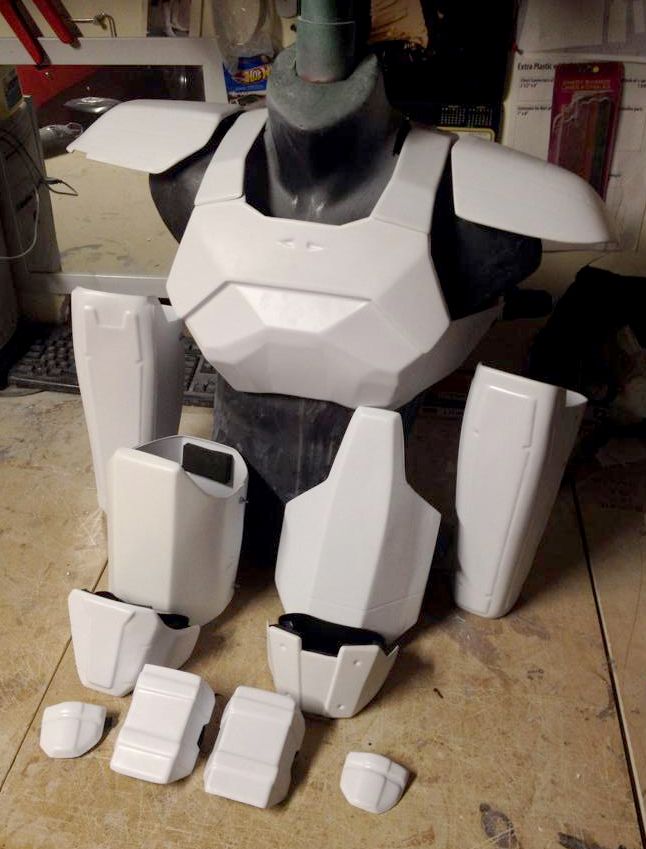
Here's a pic of my chest build as well as some of the vac bucks and pieces.


- - - Updated - - -
Here's Abby being cute!

- - - Updated - - -