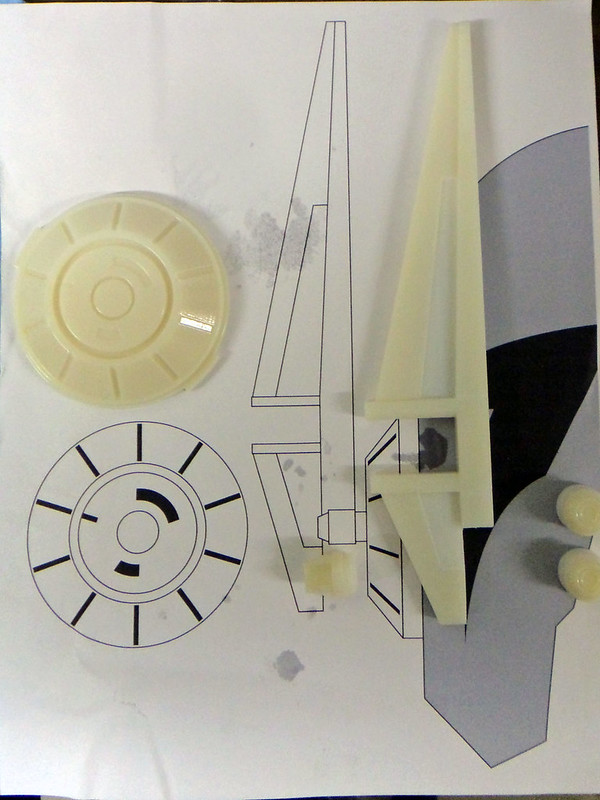
Last November I made it out to the NorCal Prop Party in Marin County, California and I was happy to get a chance to meet up with many of the talented and well-known members of our community in person for the first time. Walking around, I noticed one of the tables was filled with stuff from DW Design studios. Everything looked even better in person than it does in pictures, but mixed in with everything else were a few vac-formed parts and this picture:
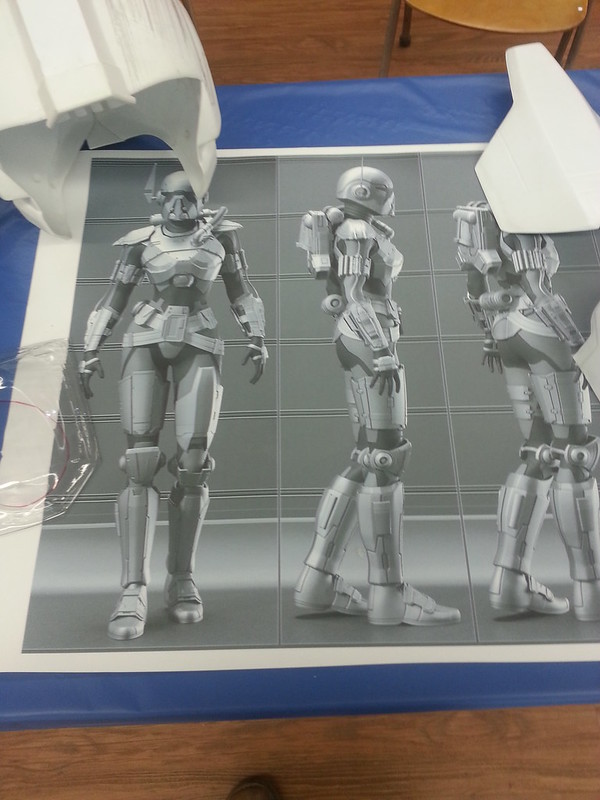
It turns out I was looking at the beginnings of a set of Shae Vizla armor. Since DW Design Studios is not too far away and I needed to come up with something else for my girlfriend to wear to the upcoming Star Wars Celebration in Anaheim, we started talking about collaborating. They're doing the bulk of the work, but I'm helping out with some of my digital fabrication tools. Namely, my Objet30 3D printer (nicknamed "Jarvis") and my Carvewright CNC machine (nicknamed "Lopez").
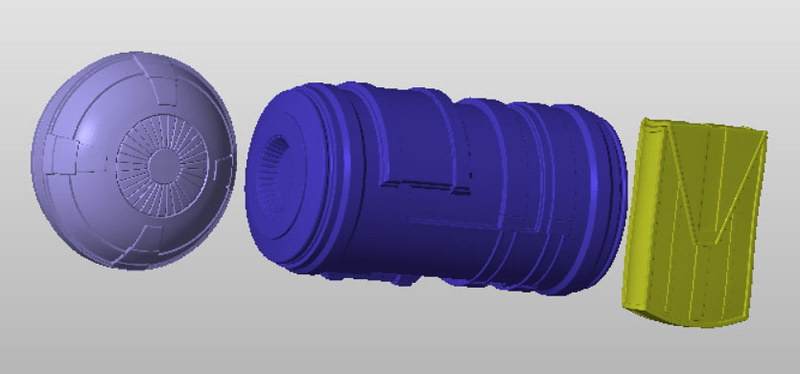
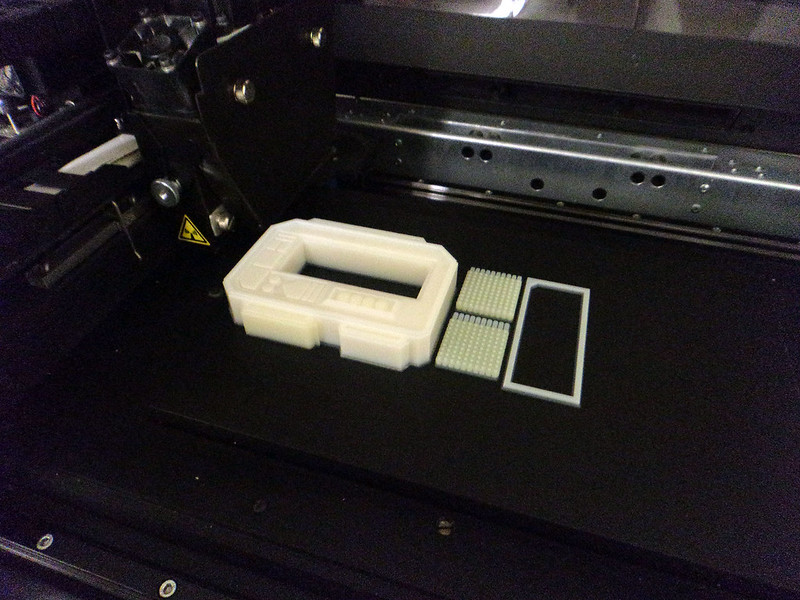
Since I'm no good at 3D modelling, I've also been commissioning Fierfek to tune up some of his Shae Vizla parts so I can feed them to the machines. Here's the first handful of parts that Jarvis built:
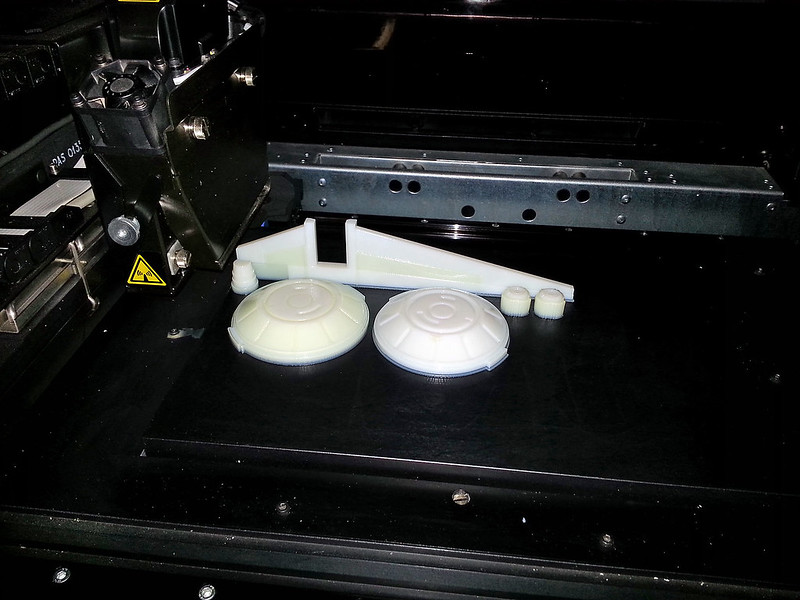
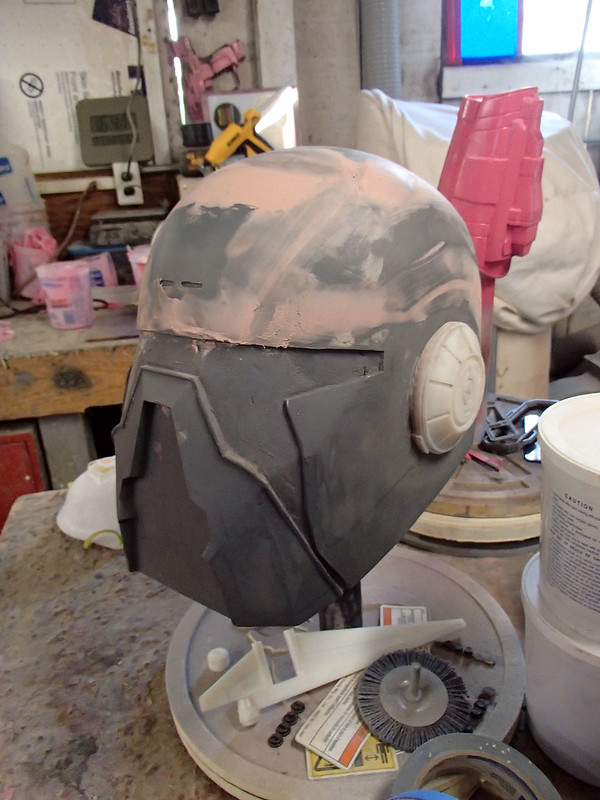
These are just a few of the detail parts for the helmet:
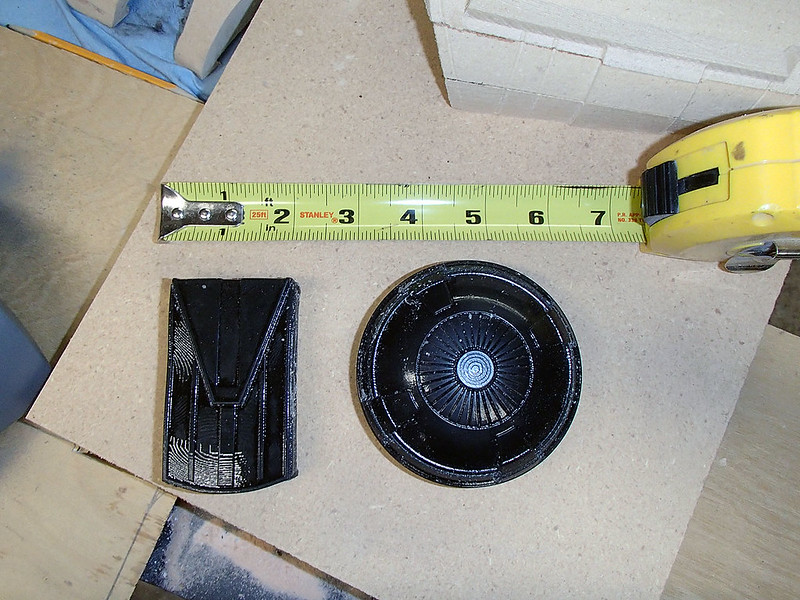
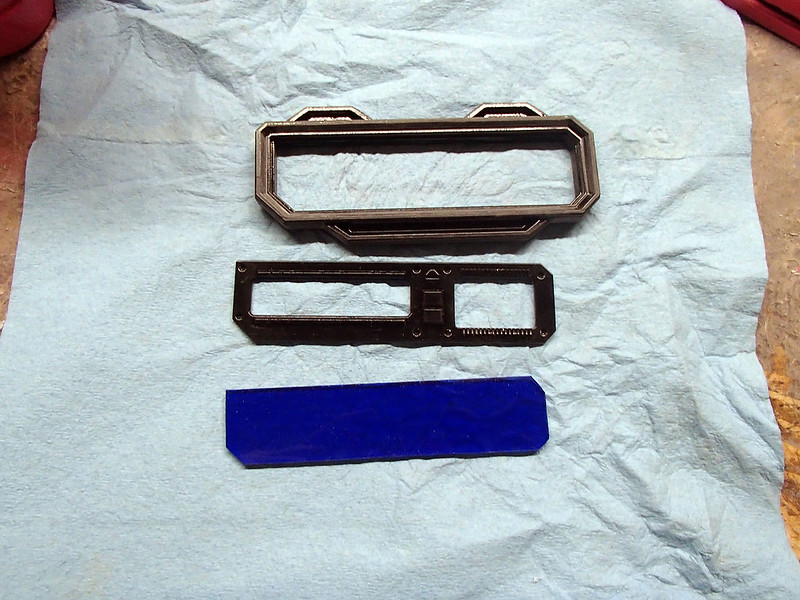
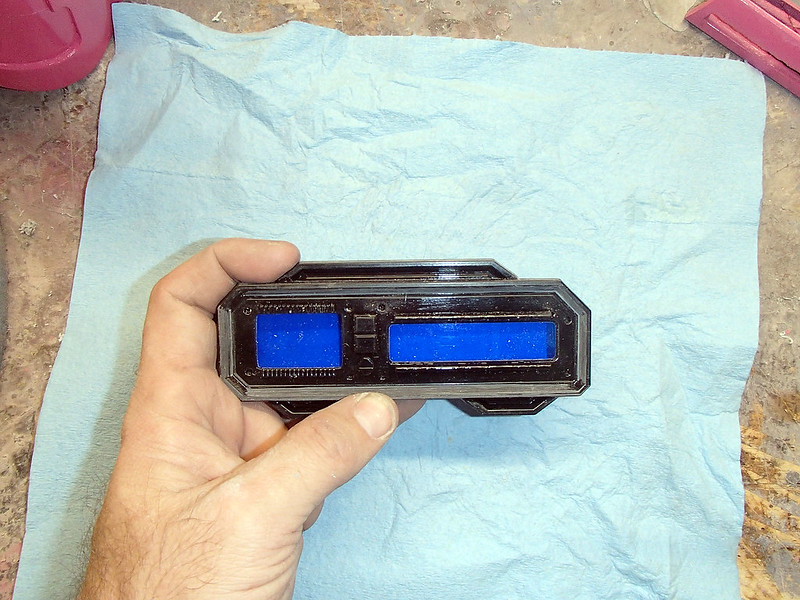
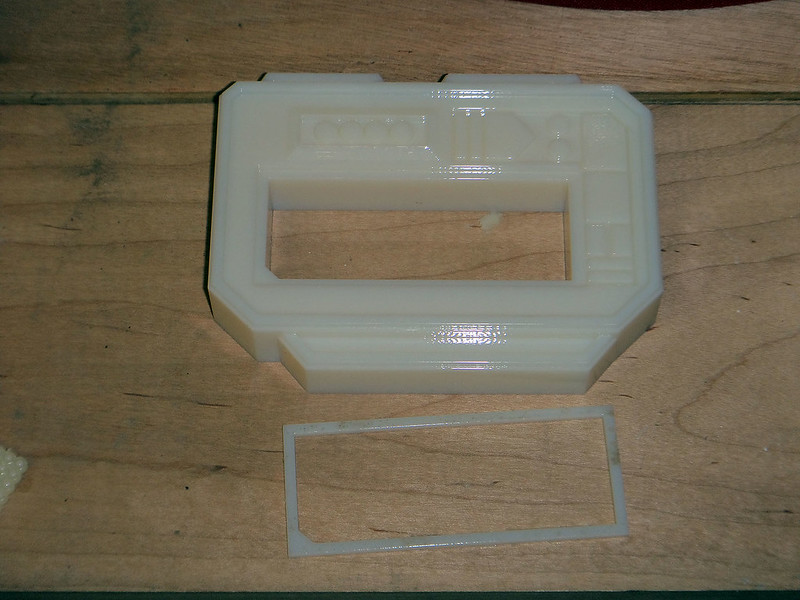
I also had Jarvis make the belt buckle with the recessed window for a status display:
Here it is all cleaned up prior to sanding:
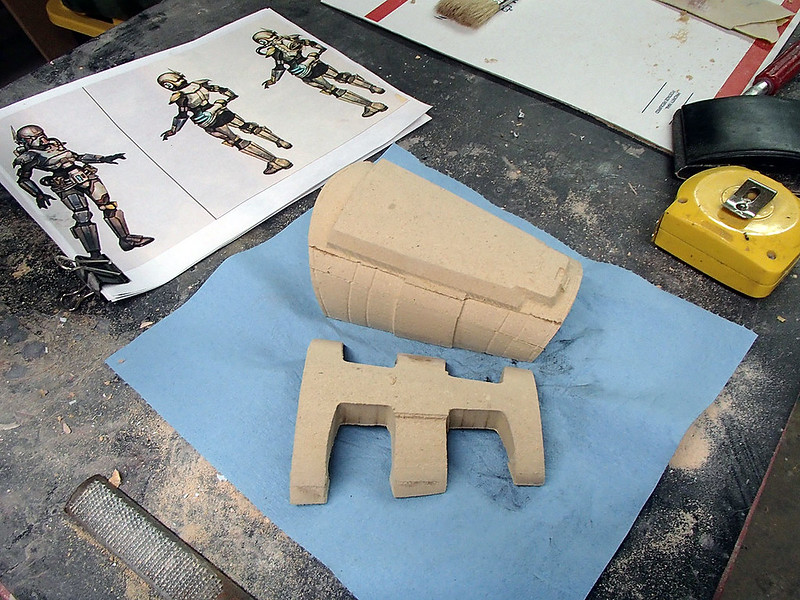
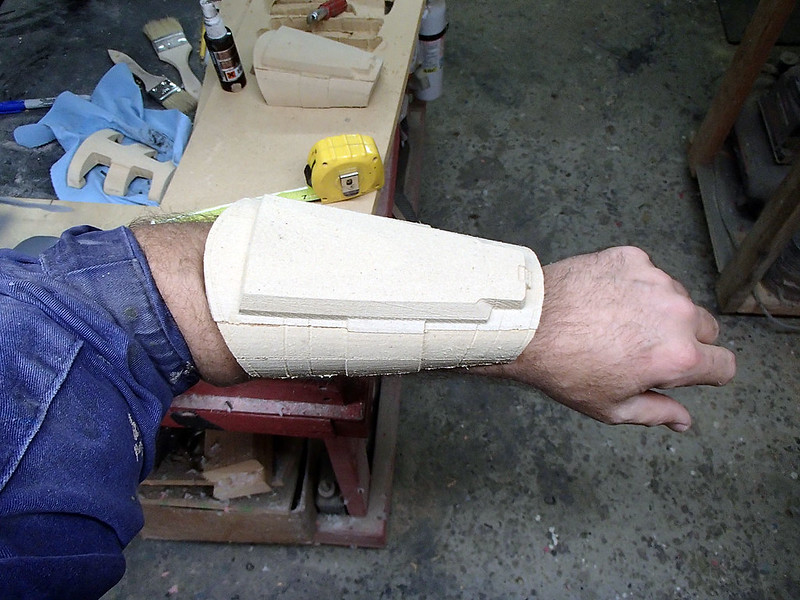
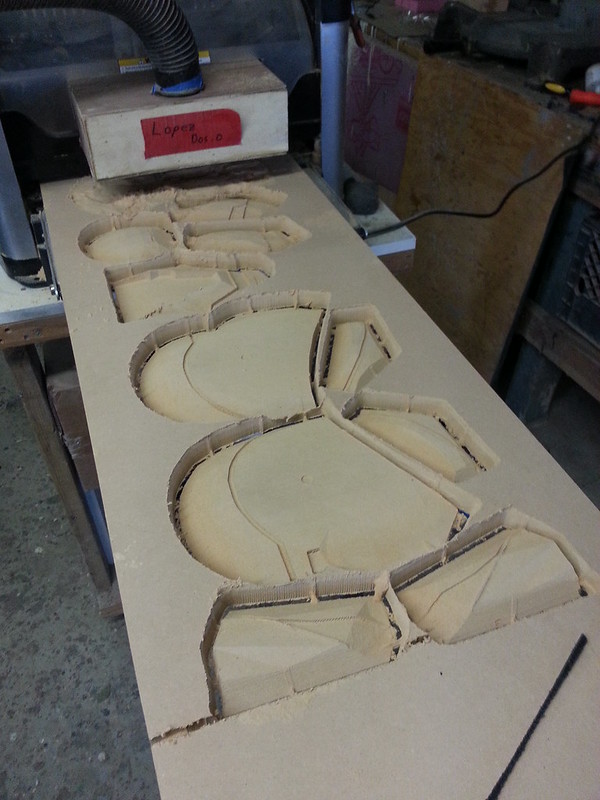
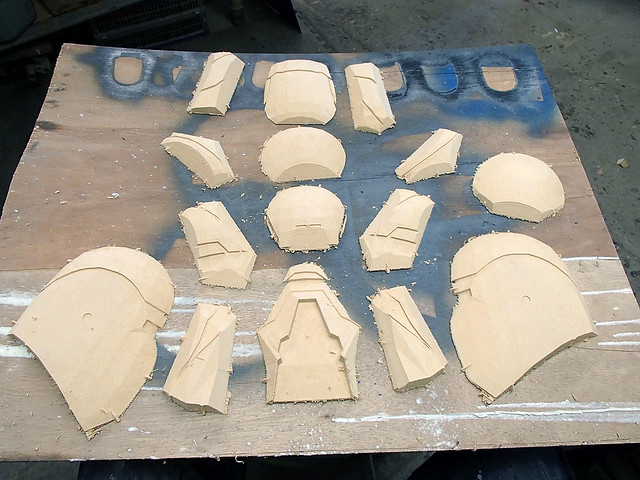
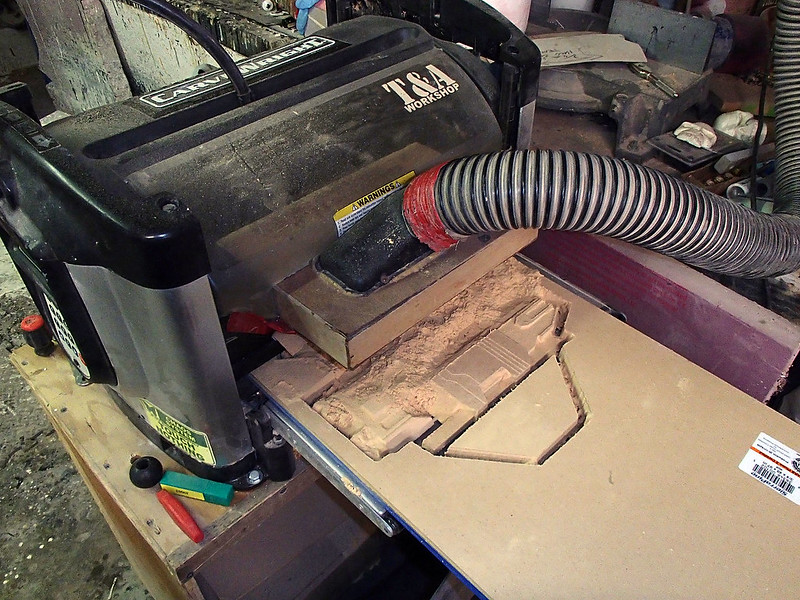
Out in the dusty end of the workshop, Lopez started carving out jetpack parts:
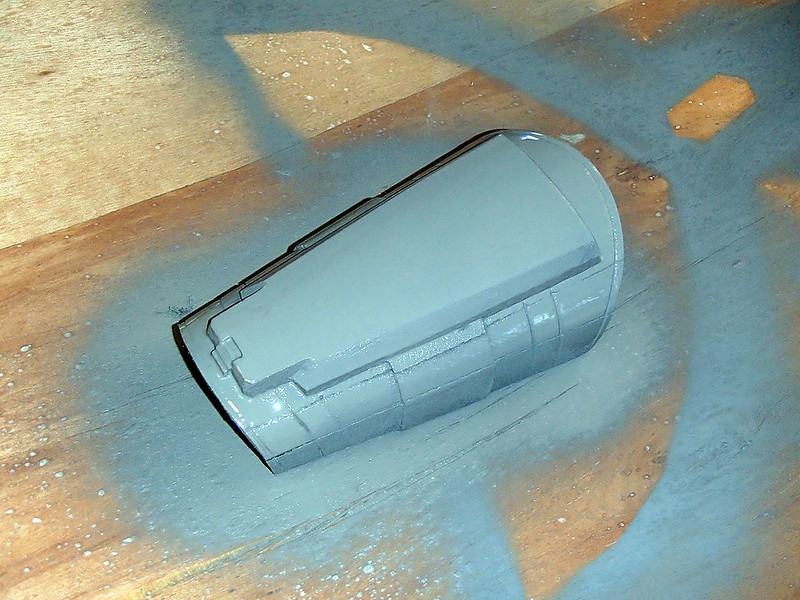
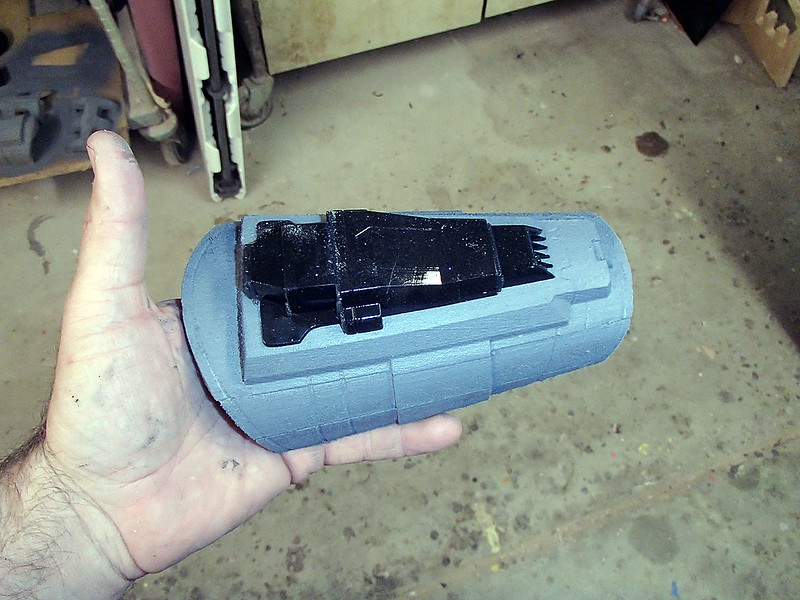
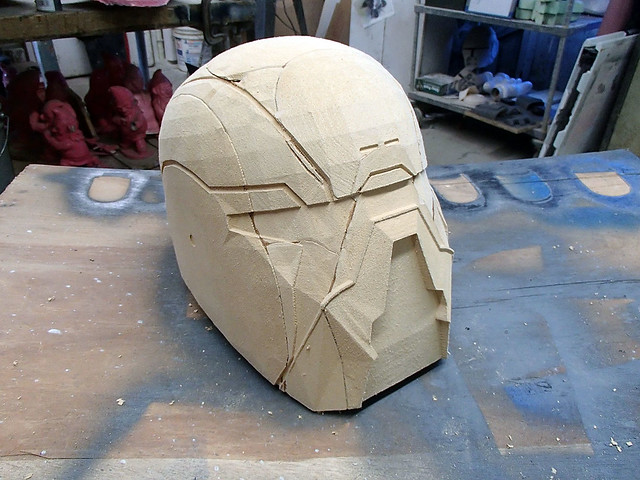
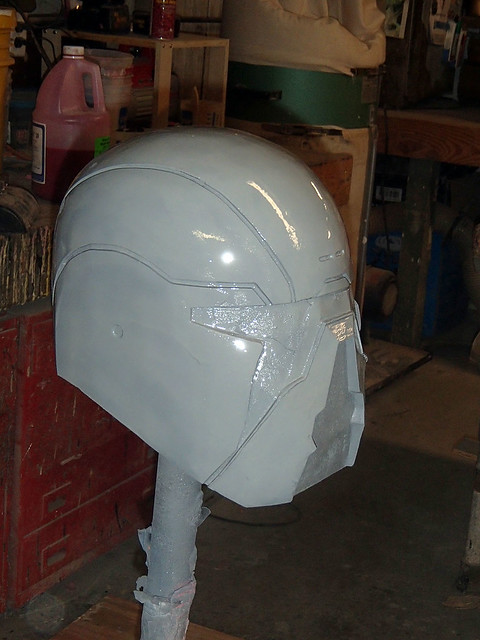
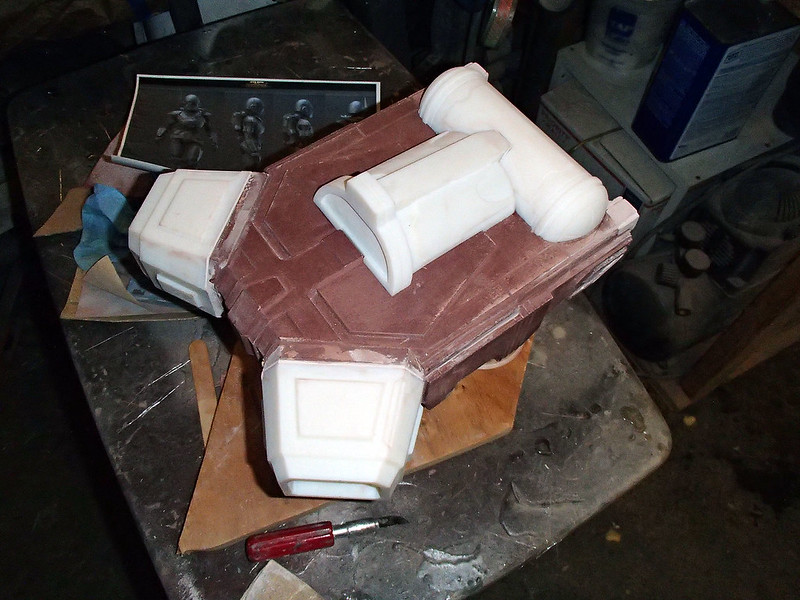
Here's all of the pieces of the main body tacked together and primed:

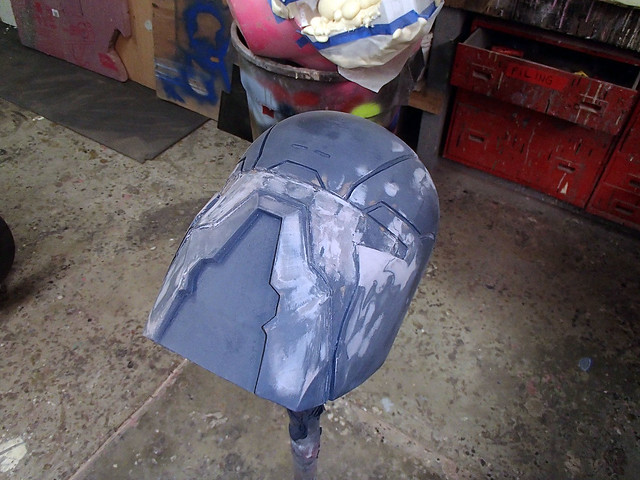
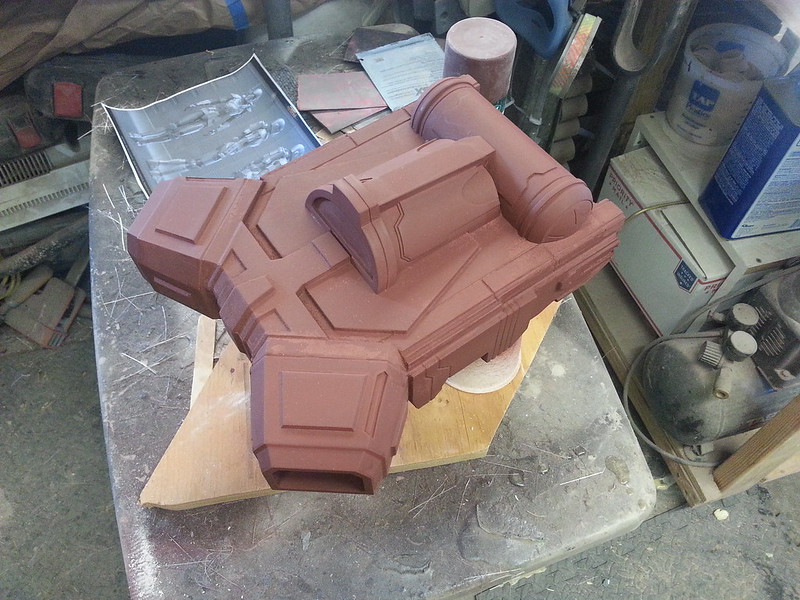
With the addition of a few detail parts, everything was shaping up rather quickly:
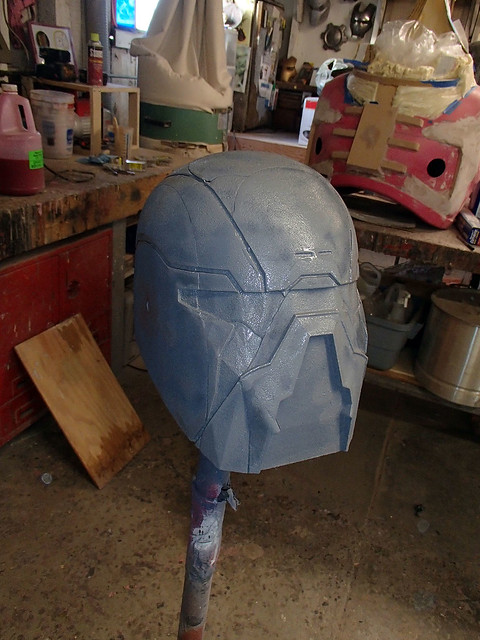
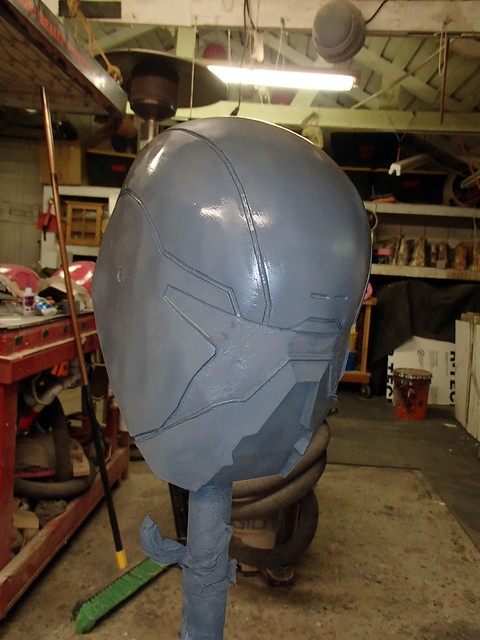
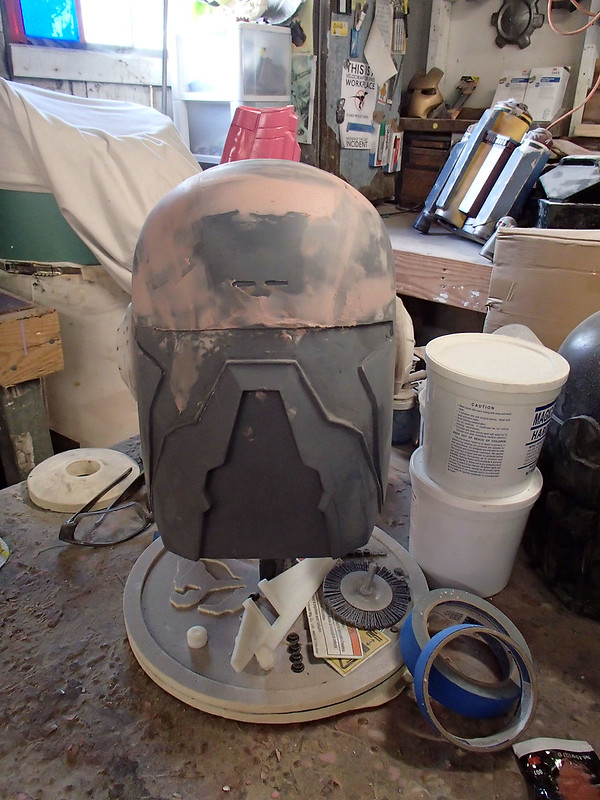
Then it got a few more coats of primer:
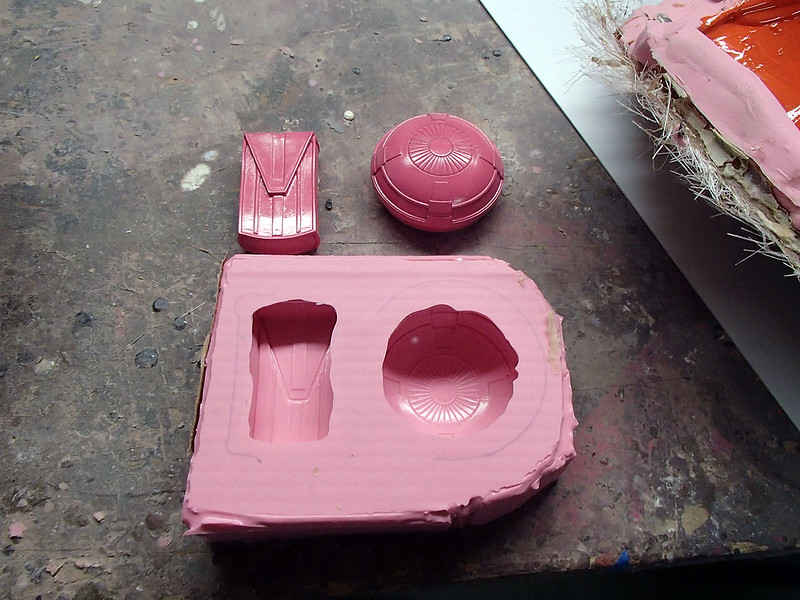
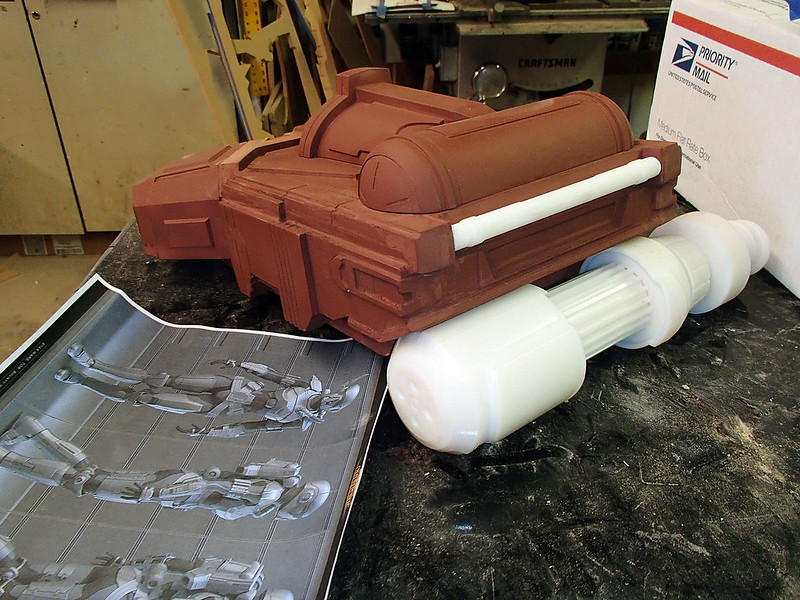
The last few 3D printed parts will be cast separately:
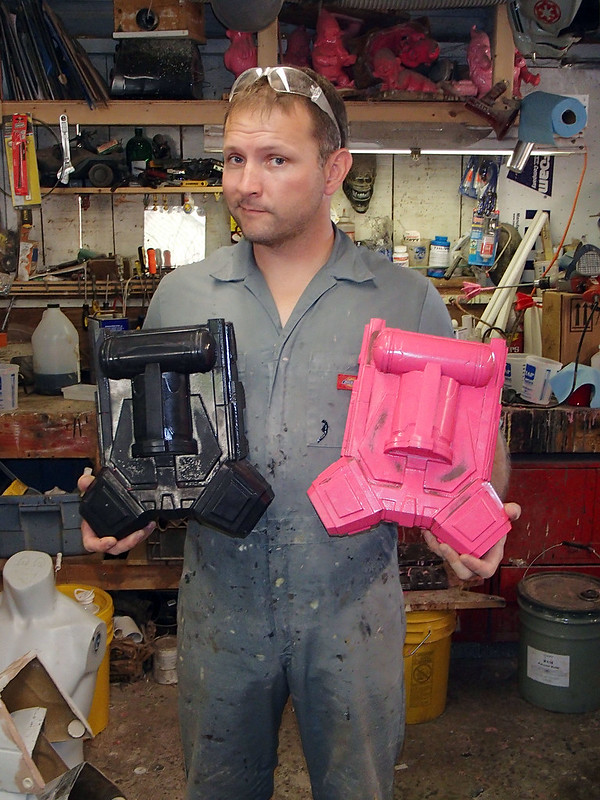
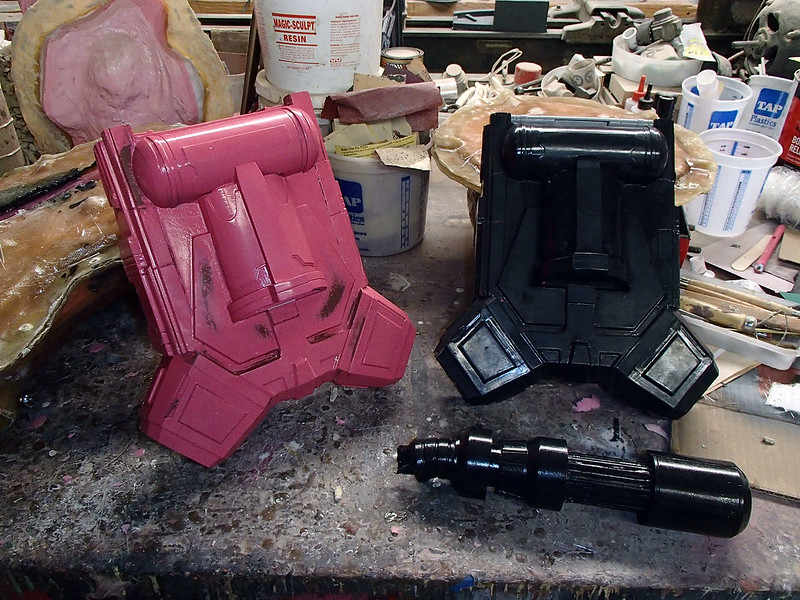
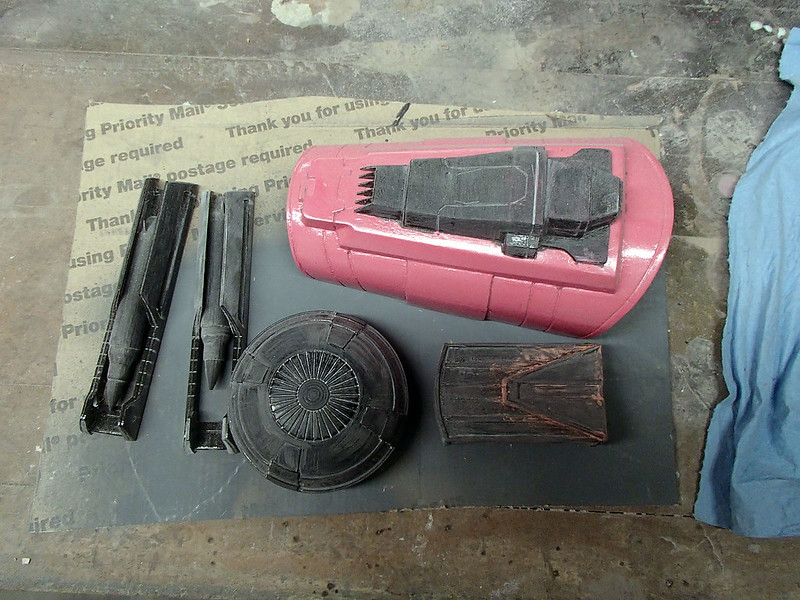
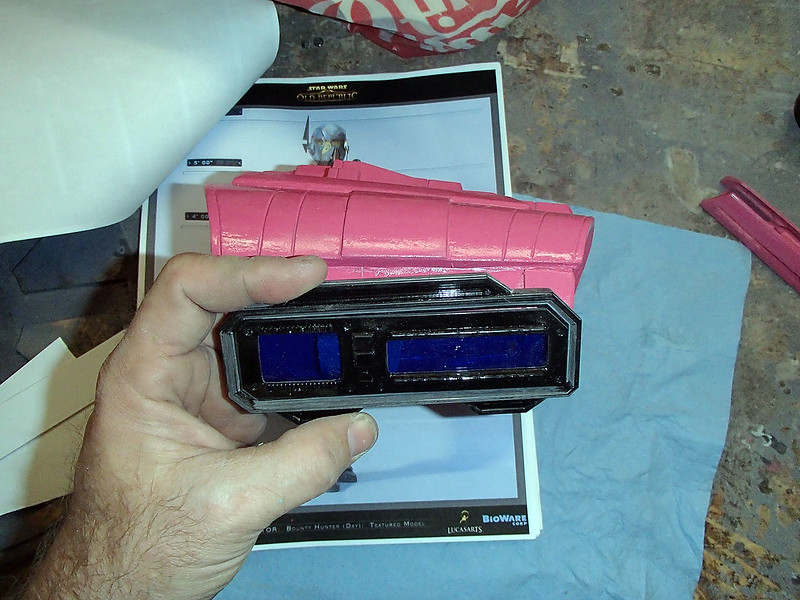
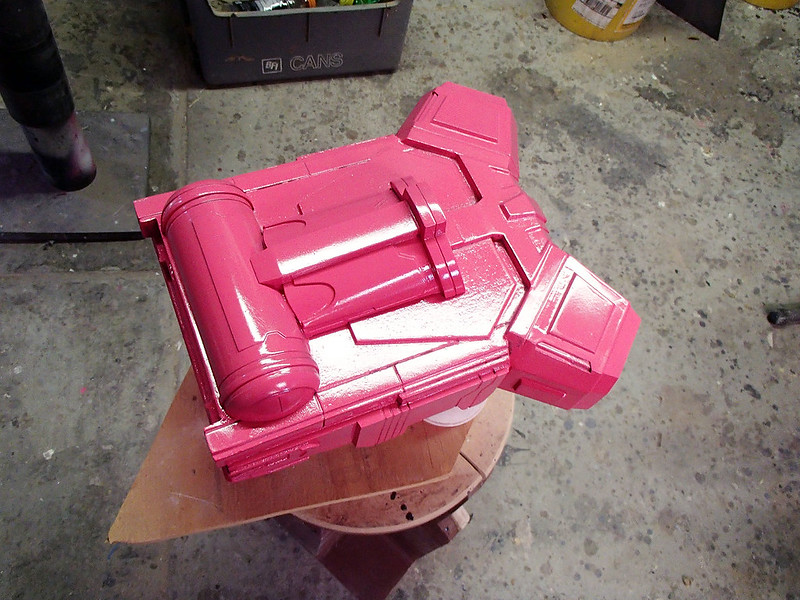
Meanwhile, the main body of the jetpack was given a few coats of my standard lightish-red glossy prototype color:
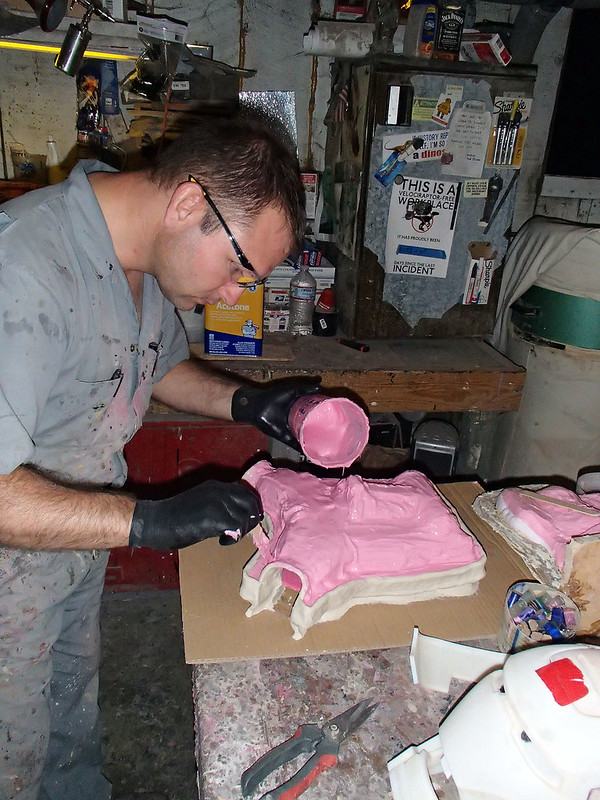
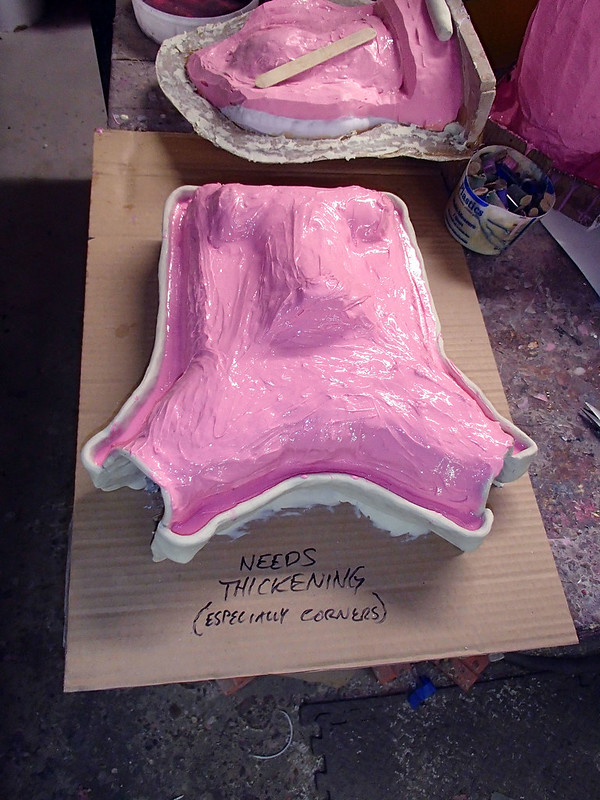
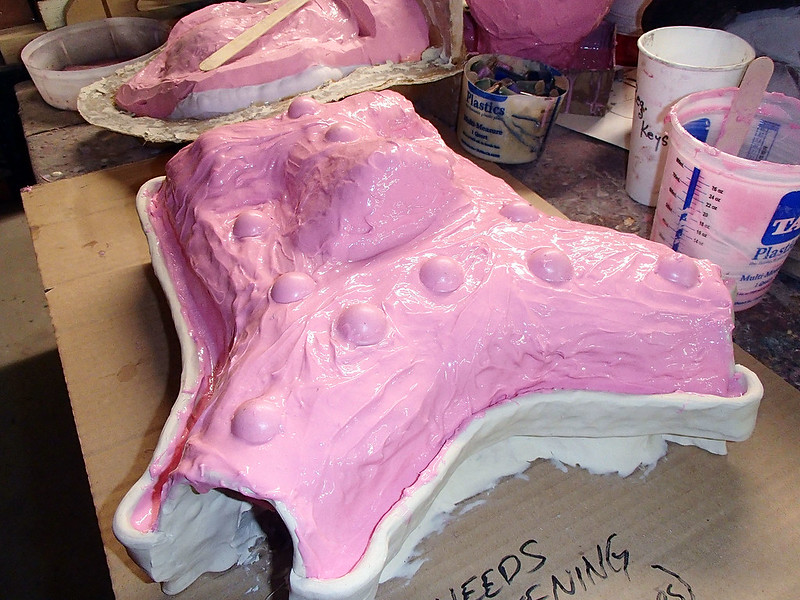
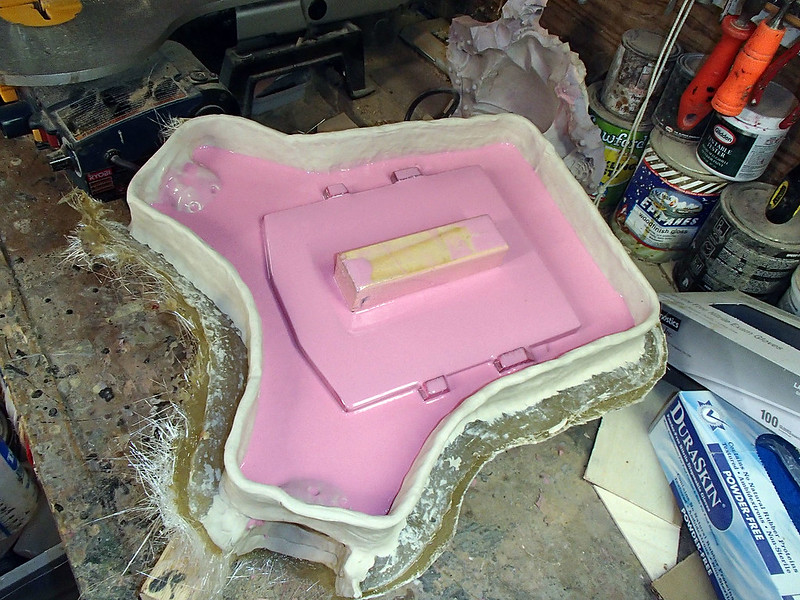
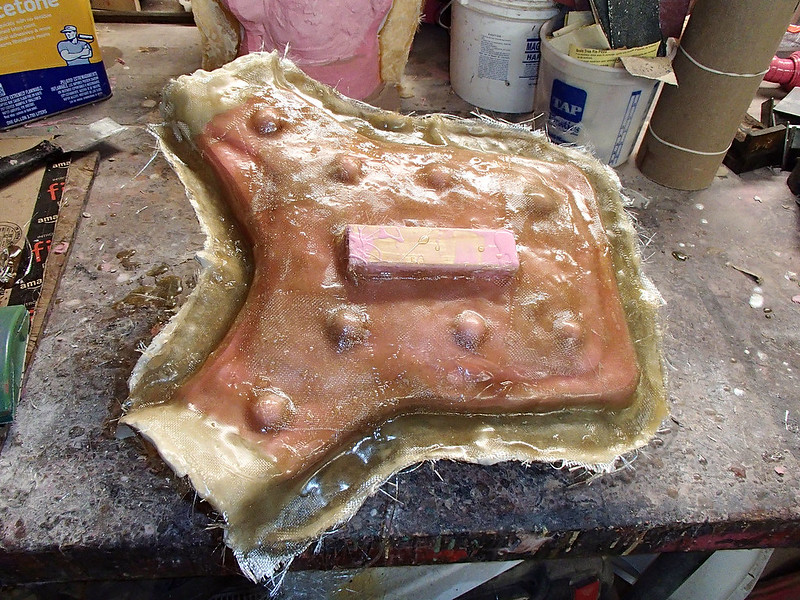
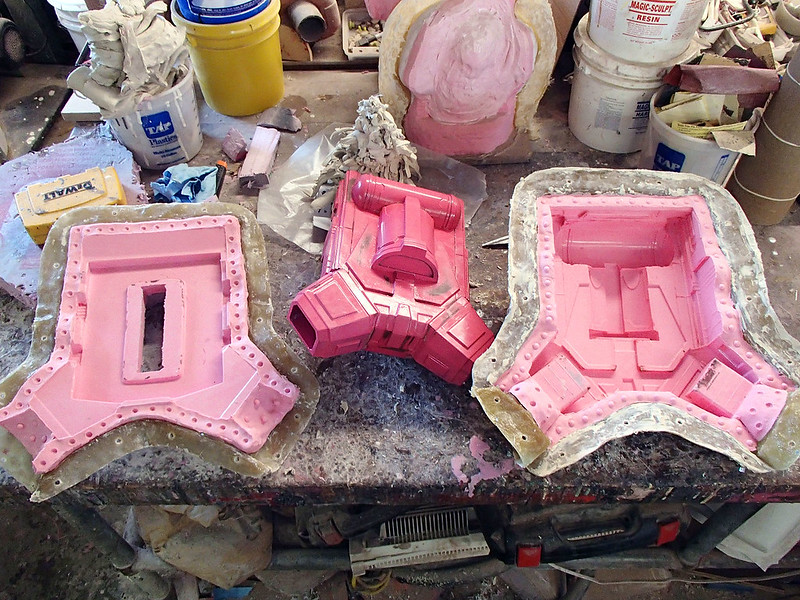
Today the moldmaking began. Here's the silicone print coat for the main body of the jetpack:
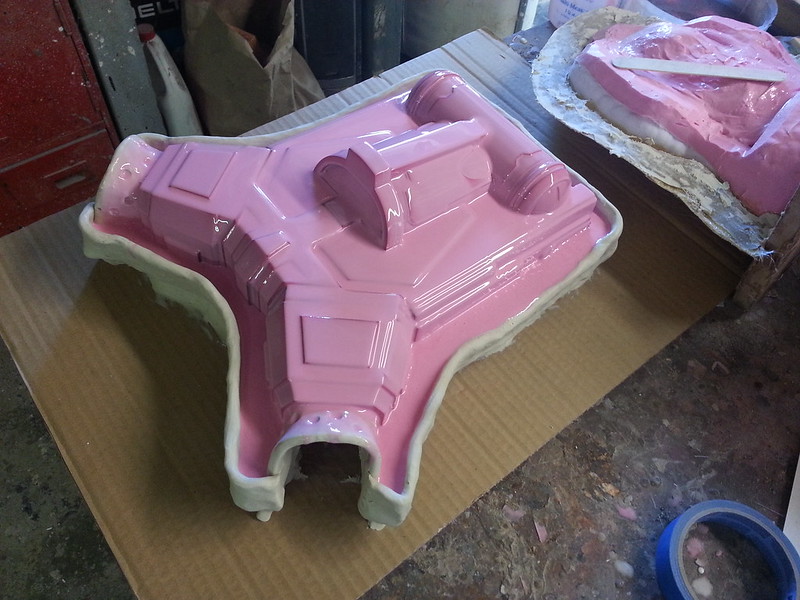
Tomorrow the moldmaking will continue.
While I've been doing that, DW Design Studios has been cranking out most of the vacformed pieces. The other day I got a box full in the mail:
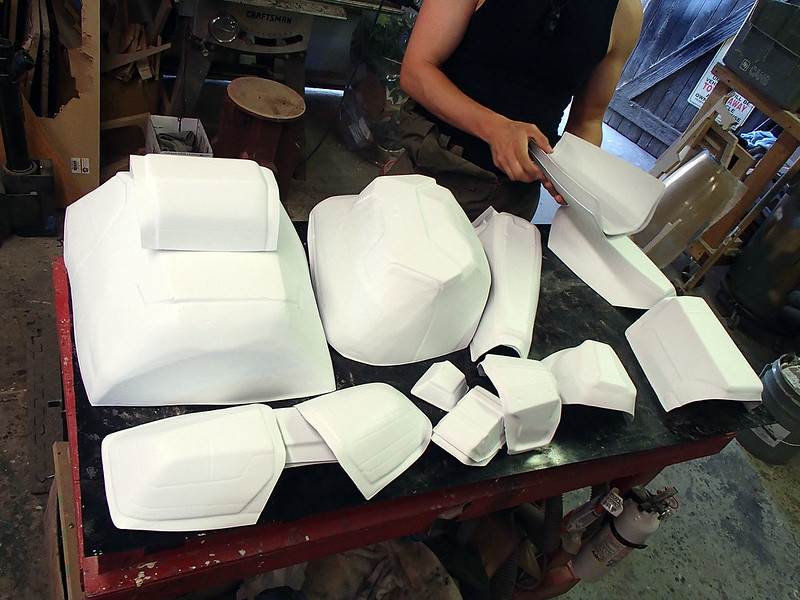
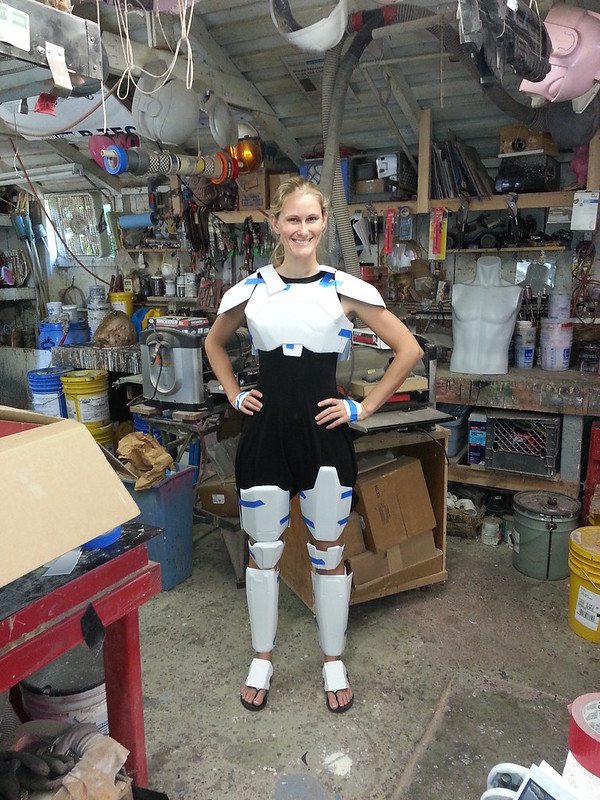
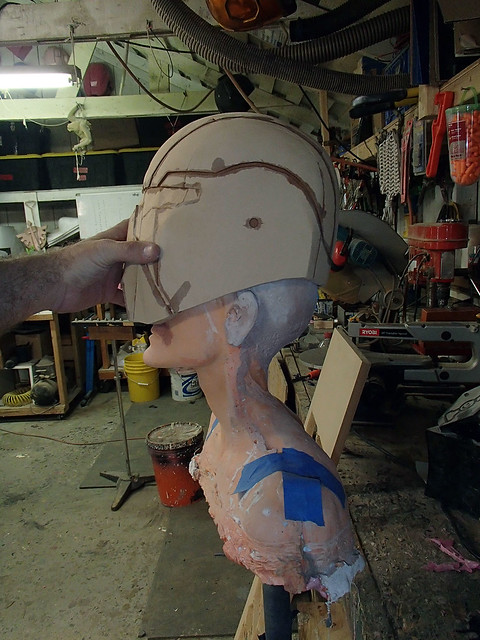
Here's the vacformed parts cut out and fitted onto a duct-tape copy of the girlfriend:
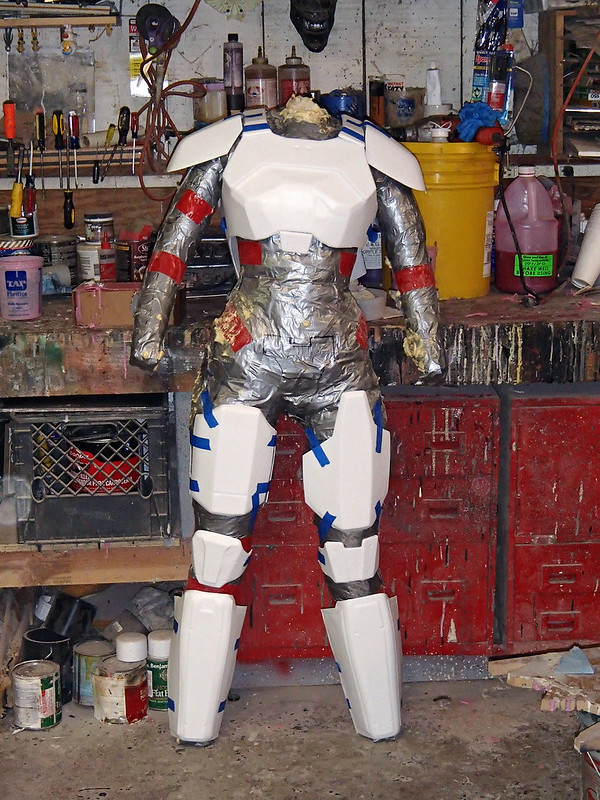
They've got a long way to go and I may end up having to add a few more pieces here and there, but things are coming together. I have until April of 2015 to get it all done, but hopefully I can knock it out sooner and get focused on some of the other outfits we'll be wearing for the event.
Stay tuned...
It turns out I was looking at the beginnings of a set of Shae Vizla armor. Since DW Design Studios is not too far away and I needed to come up with something else for my girlfriend to wear to the upcoming Star Wars Celebration in Anaheim, we started talking about collaborating. They're doing the bulk of the work, but I'm helping out with some of my digital fabrication tools. Namely, my Objet30 3D printer (nicknamed "Jarvis") and my Carvewright CNC machine (nicknamed "Lopez").
Since I'm no good at 3D modelling, I've also been commissioning Fierfek to tune up some of his Shae Vizla parts so I can feed them to the machines. Here's the first handful of parts that Jarvis built:
These are just a few of the detail parts for the helmet:
I also had Jarvis make the belt buckle with the recessed window for a status display:
Here it is all cleaned up prior to sanding:
Out in the dusty end of the workshop, Lopez started carving out jetpack parts:
Here's all of the pieces of the main body tacked together and primed:
With the addition of a few detail parts, everything was shaping up rather quickly:
Then it got a few more coats of primer:
The last few 3D printed parts will be cast separately:
Meanwhile, the main body of the jetpack was given a few coats of my standard lightish-red glossy prototype color:
Today the moldmaking began. Here's the silicone print coat for the main body of the jetpack:
Tomorrow the moldmaking will continue.
While I've been doing that, DW Design Studios has been cranking out most of the vacformed pieces. The other day I got a box full in the mail:
Here's the vacformed parts cut out and fitted onto a duct-tape copy of the girlfriend:
They've got a long way to go and I may end up having to add a few more pieces here and there, but things are coming together. I have until April of 2015 to get it all done, but hopefully I can knock it out sooner and get focused on some of the other outfits we'll be wearing for the event.
Stay tuned...
Last edited: