Re: Scratch Built Red Bull Delivery Ship 3011AD, The Nylon Gag MK.1
Afternoon All,
Thanks for the positive feedback peeps, very motivating, sorry but i'm definately not 'hero' material and I really can't stop it until it looks like the vision in my head, which could take a while.
Well after a marathon build day, i managed to get some serious bench time the next couple of days also, put in a couple of 8 hour days. If only i could do this for a job, don't think my better half would like it some how, but anyhoo, lets see what did i manage the last couple of days.........PIX
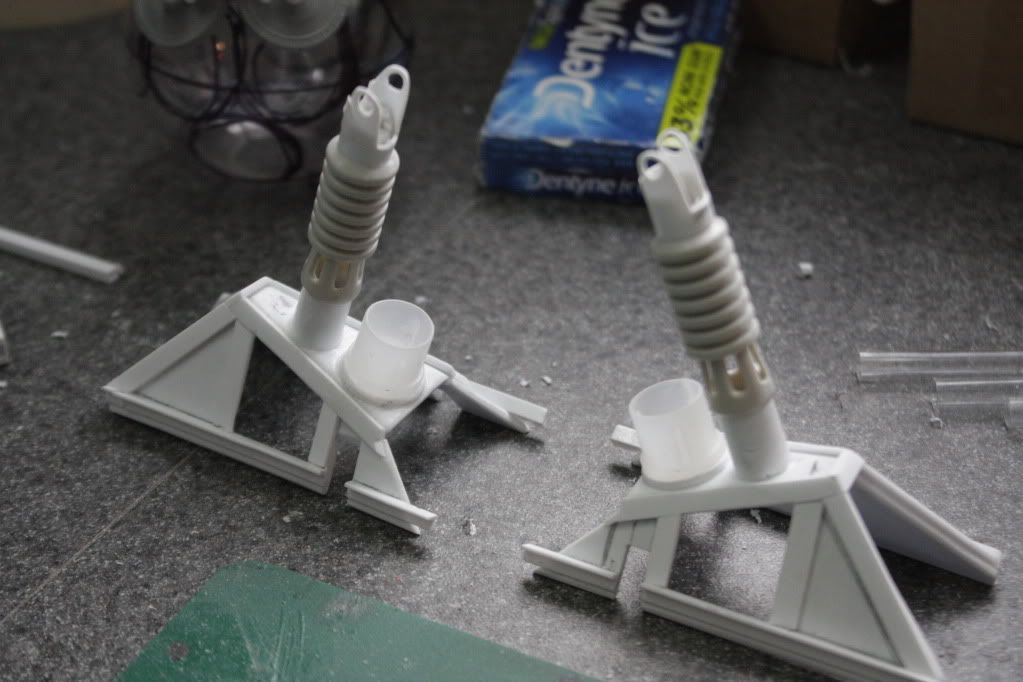
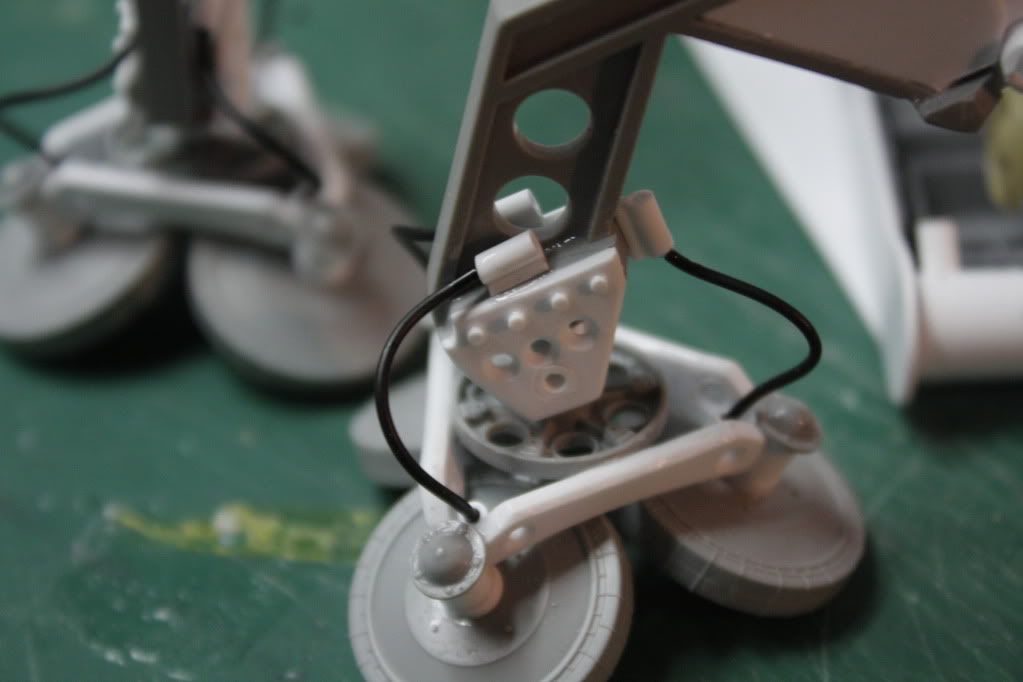
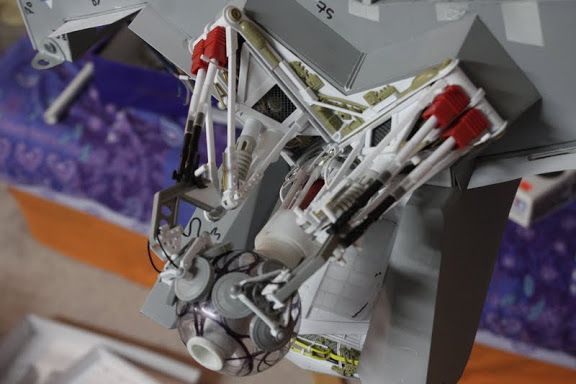
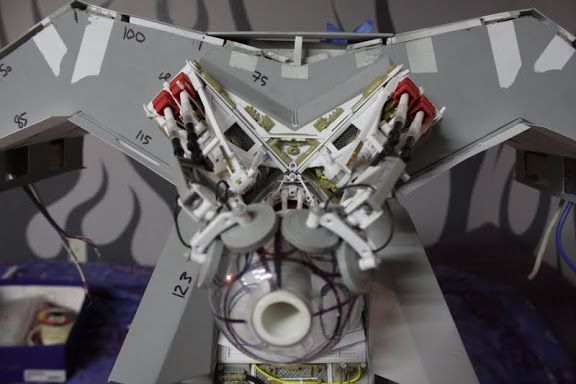
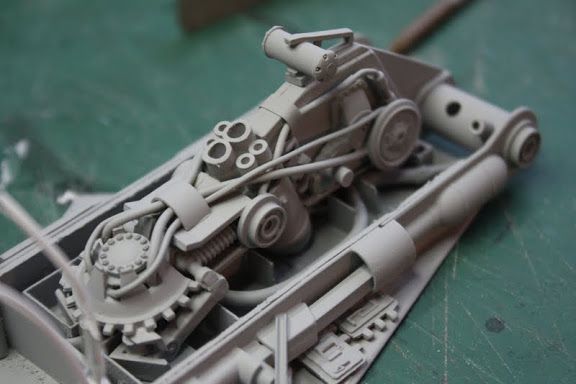
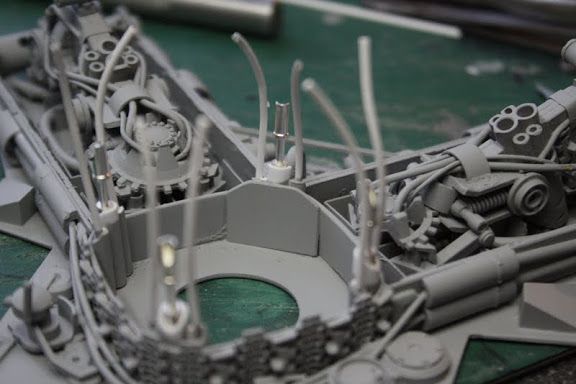
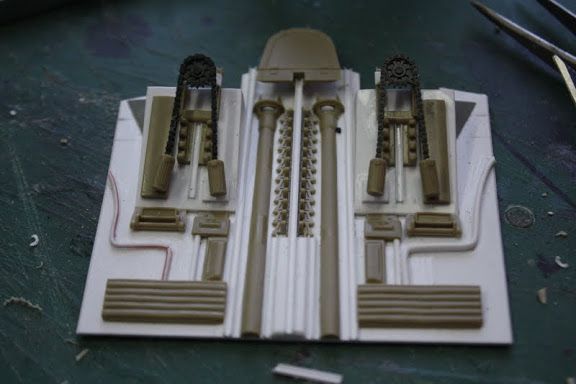
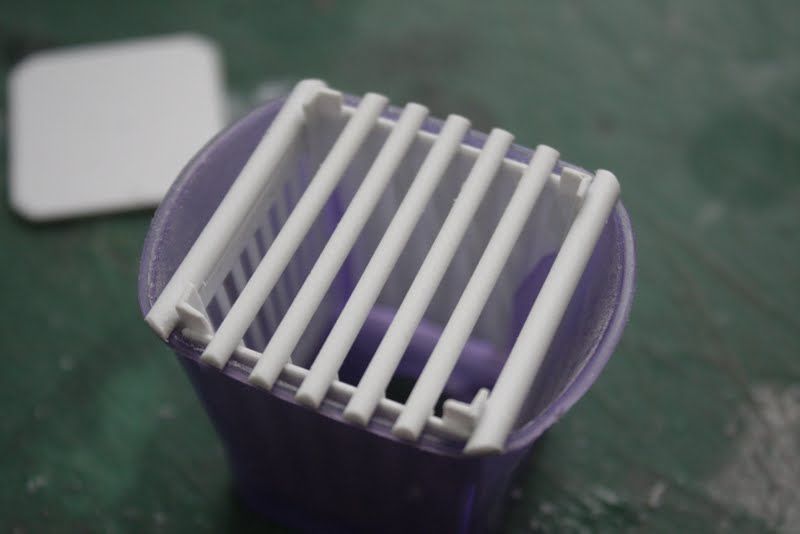
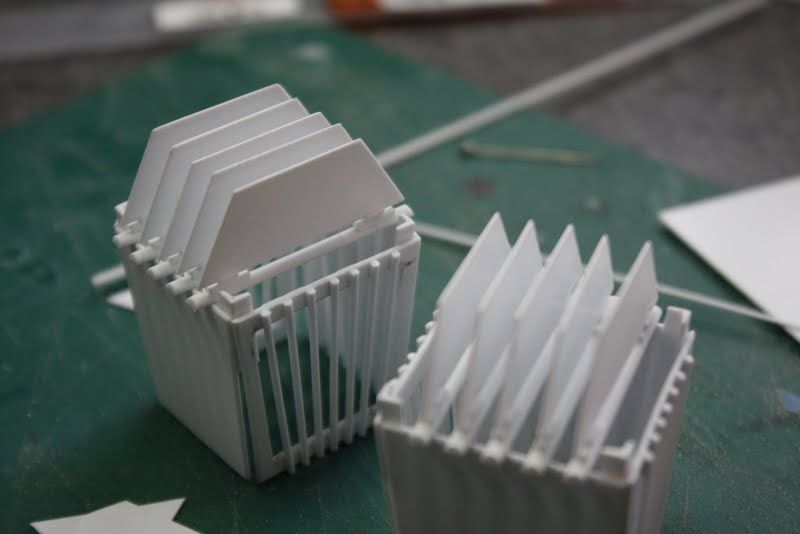
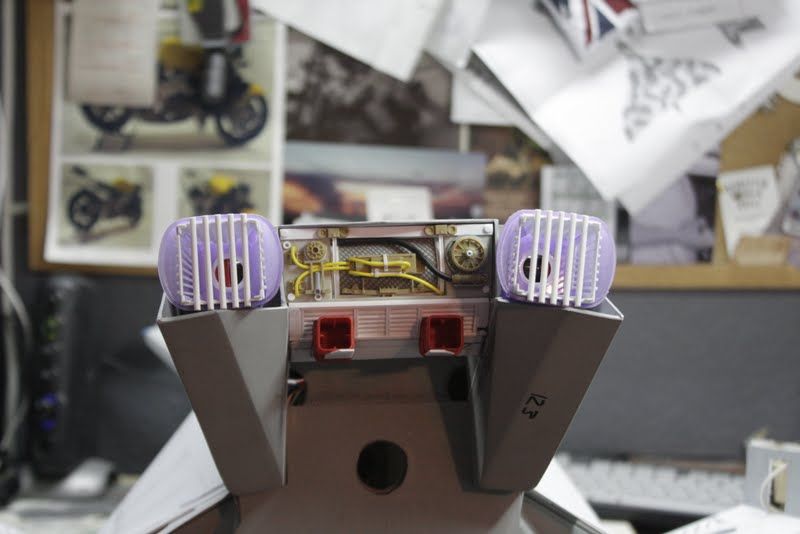
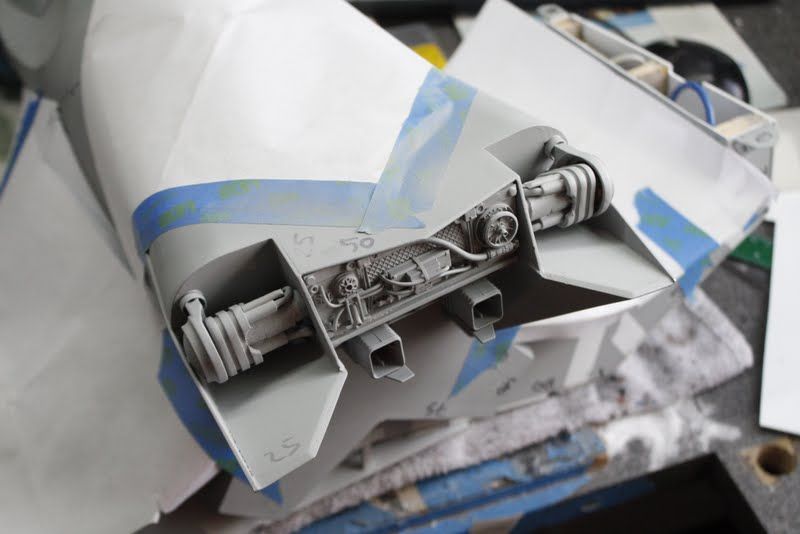
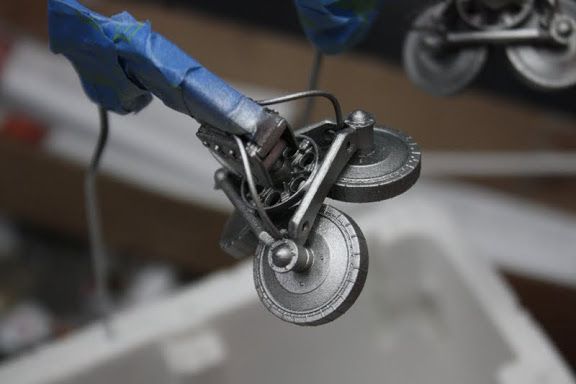
Continued building the cages that will support the steering vanes
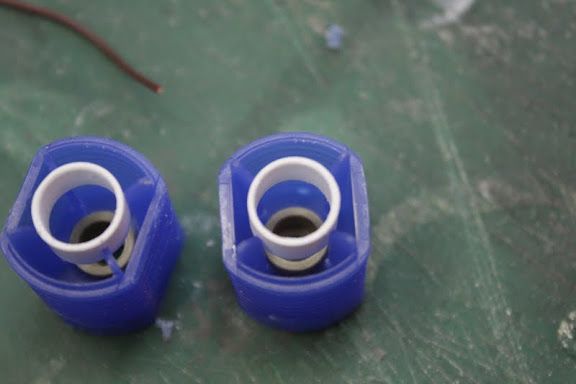
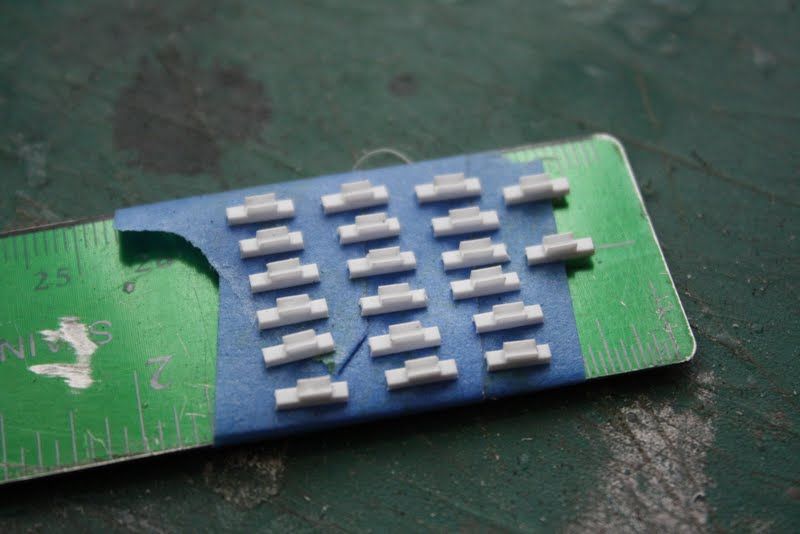
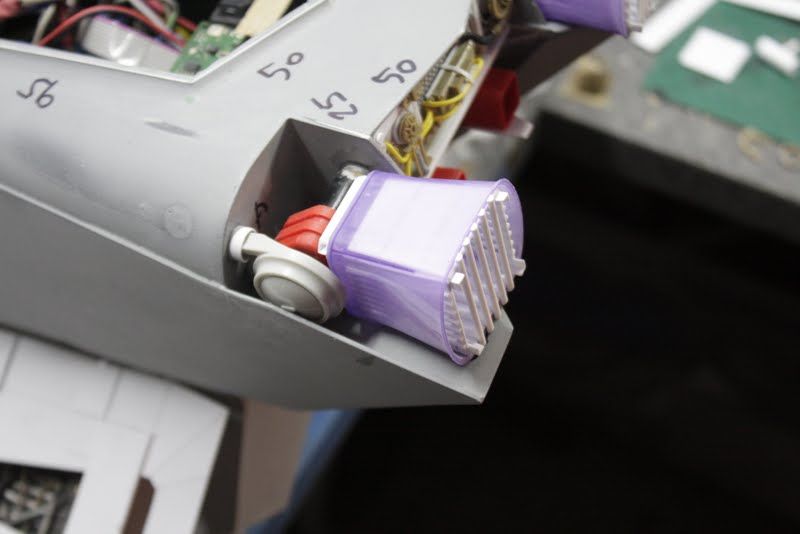
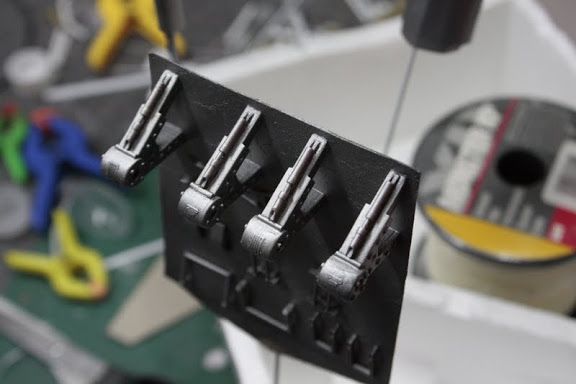
Made detail and a back plate for the nozzle
Hinges and steering vanes
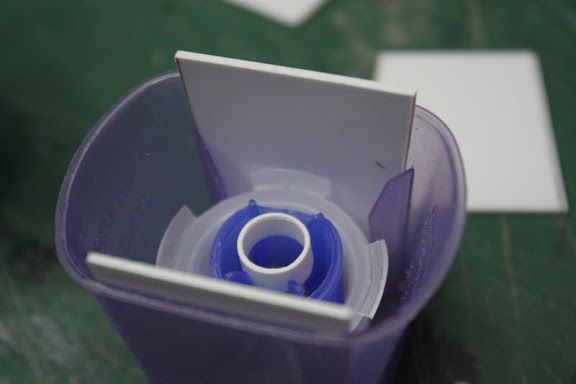
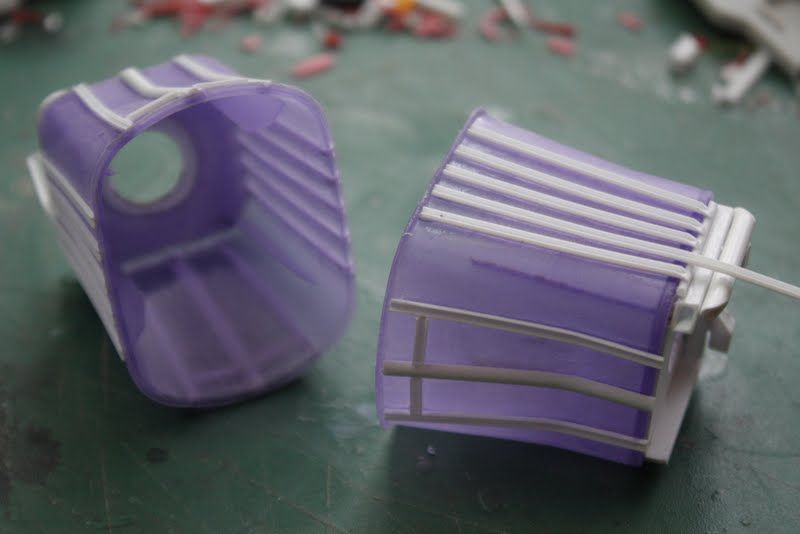
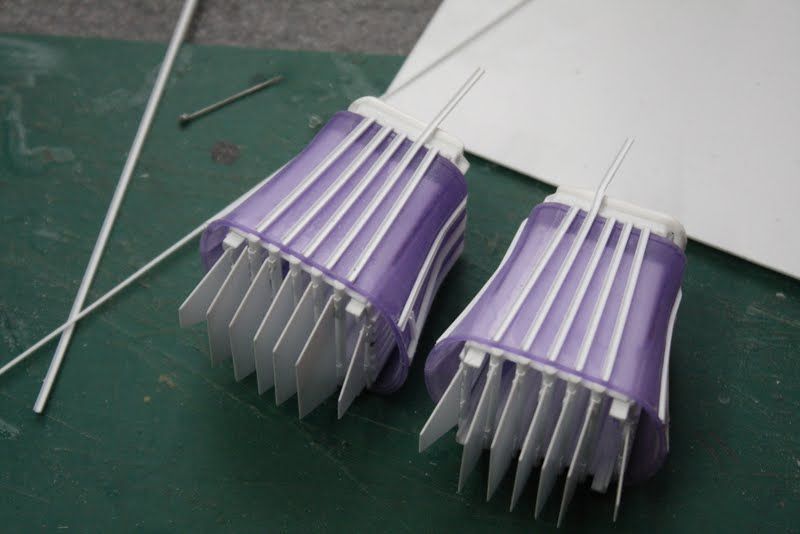
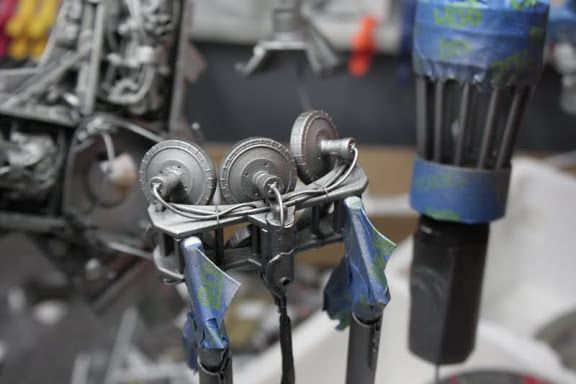
Assembled
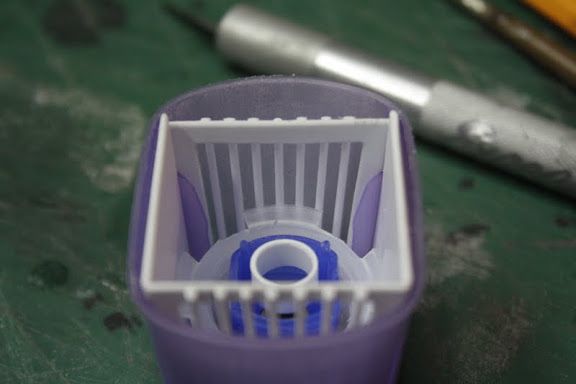
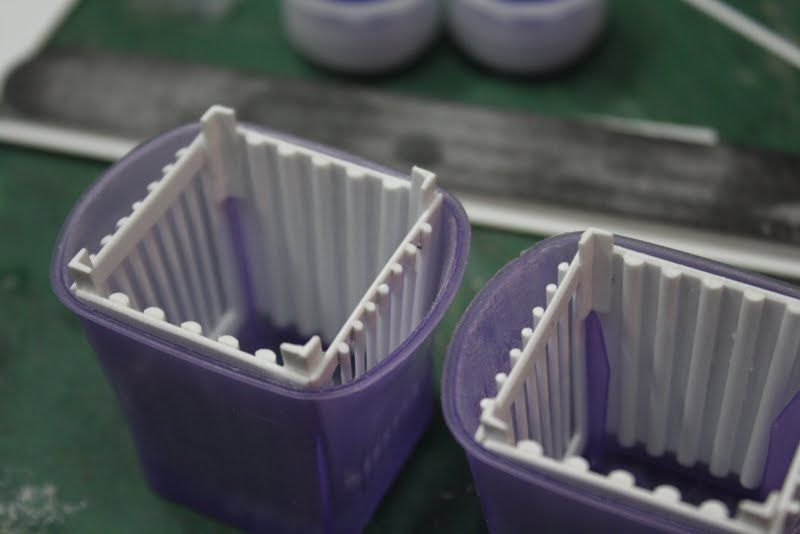
And primered
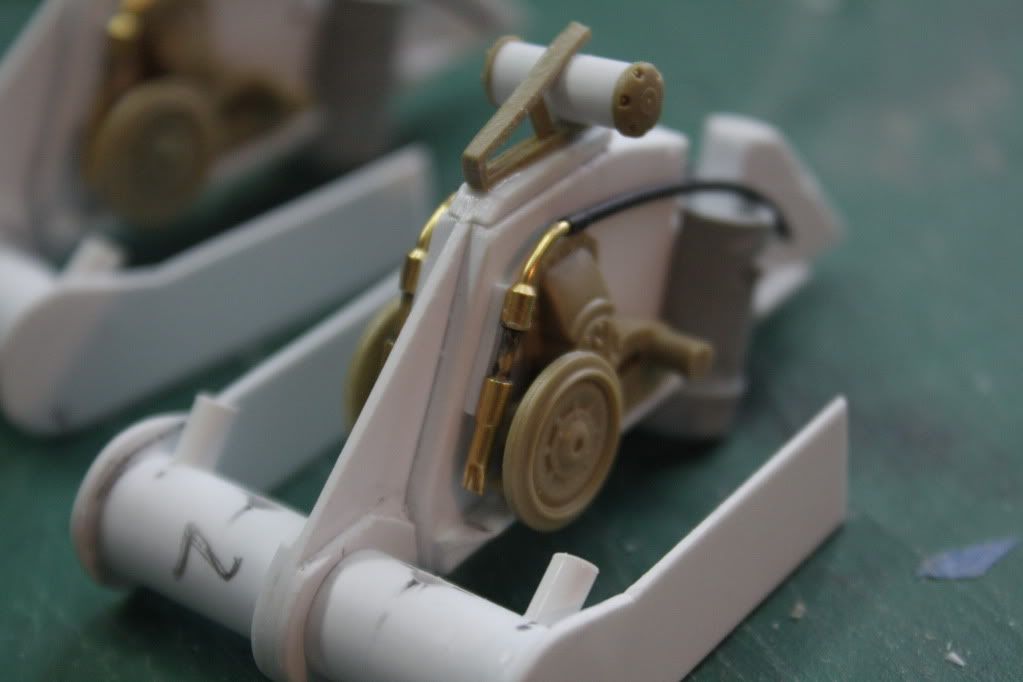
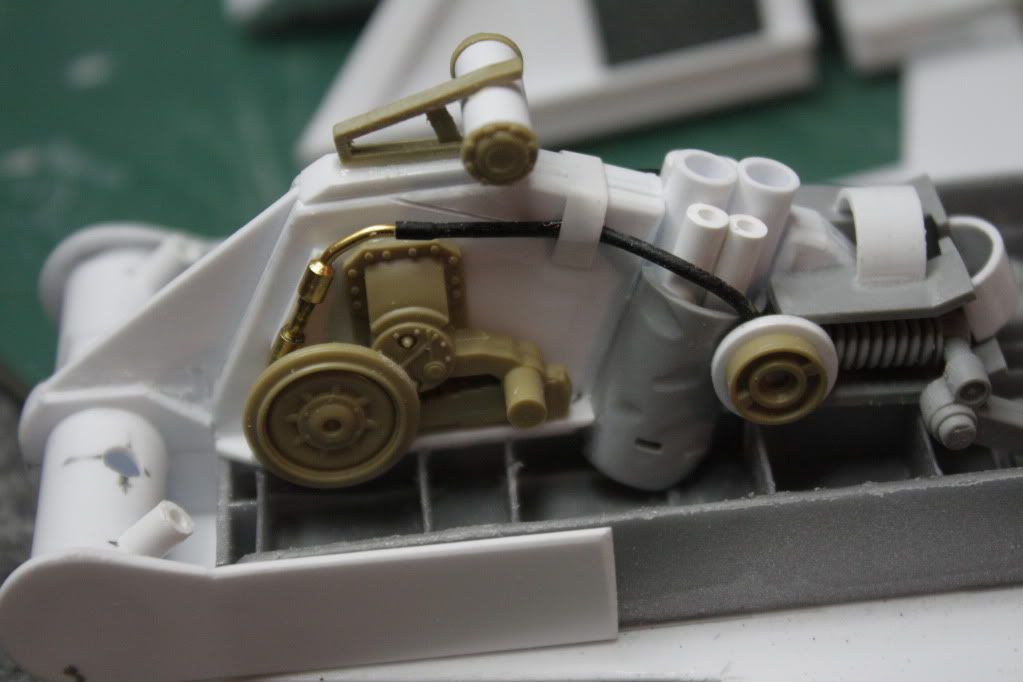
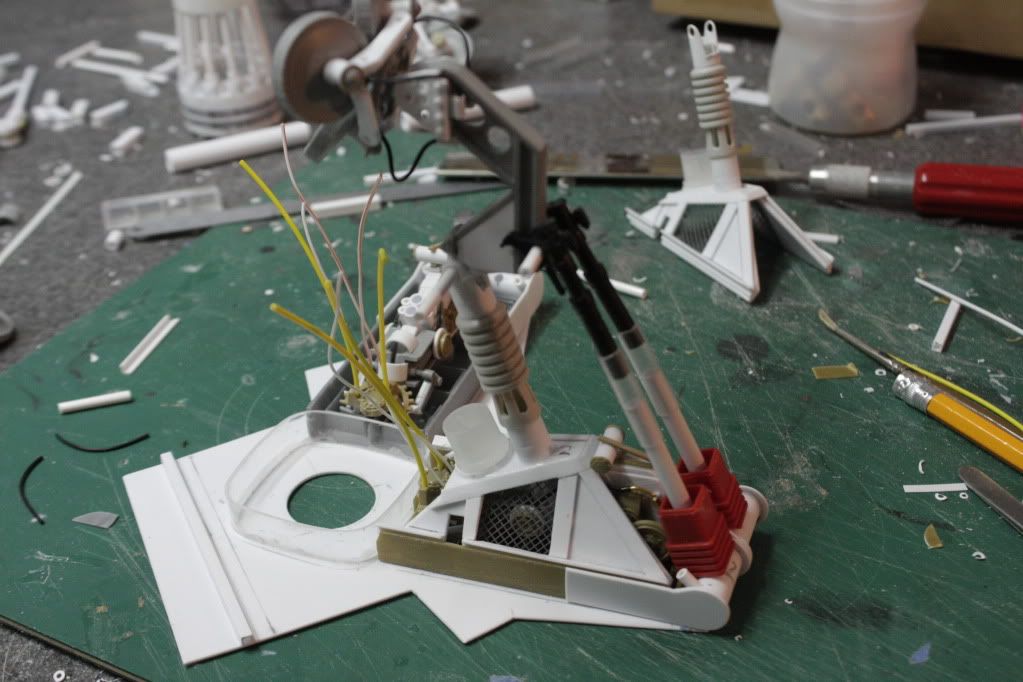
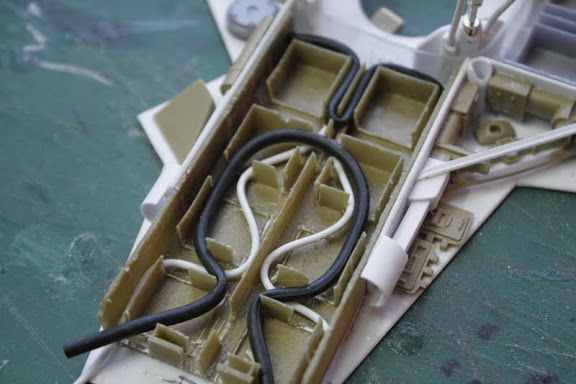
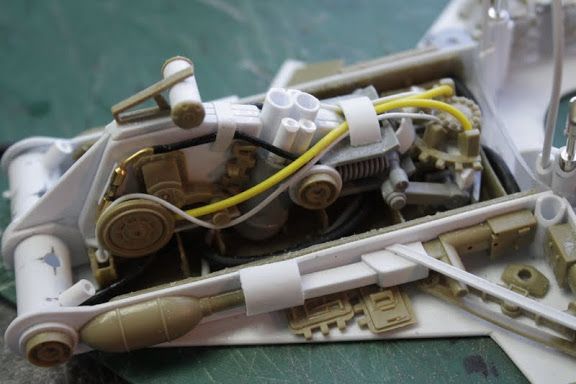
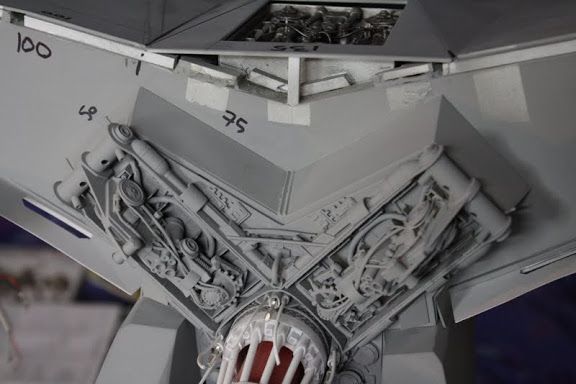
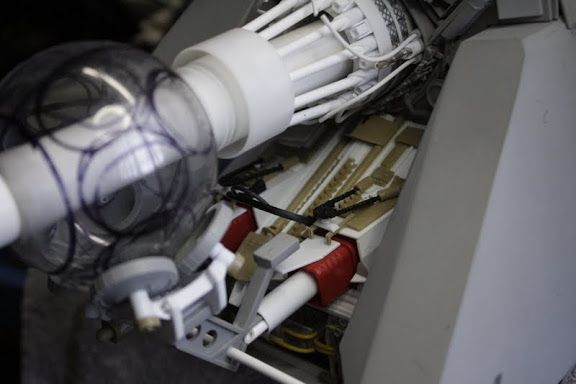
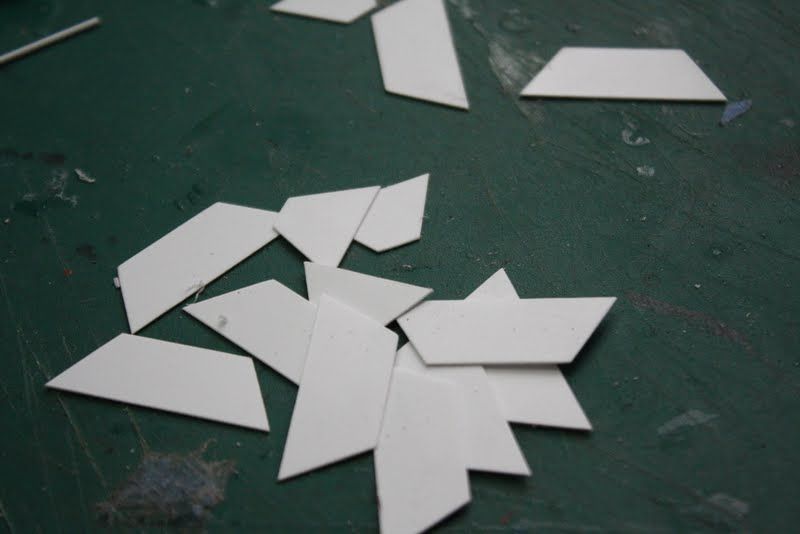
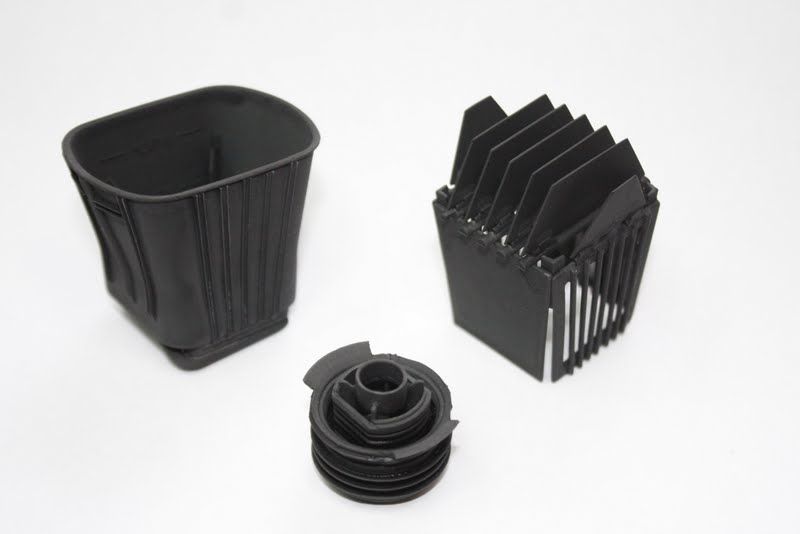
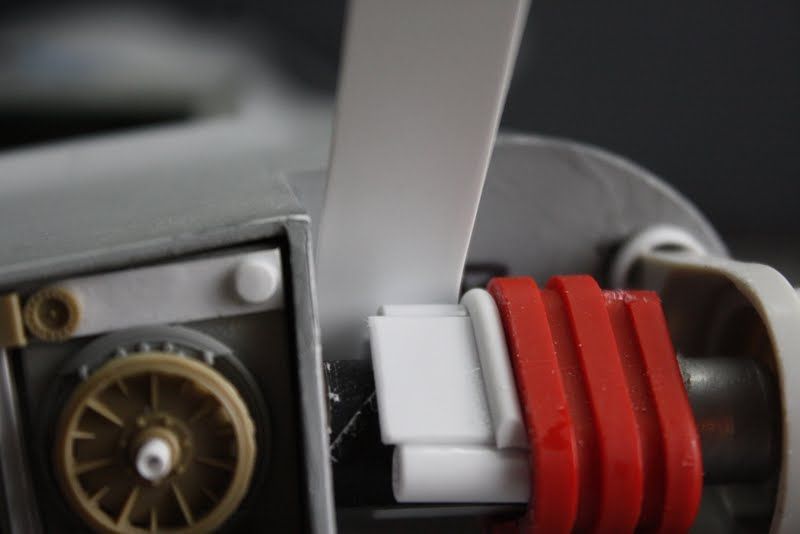
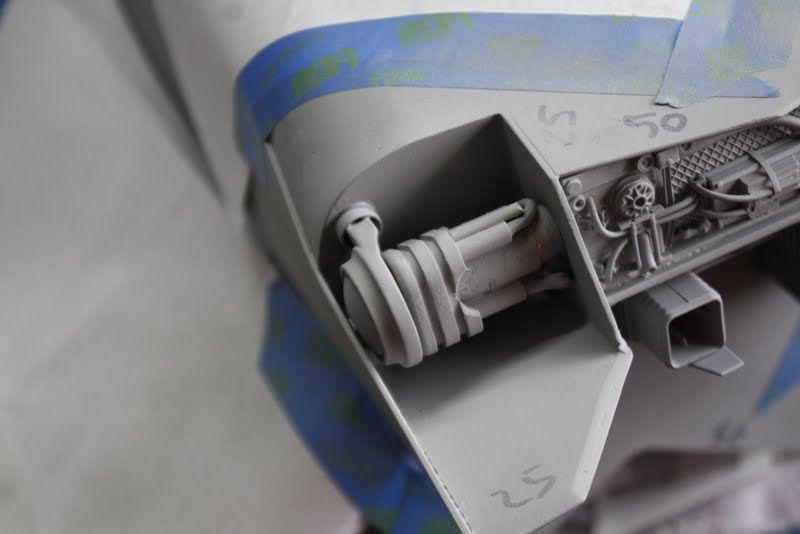
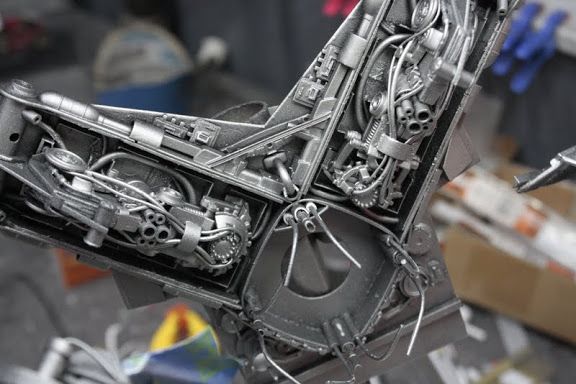
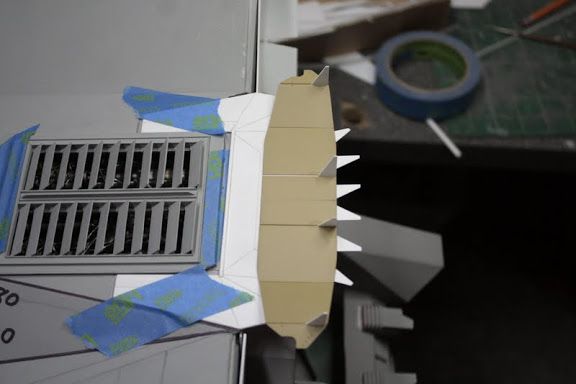
This next piece i was building at the same time as the nozzle assemblies and was one of the hardest i have done so far. The fit was tremendously tight and for some reason i glued it in place before i'd finished the whole assembly. But in the end it turned out good.
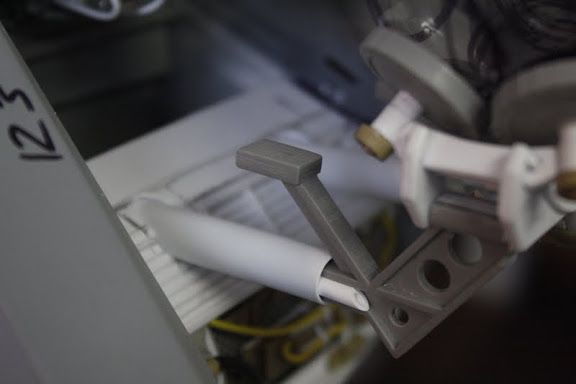
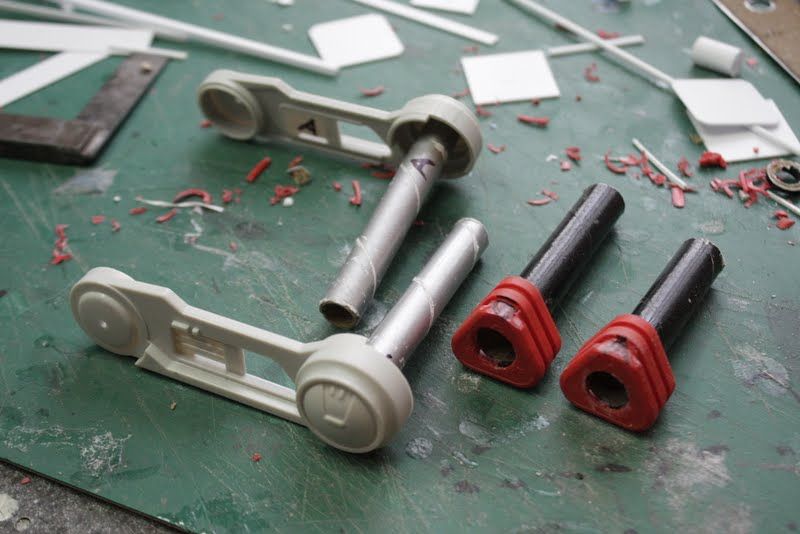
These were the pieces i wanted to use
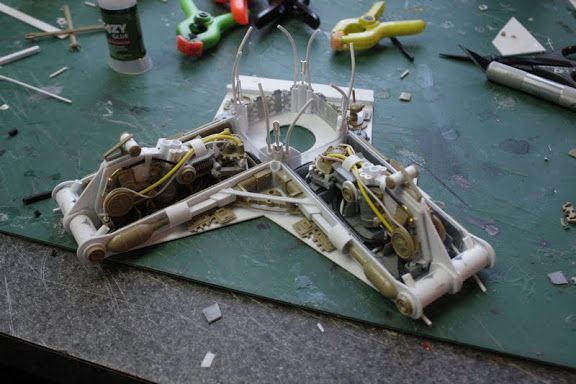
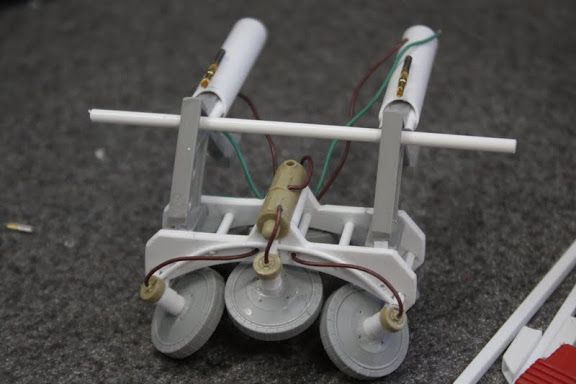
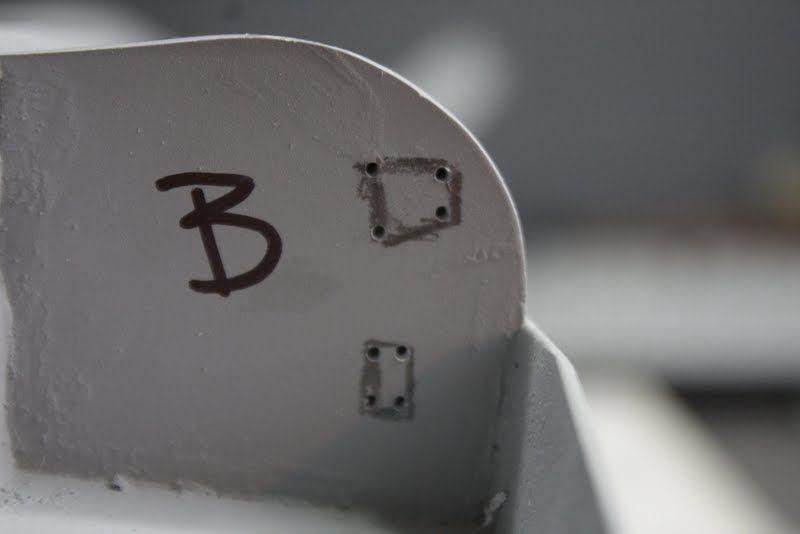
Marked and drilled holes for the cut down frame to fit in
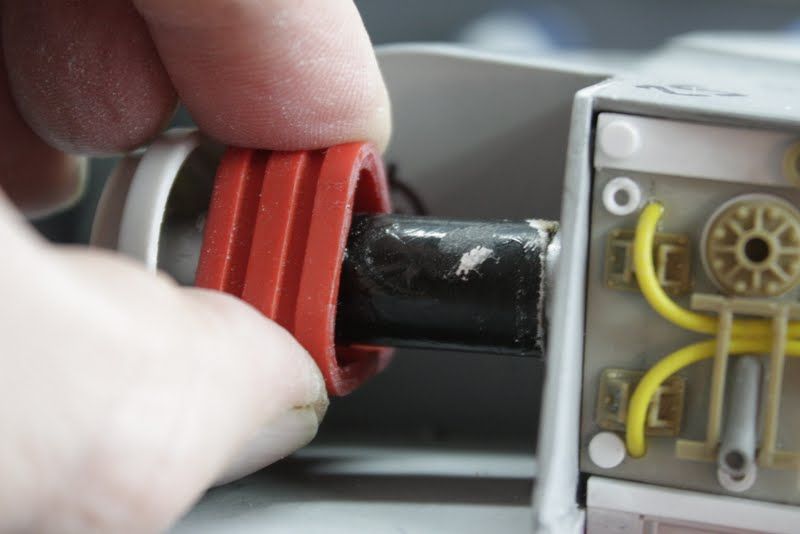
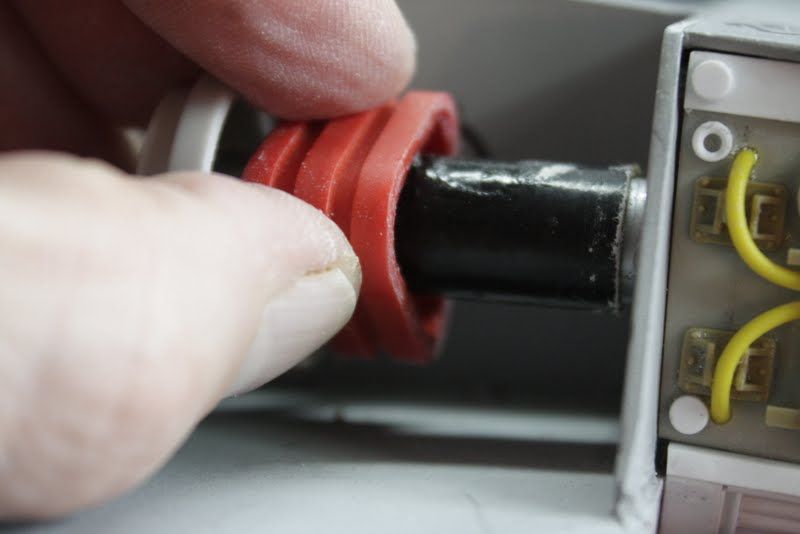
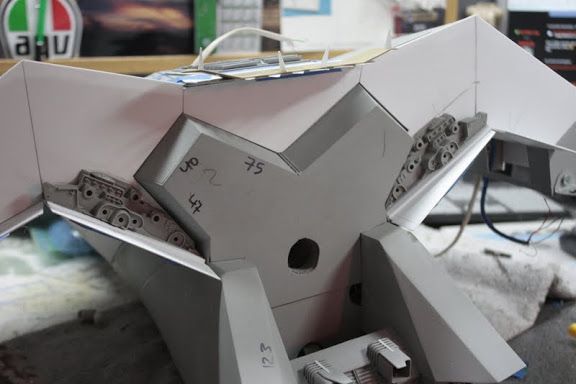
Cut and assembled the cardboard tubes, this is a functioning joint
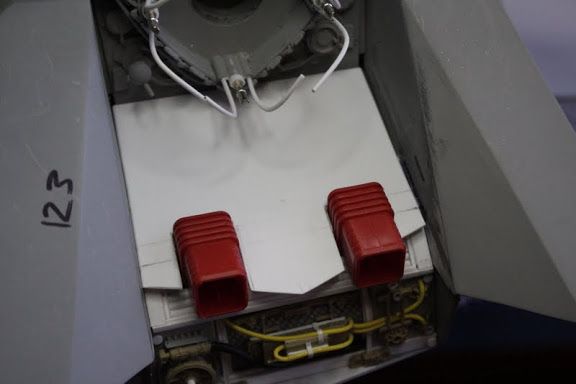
Tested the look of the assembly
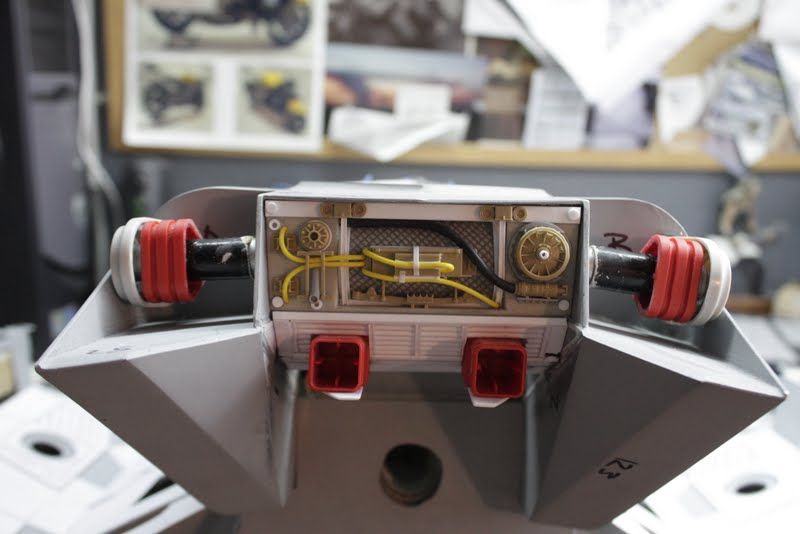
Then i added some detail to make the cardboard tubes look better, all this was done with everything in position, very fiddly
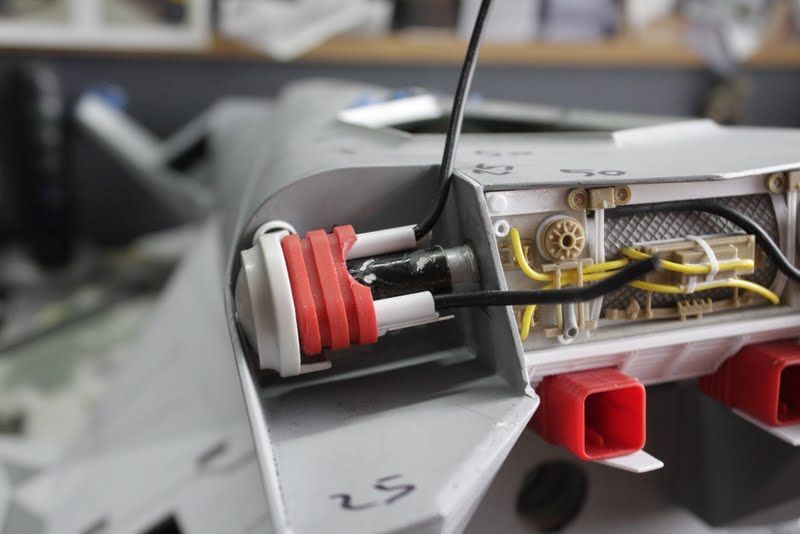
And finally with its coat of primer
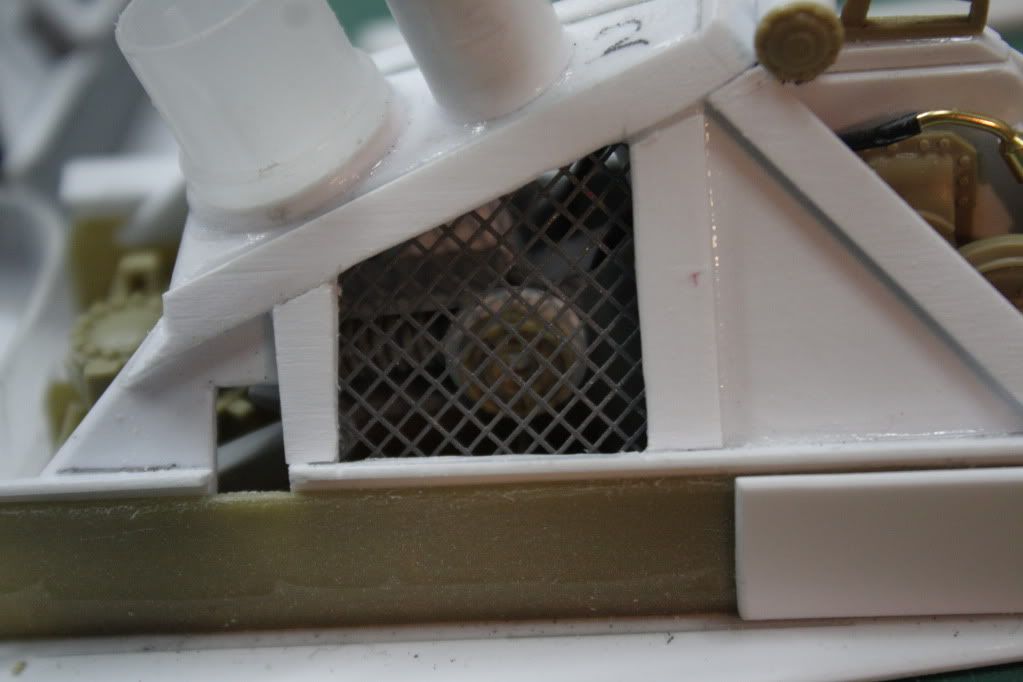
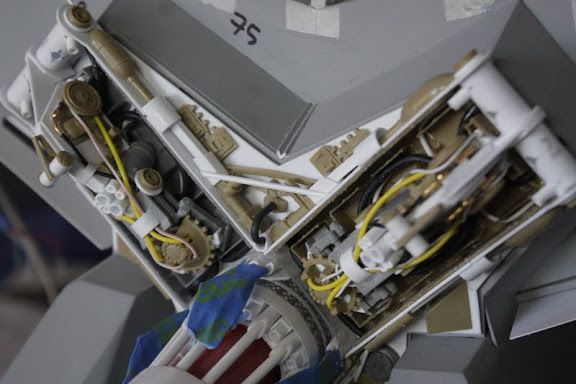
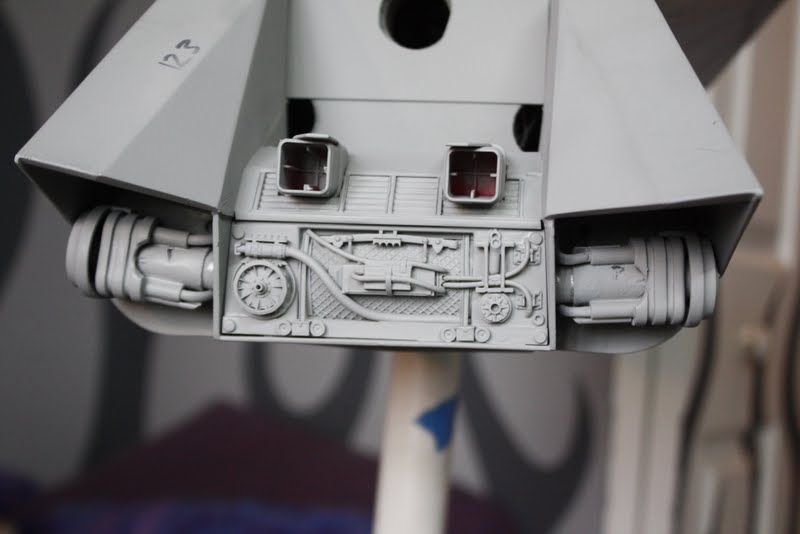
Thats the story so far, just gave the whole hitch assembly a coat of primer. Not sure of the final colours yet.
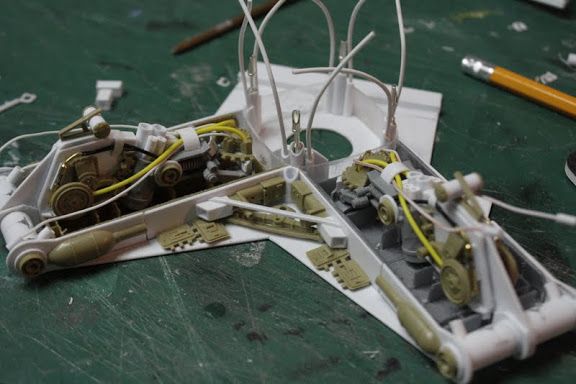
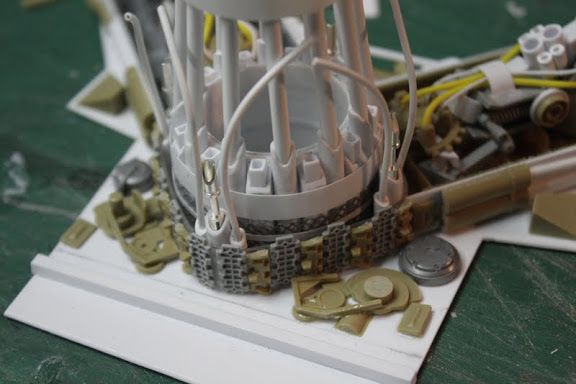
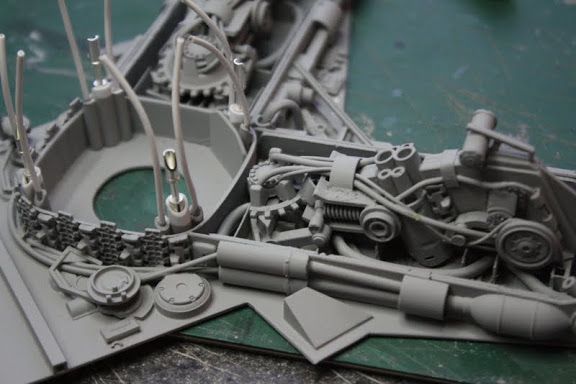
Need to start the detail on the back of the main wing but that ties in with the skinning of the upper wing surfaces, i want to incorperate some steering flaps on one of the upper wing surfaces at the back and i need to think about how i want it to look before i start, so i need to think about it for a while.
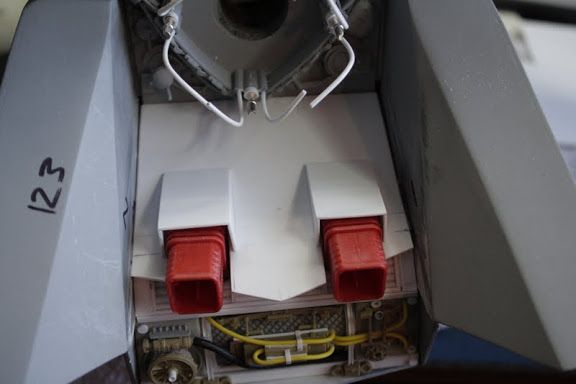
I do have another detail tub to do for the top of the wing, just behind the radar/cannon cut out that will be some kind of pumping hub/distribution area, so i might start on that next.
Stay tuned folks
Thanks for stopping by
Gagster
")