Eric Ardros
Sr Member
As I just finished the prep work on this and sent it off to its new owner last Saturday, I figured I'd share a few WiP pics with everyone here:
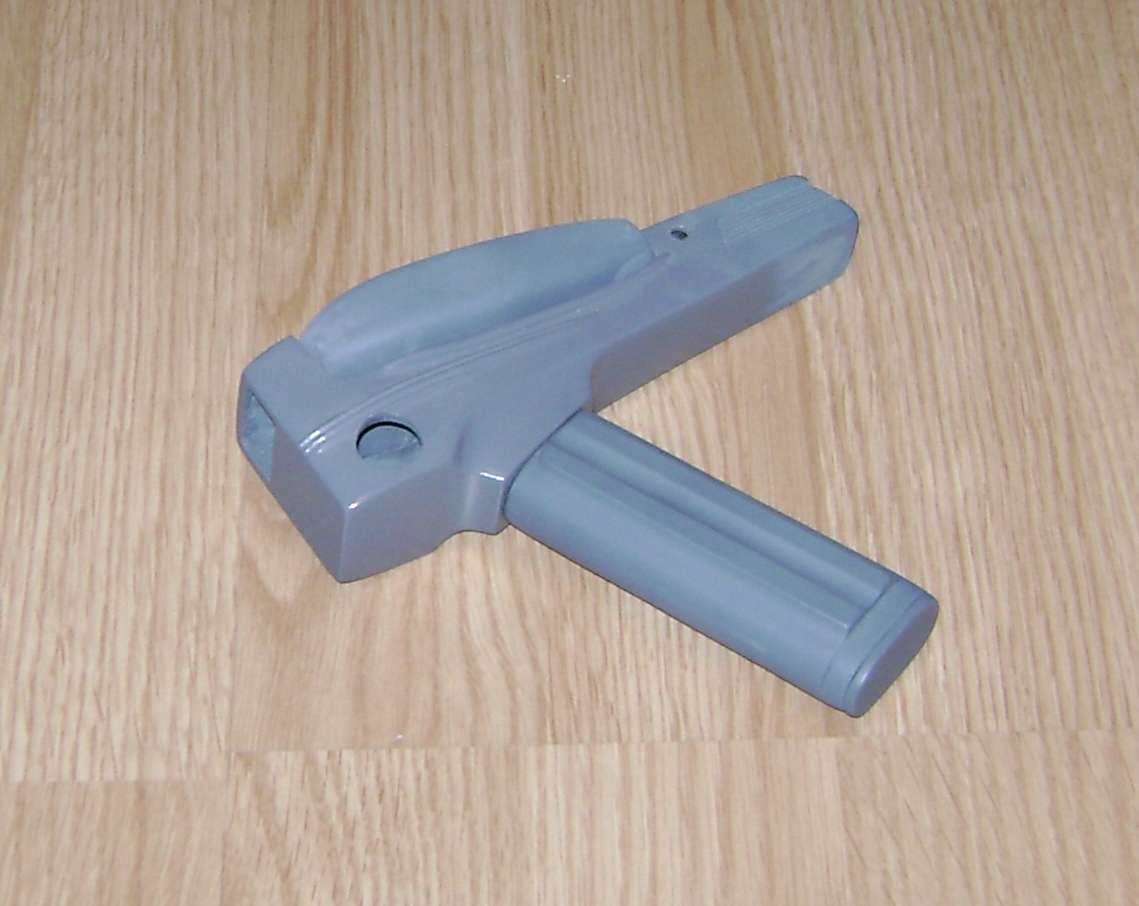

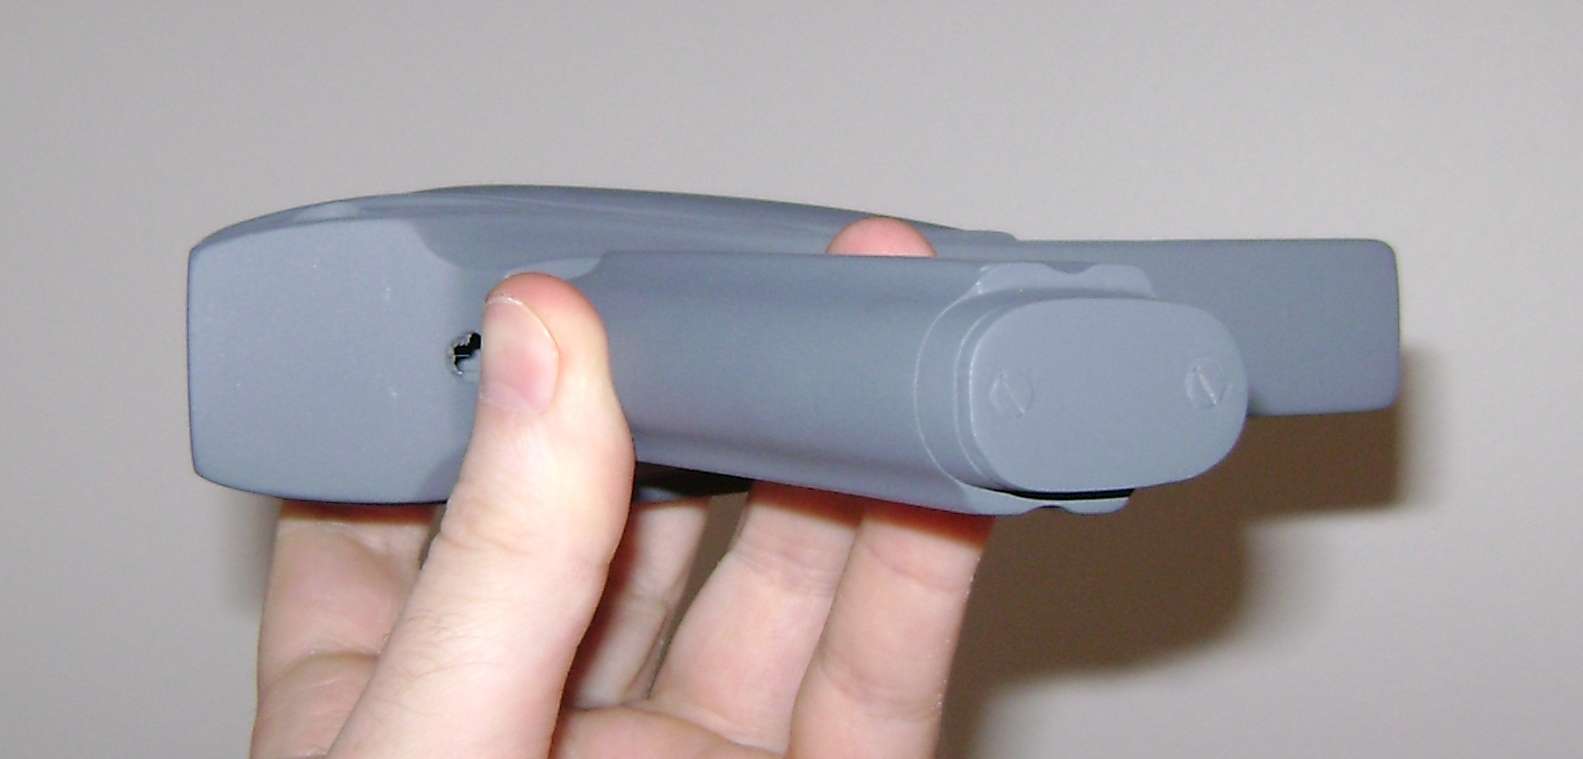
This was one of three such kits I had lying around, back when Rshanko still made and sold his fiberglass P1/P2 kits.
The other two I plan on having made into hero units (1 B&W, 1 Grey/Bronze), so figured I should offer this one to a friend here, who'd mentioned wanting to do up a nice mid-grade TOS Phaser for his collection.
I'd already done a fair amount of work on it a while back, but decided to do the rest of the prep work so that all the new owner will have to do is install the metal upgrade parts, paint it and have it ready to display.
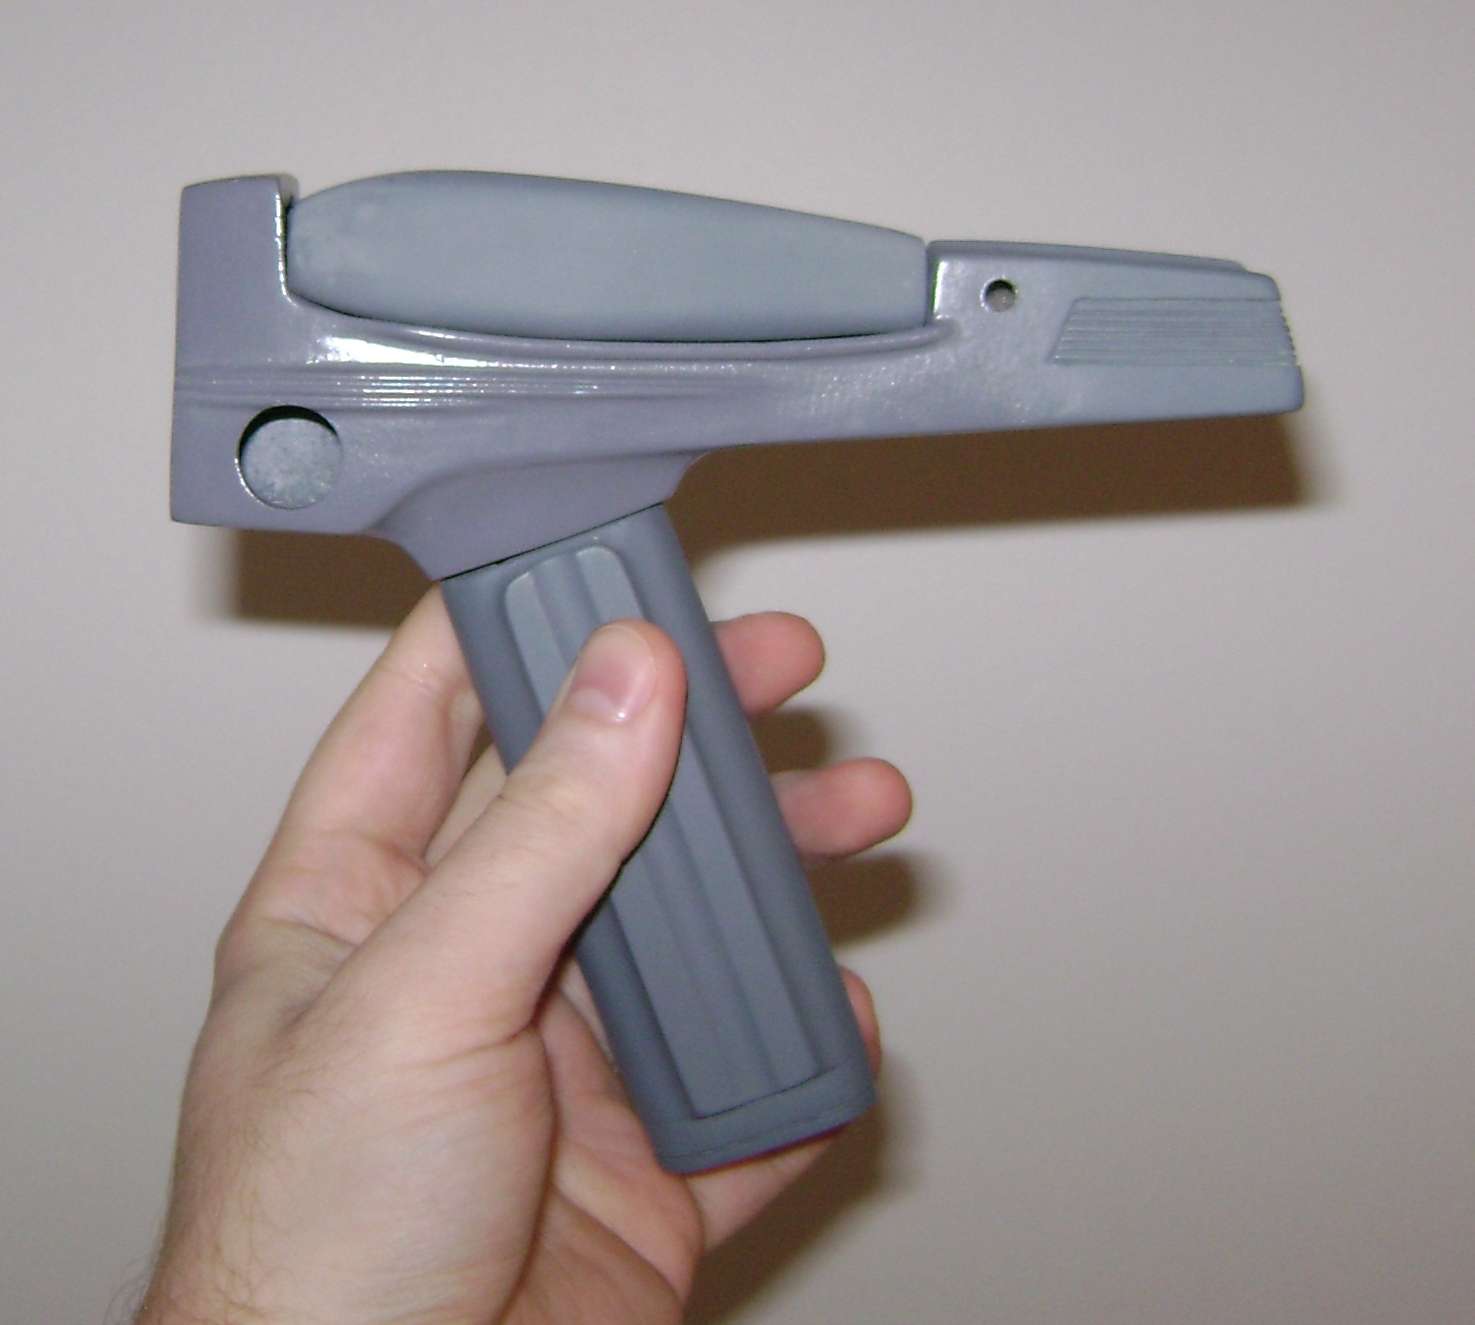
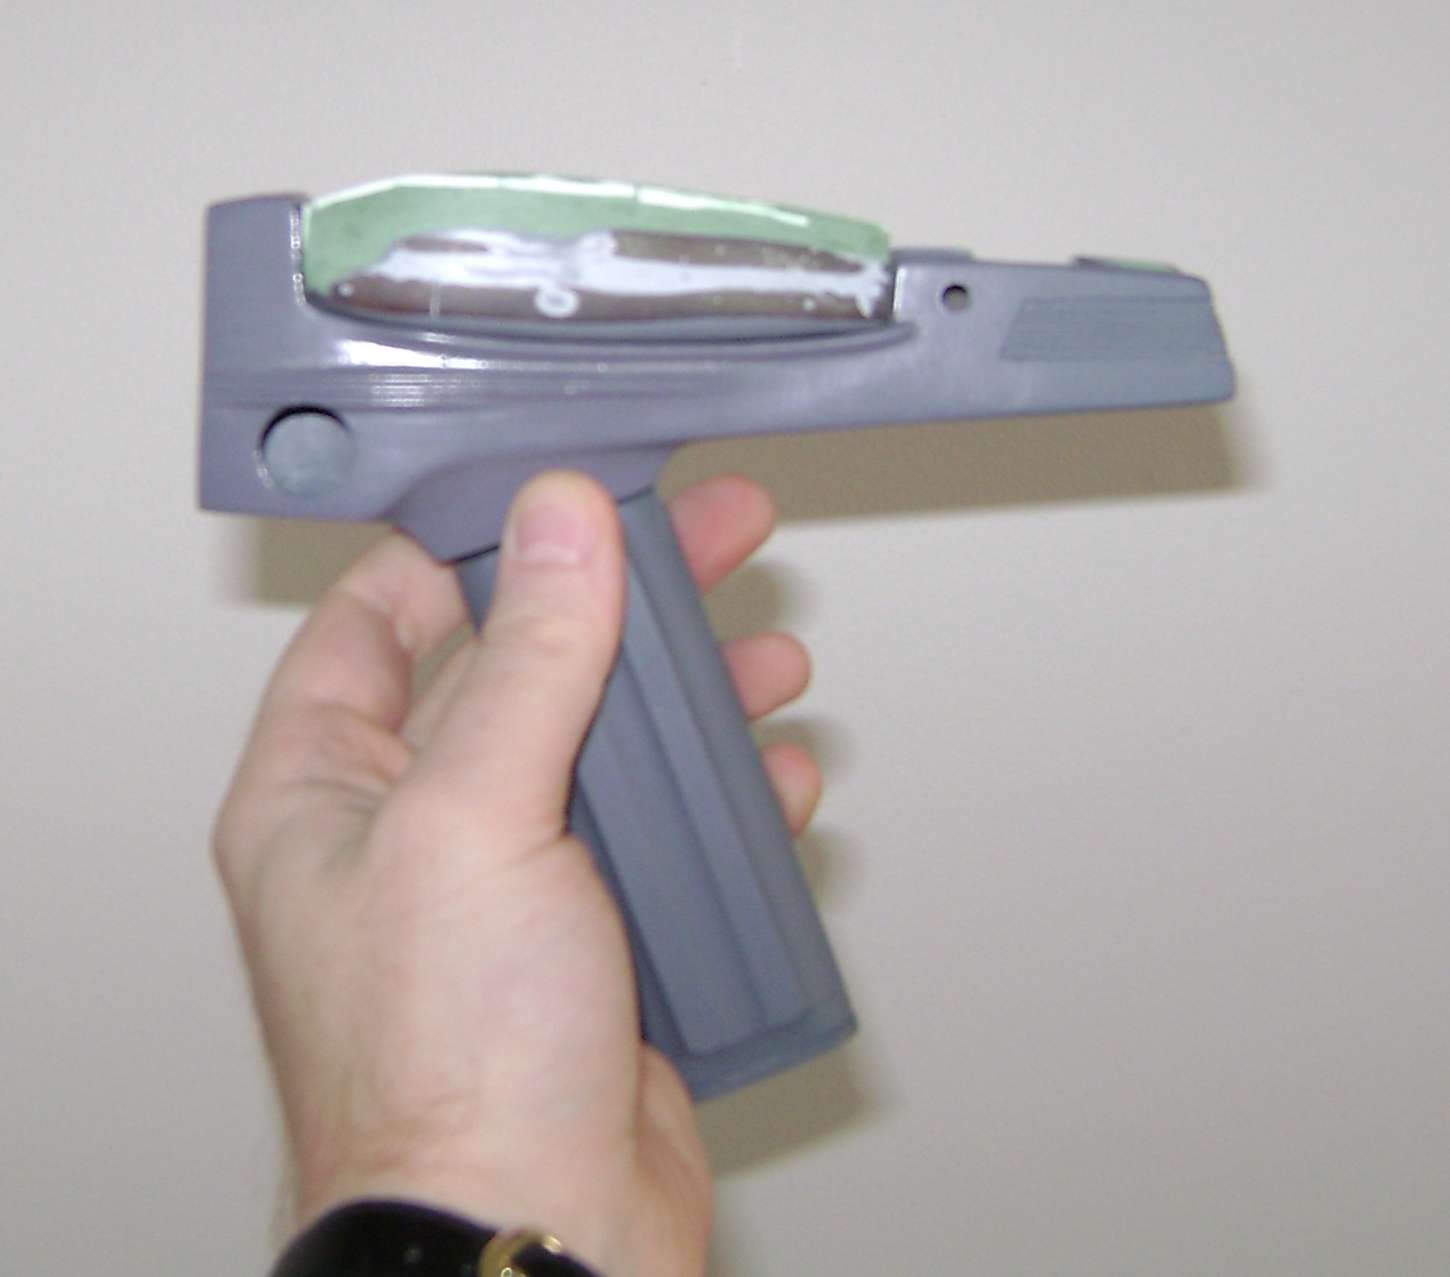
That additional prep work involved drilling out the holes for the P2 emitter, P2 trigger and two false brass screws in the bottom of the P2 handle. As well, I levelled off part of the ribbed area at the rear of the P2 for a ten-turn.
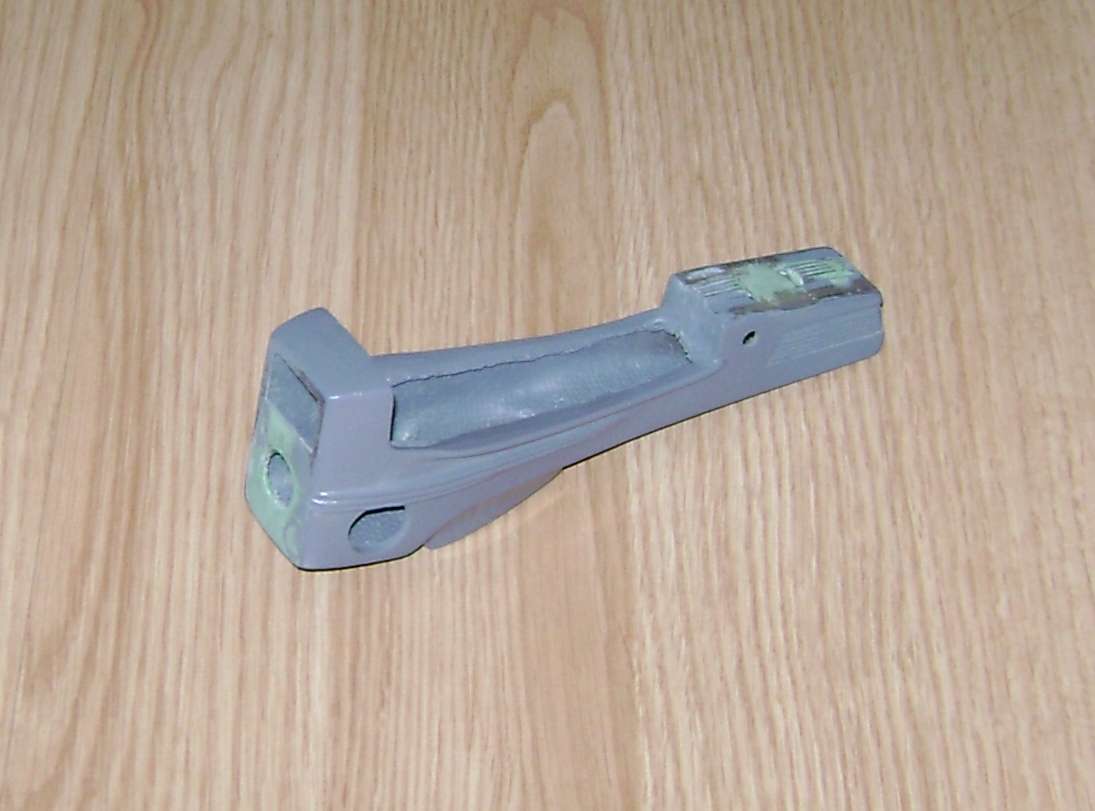
I also had the added task of thickening the P1, as when I'd first put the P1 together I made it way too thin without realizing it. Since I'd opted to do all the prep work for this, that meant I should take care of that trouble area, too.
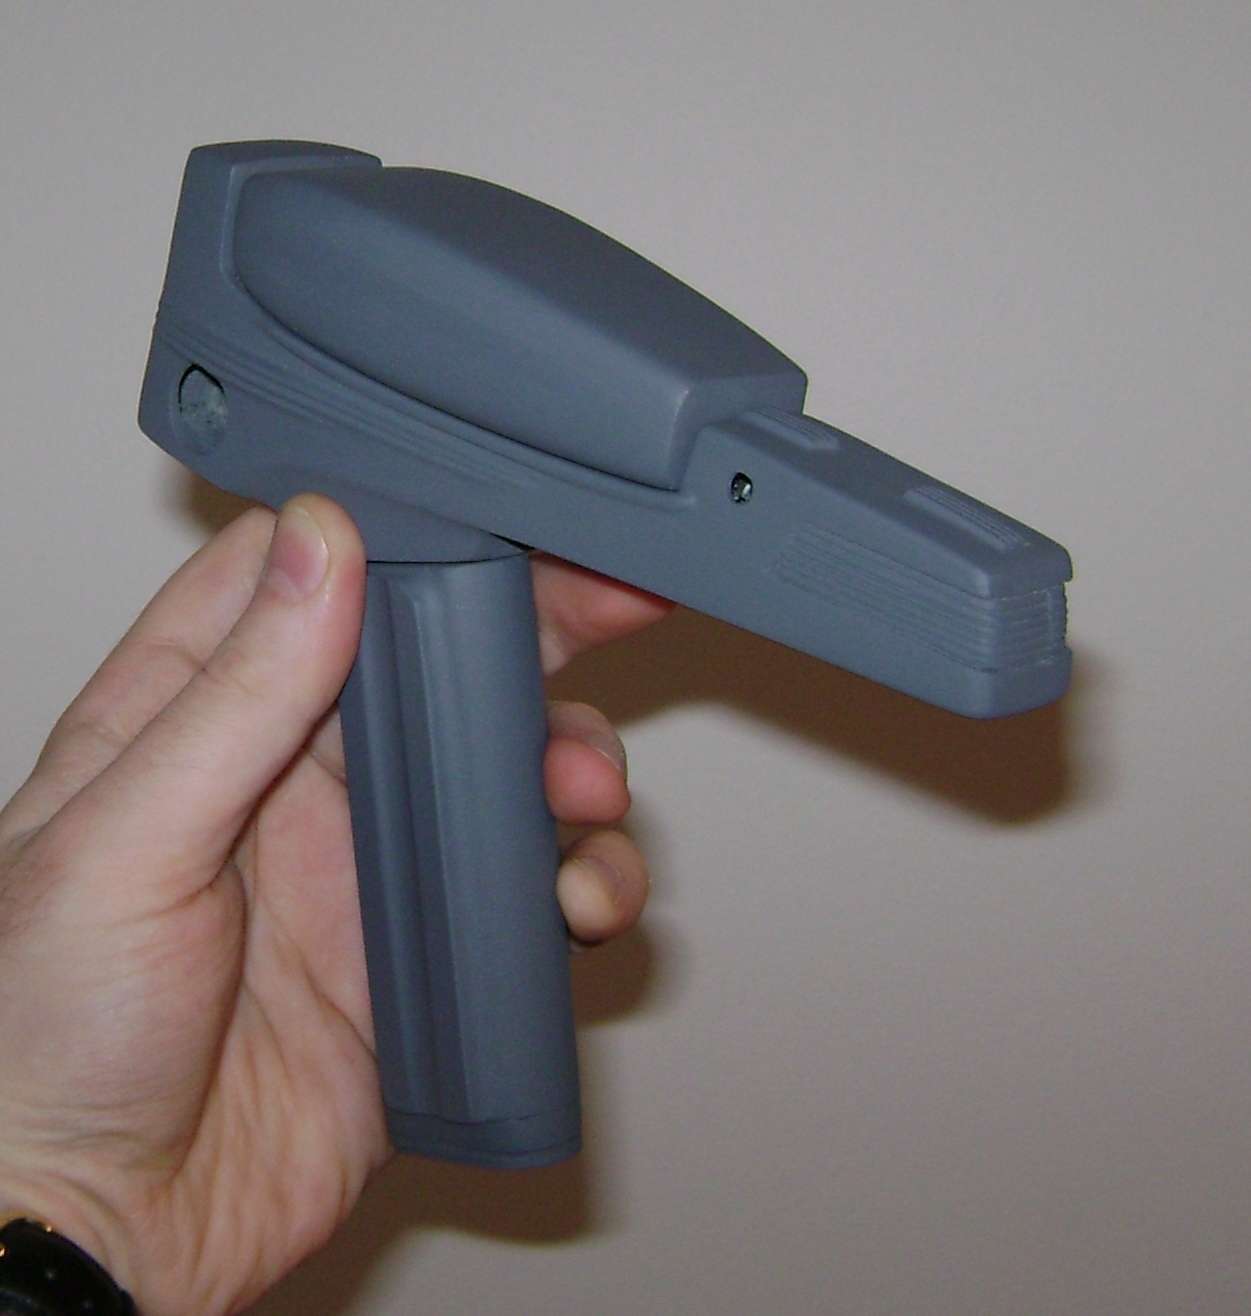
Of course, now you can't even tell there was anything added to the thickness of it. It looks like a solid, uniform piece. Not too shabby, lol.
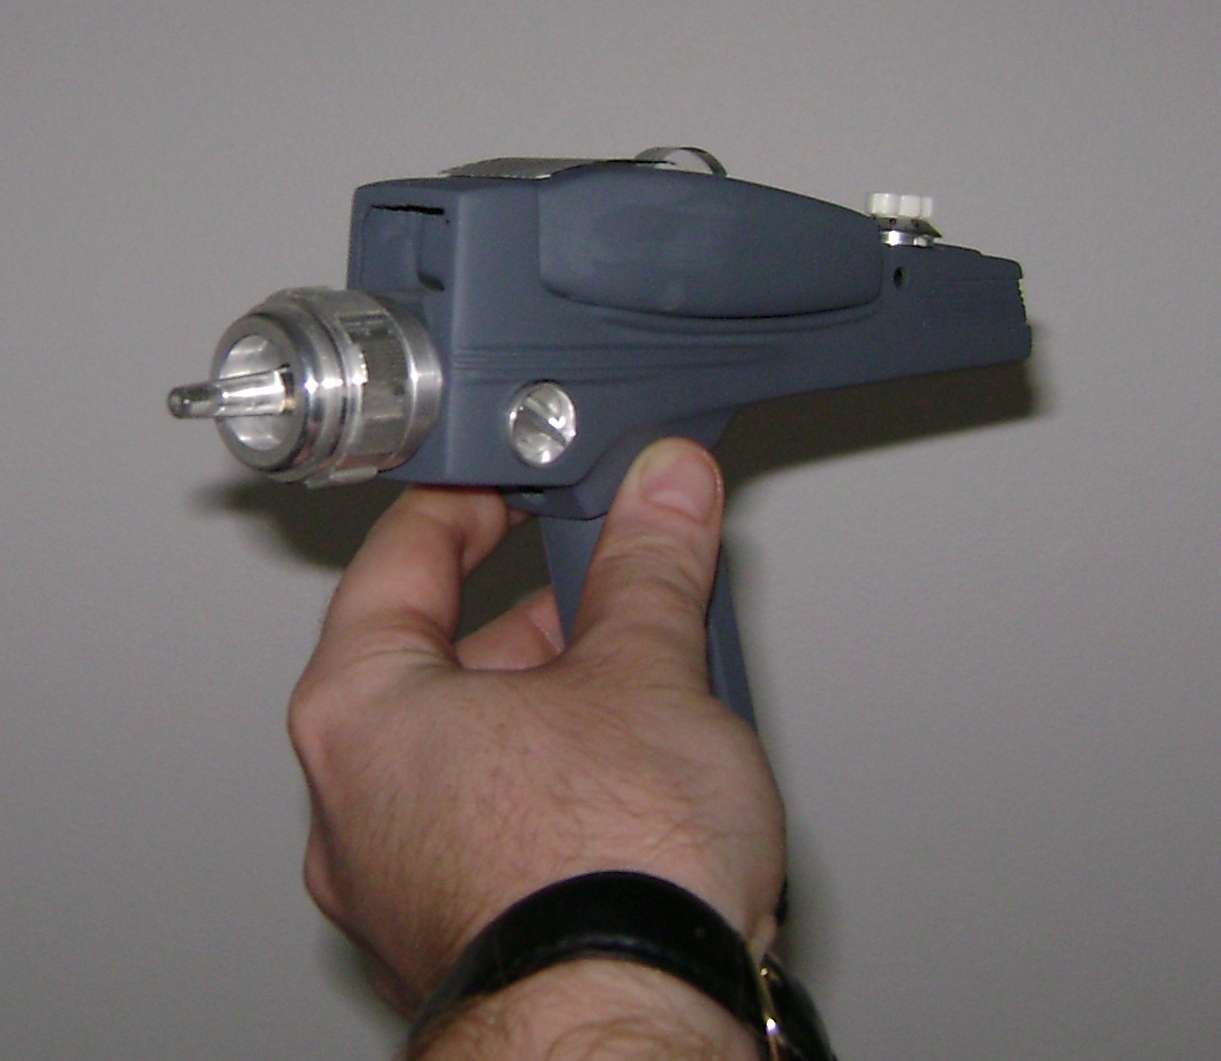
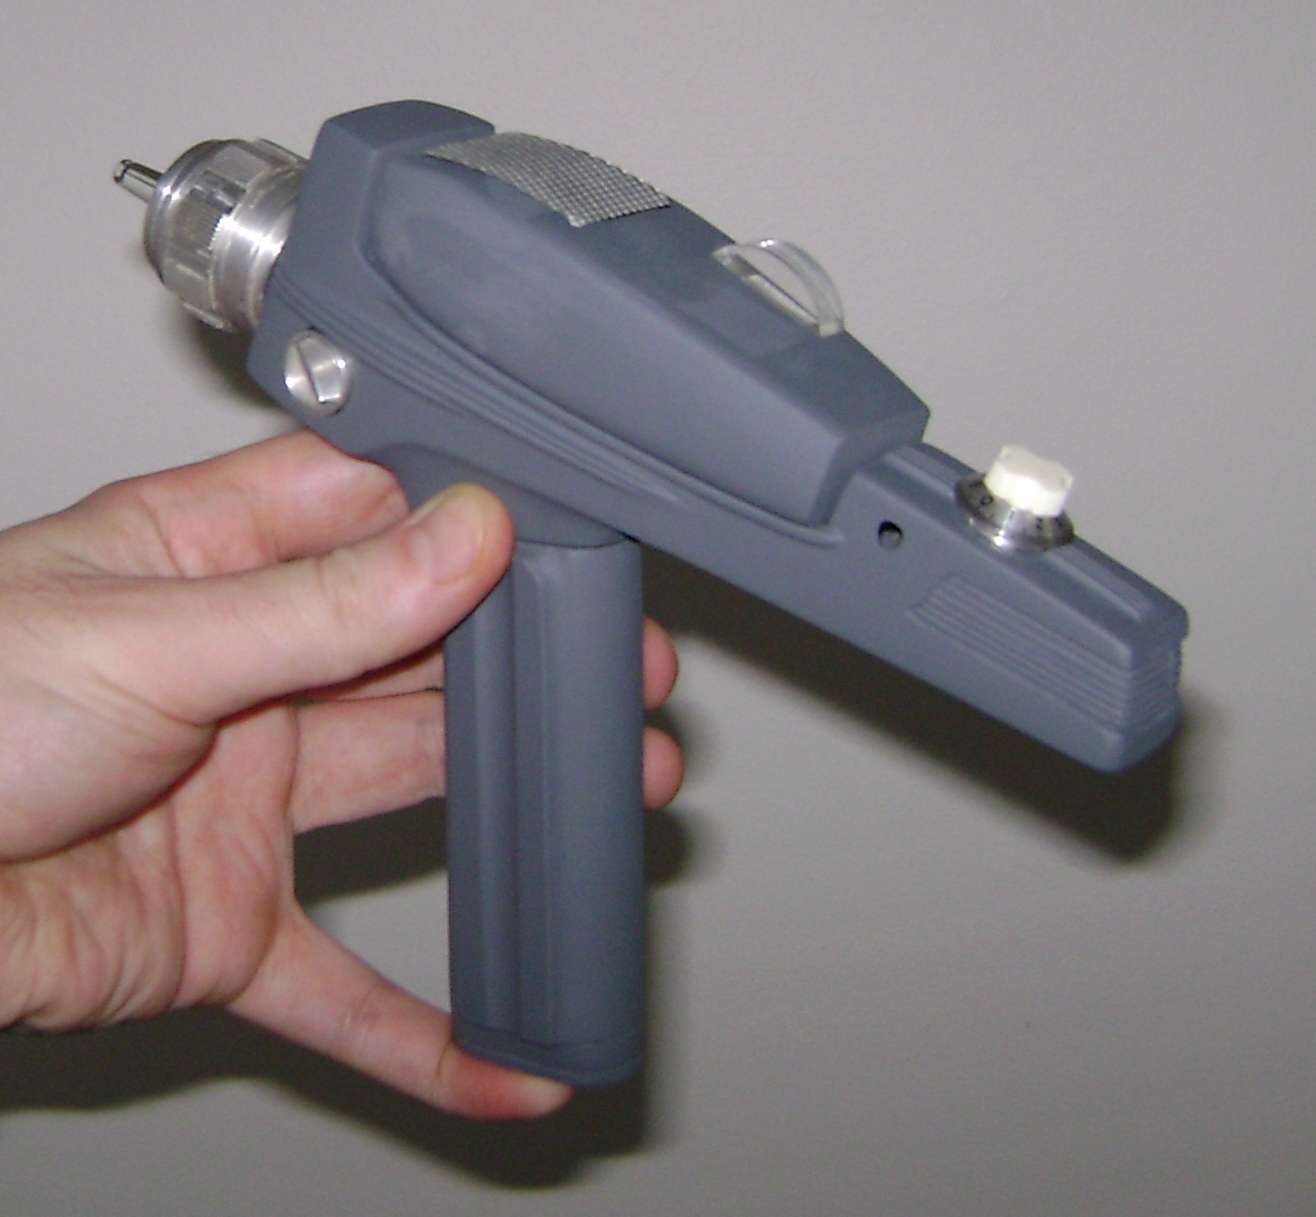
All around, I think I did a pretty decent job on fixing it up and getting it ready for its new owner to quickly finish it up and proudly display in his collection. I for one am eager to see what he does with it")
This was one of three such kits I had lying around, back when Rshanko still made and sold his fiberglass P1/P2 kits.
The other two I plan on having made into hero units (1 B&W, 1 Grey/Bronze), so figured I should offer this one to a friend here, who'd mentioned wanting to do up a nice mid-grade TOS Phaser for his collection.
I'd already done a fair amount of work on it a while back, but decided to do the rest of the prep work so that all the new owner will have to do is install the metal upgrade parts, paint it and have it ready to display.
That additional prep work involved drilling out the holes for the P2 emitter, P2 trigger and two false brass screws in the bottom of the P2 handle. As well, I levelled off part of the ribbed area at the rear of the P2 for a ten-turn.
I also had the added task of thickening the P1, as when I'd first put the P1 together I made it way too thin without realizing it. Since I'd opted to do all the prep work for this, that meant I should take care of that trouble area, too.
Of course, now you can't even tell there was anything added to the thickness of it. It looks like a solid, uniform piece. Not too shabby, lol.
All around, I think I did a pretty decent job on fixing it up and getting it ready for its new owner to quickly finish it up and proudly display in his collection. I for one am eager to see what he does with it