Risu's Star Lord build

Risu

Master Member
Starting my own thread. I won't be diving into this in a major way for a little while yet, but I'm excited to get started. Today I made the master for my short jacket arm patch, which I'll be molding and casting in urethane. I'm going to try cold casting it with aluminum powder. I've never tried it with urethane before, so I'll see if it works.


Also, here is a really quick test I did for the raised details on the jacket. The final pieces will be laser cut and properly worked on so they look good, I just did this in 15 minutes.

 
Last edited:
Interesting thought with the cold casting. Though you can't buff the urethane right? Wouldn't that defeat the purpose? Looking forward to your results
 
I'm not entirely sure I want to go ALL OUT on the boots. I kind of feel like the Skechers I got are similar enough (and alien looking enough) to the screen used boots to just modify them a little bit instead of ripping them out of the sole and building a whole new boot. I think I'm just going to put a couple leather patches on the front to fill in some unevenness and build the back of the boot to wrap around the sides, then I'll make and attach the spats.

And Kevin, I don't really know since I haven't tried. The cold casting may not pan out, its just an idea for now, since I have a large jar of aluminum powder sitting around being all highly flammable. The badge definitely had a metallic quality to it, but more of a dull finish.
 
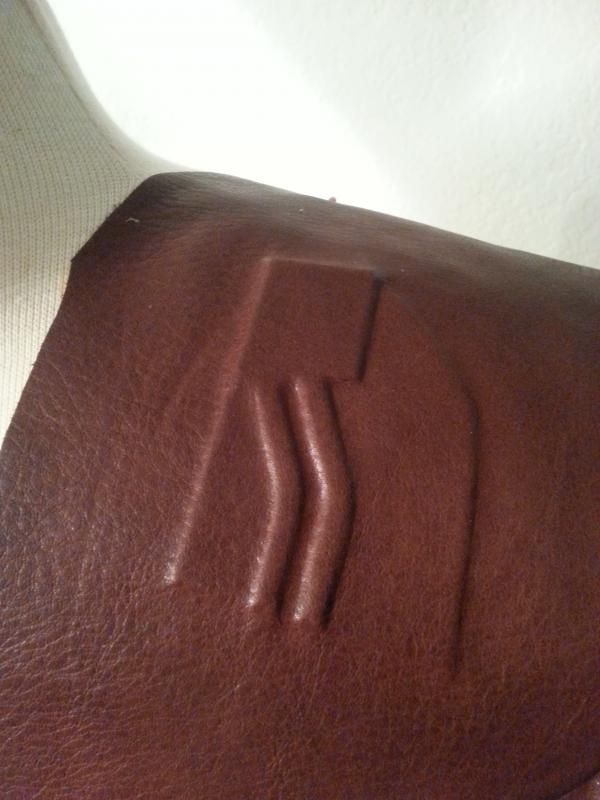
I can post something more detailed when I get back around to doing it for real, but I'm 99% sure I did it the same way they did based on the drape, shaping, flexibility, etc. You have your leather garment, and you set the designs in from the back. For this particular piece there are two layers to the design. You cut the shapes out of tooling leather, about 2 mm thick is ideal for these designs. You glue them together using leather weld, which you can get at Tandy. It looks like Elmer's but it's made for leather. You chamfer the edges, either with the correct leather working tool, an xacto, or sandpaper, then you glue them down onto another piece of garment leather. It can be the same stuff as your jacket is made from or any other thin leather. So now you have a piece of thin leather, smooth side down, with the tooling leather designs glue on top, smooth side up. Trim the thin leather to about 3/4" around the outside of your designs, then cover the entire tooling leather design with the glue, and cover the thin piece as well, leaving about 1/4" around the edges without glue. You put the piece of leather you'll be using for your sleeve, or the sleeve itself, over the top of it (take out the lining if the garment is already sewn) and press the leather down onto the designs using a smooth metal or plastic tool. Press in all the corners really well and keep going back over each area until the glue is dry. The 1/4" edge with no glue is so that you don't get a hard edge on the thin leather, you won't be able to see that piece, but it will hold the shell down so you can see all of the design. let it sit for a day to fully bond, and then you're good.
 
Risu,
nice tip i will have to give that a try as i have extra leather laying around
 
I think I had to throw away a weekend or two to catch up on everything when the movie came out. It's worth it, though.
 
Ohohohoooo that is brilliant with the designs in the leather. I knew there had to be a way but didn't know how to go about it. Thanks so much for including that description, I can't wait to try that on my own jacket!
 
I bought one of the guns a while back, I'll pick up a second later. First I opened it up and took out all the nerf stuff and second trigger, springs, and some of the other stuff to do the pop open thing.


Then today I cut away a lot of the unnecessary stuff so that the bottom barrel sits at the correct length.


At the moment, I'm not really planning to put any electronics in it, but I might rig up some simple LEDs. I don't really want to have to add a battery access panel anywhere. When my 3D printer is up and running, I'll print out Ein's upper barrel extension and then I'll probably scratch build, mold, and cast a lower barrel replacement for the orange bit I had to remove. I also need to shorten the trigger and fill in those recesses on the sides so it all looks less like a toy.

Also, today I got one of the swatch cards with two swatches of Quill's jacket fabric. Once they come in, I'll start sourcing the leather and twill, and hit a screen printing shop to look at their swatch booklet and ID the correct brand and color of screening ink.
 
Starting my own thread. I won't be diving into this in a major way for a little while yet, but I'm excited to get started. Today I made the master for my short jacket arm patch, which I'll be molding and casting in urethane. I'm going to try cold casting it with aluminum powder. I've never tried it with urethane before, so I'll see if it works.

http://img.photobucket.com/albums/v328/NinjaRisu/2014-09-06154722_zps27555efa.jpg

I know you'll be doing a run of these things, so This is me calling shotgun! hehe! Check your PMs, too, btw...
 
Last edited:
I will be doing a run, I'll be posting it in a couple days. I poured the mold tonight and should have the first pulls done by the end of the week.

As for the label, I did a really high res graphic myself, and wanted the variation in color on the text from actually writing it. Very happy with both of them, just took some effort.
 
Yes you can buff urethane if you want to take the "shine' off the surface for more of a mat finish.
 
Where did you find your red leather? possibly online? or from a local shop?

i've been searching high and low for a good leather, but anything i find is either to thick, or terribly textured.
 
I haven't found one yet. The stuff in my first post is just some reddish brown leather I've had sitting around for years. Once I get the jacket swatch cards in the mail, I'll start looking for both the twill and the leather.
 
Any chance I could get that file?

I have a file if you want it...actual size, all I did to make mine was print it, razor blade it out and use an office glue stick to adhere it. If a glue stick can hold a logo on a kick drum for three years of solid use, it can keep this label stuck to a cassette tape :D
View attachment 375357

- - - Updated - - -

Starting my own thread. I won't be diving into this in a major way for a little while yet, but I'm excited to get started. Today I made the master for my short jacket arm patch, which I'll be molding and casting in urethane. I'm going to try cold casting it with aluminum powder. I've never tried it with urethane before, so I'll see if it works.

http://img.photobucket.com/albums/v328/NinjaRisu/2014-09-06154722_zps27555efa.jpg
/QUOTE]

I know you'll be doing a run of these things, so This is me calling shotgun! hehe! Check your PMs, too, btw...
 
I've been patterning the pants for two hours now, and what I've come up with based on all of the photos I took of the pants is the most frustrating pattern I've drafted to date. Things still need to be tweaked quite a bit and some details around the pockets need to be added, but I can say for sure that sewing these things is going to be an awful experience. It's not that there are so many panels, that's fine. It's the way they used those panels as inserts to make the front and back of the pants from one piece of fabric. I'm not actually sure any more if I got enough of the corduroy. These pieces are going to be huge and really oddly shaped.
 
Ugh! Sounds like Star Lord will be harder and more expensive to make than a TFA suit.
Look forward to seeing the results of your research.
 
Back
Top