Rey - Star Wars: The Force Awakens Build (open for everyone!)

Saw a walk through of the Disneyland exhibit. (poorly filmed)
Rey's boots definitely look like resin or something solid.
Notice also that the wrap isn't tattered on the bottom.
View attachment 554827

So they've made multiple "static display" statues then. That makes sense... we'll just have to bear in mind that future displays we see may not necessarily be the screen used stuff, and that because of that there will be variations.
 
Just wanted to mention, for the wrap I went with "Sharon Chiffon", since it was the best match I could find at my fabric store
what fabric store did you get it at? We are still looking for options to the Dharma fabric.

Prob won't help you, but for the bracer I used a dark brown leather from a sofa cushion cover, only because I have several of them on hand. I think it is a little bit too thin. I did notice that Hobby lobby sells leather scraps in bags that may have something around the right color and thinkness.
http://www.hobbylobby.com/Crafts-&-...er-Pieces/Assorted-Leather-Trim-Pack/p/142071
 
For the leather I had my niece buy a entire cow side since I had to make the pack, belt and bracer.

I also bought a full shoulder since the picture showed the same texture needed for the bracers, sadly the piece I got was smooth.

If you don't have any leather shops near you try looking around second hand stores, you can sometimes find great deals on leather or suede items that could be used as raw materials.
 
"I was wondering for the belt and bracer, what type(s) of leather did you go with and how much was needed." – Lemur Burrito


division 6 posted an excellent pattern for the bracer on Page 26 and some photos on Page 29 of how the cuff folds.

If you use this pattern, you need a piece of leather at least 5" wide x 21" long, but I'd recommend getting it several inches bigger in each direction.

Using the pattern, it takes two pieces of leather the same size, one the darker brown and one the lighter color. They are glued back-to-back, so when the wrap pulls through the slots and turns back on itself, you see the underside of the piece, or the lighter color. If you do it like this (gluing two pieces together) I recommend getting lighter weight leather, like what you’d use for a jacket or skirt, about 1/16" thick. So when you glue the two pieces together, it does not get too thick.

You might be able to make it gluing or stitching the lighter half to the darker half, so it would be one layer, but the lighter half would have to be sewn on upside down so when it pulled through it would be right side up.

I just made mine today using division 6's pattern and gluing two pieces of leather together, and it worked out really well. (I colored the leather edges with a marker. It looks better in real life than in the photo)

MithrilDesignsCuff_Mod.jpg

I modified division 6’s pattern which is for a 6-1/2” wrist because my wrists are smaller. Here it is. I recommend printing out the patterns on paper, cutting them out and putting them together and trying them on your wrist to see which one fits best before cutting your leather.

View attachment MithrilDesignsBracerPattern.pdf
 
Last edited:
Hi! I am a newbie here. I am actually working on the staff from rey for my 19 year old daughter. She takes care of the costume parts, while i am doing the Rest. Thanks to all here giving so much infos on parts and Materials used for rey's costume!
Pics to the staff tomorrow.
 
I like the look of that leather piece but dont you need more like 5+ inches to make that from using the pattern?


So I was a bit confused by the pattern at first so maybe I did it wrong (I haven't added closures yet) but I just divided the leather piece into the 1.5/1" strips, and it seems to be capable of splitting at the required angles without too much malformation. The alternative is buying a full cows hide with enough material top make the belt at the angles given in the pattern.
 
So I was a bit confused by the pattern at first so maybe I did it wrong (I haven't added closures yet) but I just divided the leather piece into the 1.5/1" strips, and it seems to be capable of splitting at the required angles without too much malformation. The alternative is buying a full cows hide with enough material top make the belt at the angles given in the pattern.
Great! Can you put up some pictures of it? I 'd like to try it using that piece from amazon if it looks good.
 
Hey all,

I've been following this [very informative] thread for the past few weeks, as I've been kicking into high gear to get my Rey costume made for the premiere. One thing I wanted to add, for all those budget cosplayers out there, regarding the boots:

The item I've found most difficult to find on my very small budget, is an "acceptable" pair of boots (without spending $200 on the gorg po-zu ones). Believe me when I say I scoured every nook and cranny of Amazon and ebay in my attempt to find anything <$30 that actually looked nice and were at least the general look of the screen used boots. I almost resigned myself to somehow modding a pair of UGG look alikes, as I know several people have done with varying success rates, but I couldn't get over the ugly shape of the boot -- the PO-ZU shoes are formed and almost elegant looking, something which you could definitely not say about UGGs.

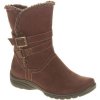
THEN... just this afternoon, I was at Walmart (buying thread so I could get started on sewing), when I happened to swing by the shoe aisle and these $25 boots sprang out at me:
k2-_a740a2c8-e146-448a-8aee-2387d278a39e.v1.jpg

Denver by Earth Spirit: http://www.walmart.com/ip/44411341

Now, to all those who bought the actual po-zu boots, no hating please. I'm fully aware these are far from perfect, but they are extremely passable, I'd say. ;) I just wanted to share this little find with y'all, in case there were any other budget cosplayers out there who were still looking for some decent boots.

Thanks to everyone who's been posting here! Your reference photos, recommendations, and build updates have been invaluable. Keep up the good work, and I'm excited to see some epic costume pics come December! :)
 
I was at the point of giving up on the boots after months of looking when I finally found the correct one.
In that search I never found any with the right shape.

Go with what ever works for you. ;):thumbsup
 

That's definitely not her Hero outfit, is it? It doesn't look like any of the others we've seen before. Some of the materials appear to be different, and it's not really weathered at all. At the the least whoever arranged the costume on the mannequin did a poor job.
 
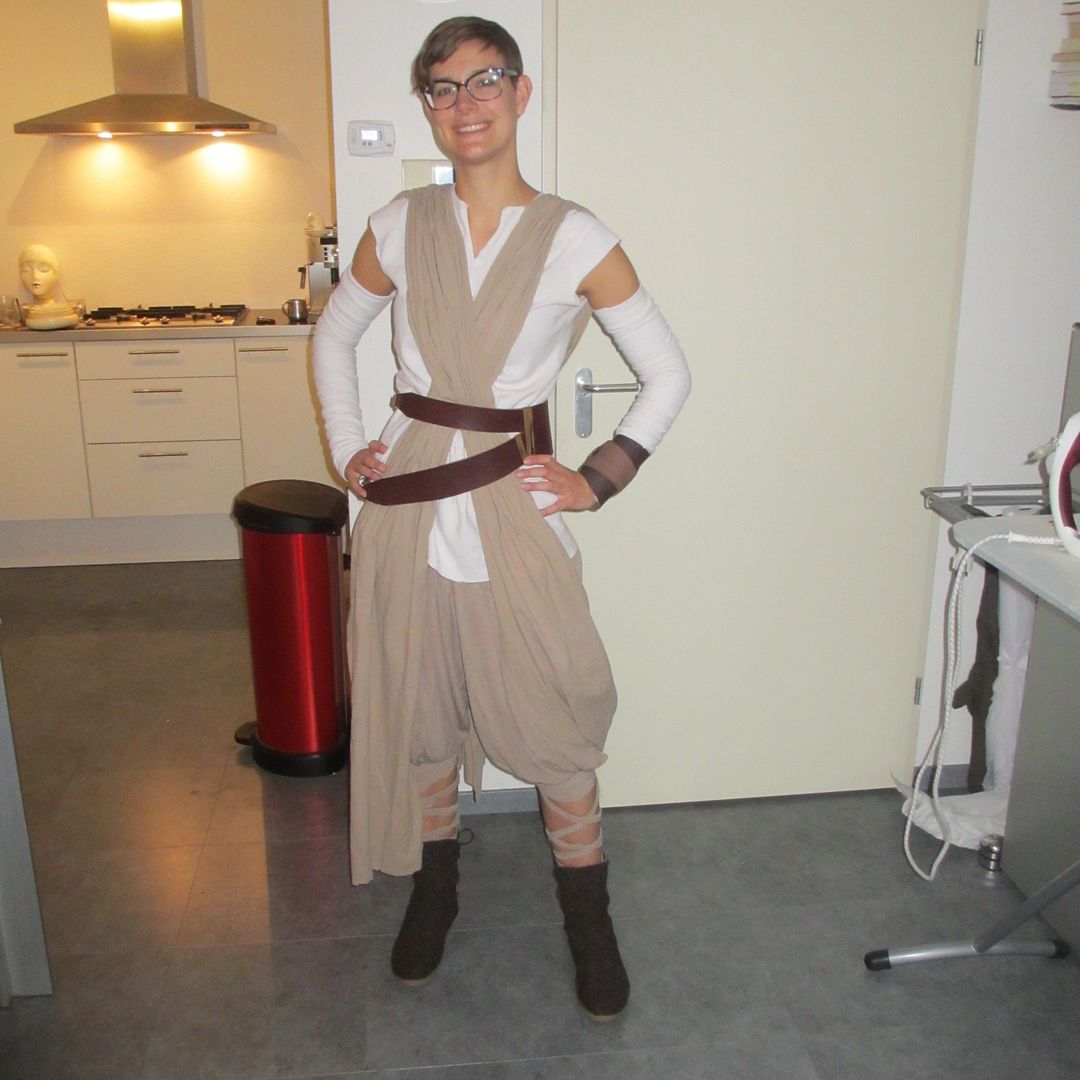
first test fit :D still needs some work, dye and weathering but I am pleased with this first test fit.


I also have a question. I want to do this 'heavy gear' version that has been on displau everywhere. Did anyone figure out how the shoulderpad is attached? I cannot figure it out by looking at the reference photos and I have the feeling I am missing something important.
 
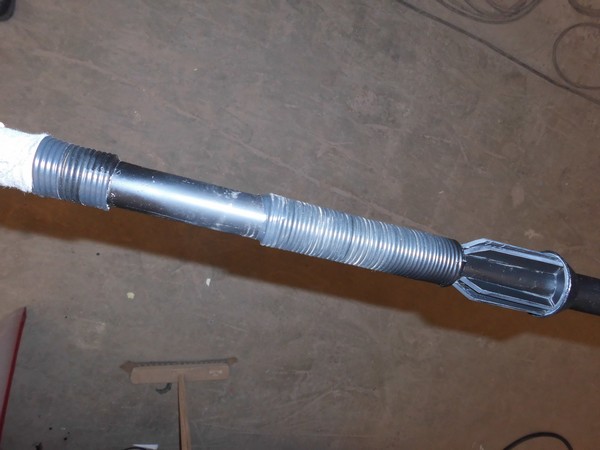
here are some pics of my not yet finished staff; i used an ali pipe of 1" diameter and several bigger in diameter tubes. then some black cable, glue, old t-shirts, 4 mm styrene sheets, parts of bottles and so on. so really a low budget thing!


too much flash while taking this pic!
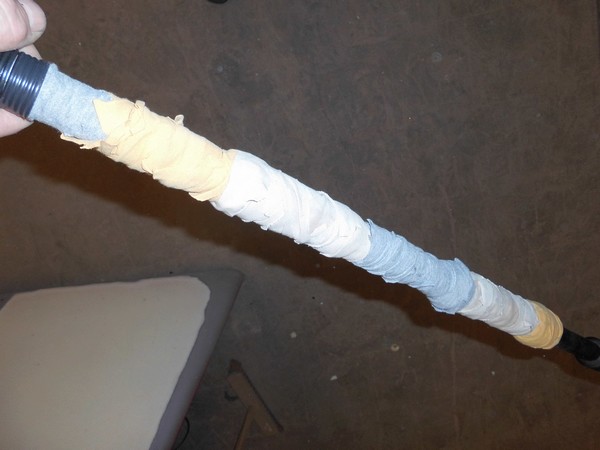
the wrapped around t-shirt cotton stripes. the slightly yellow appearing stripes are already "painted" with some darker red to get the more sandy desert look. the white looking stripes were thrown into wet dirt and dried afterwards.


still looking too clean, hmmm??
 
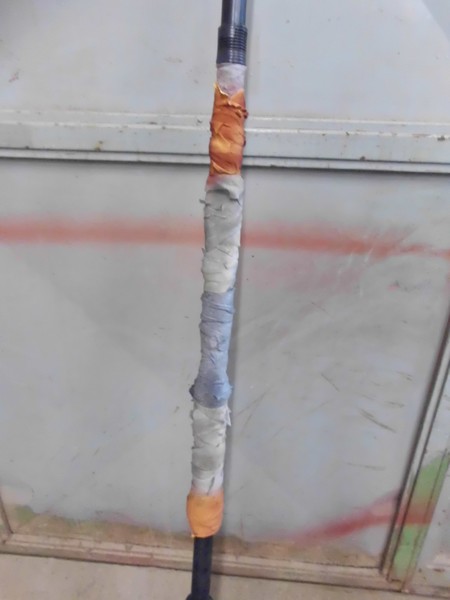
the stripes in the middle a little bit more "dirty" (using matt black spray), the yellow ones a little bit more red (wine red primer painted):

 
my daughter bought two long arm shirts in different colors. white and a light brown.
the light brown one was of course the better choice!
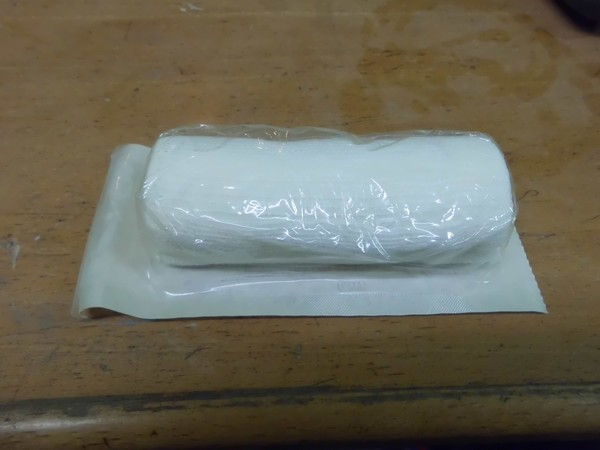
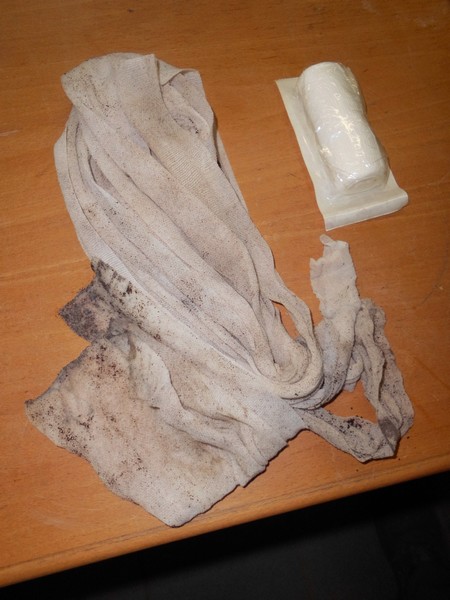
now cutting off the arm pieces and using them as a base for the to be wrapped around dirty gaze. if you don´t have them; just have a look into your first aid box in your car!! ;) they are called compress!


take some old coffee powder and water in a dish and put the gaze stripes into it. give them a little "massage" so that the used, long time not washed and dirty look, will appear! wash them out with cold water. after that just let them dry.

and this will be the result:

 
Back
Top