almar bouwman
Sr Member
Re: Build Diary: Revisiting the Jedi Training Remote
The Bandai is harder to find and more expensive. I used the Tamiya because it's cheaper and almost looks the same. I think you can see a comparison somewhere in this thread I think (post #13). So you decide which one you use.
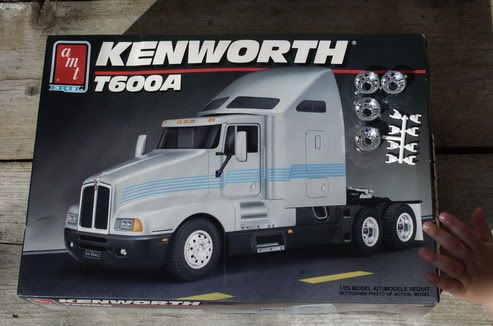
As for the truck, look for this one.
I'll try to weigh my remote when I get home.
Sorry, I know nothing about the Peterbuilt.
The Bandai is harder to find and more expensive. I used the Tamiya because it's cheaper and almost looks the same. I think you can see a comparison somewhere in this thread I think (post #13). So you decide which one you use.
As for the truck, look for this one.
I'll try to weigh my remote when I get home.
Sorry, I know nothing about the Peterbuilt.


")