Red 5 Ralphee build - Pic Heavy

Hi,

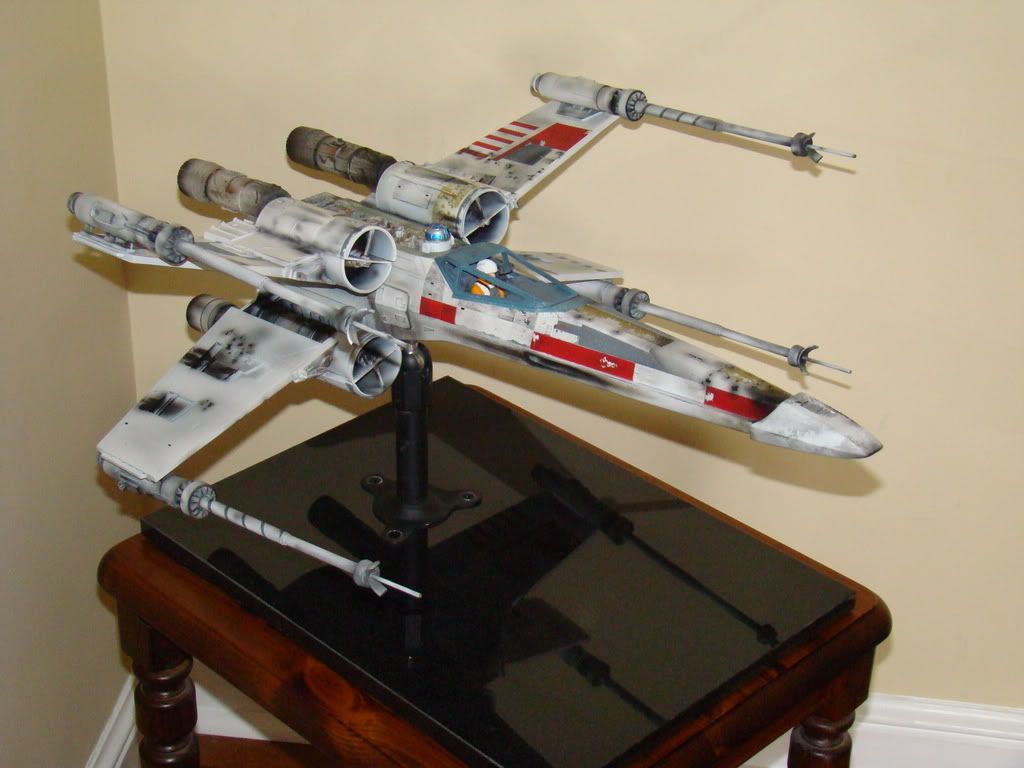
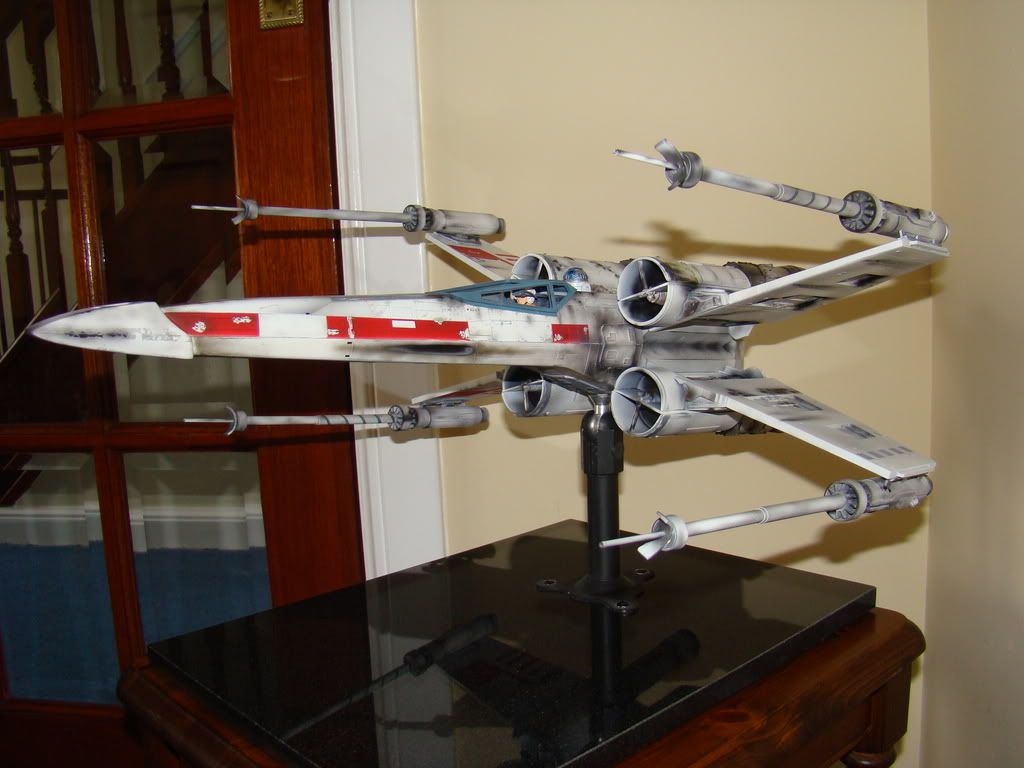
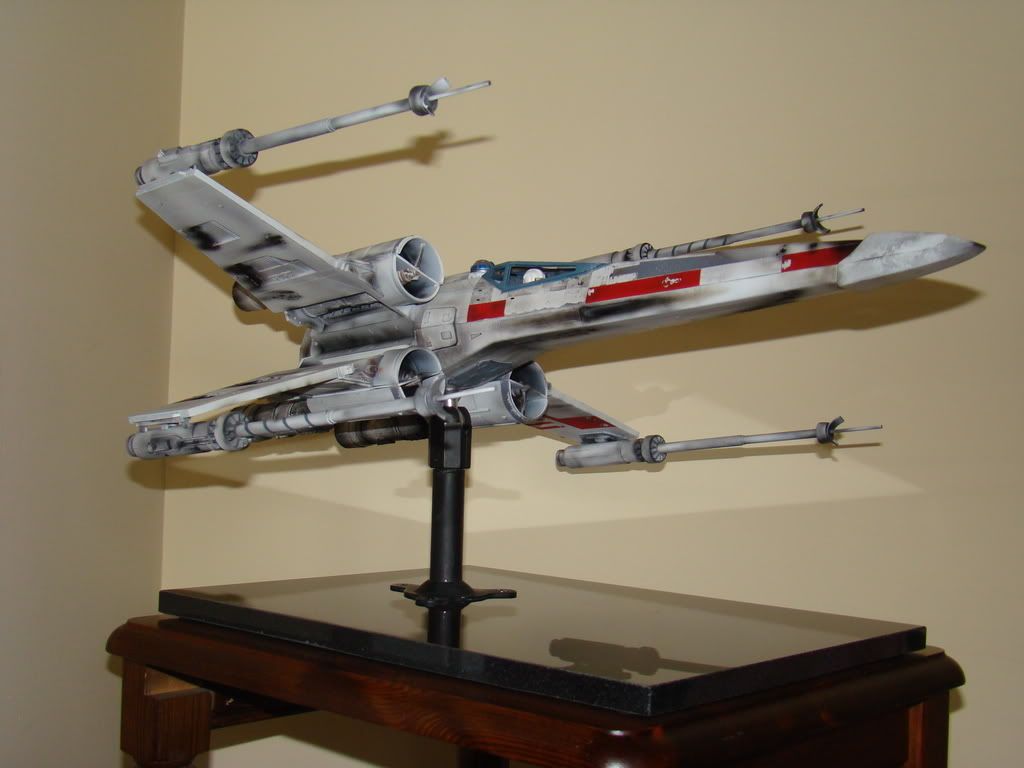
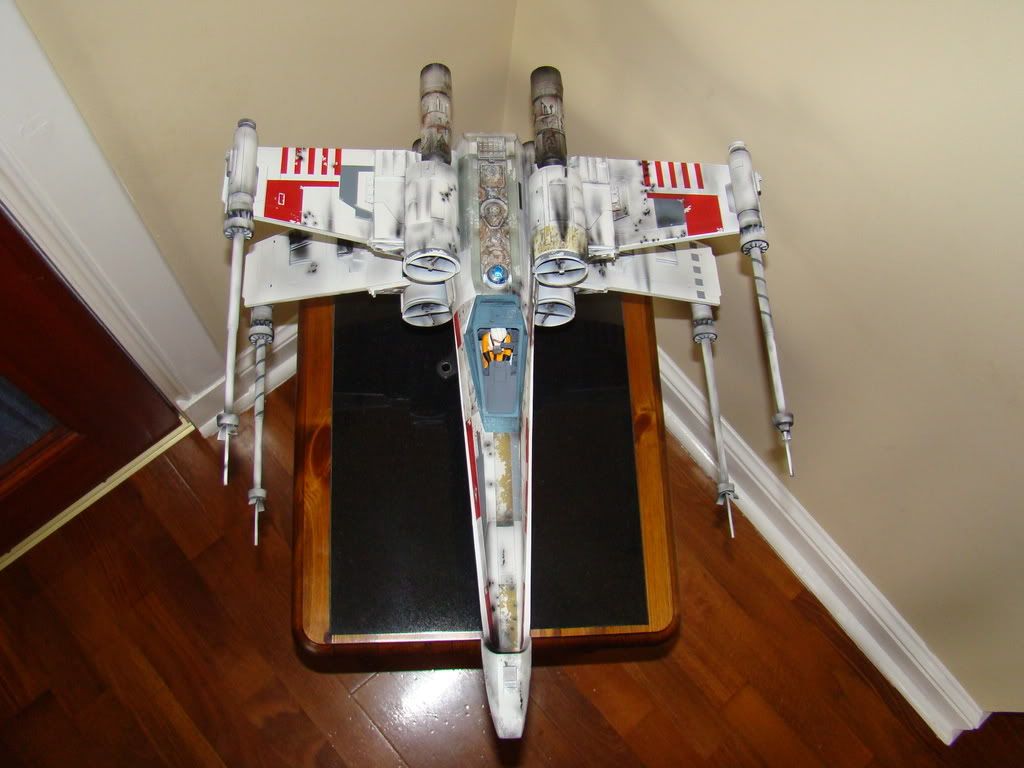
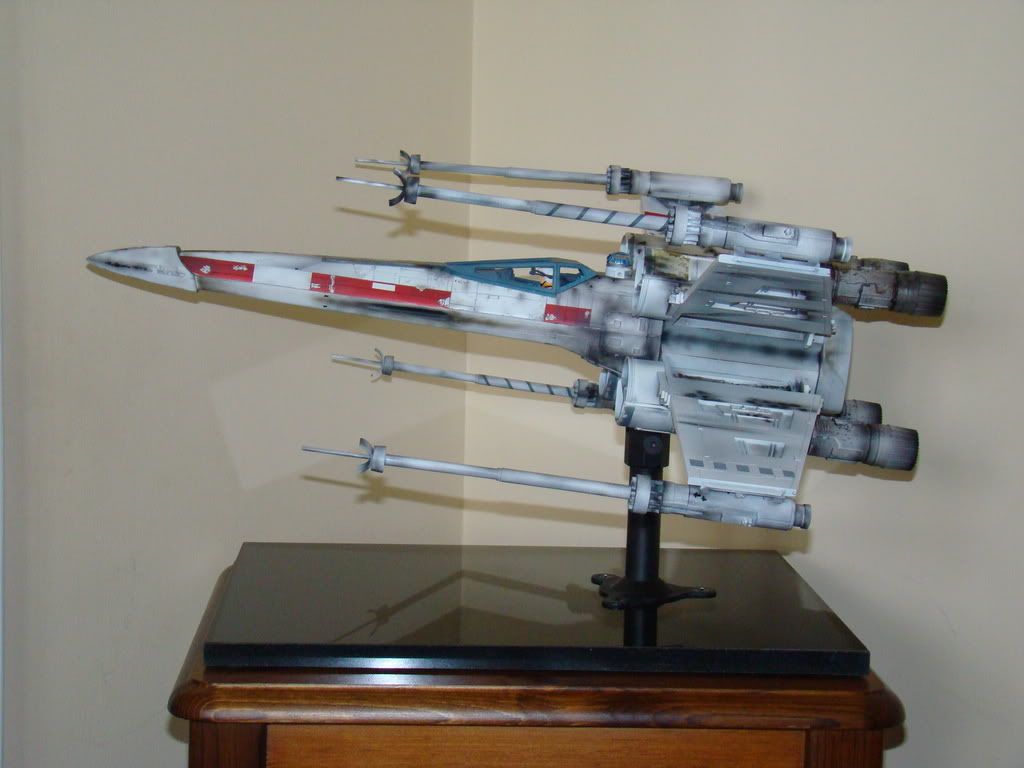
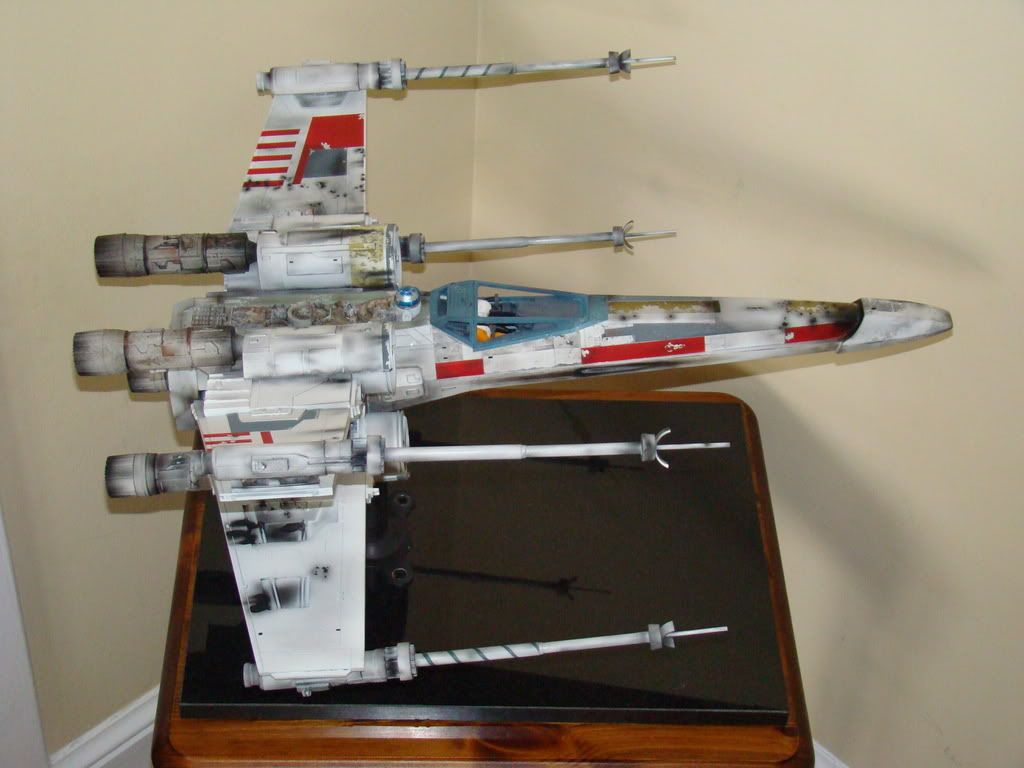
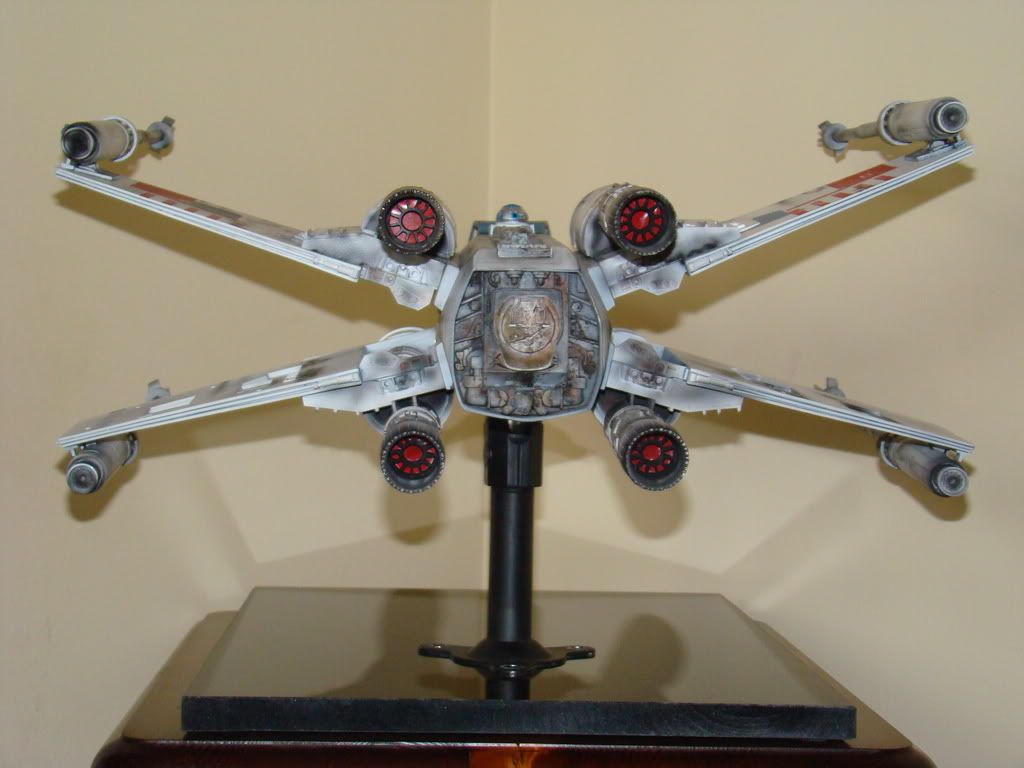
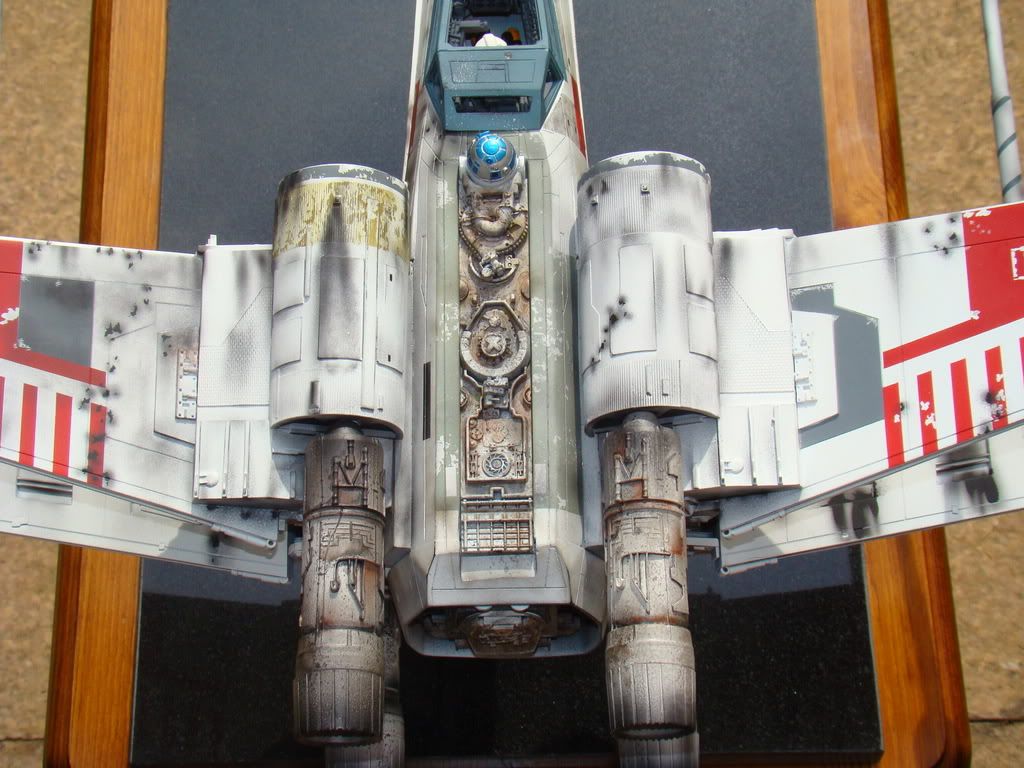
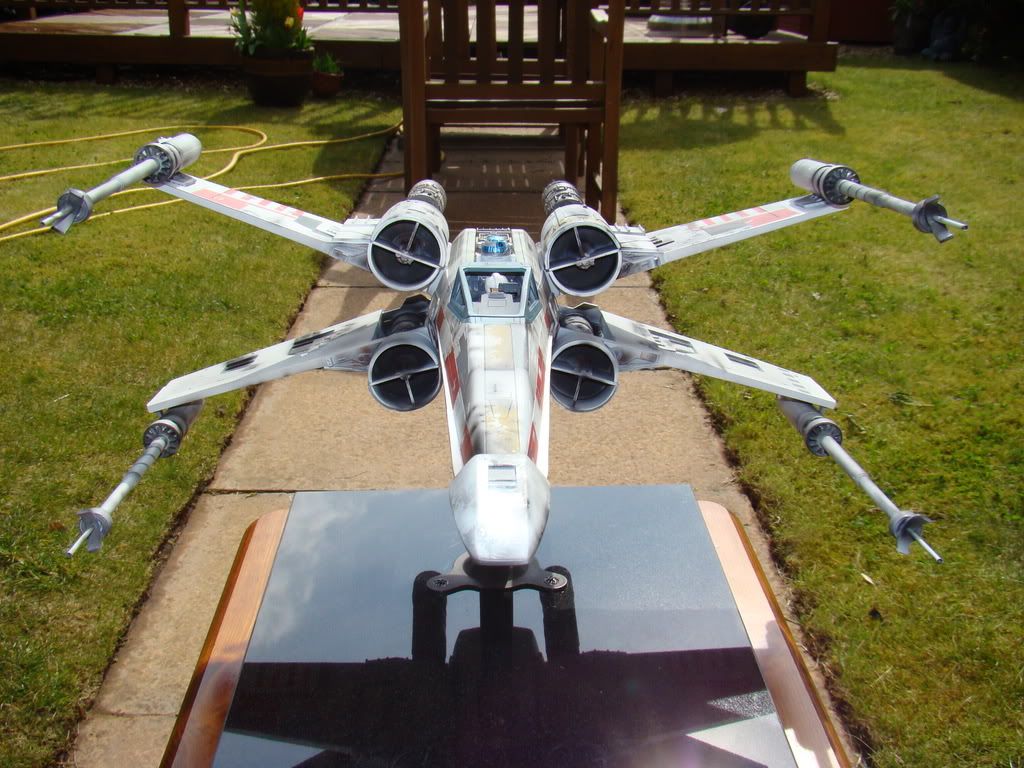
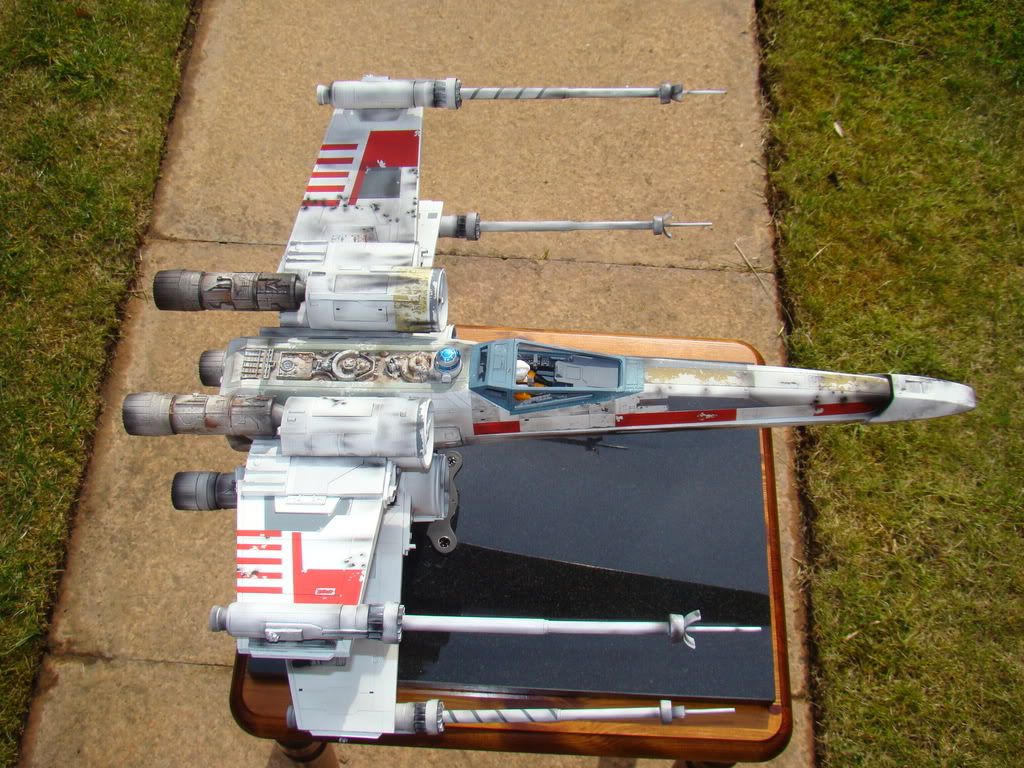
I recently received one of the best replica props I have ever had the priviledge to own and in fact it is possibly one of the best I have ever seen. Apologies to Lee for not getting pics up quicker but due to a PC crash things went a bit pear shaped for a bit.

It is a MSalzo kit built and painted by Lee (Ralphee). Lee ran a build up thread on this http://www.therpf.com/showthread.php?t=35201&page=10&highlight=salzo but no completed pics were taken as he still had to ship it to me and keep it intact.

I even got a couple of outside pics when it stopped raining in Scotland for about 5 minutes.

I have mounted it onto a granite base for stability and personally think it looks very nice and will look a lot nicer when it has one of Guy Cowen's snazzy new plaques put onto it :)

The granite base is less than £10 from Tesco but a bit of a bugger to drill :)

The pictures just cannot do Lee's fantastic work any real justice. This is a real piece of art many thanks Lee (y)thumbsup:thumbsup

DSC00410.jpg

DSC00413.jpg

DSC00411.jpg

DSC00415.jpg

DSC00417.jpg

DSC00419.jpg

DSC00423.jpg

DSC00428.jpg

DSC00434.jpg

DSC00433.jpg


The TIE will be in the post soon :p

Cheers Chris
 
Glad you got her all put together Chris, and glad you like her, this was the first Red 5 ive had the pleasure to go at and a hard one to do as its so grail to so many (hope most think i did OK too lol), it was nerve racking LOL being the first work ive done for another too lol.
The right upper gun could do with a tweak though buddy, maybe warm it a tad and give it a gentle bit of persuasion?
Thanks for posting Chris, sure ill look into that TIE when she comes sir!

bests....lee
 
The right upper gun could do with a tweak though buddy, maybe warm it a tad and give it a gentle bit of persuasion?

Hi Lee,

I will try a bit of persuasion on the gun, when gluing it was the only one that gave me any grief sitting down correctly.

I just wanted to get some pics up as I know you put a lot of effort into this and with my PC falling on its arse I didn't want to delay any longer.

If anybody would like any parts of the model photographed up close and personal to see the incredible detail just give me a shout and I will try to help out. Photography is not my speciality but I will try :)

Cheers Chris
 
Yeah I had the same problem with one of my gun, it will come nice with Lee's technique !

I saw this baby grew up and Im really glad to see it fully assembled, Lee did an awesome job, he's one of my fav painter (and he's not only a great painter but a great scratchbuilder too ) !

Chris, you can be proud of it, you got a great master piece !
 
Very Nice!!!!

This is BEAUTIFUL Lee! :cool:cool:cool:cool

Chris... you have got a real winner with this piece! (y)love:thumbsup
 
:love:love:love:love I think you both know how I feel about this beauty. I'm glad I sold mine now, when you know how it should look nothing else will do. Thank god I have another. Lee you Bas****, I'm going to have to do it all again.

Chris is that base actually granite? Looks fantastic, I may nick that idea???
 
Congratulations! Chris!!!
You got the best model of Red-5 :)

As far as I know, Lee is one of the best SW modeler.:thumbsup


thanks Eric
 
Chris is that base actually granite? Looks fantastic, I may nick that idea???

Hi Guy,

I think with your plaques on the base it will look even more classy.

The base is granite it is very heavy and was incredibly hard to drill. It cost just under a tenner from Tesco http://direct.tesco.com/q/R.100-9445.aspx so it is a really cheap but effective base (I did grab an extra one for my TIE in the future). It is a work surface protector for the kitchen. It also cost me 4 masonary drill bits :)

I countersunk the Panavise to try to get the bolts flush on top. I then drilled three holes 4.5mm through the granite which requires patience as I didn't want to push to hard and risk breaking the granite. I also countersunk the back of the base with an 8mm masonary drill to have the nuts recessed into the granite and cut the bolts to length accordingly so the base sits down ok. The base has rubber feet anyway so you have some protection on the surface you put the base on. I then painted the bolts black on top.

It doesn't show to well in the pictures but the finish on the base looks really nice in the flesh. If you do use this idea check the finish on the ones in Tesco some have light coloured marks in the granite surface.

Lee I moved the upper and lower right guns as per your advice and it worked a treat so I am even happier with this model if that is possible :)

Cheers Chris
 
There have been some astounding Xwing paintjobs for all the various wing #'s, but this is most definitely the best Red 5 model I've seen. In fact, it is my inspiration for my own model. Some of the weathering on this model are exactly as I'd want mine. So I'm gonna use these latest pix along with my various screen stills and SS model pics from MOM etc...........to guide me during my painting and weathering. Thanks guys, anyone would be envious of this one.

Dave :)
 
So i can now open the curtains here and be sure theres not an angry mob outside with pitchforks and rotten fruit? LOL.
Seriously, glad you guys like her, butmost of all, very glad Chris will enjoy looking at her for quite some time!

lee
 
Back
Top