I'm pretty sure I used a little glue to reattach the knob.
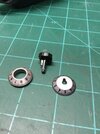
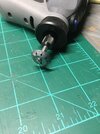
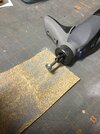
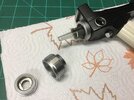
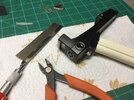
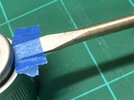
To cut down the original piece I attached to my dremmel and the sanded at medium speed, being careful not to over sand. Then I had a round part I could glue into the new ten turn.
I also don't solder.. And while I did take apart the P1 I did not need to open up the P2.
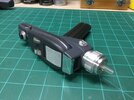
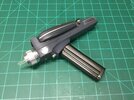
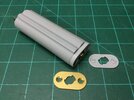
I upgraded the P1 with aluminum side rails, brass emitter, replaced the meter decal, added the crispy to the site and repainted. Also added the red Swarovski Crystal. I also dry brushed a little brass to the setting wheel. The originals were brass, painted silver. Over time the silver would rub off exposing the brass below. I wanted to replicate that look.
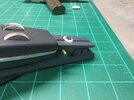
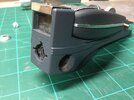
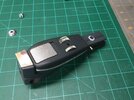
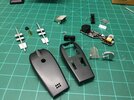
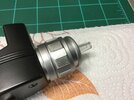
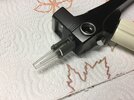
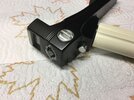
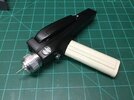
For the P2 I replaced the emitter, top metal cap, reduced the size of the side knob and replaced that knob, replaced the ten turn and repainted.
Replaced the handle.
Lastly I added a spacer between the handle and the P2 body to replicate the twist turn connection.
Everything still works... Go figure.
I'm not aware of anyone currently offering complete upgrade packages or offering an upgrade service. You may want to post in the want to buy section.
Here's a few pics...
Yes, I did my diligence on that. You can see that the parts are AA/DD specific. Although as our chap above says, it looks like he did get his Ten Turn dial to fit with a little ingenuity.
You'd think ONE "Enterprising" person out there would offer this service for the Wand phasers. If there was a 3-D printed central "key" for the Ten-Turn dial that would fit/glue inside the existing AA/DD dial replacement, even that would be a huge help.
Where did the