The way these transistors were made, the top has to sit on top of the washer. Otherwise the washer would slip right off
")
I know I said "this one is done"... but that doesn't mean anything, right? :lol
I made a couple of "improvements" today, as well as began down a path I hope I can accomplish. Two words: crystal chamber :love
For the improvements:
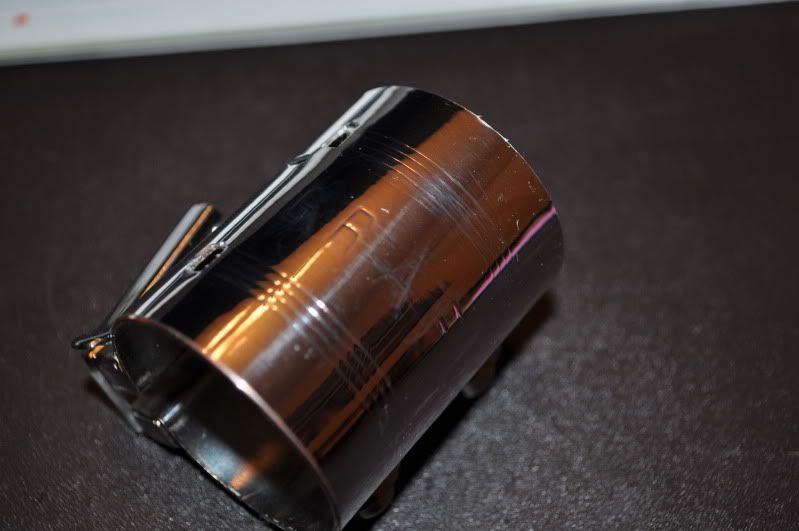
- Got some chrome tape for my clamp. I reached out to a local shop for a quote to have the clamp and transistors chromed, but haven't heard back from them... This will hold me over until I can get that done.
The first attempt with the tape didn't go over as well as I had hoped. The tape went on just fine, and it had a very nice look to it, but instead of trimming off the excess, I wrapped it around into the inside. This prevented the tape from laying as flat as it could have. Also, I didn't get the stamped lettering/lines coming through like I wanted. The second try went much better:
I trimmed the tape to the proper size first, then applied it to the clamp slowly, making sure all air bubbles were out. Then I used my fingernail to rub in the stamped "GRAFLEX" and lines. This worked much better
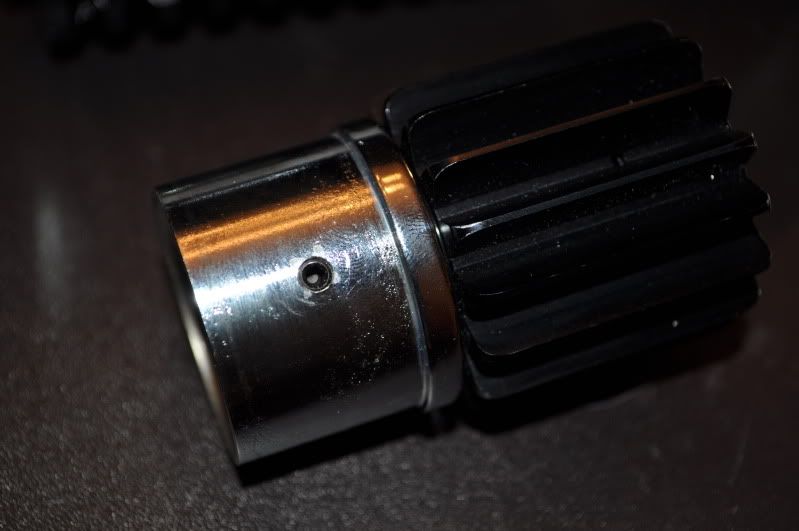
- Next I took some advice (partially) from James Kenobi 1138 from the North Texas prop party last weekend. He mentioned that my pommel didn't have the proper space between it and the booster. He gave a simple solution of wrapping a particular gauge of wire around the booster section (that inserts into the pommel) twice and then pushing the pommel on. Rather than doing that, I wanted to put a new toy to use :cool I had bought a tap and die set recently, so I decided to drill and tap a hole through the interior of the pommel and the booster, and connect the two using a set screw
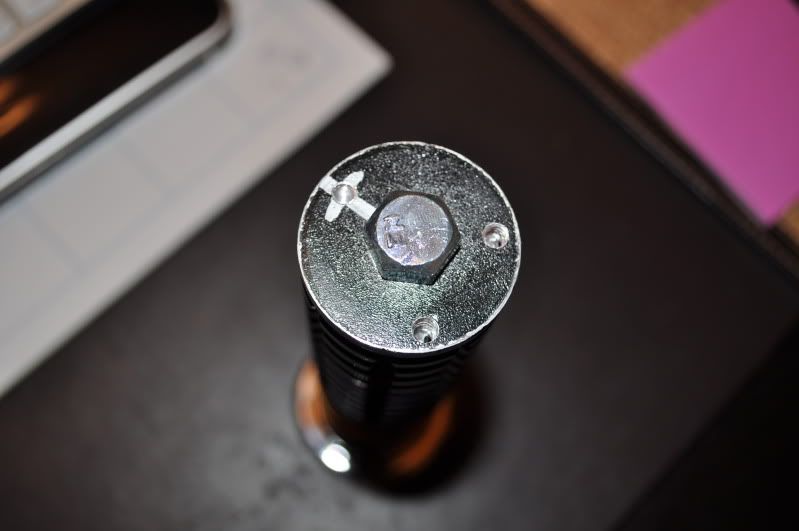
Now I have the proper spacing! There is a little wiggle to it, so I will add a second screw 90 degrees from the first, eliminating the wiggle
- The last improvement I made concerned the emitter. It is an older machined version (Roman's/Gavidoc I believe) and I decided to customize it a bit. I took one of my countersink bits and my drill press, and drill out a cone into the center. The ring with holes will get painted black as well. (tried taking a picture of this, but the camera wouldn't focus correctly :facepalm)
Finally this brings me to my grand idea... I met Brad (slothfurnace) at the prop party as well, and if you haven't seen his work... You owe it to yourself to see it!
(www.slothfurnace.com) He brought with him some of his sabers, including his current project: the Obi Wan reveal. Seeing this in person inspired me!
I don't have all the nifty toys he has (mill, lathe) but I think I can adapt some of the ideas to more basic methods. I started drawing out my ideas first, then put some into action. I won't even attempt a spring-loaded reveal (yet :love), but rather a static display that I can switch in and out of my current saber, so I will have both
So far, I drilled and tapped the bottom of the grenade for 8-32 rod, and got some hollow brass rod that slips over the threaded rod to give it a more finished look.
I also needed to figure out a way to join the upper assembly together, since the entire saber is bolted together on a single threaded rod. So I got a shorter threaded rod
I still need to countersink the bolt head into the bottom of the grenade to make it flush.
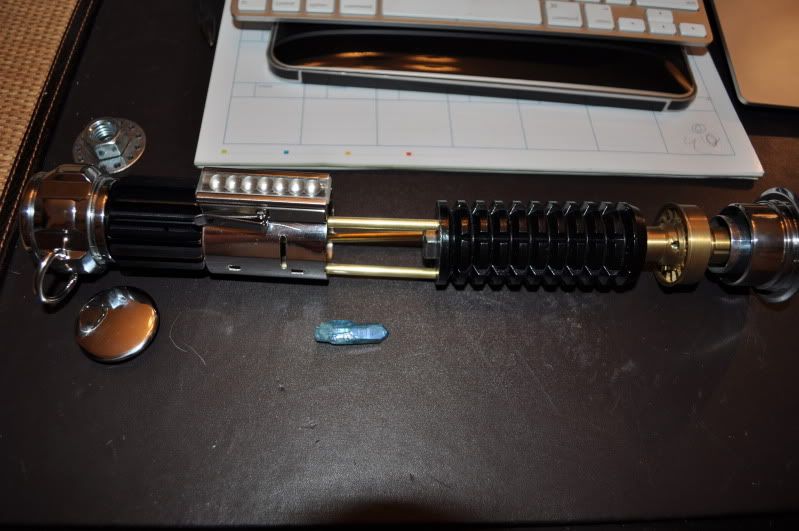
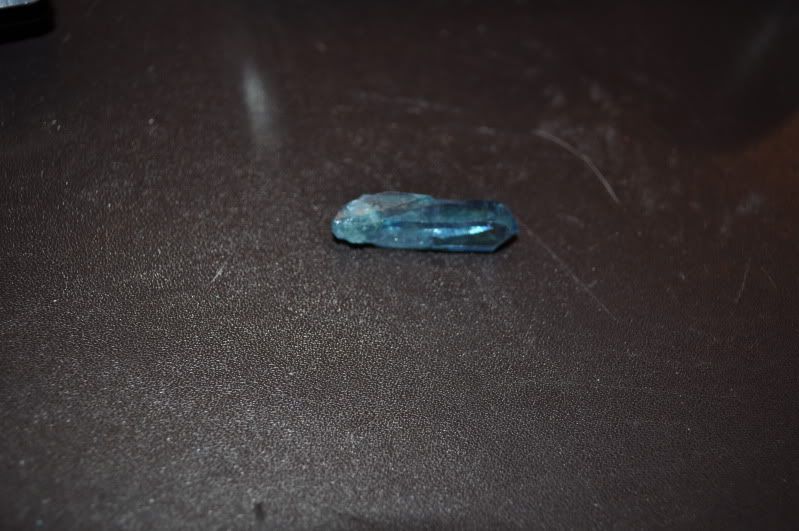
As you can see in the picture above, I also have a crystal :love
It is an aqua aura quartz, slightly larger than a quarter inch in diameter, and about an inch and a quarter long. I still need to figure out how I'm going to work out the actual crystal chamber... I would like to get some 1" brass stock and see if I can machine it down a bit to my liking (similar to how Brad did his :thumbsup) I will also machine some "radiator fins" to finish out the look.
This is going to take some time... if I can even accomplish it with the few tools I have :lol