Scarecrow Joe
Sr Member
Thanks for the templates Josh, they will be a big help
What templates!?! Share, come on......LOL!
Thanks for the templates Josh, they will be a big help
No possibility of making the template itself available as a download? I'm just thinking about us guys outside of the USA!As for making the stencil file downloadable I don't think I can do it. The program was created in the special graphics program by my friend who works at JBL labs. The DYI alternative is to simply take the stickers that come with the toy and peel them off and place them onto a piece of paper. Then bring the paper to a copy center and have them do a reverse print out on a peel and press label.
")
mojo rising's templates?What templates!?! Share, come on......LOL!
mojo rising's templates?
http://www.therpf.com/showthread.php?t=216125&page=23&p=3484737&viewfull=1#post3484737
Ehh... that would be nice, but wouldn't that be a form of recasting?
Actually... you can just scan the full sticker sheet into a JPG and then reprint onto sheet styrene if you spray the sheet with a satin clear coat first. Here's what I would do if it were me...
1 - Cut a sheet of Styrene to the size of a normal sheet of paper (8.5x11x.015 thickness).
2 - Spray a coat of satin clear coat over the surface to be printed on and let completely dry and cure.
3 - Place the styrene sheet into the printer like a normal piece of paper. Make sure the printing surface is the side that will be printed on (some printers will flip the page over, some won't).
4 - Place sticker sheet in the scanning bed.
5 - At this point you can do one of the following... A) Either press the copy button on your printer or B) Scan the sticker sheet into the computer and using a program like photoshop or paintshop pro flip the image. You don't necessarily have to flip the image to print it.
6 - One you have it printed on the styrene, let the ink dry completely before touching it because it will have a tendancy to smear if you don't let it dry.
7 - Cut out the pieces to use as you see fit. Once all the pieces are cut, you can remove the ink and the satin clear coat by placing them in a ziploc bag and spray liberally with Easy-off oven cleaner.
In any event, that would probably work out the best way for me. But I tend to think outside the box!
I would jump in on this....but I'd also be afraid that they would pull the plug on it before I got all the parts!From what I understand they will be available in the USA first part of 2015!
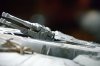
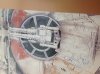
Just playing around with my 're-imagined' MF configuration, but had to dive into some 'cutting' to get a feel for the plastic. Awful! I attempted to clean up the backside of the dish after cutting off (actually, I 'whittled' it) the mounts. BTW, I did notice that a simple adjustment was possible to the mounts by just carving the sides so they are parallel, if you were doing a quick & dirty... So, I was trimming off the excess plastic 'draft' molding to sharpen up the grid pattern, but it was too difficult to achieve a clean result. After about a quarter done, I decided to carve everything off and build my own. So, I got halfway when I realized I could make a copy of the (remaining half) pattern using my newly gifted table-top vacuformer. I then used this as an opportunity to try out my favorite putty, 3M Acryl White Glazing Putty, for compatibility - thankfully, it worked well to fill the myriad of scratches and cuts made in the part. I then used the dish as a master & vacced a styrene 'skin' that cleanly shows the detail pattern. At this point I had another thought - after removing all the detail, I'll 'skin' the back of the dish again and use that as a base for rebuilding all the removed detail. Nothing glues better to PS than PS!
RE: the vacformer, I also made an 'aerospike' type feature that I plan on mounting out of the upper 'jawbox' (the 'spike' being just an oval 'bowl' formed over a wooden drawer knob with a pointy cone attached - think of a cone atop a mushroom cap.) The idea being, during atmospheric reentry, the 'spike' would be extended out ahead of the ship to create an umbrella of plasma to protect the hull proper from the heat of reentry. I starting thinking on this when I noticed the relative paucity of 'greeblie' detail on the under hull surface which I imagined was due to the lower hull plating acting like the STS, but unless I want to completely smooth out the shapes, that really doesn't work so well - not to mention the few random openings! It occured to me having an 'unpowered' type of reentry shielding could be useful on occasion and might just be routine. If it retracts when not in use (to protect the exotic material the spike must necessarily be made of), then it doesn't really alter the primary 'screen' configuration. I just need to settle on the least conspicuous 'parked' config...
Regards, Robert
You do know that in the Star Wars universe ships have deflector generators so although they don't look very aerodynamic they are as smooth as a hot knife going through butter?
J
You do know that in the Star Wars universe ships have deflector generators so although they don't look very aerodynamic they are as smooth as a hot knife going through butter?
J
Plus there is no air in space. No need to be sleek.
I was talking about the in-atmosphere bit:facepalm
J
:lol
 But from the front..etc
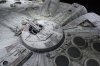
very nice hotshot can you tell us the colours you used for this baseLove all the great stuff coming out of this! I'm really enjoying building this big beaut! It was a good night in the studio! Ready for detailing now!!
I'm just dying for vents and sidewalls!
View attachment 420565View attachment 420566
Sent from my iPhone using Tapatalk
I'm really interest in getting Mr. Tony's complete resin kit version, I was contemplating on getting the SW 3D printed parts but were too expensive to my budget. My. Wife would kill me!
Hi Guys, just joined in! My HRMF is coming in the mail next week, really excited to get it, having read the thread from the beginning I really enjoy the ideas and help here from the forum members. The possibilities are amazing!
I'm really interest in getting Mr. Tony's complete resin kit version, I was contemplating on getting the SW 3D printed parts but were too expensive to my budget. My. Wife would kill me!
Anyway Mr. Tony, Let me know when the RESIN Kit is out, I will surely get one. I will be waiting....and btw thanks for your effort and to Mr. Mike too, for bringing this upgrade kit in resin form.
BTW, Im from Bahrain here in the Middle east, a Filipino working overseas...having watched the EP VII teaser trailer brought me back to modeling again and yeah.. The Millennium Falcon is where I want to start!!!
Thanks Guys,
Patrick aka "JPCOdessa"
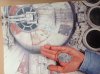
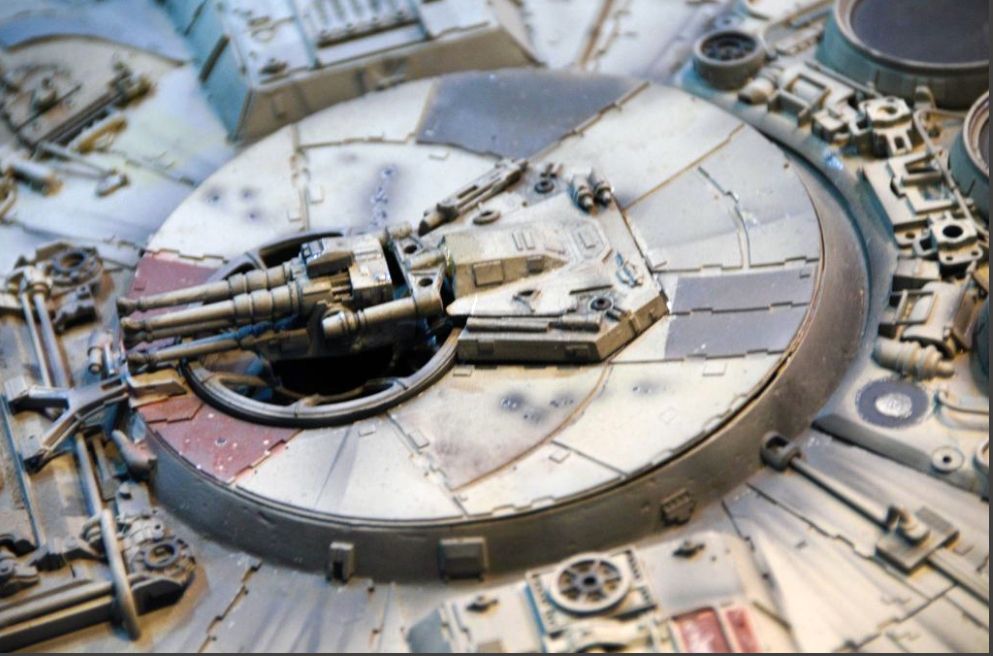
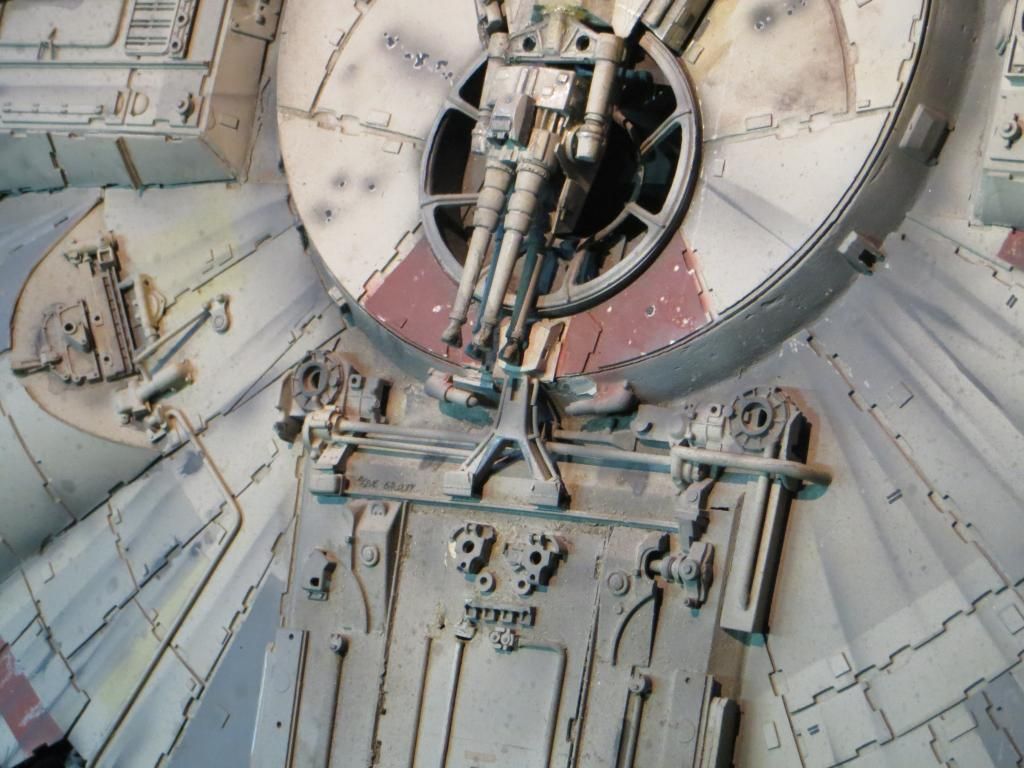
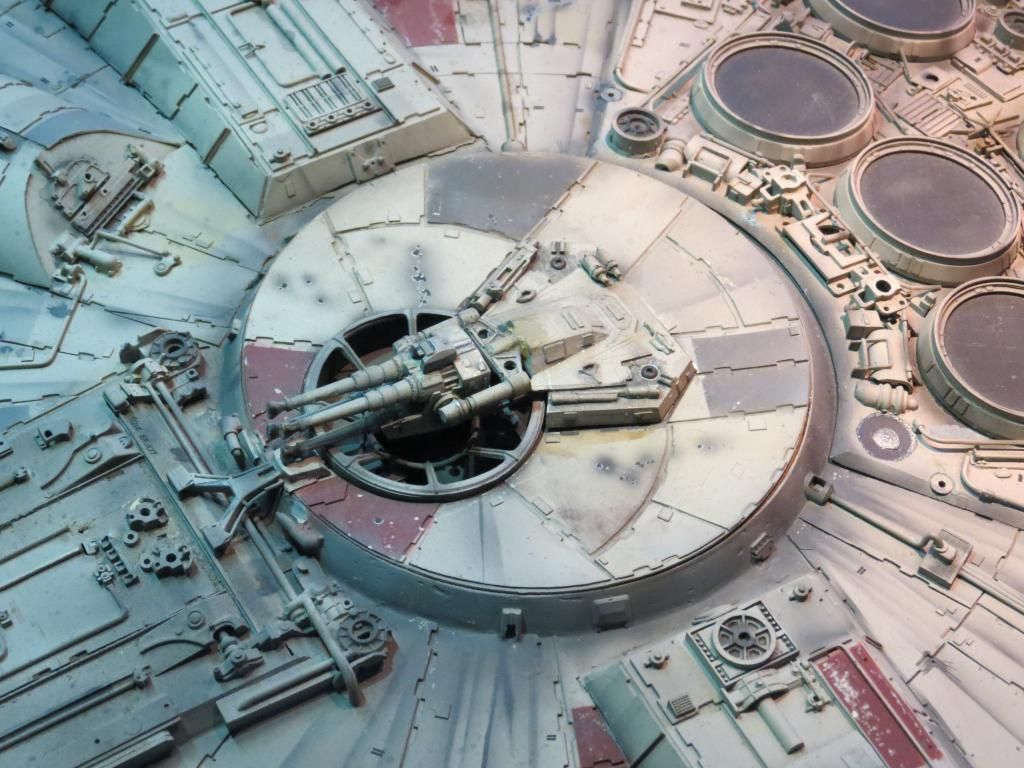
coolfacepalmDoes anyone have a really good pic of the MR falcon or 32 studio falcon top gunner disc? I want one that shows the front-ish side..So i can see how the window meets up with where the gun is attached. On the hasbro toy the window is just sorta cut off on one end...I wanted to know if the part on top of the gunner window should curve with it, or is it really just smacked on top of the edge like that?
I have removed my entire gunner disc section...going to raise it up..put in tony's windows..etc..so if you got a pic that can help...I'd love ya! I've looked thru all my images and there is not a good shot of this
This thing
Does anyone have a really good pic of the MR falcon or 32 studio falcon top gunner disc?
this is a tough one to get , spool through this link which is meant to be the 5 footer on tour
this is a tough one to get , spool through this link which is meant to be the 5 footer on tour
https://onedrive.live.com/?cid=B9FE0AEBDC25FDBC&id=B9FE0AEBDC25FDBC!2981
but when I compare the gun to the image in sculpting the galaxy they look different