Capn_Jack_Savvy
Sr Member
Re: My Mad Hatter - Work In Progress Updates - 01-27-10
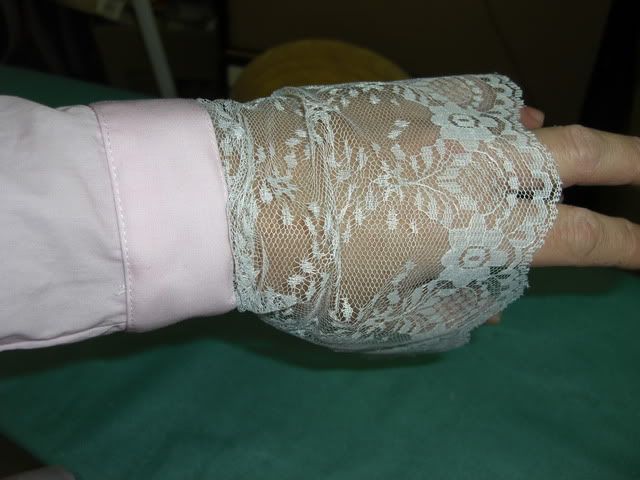
The shirt and lace.
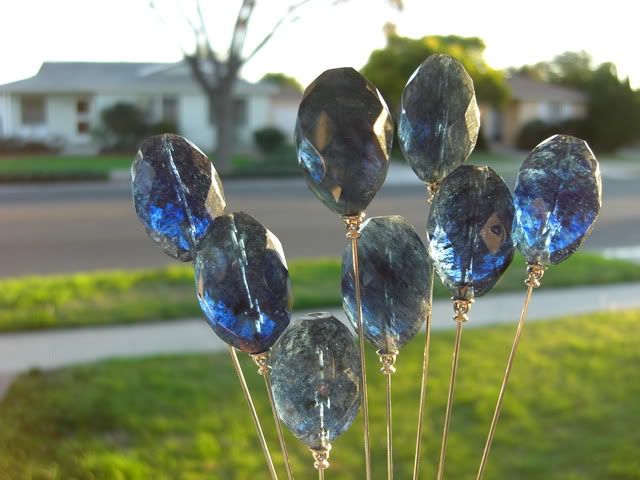
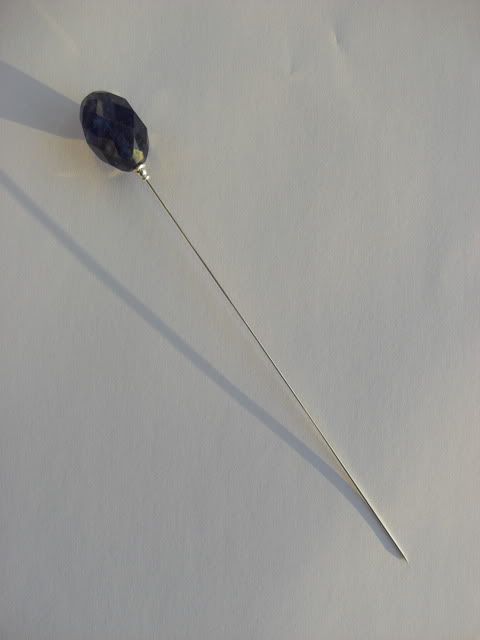
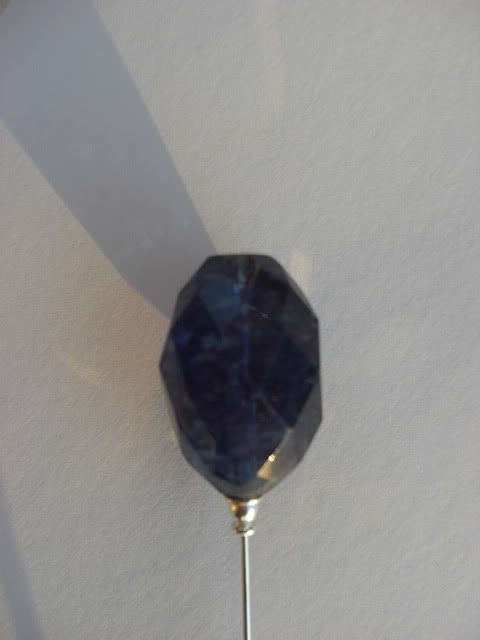
Completed:
How it was done!
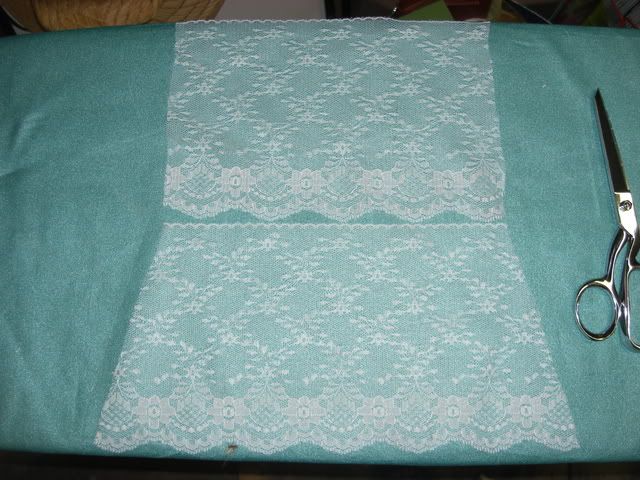
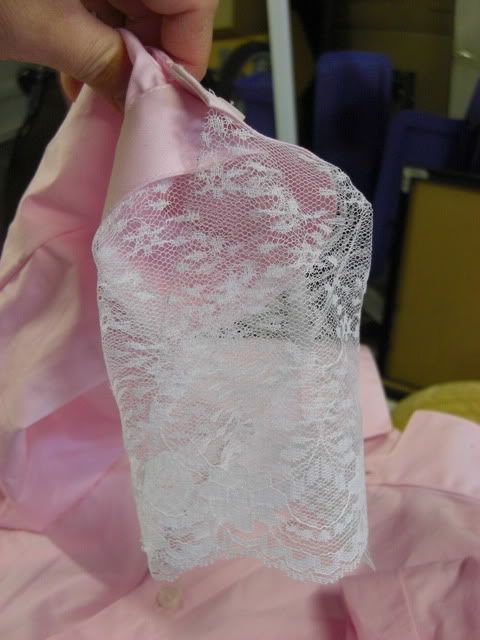
First I measured the length of the wrist cuff. Originally I was going to use a straight cut on the edges of the lace but decided to angle the cut instead.
Original idea above; new idea below:
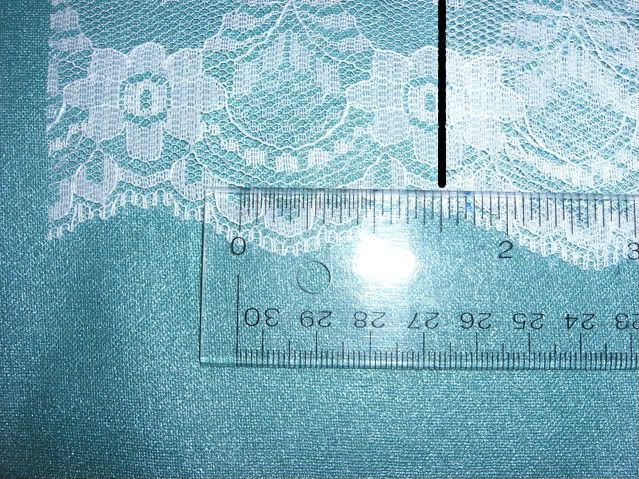
I measured about 1 1/2 inches out from a perpendicular edge. That way the lace was a triangular shape.
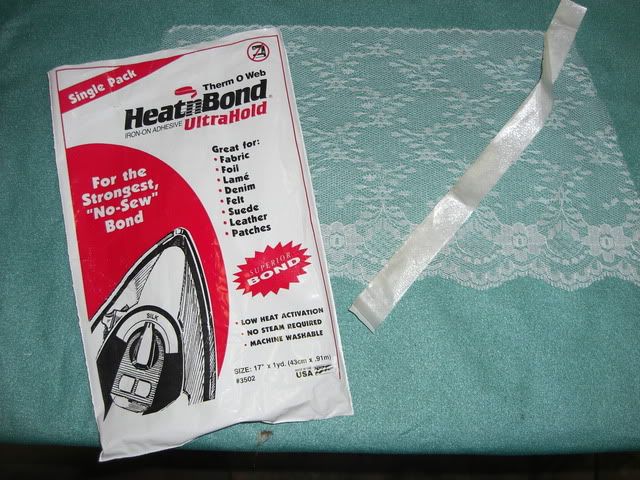
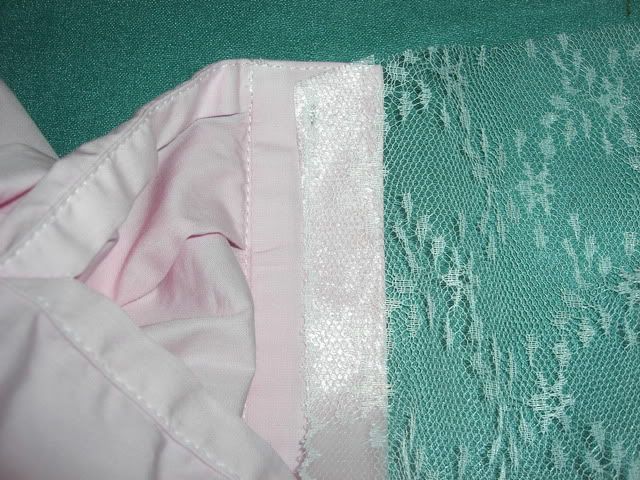
Next cut a strip of HeatNBond (or similar product) that is about 1/2 inch wide and the same length as the top of your lace piece. HeatNBond is great stuff and holds really well. Great for those of us that do not own a sewing machine or don't really want to hand stitch. Apply with an iron set to about medium heat. Be careful not to melt the lace AND be sure to apply just the tip of the iron lightly so that the HeatNBond doesn't stick to to your iron or ironing board. :confused
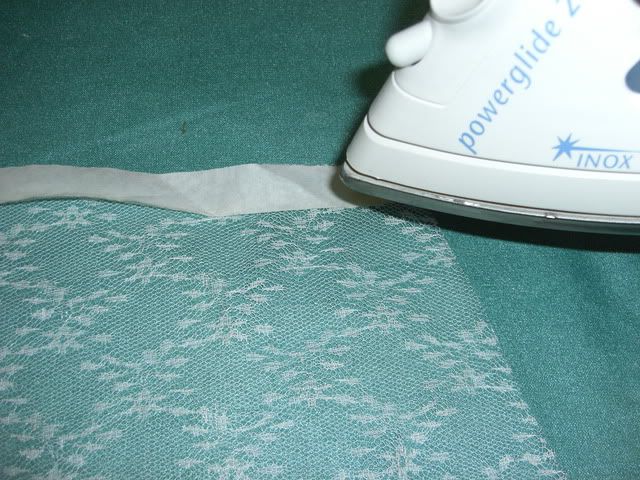
When finished the piece should be well attached to the lace.
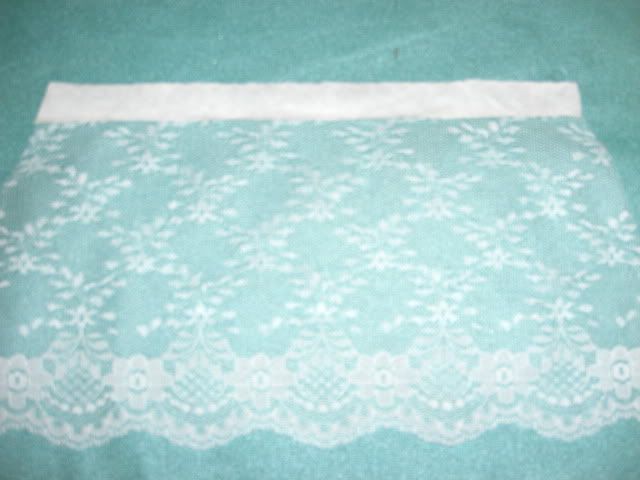
Remove the adhesive backing from the other side of the HeatNBond.
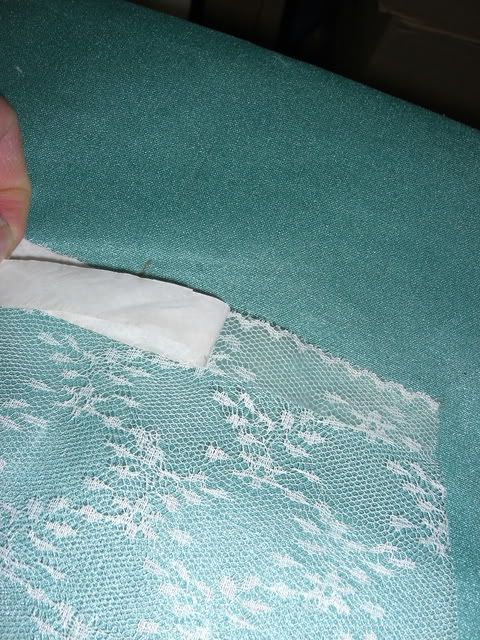
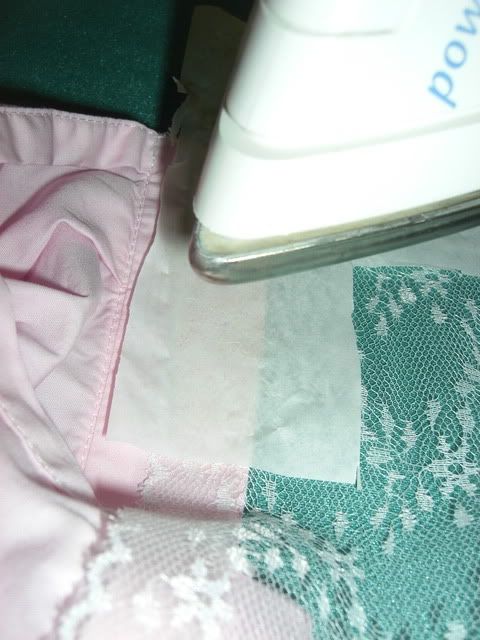
Line up the lace on the inside of the cuff and so that the edge of the HeatNBond is at the lower edge of the material. Using an iron slowly bond the lace to the cuff. I would do about 2-3 inches at at time, wait for the material to cool down, and peel back the backing. I used a larger piece of the backing material so I would have a larger ironing area.
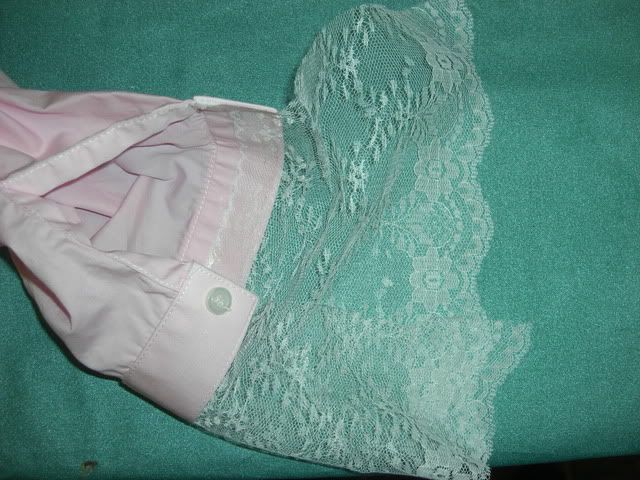
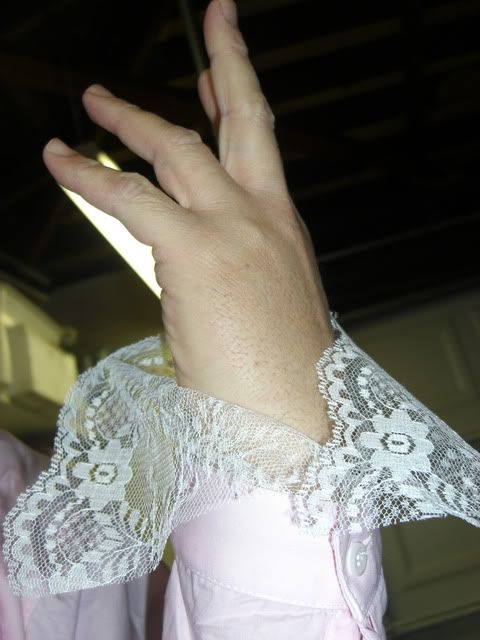
Completed job. See how the lace overlaps at the ends? I think it gives it a better look rather than two straight edges. Plus the lace hangs better when split like this. If you cover up your button hole when applying the lace just use a pair of scissors or knife to slice it back open!:eek
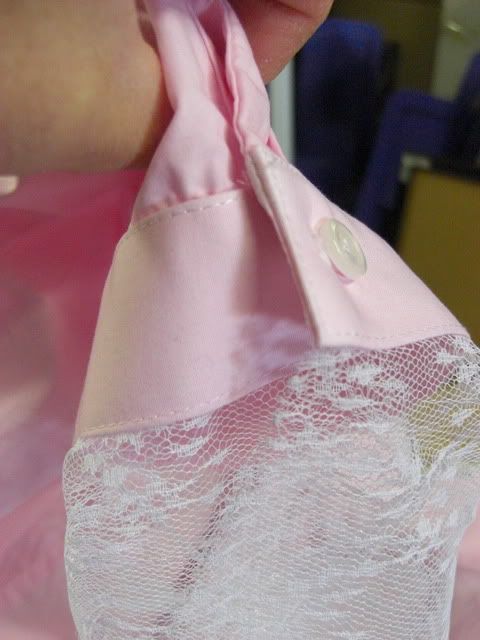
Remember this is not the ONLY way to attach your lace but it was what worked for me.
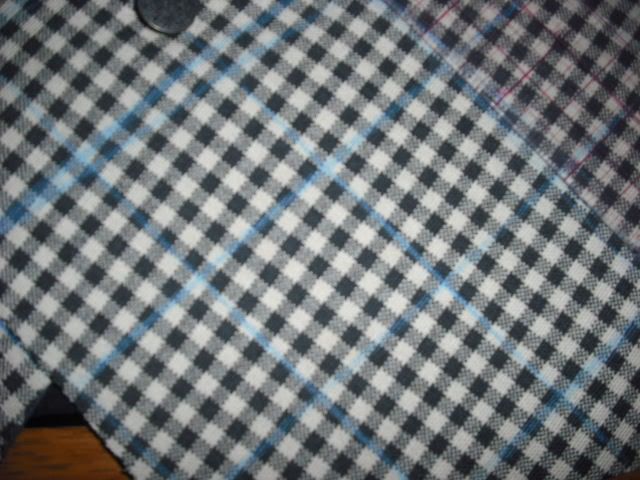
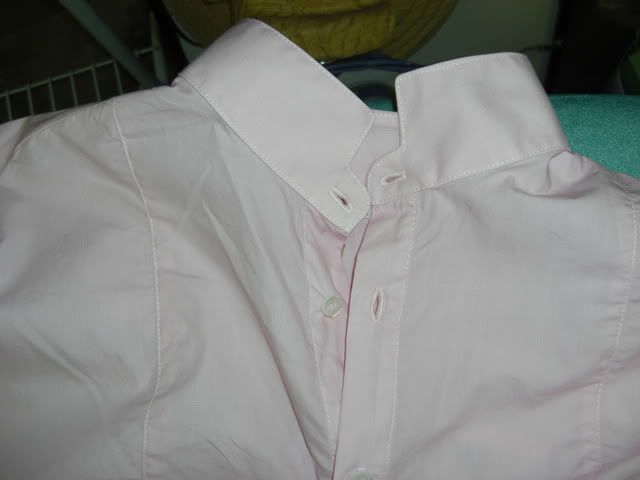
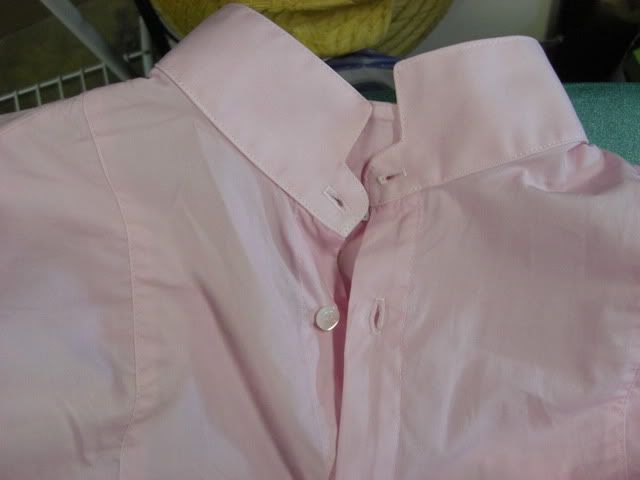
Shirt color with and without flash.
The shirt and lace.
Completed:
How it was done!
First I measured the length of the wrist cuff. Originally I was going to use a straight cut on the edges of the lace but decided to angle the cut instead.
Original idea above; new idea below:
I measured about 1 1/2 inches out from a perpendicular edge. That way the lace was a triangular shape.
Next cut a strip of HeatNBond (or similar product) that is about 1/2 inch wide and the same length as the top of your lace piece. HeatNBond is great stuff and holds really well. Great for those of us that do not own a sewing machine or don't really want to hand stitch. Apply with an iron set to about medium heat. Be careful not to melt the lace AND be sure to apply just the tip of the iron lightly so that the HeatNBond doesn't stick to to your iron or ironing board. :confused
When finished the piece should be well attached to the lace.
Remove the adhesive backing from the other side of the HeatNBond.
Line up the lace on the inside of the cuff and so that the edge of the HeatNBond is at the lower edge of the material. Using an iron slowly bond the lace to the cuff. I would do about 2-3 inches at at time, wait for the material to cool down, and peel back the backing. I used a larger piece of the backing material so I would have a larger ironing area.
Completed job. See how the lace overlaps at the ends? I think it gives it a better look rather than two straight edges. Plus the lace hangs better when split like this. If you cover up your button hole when applying the lace just use a pair of scissors or knife to slice it back open!:eek
Remember this is not the ONLY way to attach your lace but it was what worked for me.
Shirt color with and without flash.