I gotta say, I like the above phaser designs better than the one for the "new" film.
You are using an out of date browser. It may not display this or other websites correctly.
You should upgrade or use an alternative browser.
You should upgrade or use an alternative browser.
Multiple ST Phaser builds: Insanity in the making, with a Communicator too!
- Thread starter TridCloudwalker
- Start date
Unfortunately, this project is on indefinite hold. I no longer have a workshop. I'm working on transferring to an office in another part of the state that will enable me to rent a new house that has room enough to reset up my shop. Until then, the only projects I can work on are my lightsabers, as they get machined offsite.
I feel really bad about this, as I too was looking forward to seeing how these turned out, and I feel I really really let my client down. Unfortunately, I had absolutely no control over having to move out of the place my old shop was in, and it happened very suddenly and out of the blue.
I still need to ship the phasers back to the client, but the nozzle to one of phasers is packed in a separate box that has proven VERY difficult to get to. If you're reading this, I should have it soon.
vistaVision
Sr Member
Could you tell us about these primers? I am very familiar with sandable primer, and I've read about other primers that might build up a thicker coat... The red primer we see here is the "gap filling primer" you mention? Do you favor a particular type and brand? Do you shoot this with a spraygun/airbrush or is this a spray can application? It sounds like you use a sandable primer coat over the first primer. Does this mean the gap-filling primer cannot/should not be wet sanded? I'd like to know more, thanks!And then everything got several nice coats of gap filling primer. None of them really needed it, as they're both beautifully cast pieces (especially the MKII. I couldn't find a single flaw on it), but it will ensure a perfectly smooth finish for the final sandable primer coat to go on. This makes the final wet sanding go a lot more quickly and...smoothly(pun intended).
Could you tell us about these primers? I am very familiar with sandable primer, and I've read about other primers that might build up a thicker coat... The red primer we see here is the "gap filling primer" you mention? Do you favor a particular type and brand? Do you shoot this with a spraygun/airbrush or is this a spray can application? It sounds like you use a sandable primer coat over the first primer. Does this mean the gap-filling primer cannot/should not be wet sanded? I'd like to know more, thanks!
The primers I used were both made by Duplicolor, and can be found in just about any auto supply store. They're very high quality for a relatively decent price (though a little expensive).
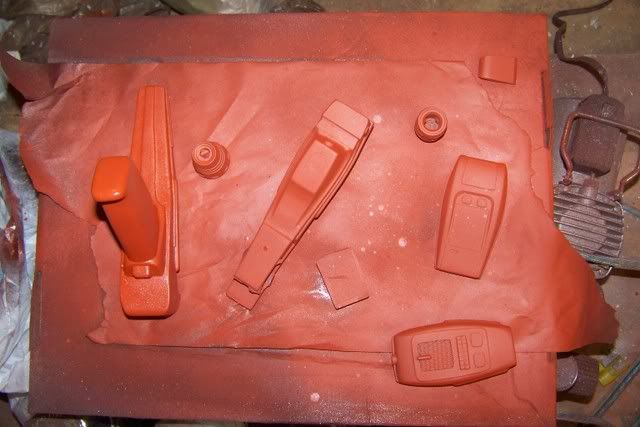
The resin on these phasers were very very smooth an almost oily to the touch, so to ensure proper paint adhesion, after washing the parts in warm soapy water, and VERY lightly roughing them up with 1000 grit sandpaper, I applied a light coat of the olive green looking self-etching primer. The chemical makeup of this primer allows it to grip the surface of the resin better, highly decreasing the chances of it "orange peeling" or easily scratching off.
I then applied light, uniform coats of the reddish gap filling primer. This primer has a powdery filler in it that works down into shallows and imperfections, filling them up.
You should give the surfaces a sanding between every couple of coats to make sure things stay smooth, and nothing builds up too much in one area. Remember to keep all your coats very light and uniform. You stop adding layers when your flaws are covered. At this point you can dry or wet sand, whichever you want. Or you can add a coat of super high quality fine primer like Tamiya brand, and then do your fine or wet sanding. After that, you'll be able to make any kind of paint stick and stay and remain durable. Clear coat your final paint job, and it'll be nigh indestructible.
")
I'm still trying to set up my new workshop, but these will be THE very first things I start and complete. Updates coming soon.
It's been forever and a half, but I FINALLY got a new workshop. It's still not 100% up and running, but I have enough set up to get back onto this project!
Before I had to put the project on hold, I got as far as airbrushing the base colors on:
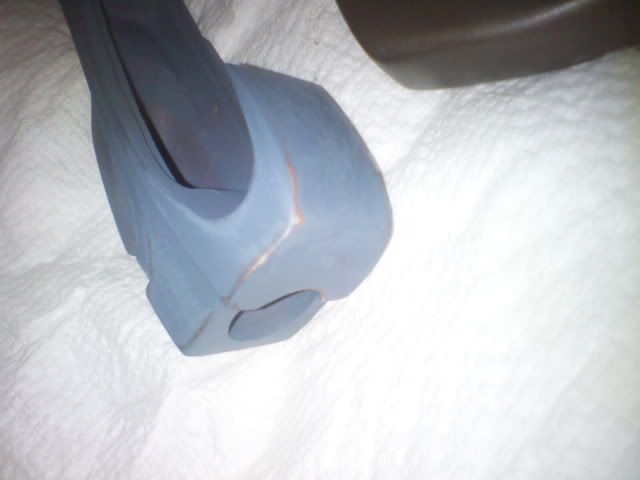
Unfortunately, I was unhappy with the finish. There must have been extra moisture in the air, or my pressure in the compressor wasn't dialed in right, or something, so I've been carefully wetsanding everything down so it's nice and smooth again:
I'll be re-airbrushing the custom body color back on today and tomorrow, and hopefully we'll be back on track. If anyone happens to have a few spare inches of 1/4" or 1/2" acrylic rod they can spare, give me a yell. The resin cast ones have yellowed quite badly, and I want to lathe down a couple new ones.
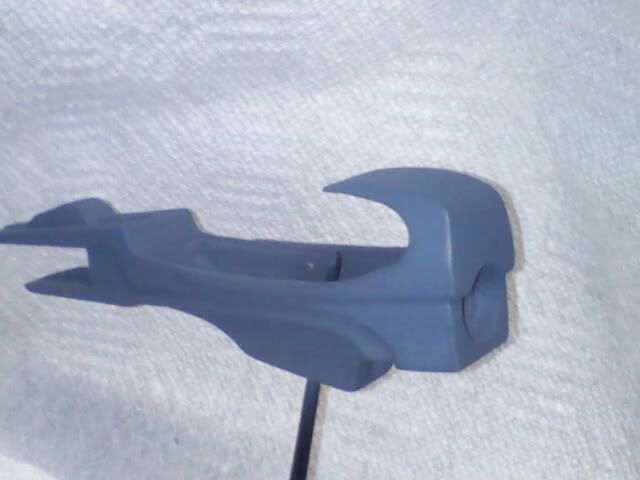
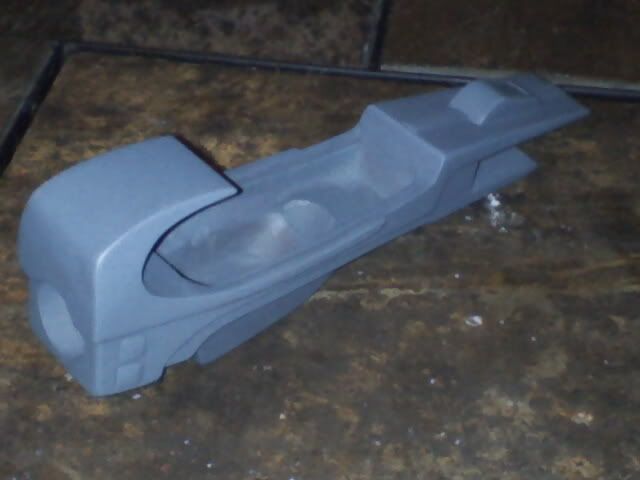
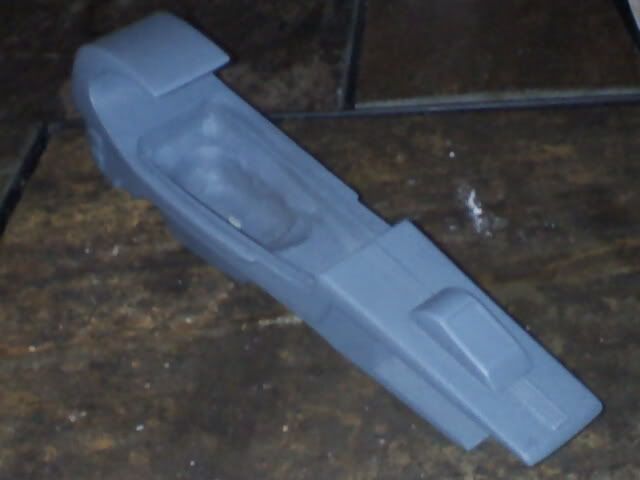
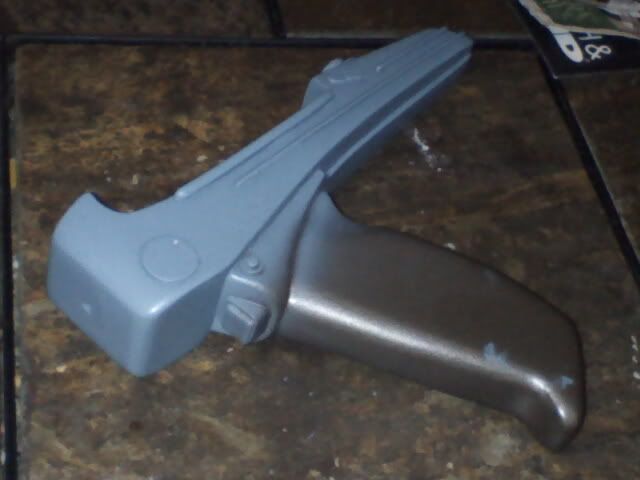
I also started initial clean up on the phased particle pistol. A few airholes filled, seam lines taken down, and pour stubs removed.
Before I had to put the project on hold, I got as far as airbrushing the base colors on:
Unfortunately, I was unhappy with the finish. There must have been extra moisture in the air, or my pressure in the compressor wasn't dialed in right, or something, so I've been carefully wetsanding everything down so it's nice and smooth again:
I'll be re-airbrushing the custom body color back on today and tomorrow, and hopefully we'll be back on track. If anyone happens to have a few spare inches of 1/4" or 1/2" acrylic rod they can spare, give me a yell. The resin cast ones have yellowed quite badly, and I want to lathe down a couple new ones.
I also started initial clean up on the phased particle pistol. A few airholes filled, seam lines taken down, and pour stubs removed.
Last edited:
First coat on:

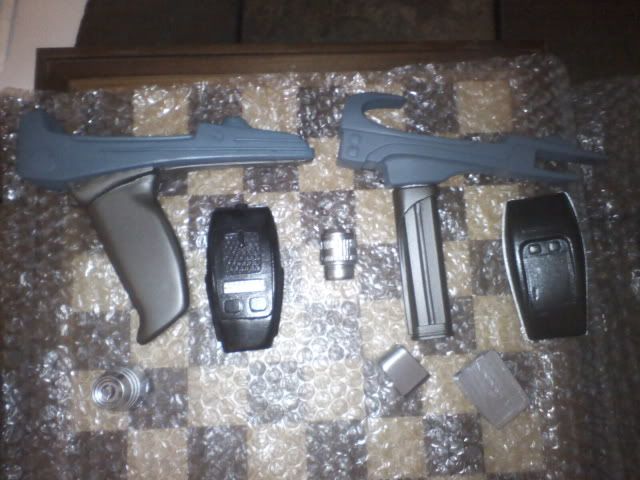
I have a couple more coats of paint airbrushed onto the phasers. I think I may put a coat of clear semi-gloss on them, as they turned out a bit more matte than I'd like.
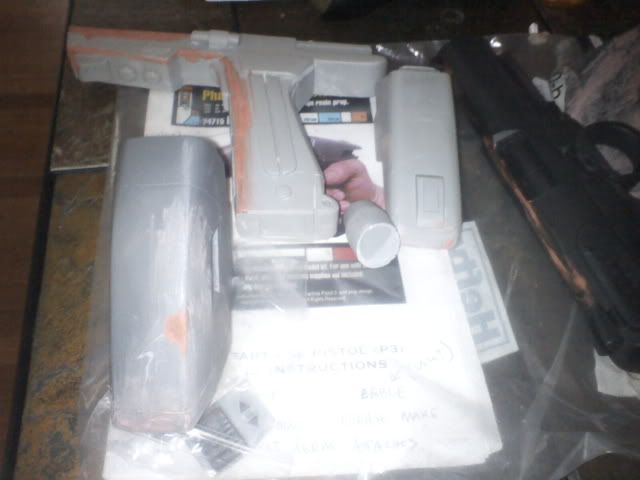
Also, I started peliminary work on the Phased Particle Pistol. At the moment, I'm just filling in pin holes and eliminating seams, etc. (the Wilco Galactica pistol to the left is mine. I figured I'd putty it up too since I had the stuff out):
More to come....
Also, I started peliminary work on the Phased Particle Pistol. At the moment, I'm just filling in pin holes and eliminating seams, etc. (the Wilco Galactica pistol to the left is mine. I figured I'd putty it up too since I had the stuff out):
More to come....
Last edited:
greatwazoo42
Master Member
I think the Mk II looks better without the back fins in. Beautiful work so far.
Colonialone
Member
Interesting compilation of projects
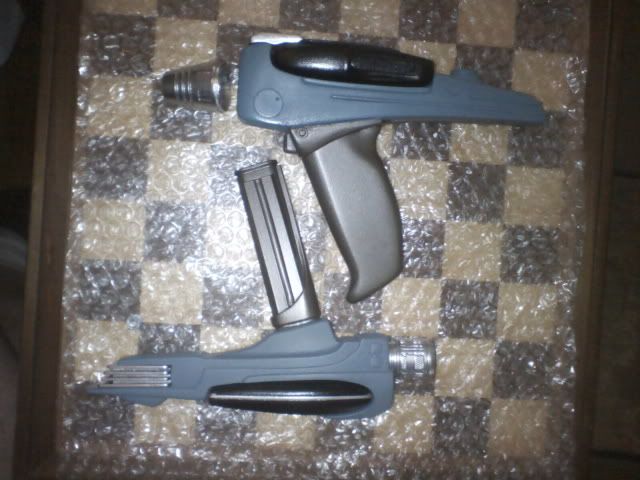
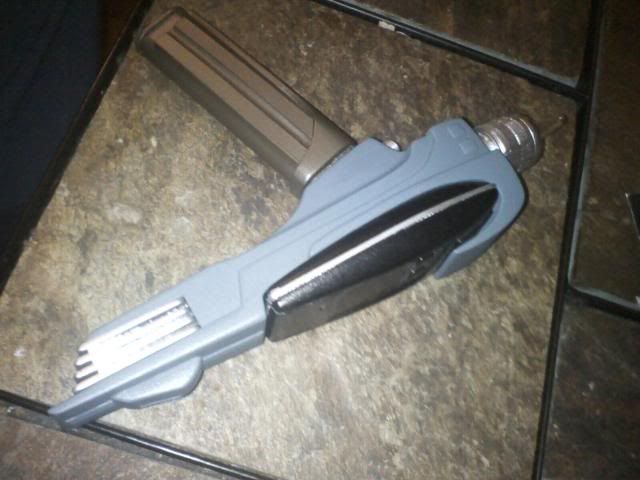
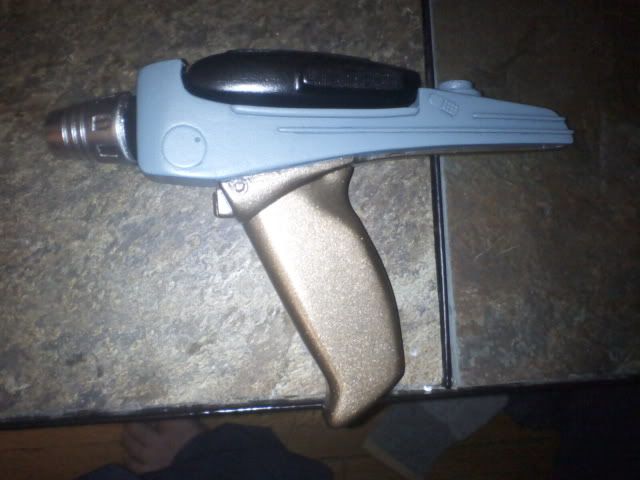
Okay, got the final color coat and sealer on the MkII (Managed to clear coat my beard in the process. Always make sure the nozzle is pointing the right way :lol ). Gotta add some detail paint to it, but then I can begin final assembly.
Finished color coat and it's sealer are on the Concept. Just gotta mask and repaint the grip and seal that. Then I'll start on it's hand phaser.
All the major filling is finished on the Phased Particle, and it's first coat of primer is on. Gotta smooth out a few small blemishes the primer picked up, re prime, sand and wetsand, then it'll be onto the color.
Last edited:
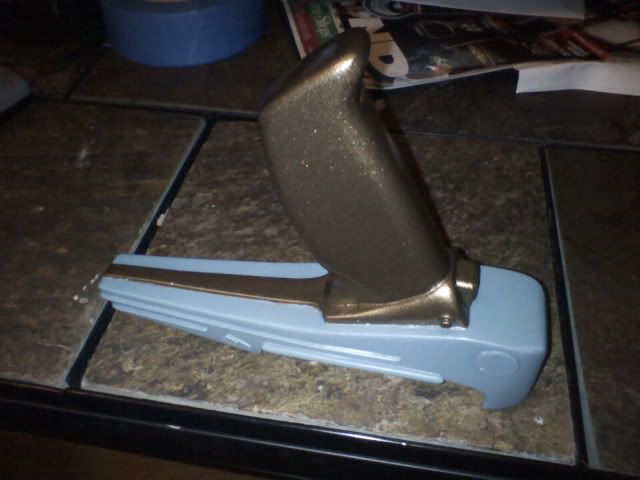
Grip repainted:
The gang (and my BSG sidearm) all together:
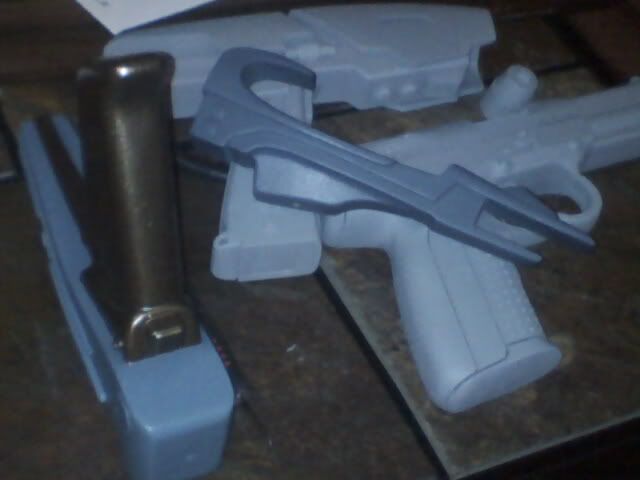
The gang (and my BSG sidearm) all together:
Oh...and a quick dry fitting of how all the parts look at the moment:
Similar threads
- Replies
- 1
- Views
- 1,041
- Replies
- 1
- Views
- 983
- Replies
- 10
- Views
- 1,663
- Replies
- 0
- Views
- 381