cabour
Sr Member
Thanks robiwon
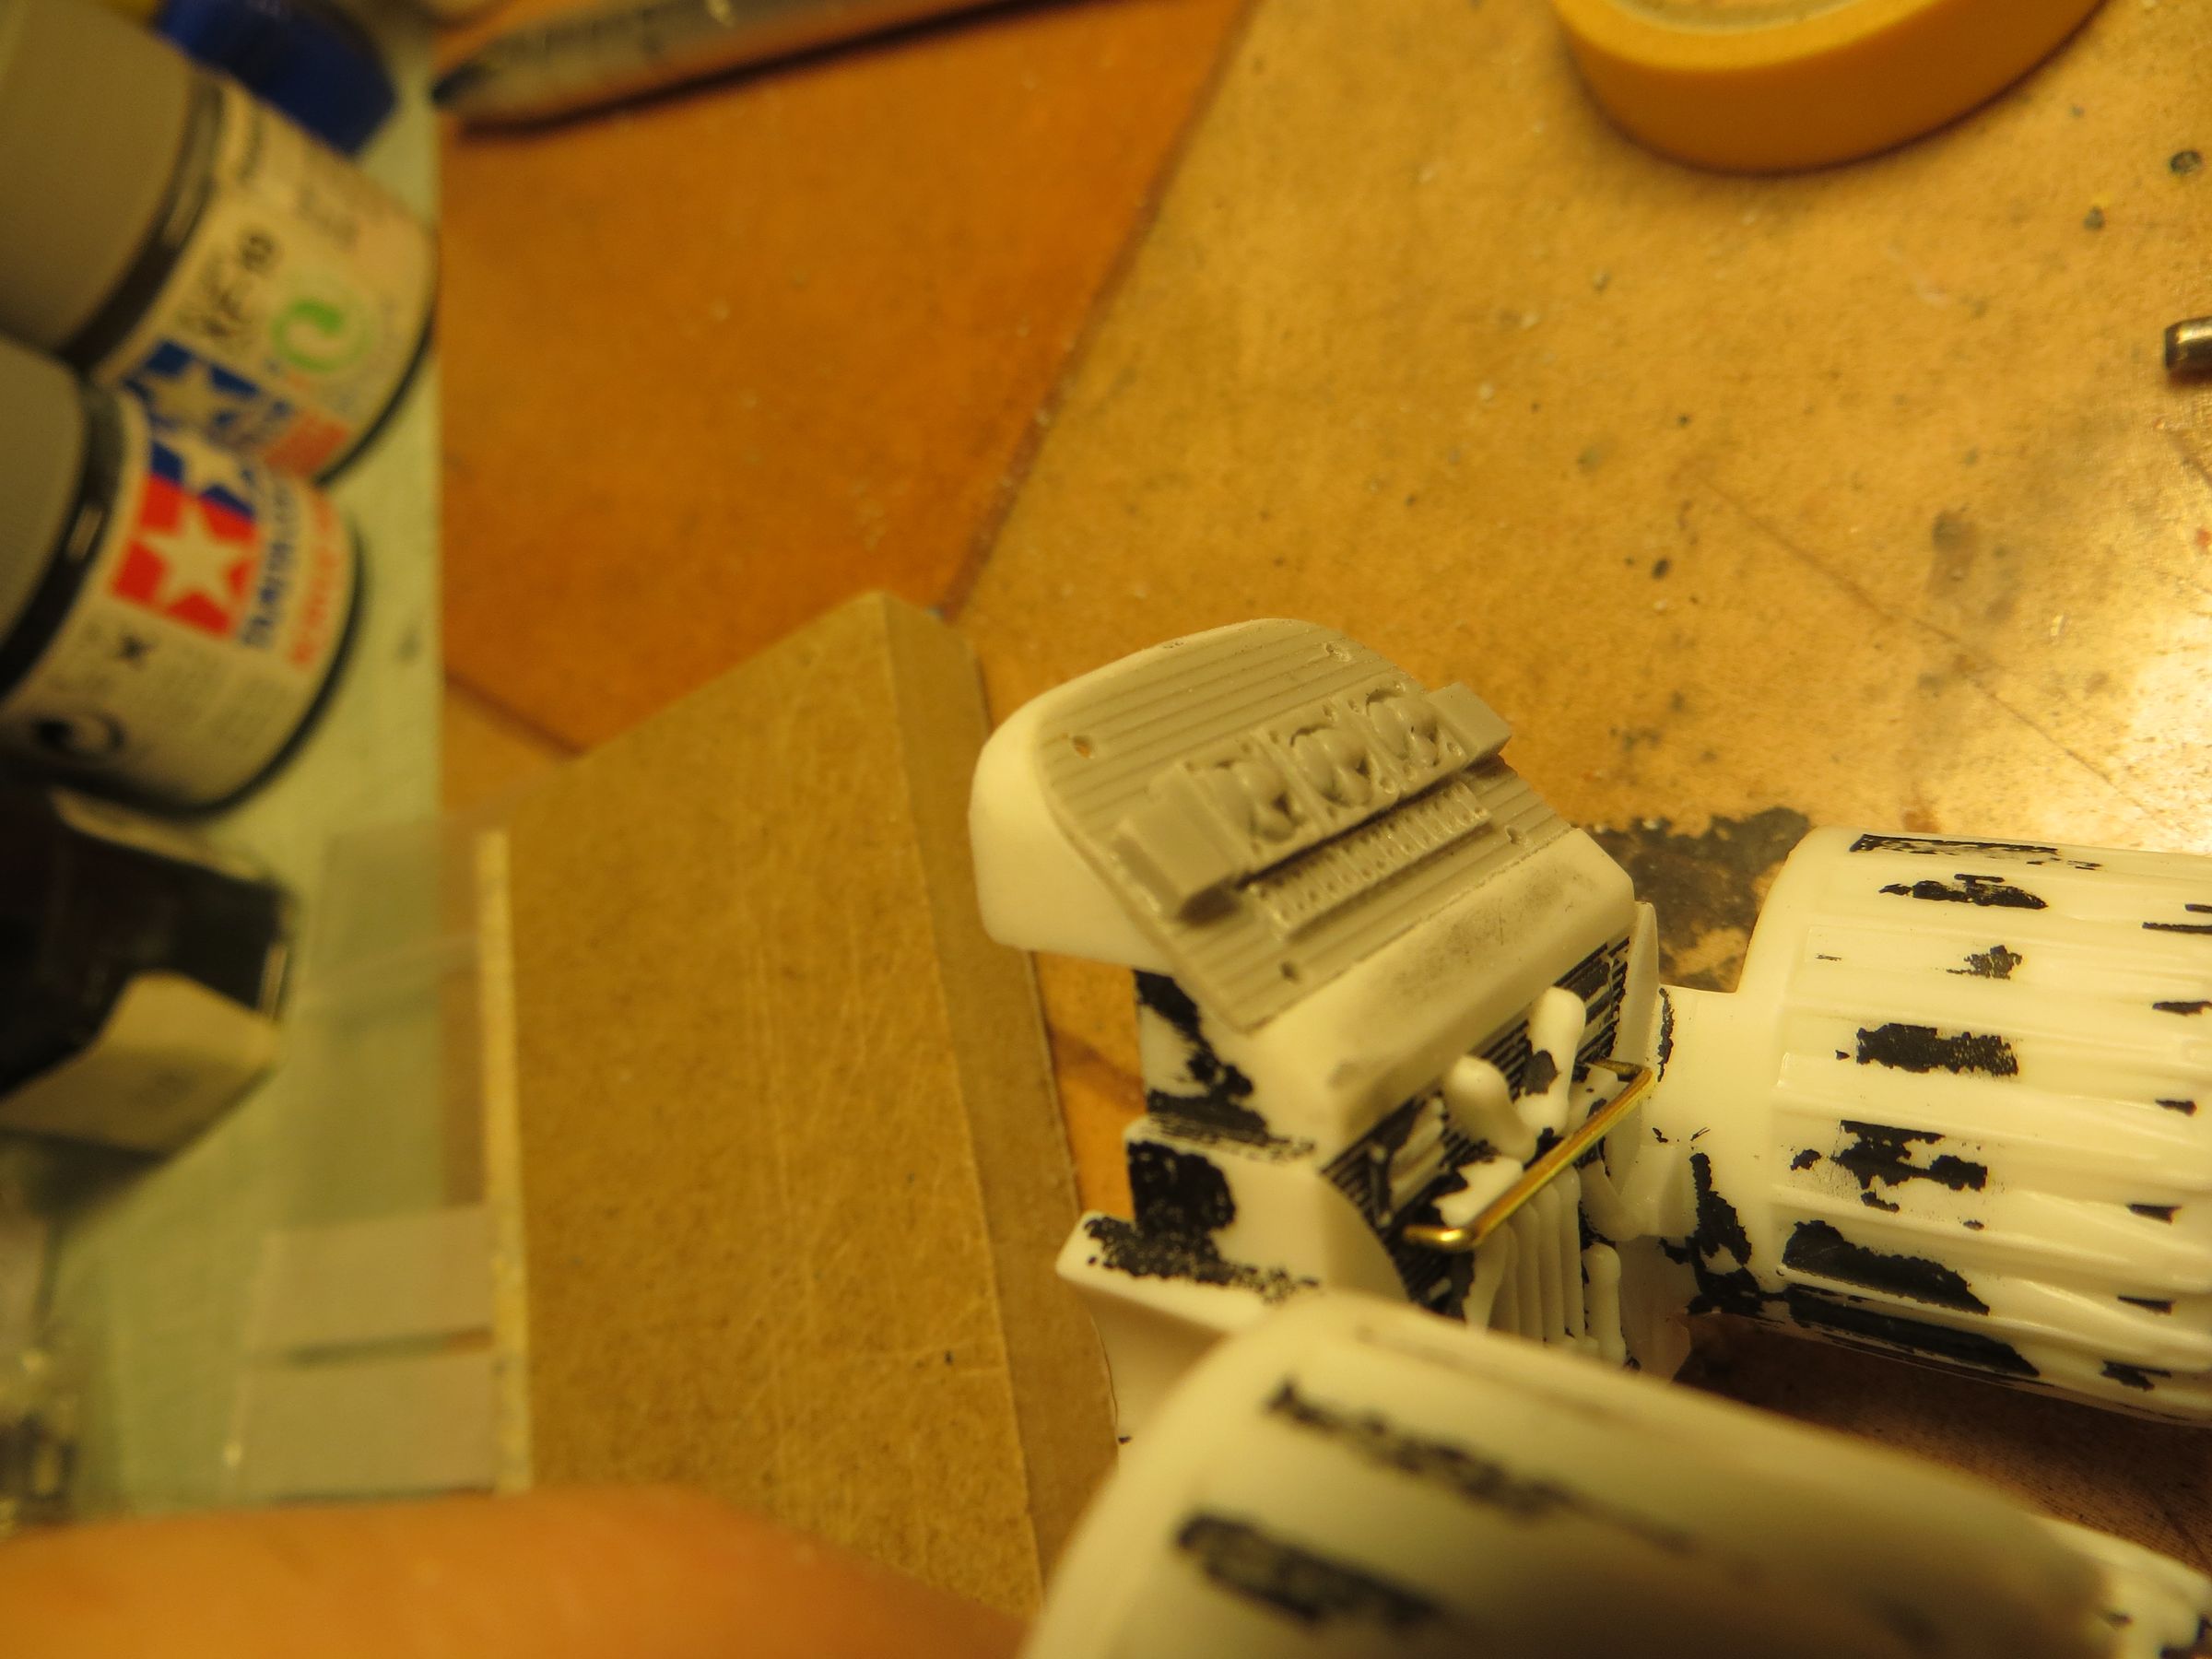
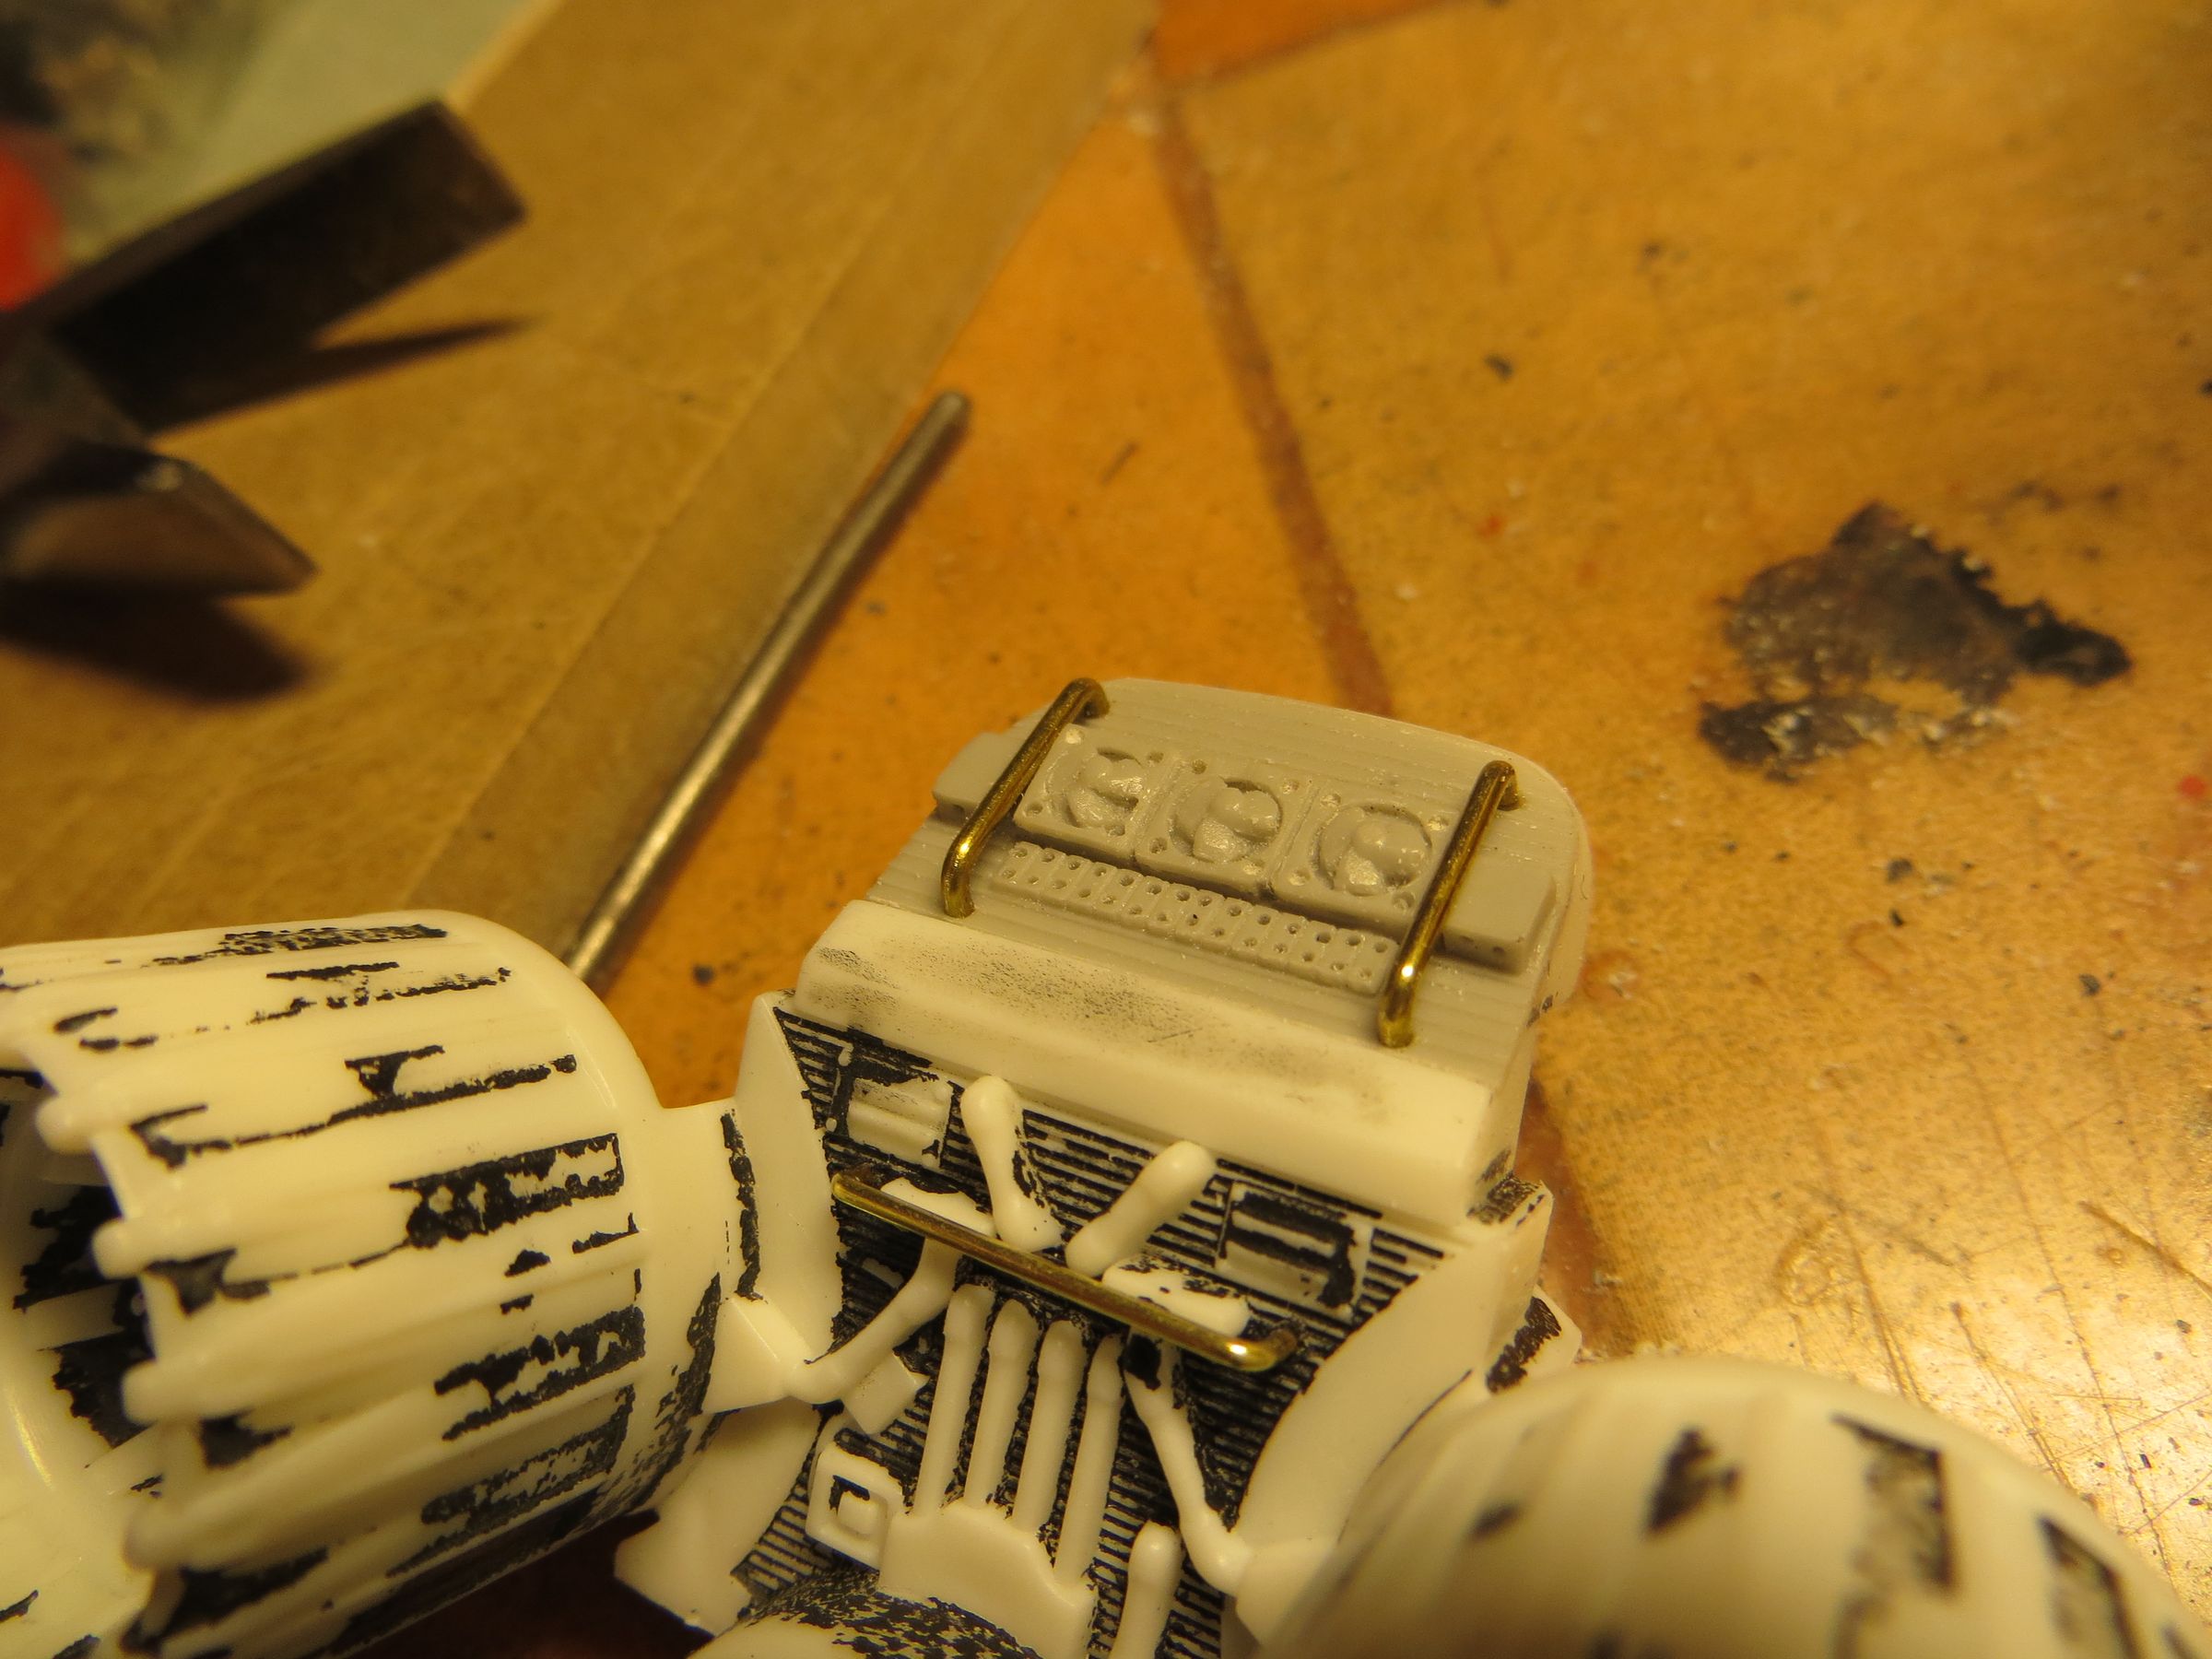
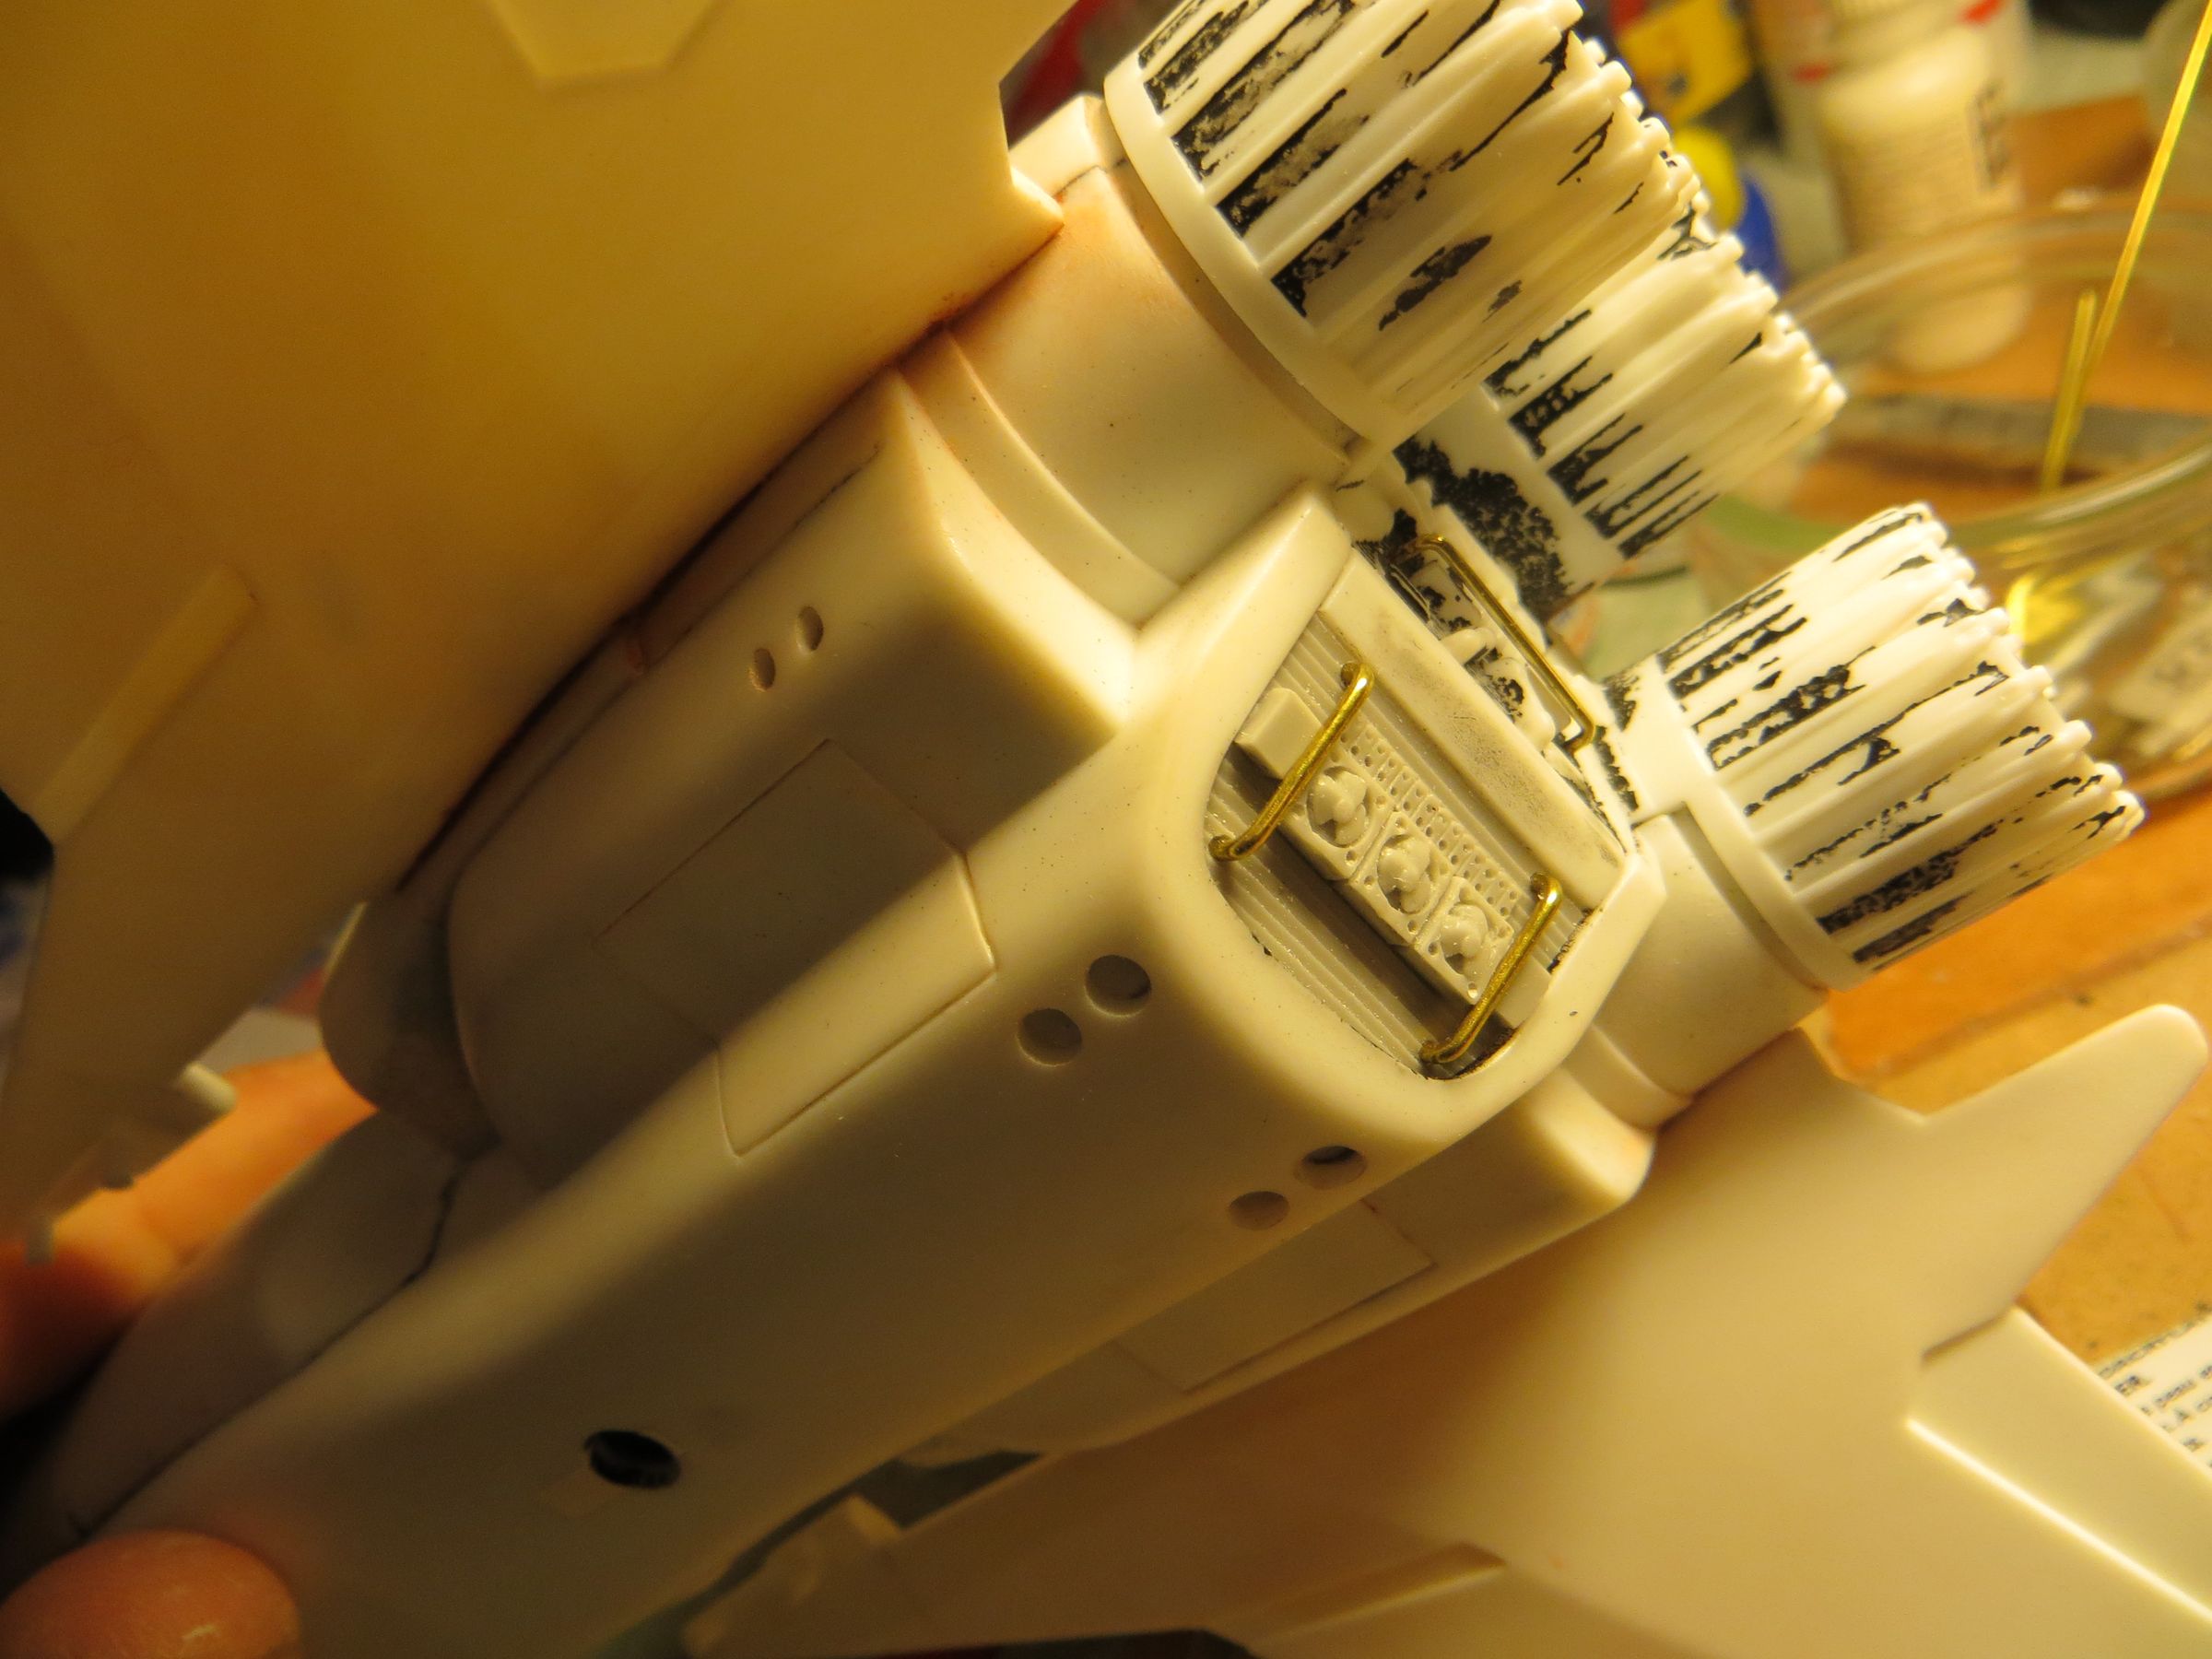
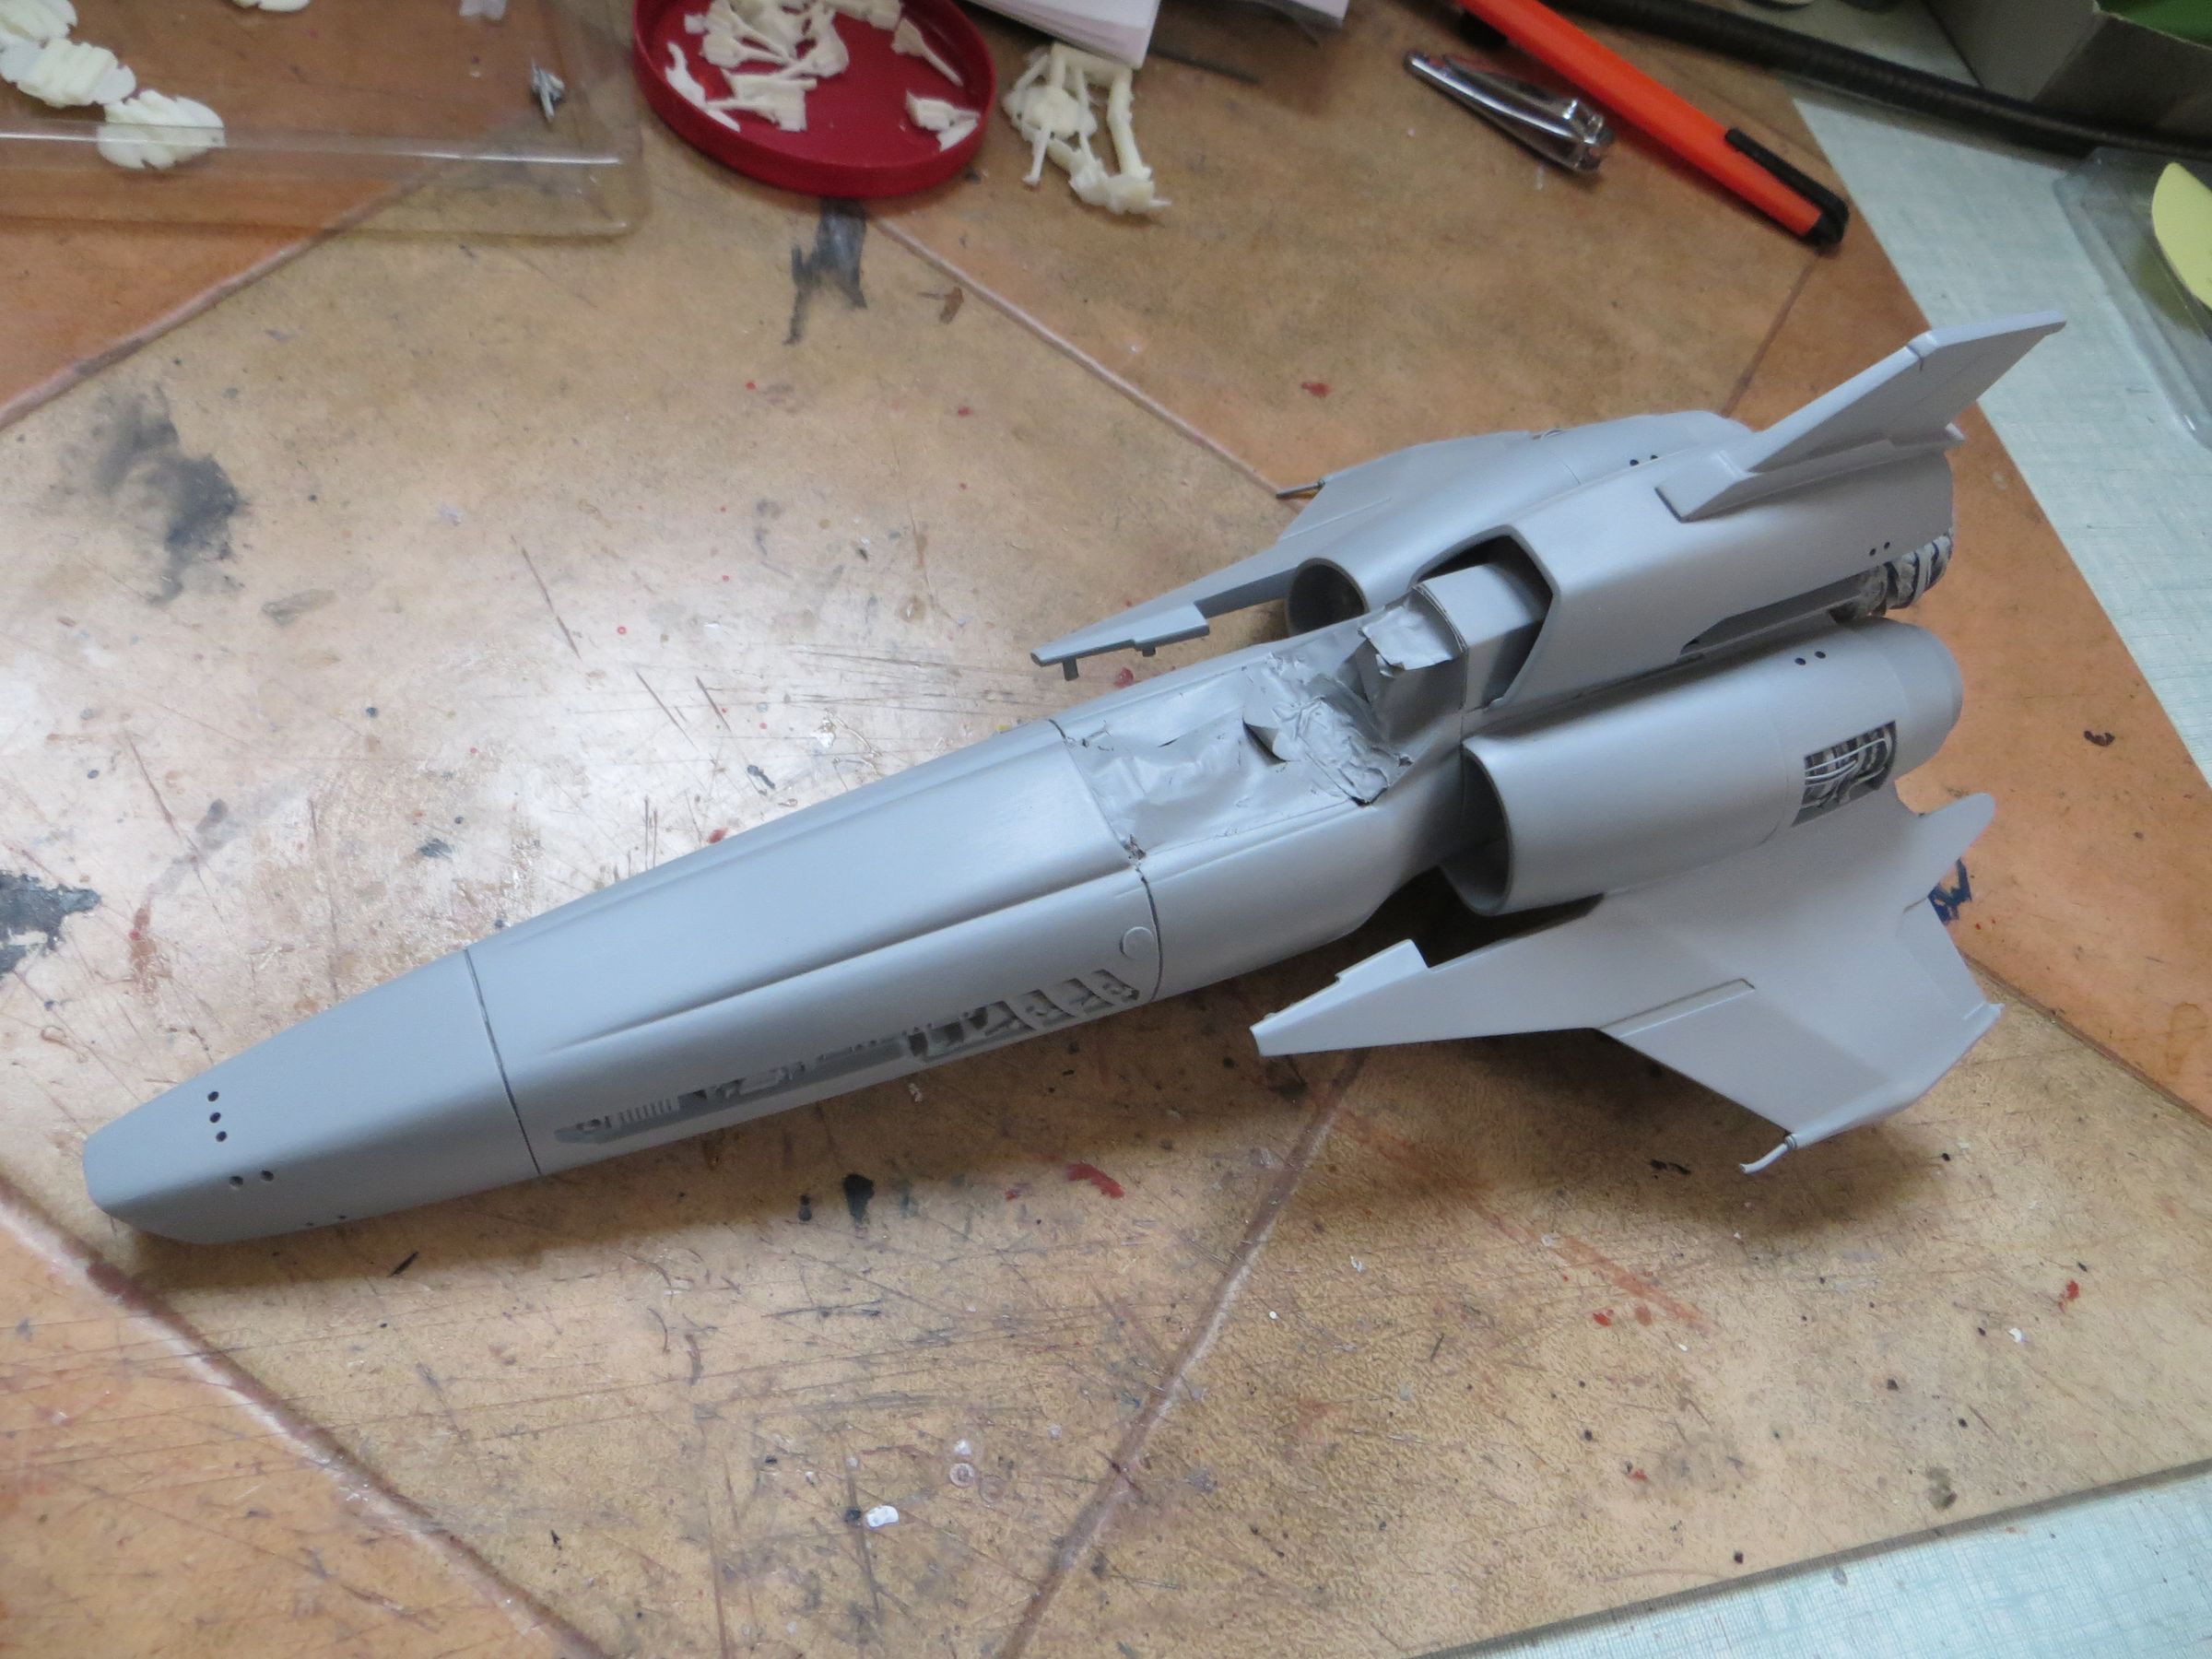
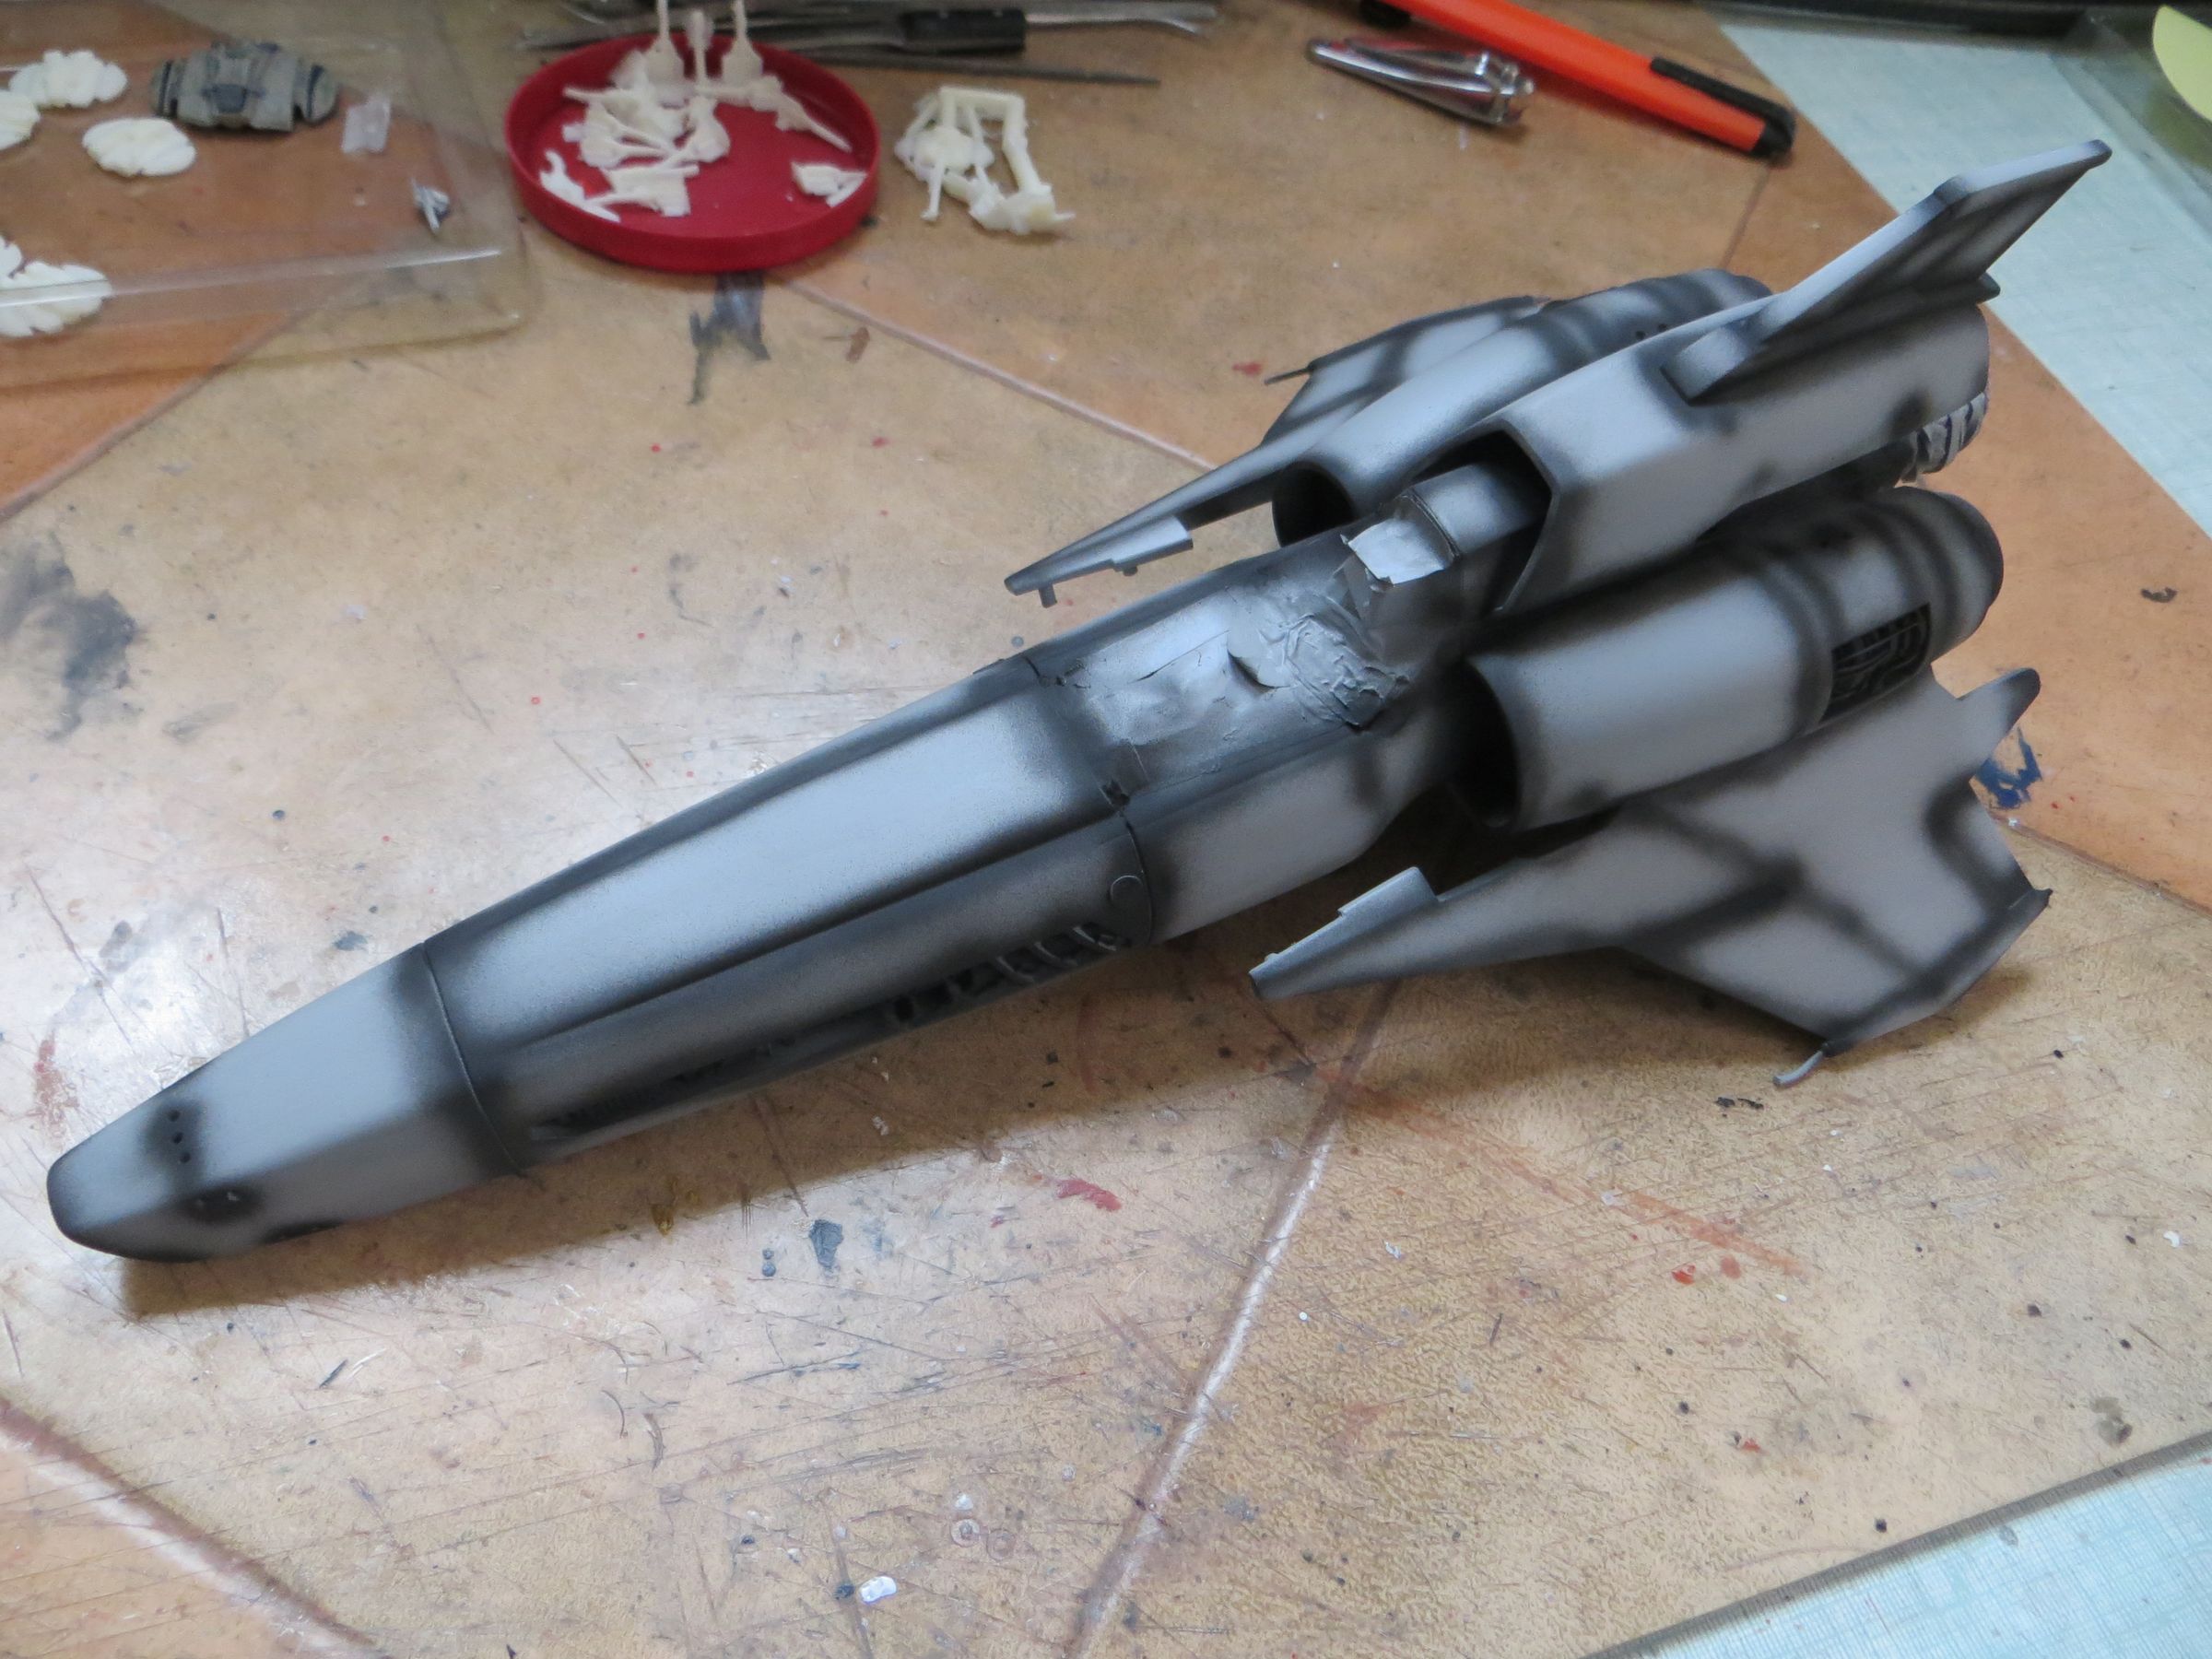
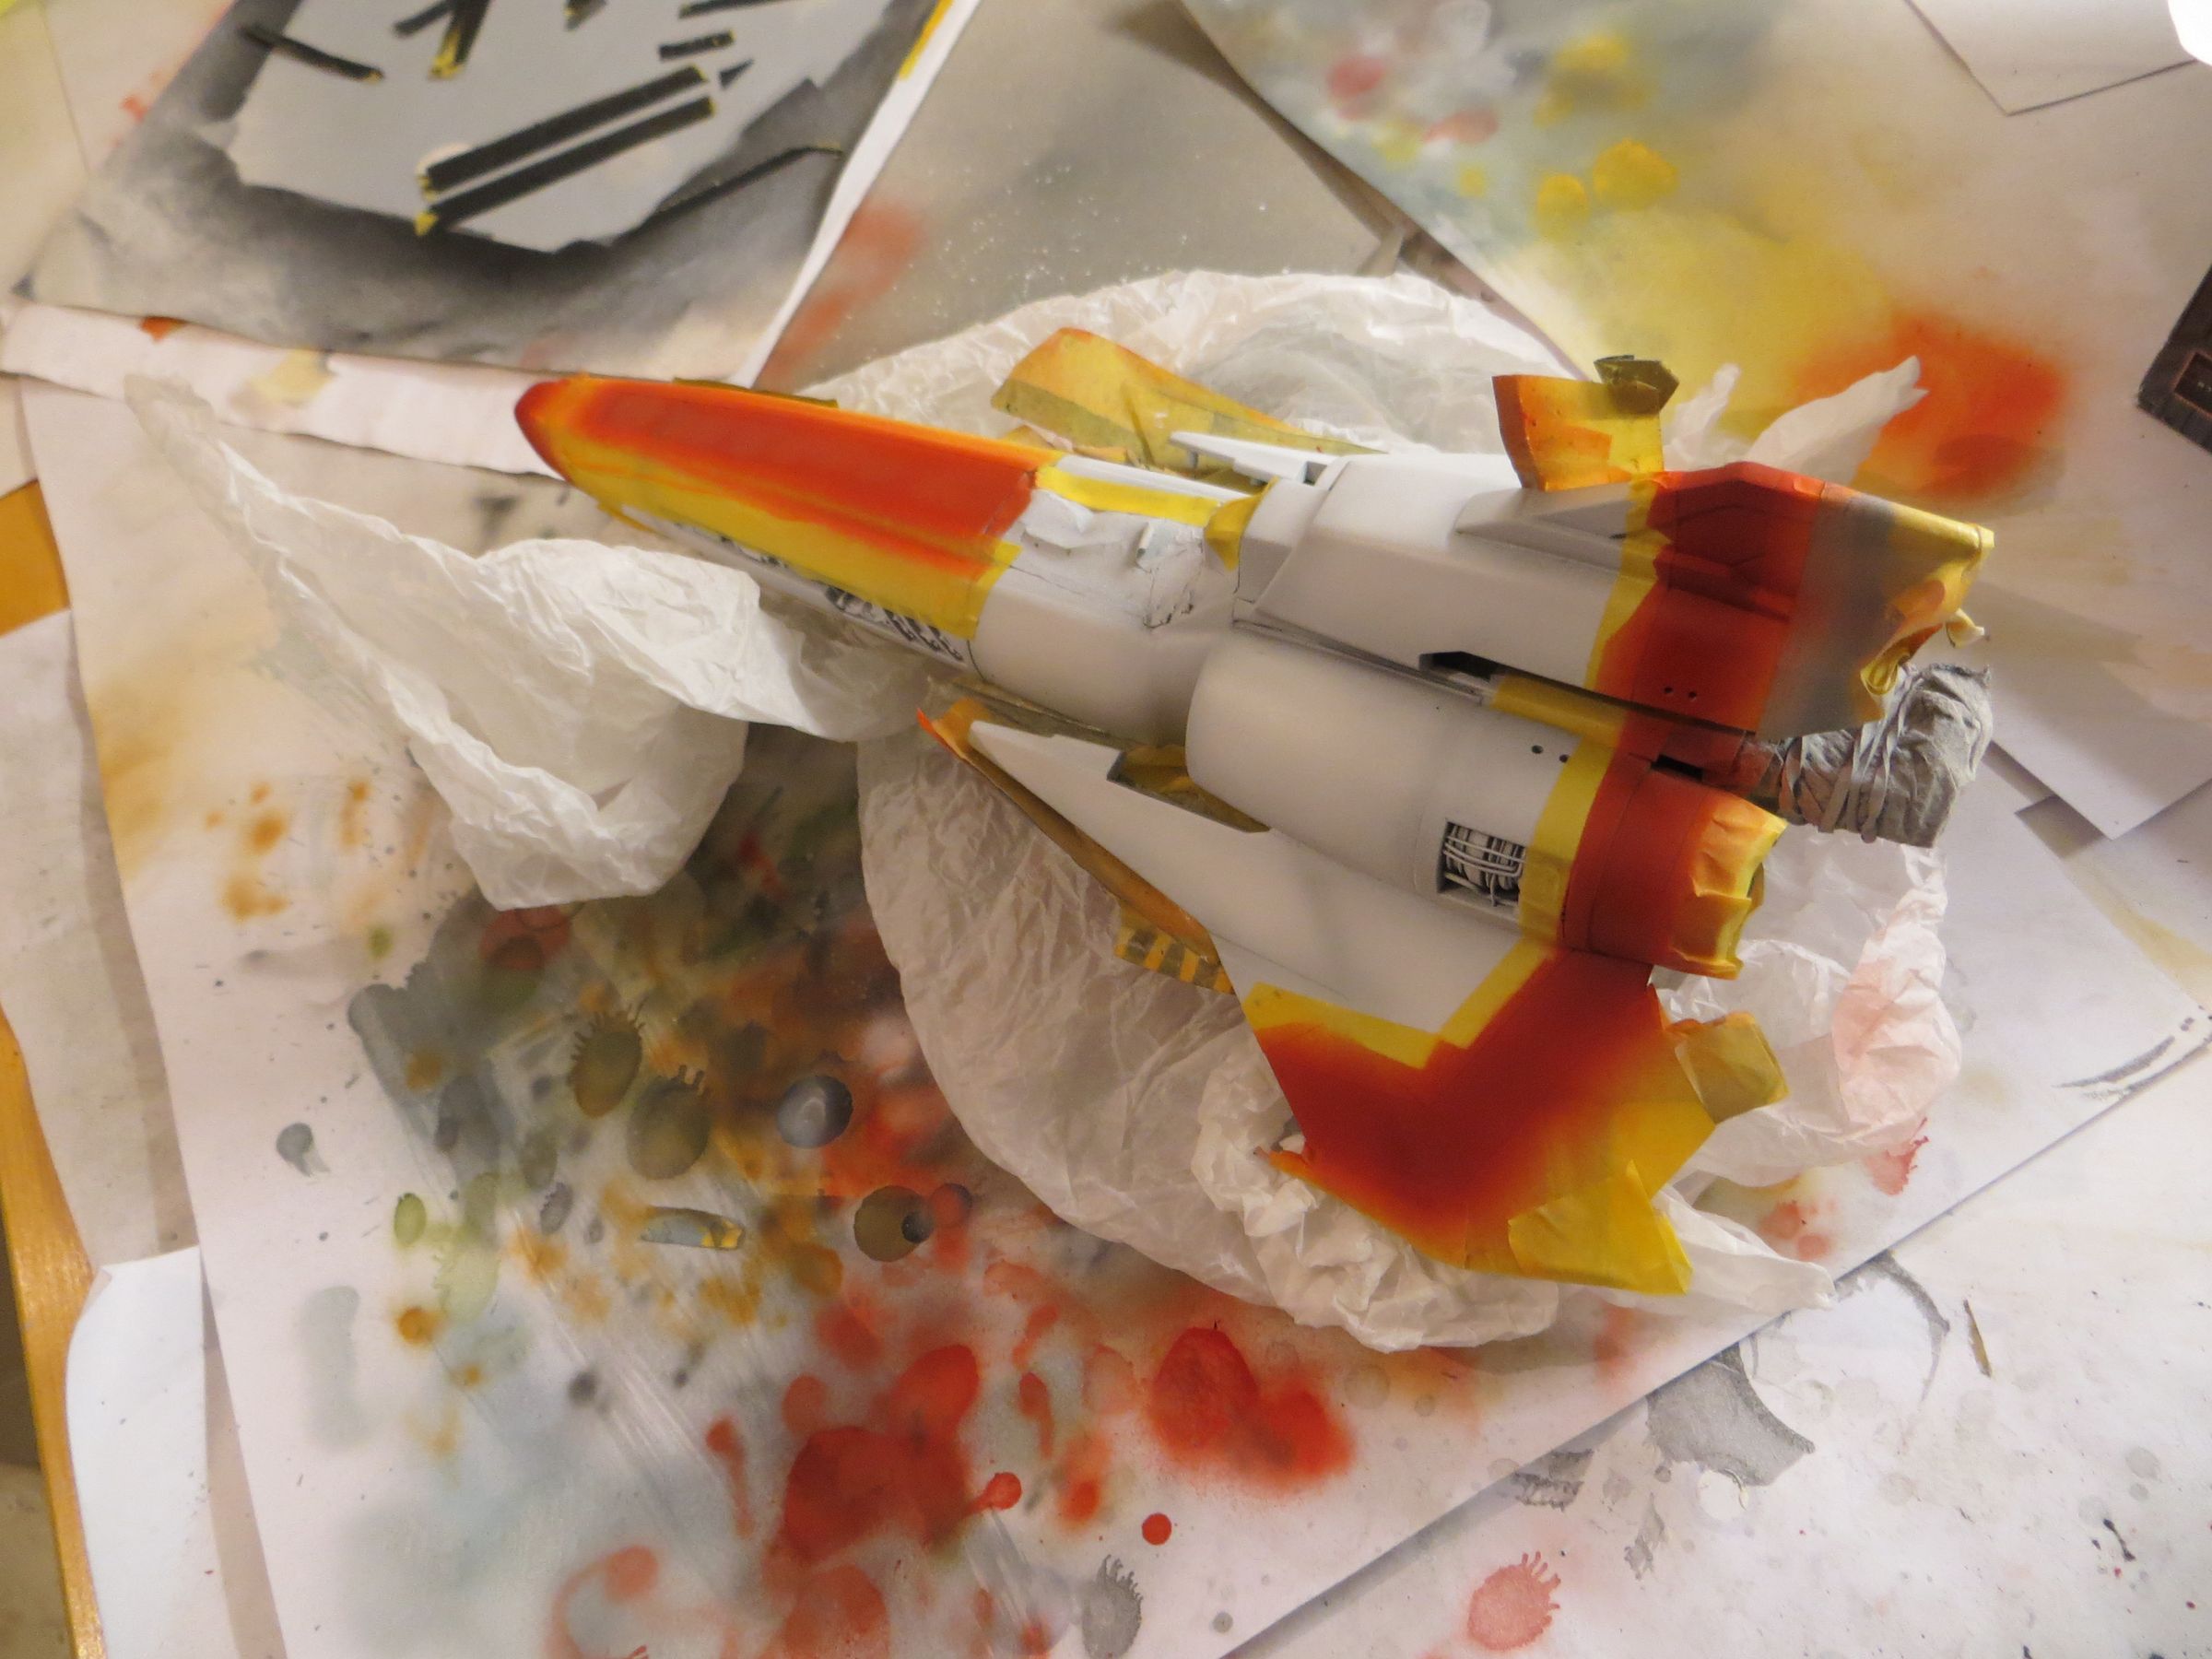
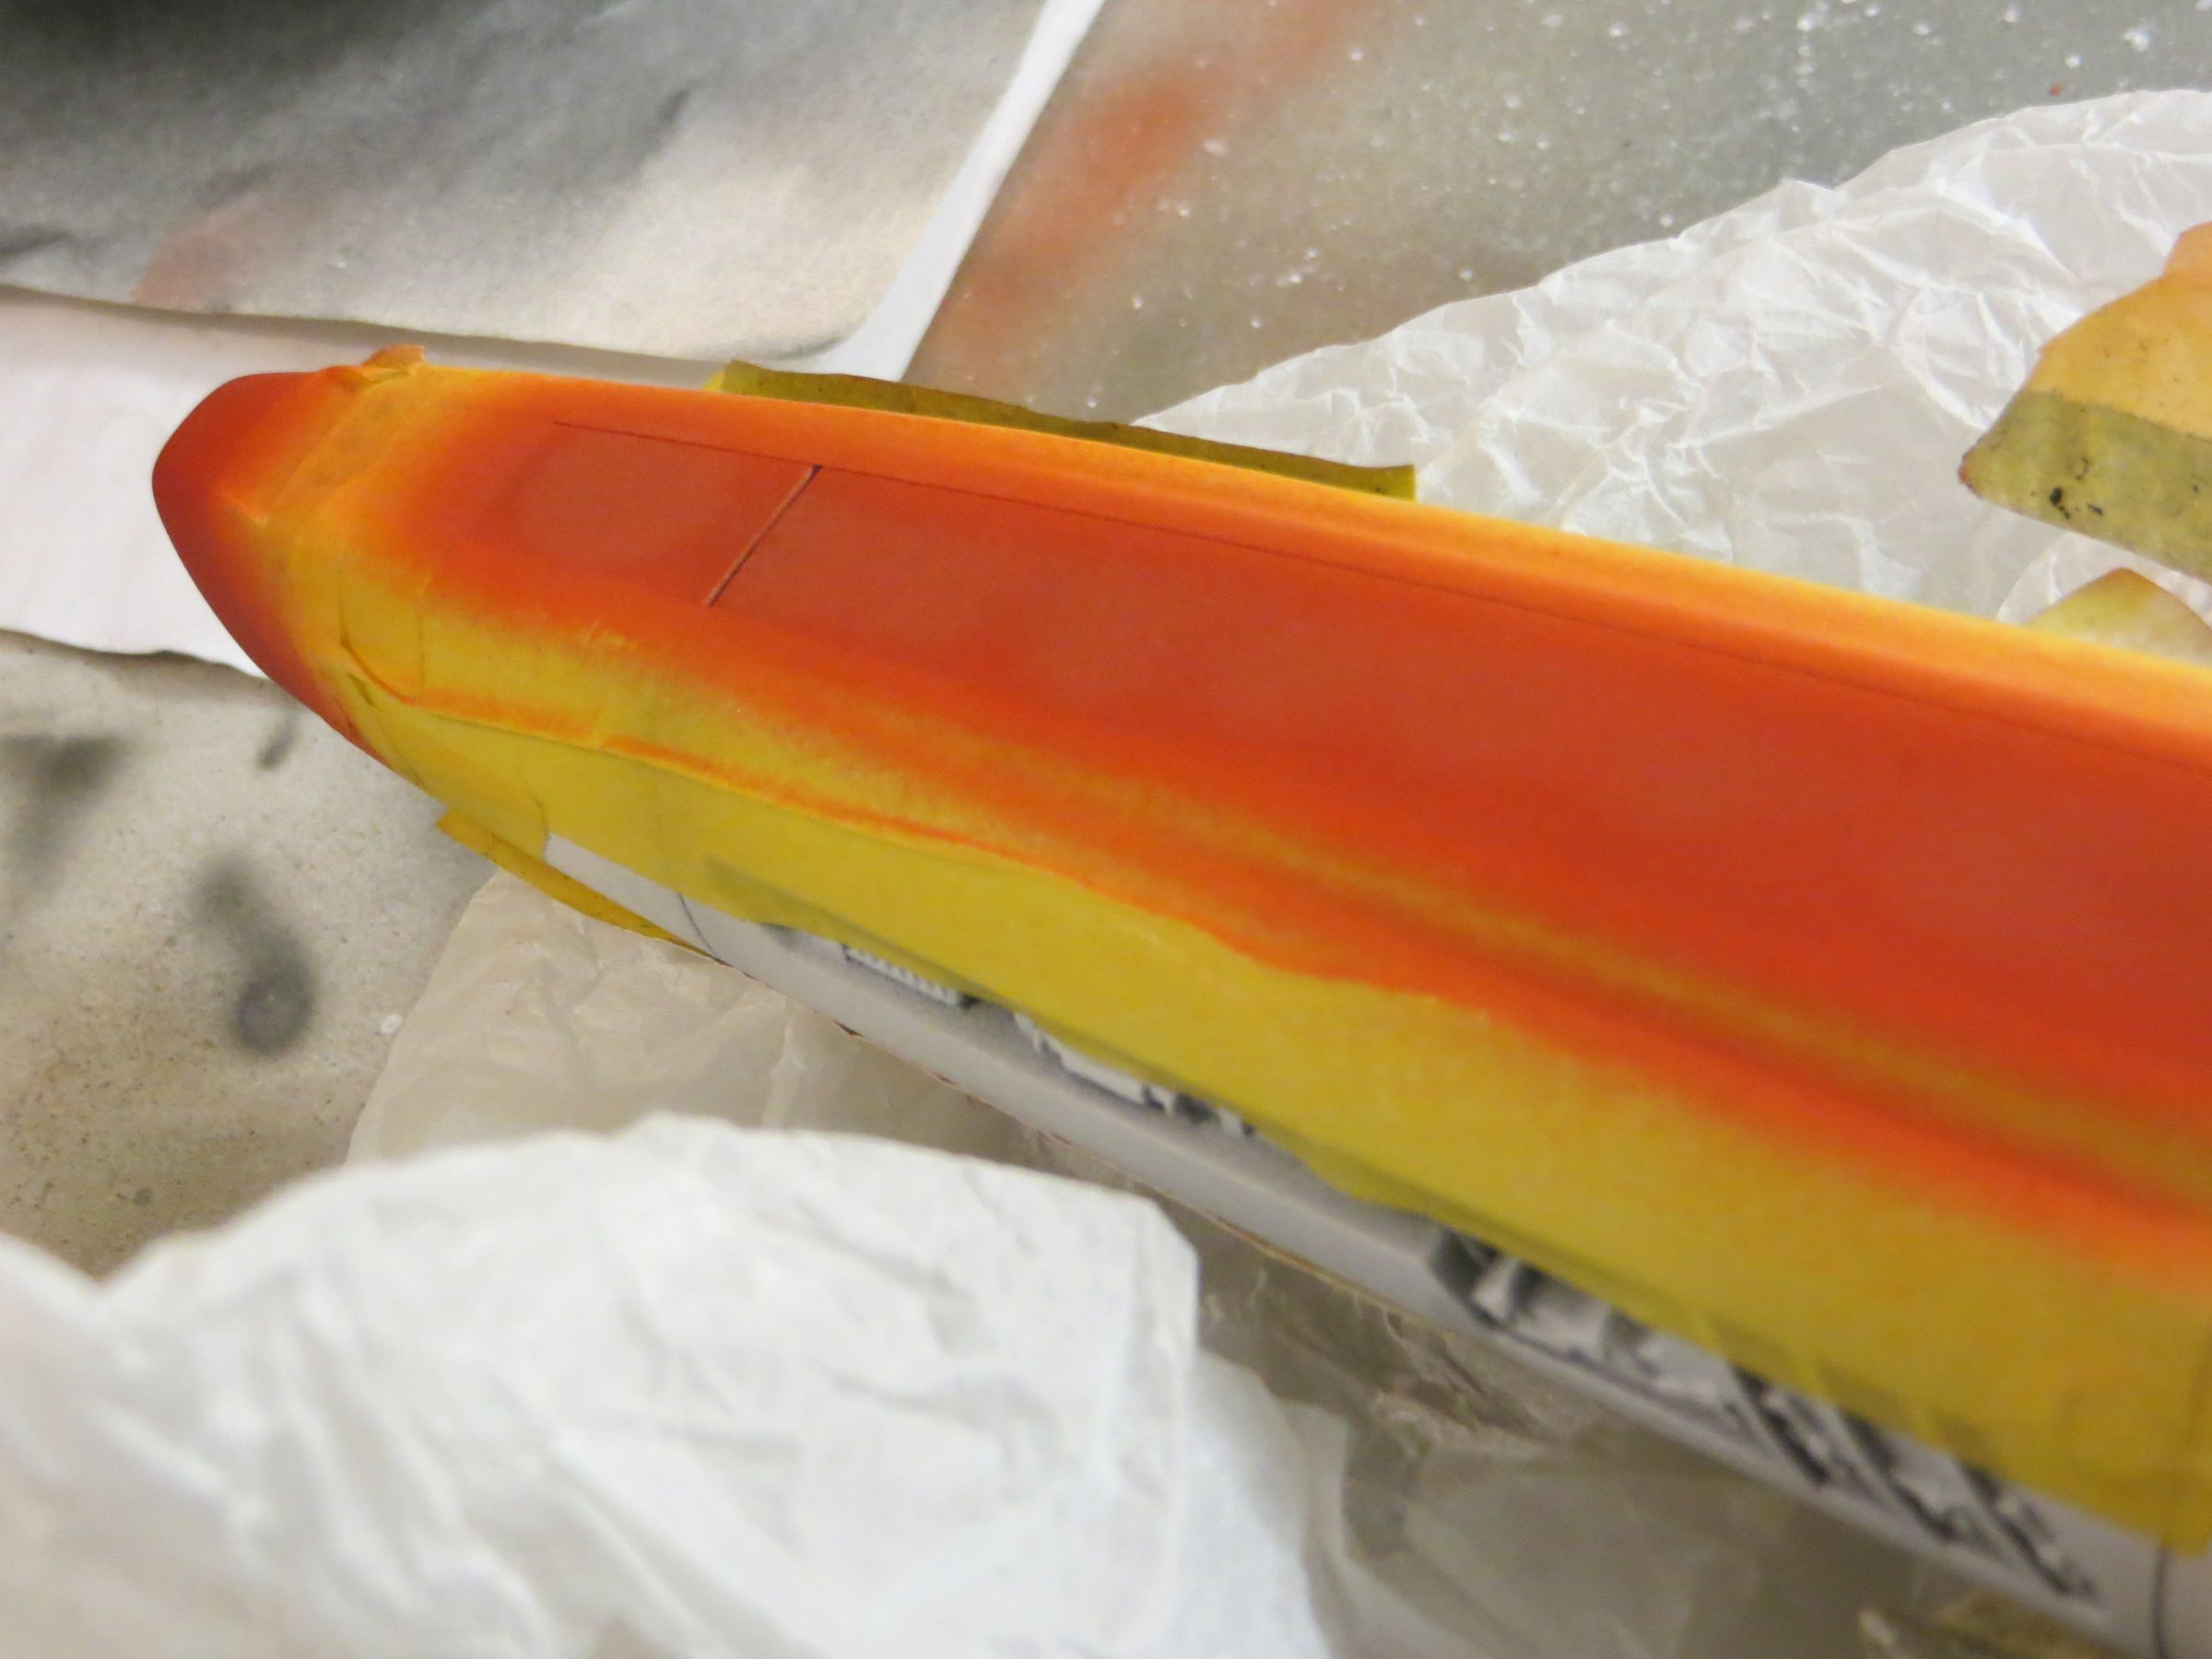
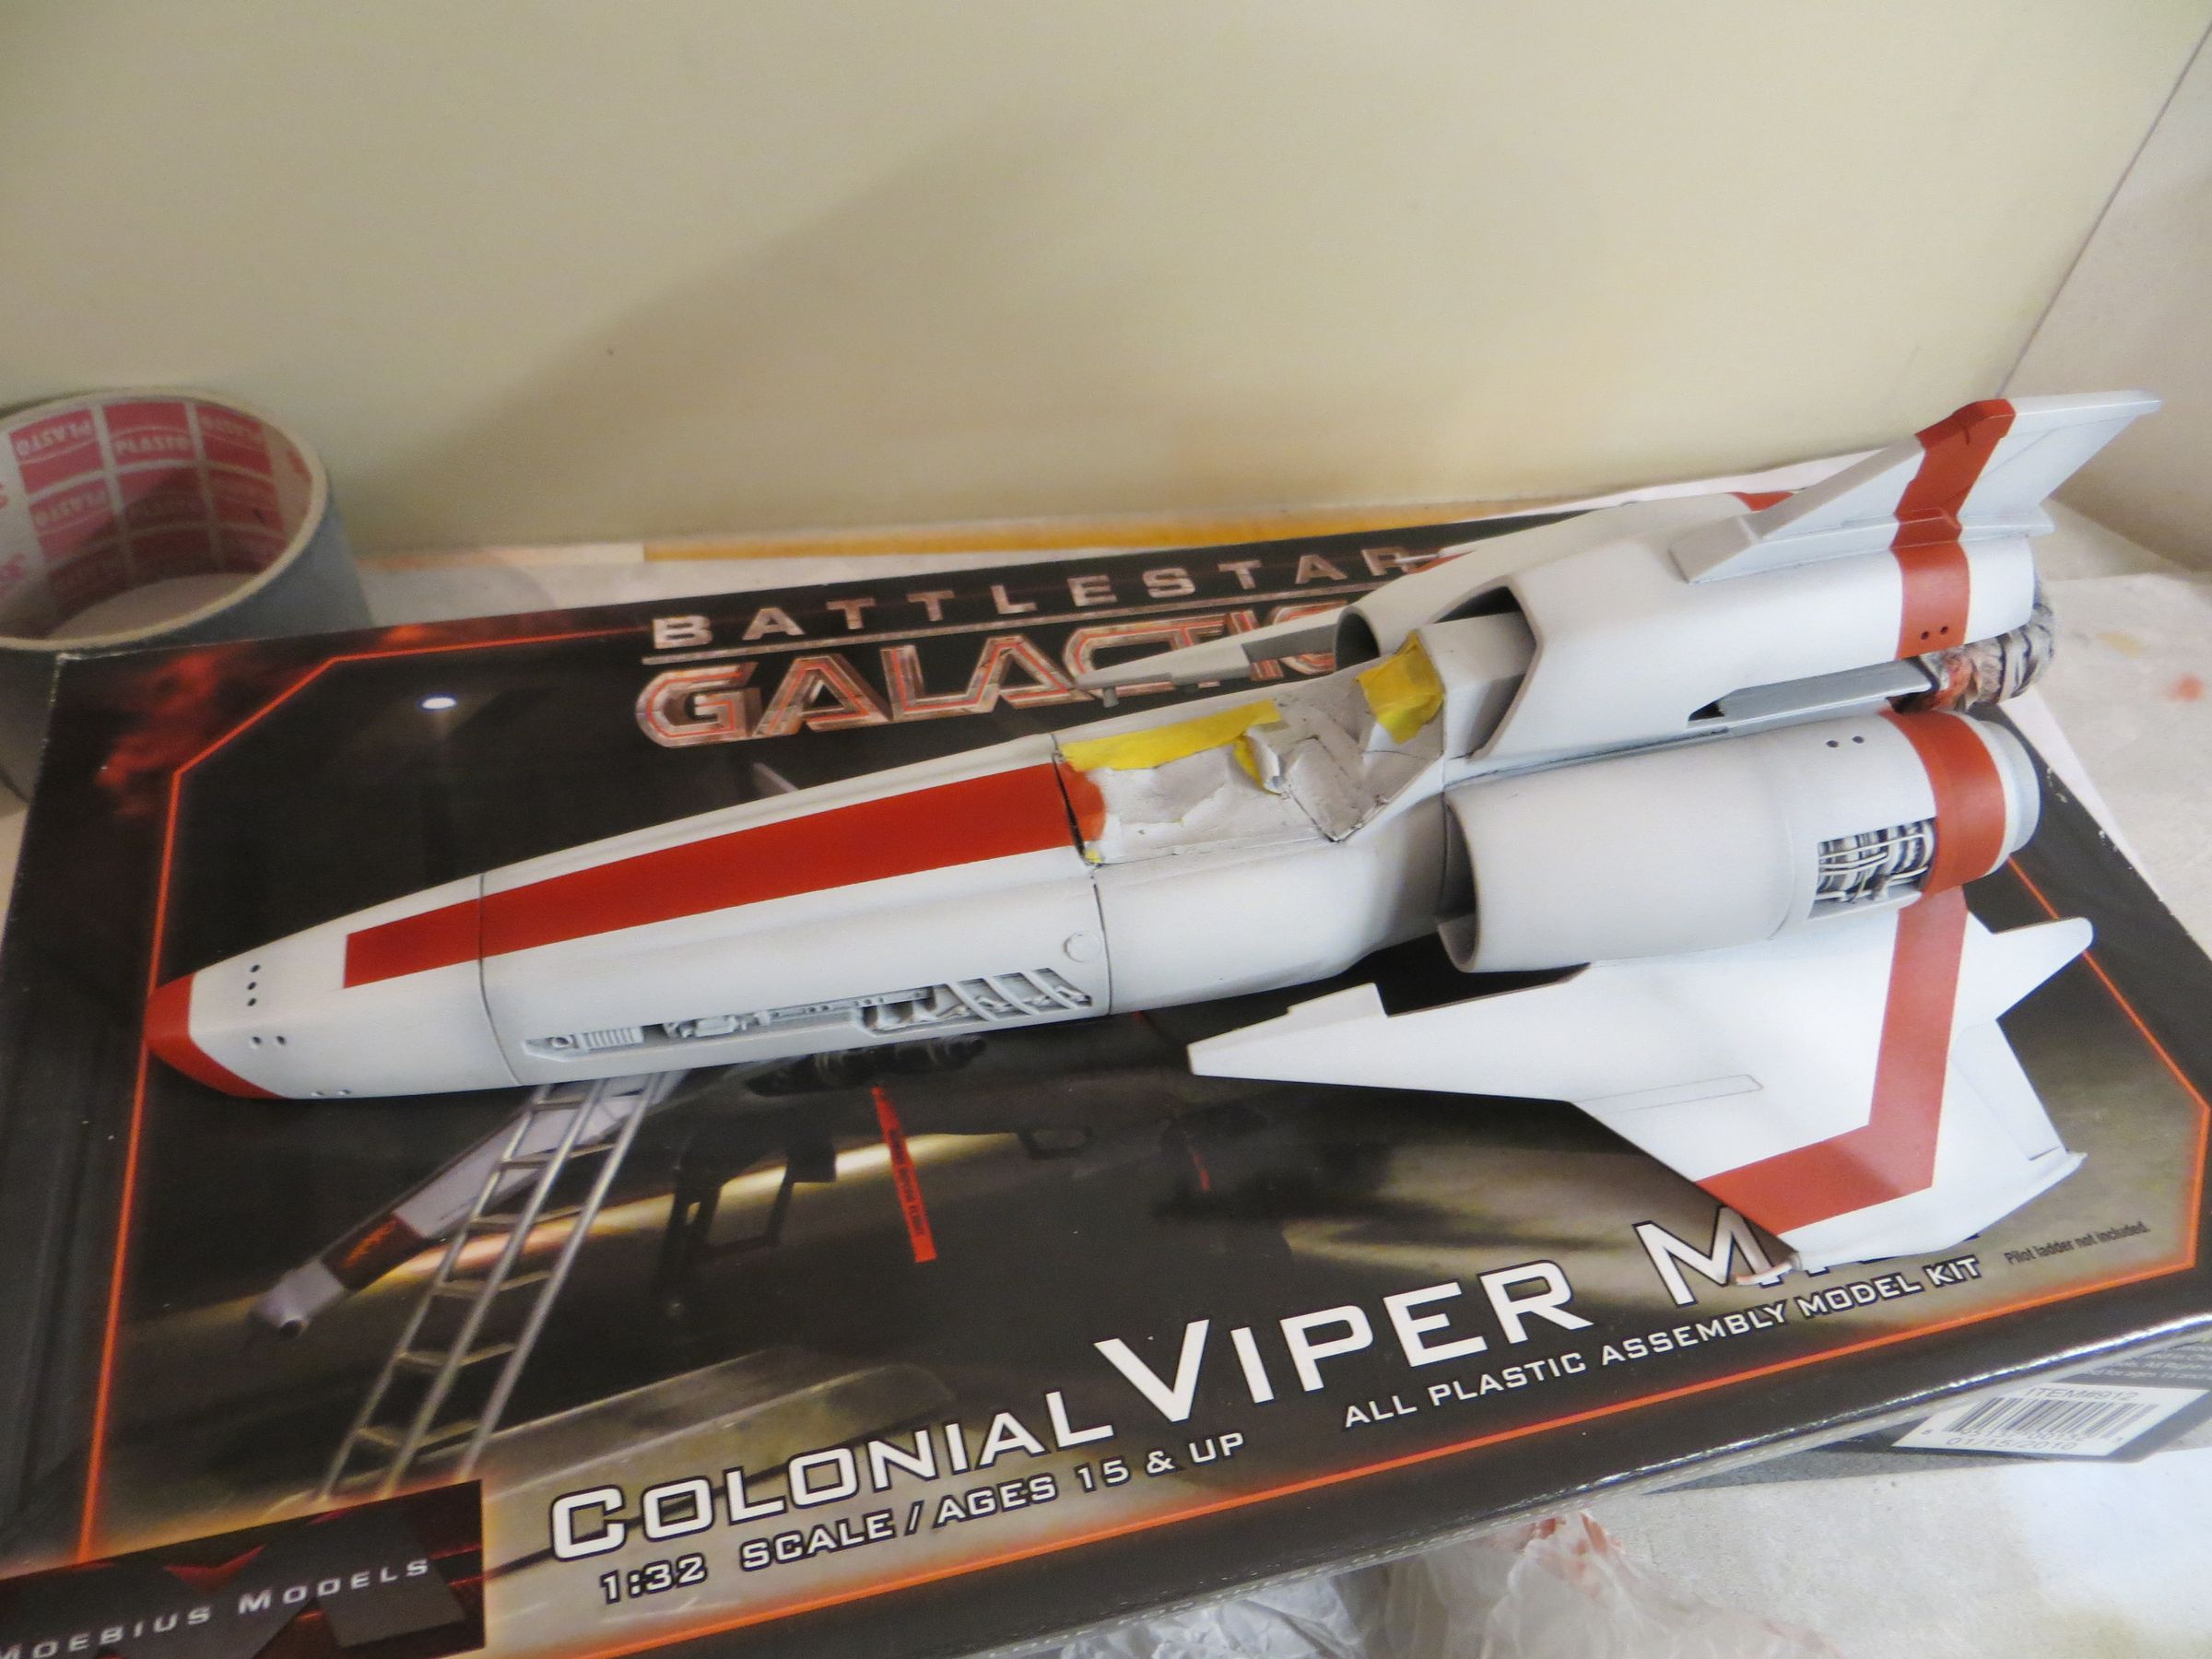
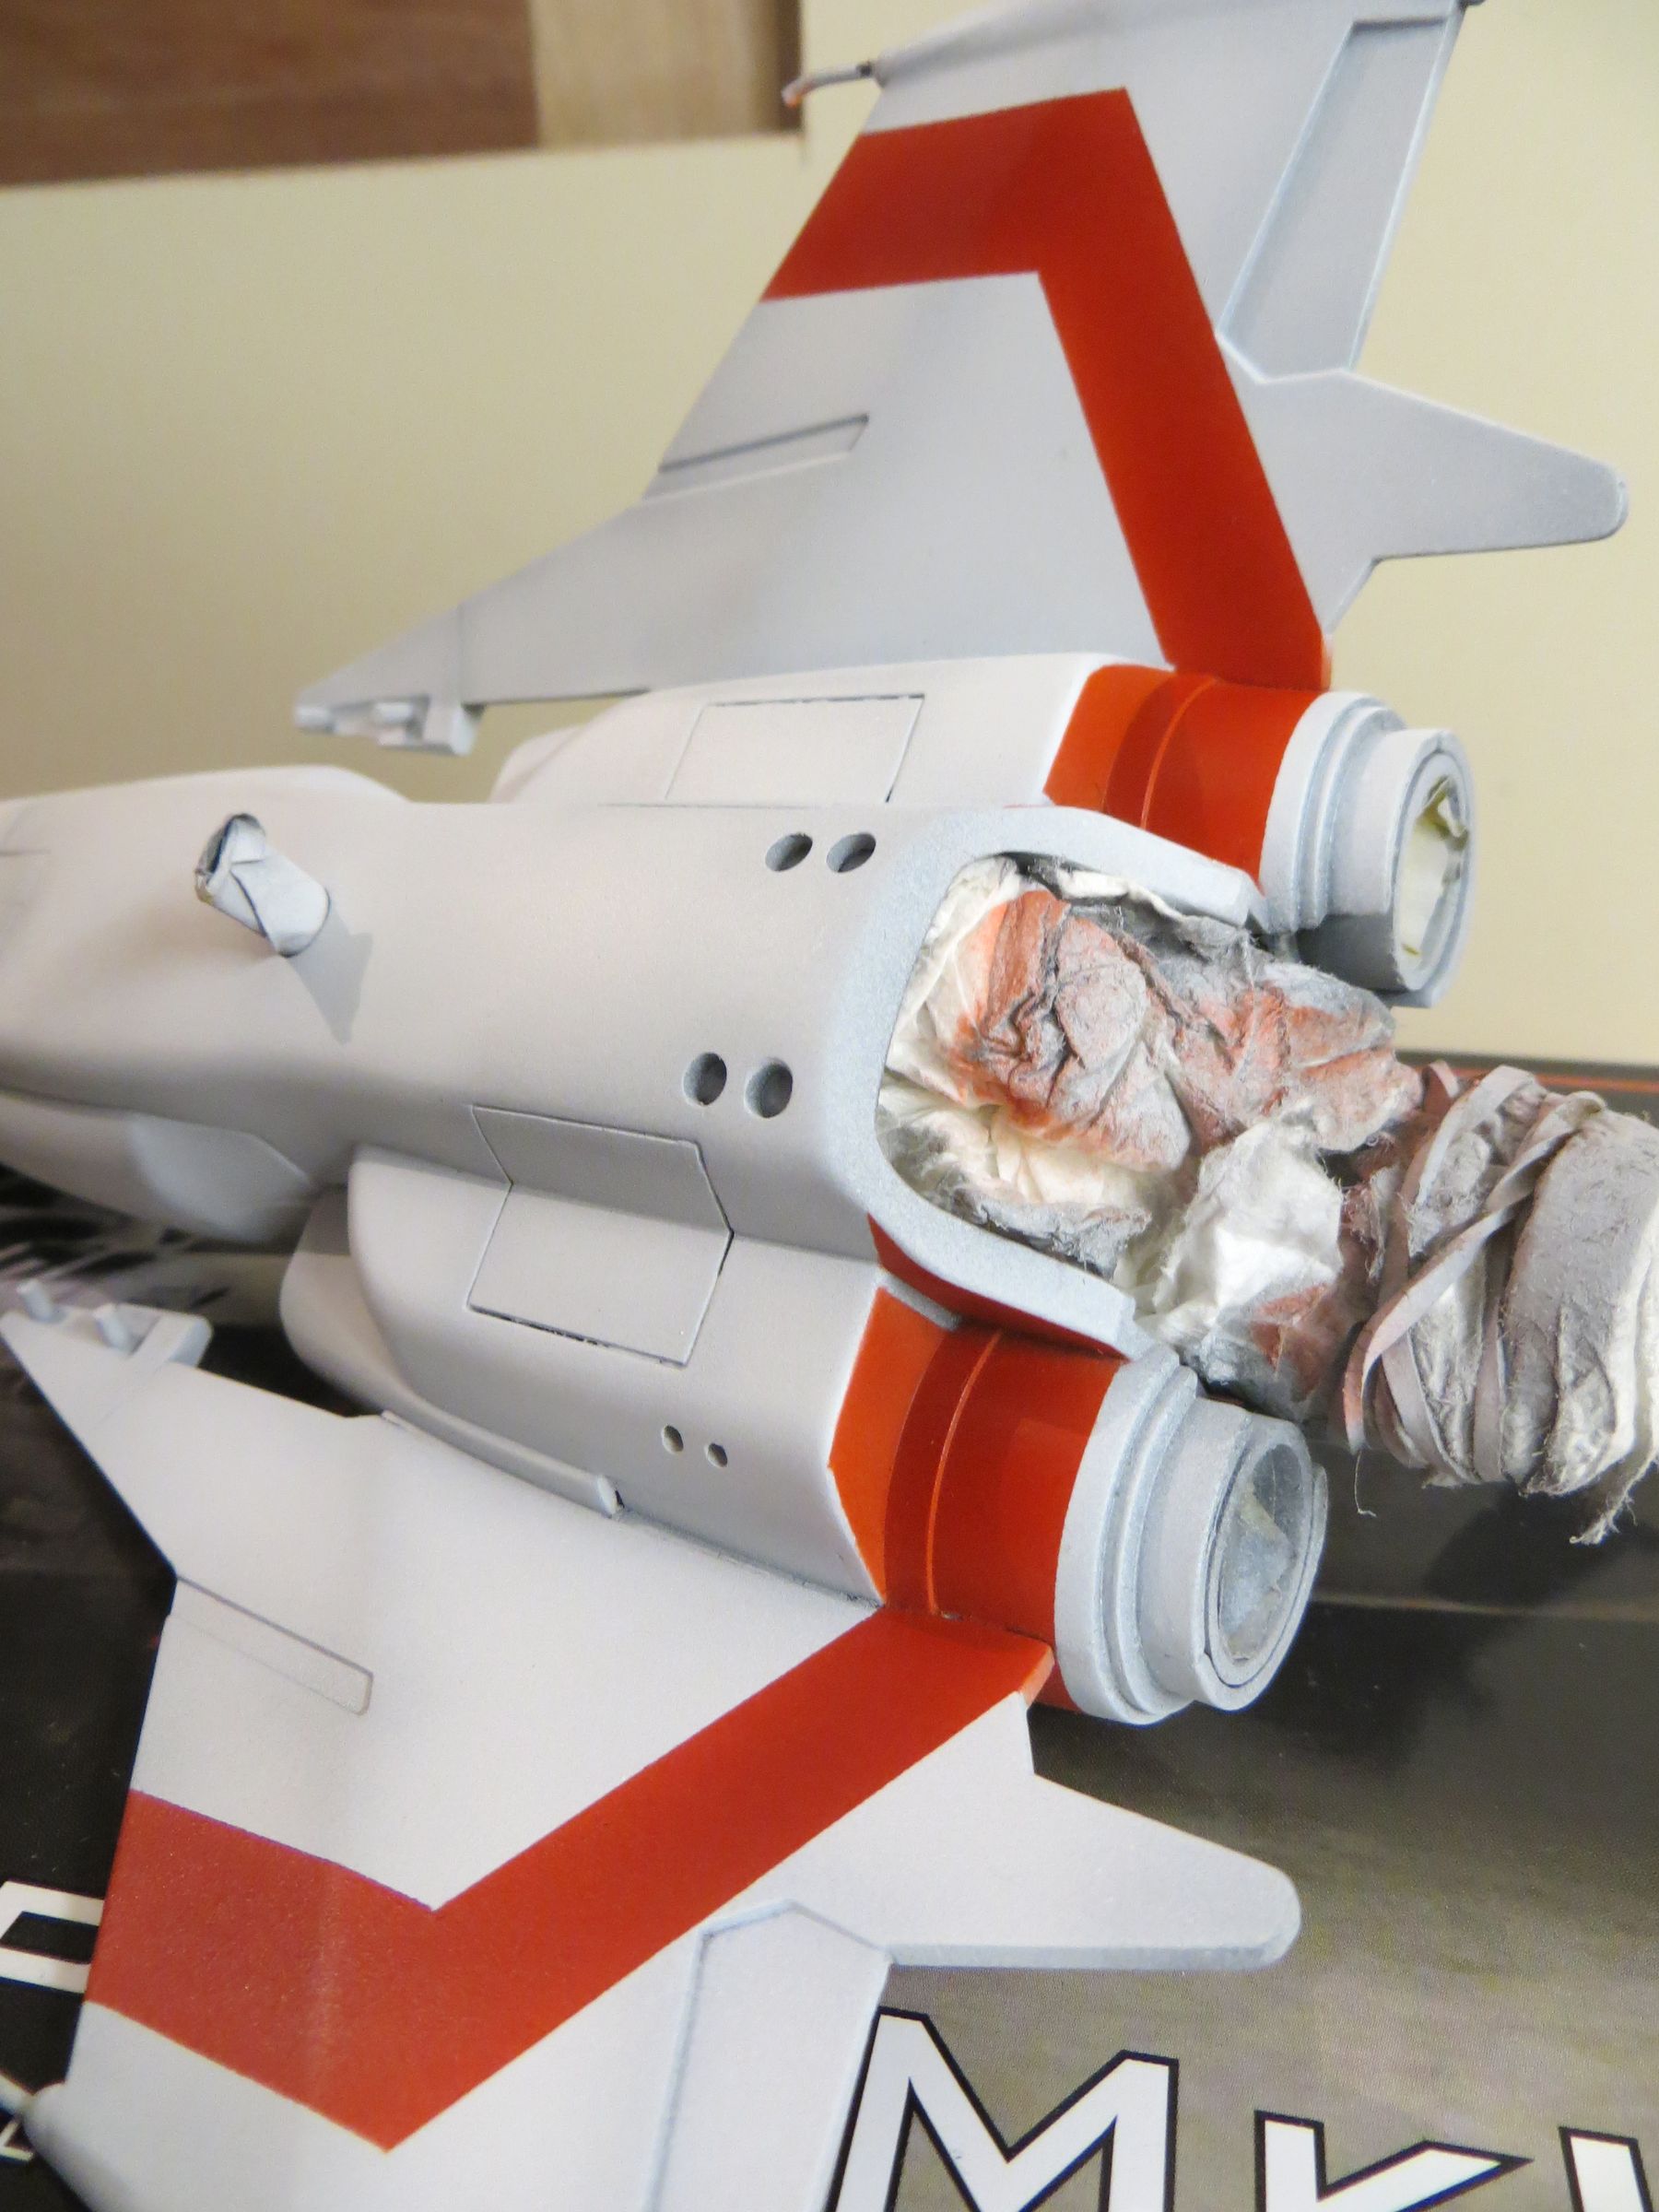
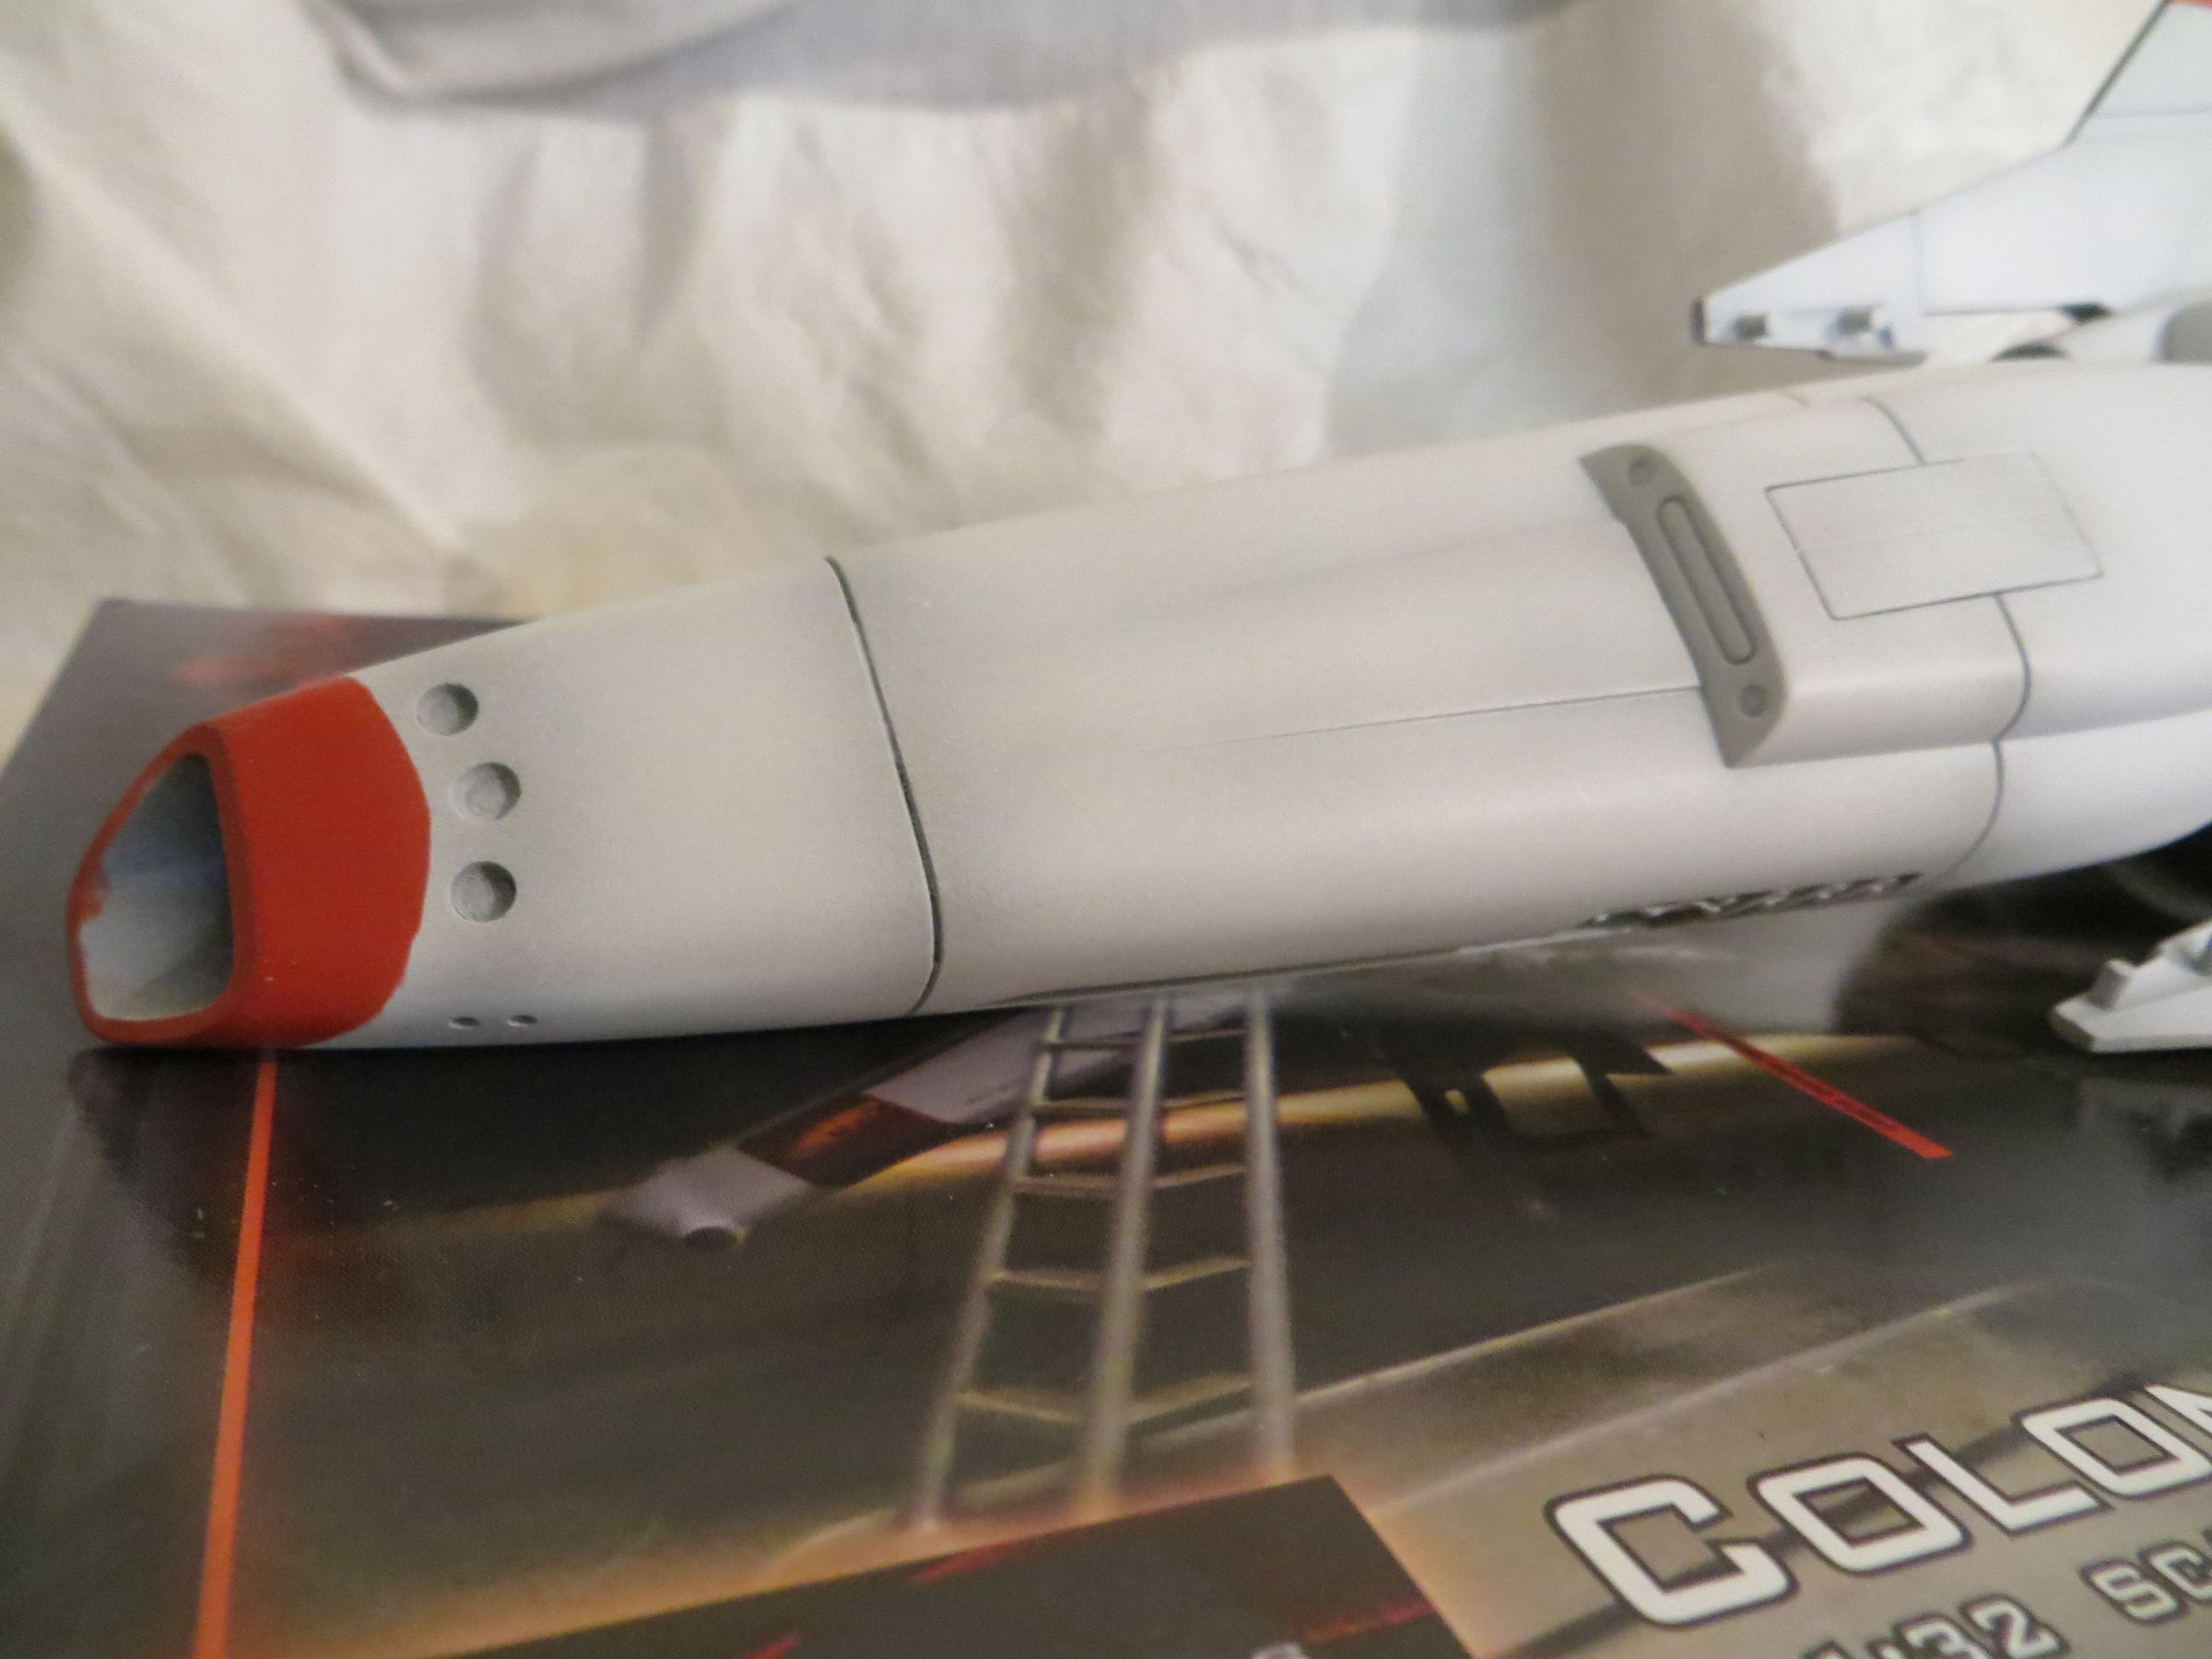
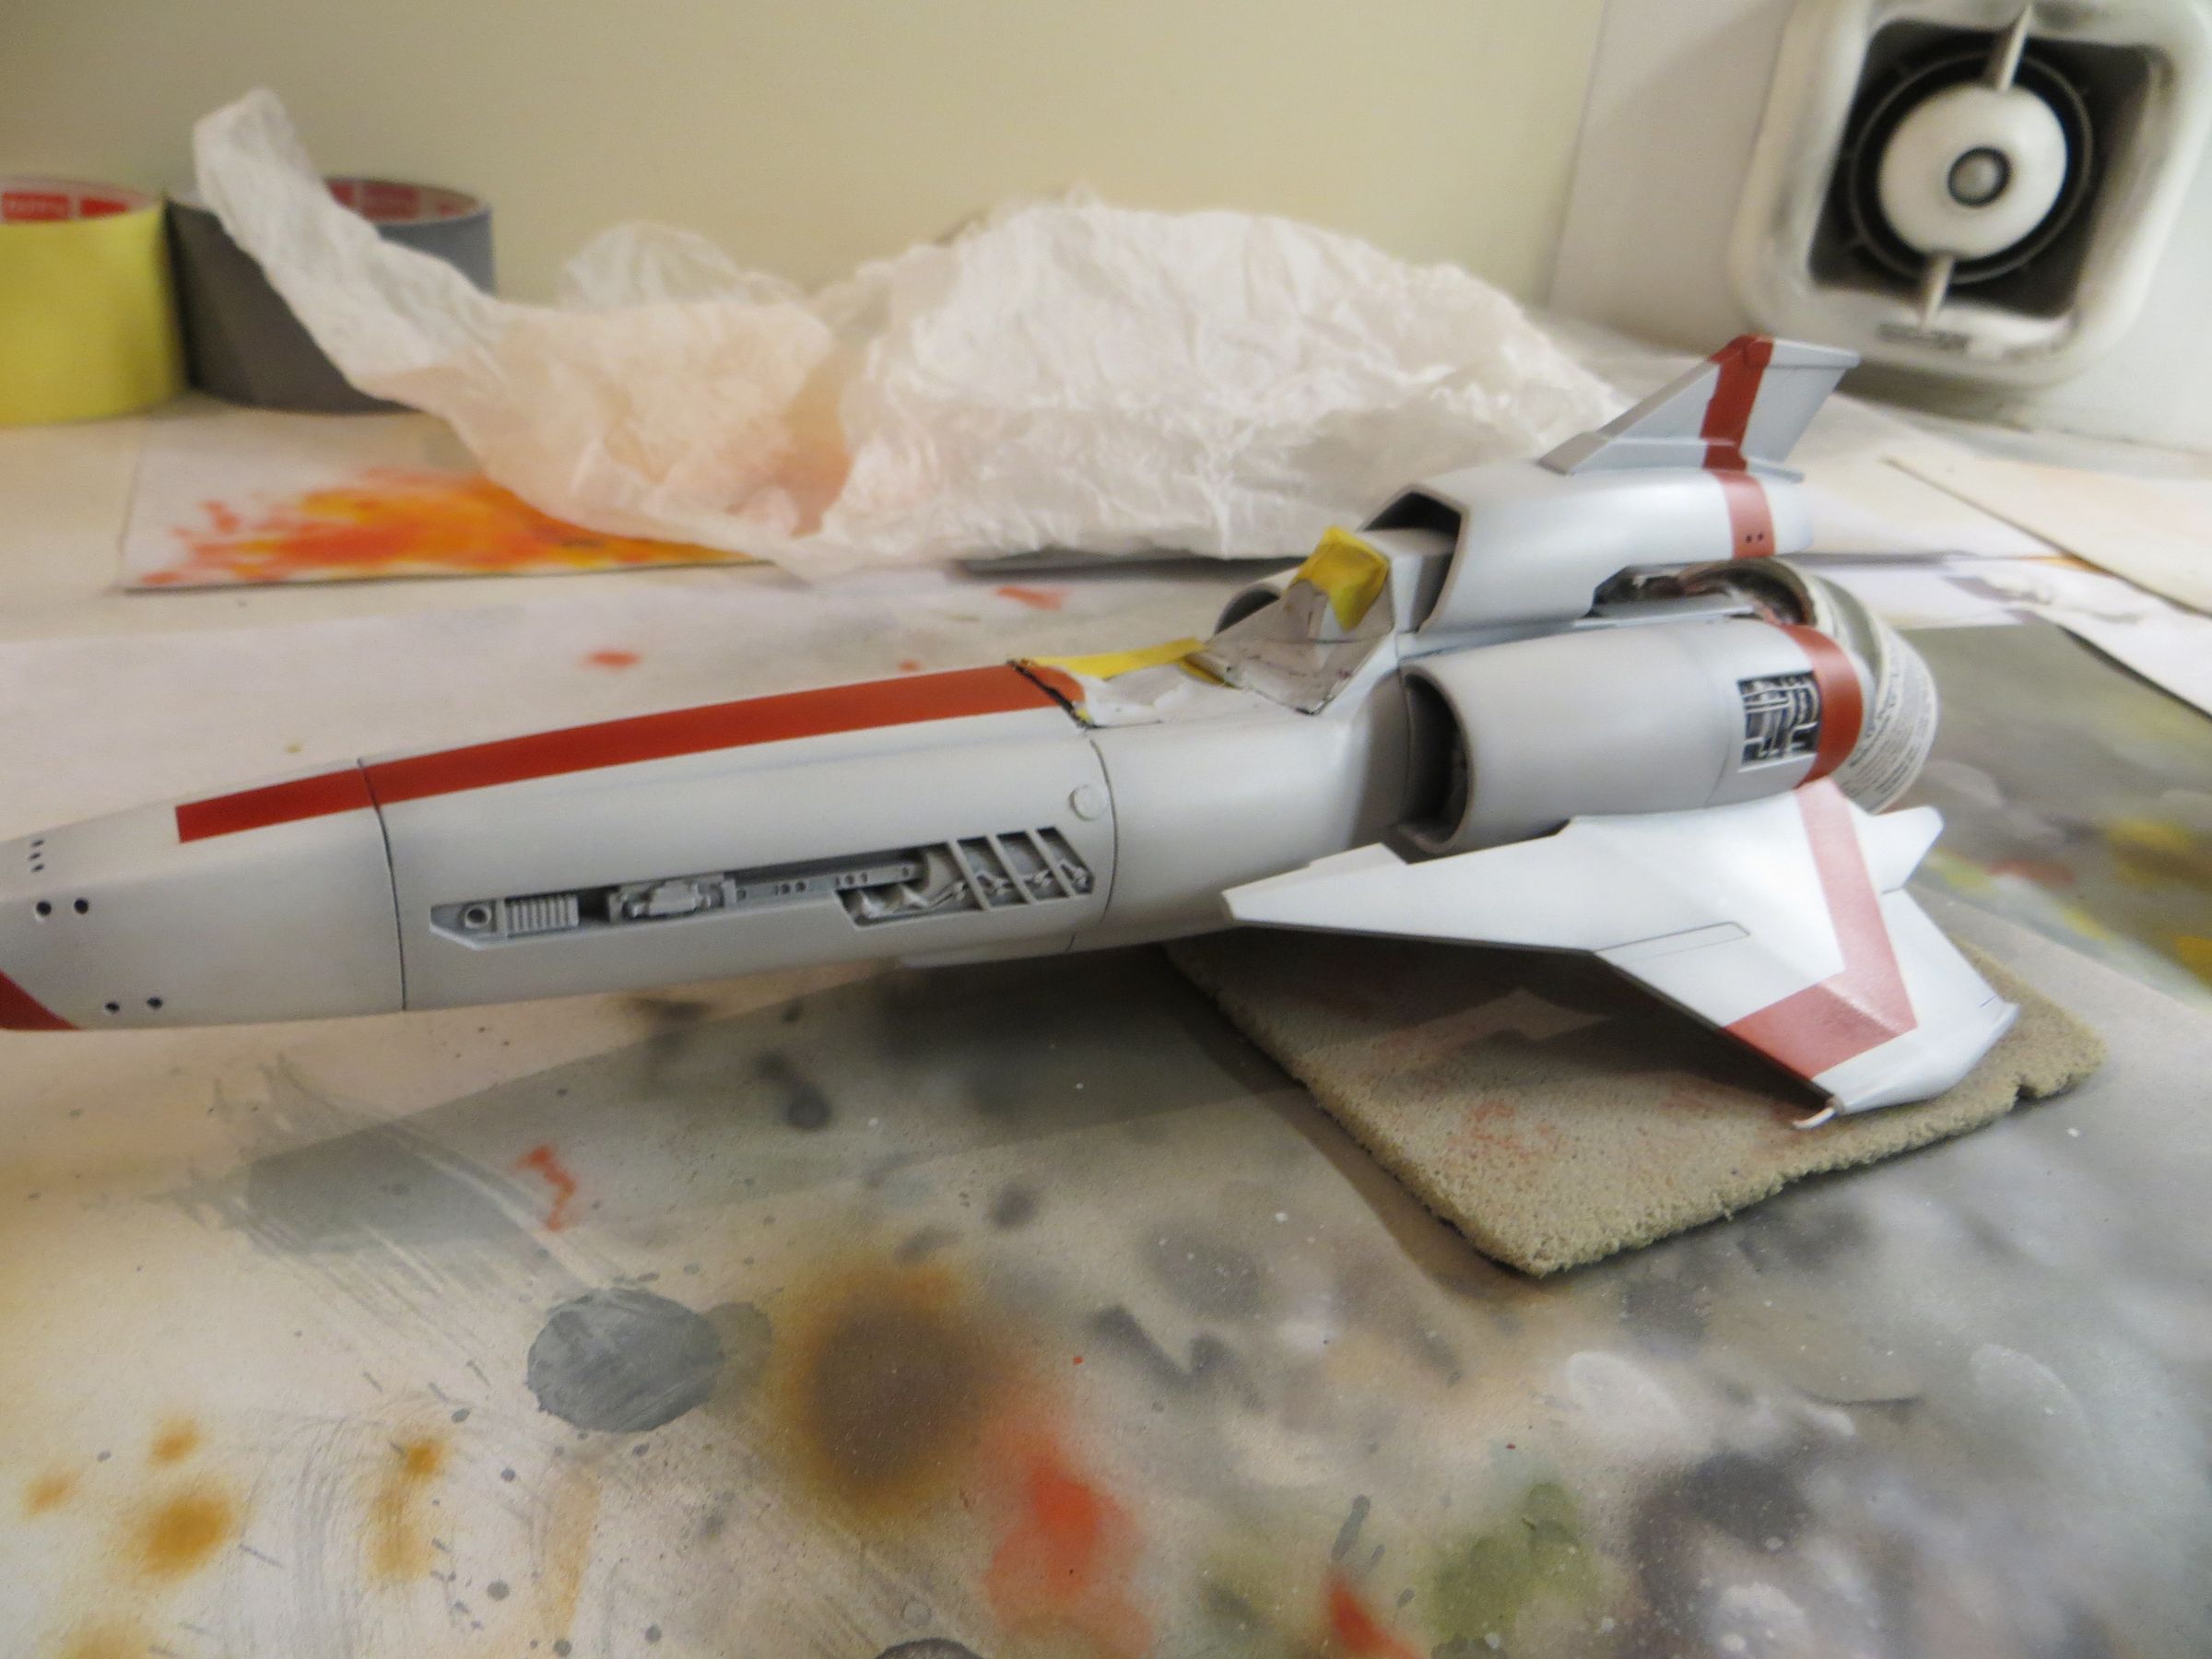
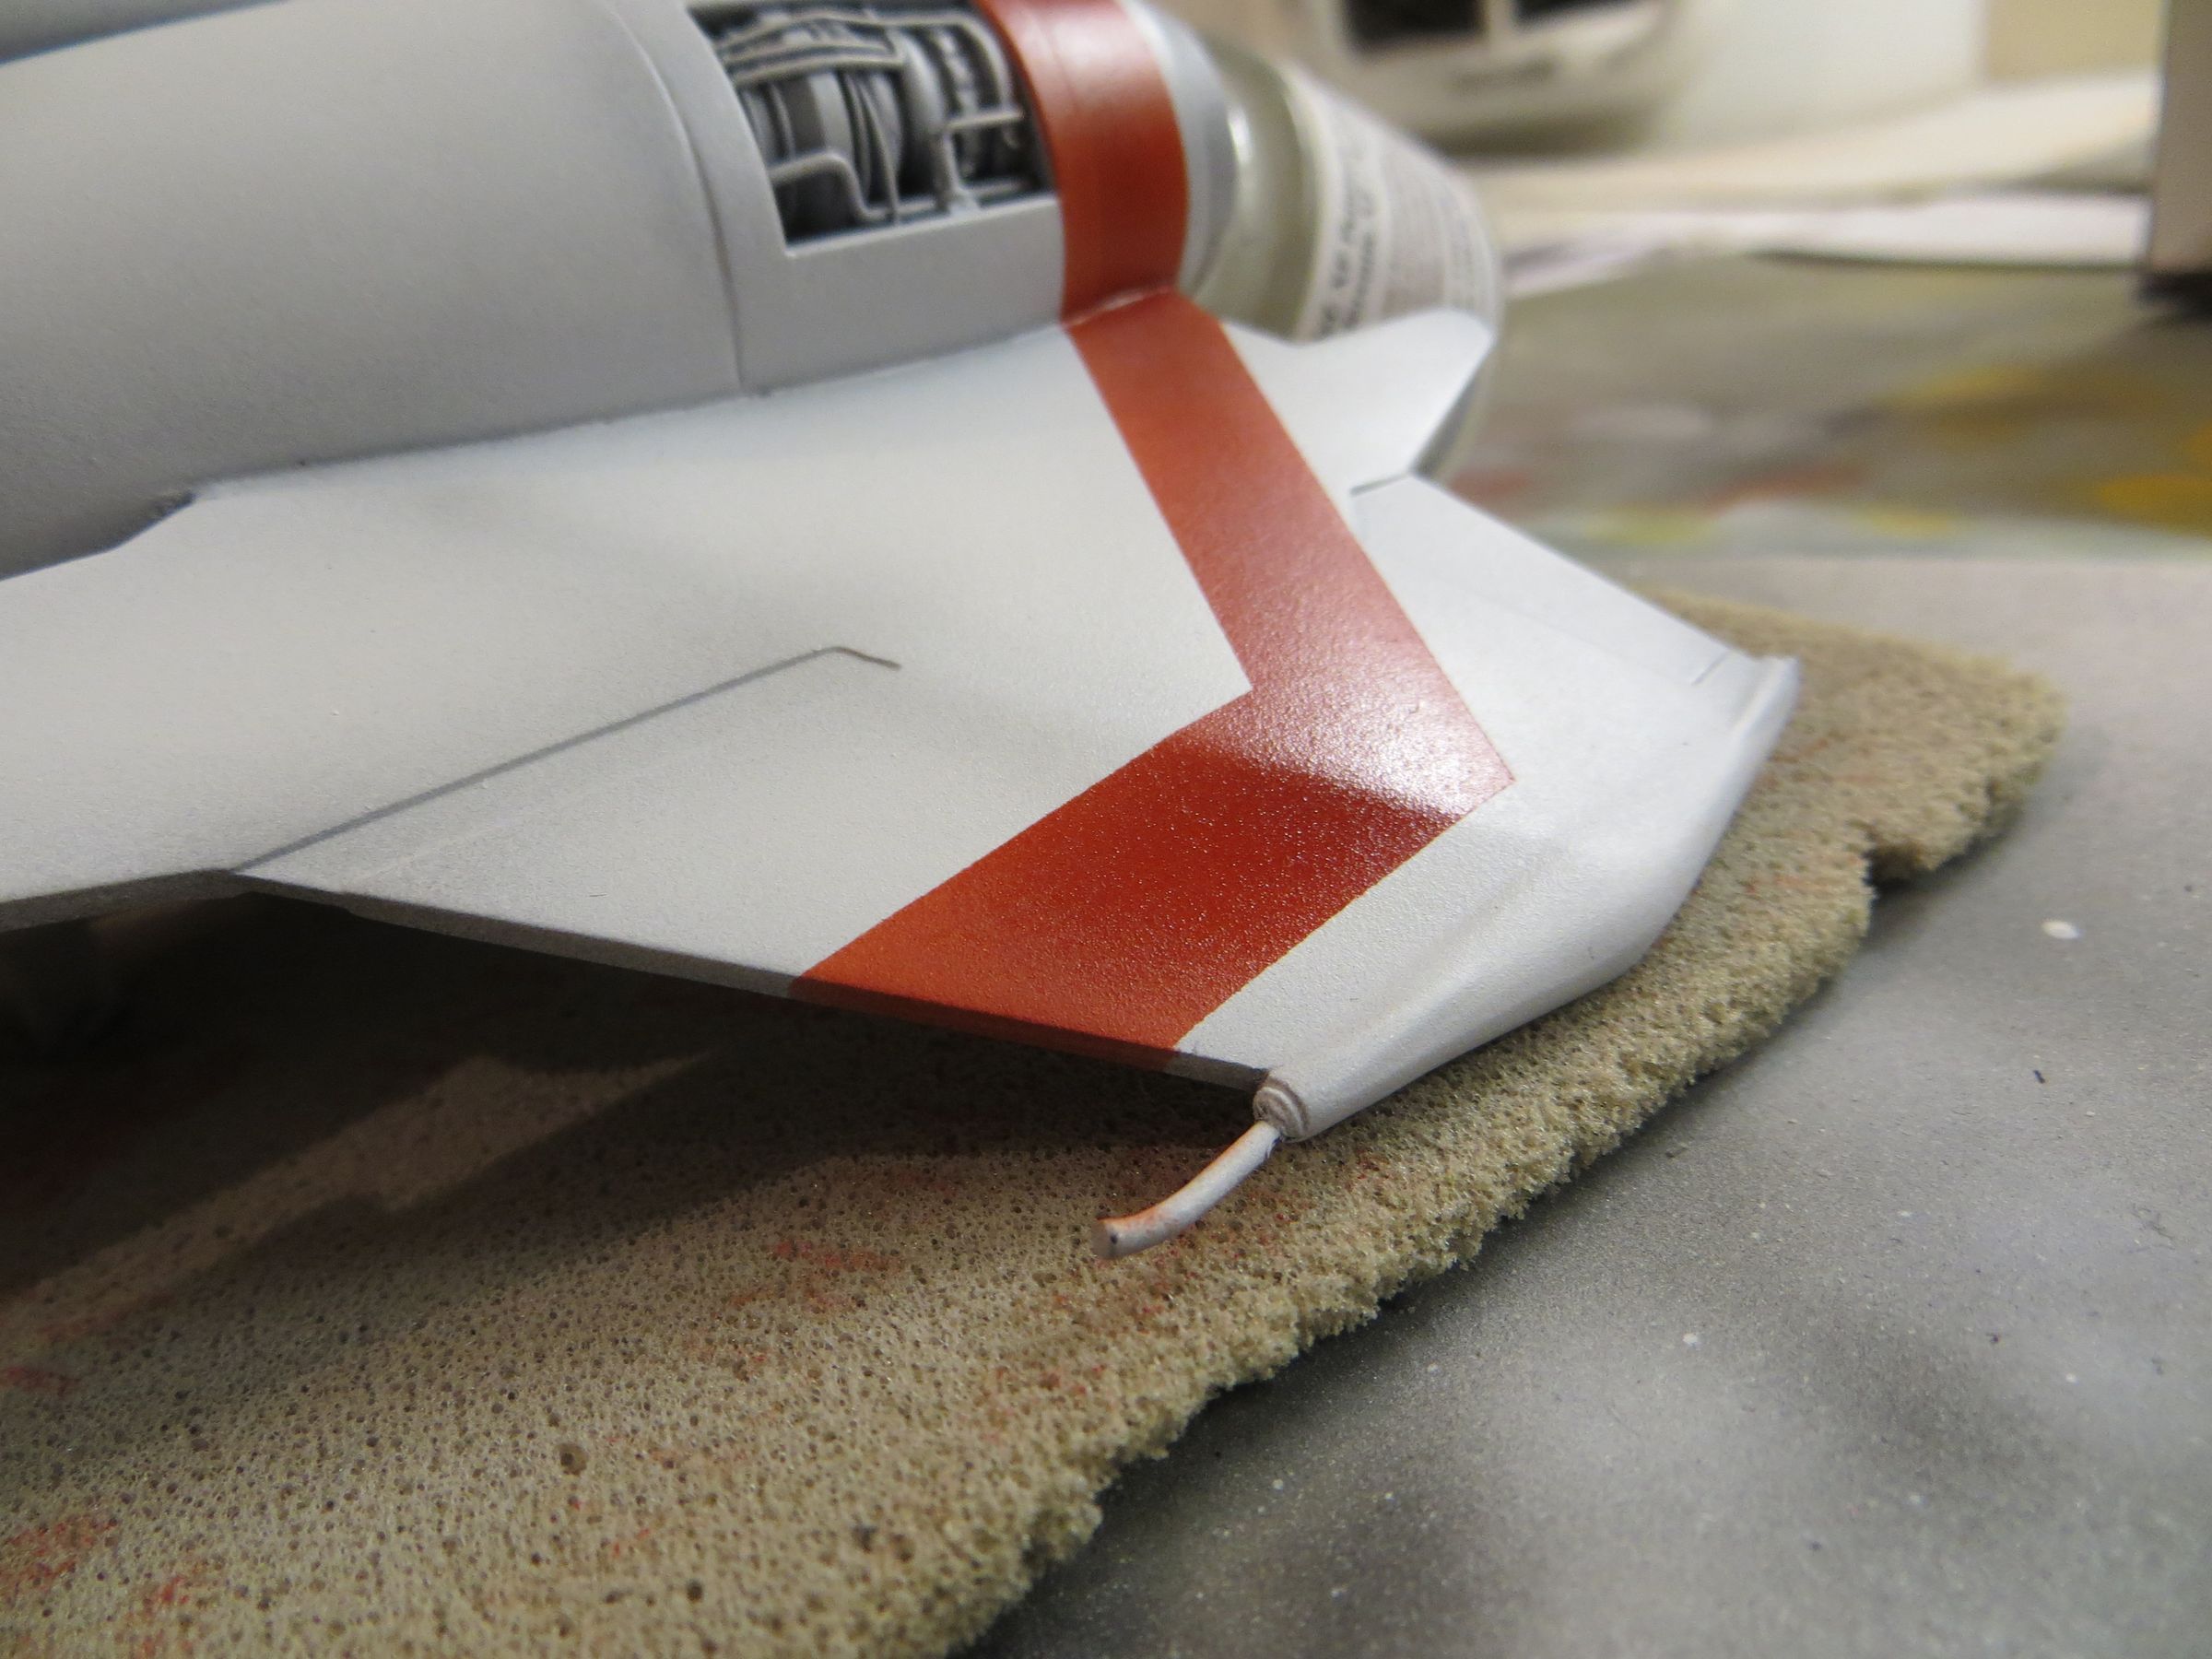
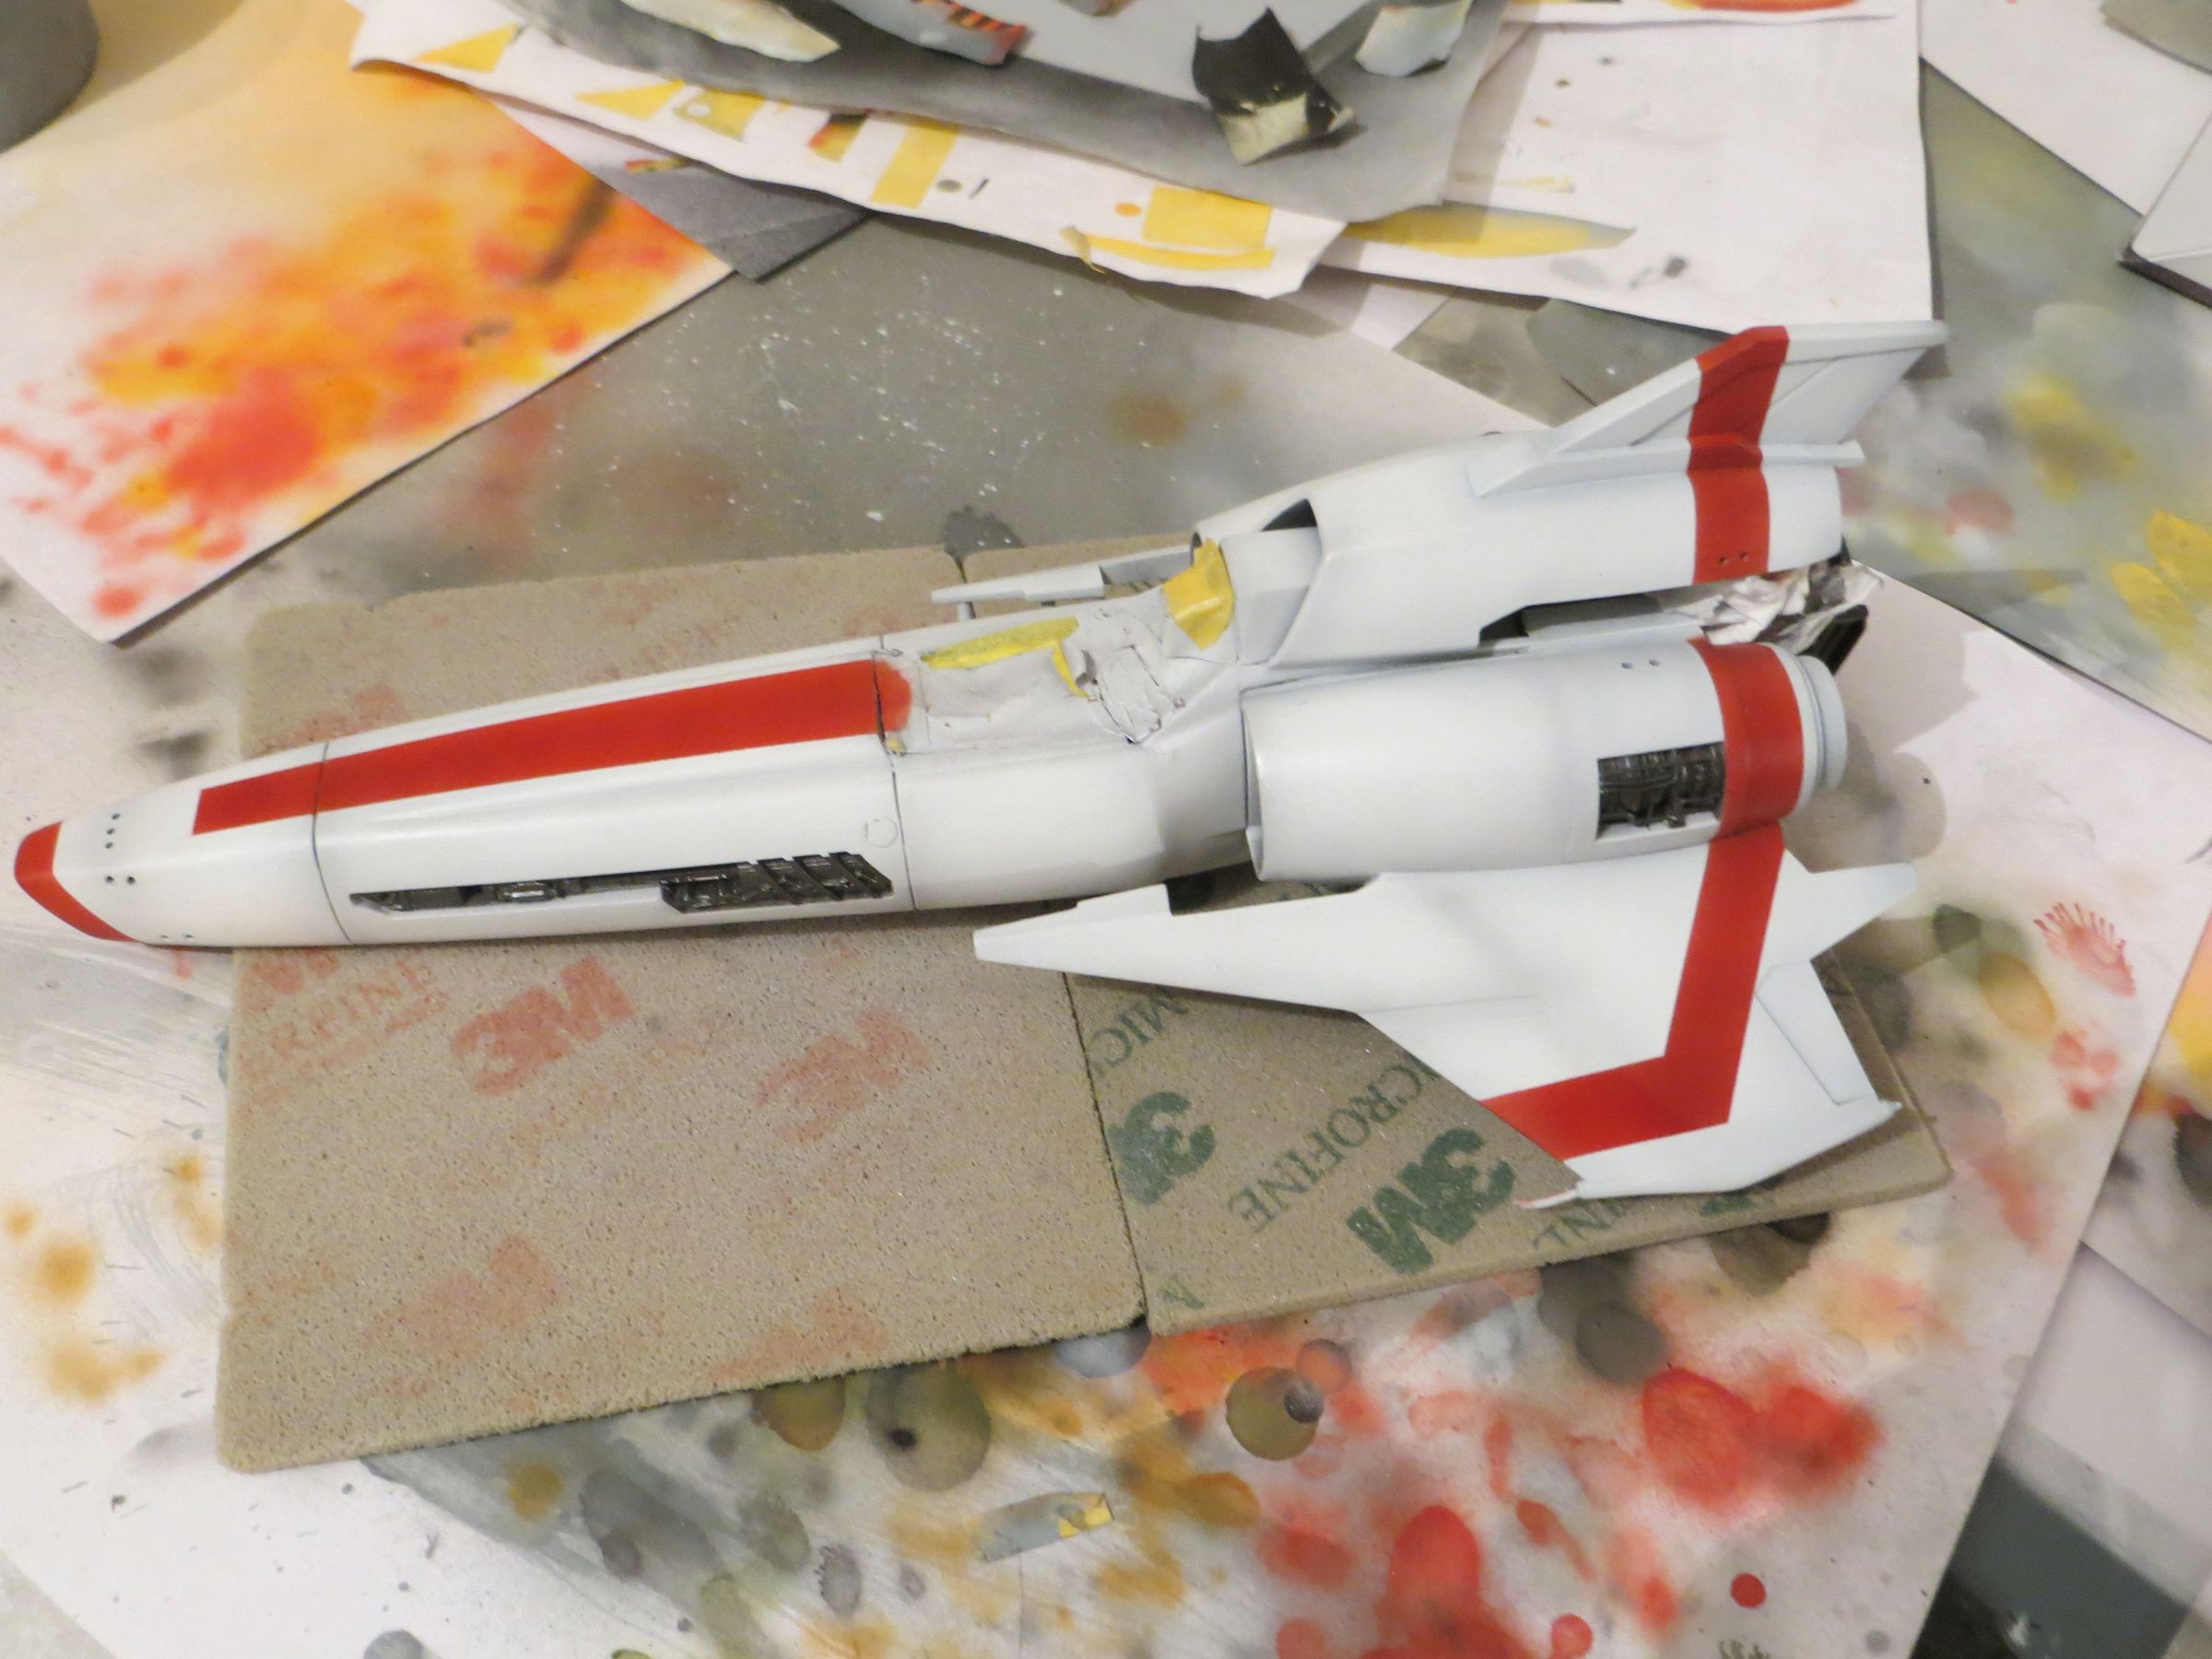
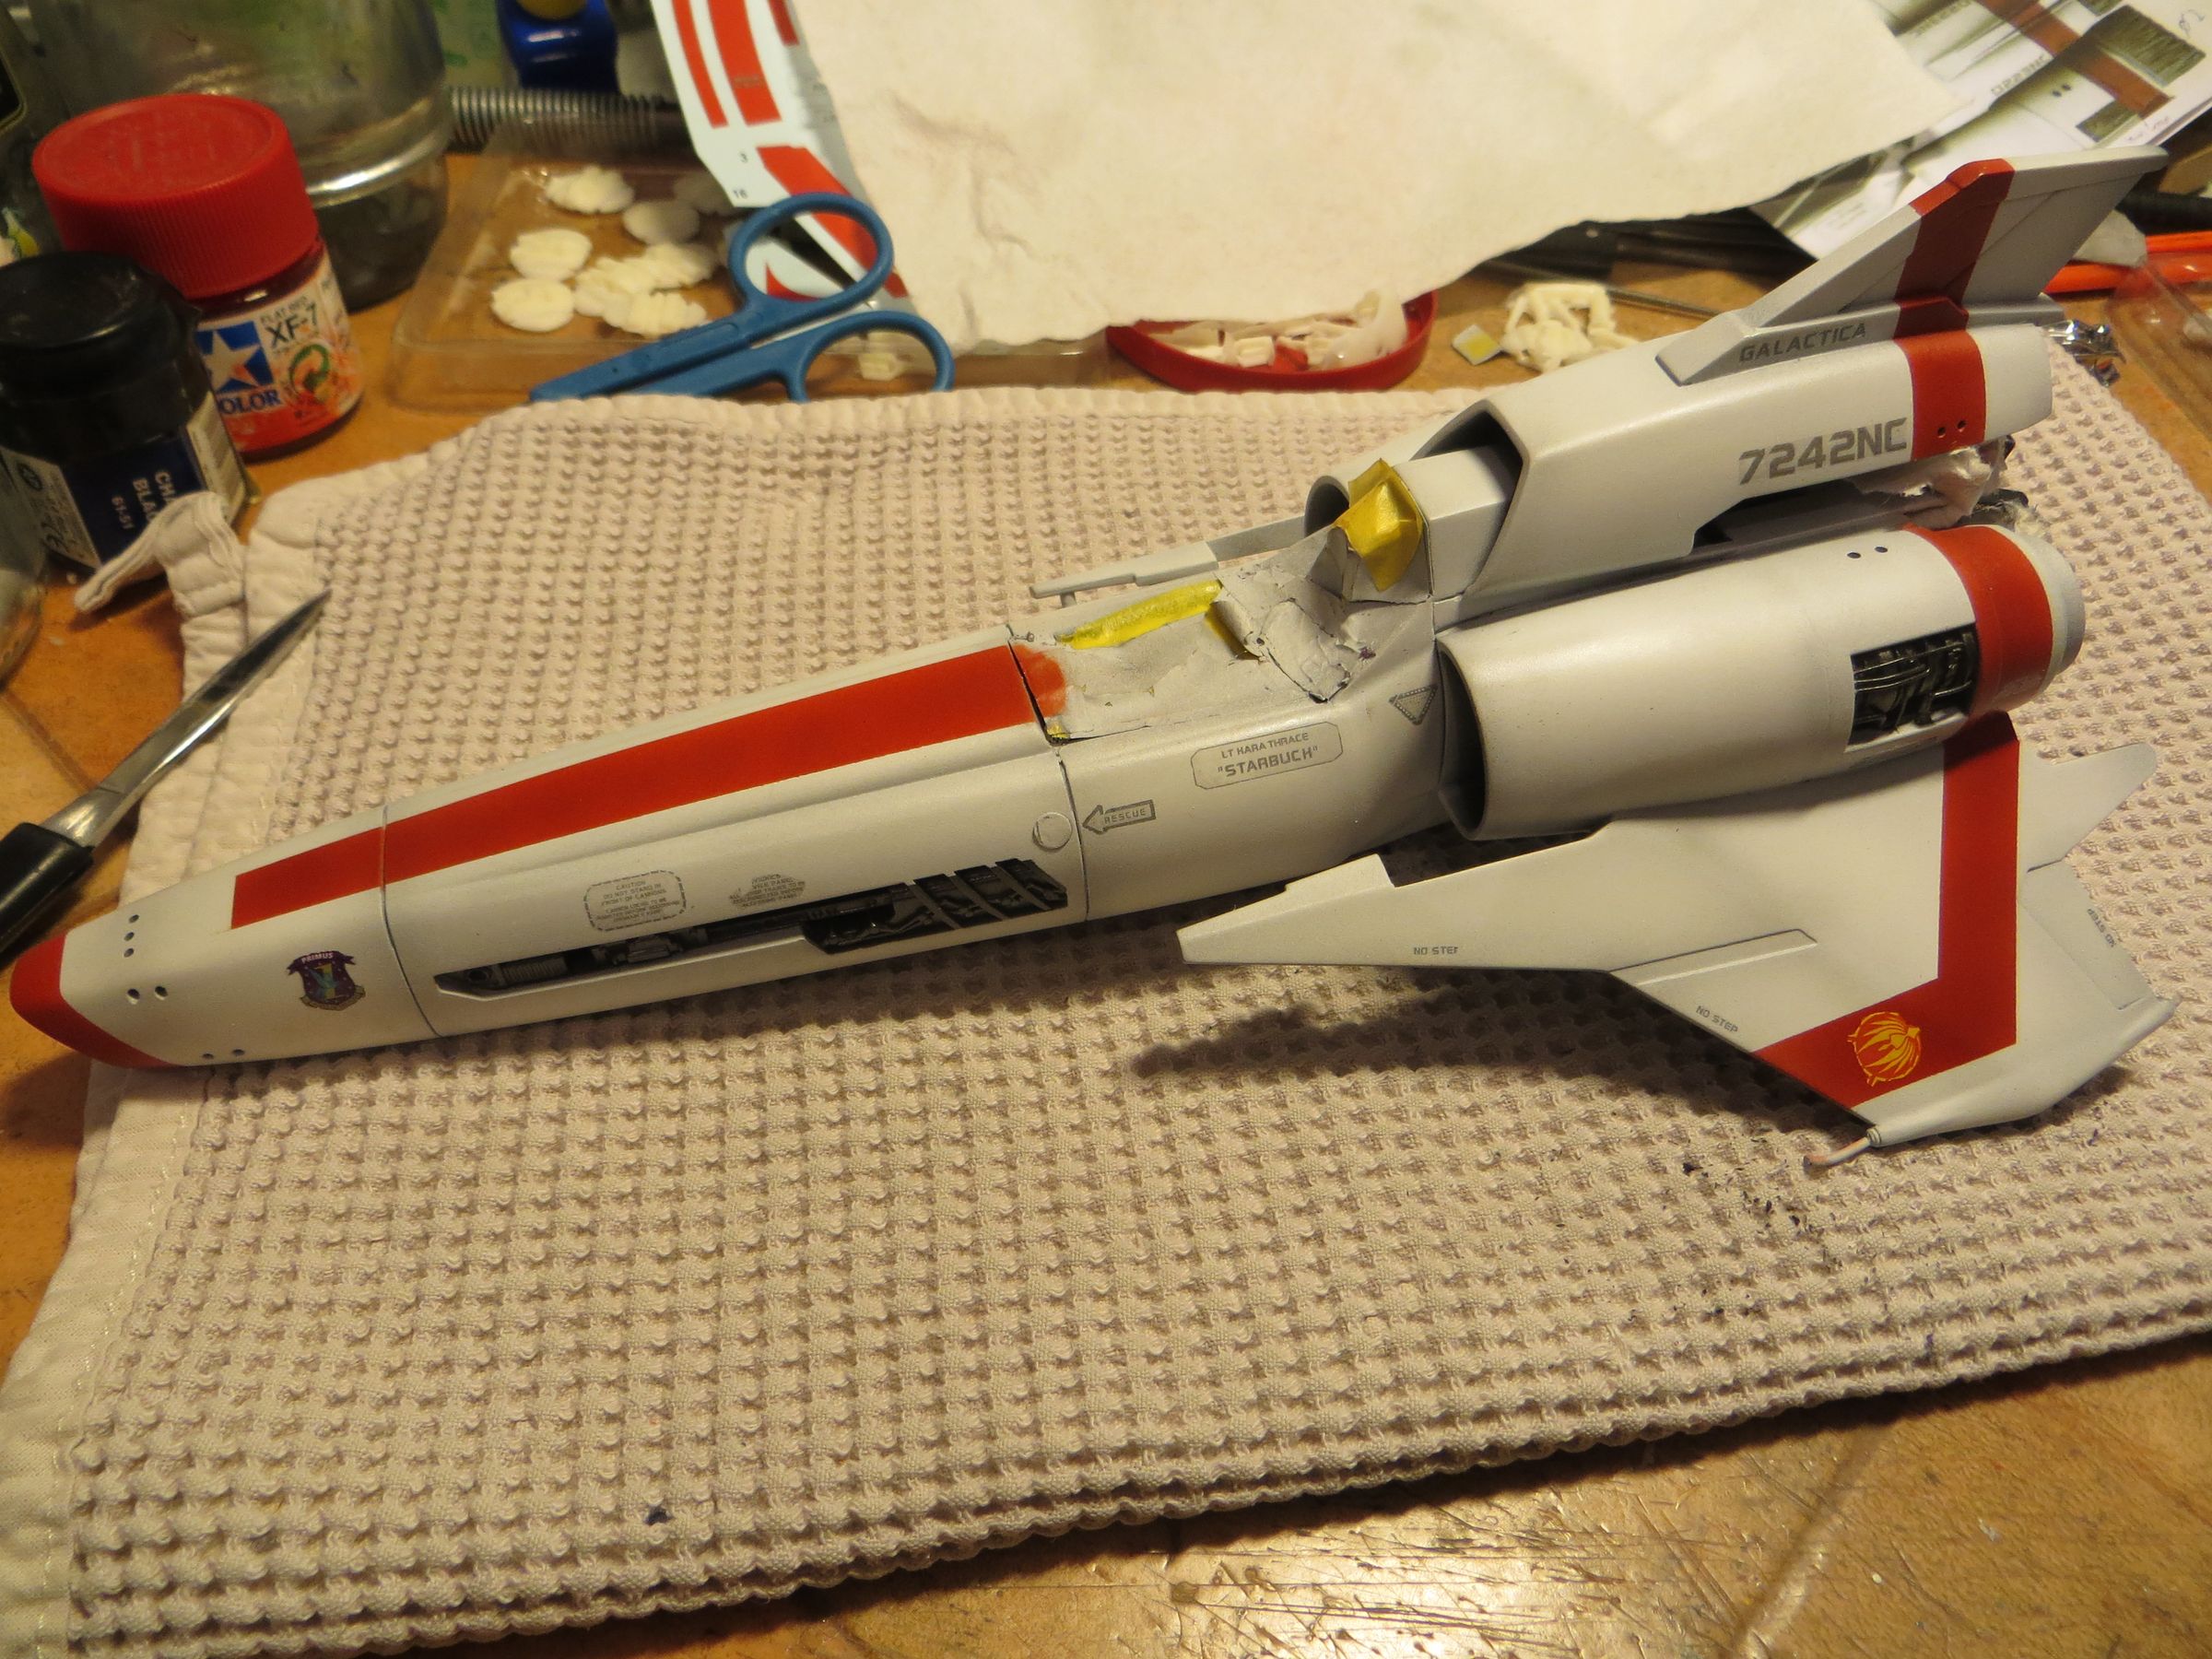
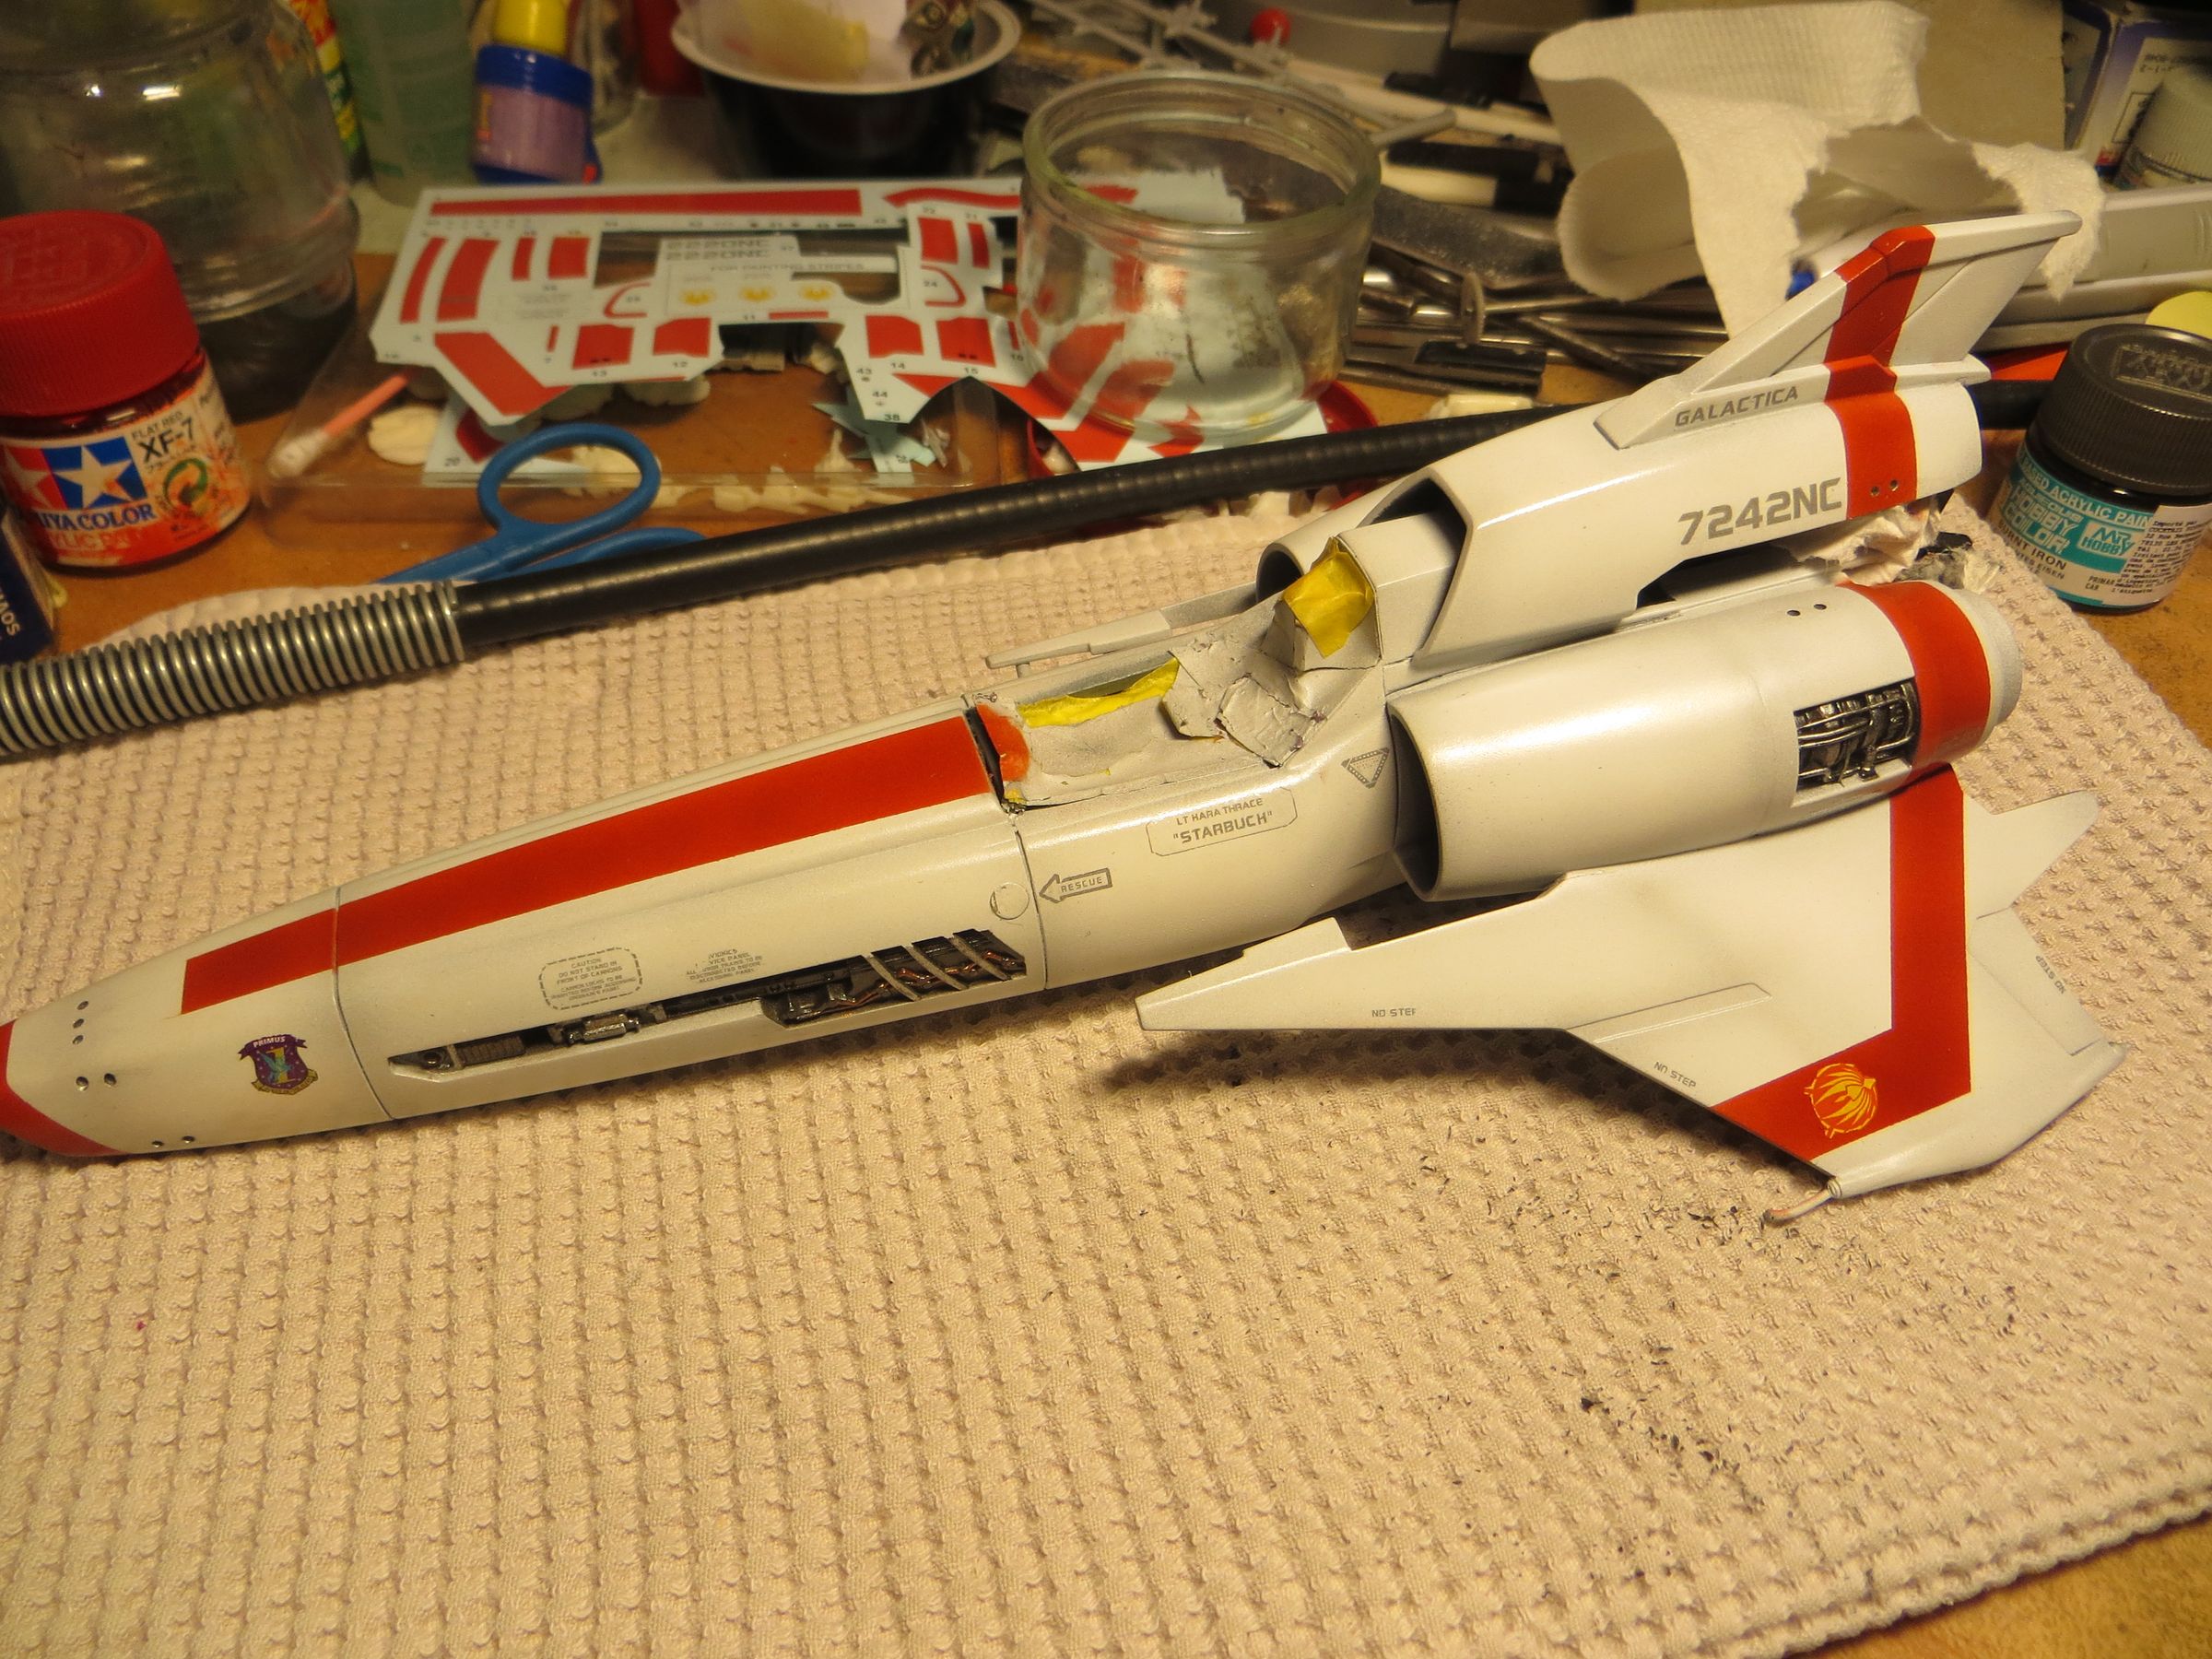
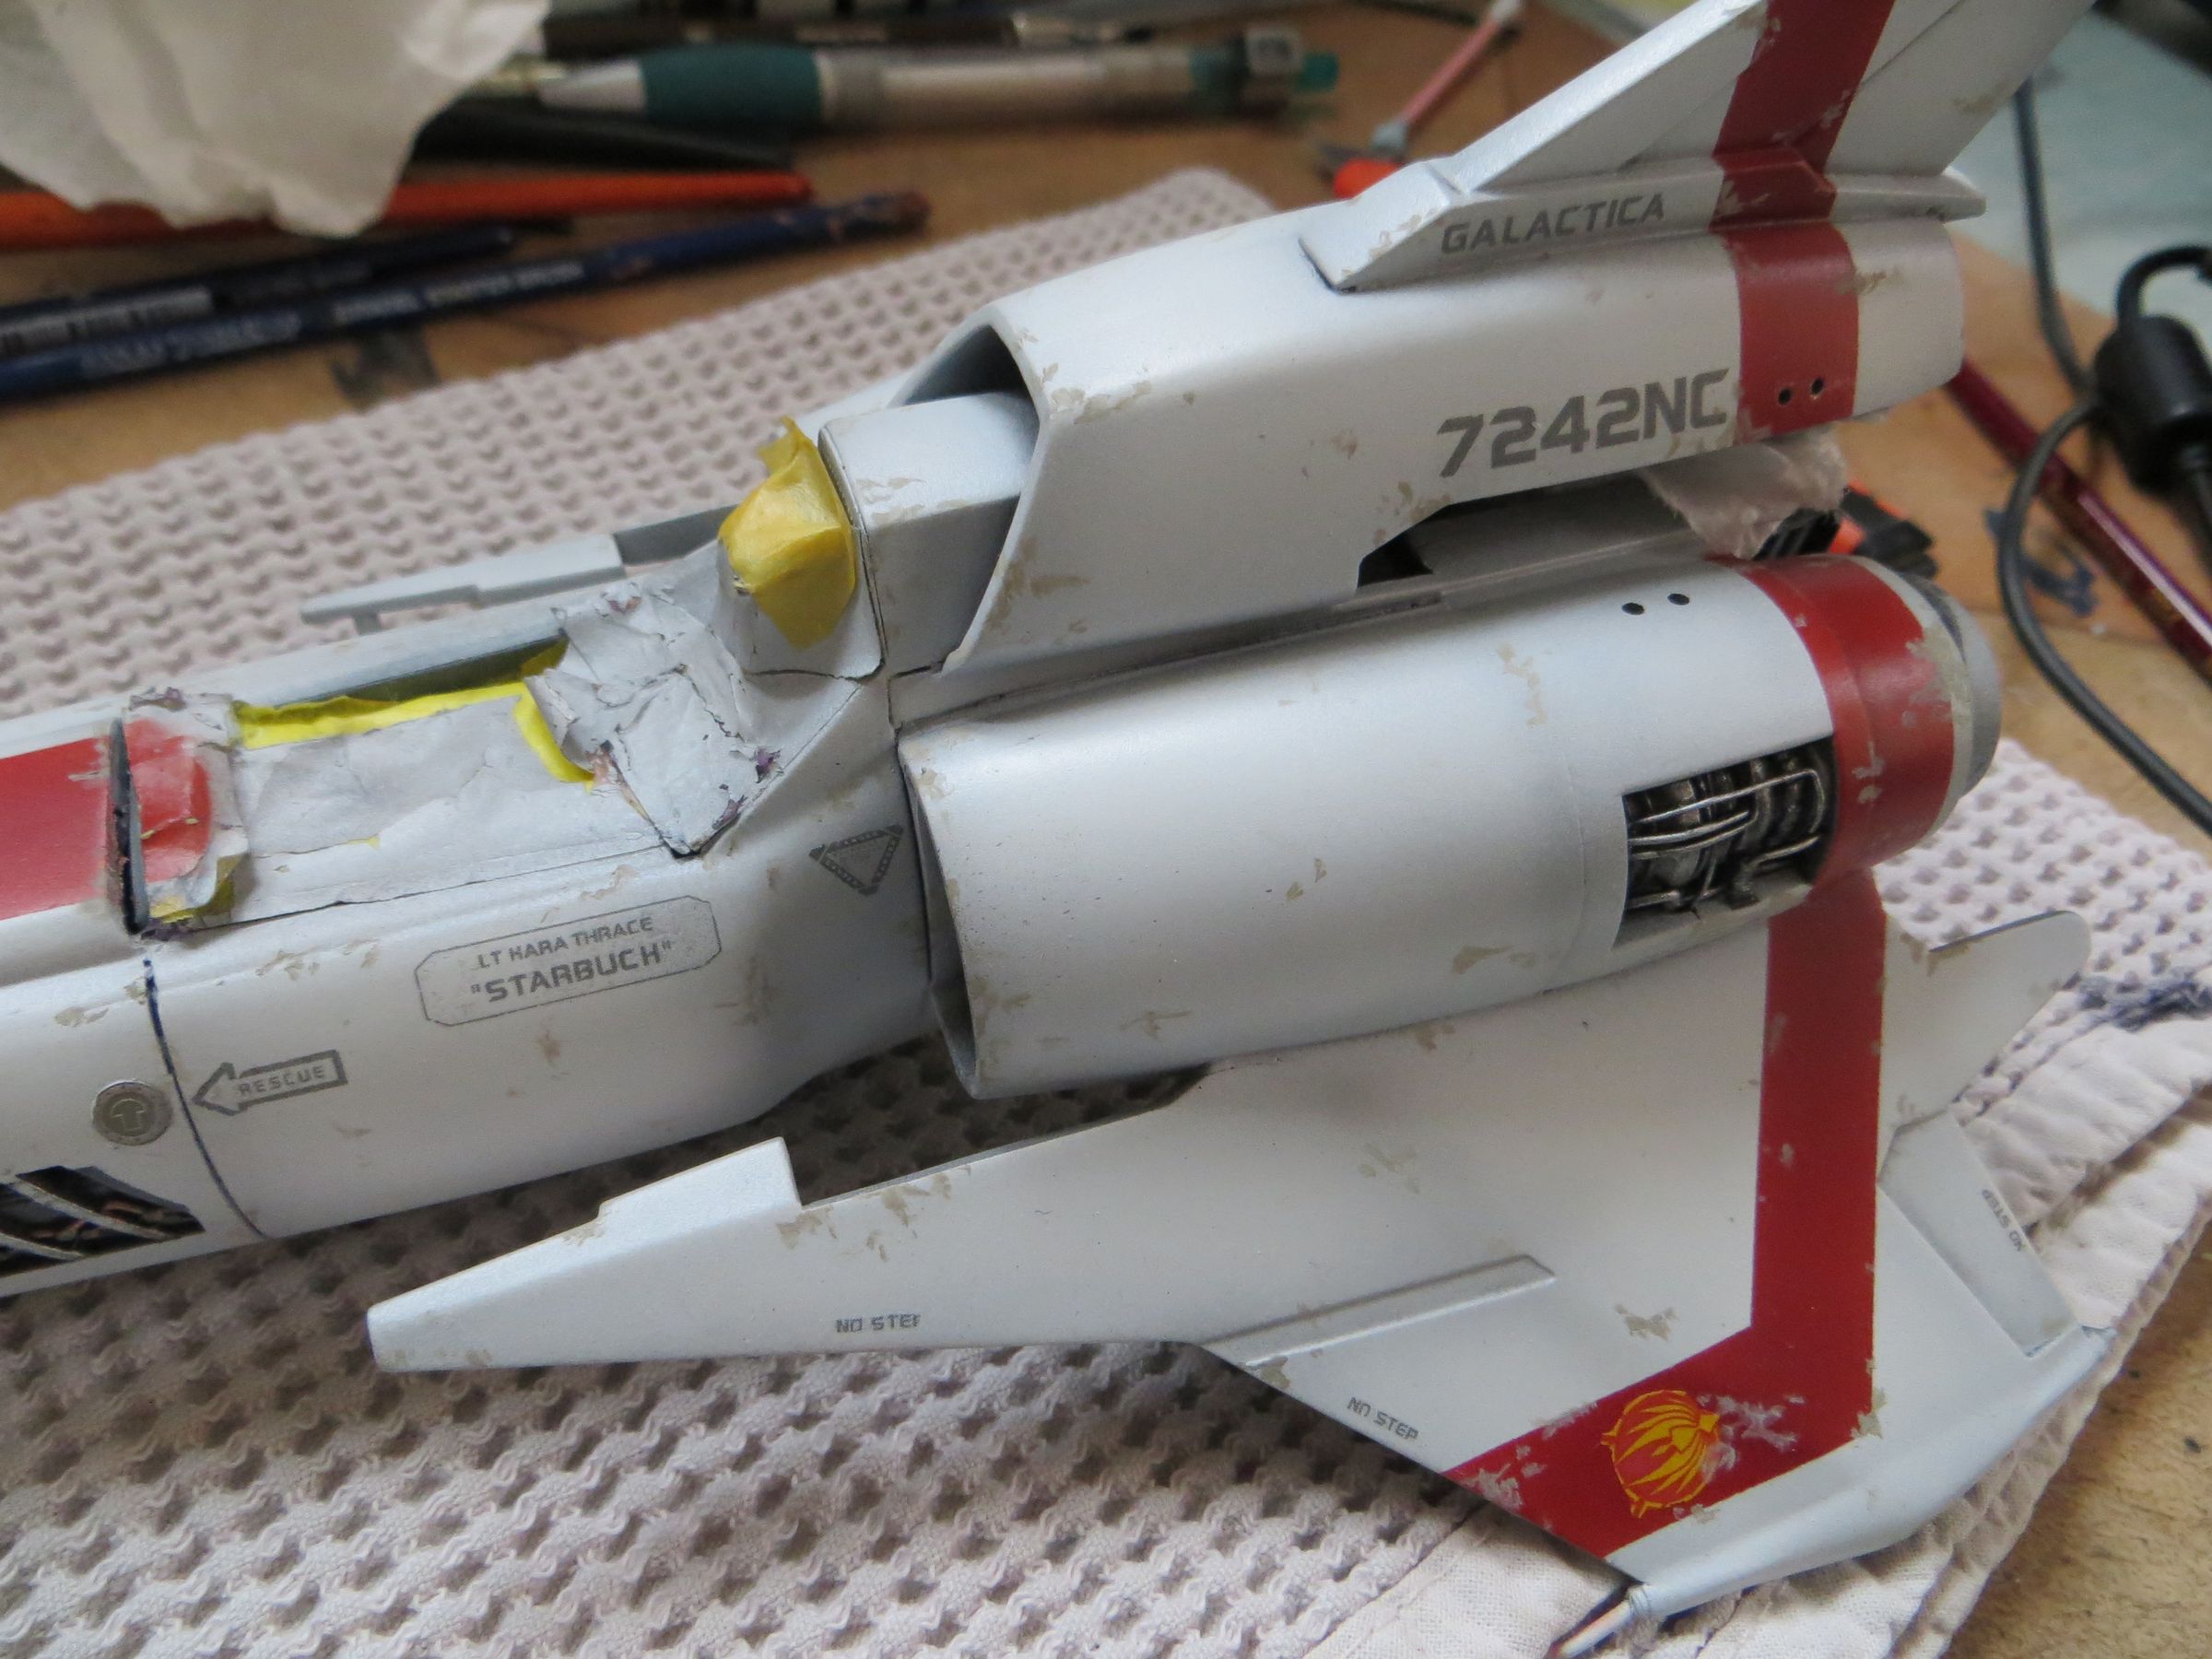
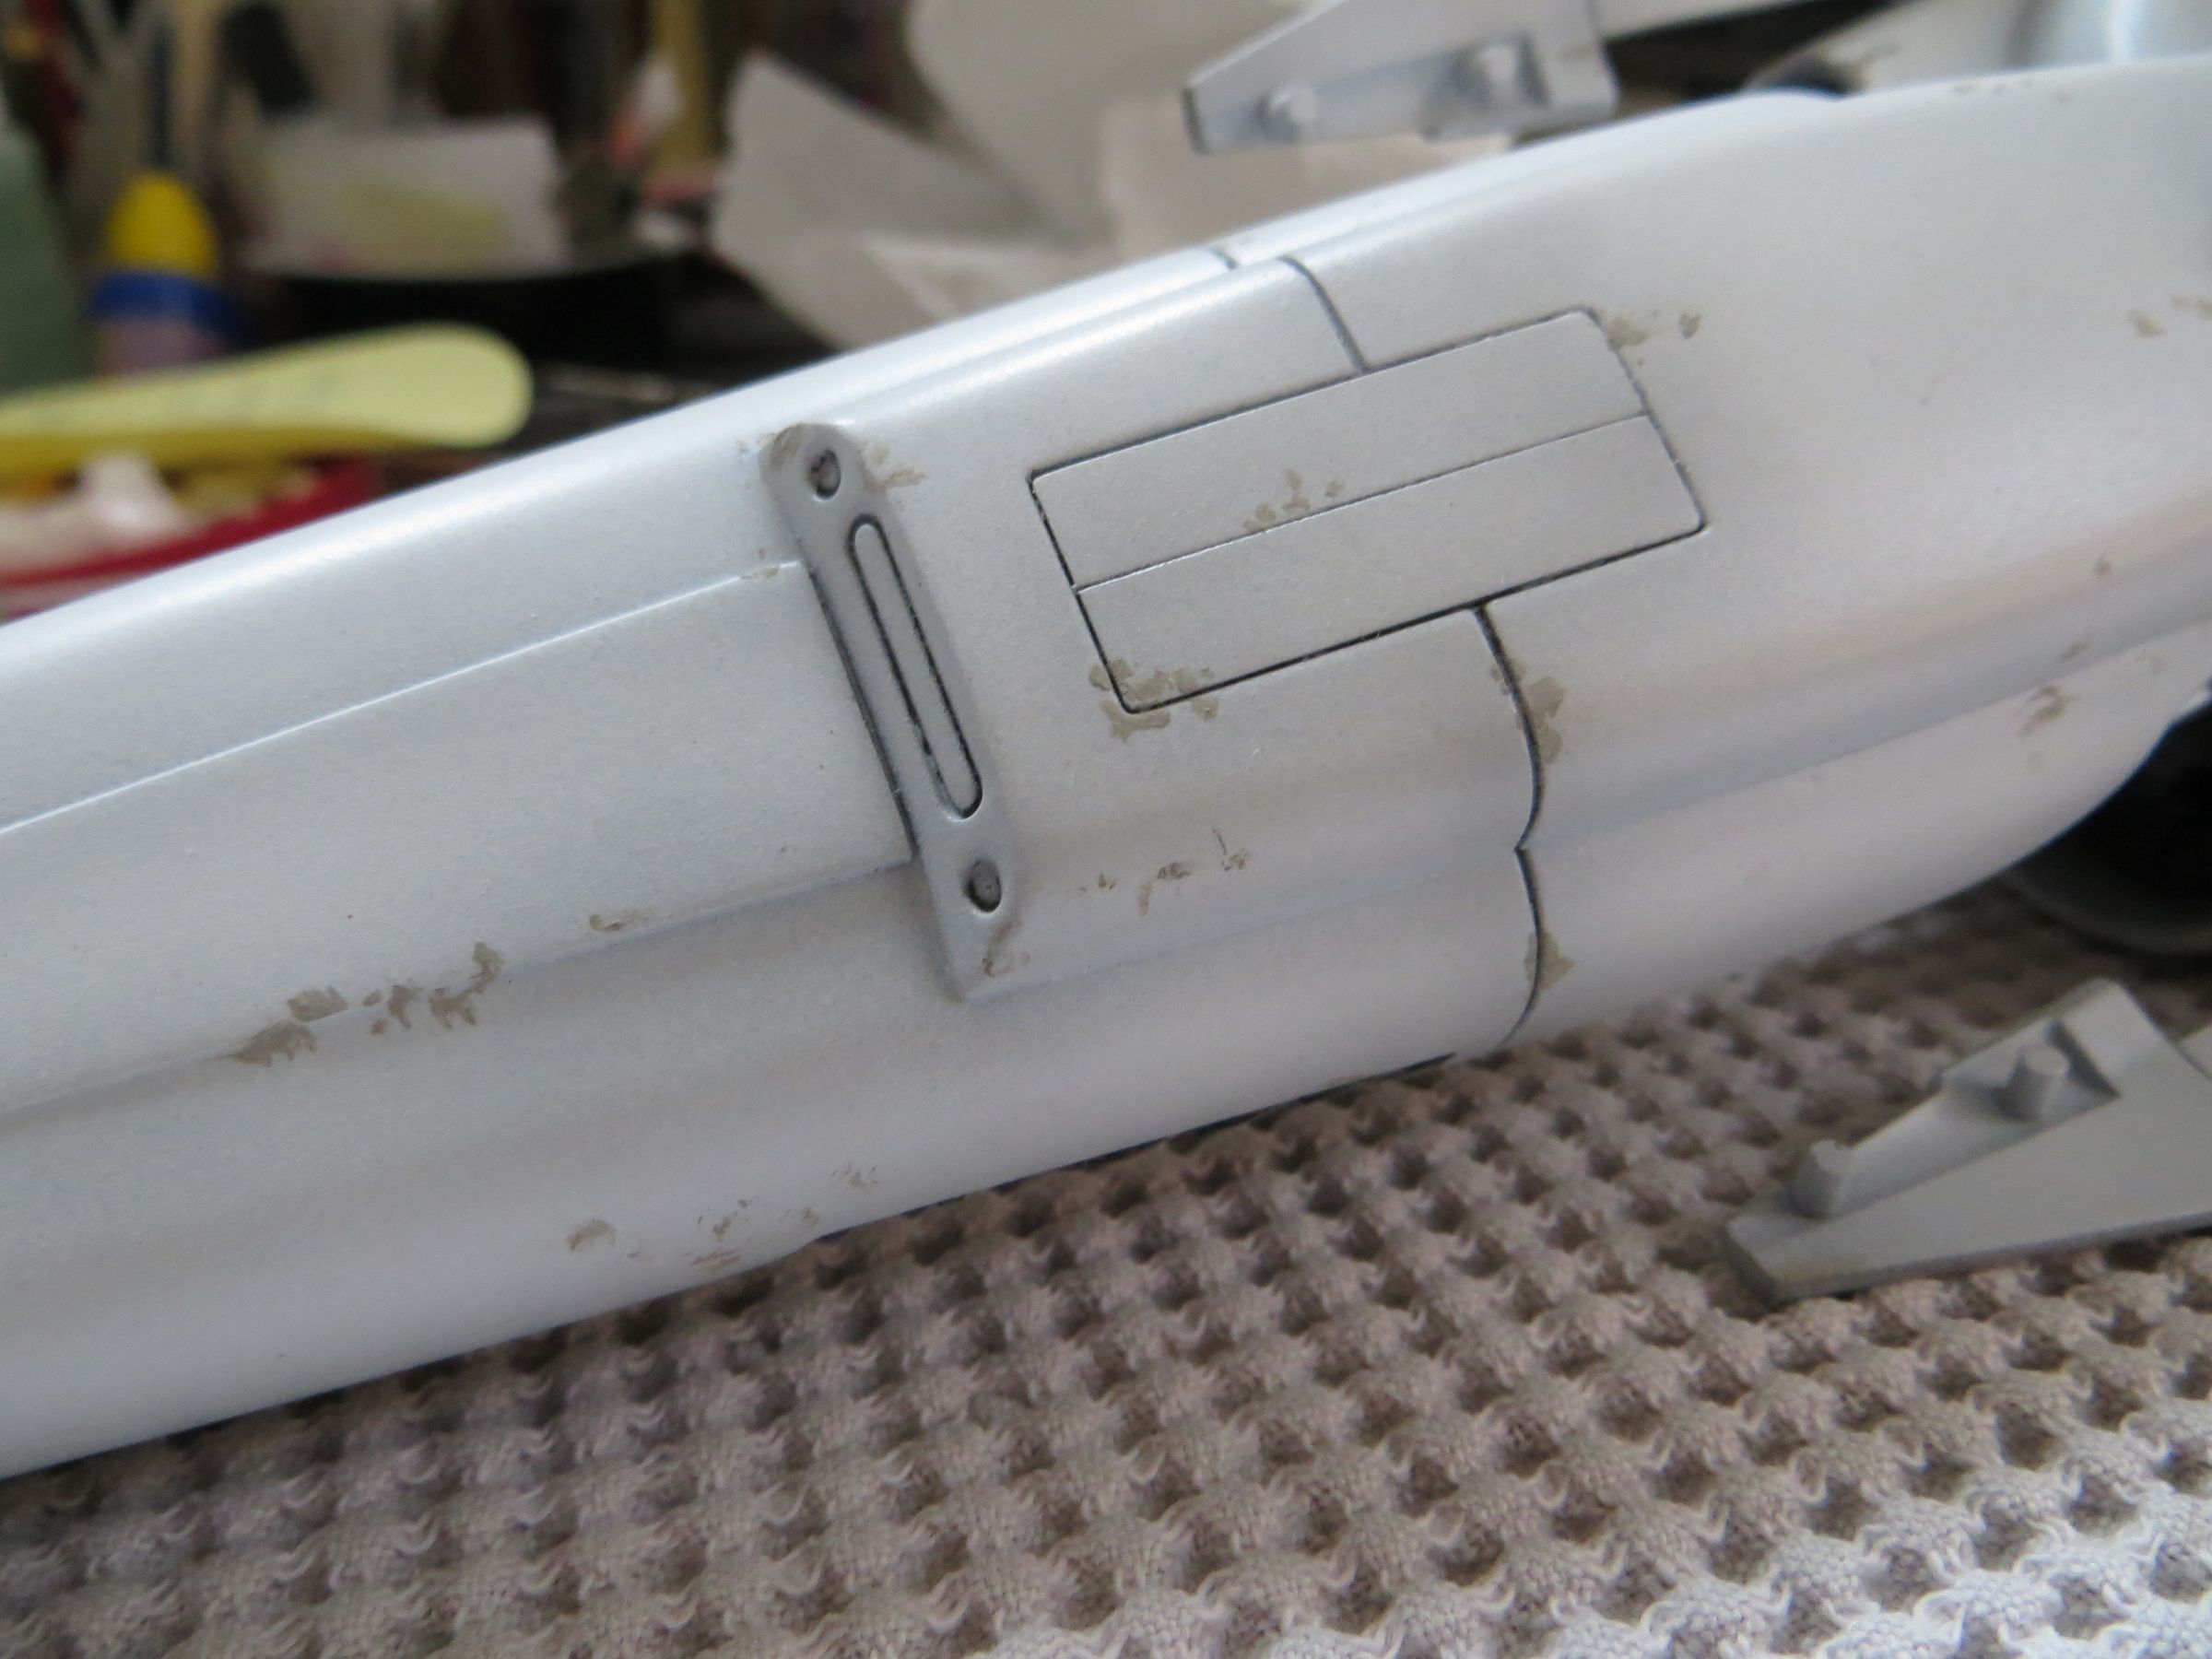
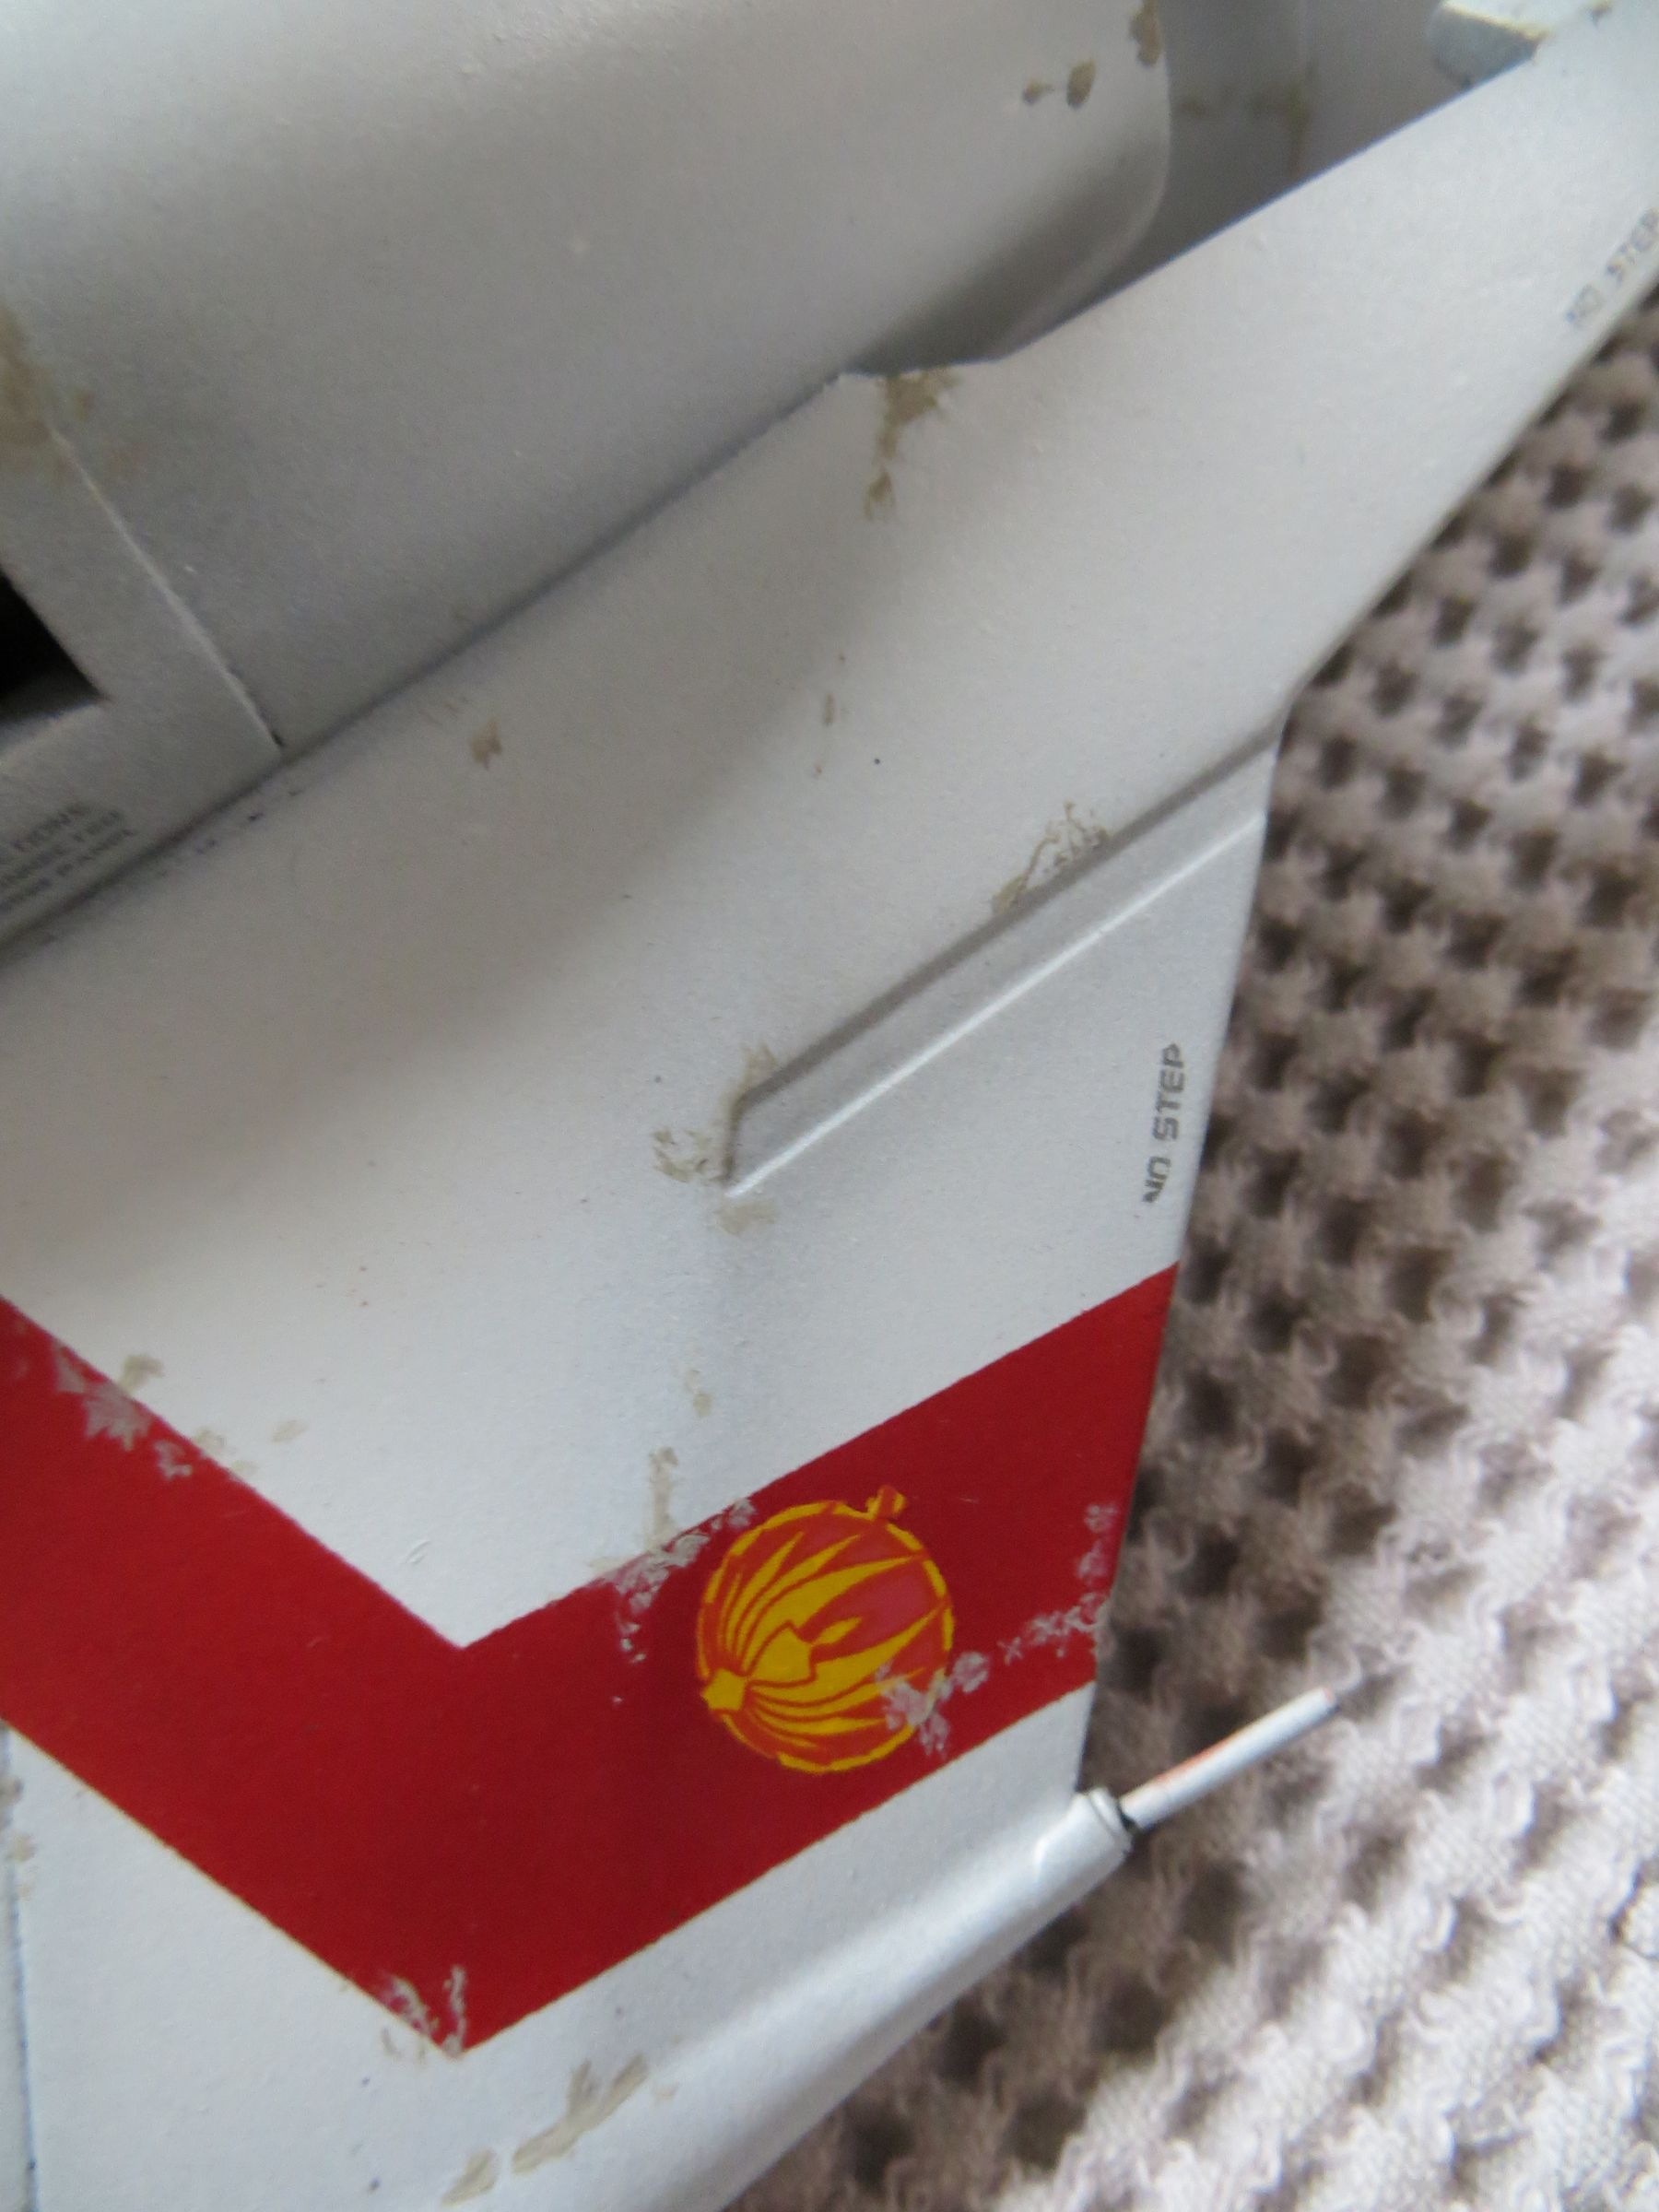
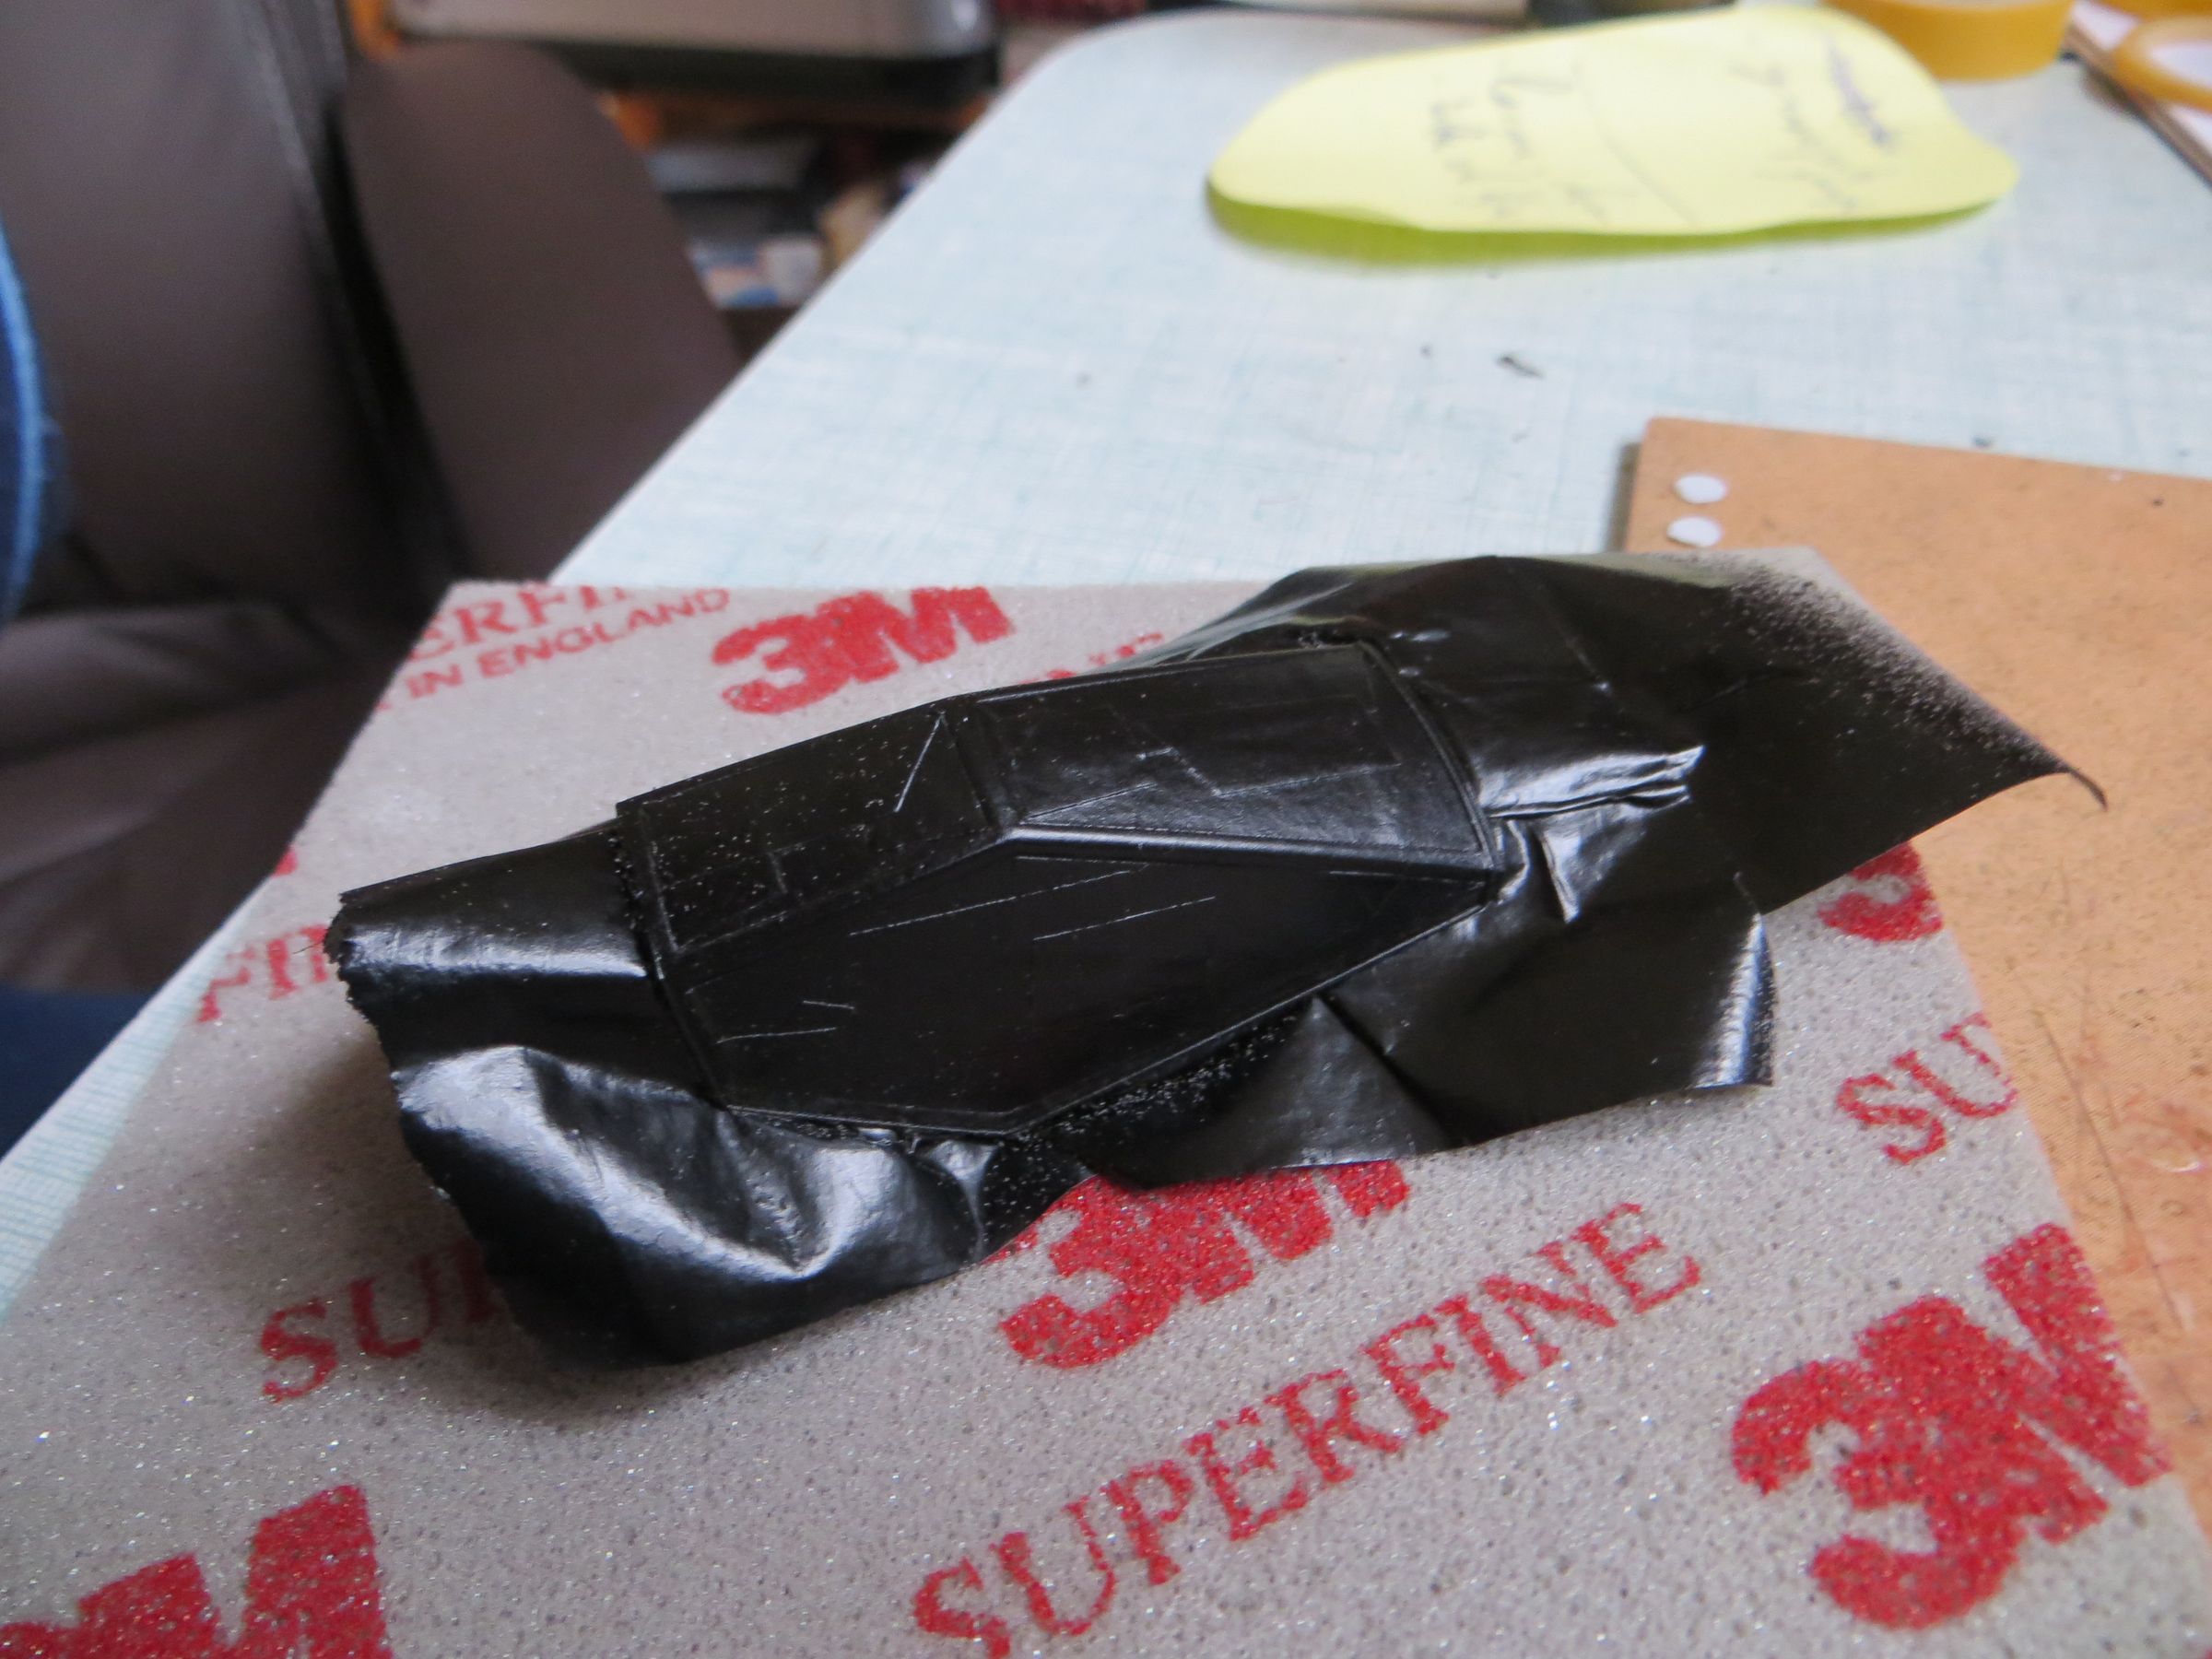
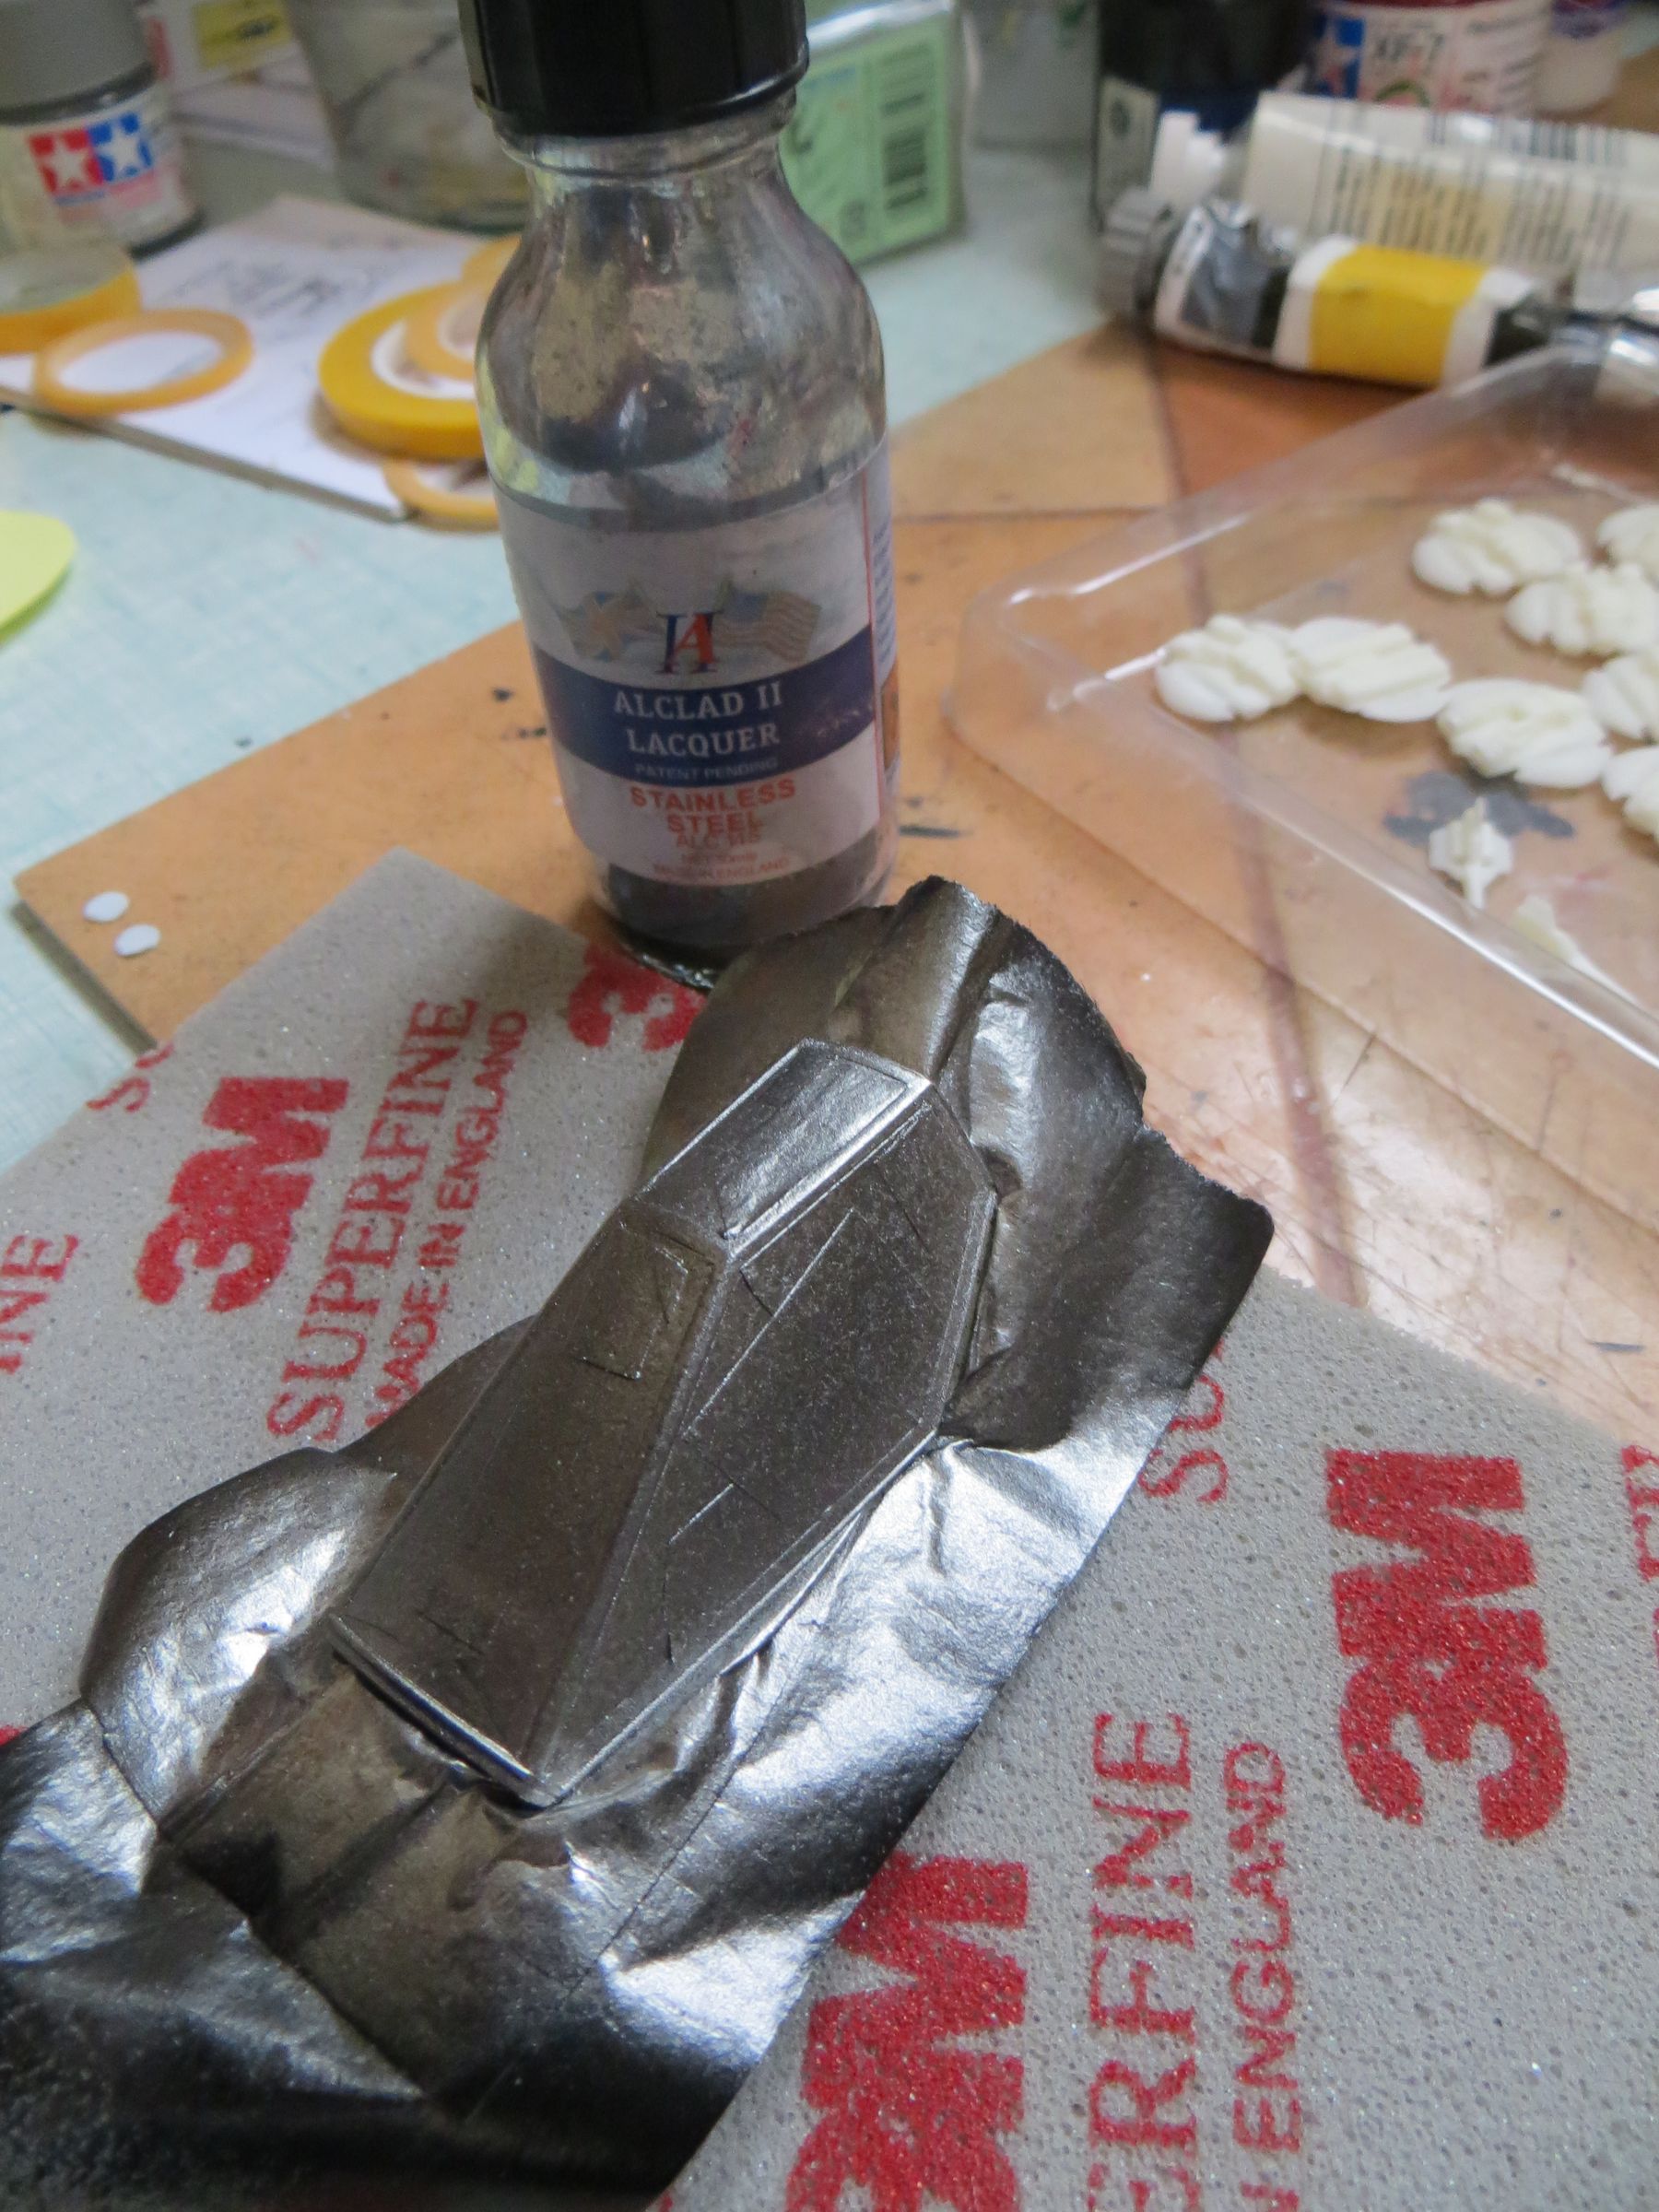
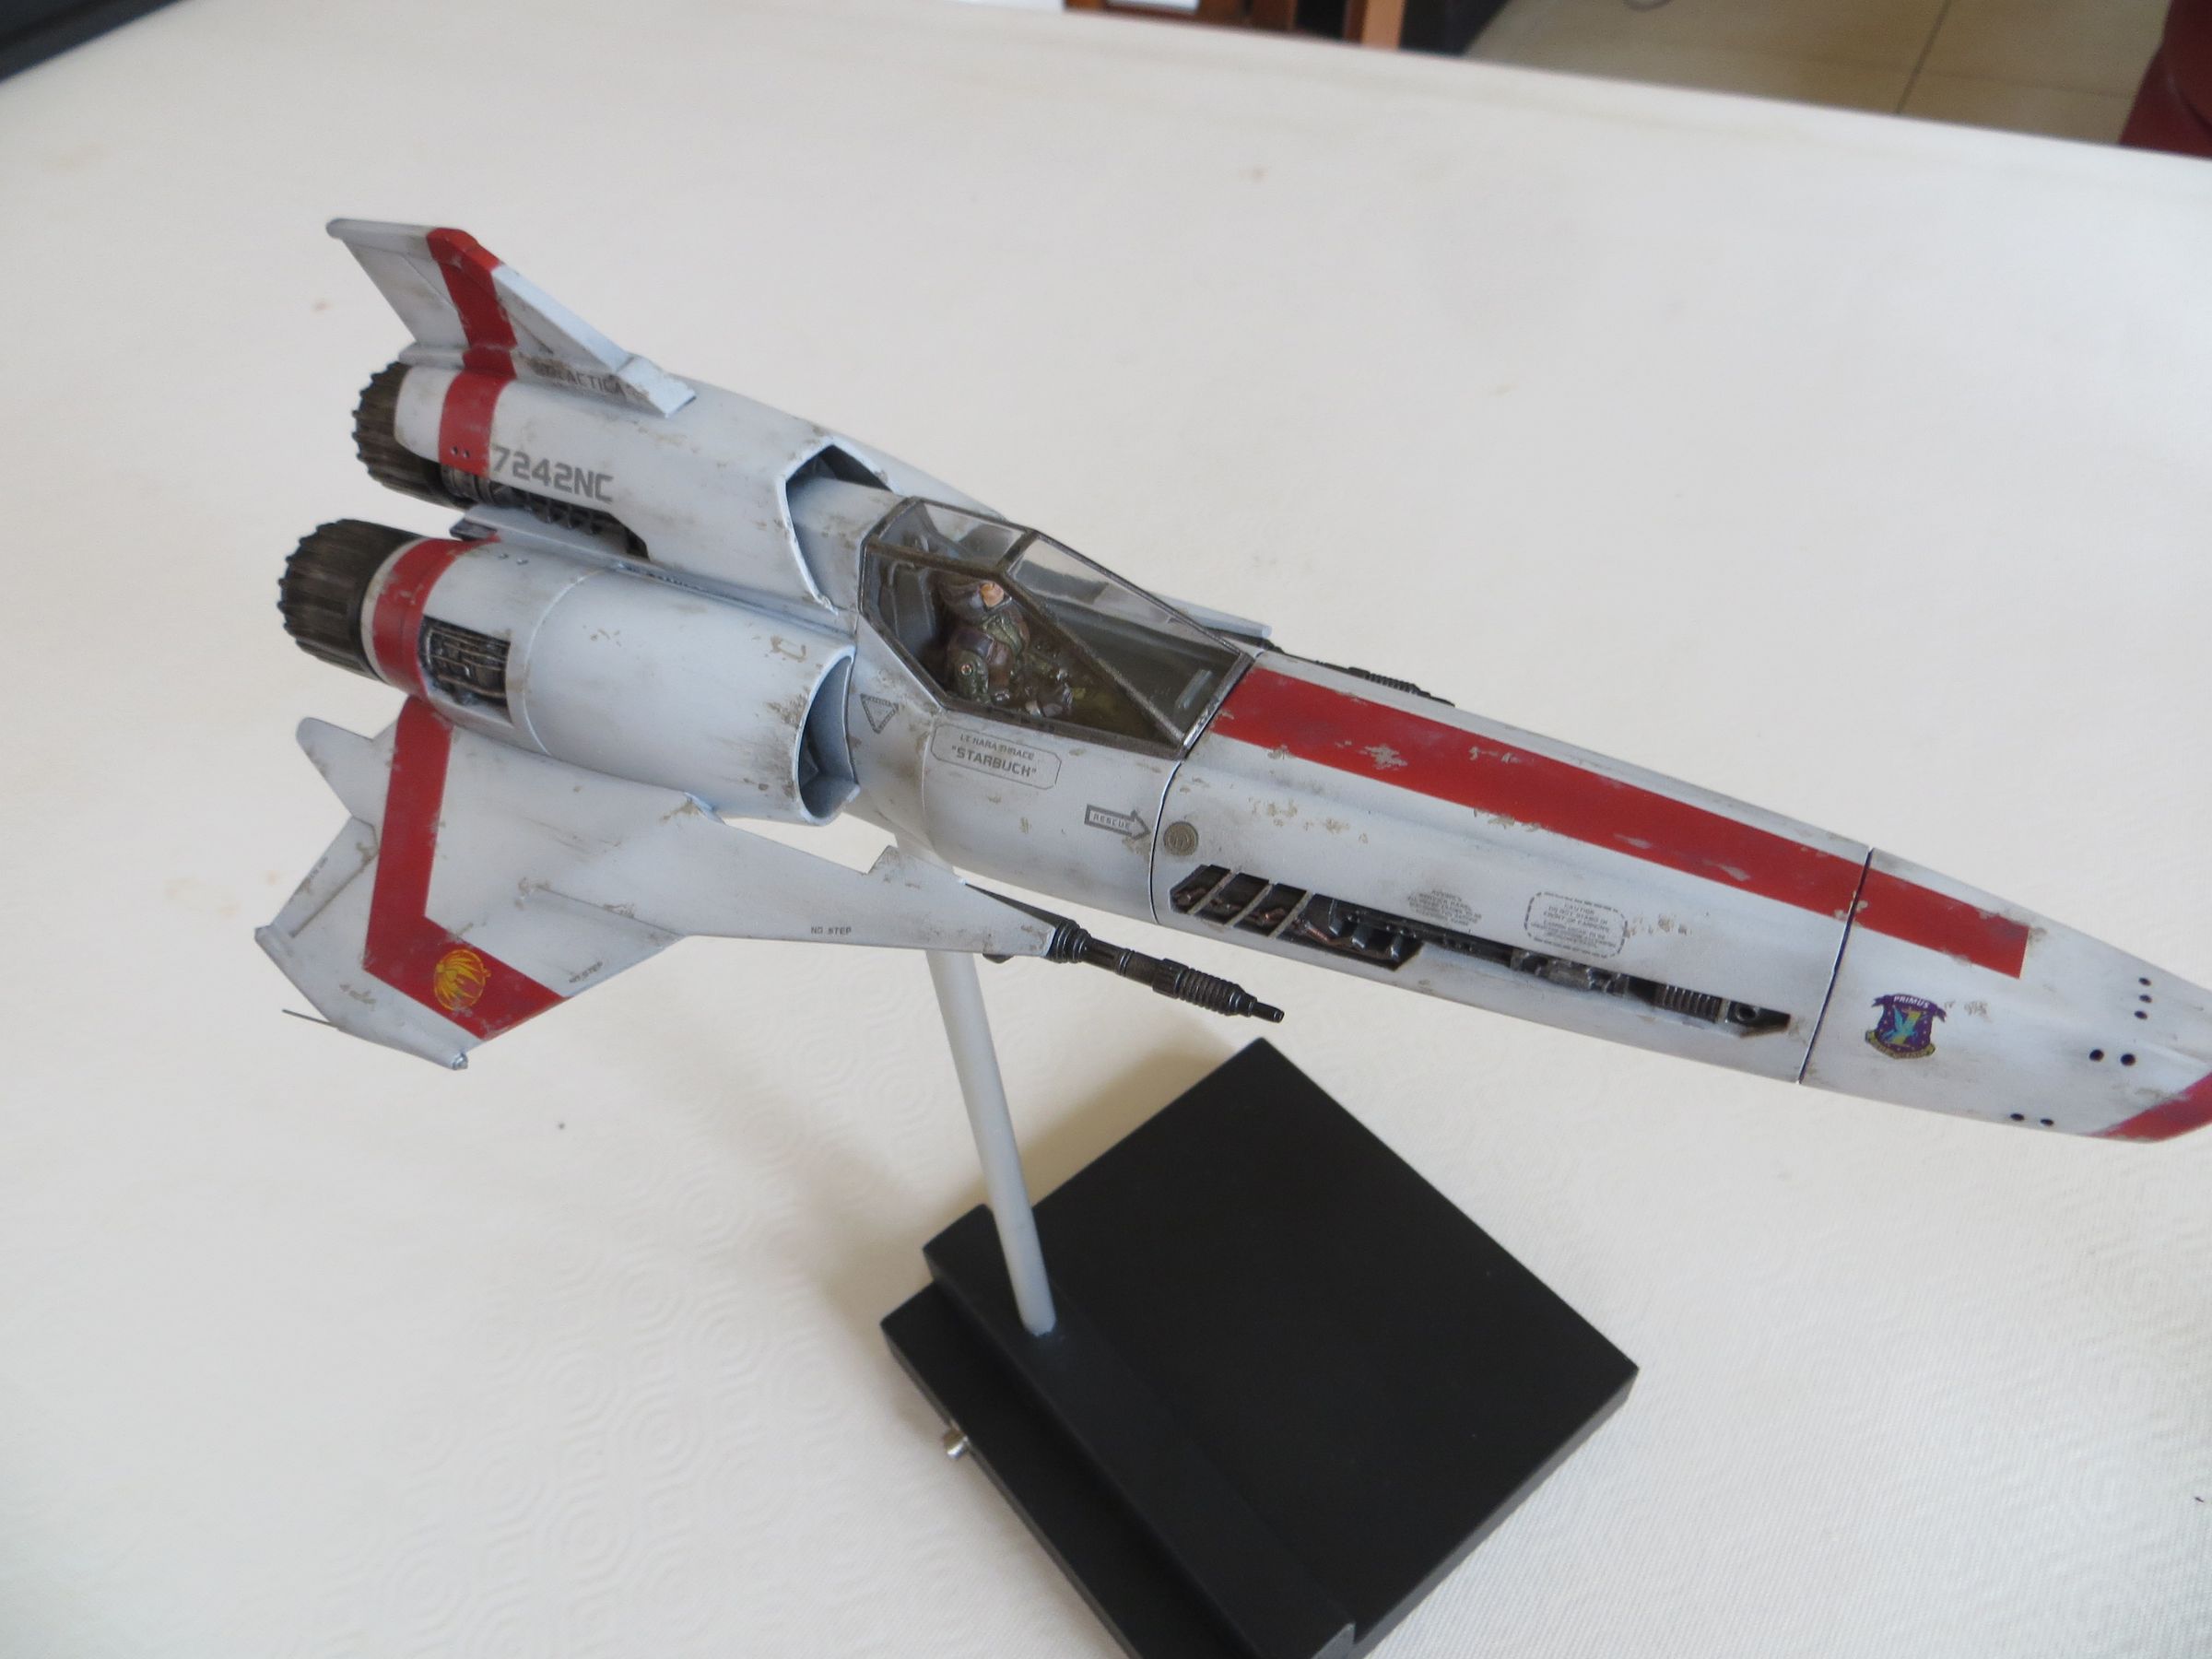
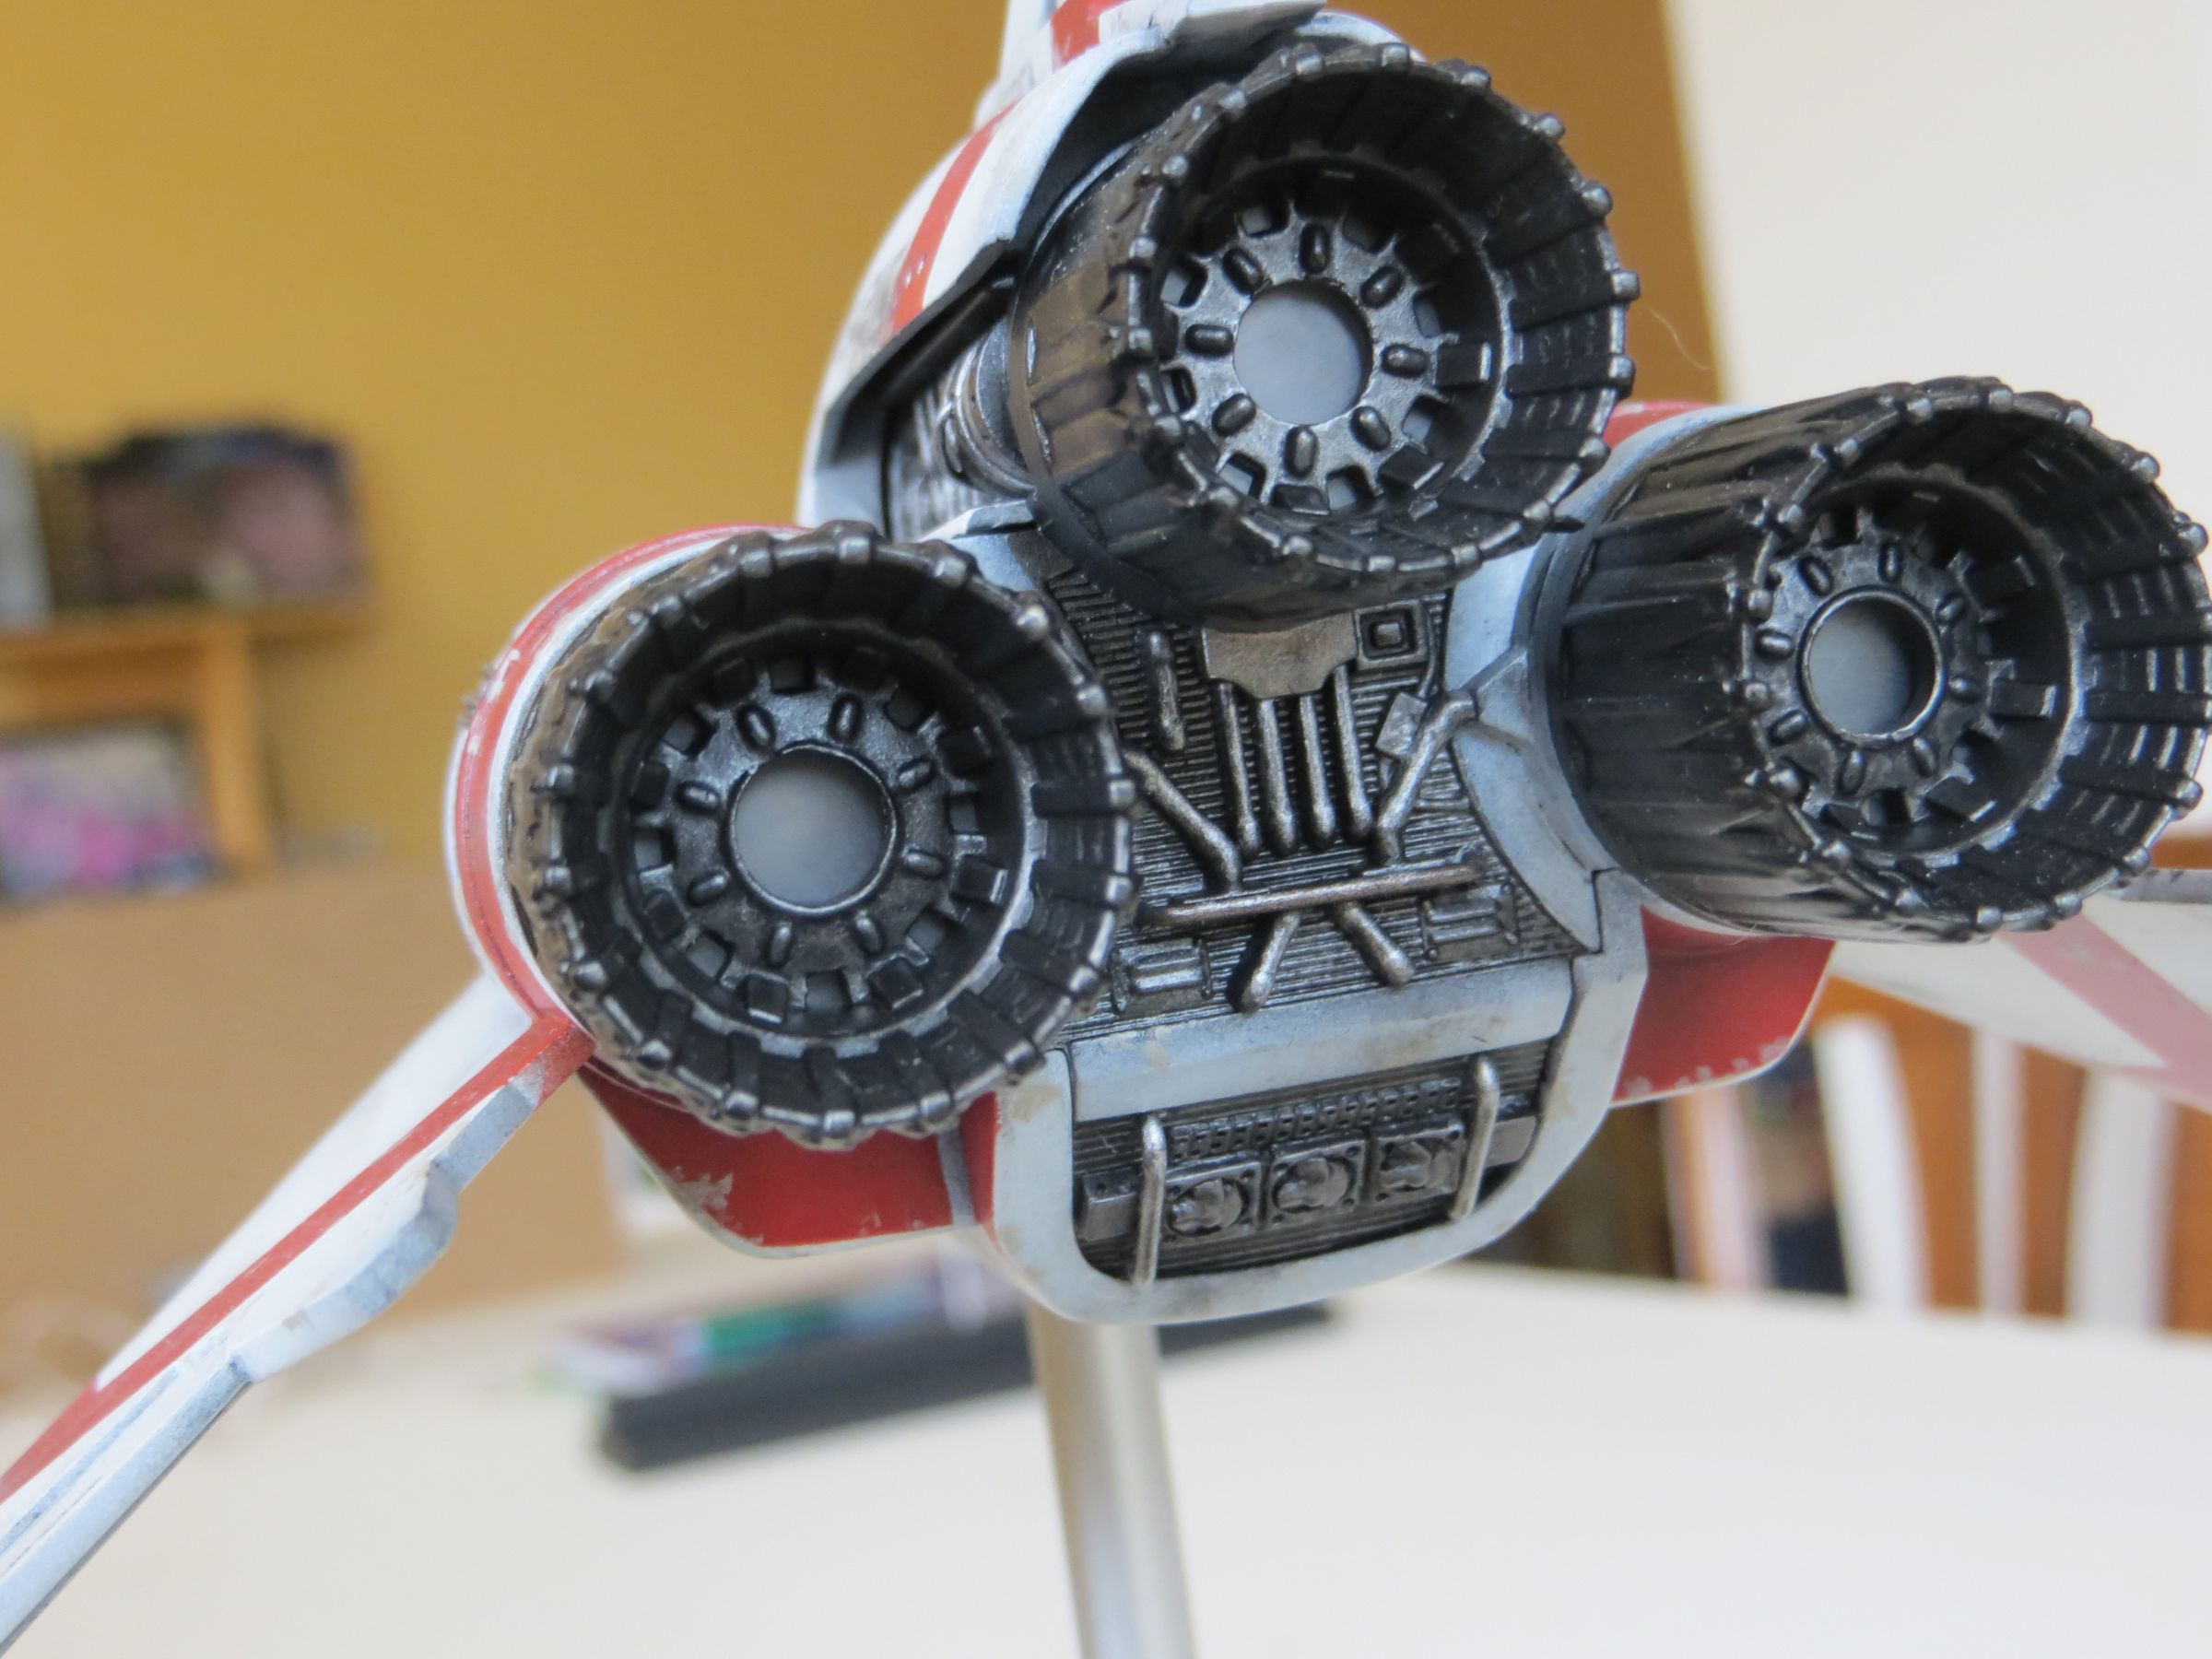
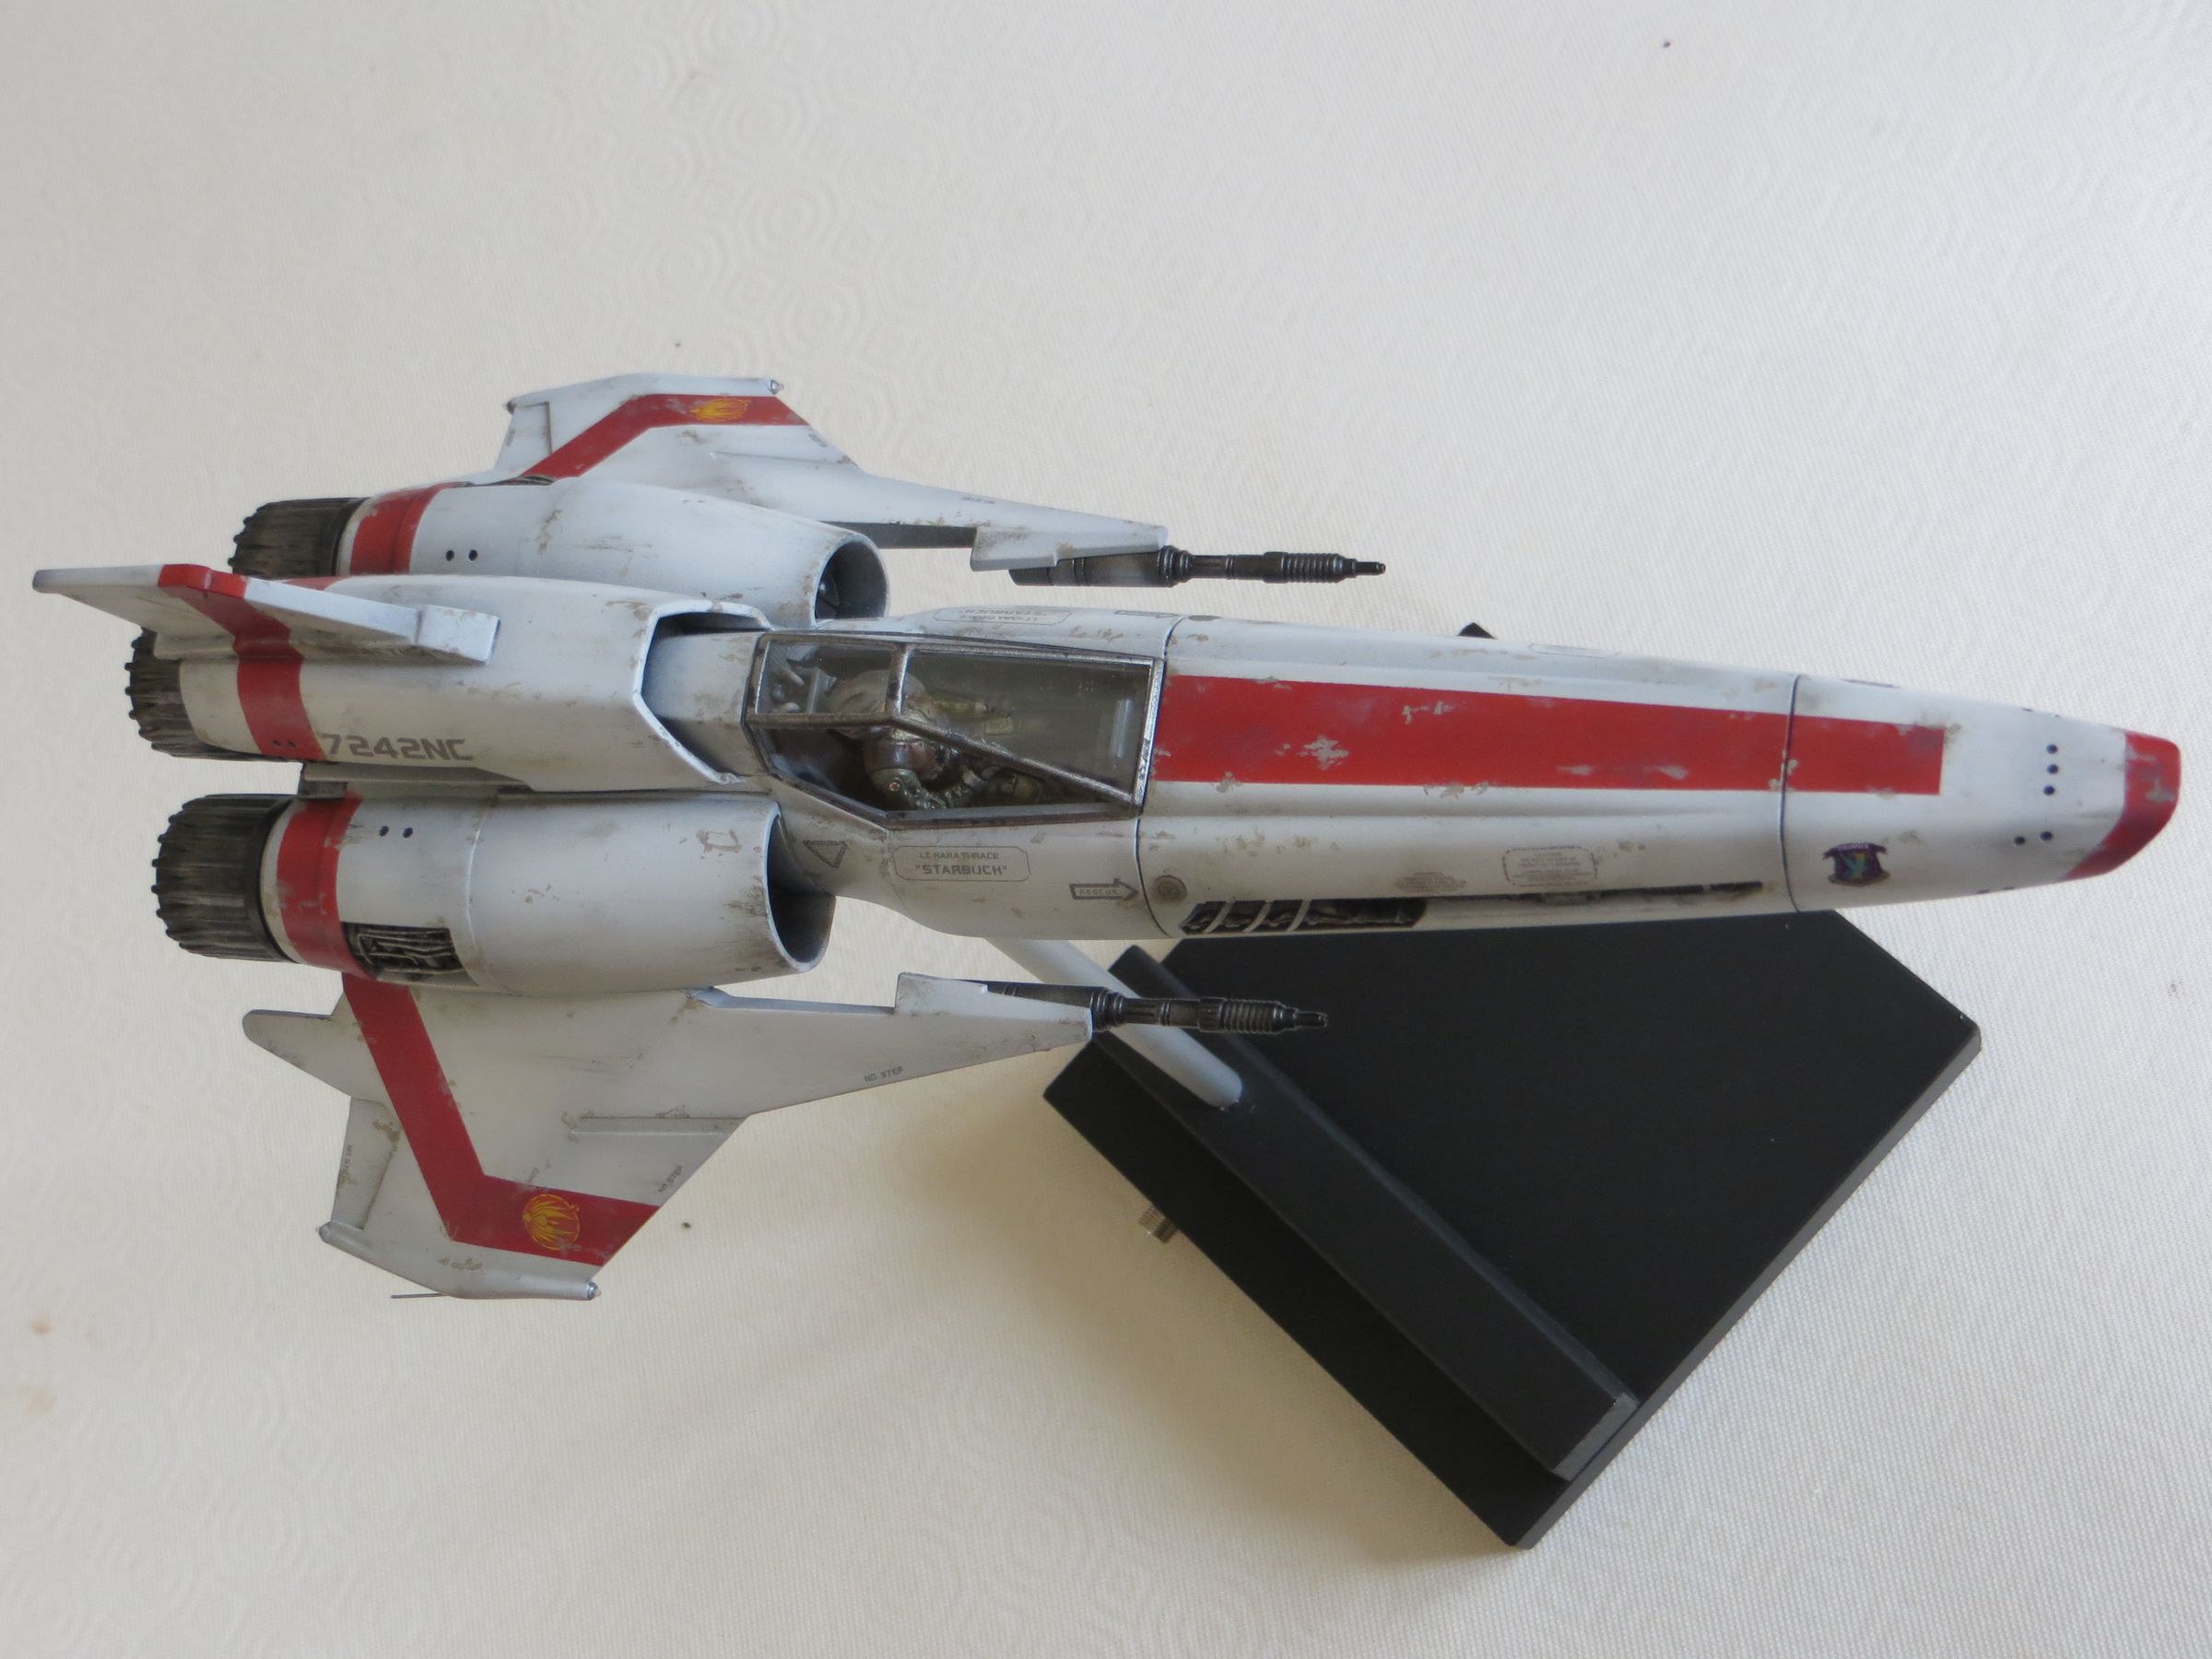
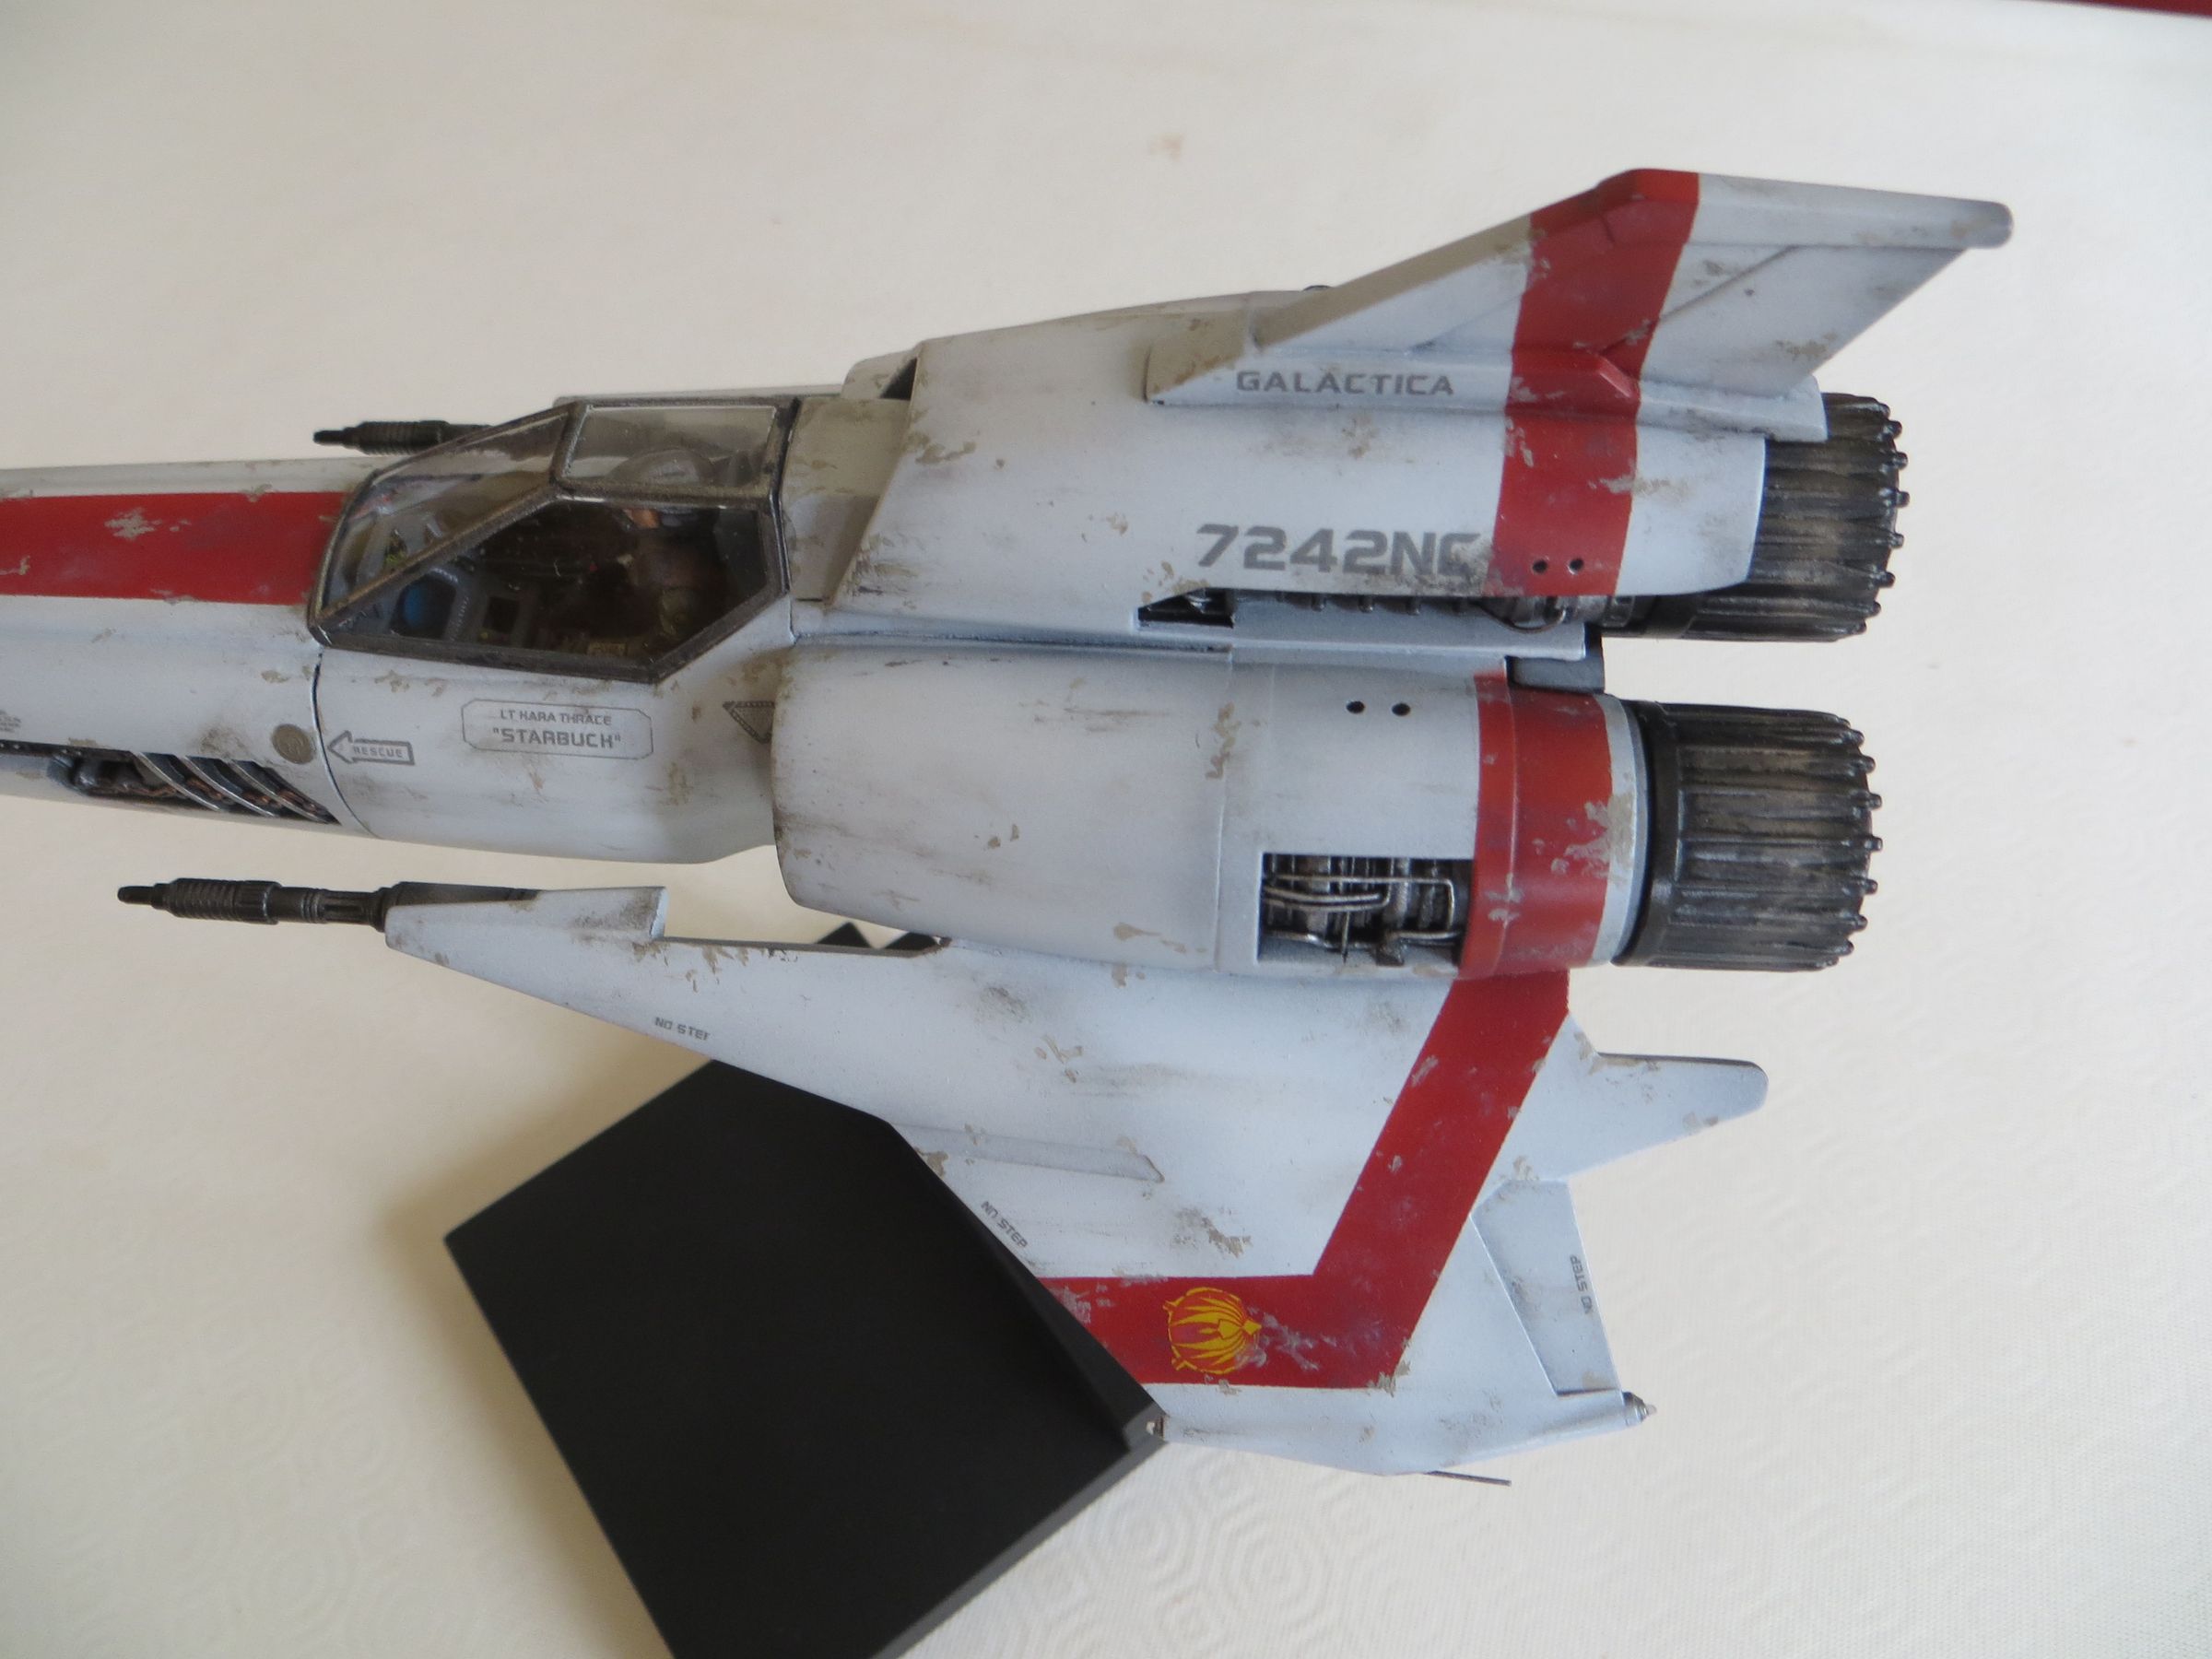
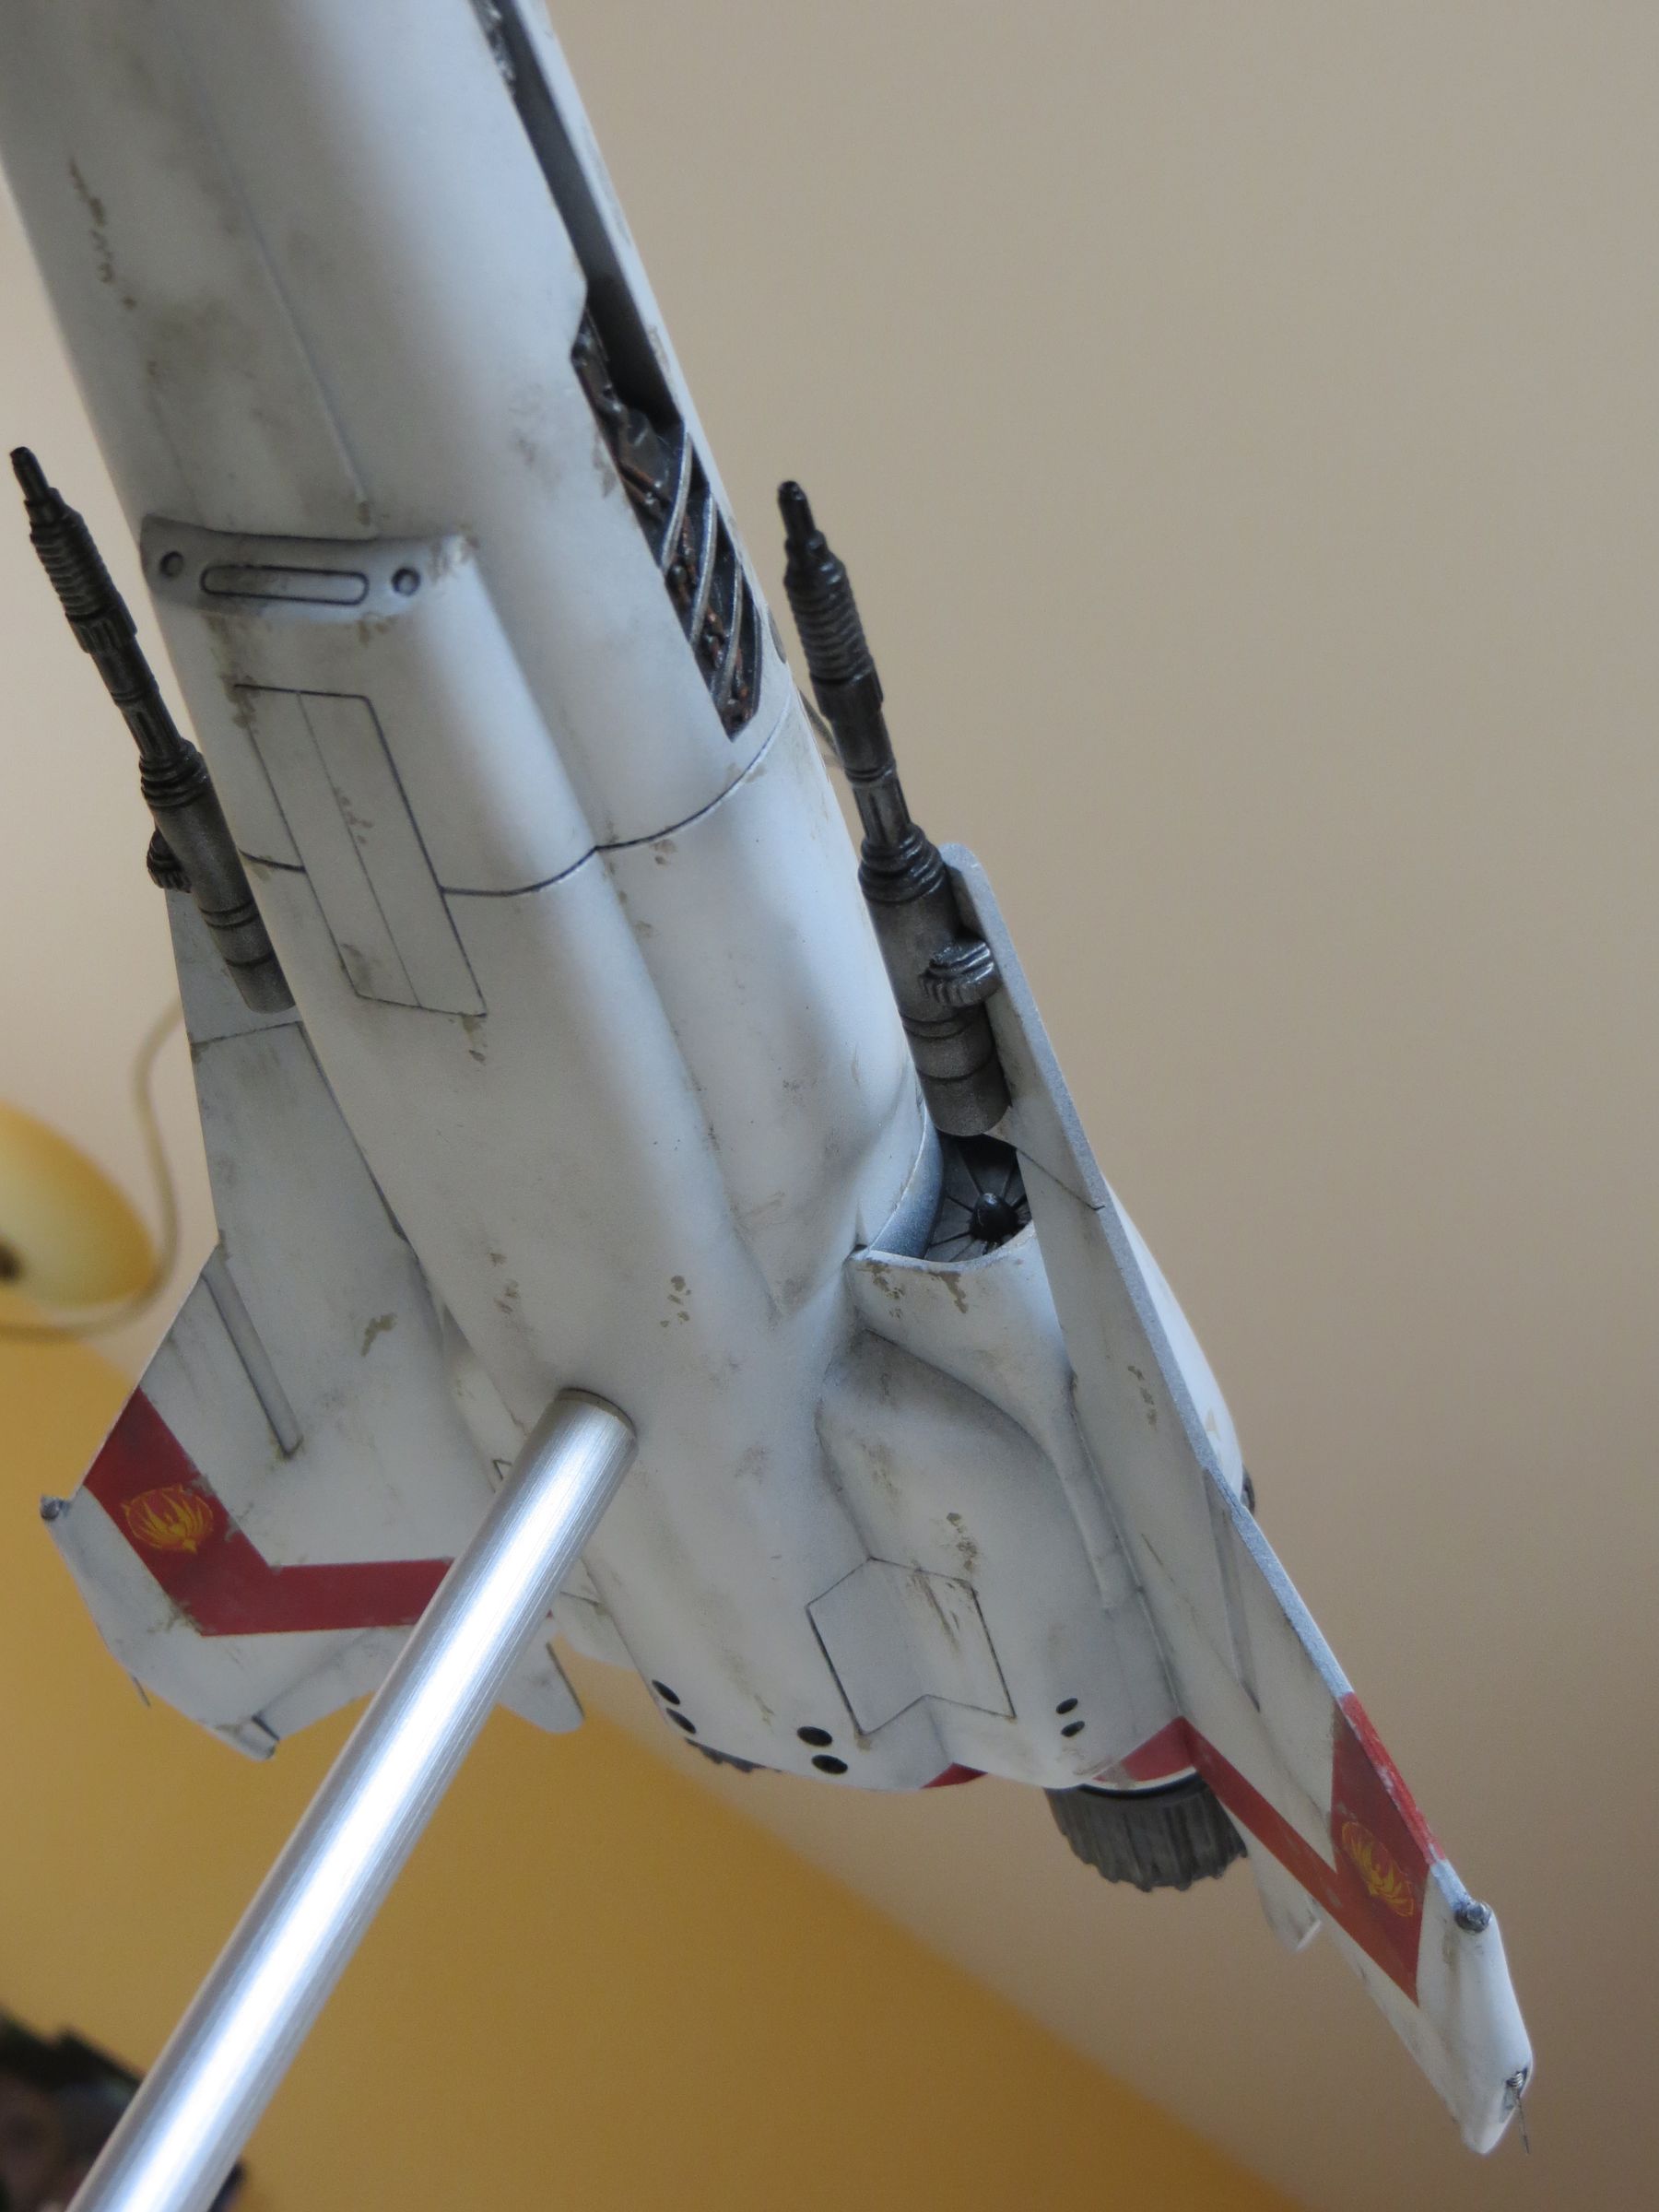
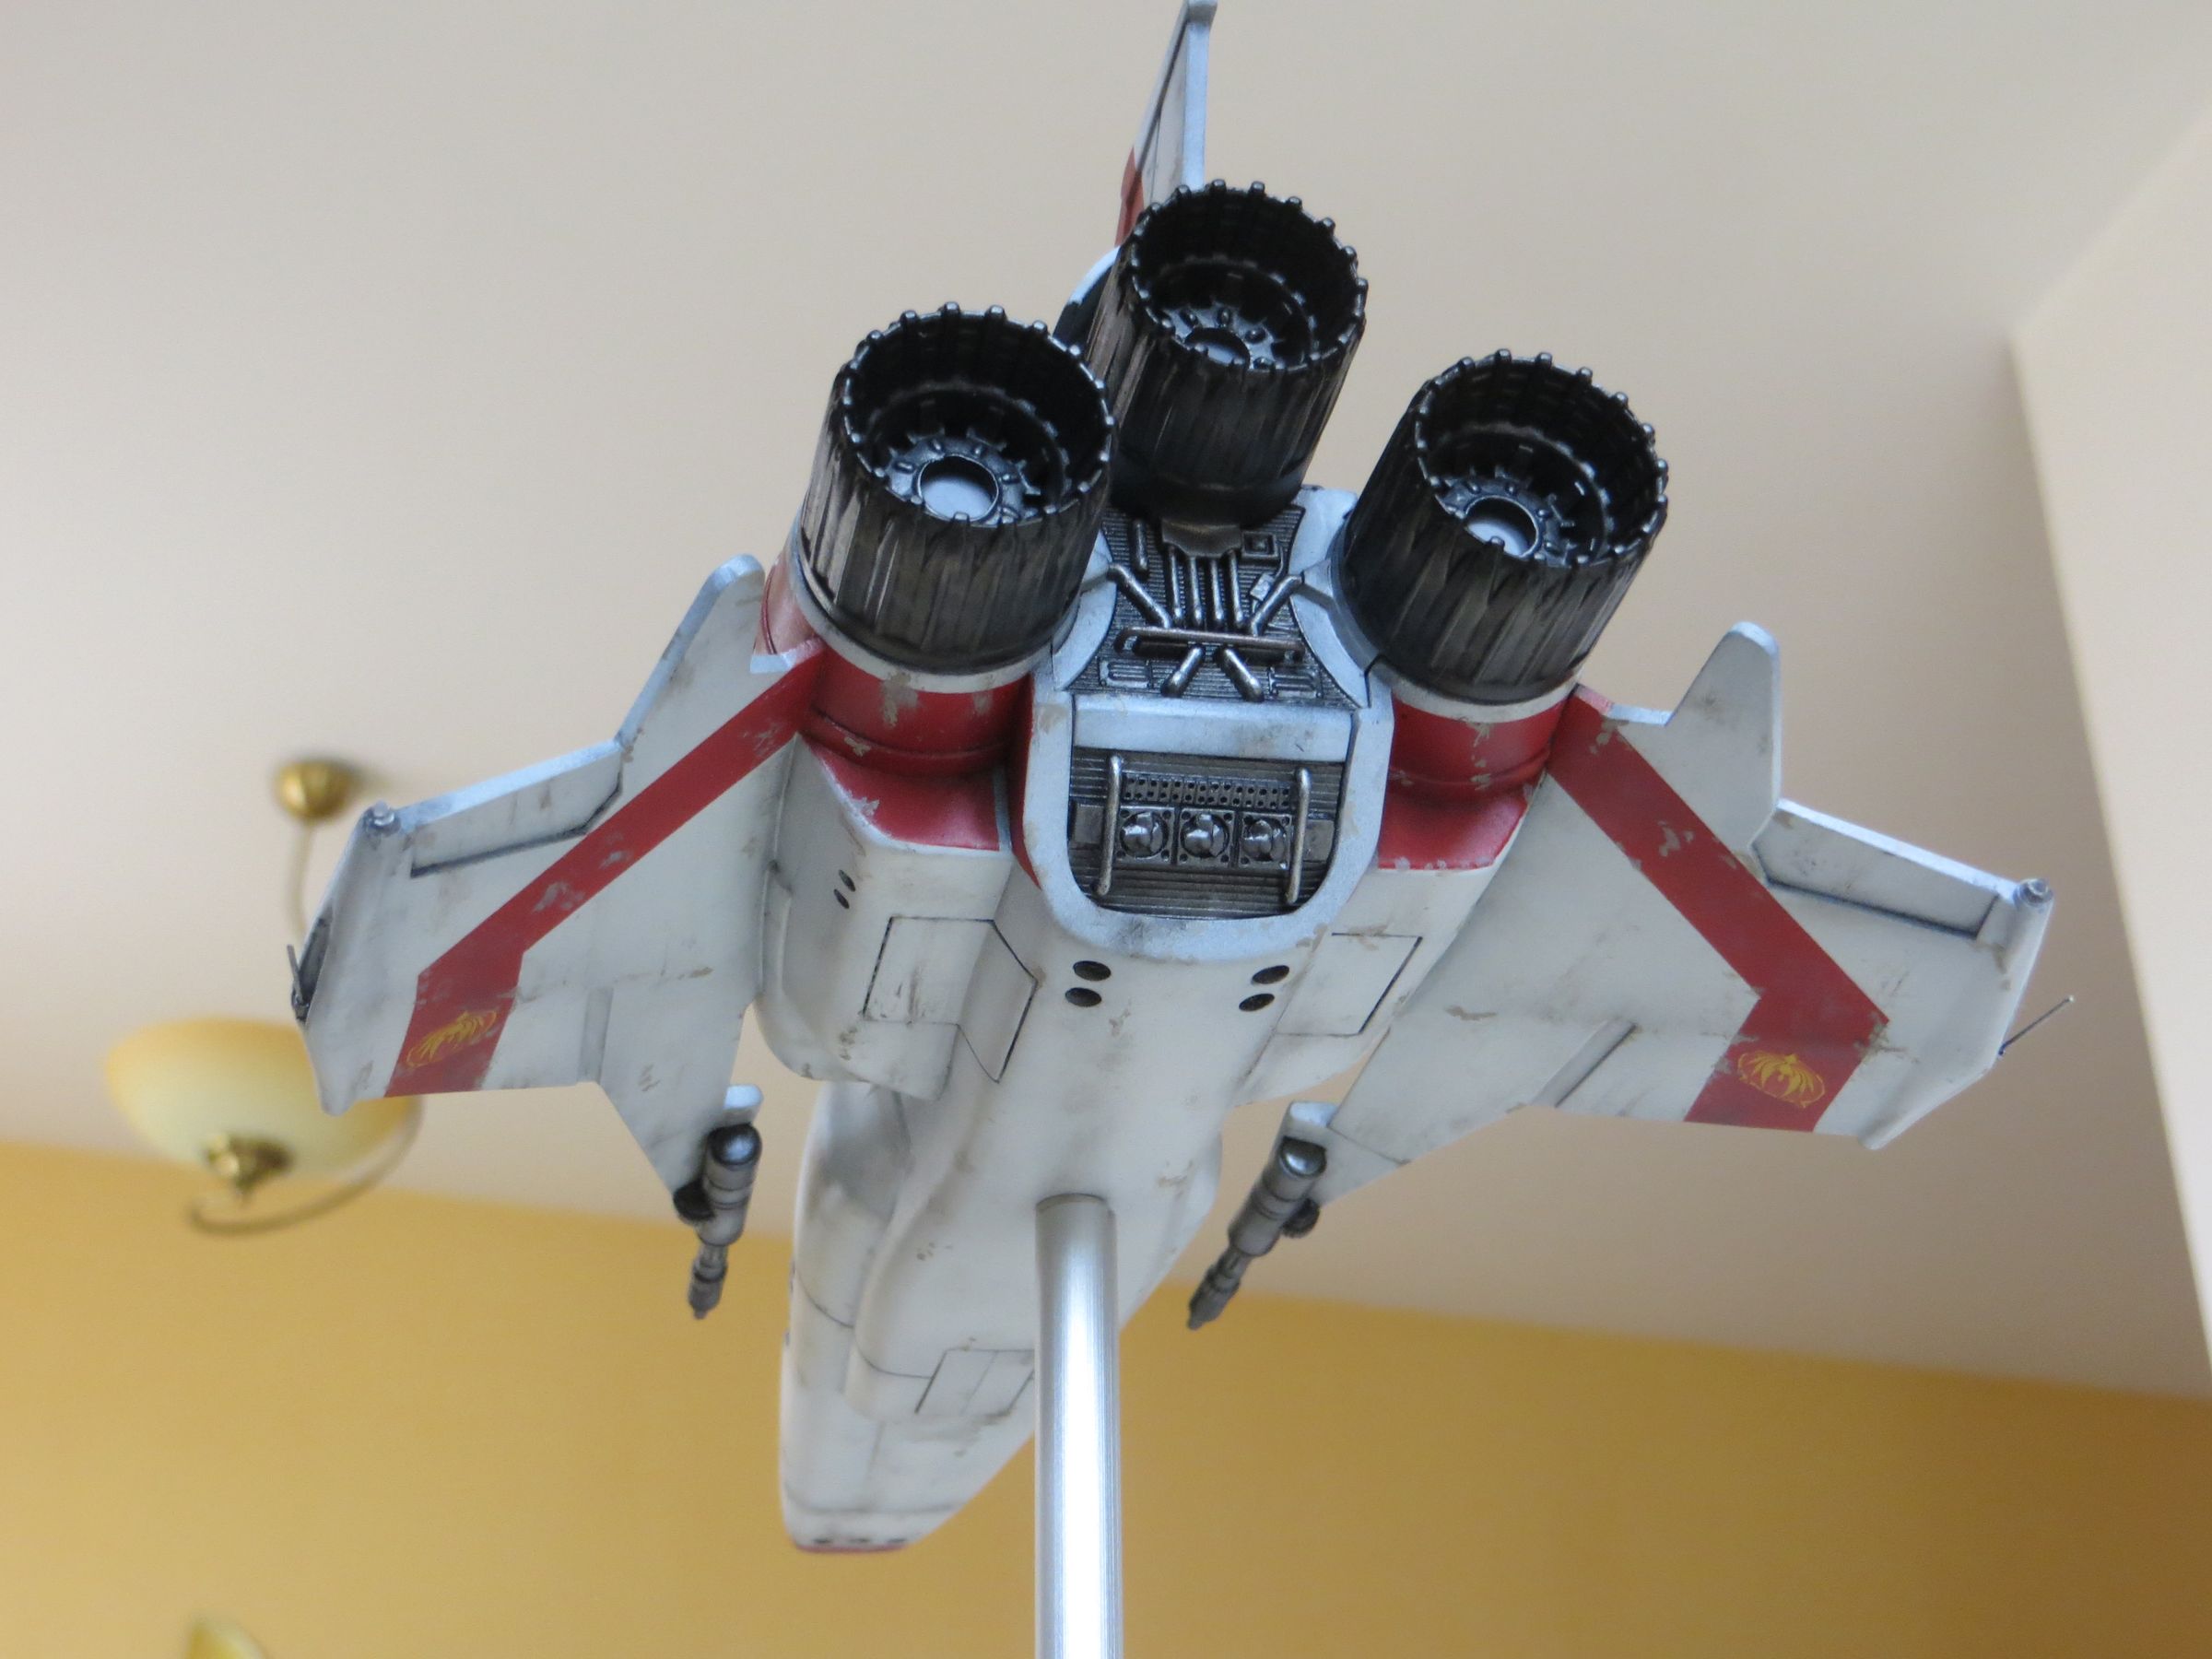
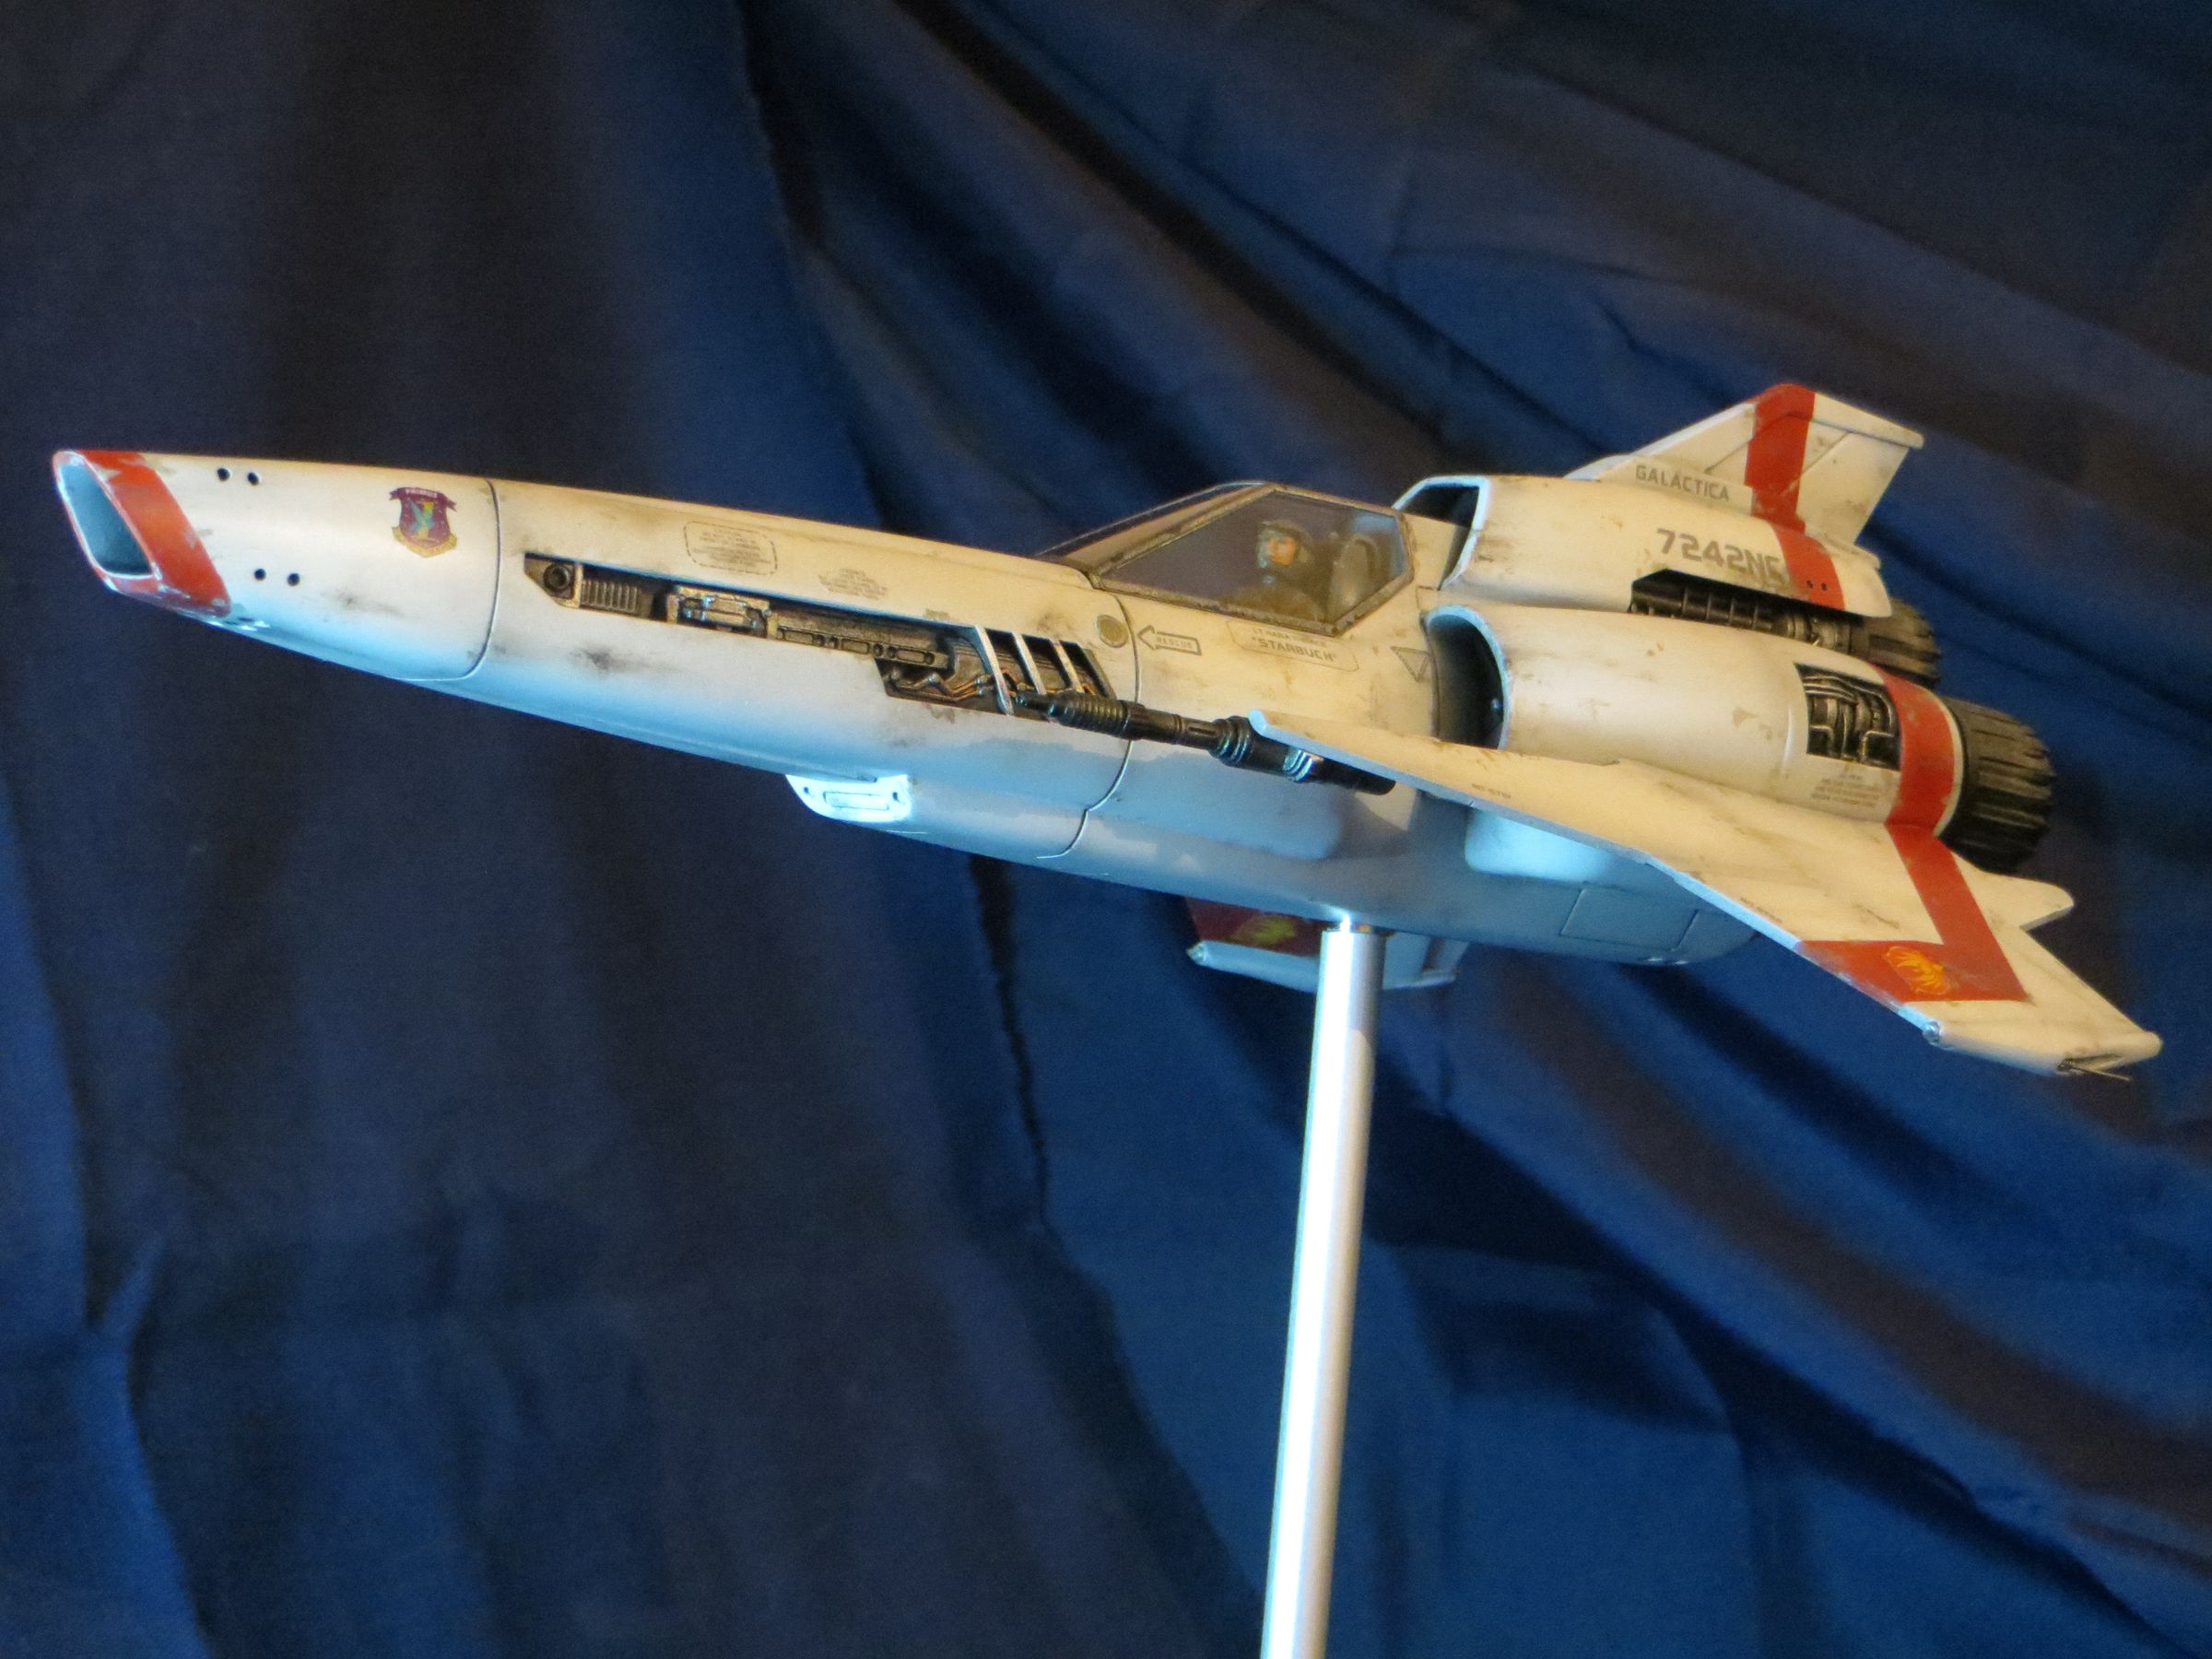
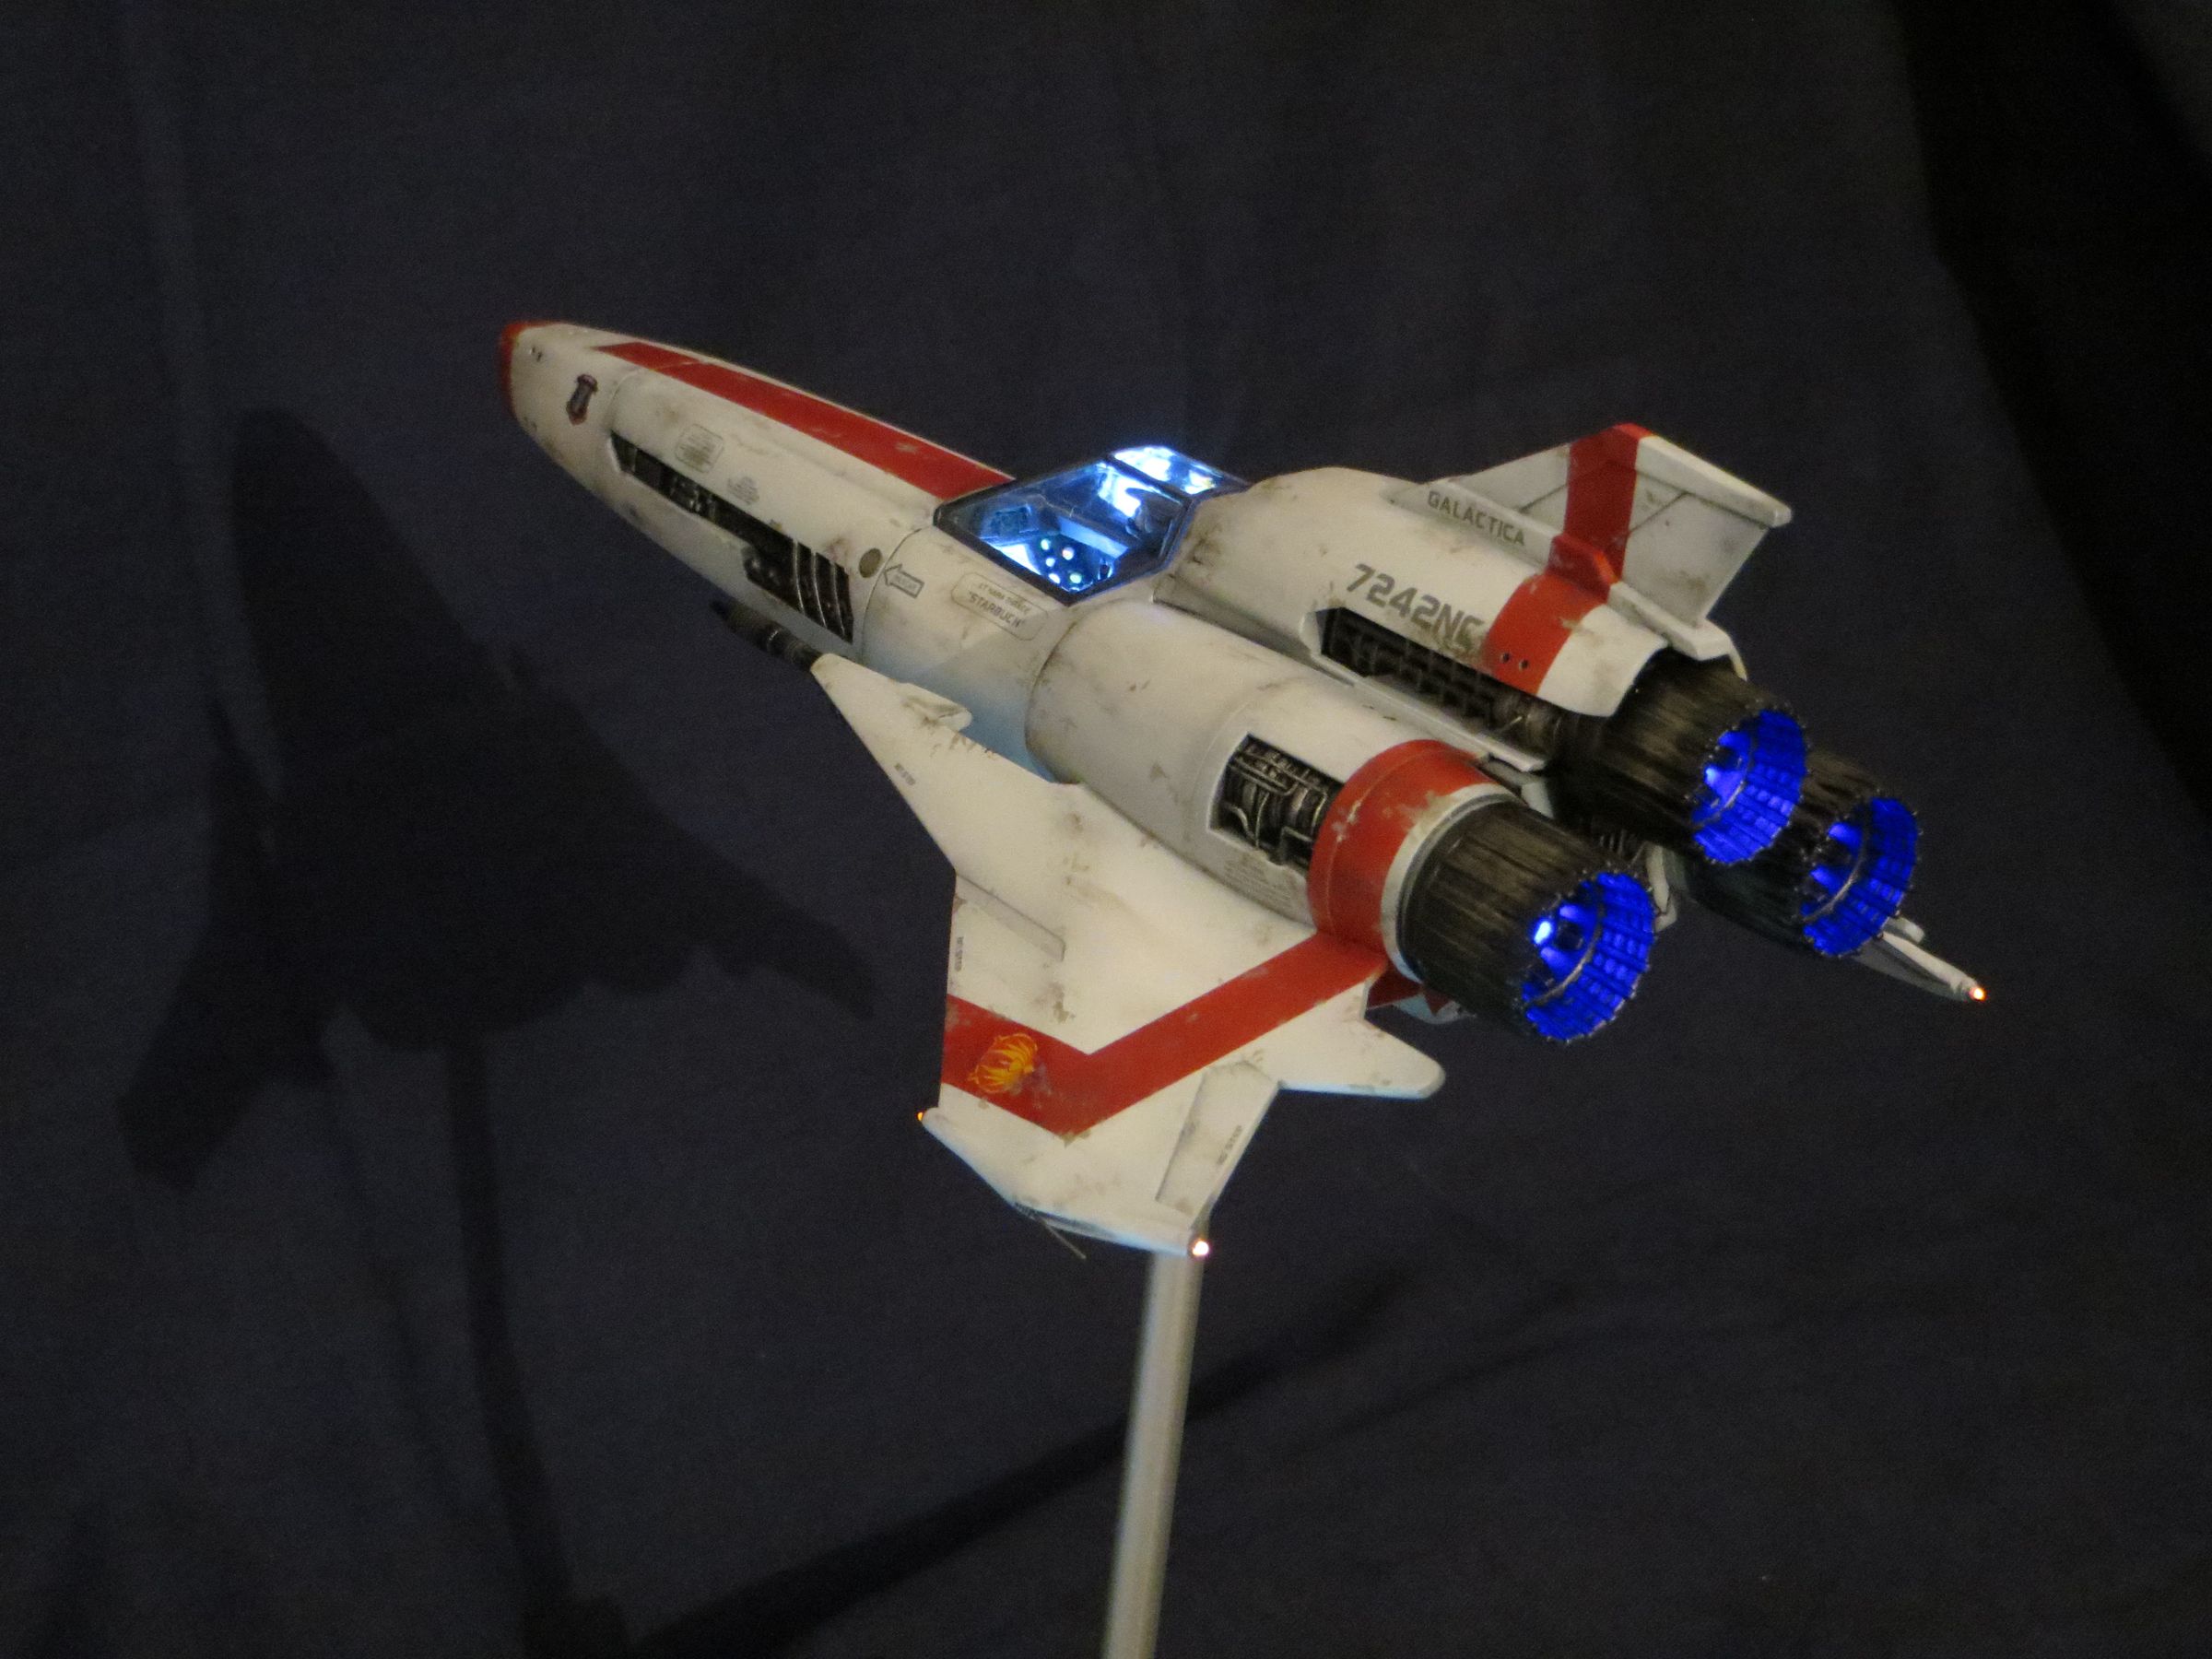
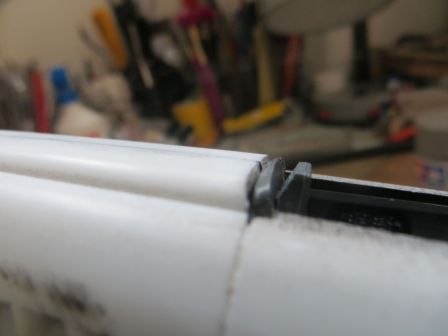
Some final details of construction are worked :
- Take care of the seams : engine hood, plate covers, belly ...
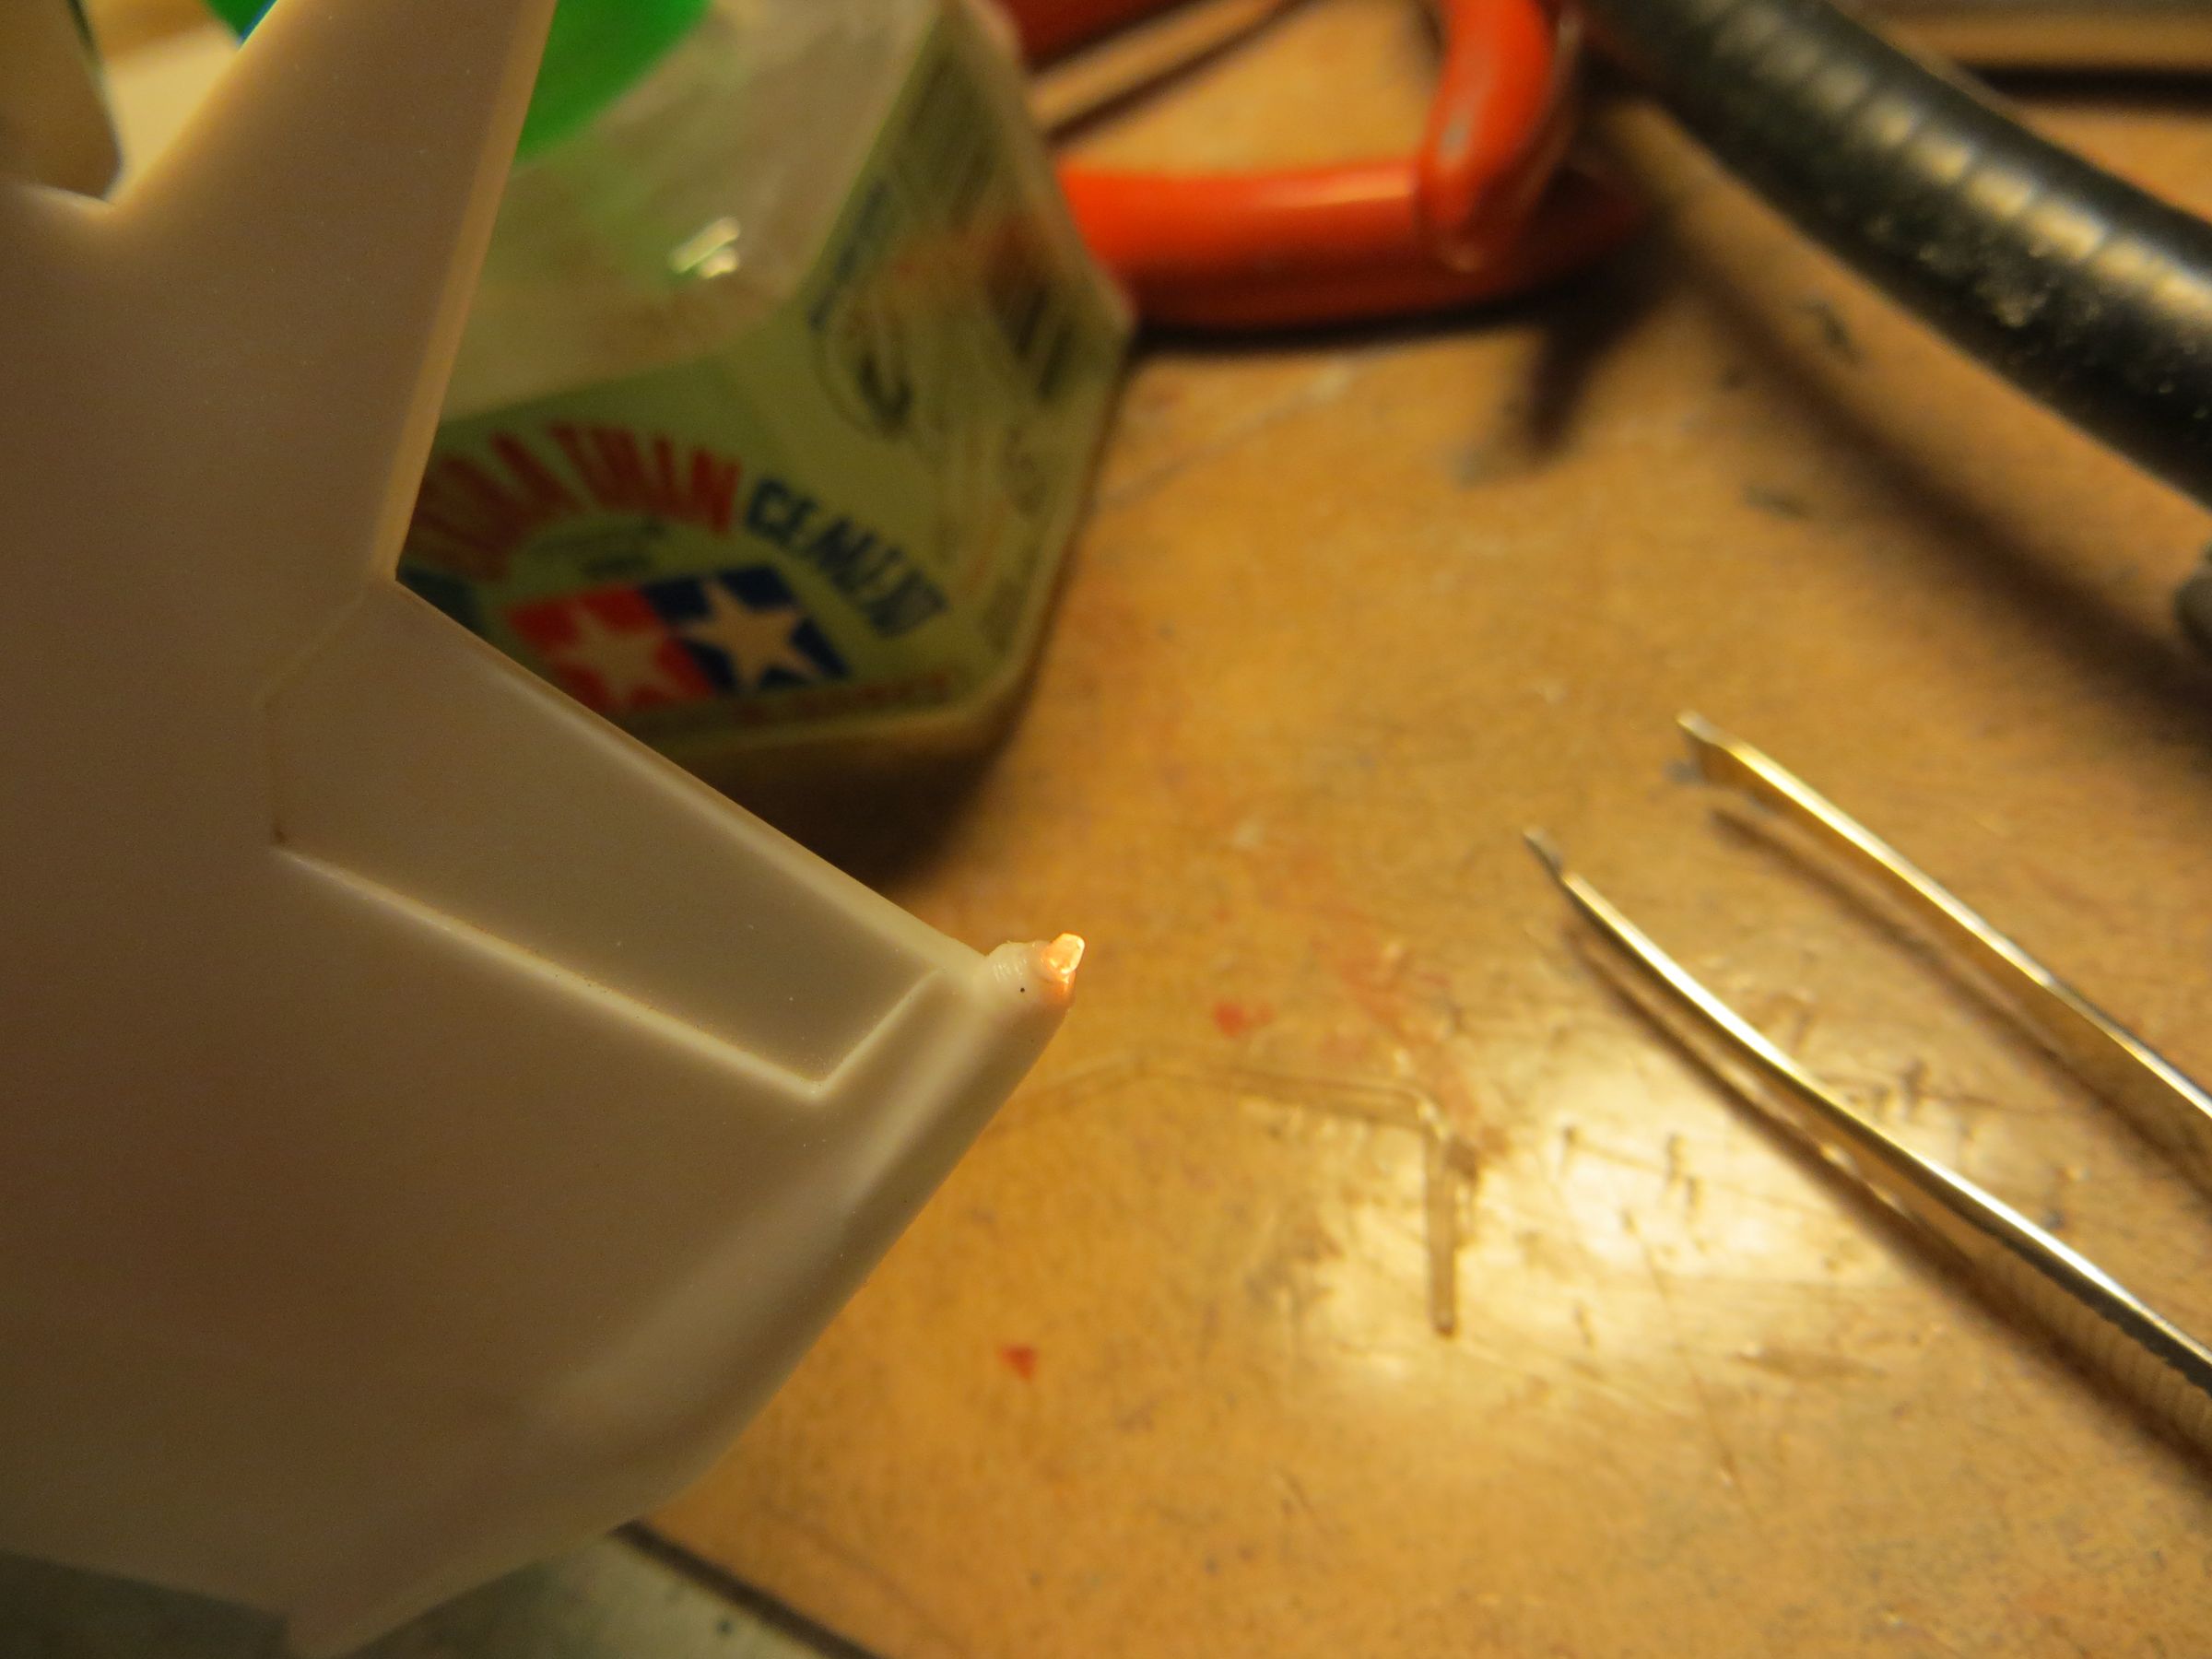
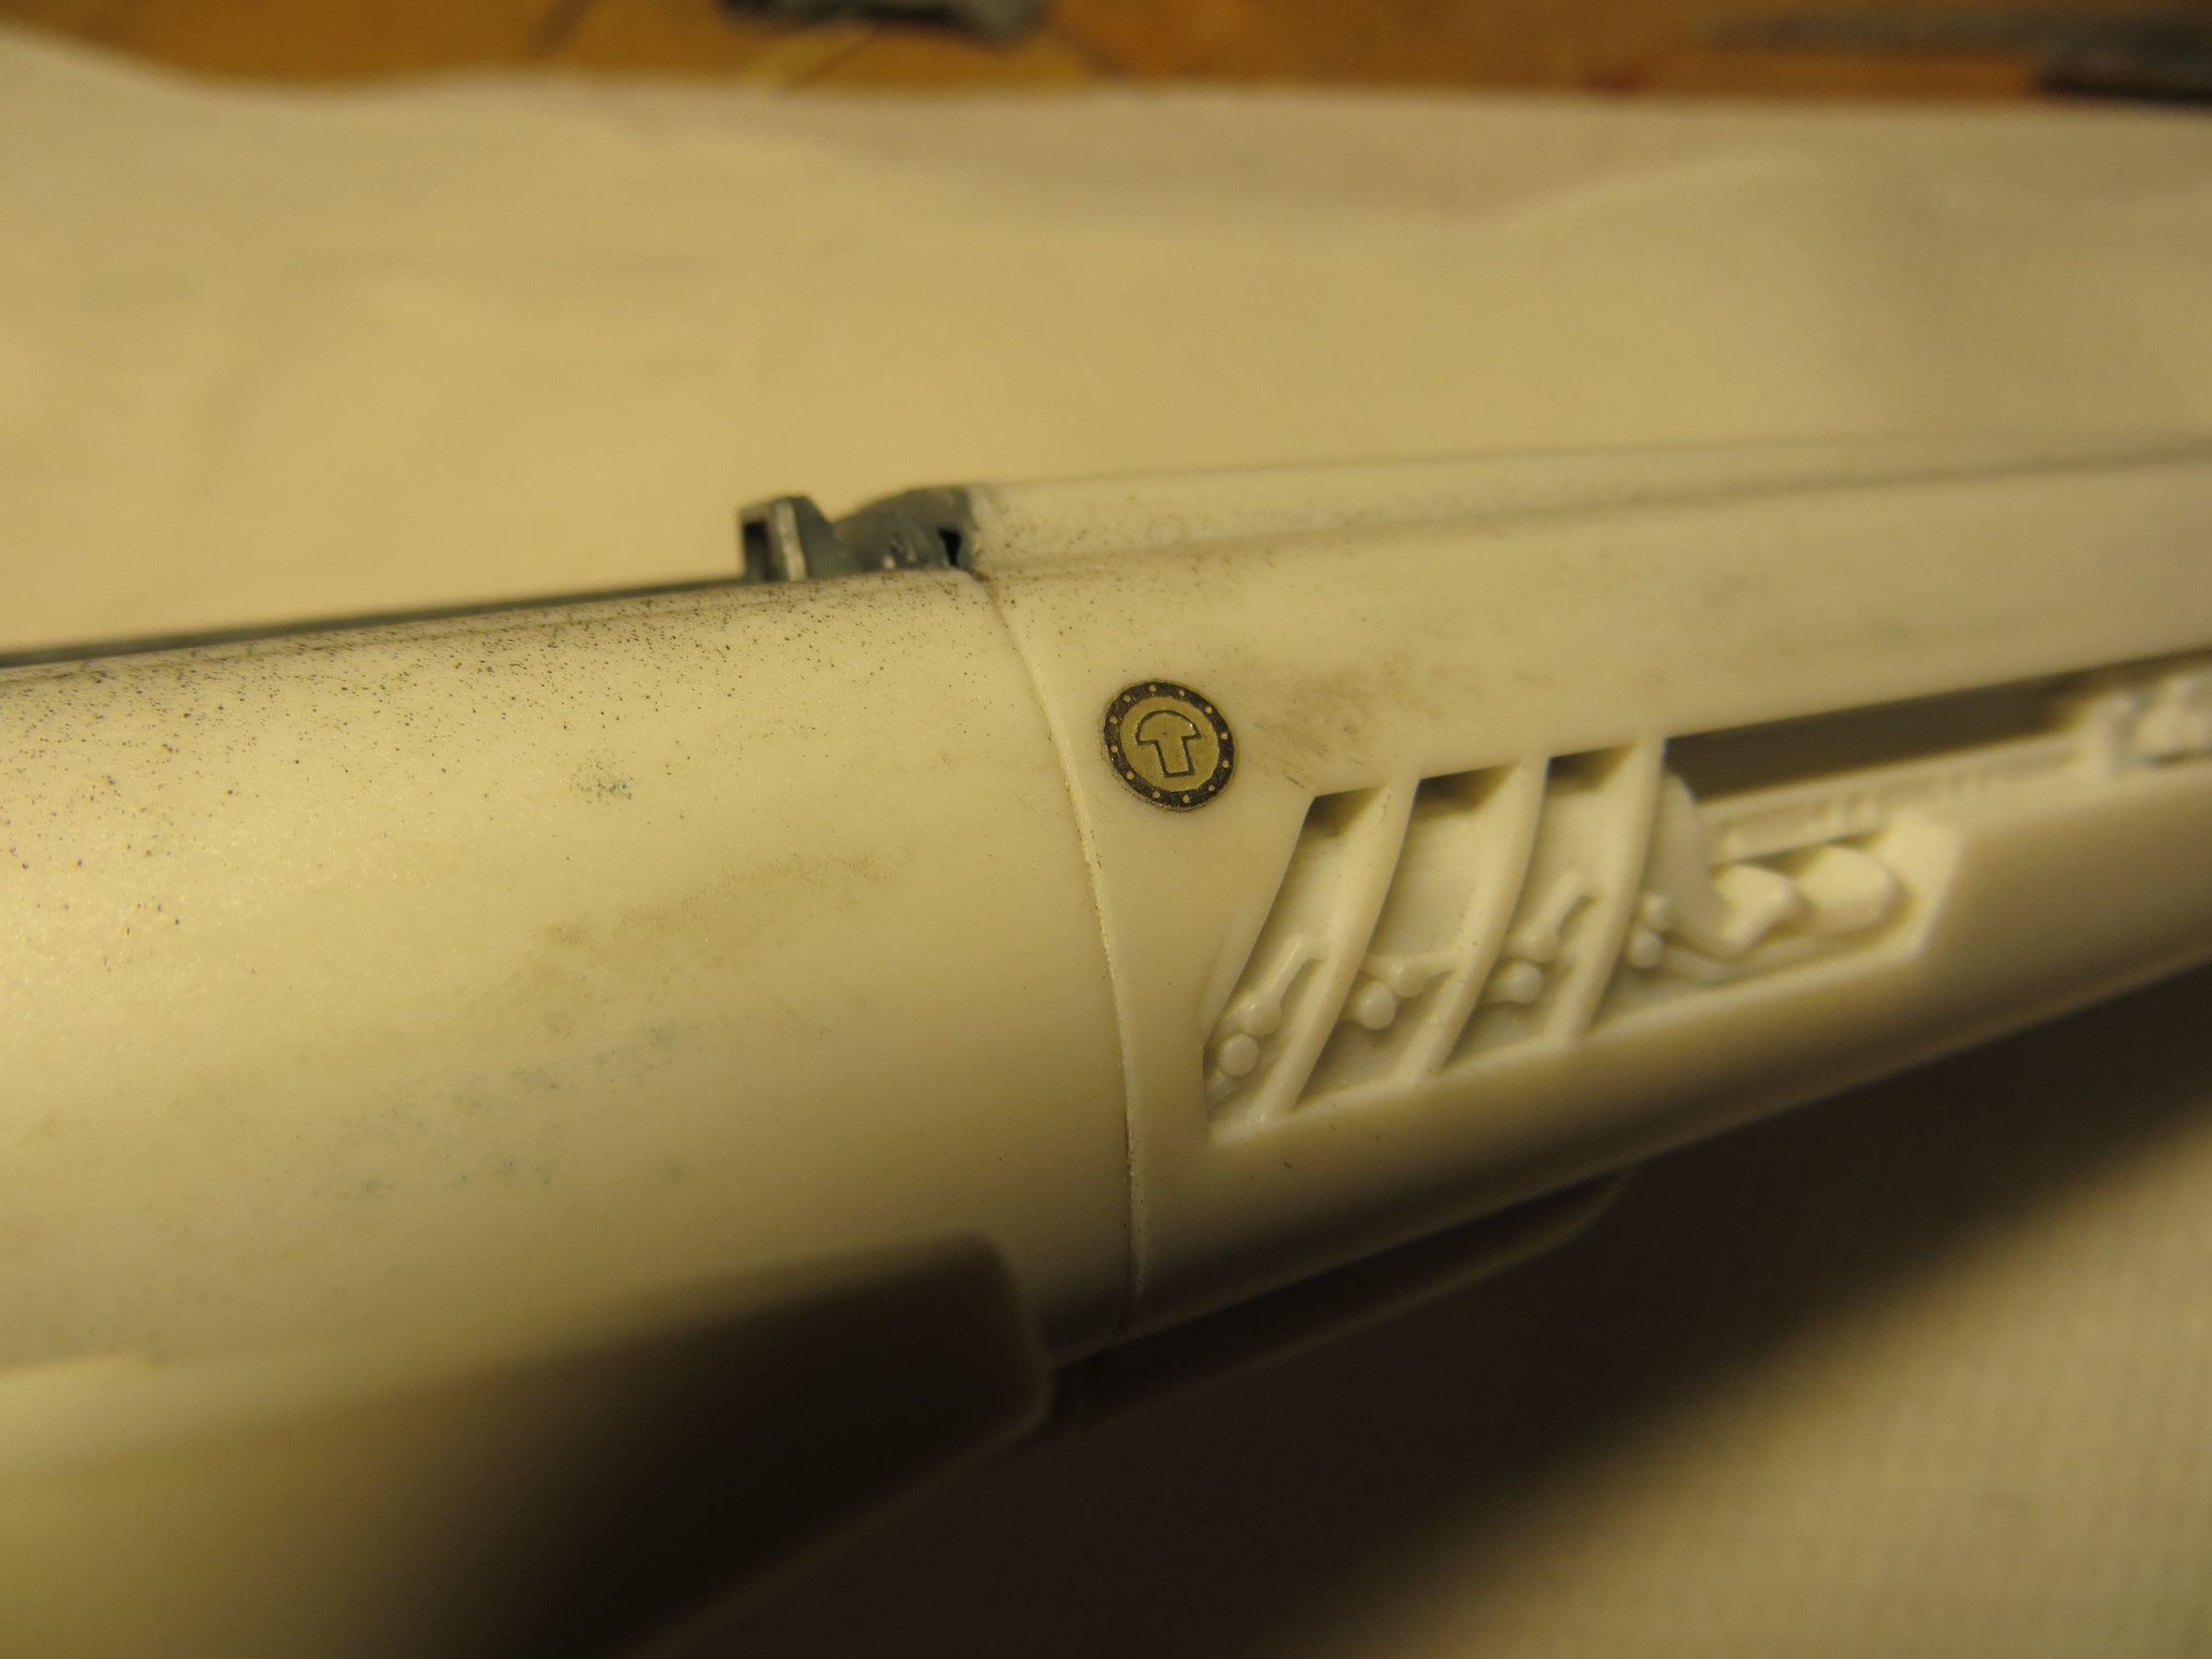
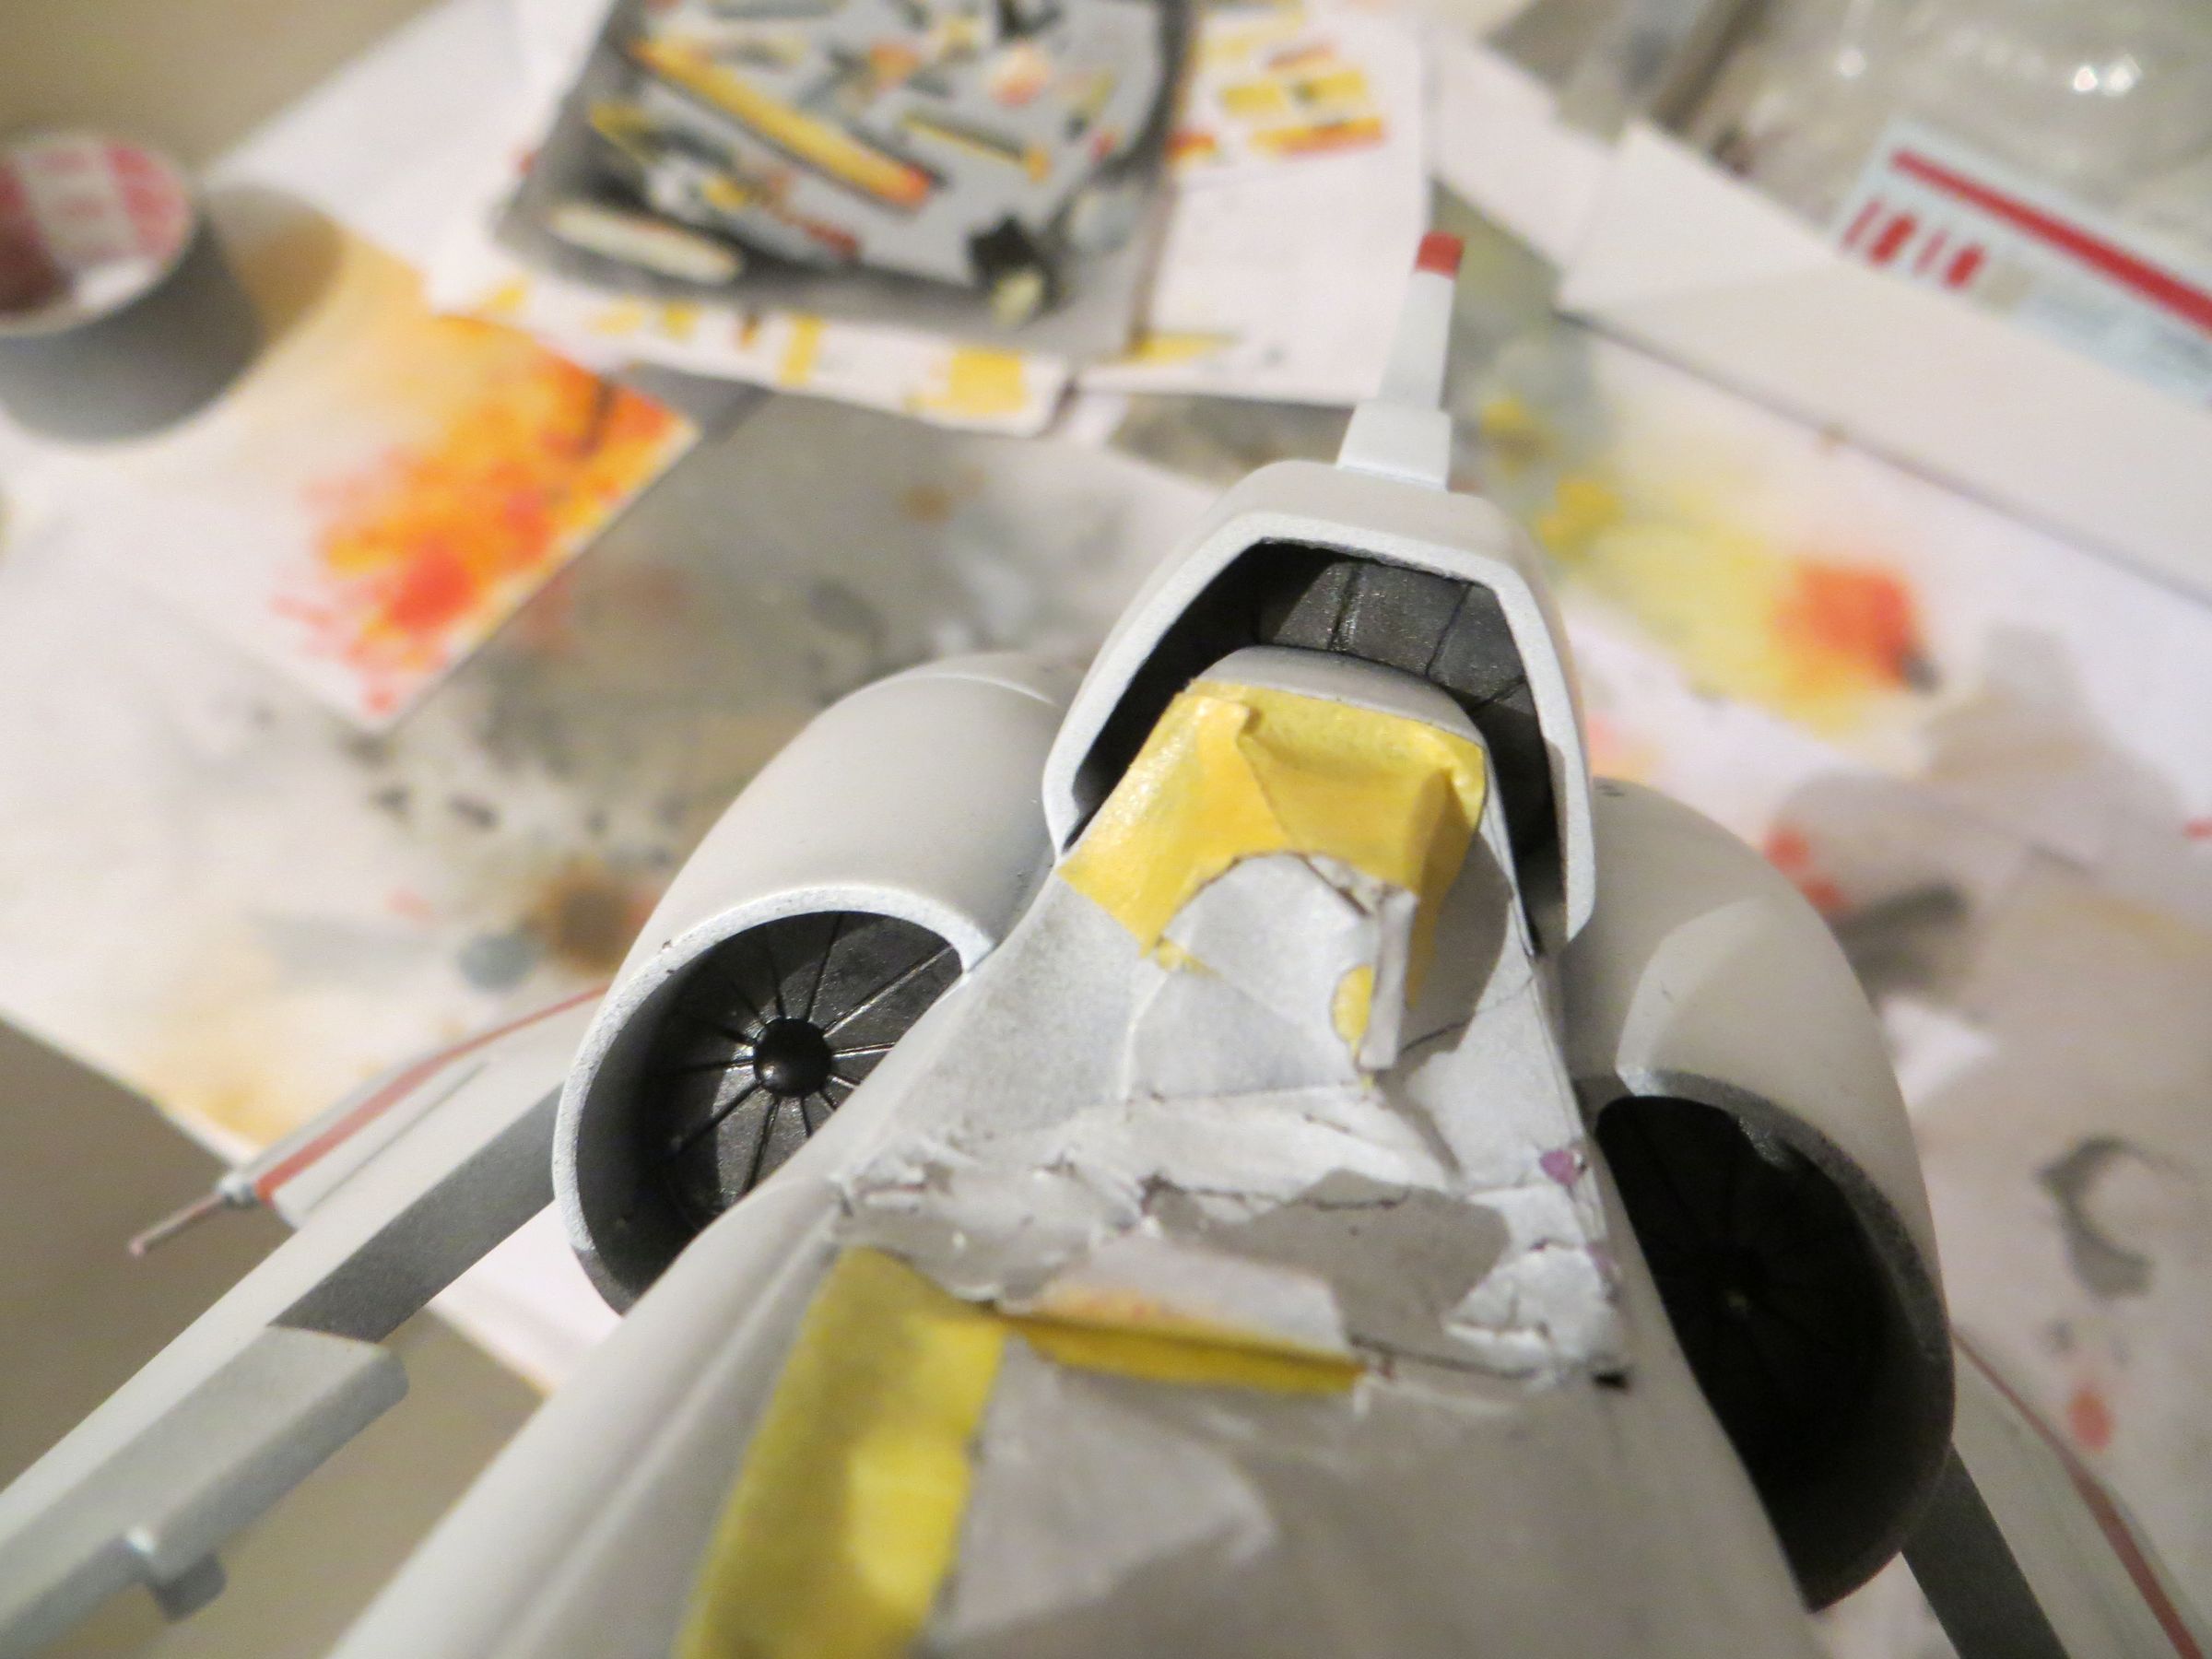
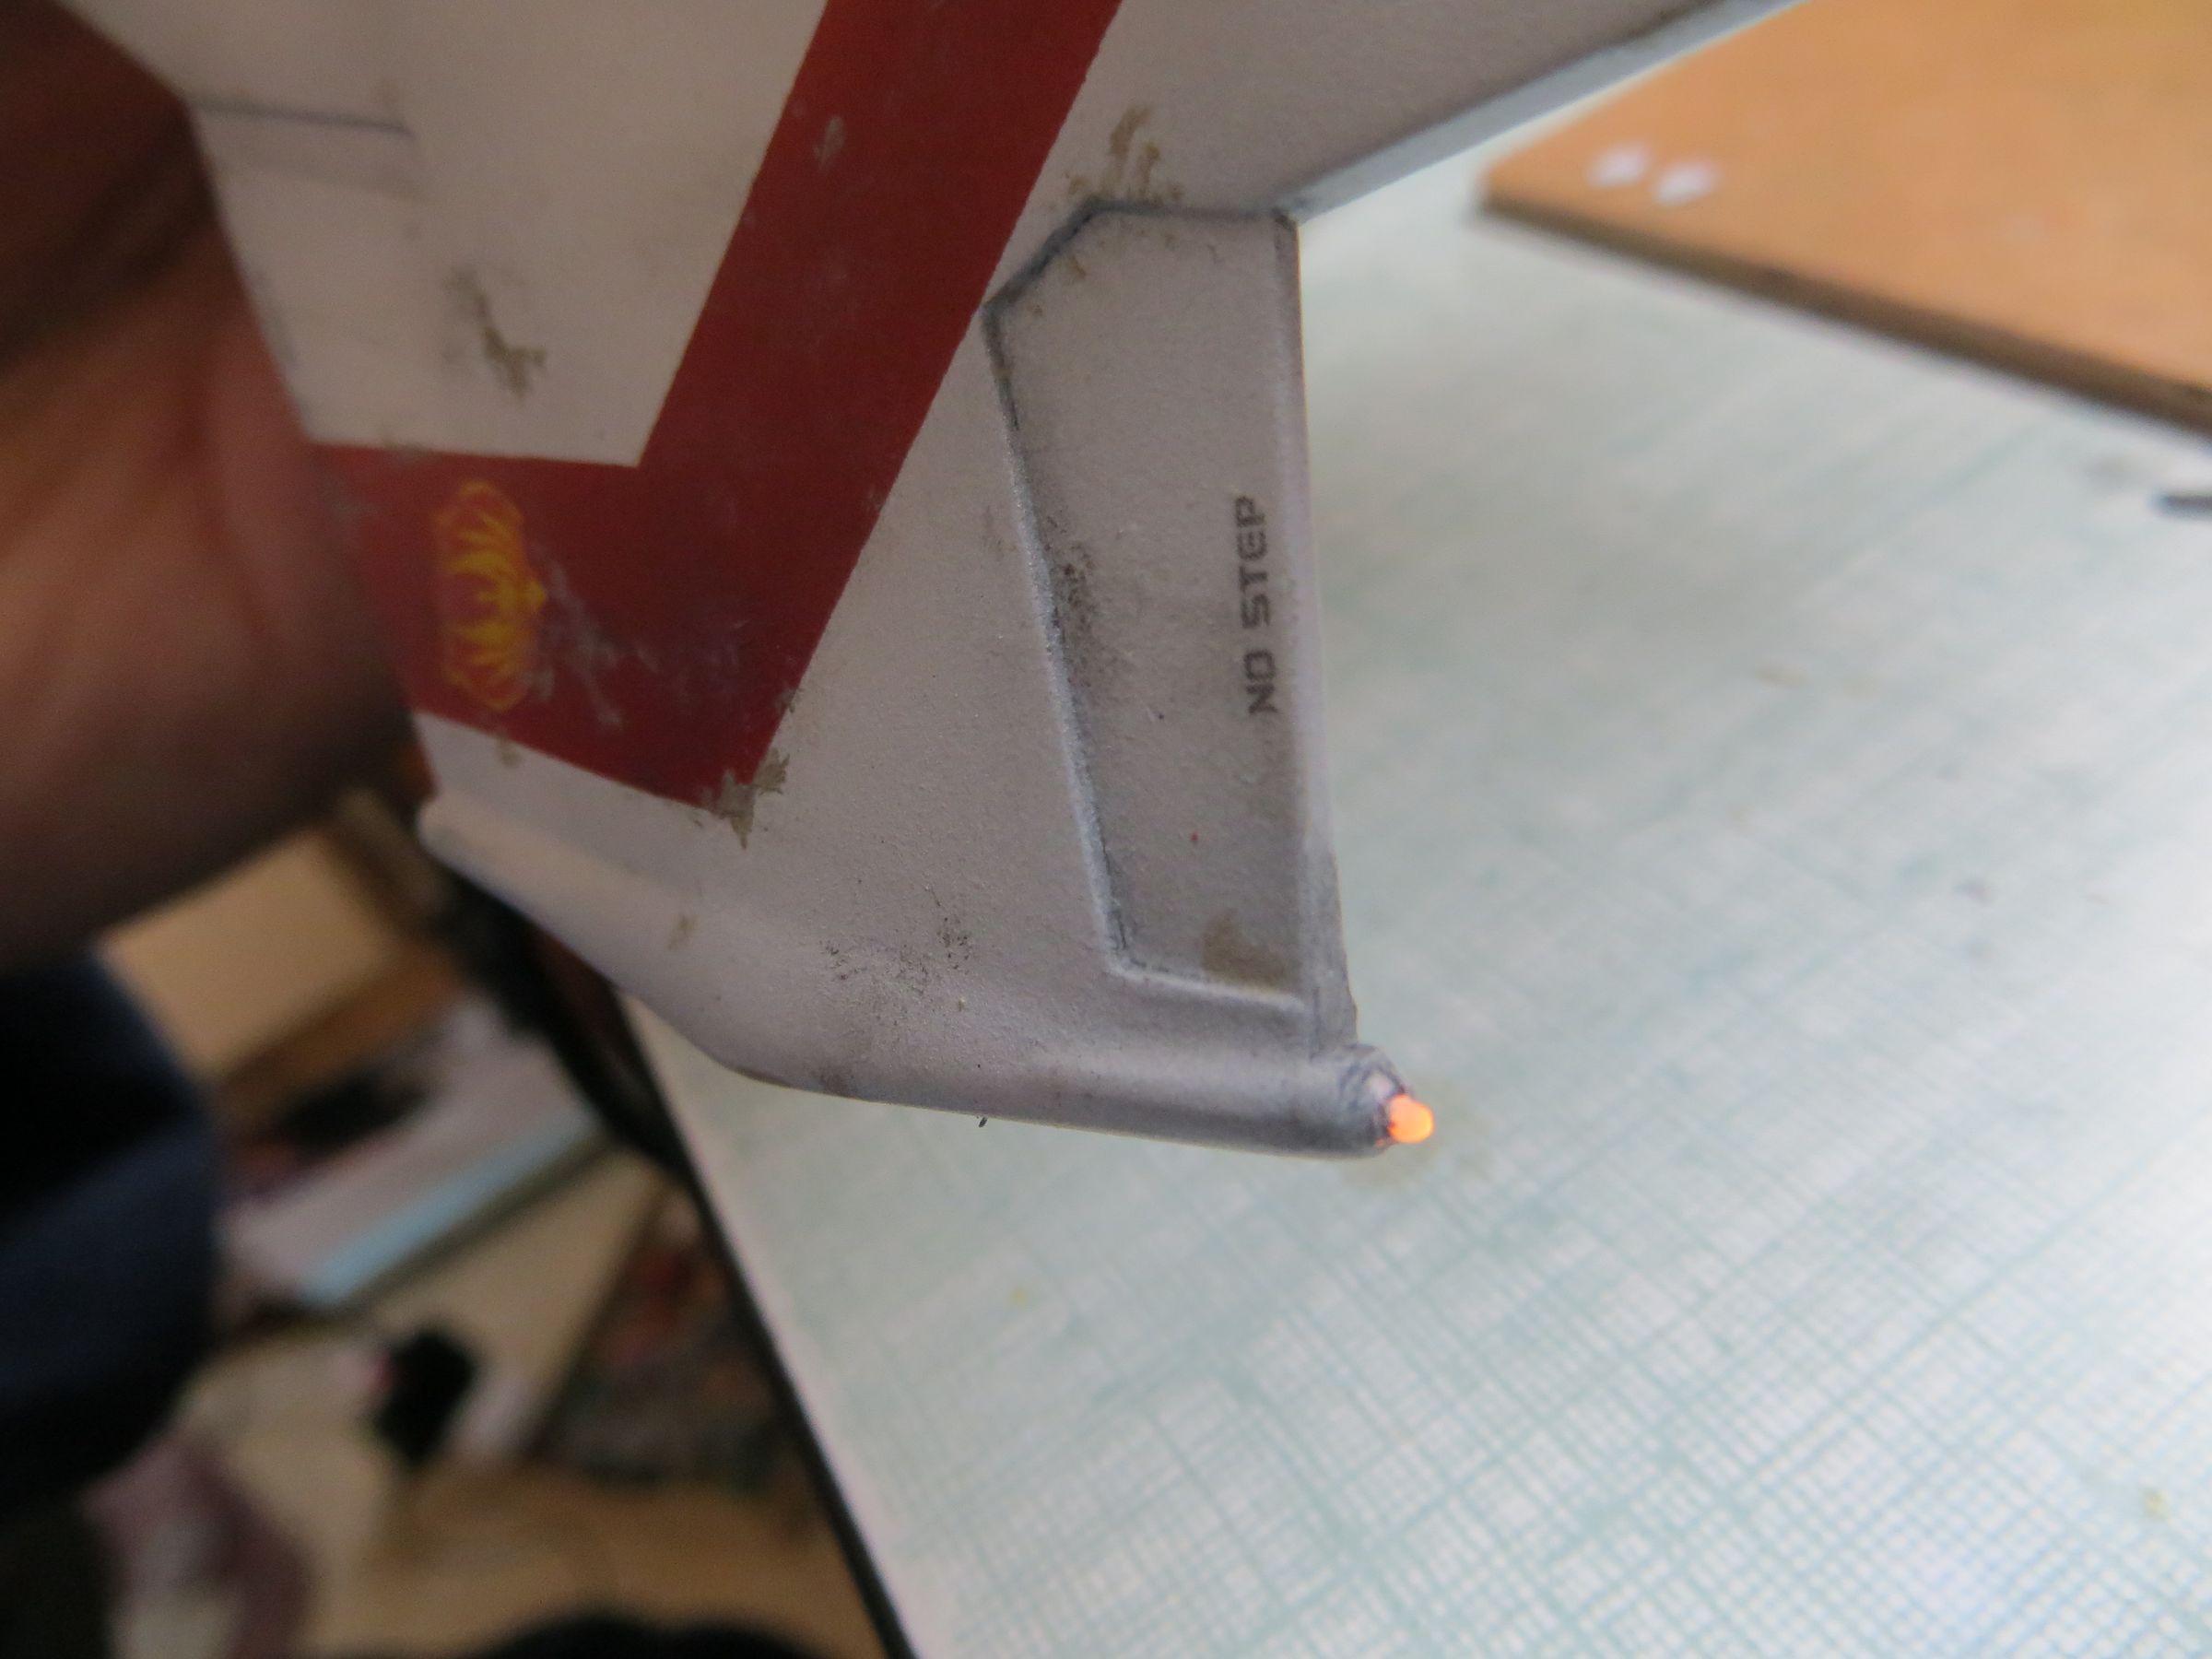
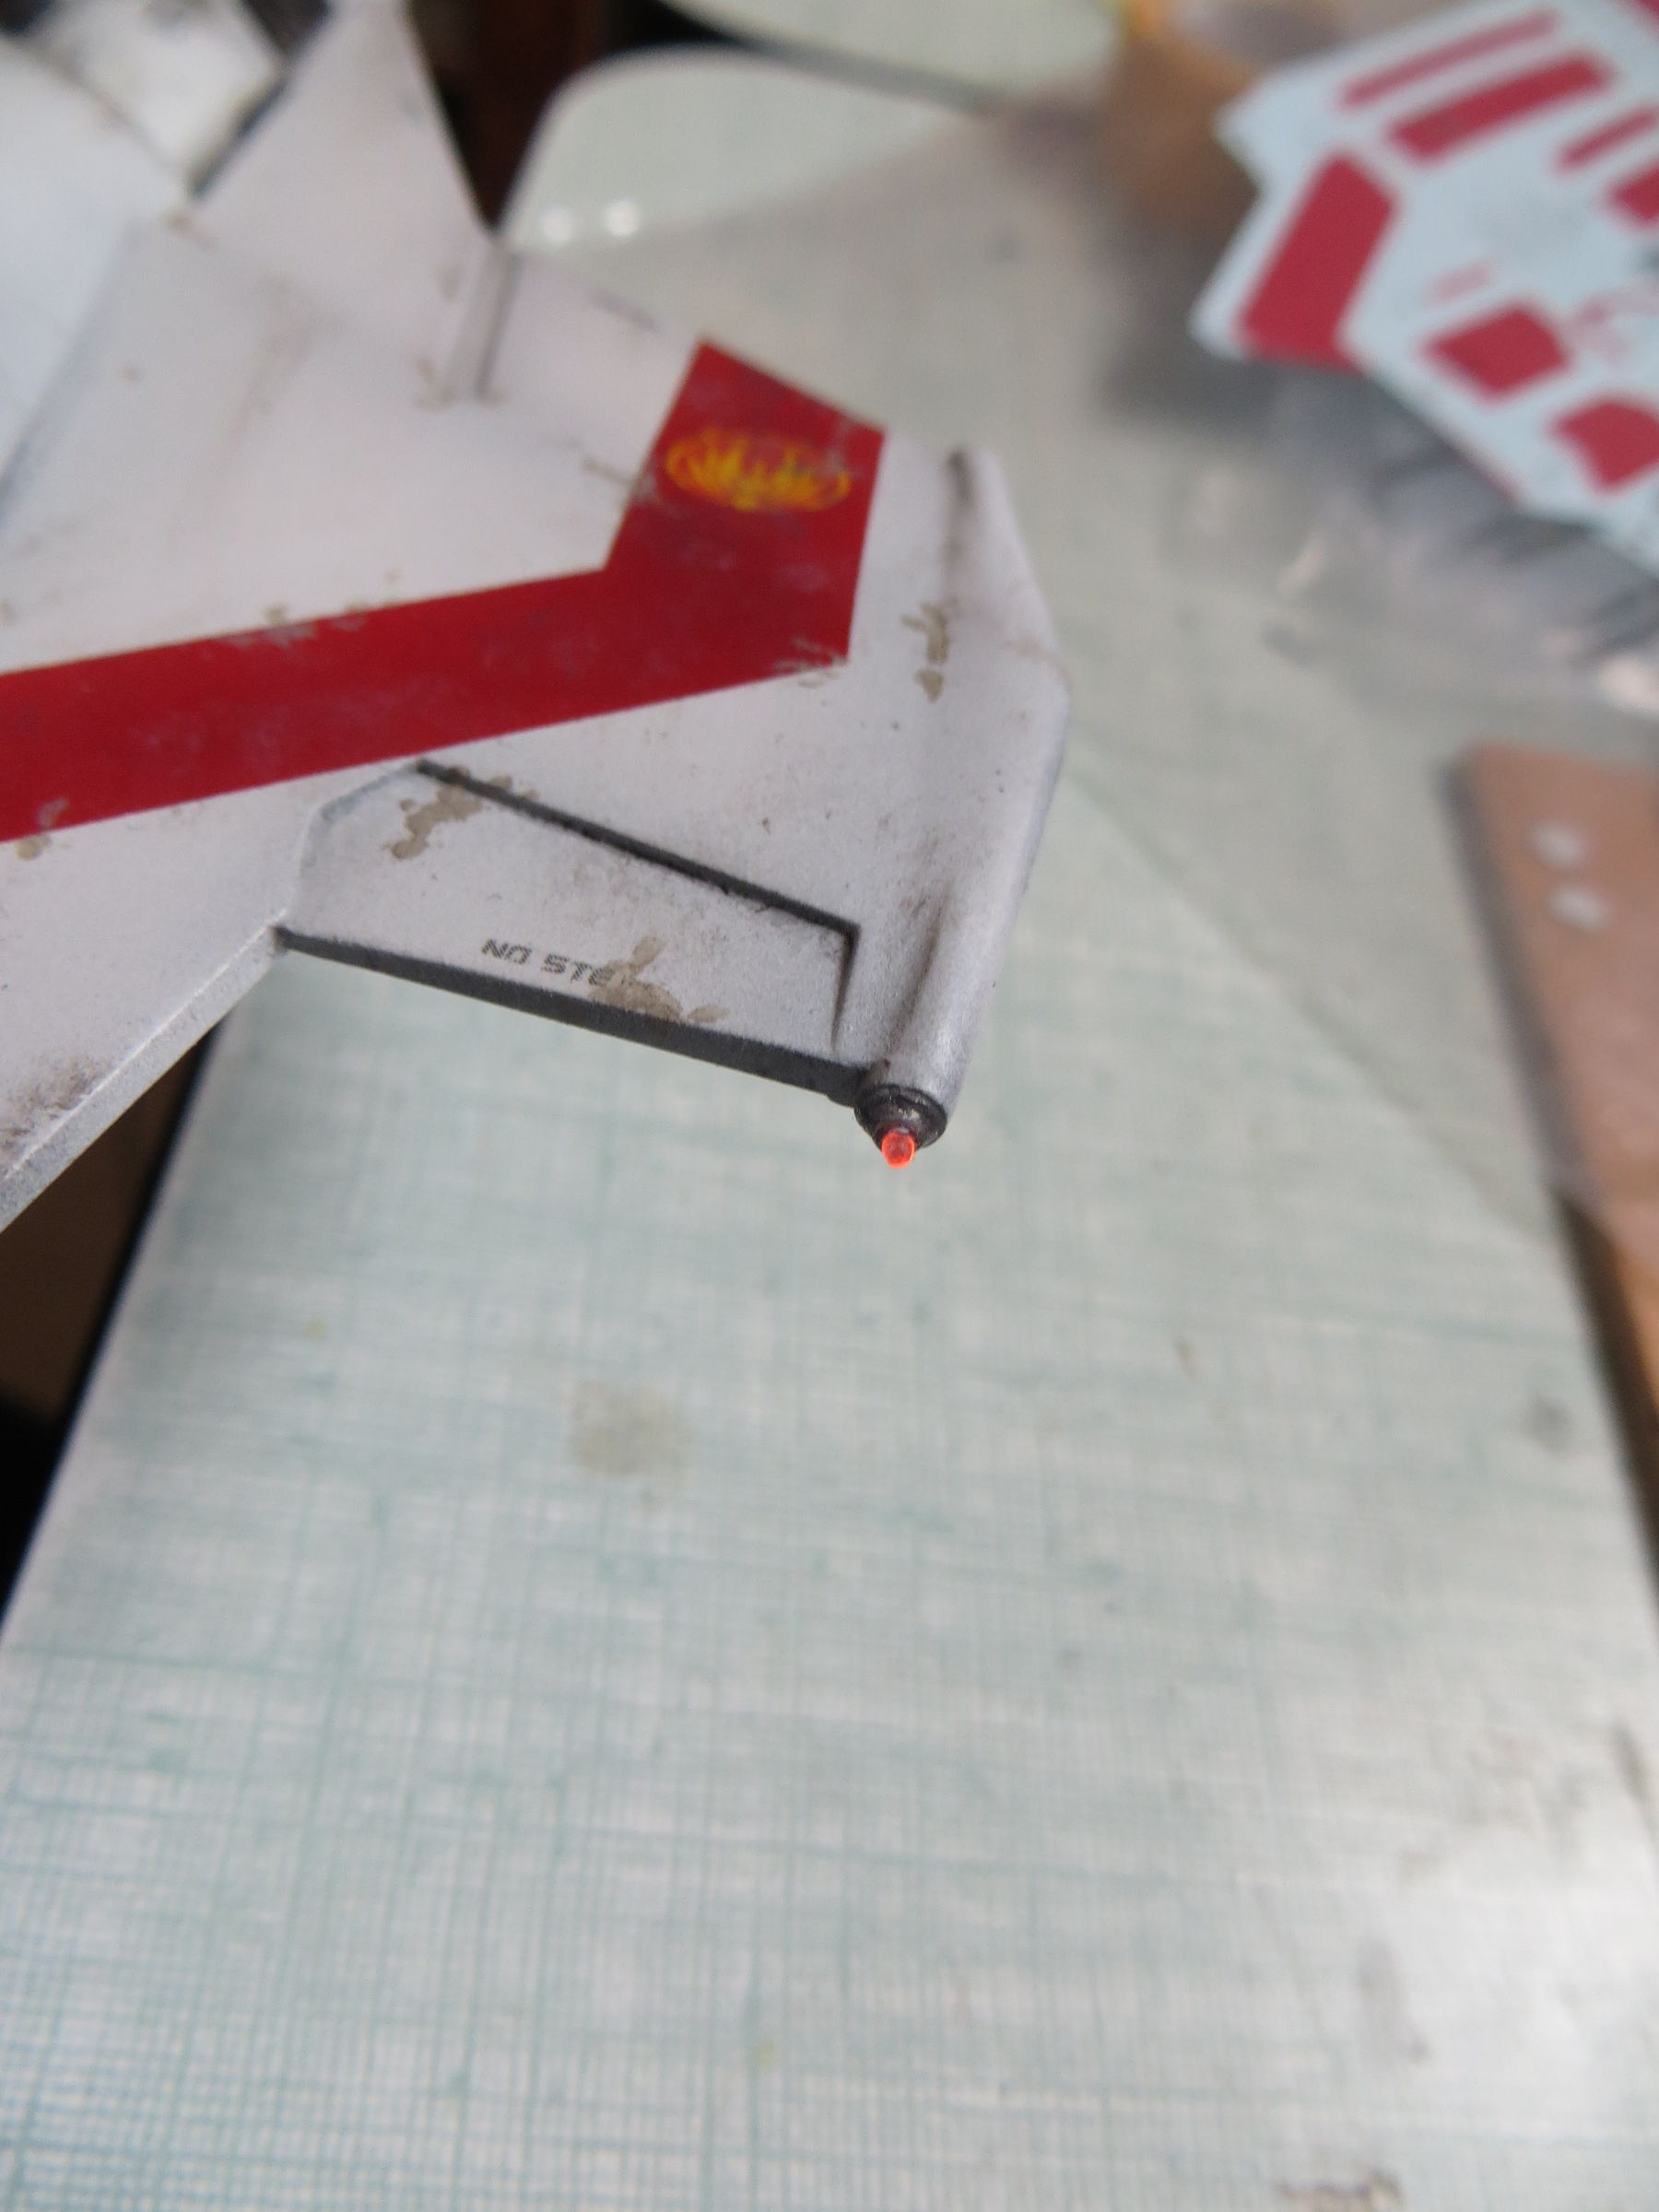
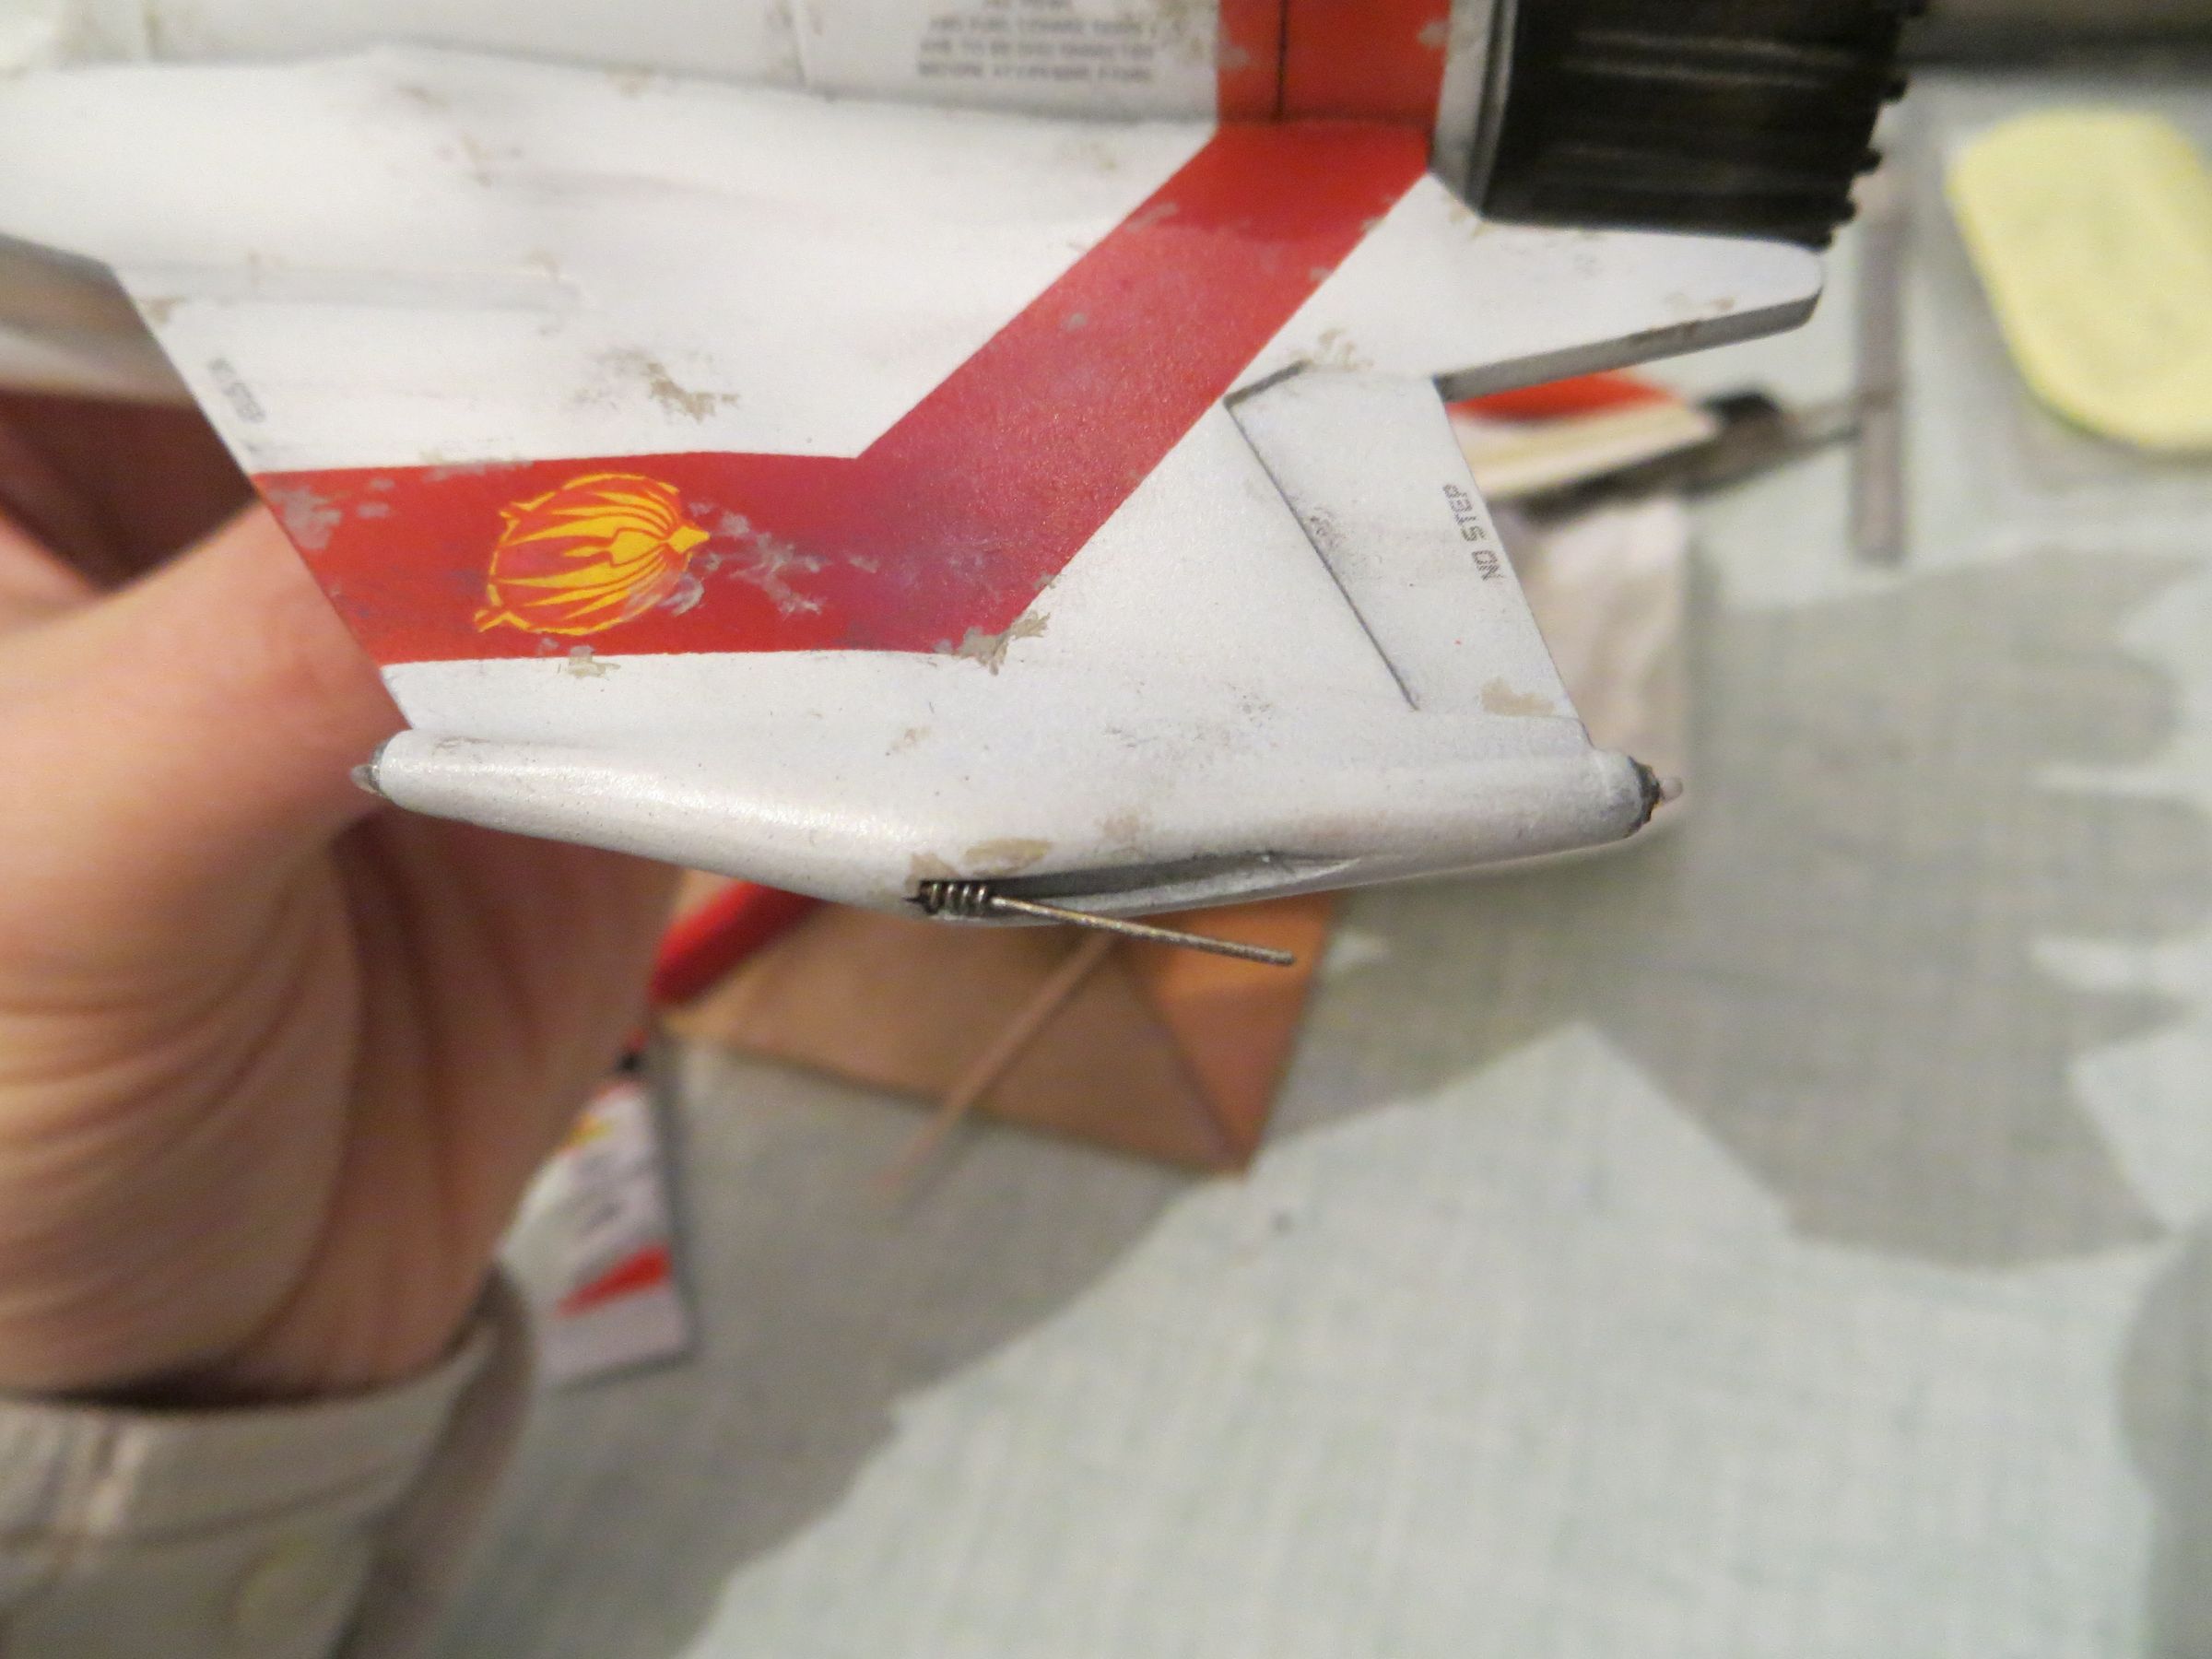
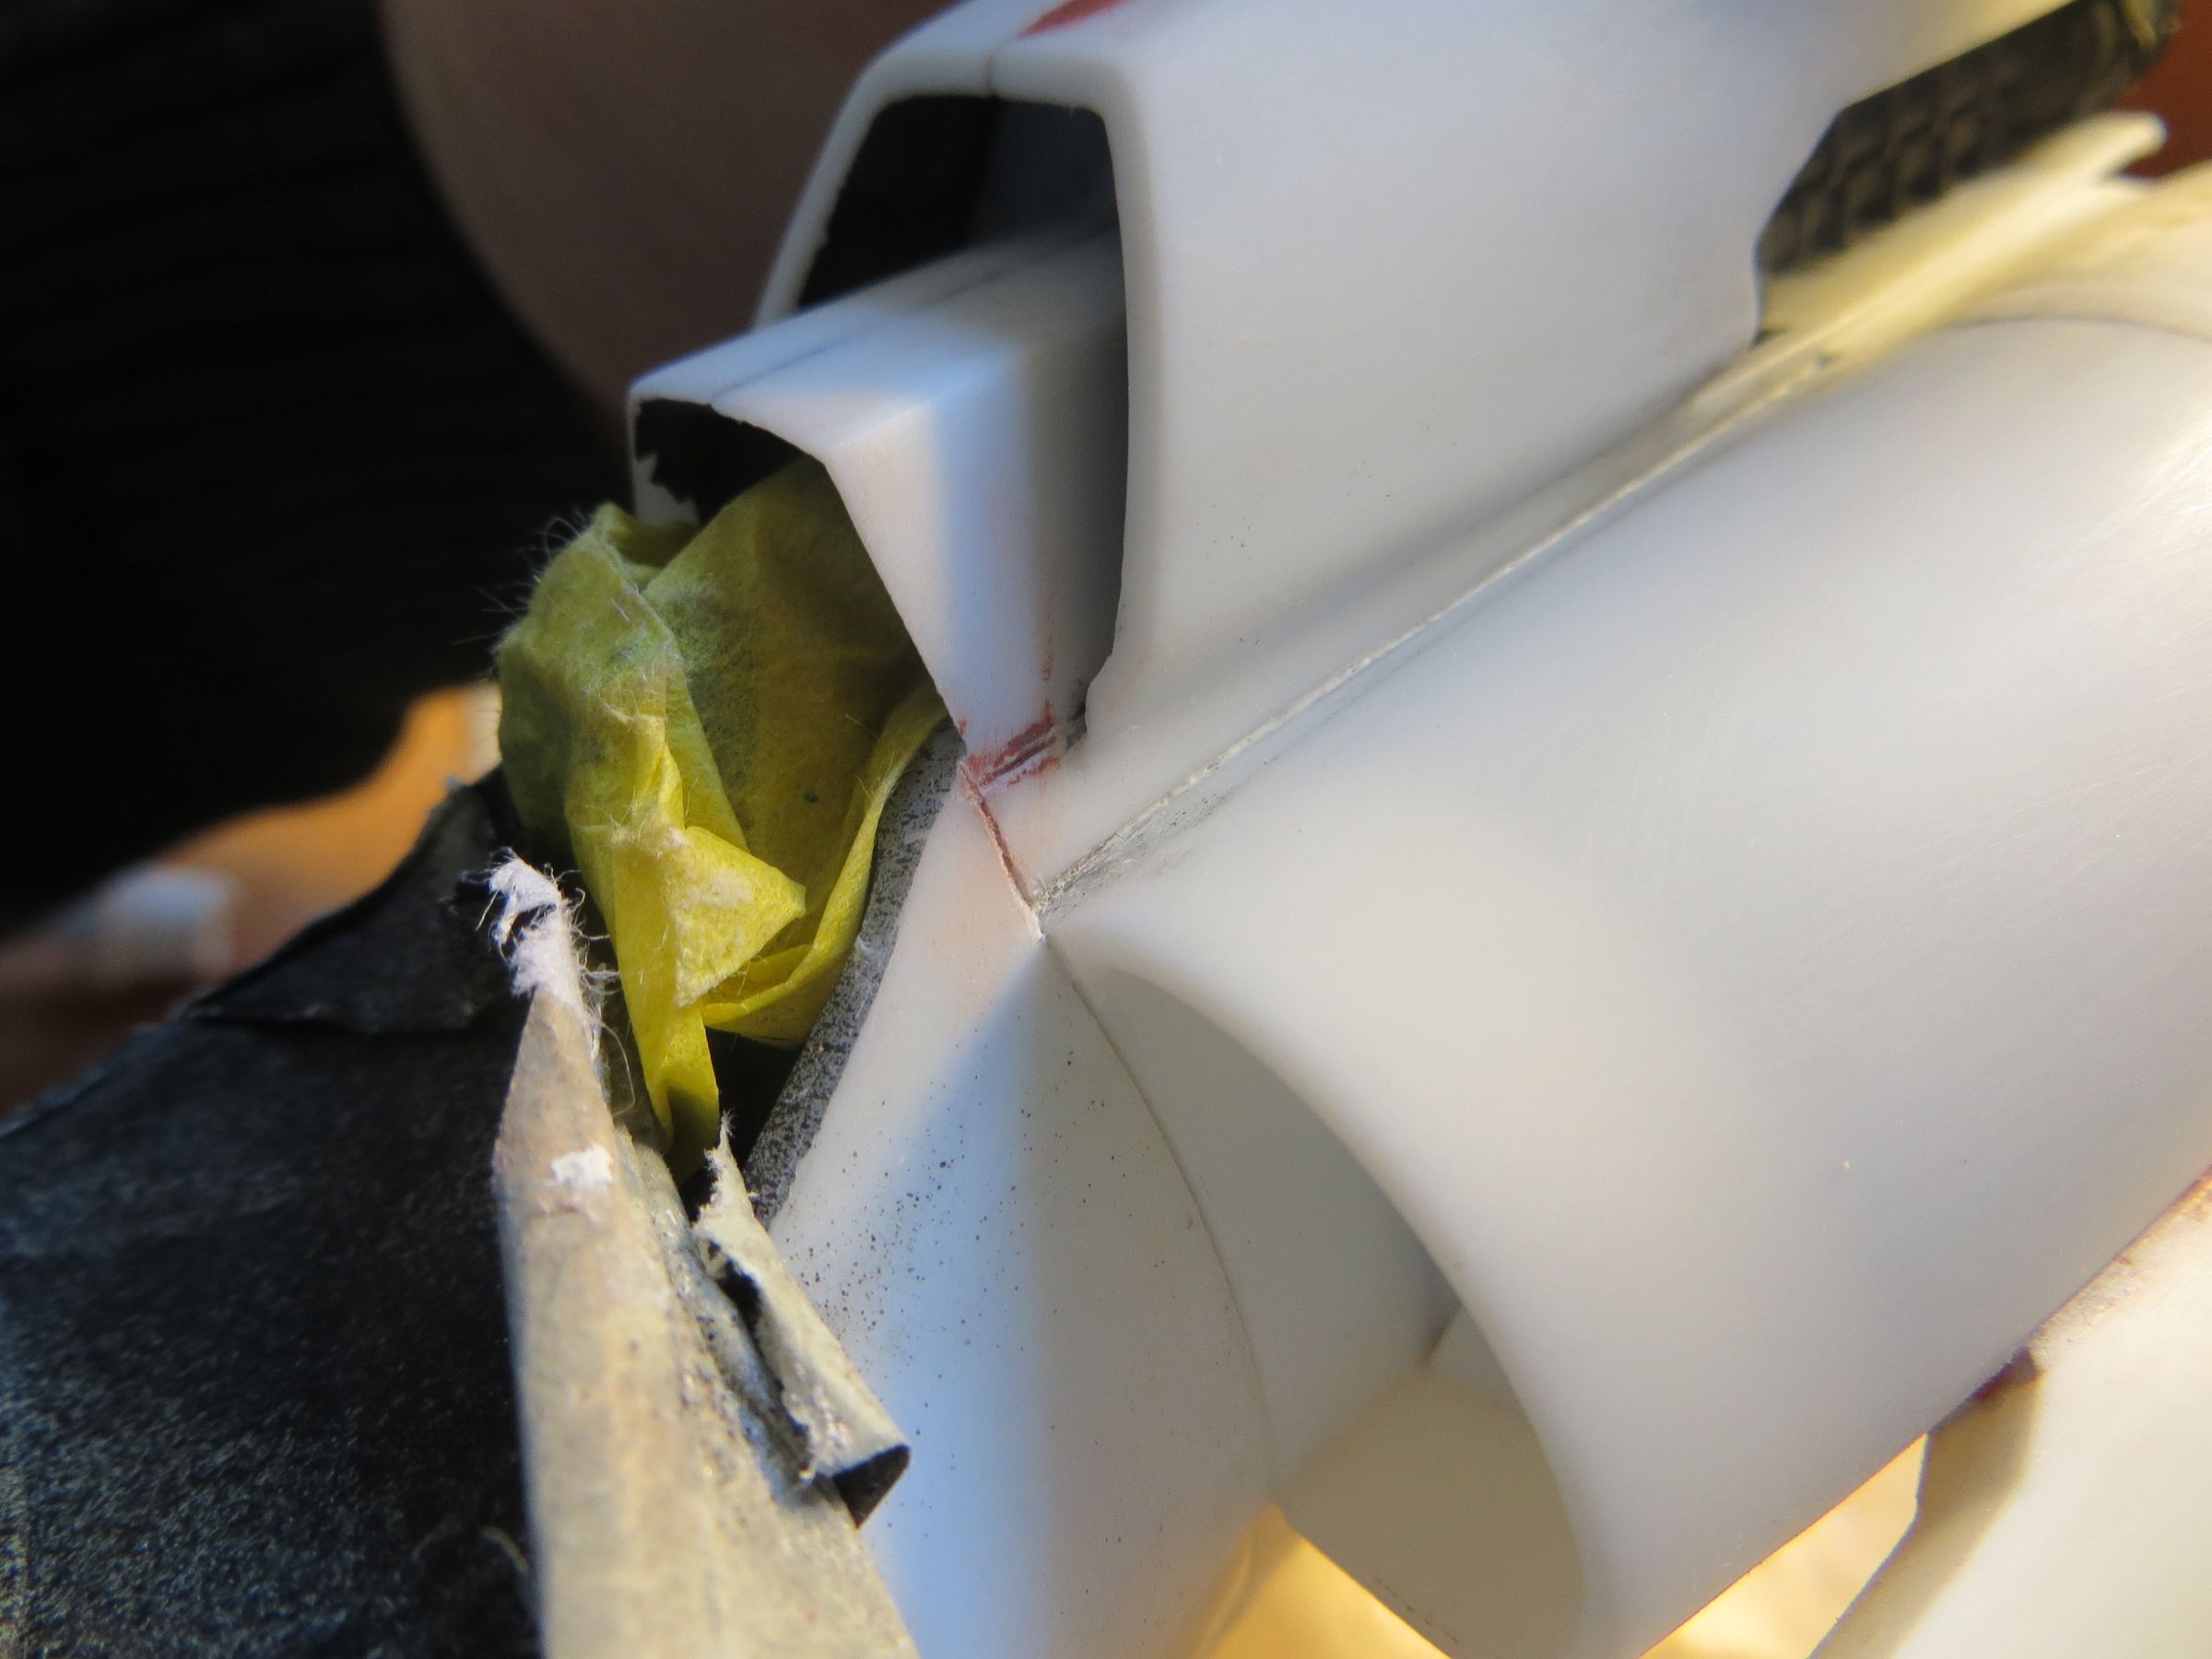
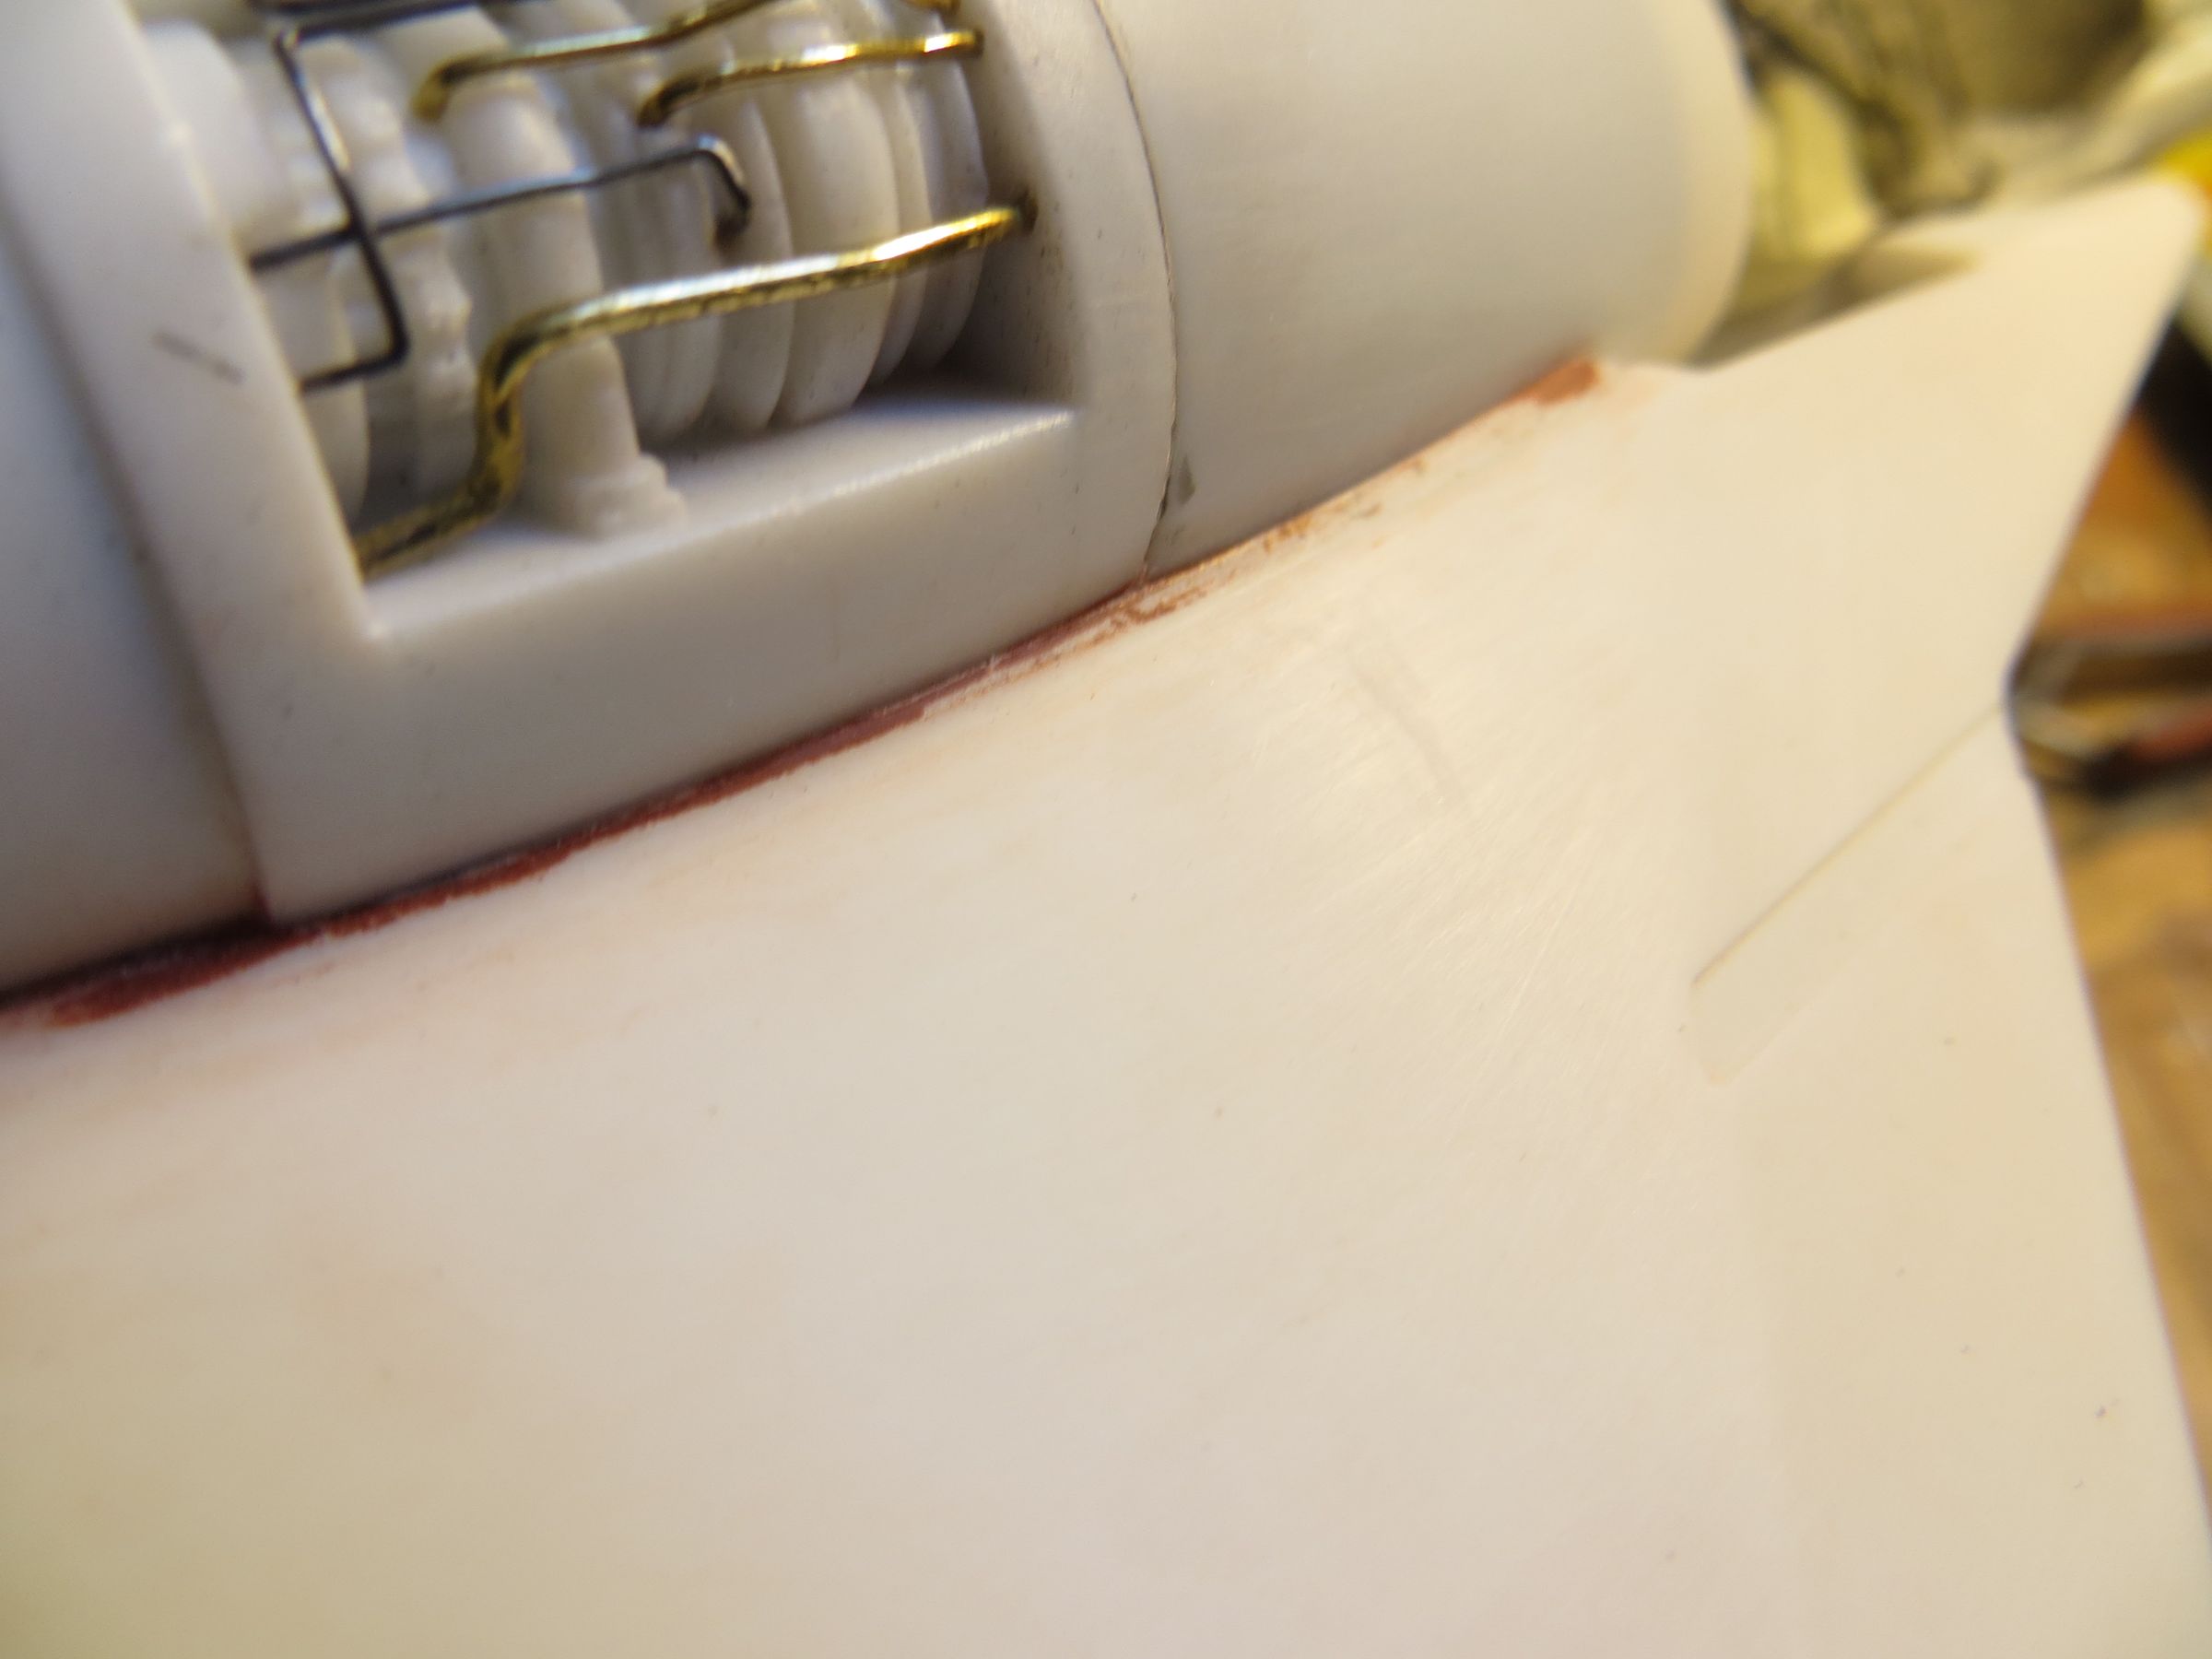
- For the air intake behind the cockpit, it had to take off the tabs, put a wedge below, glue back together and fill the seam (with two-component modeling glue and putty). After a good sanding, lines are engraved.
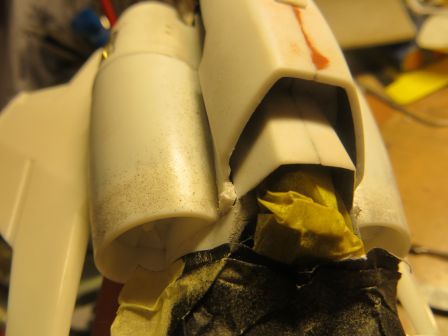

- For the wings, there was a gap of a good millimeter in some place (that I had not took car about during gluing, as I was focused to not brake the optical fibers).
It is filled again to two-component modeling glue, and after with thinner putty to fill the last defects.

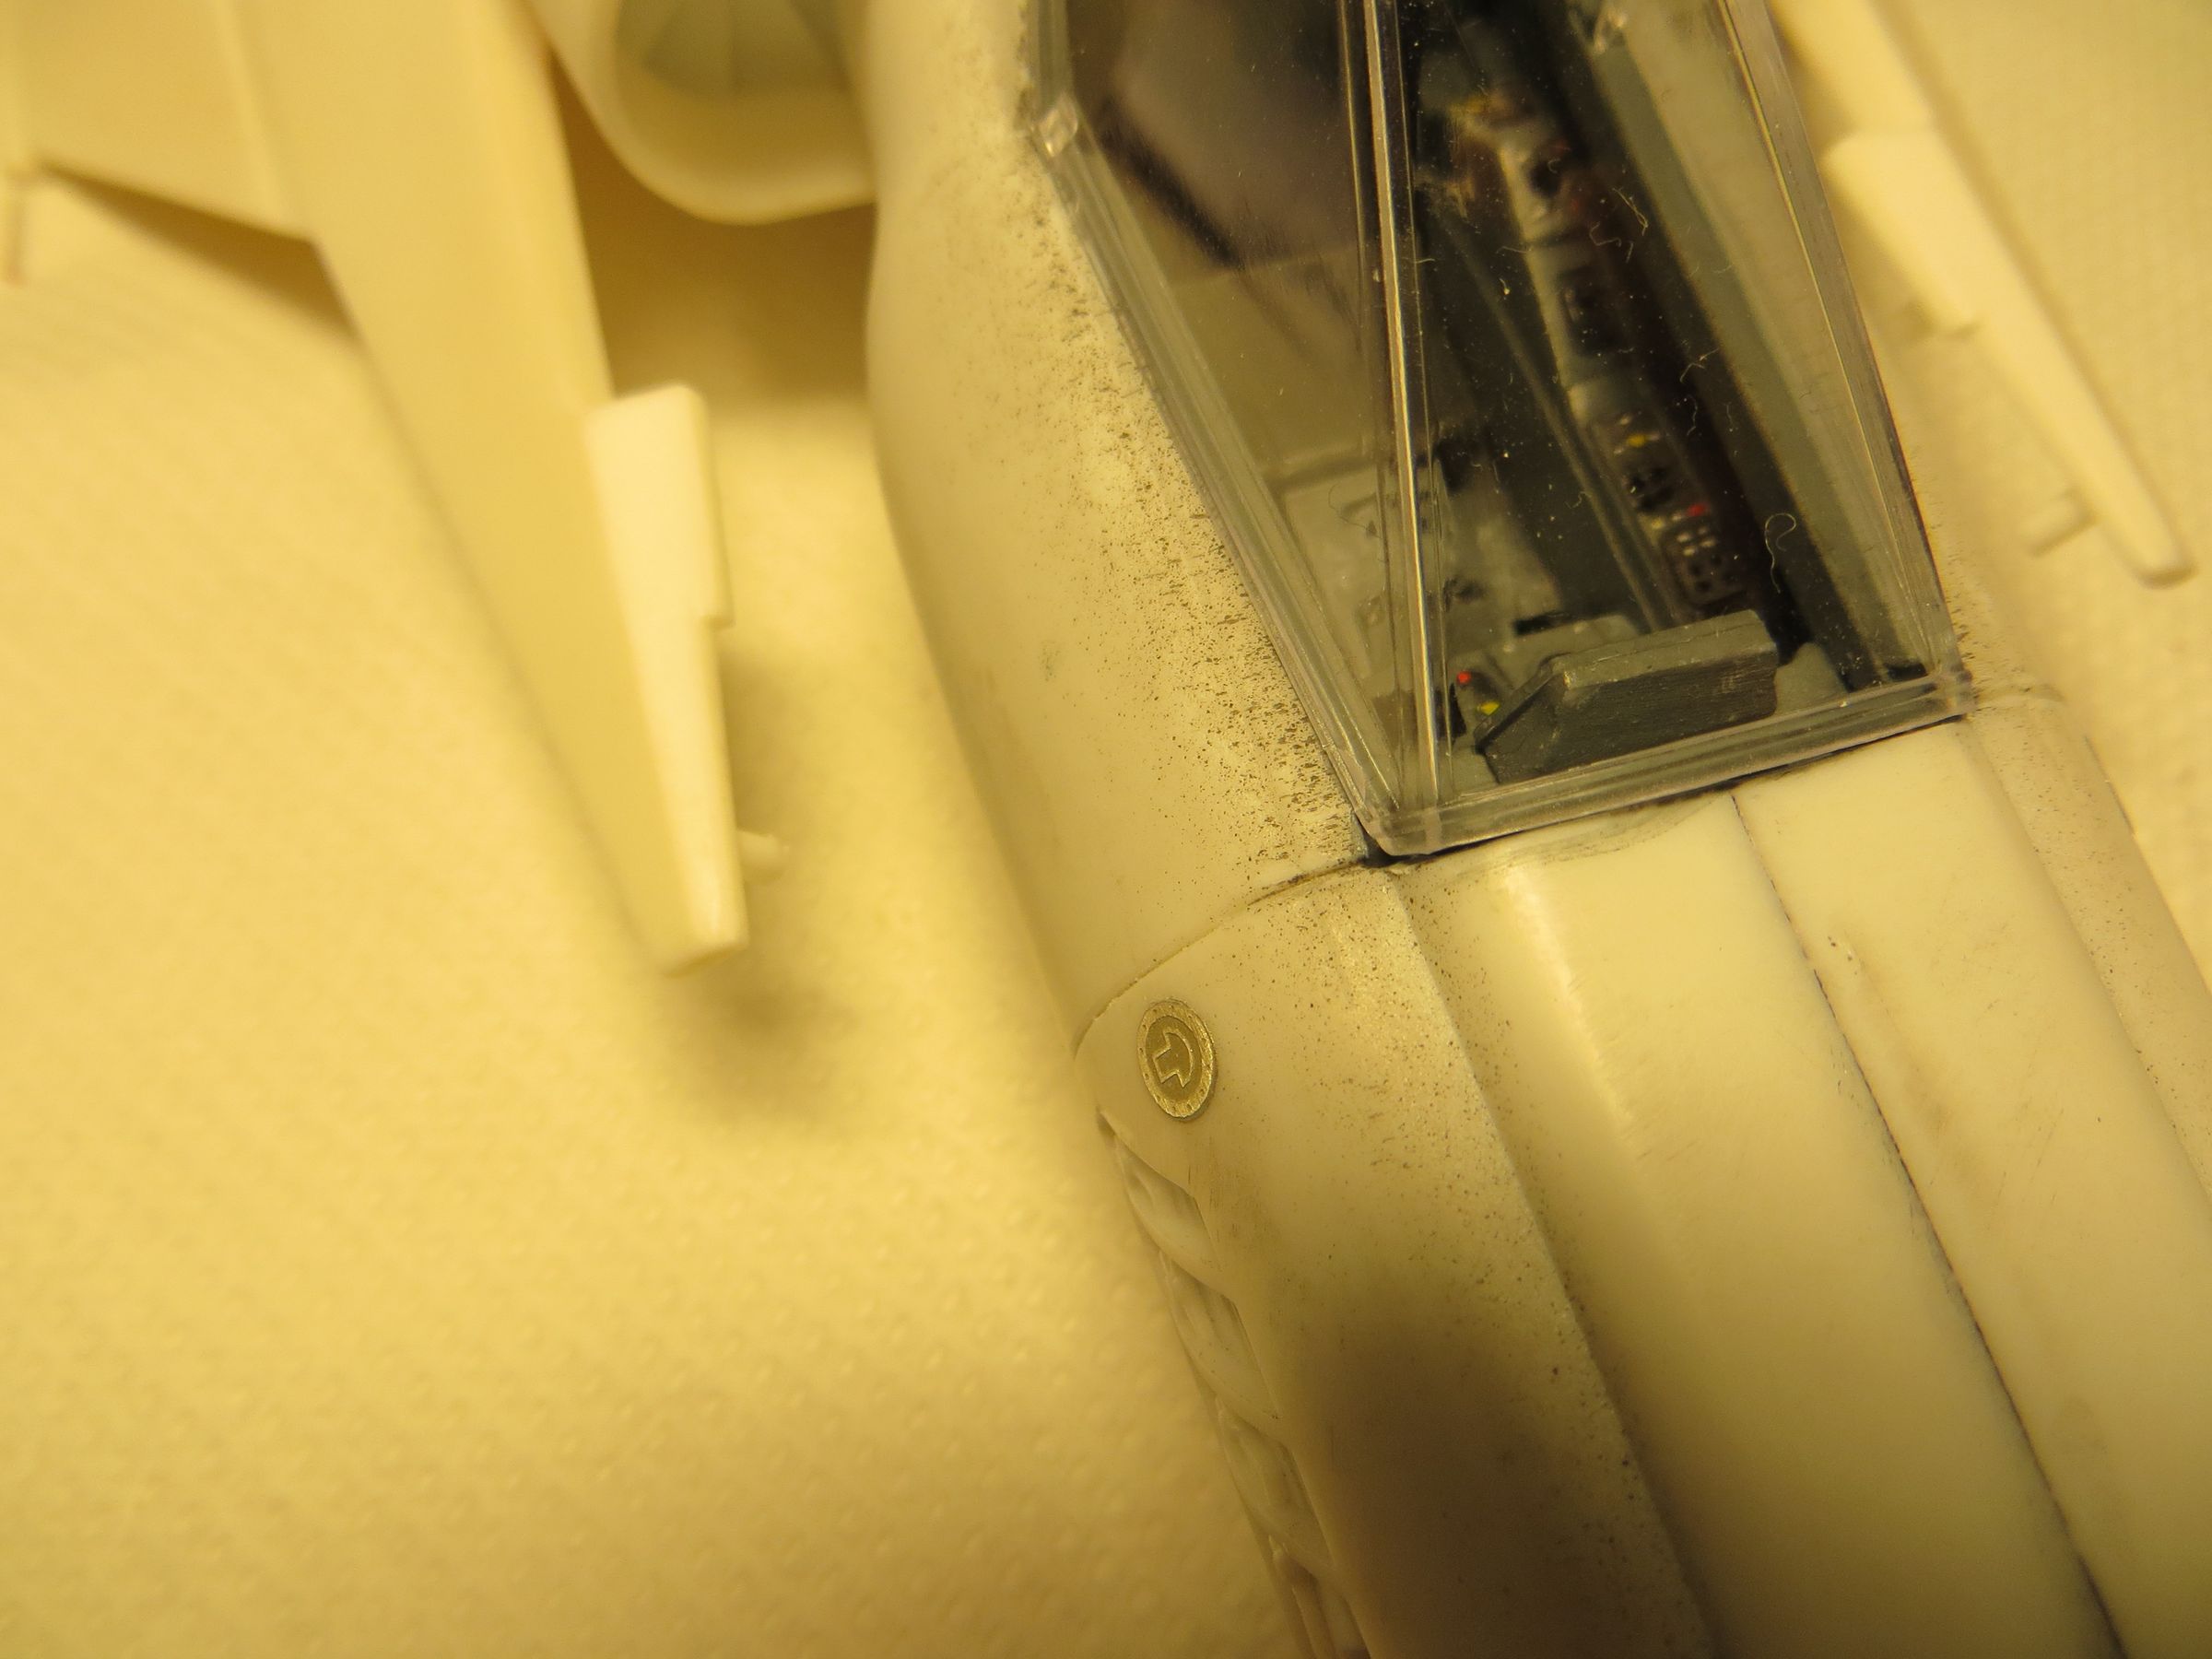
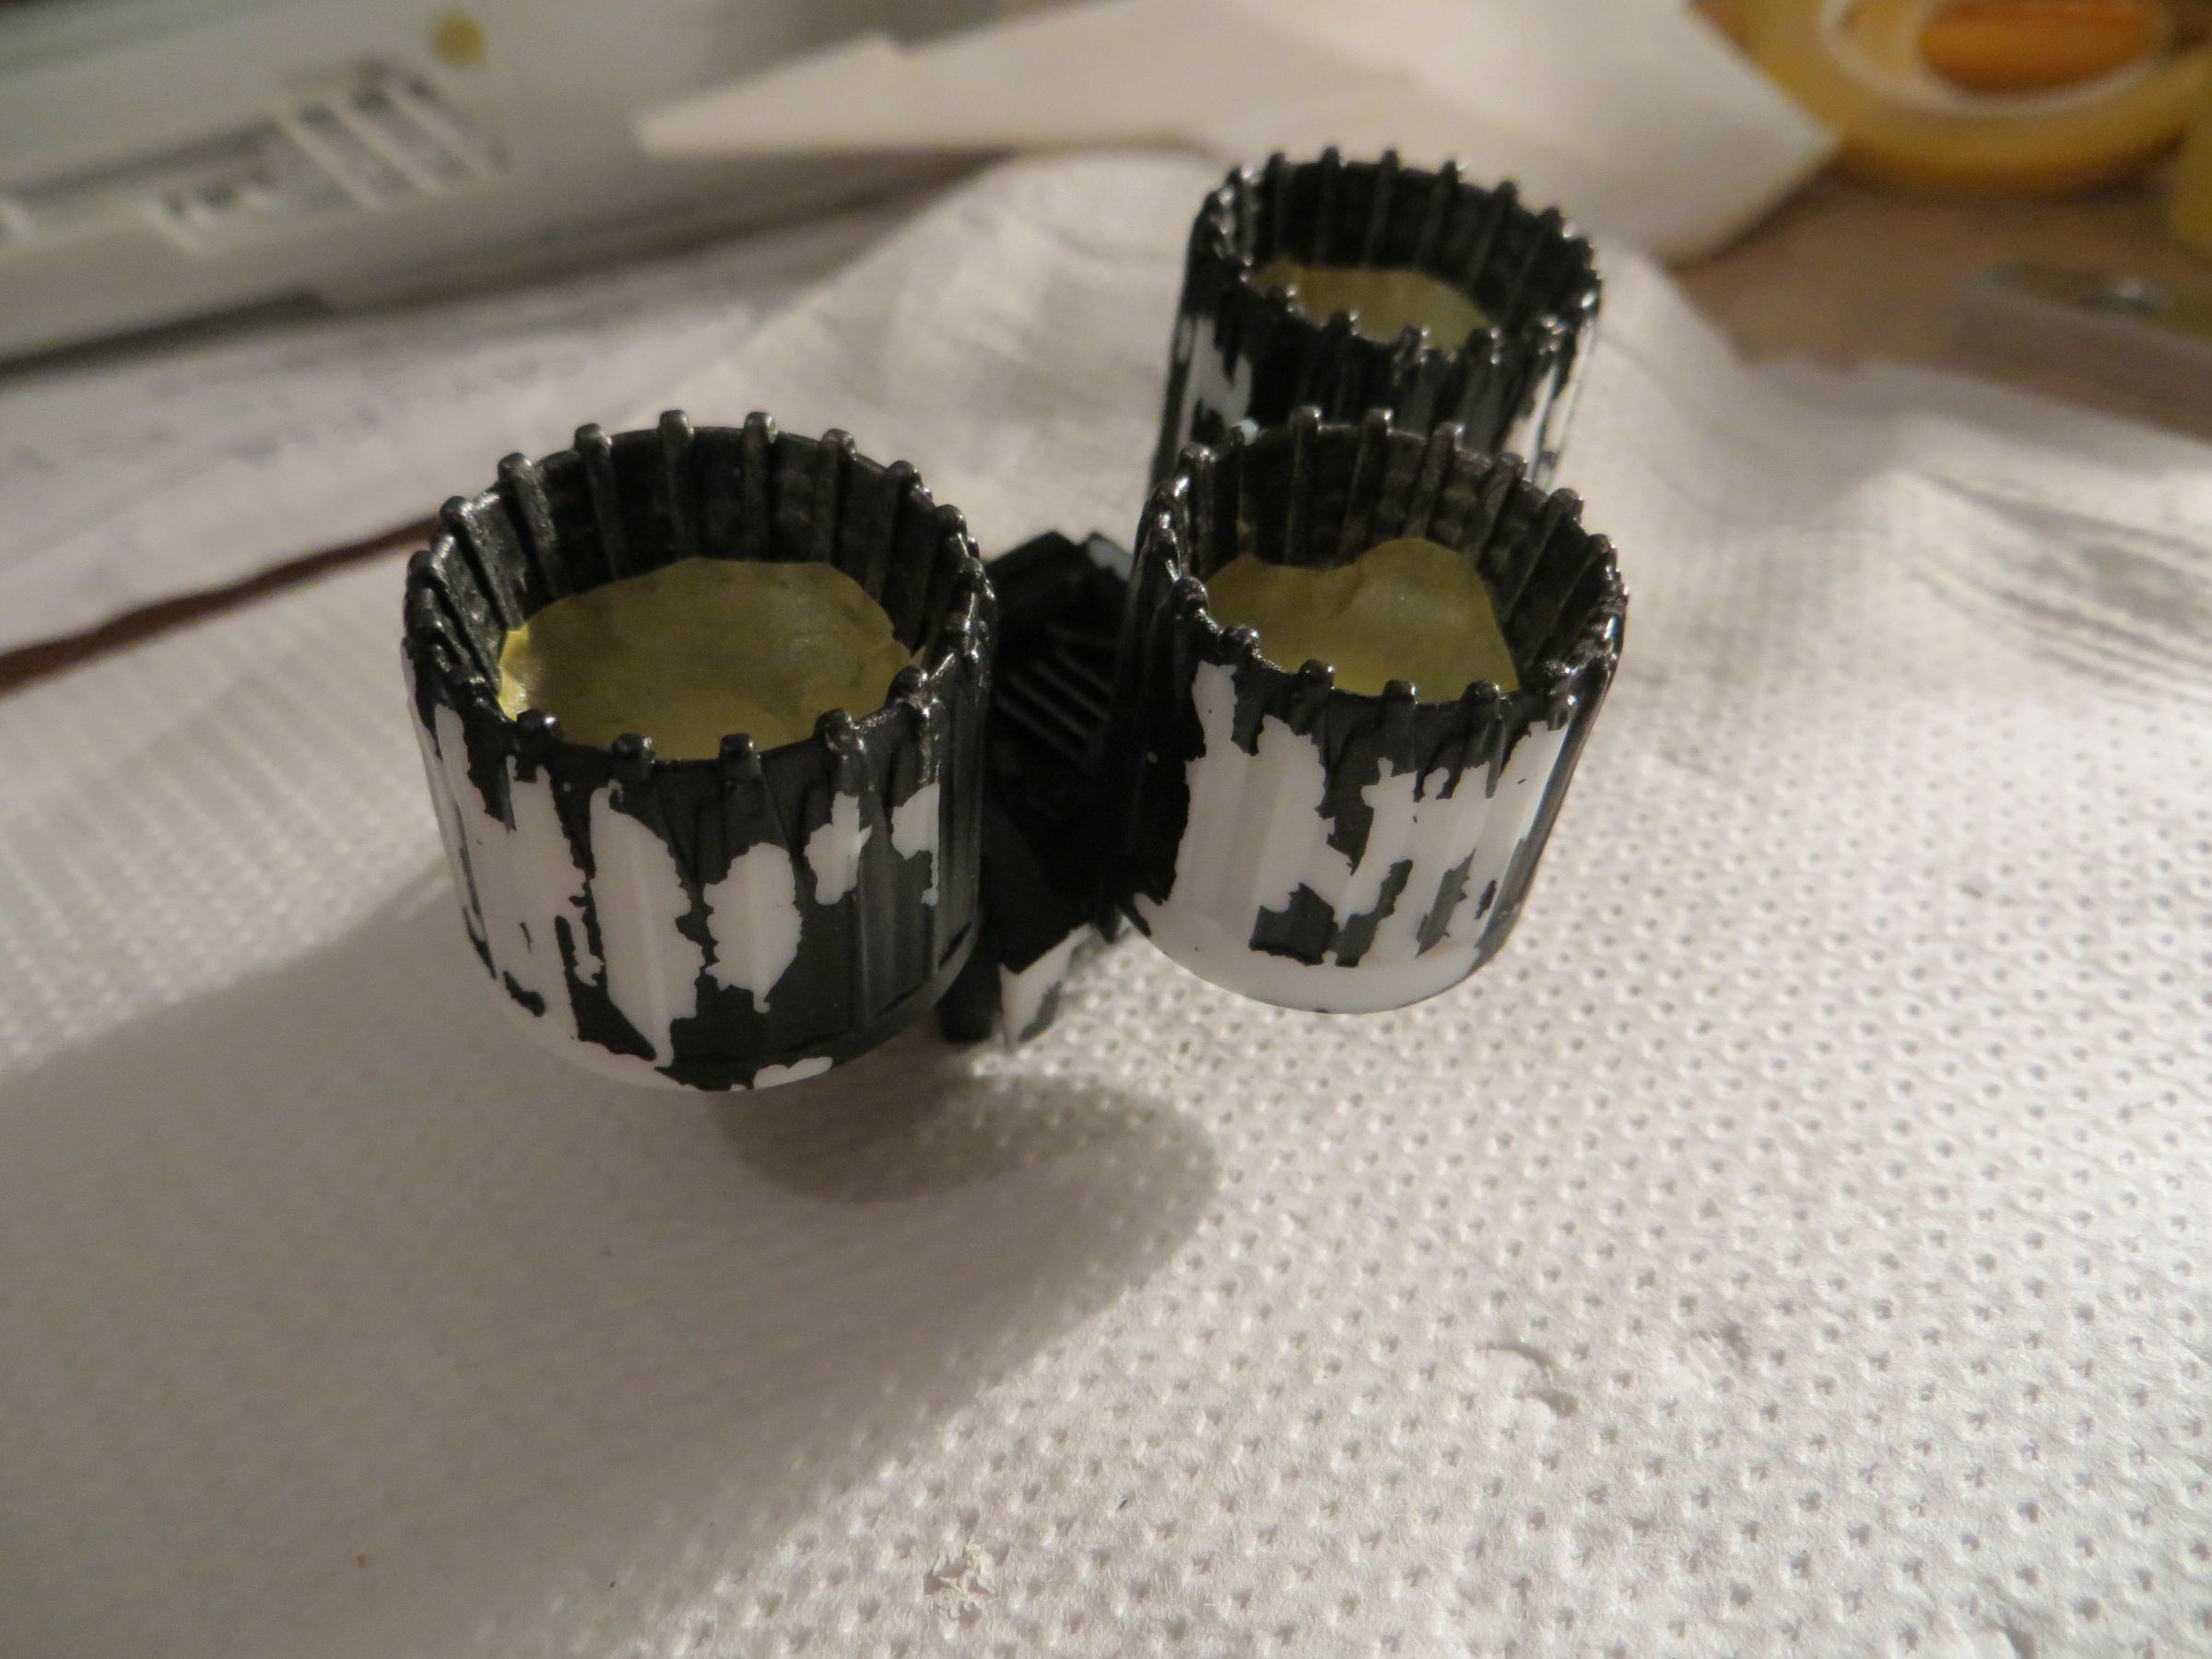
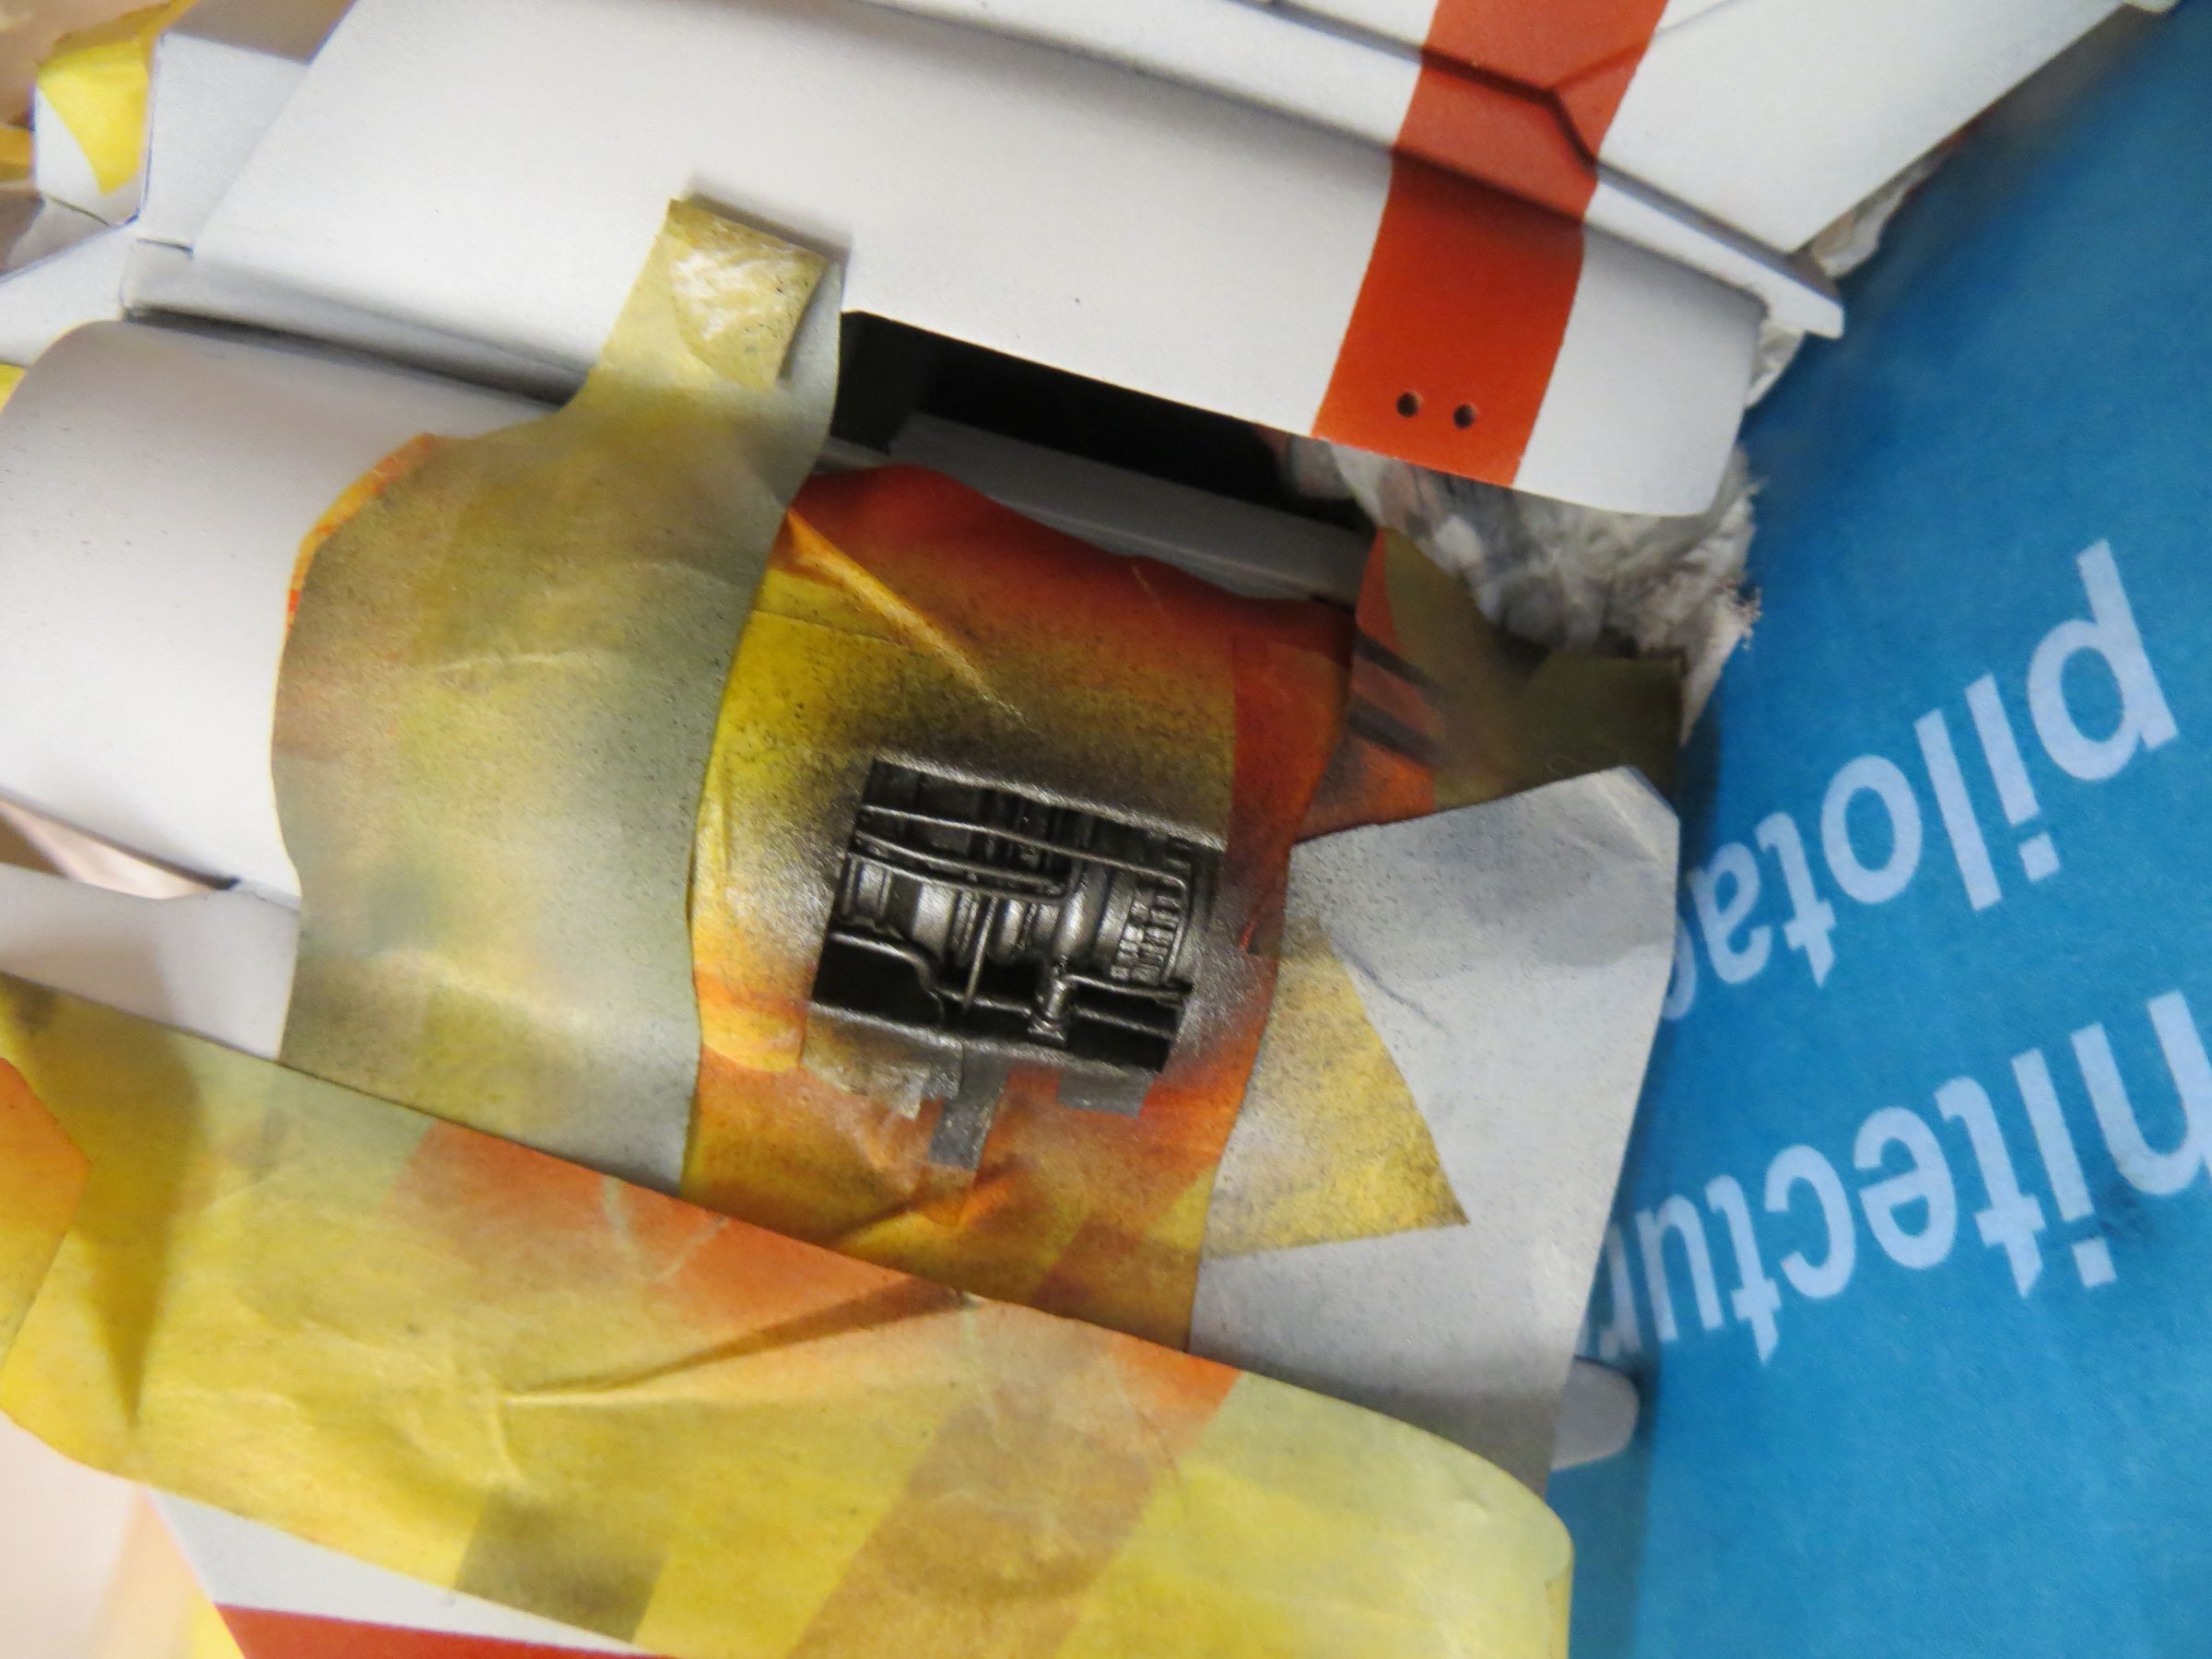
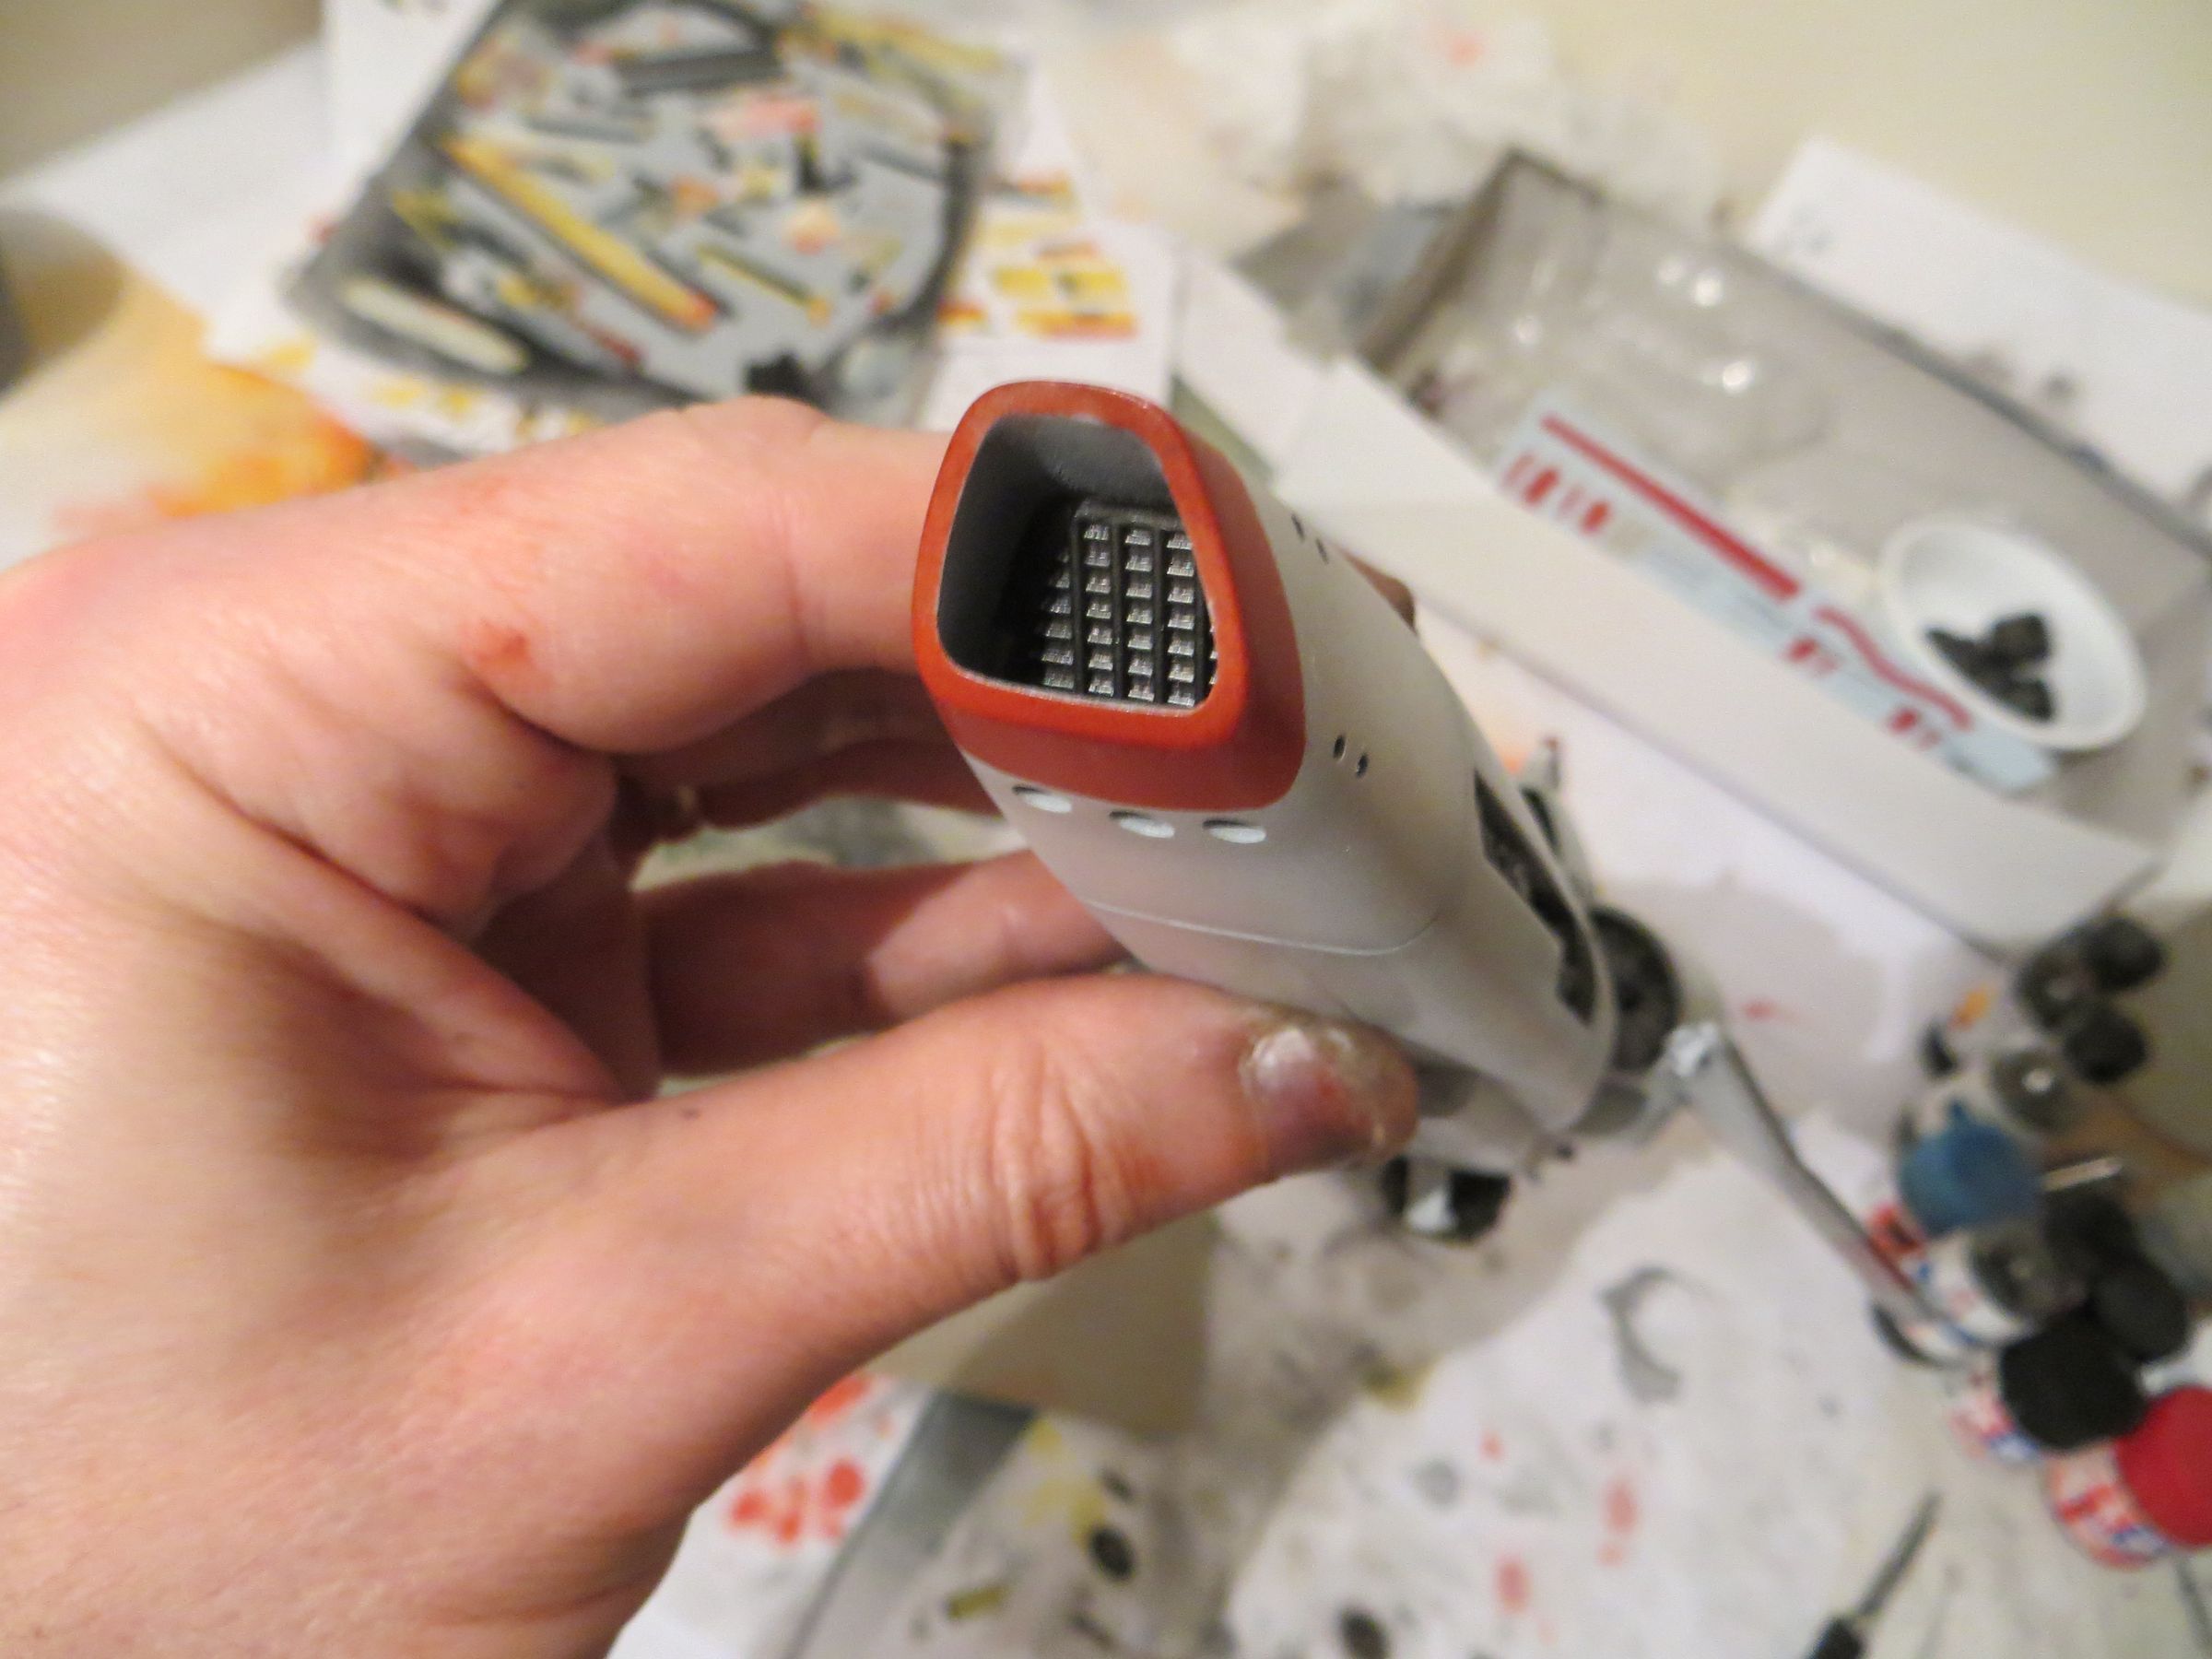
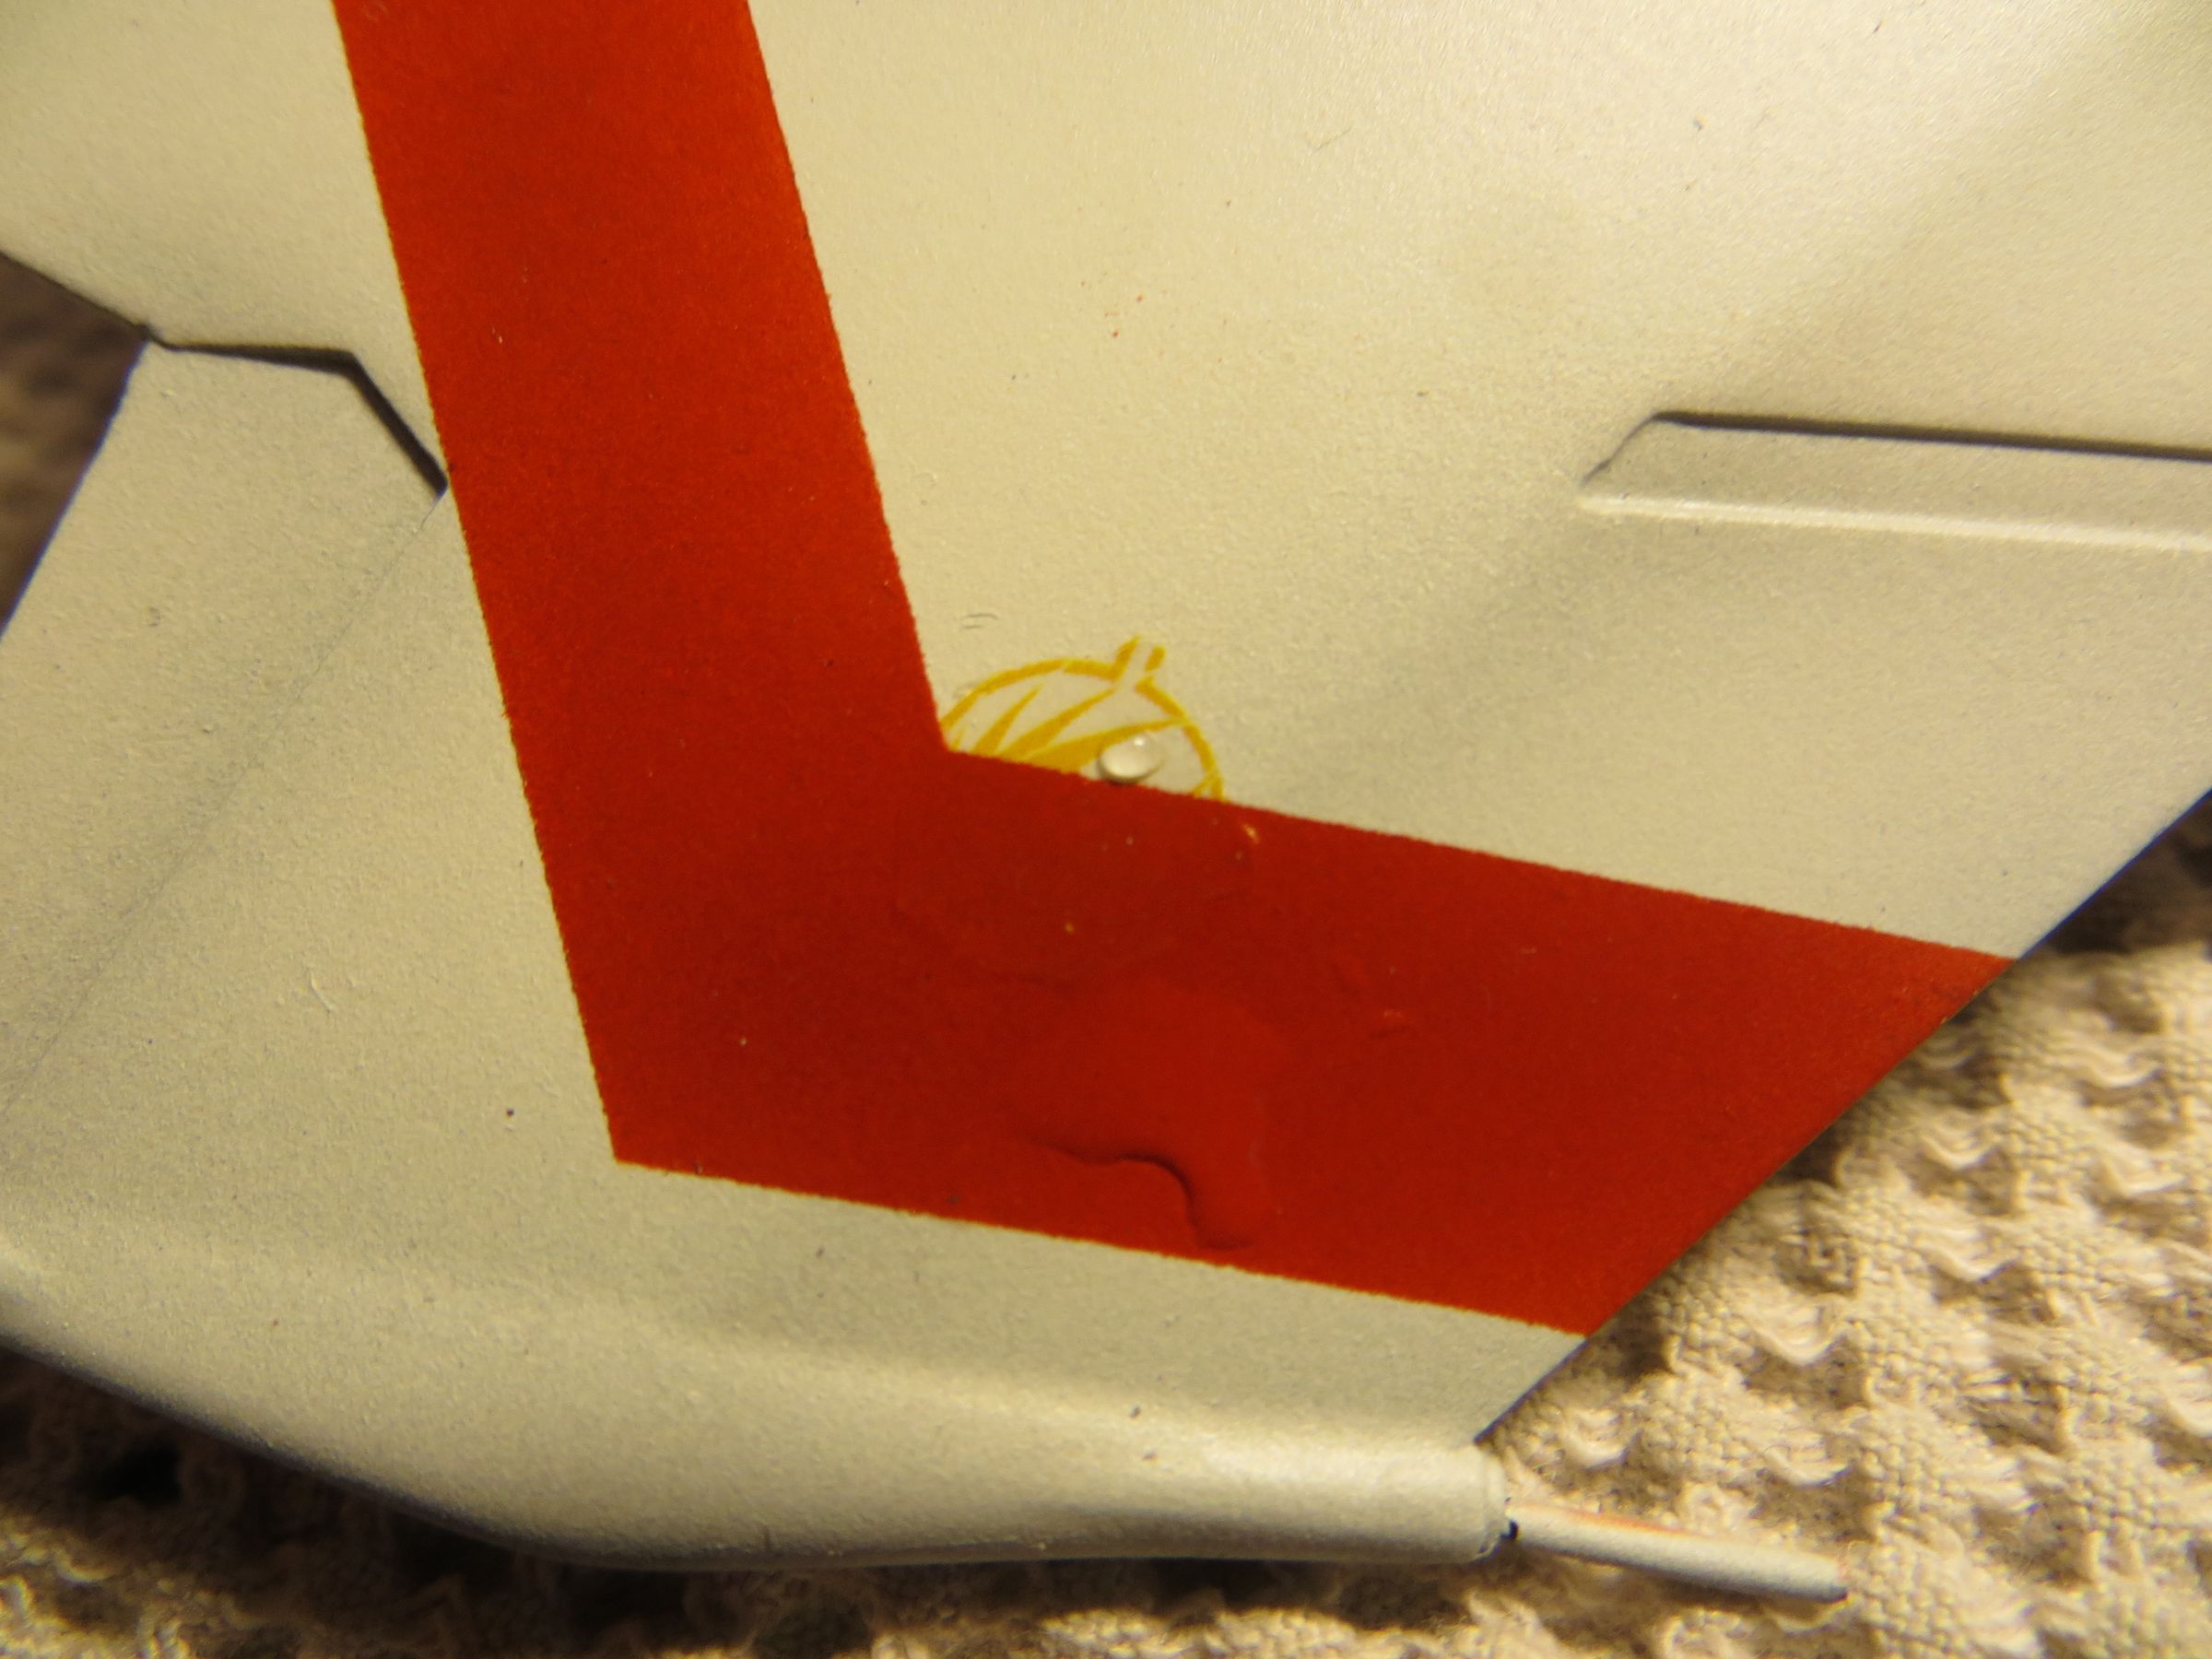
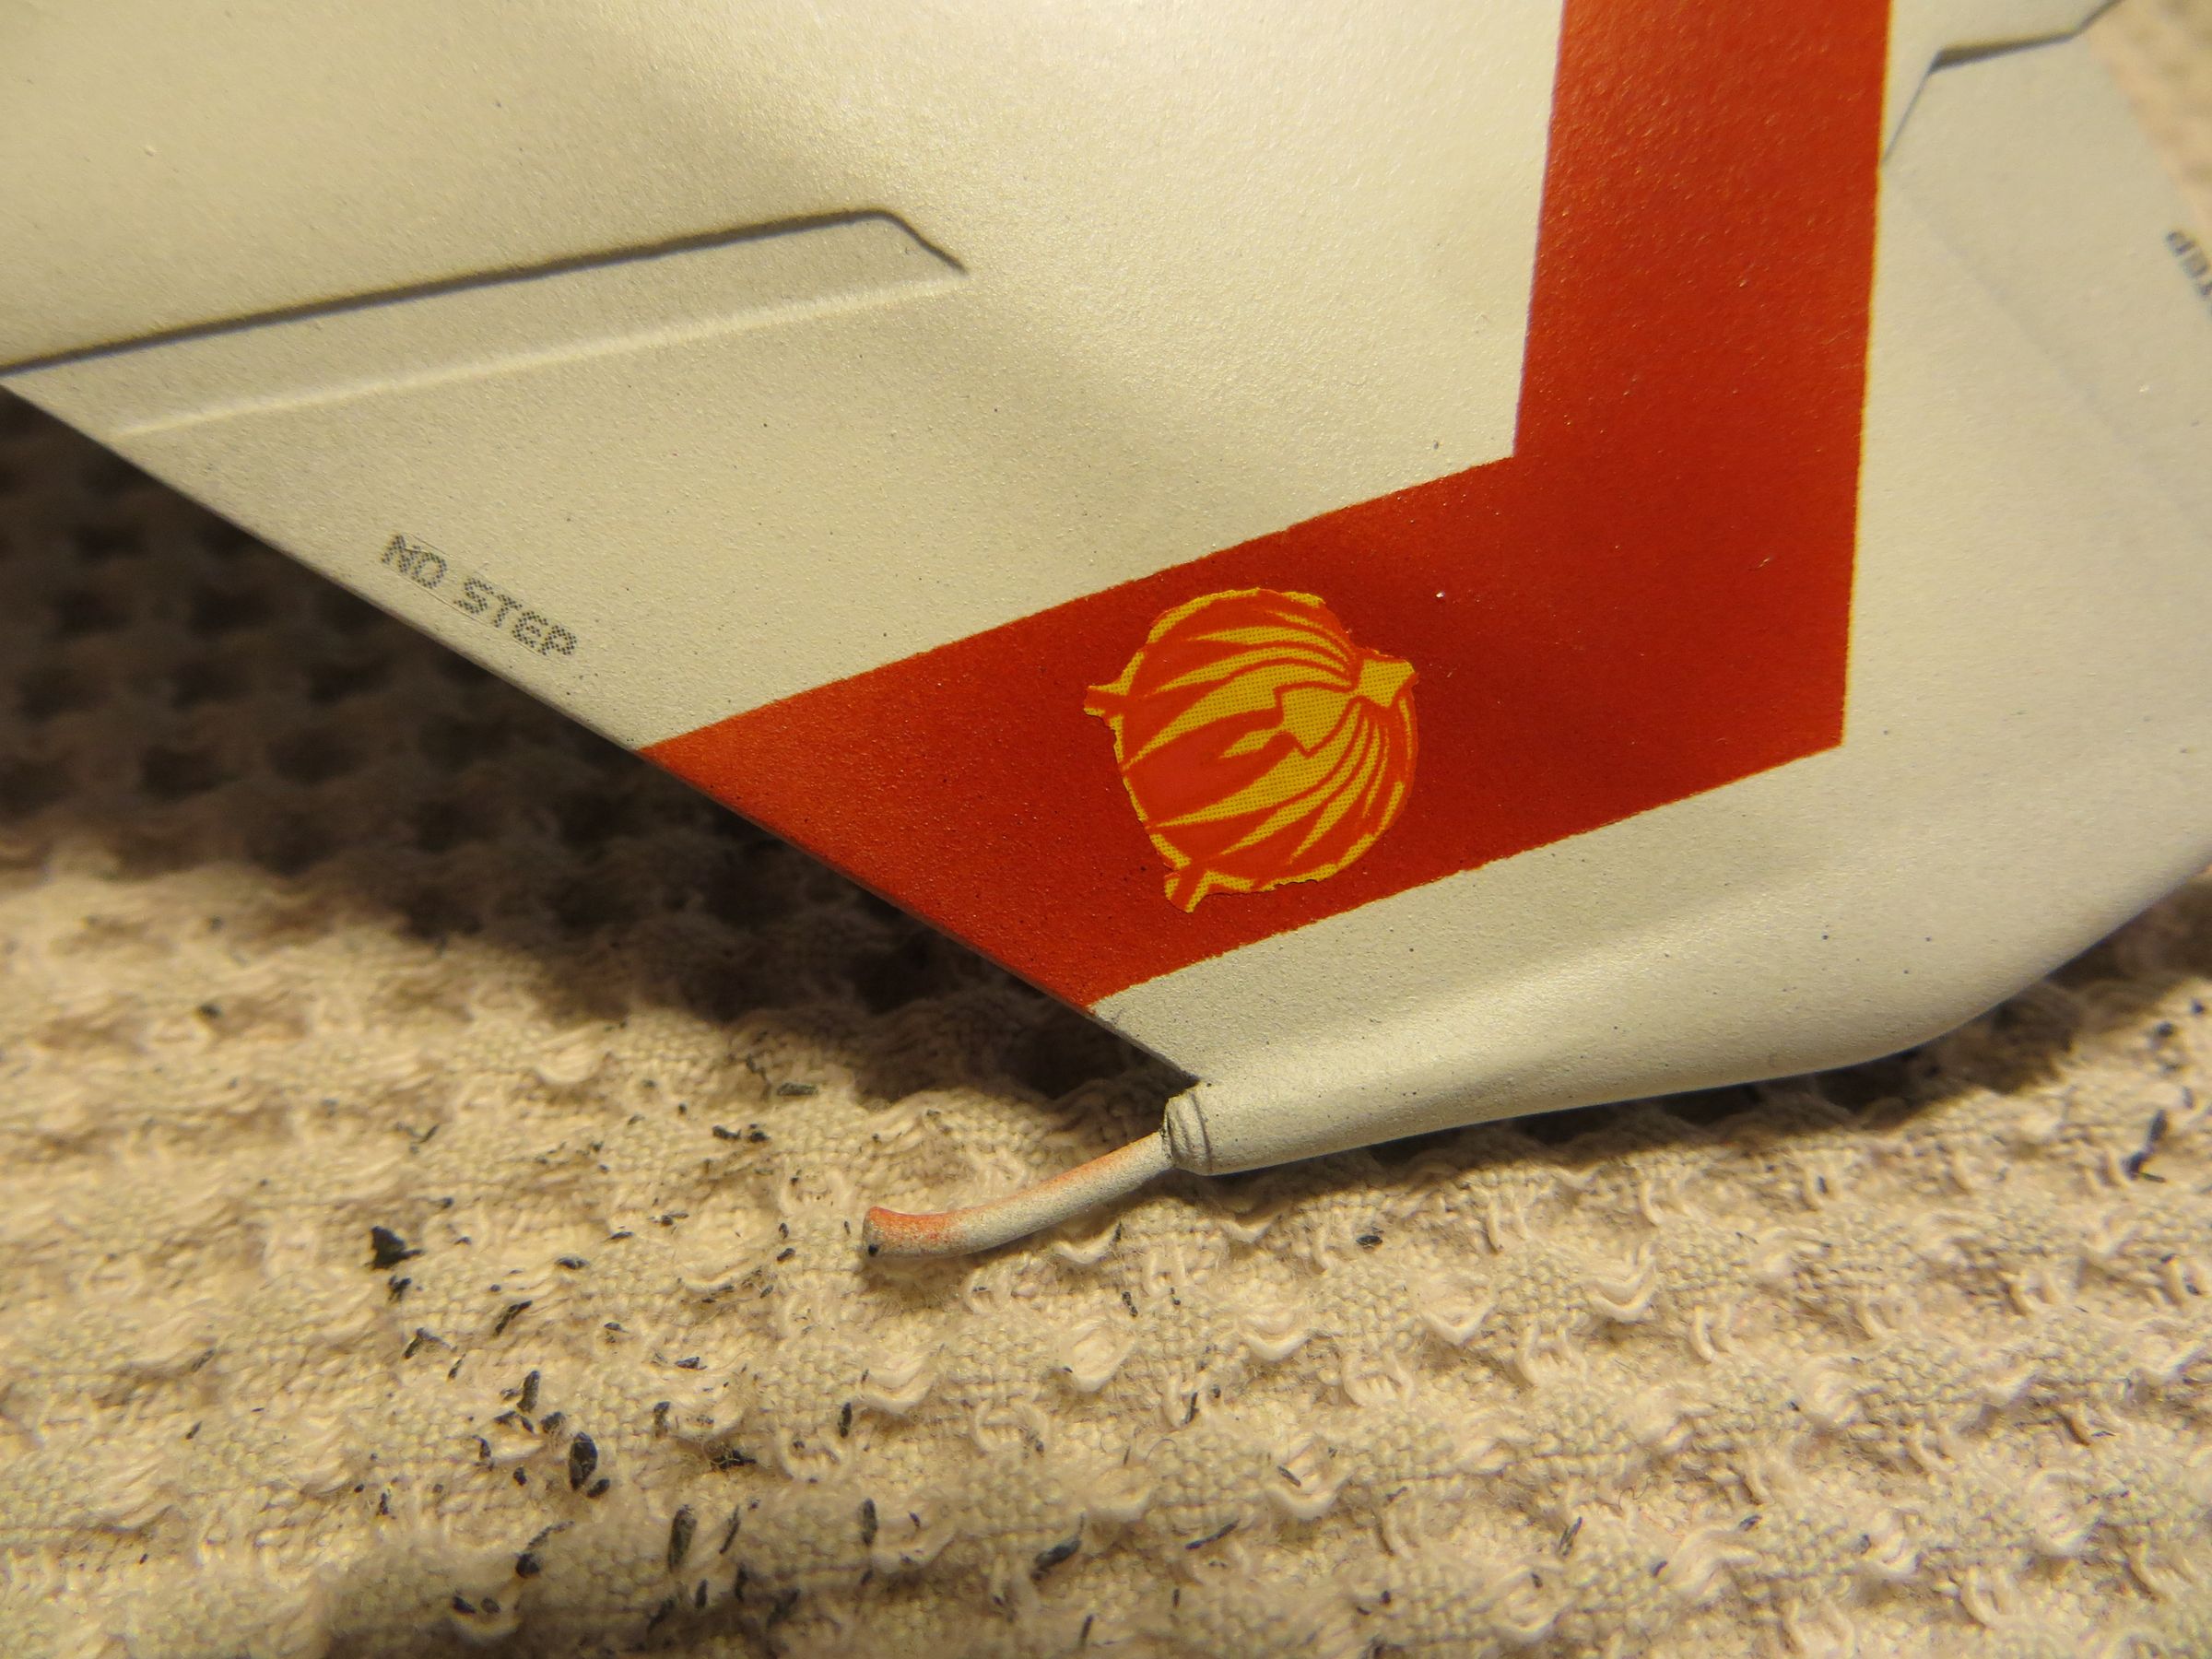
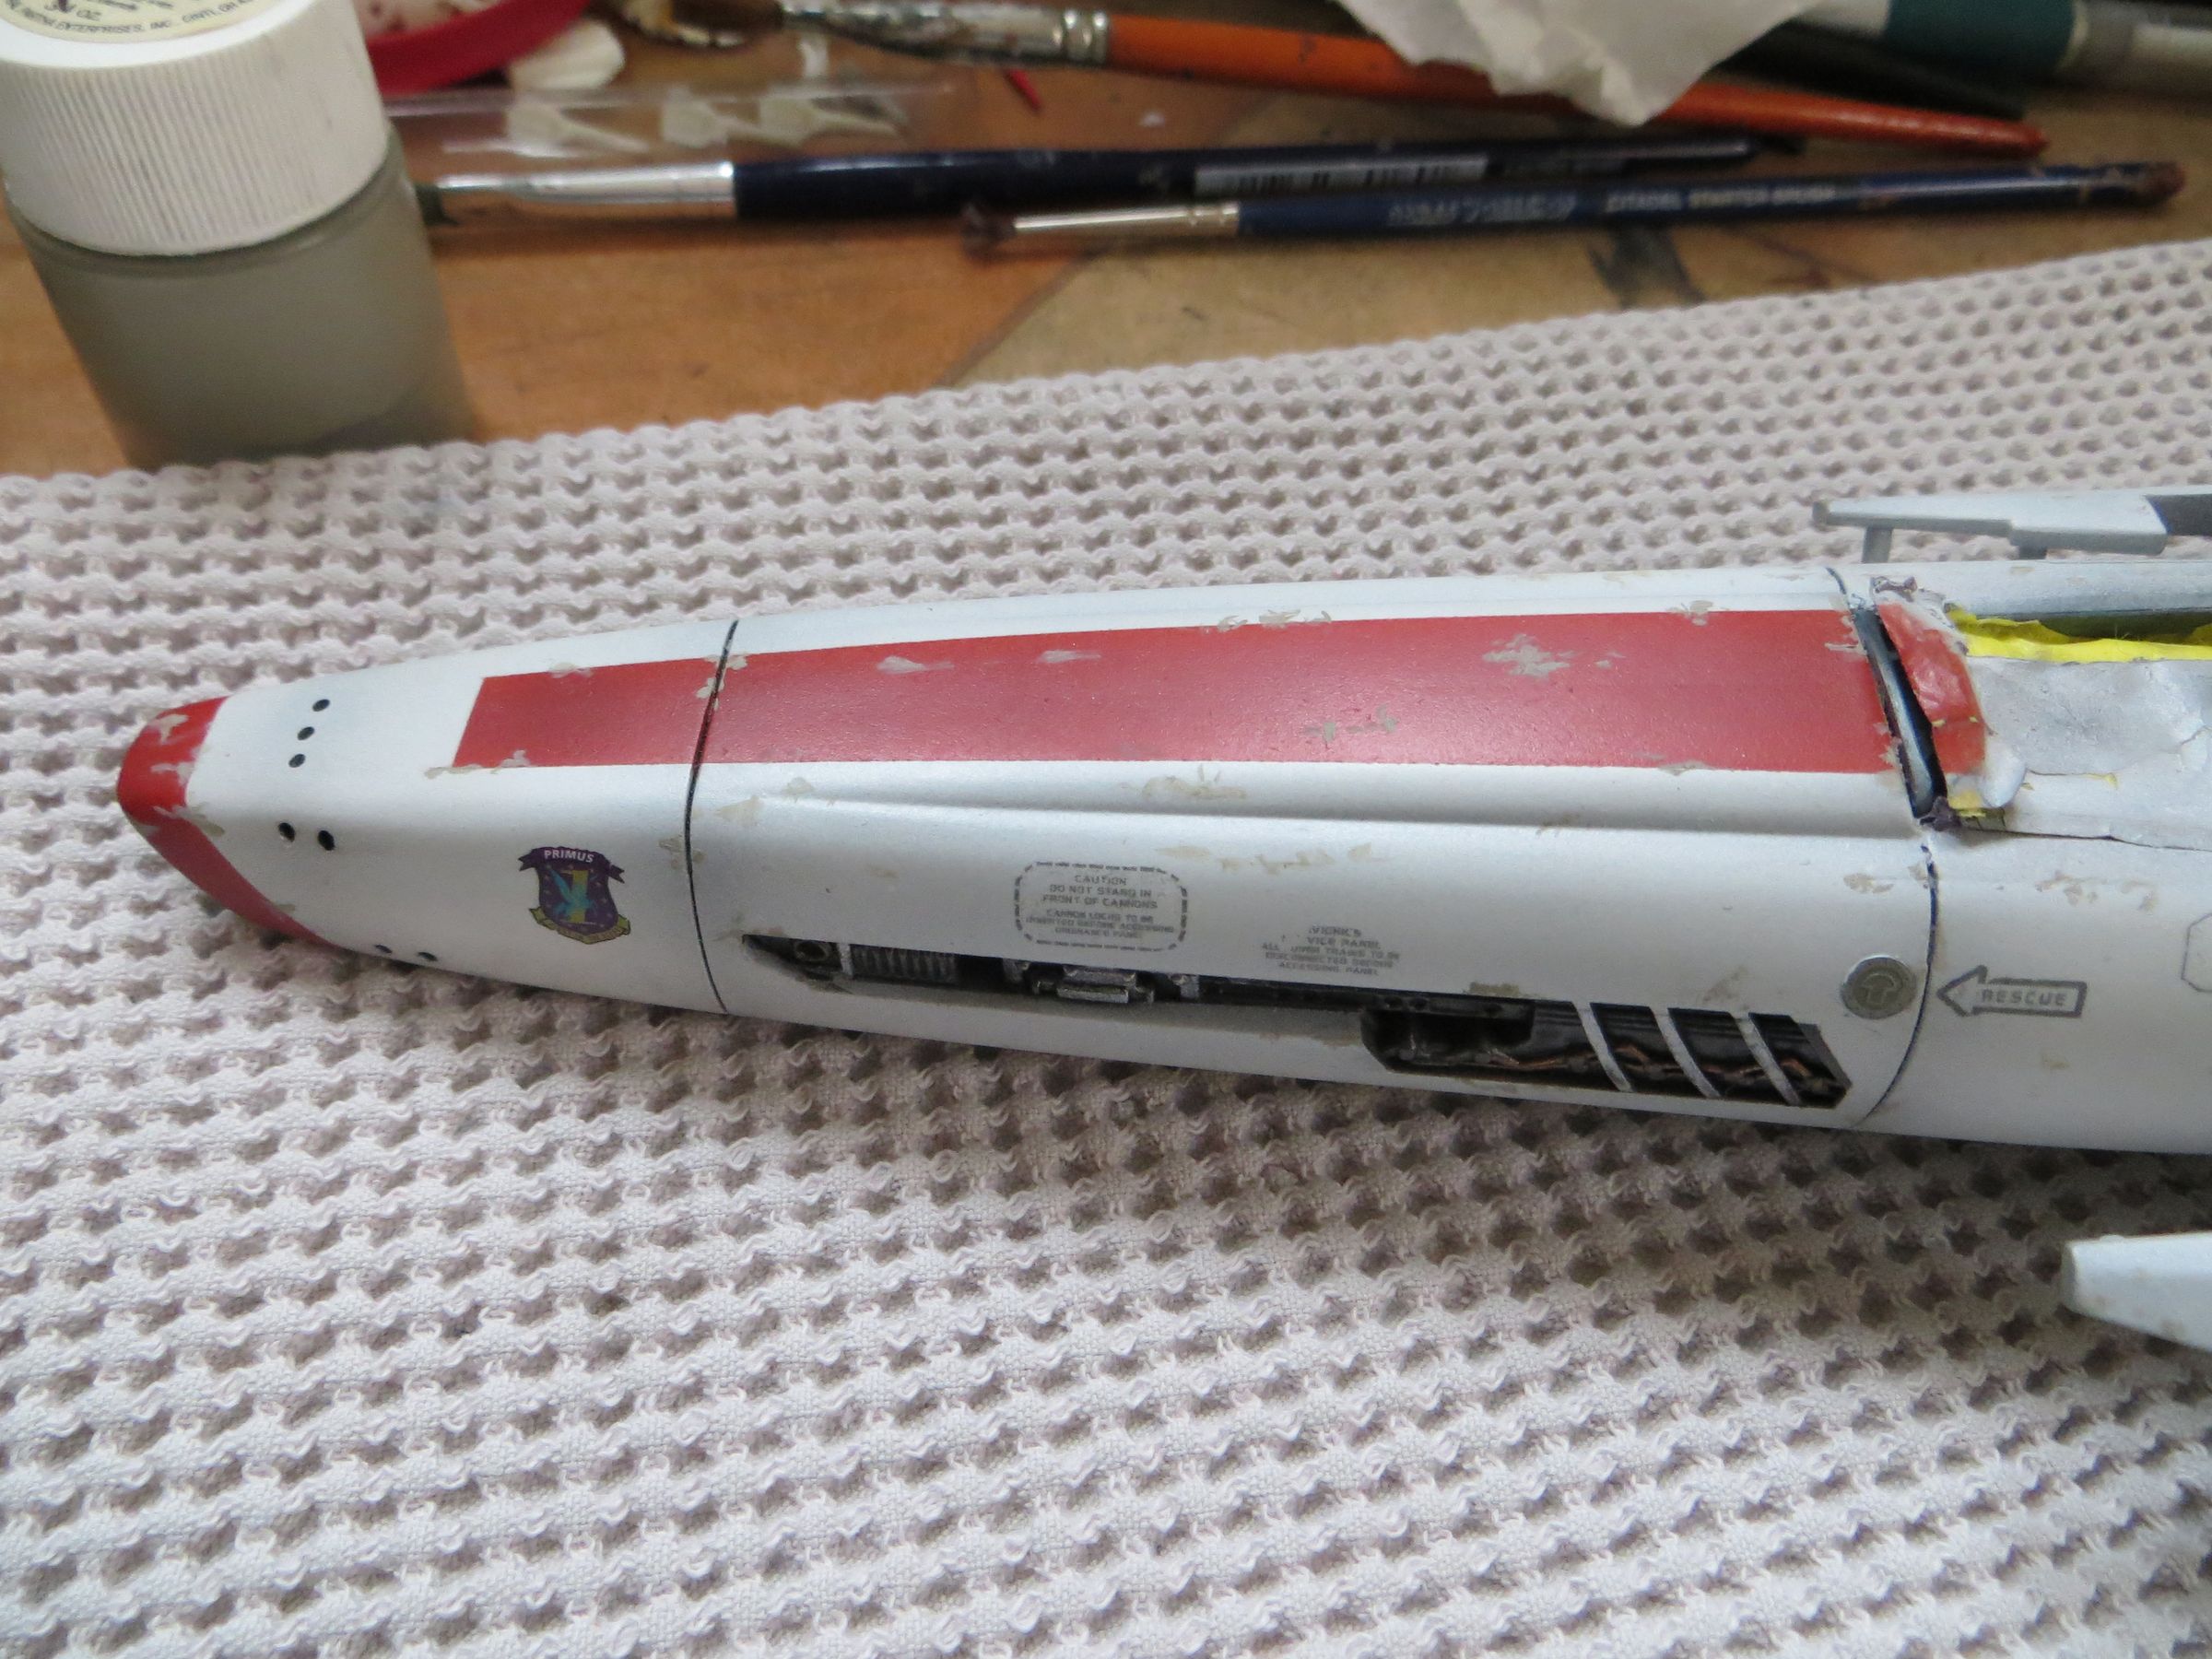
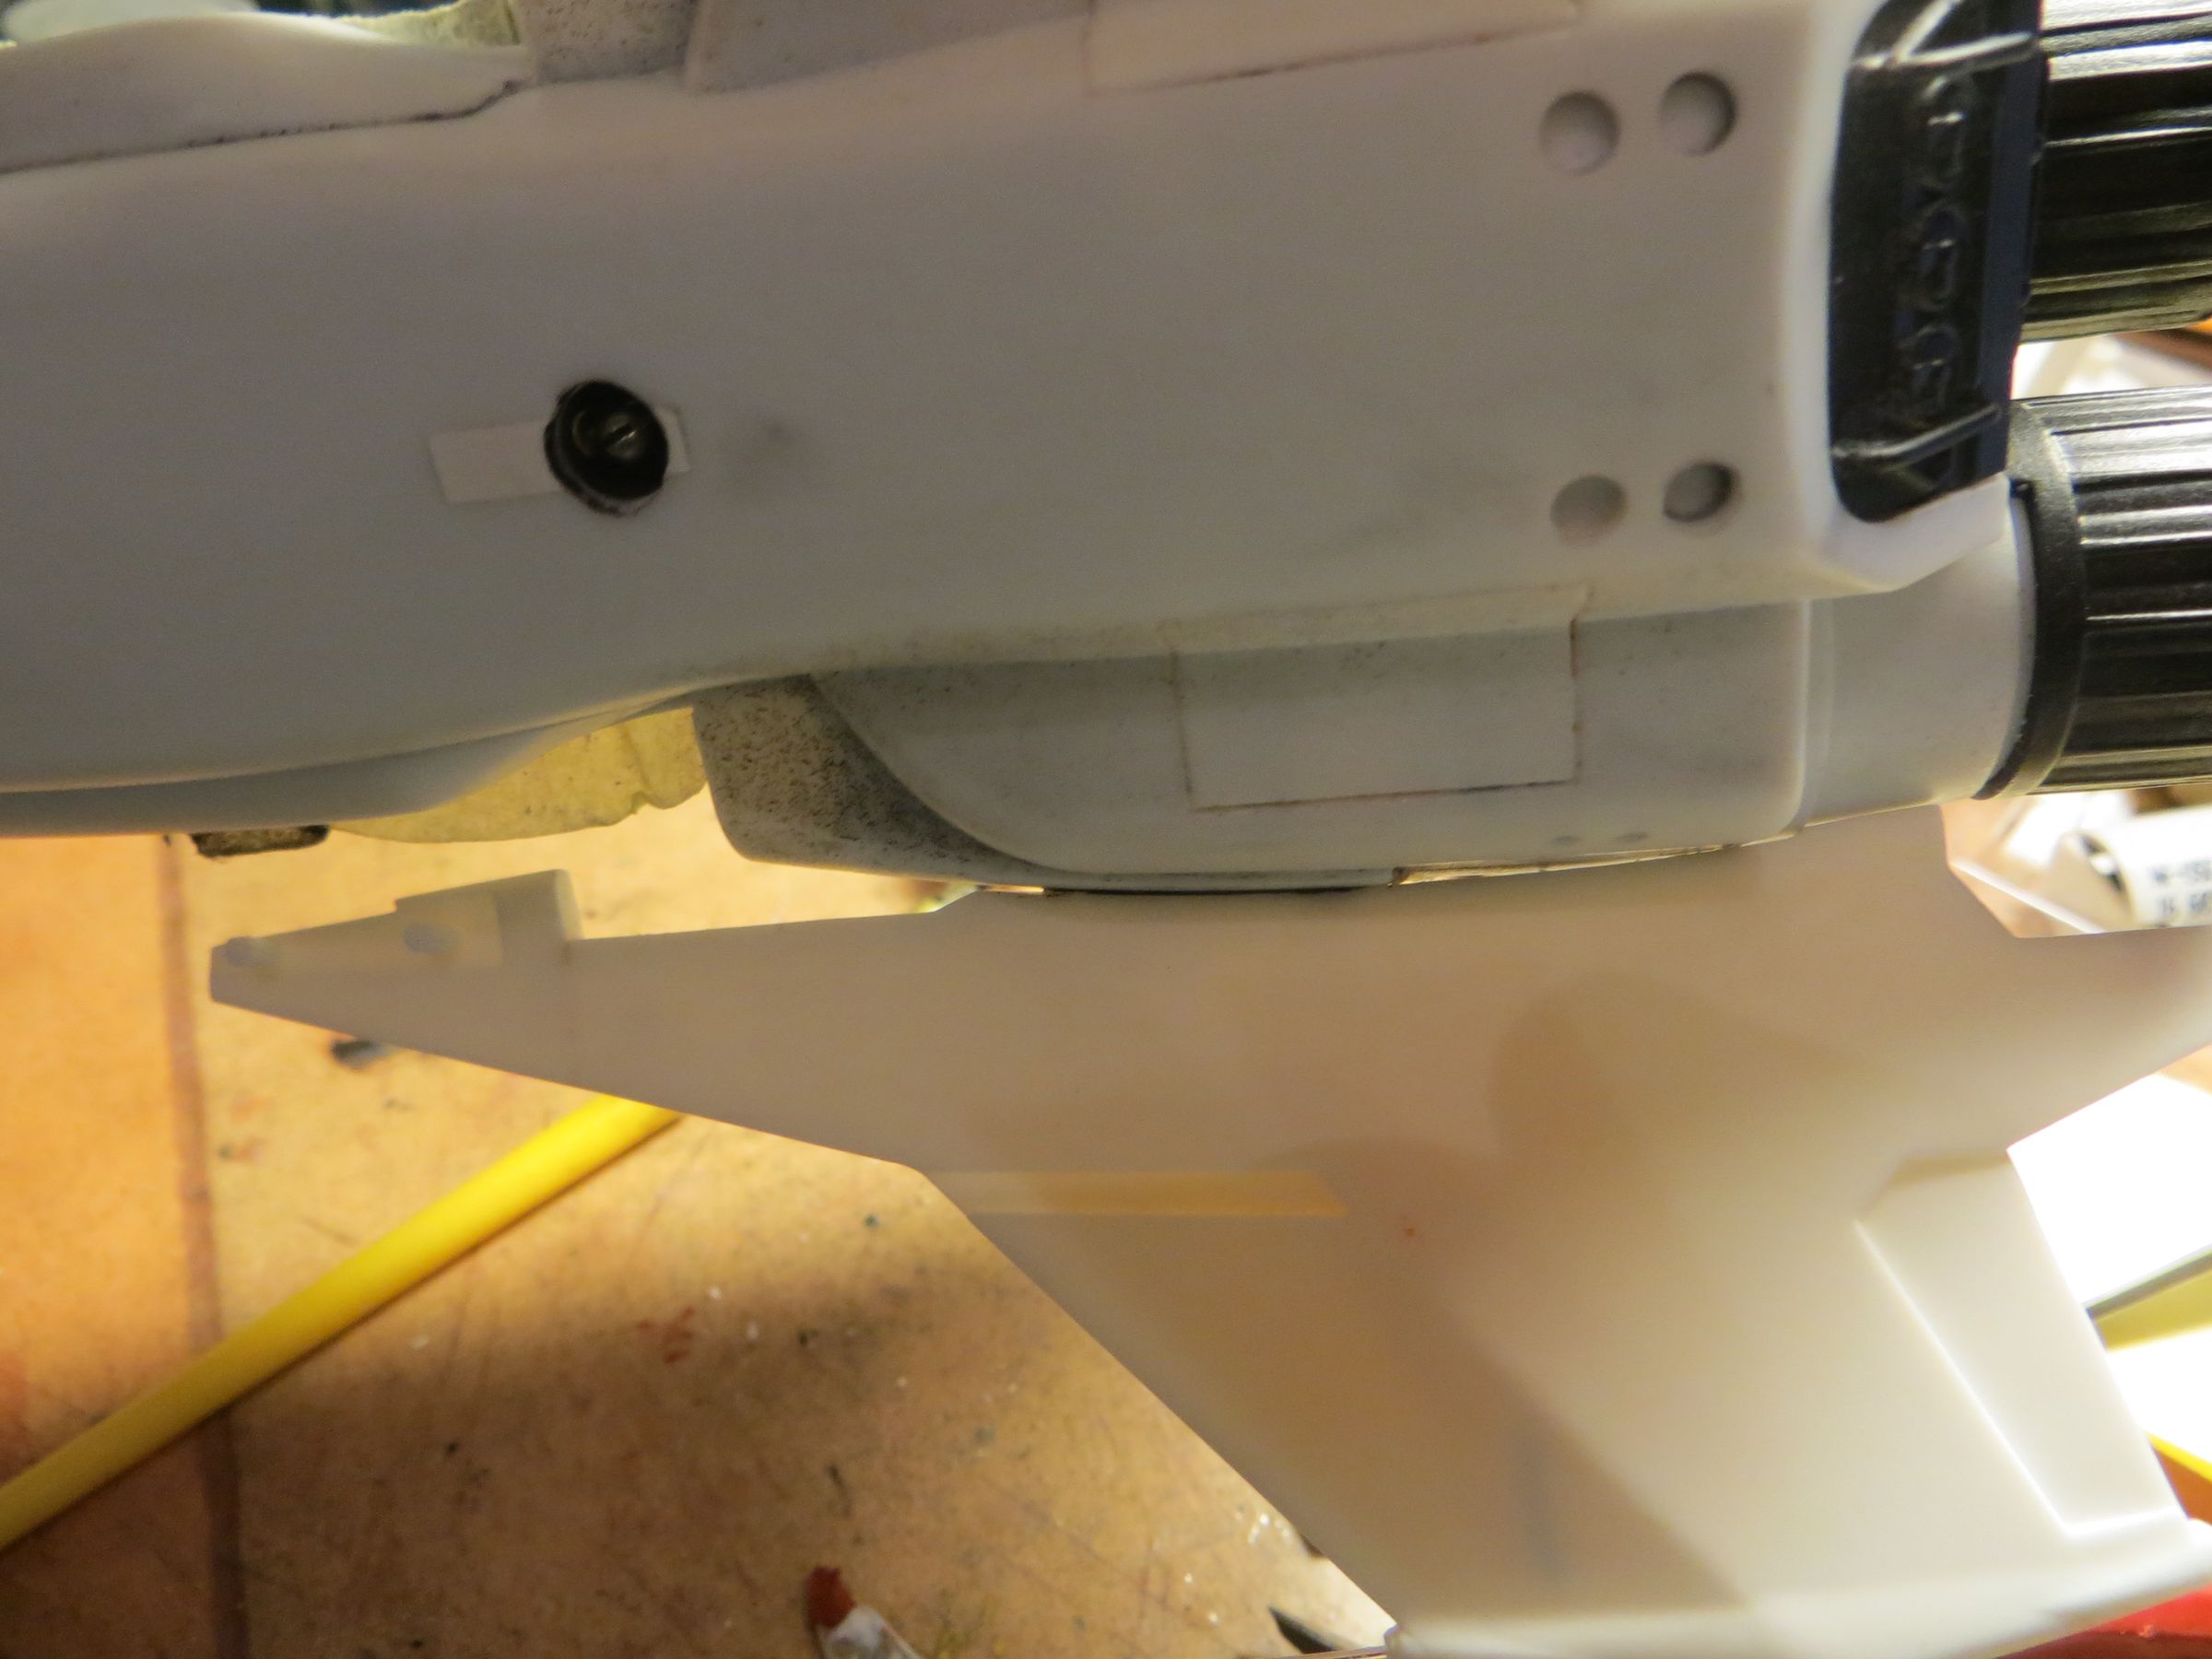
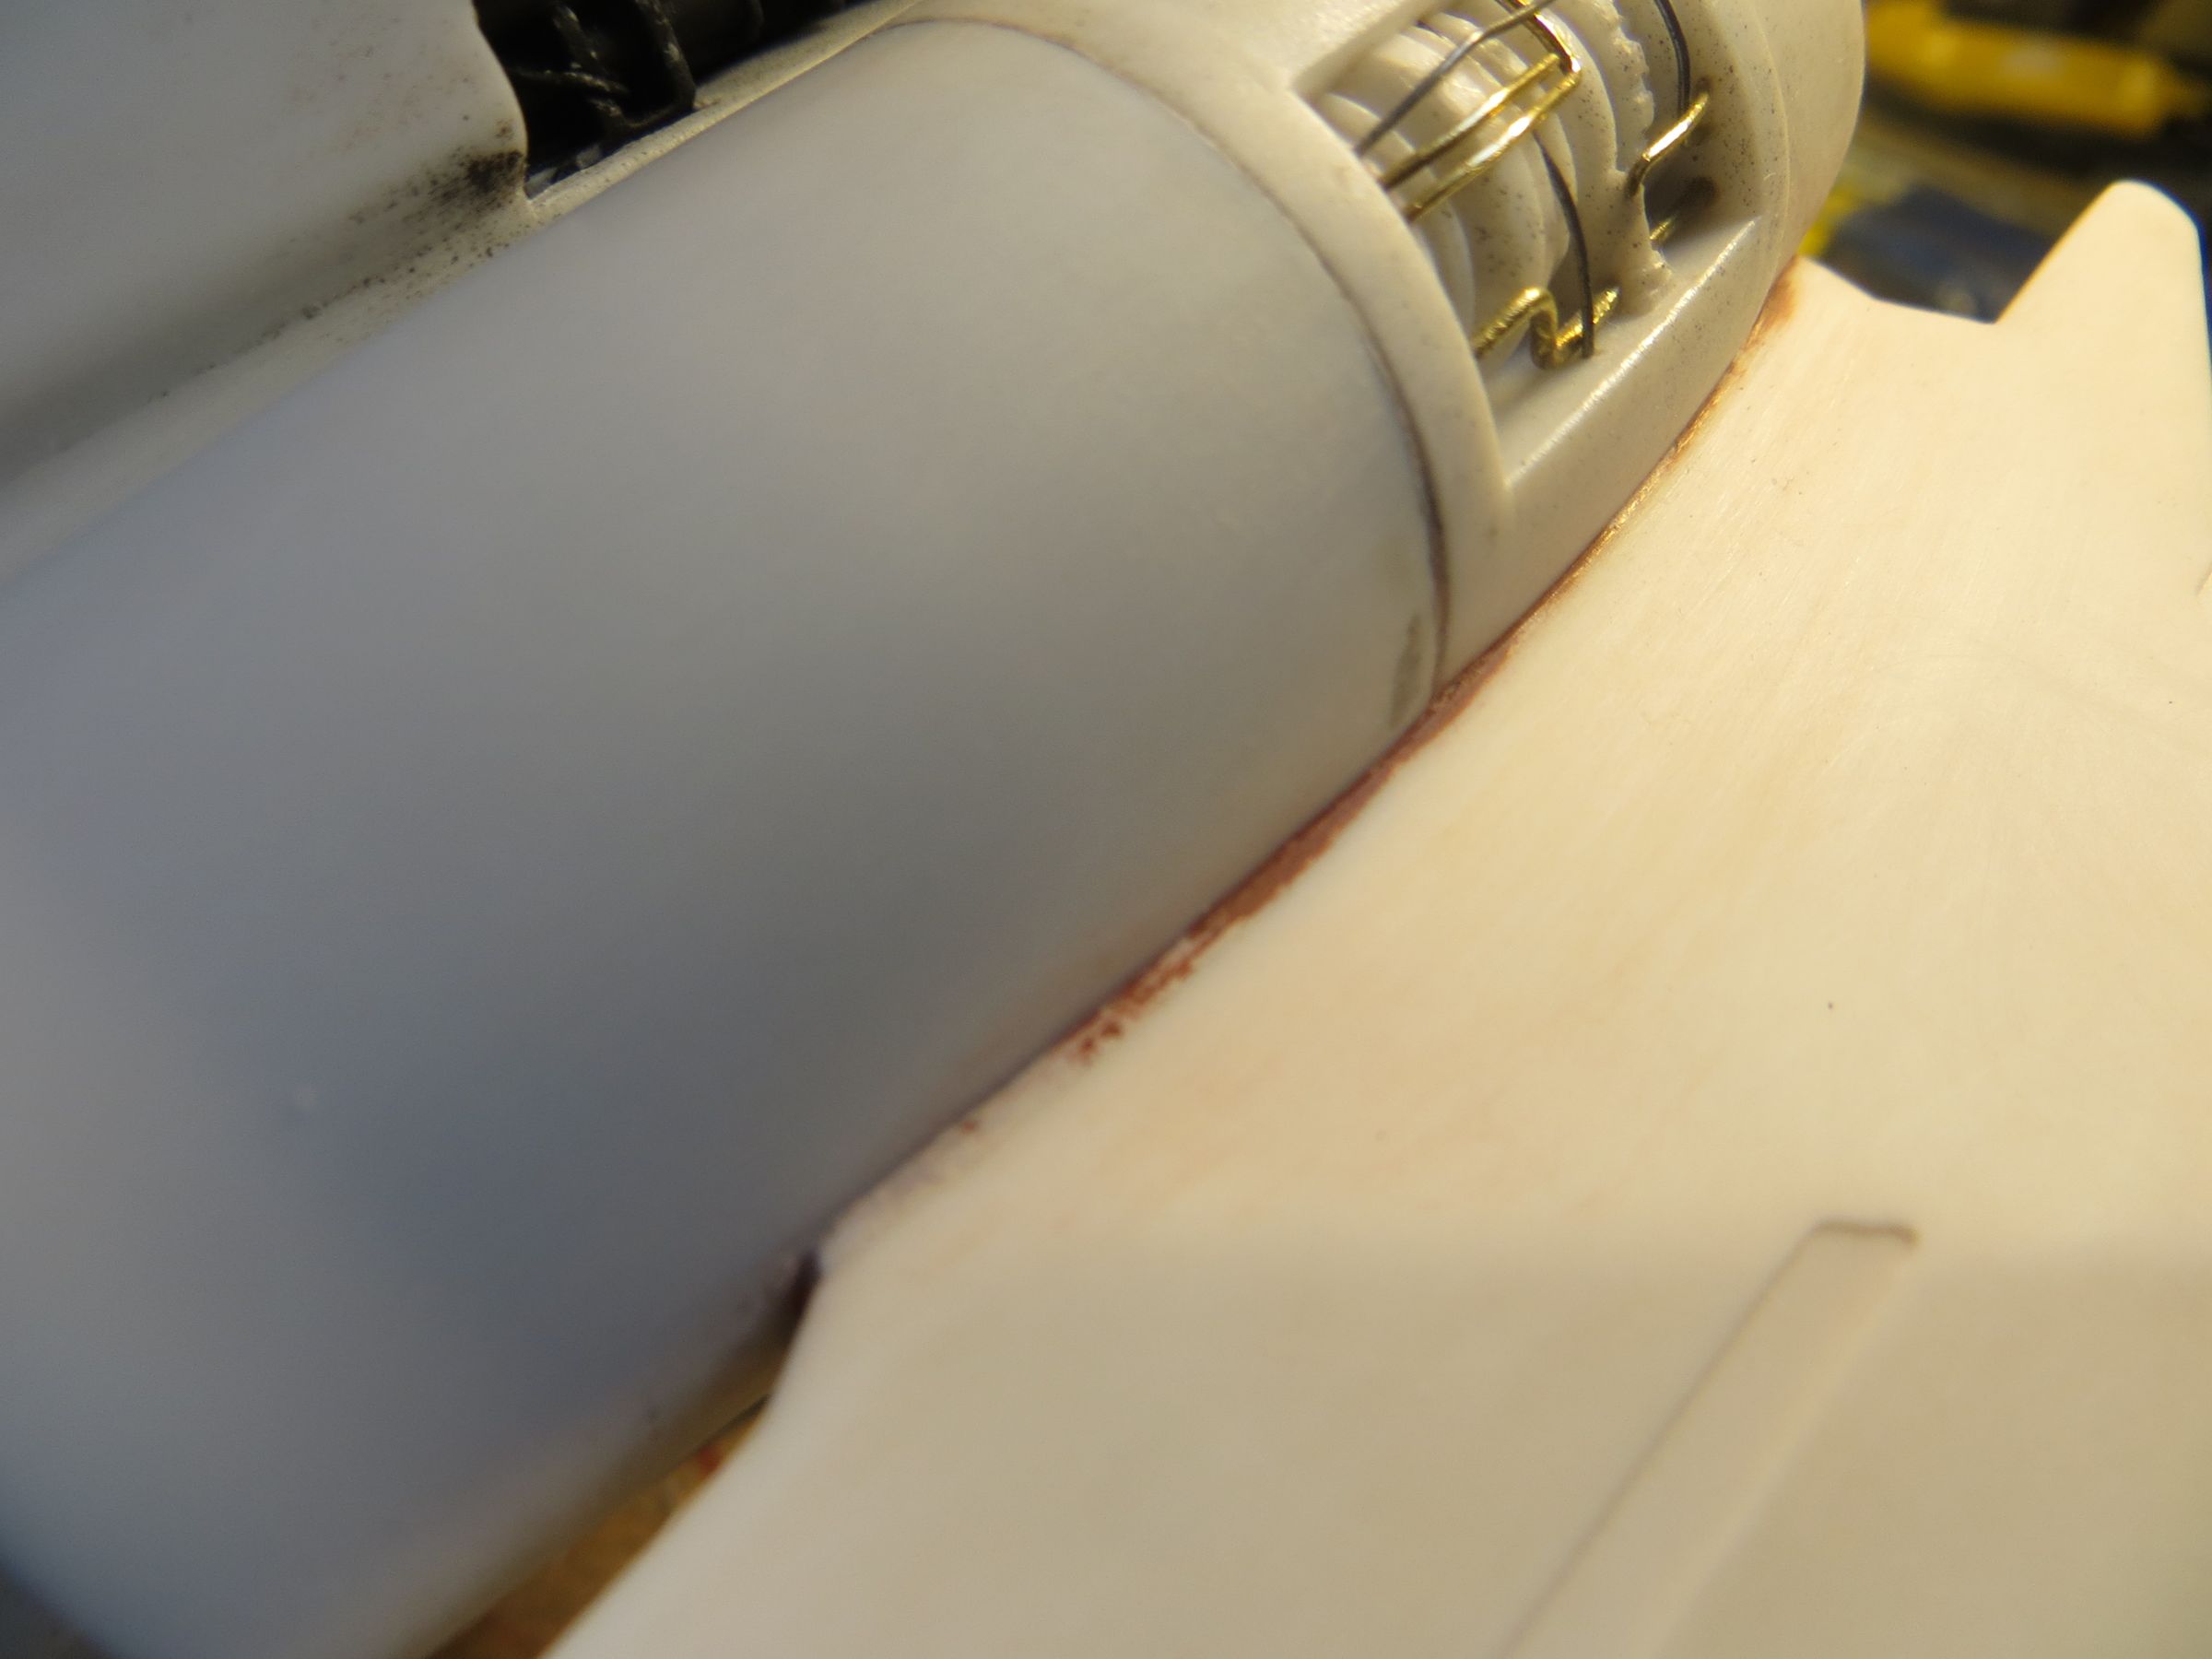
- Fill a sink marks on the cheeks of air inlets
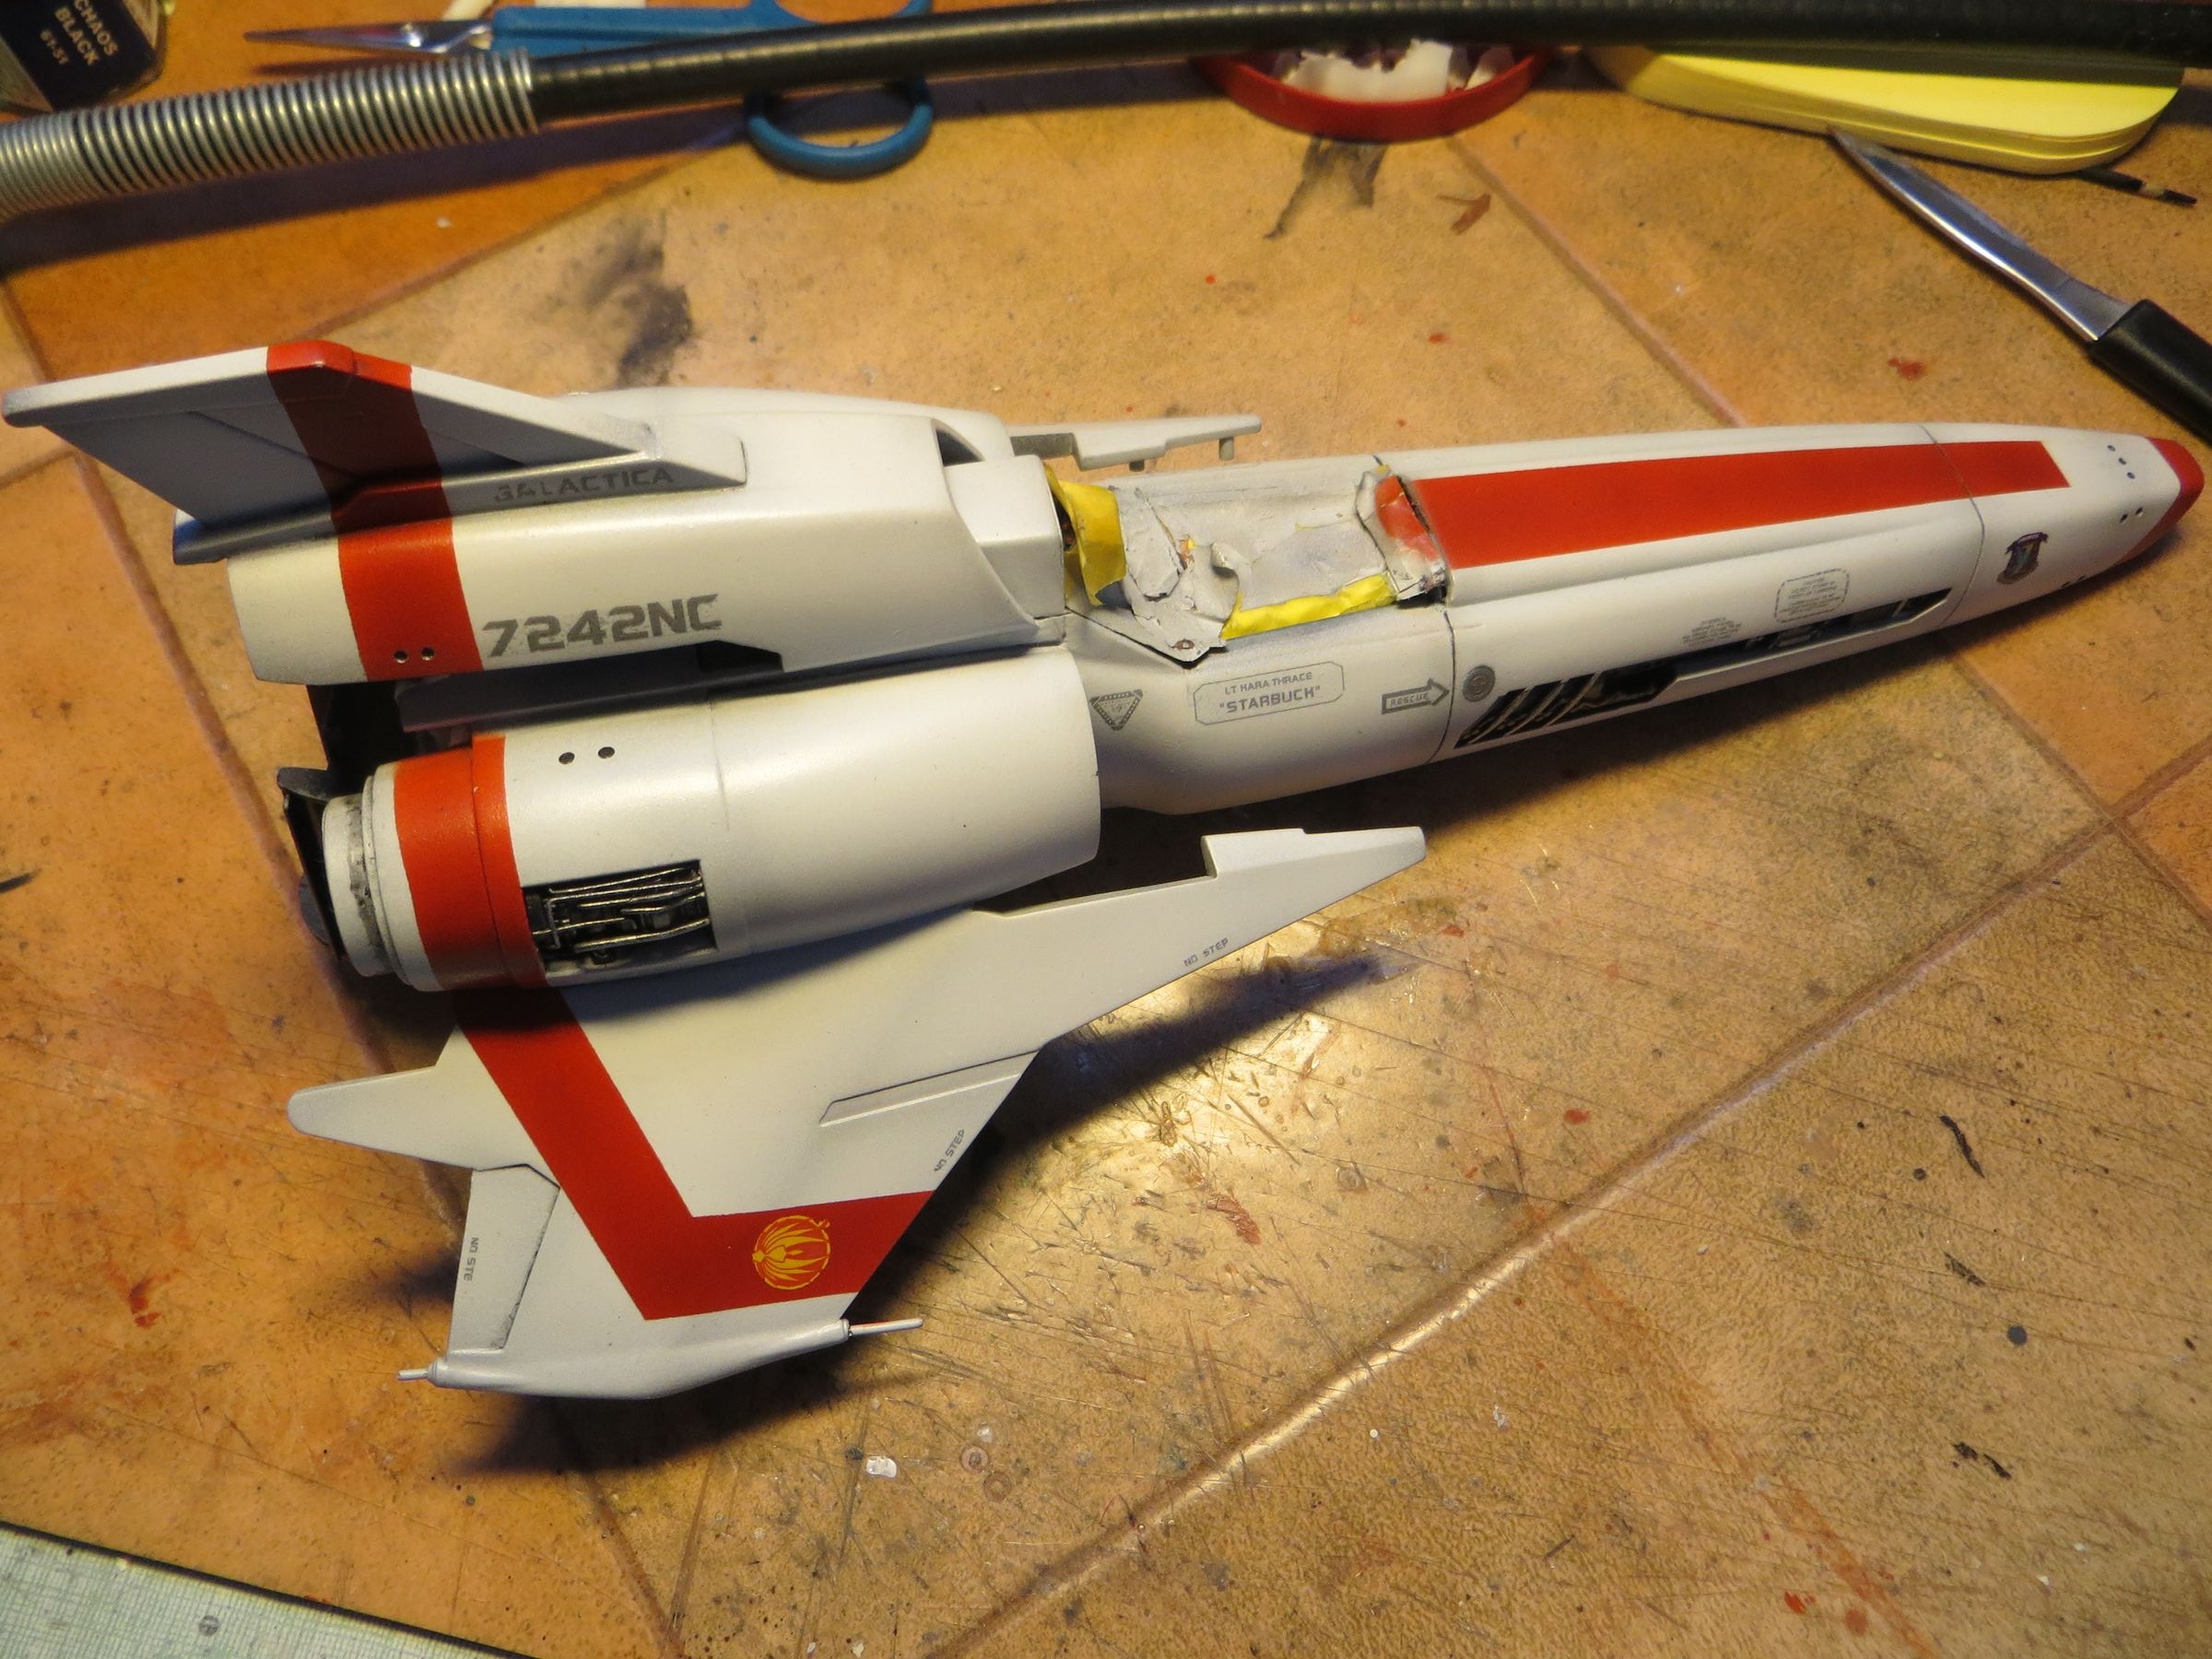
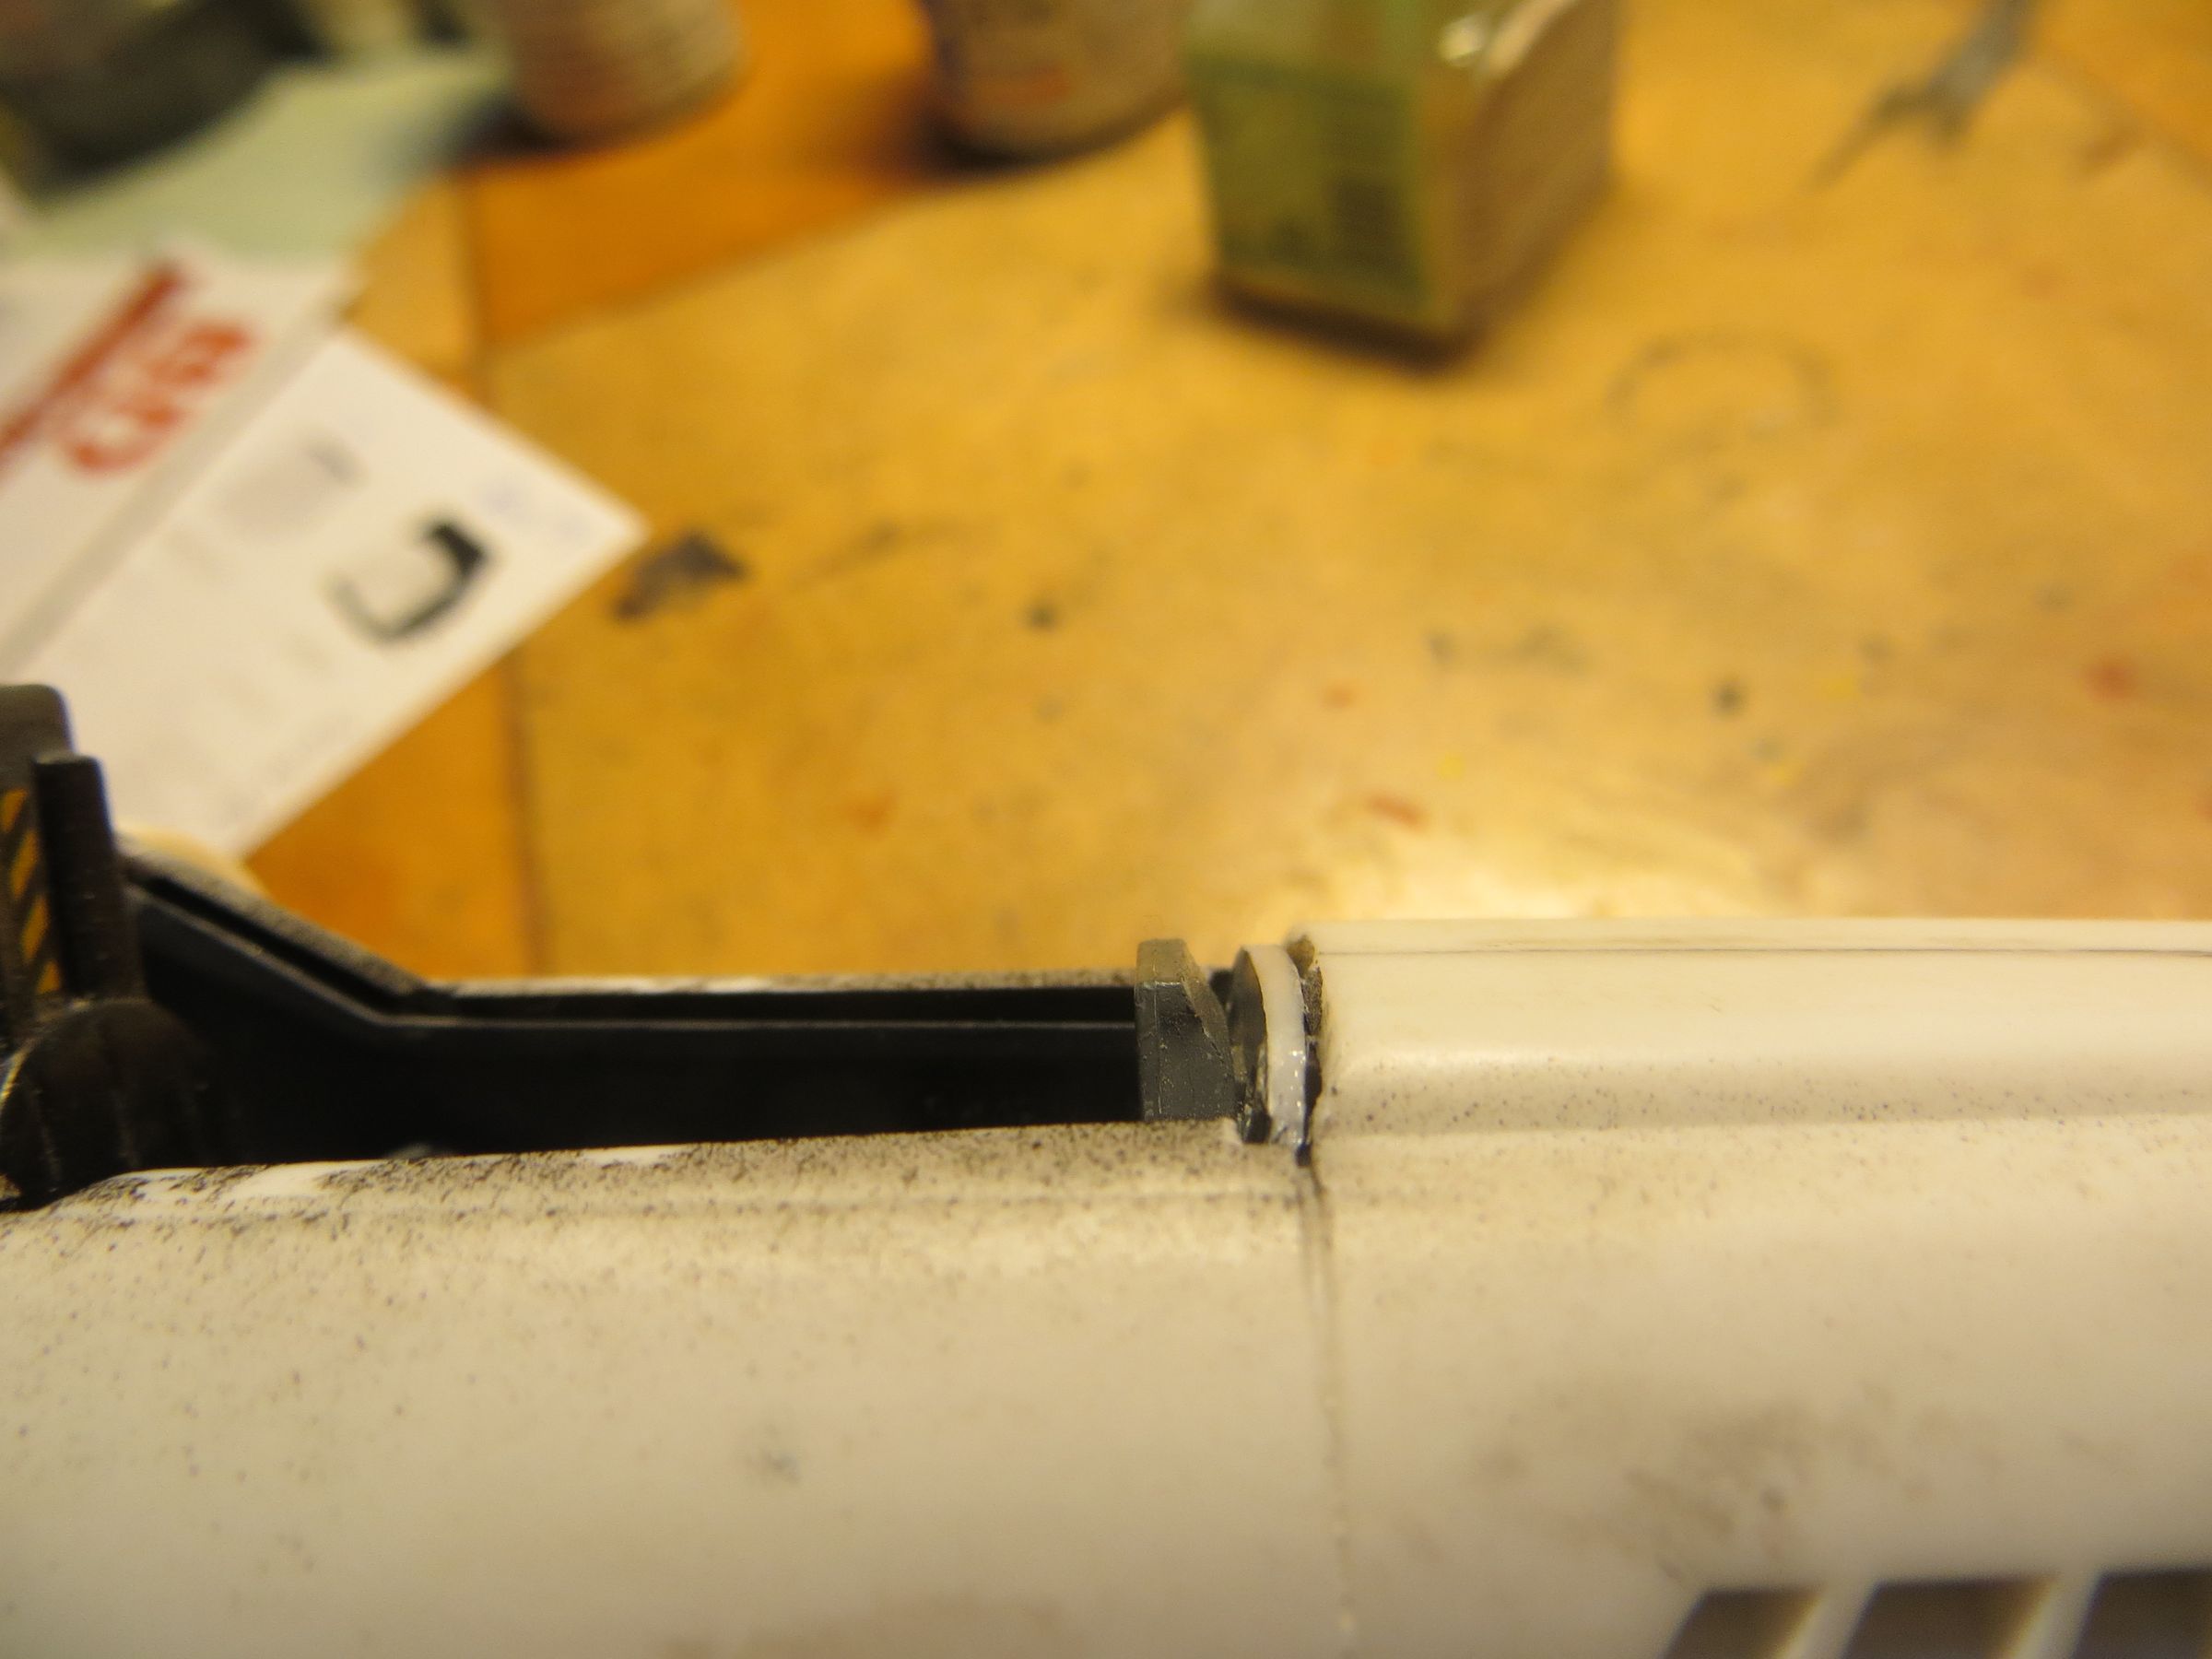
before
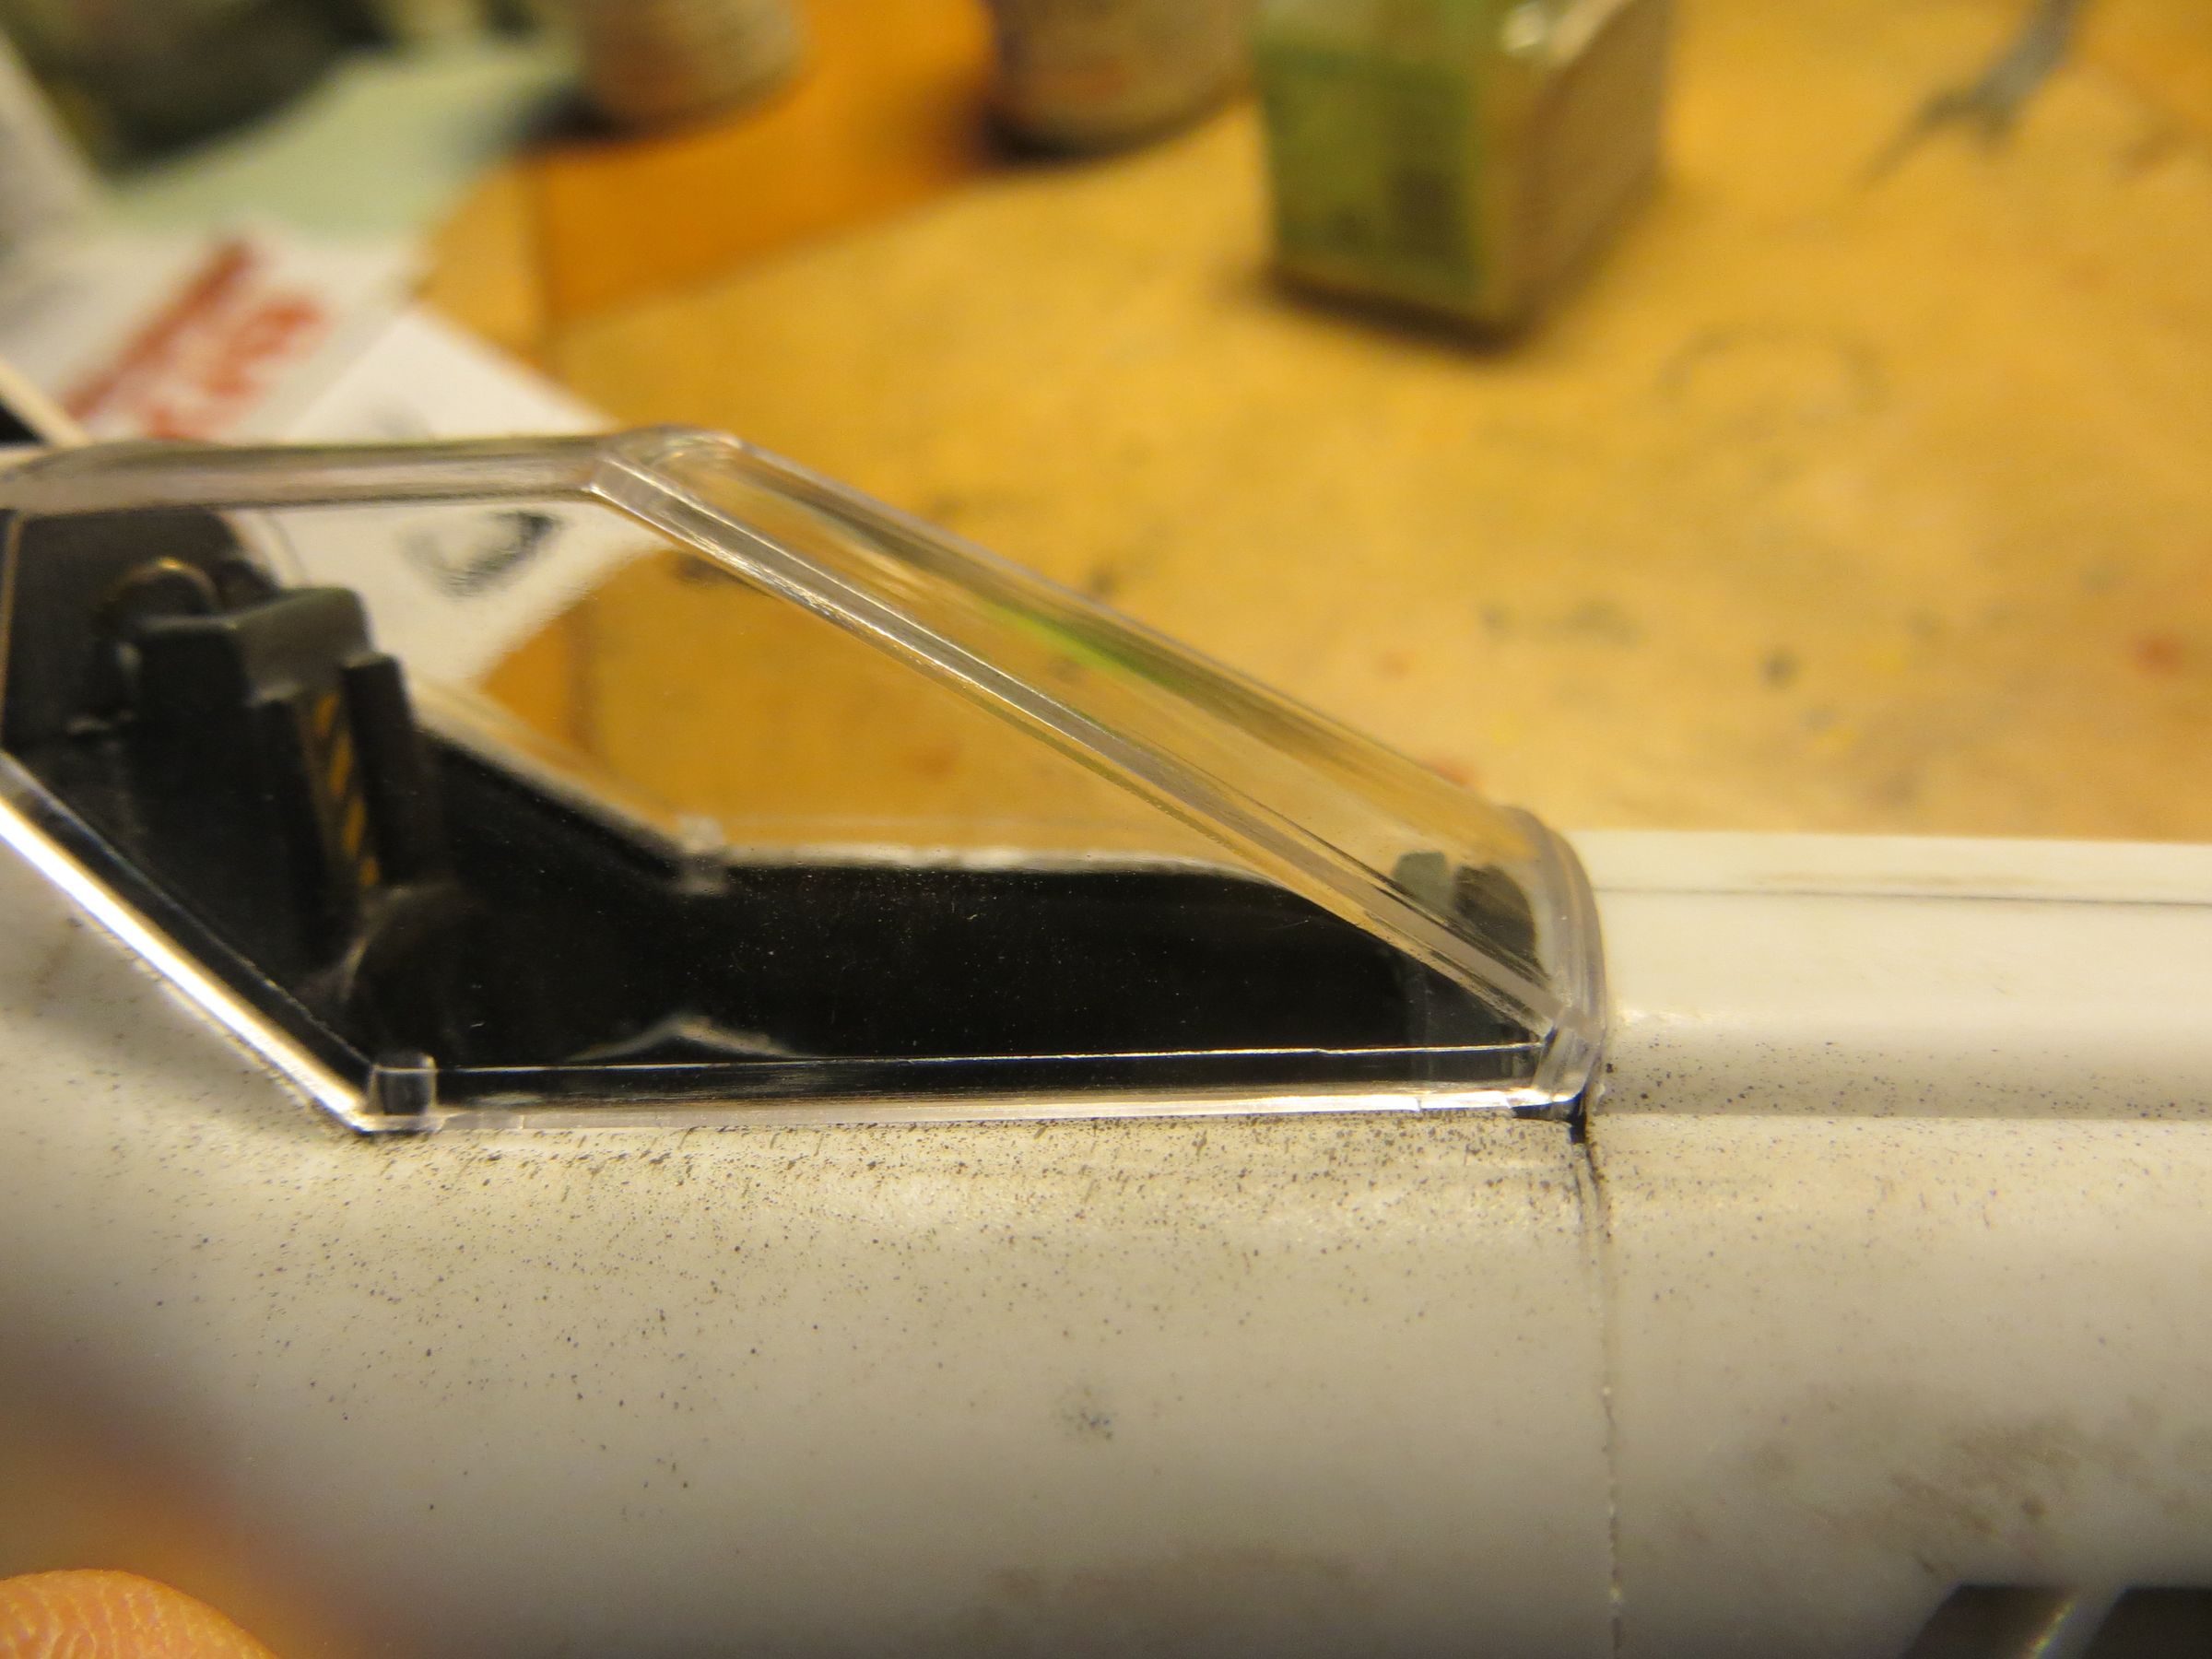
after
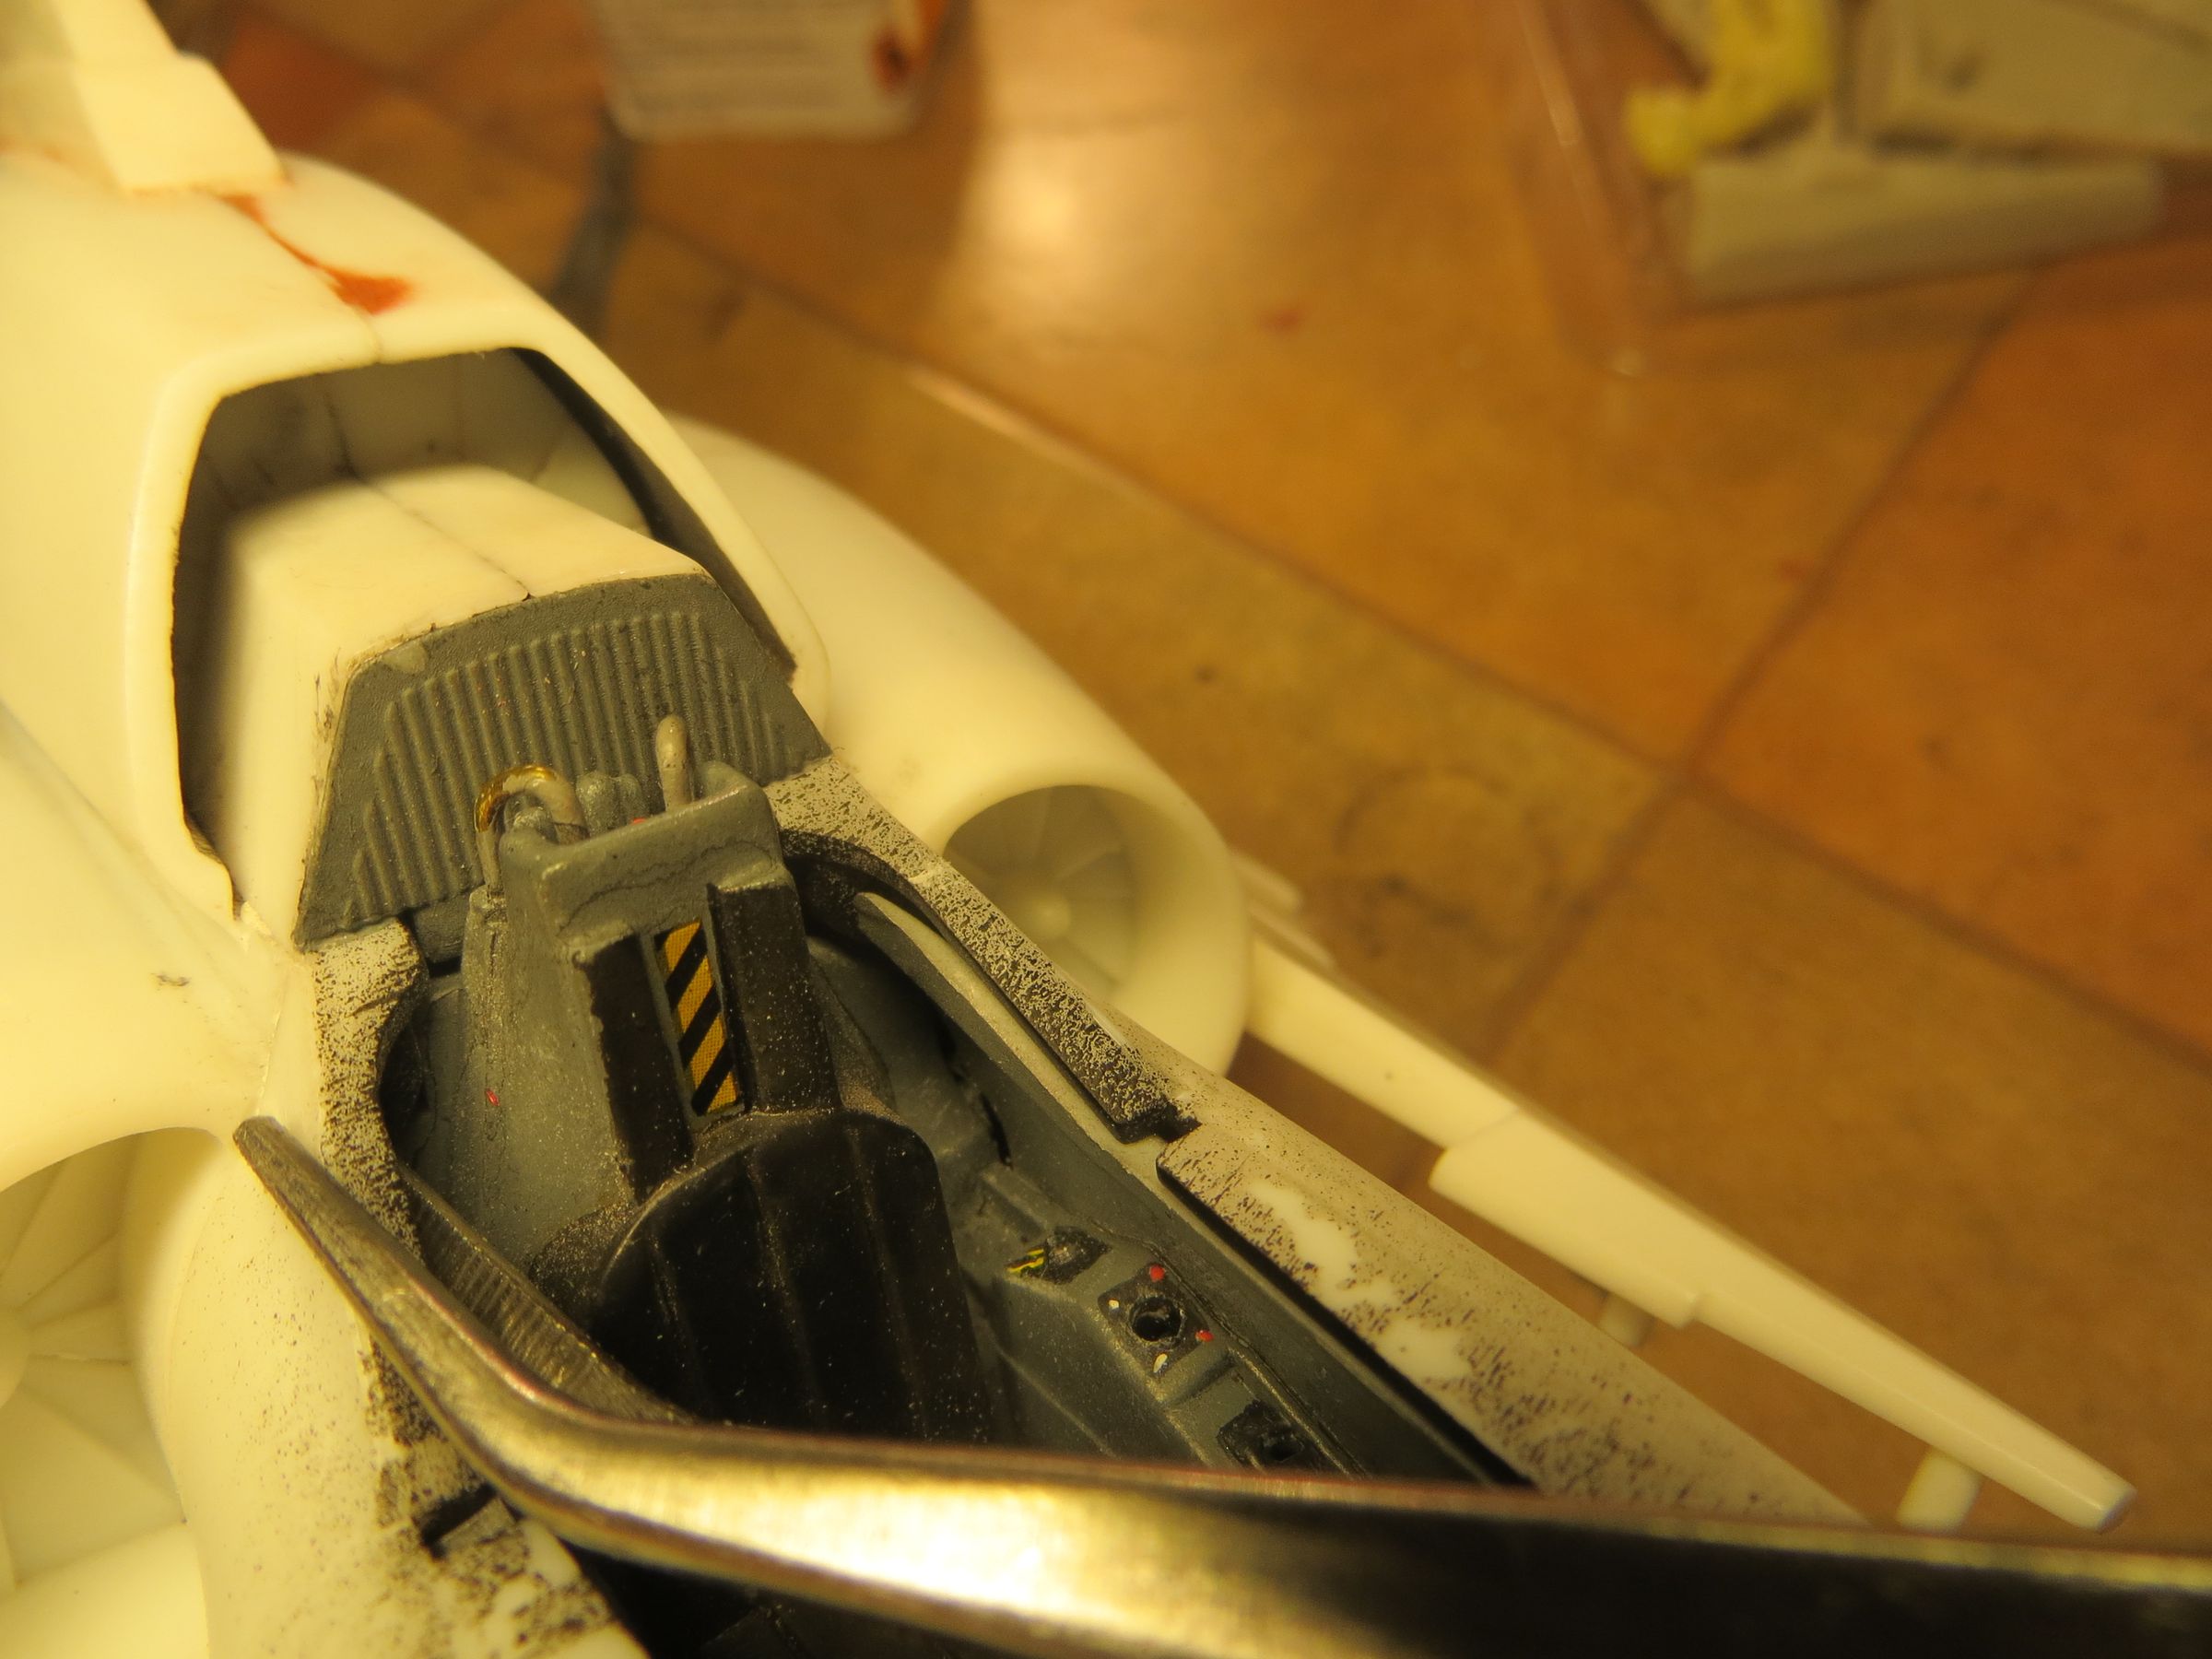
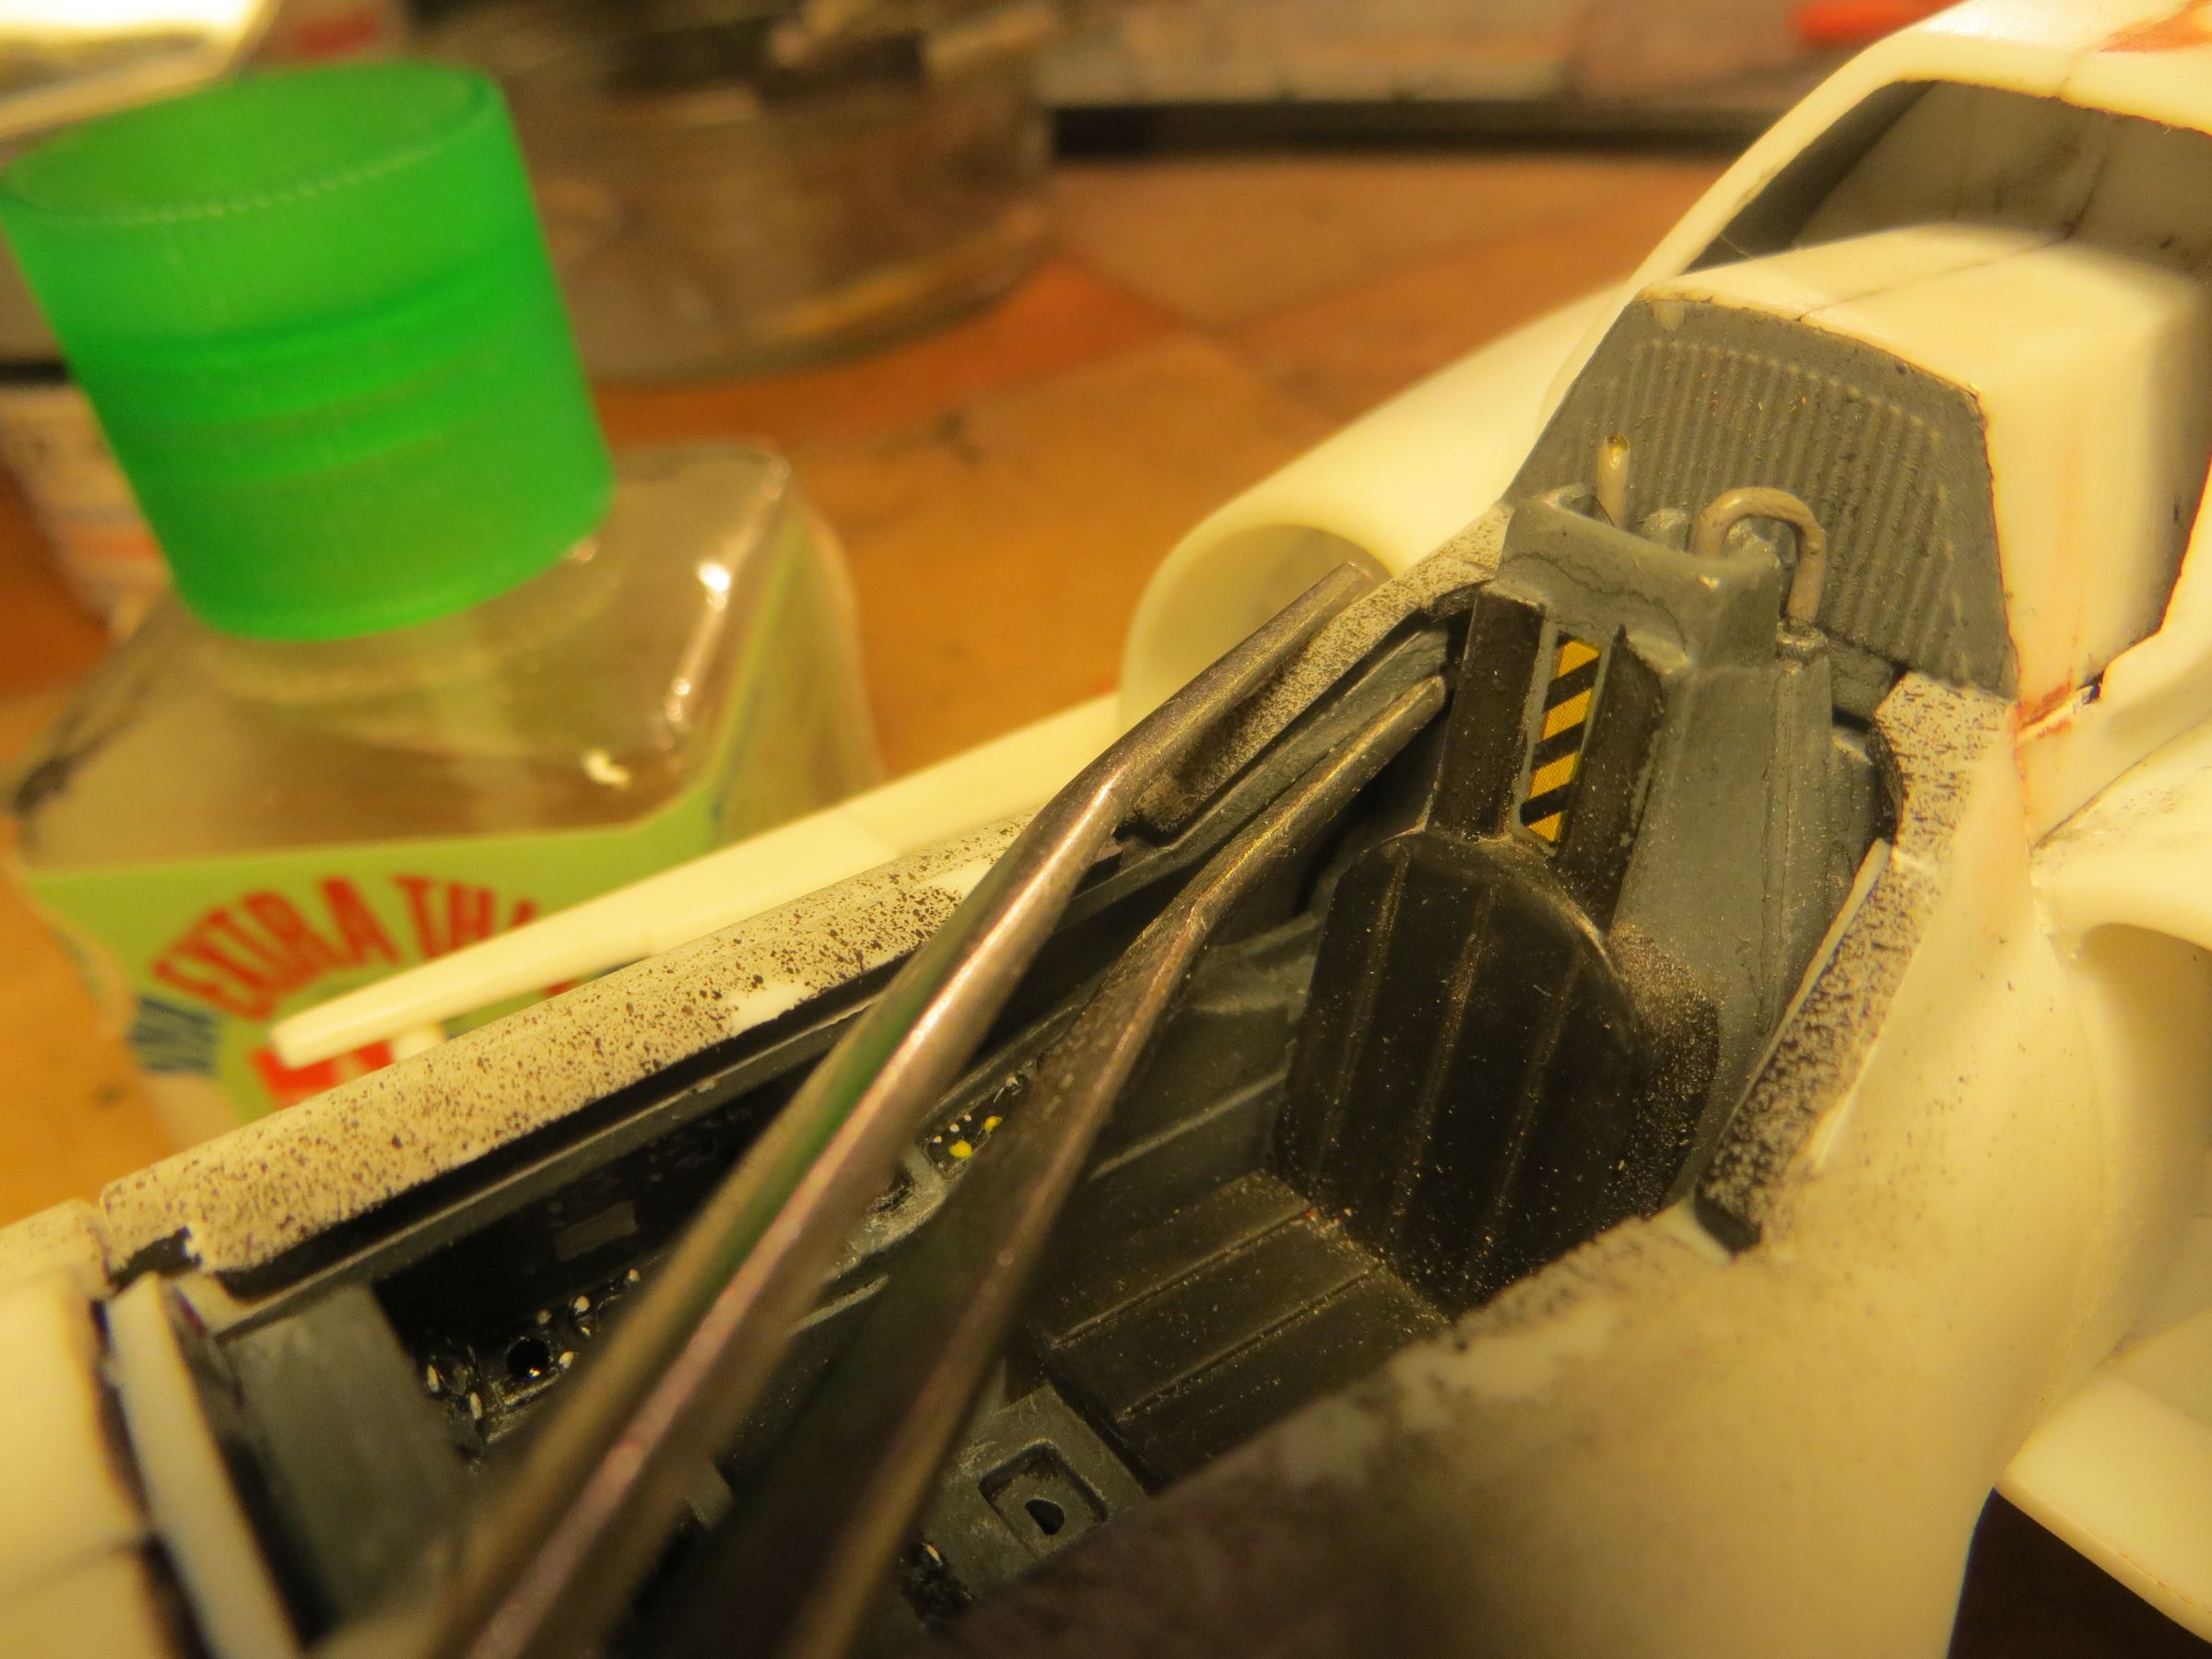
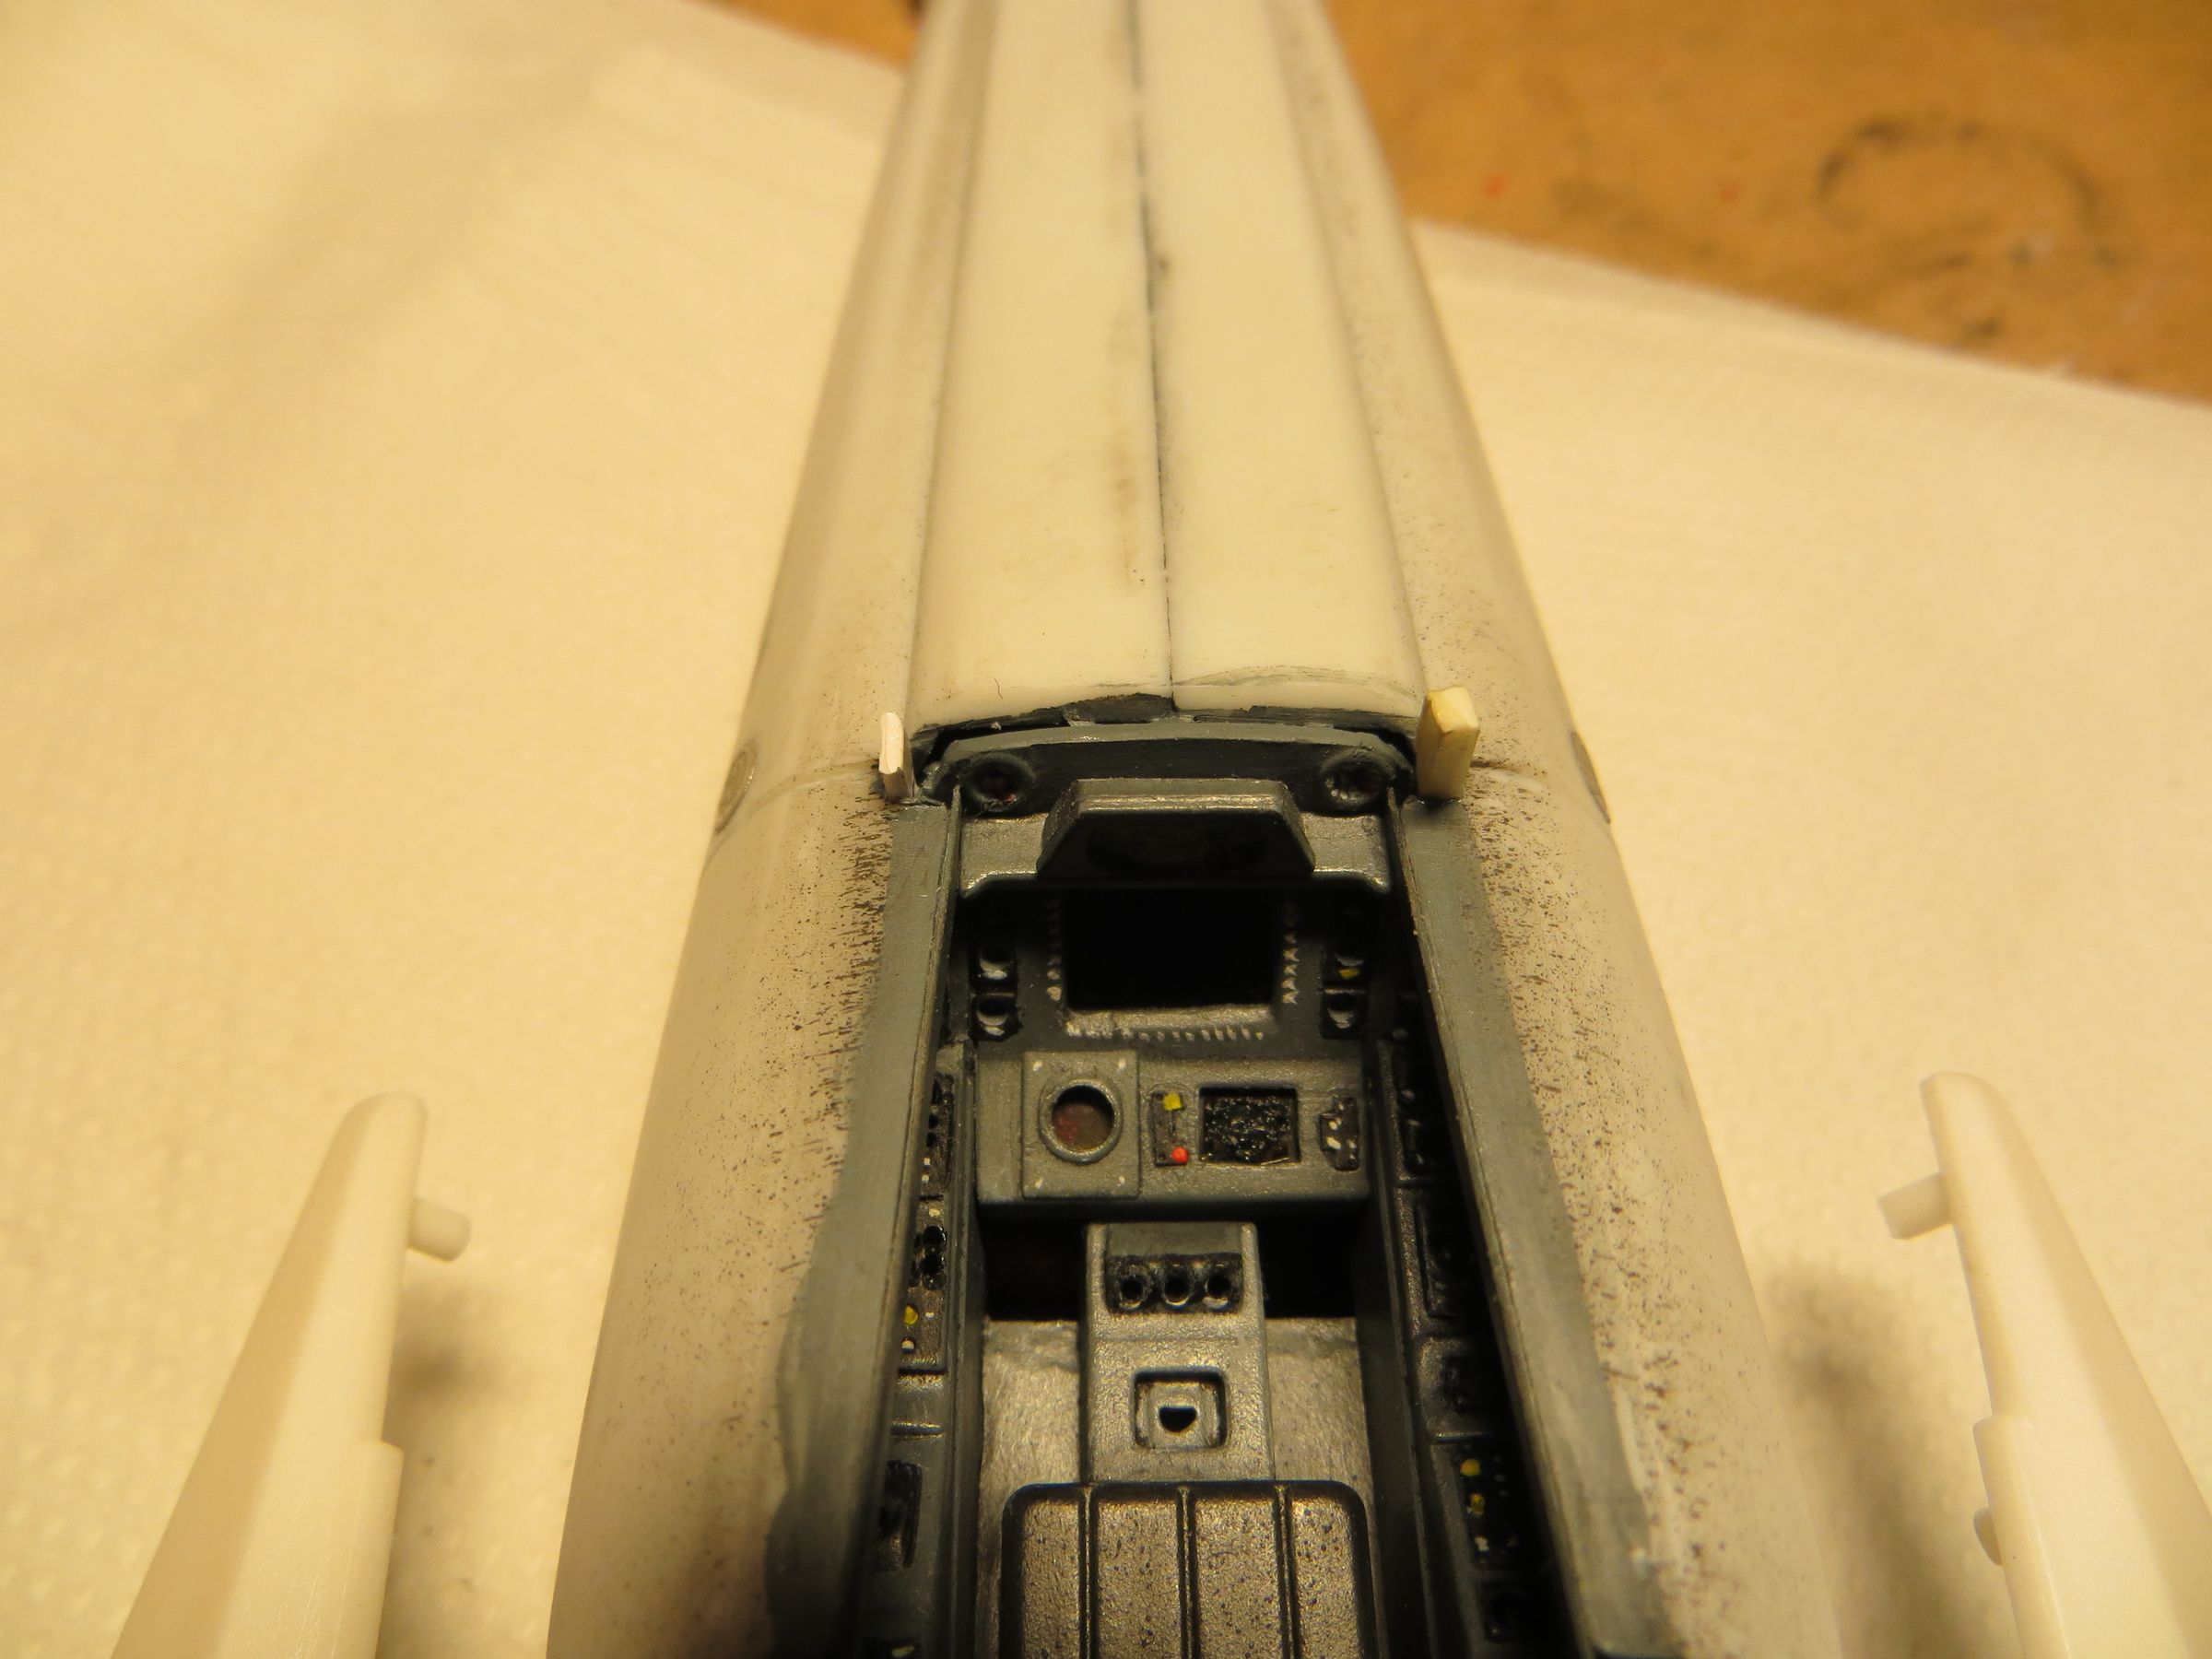
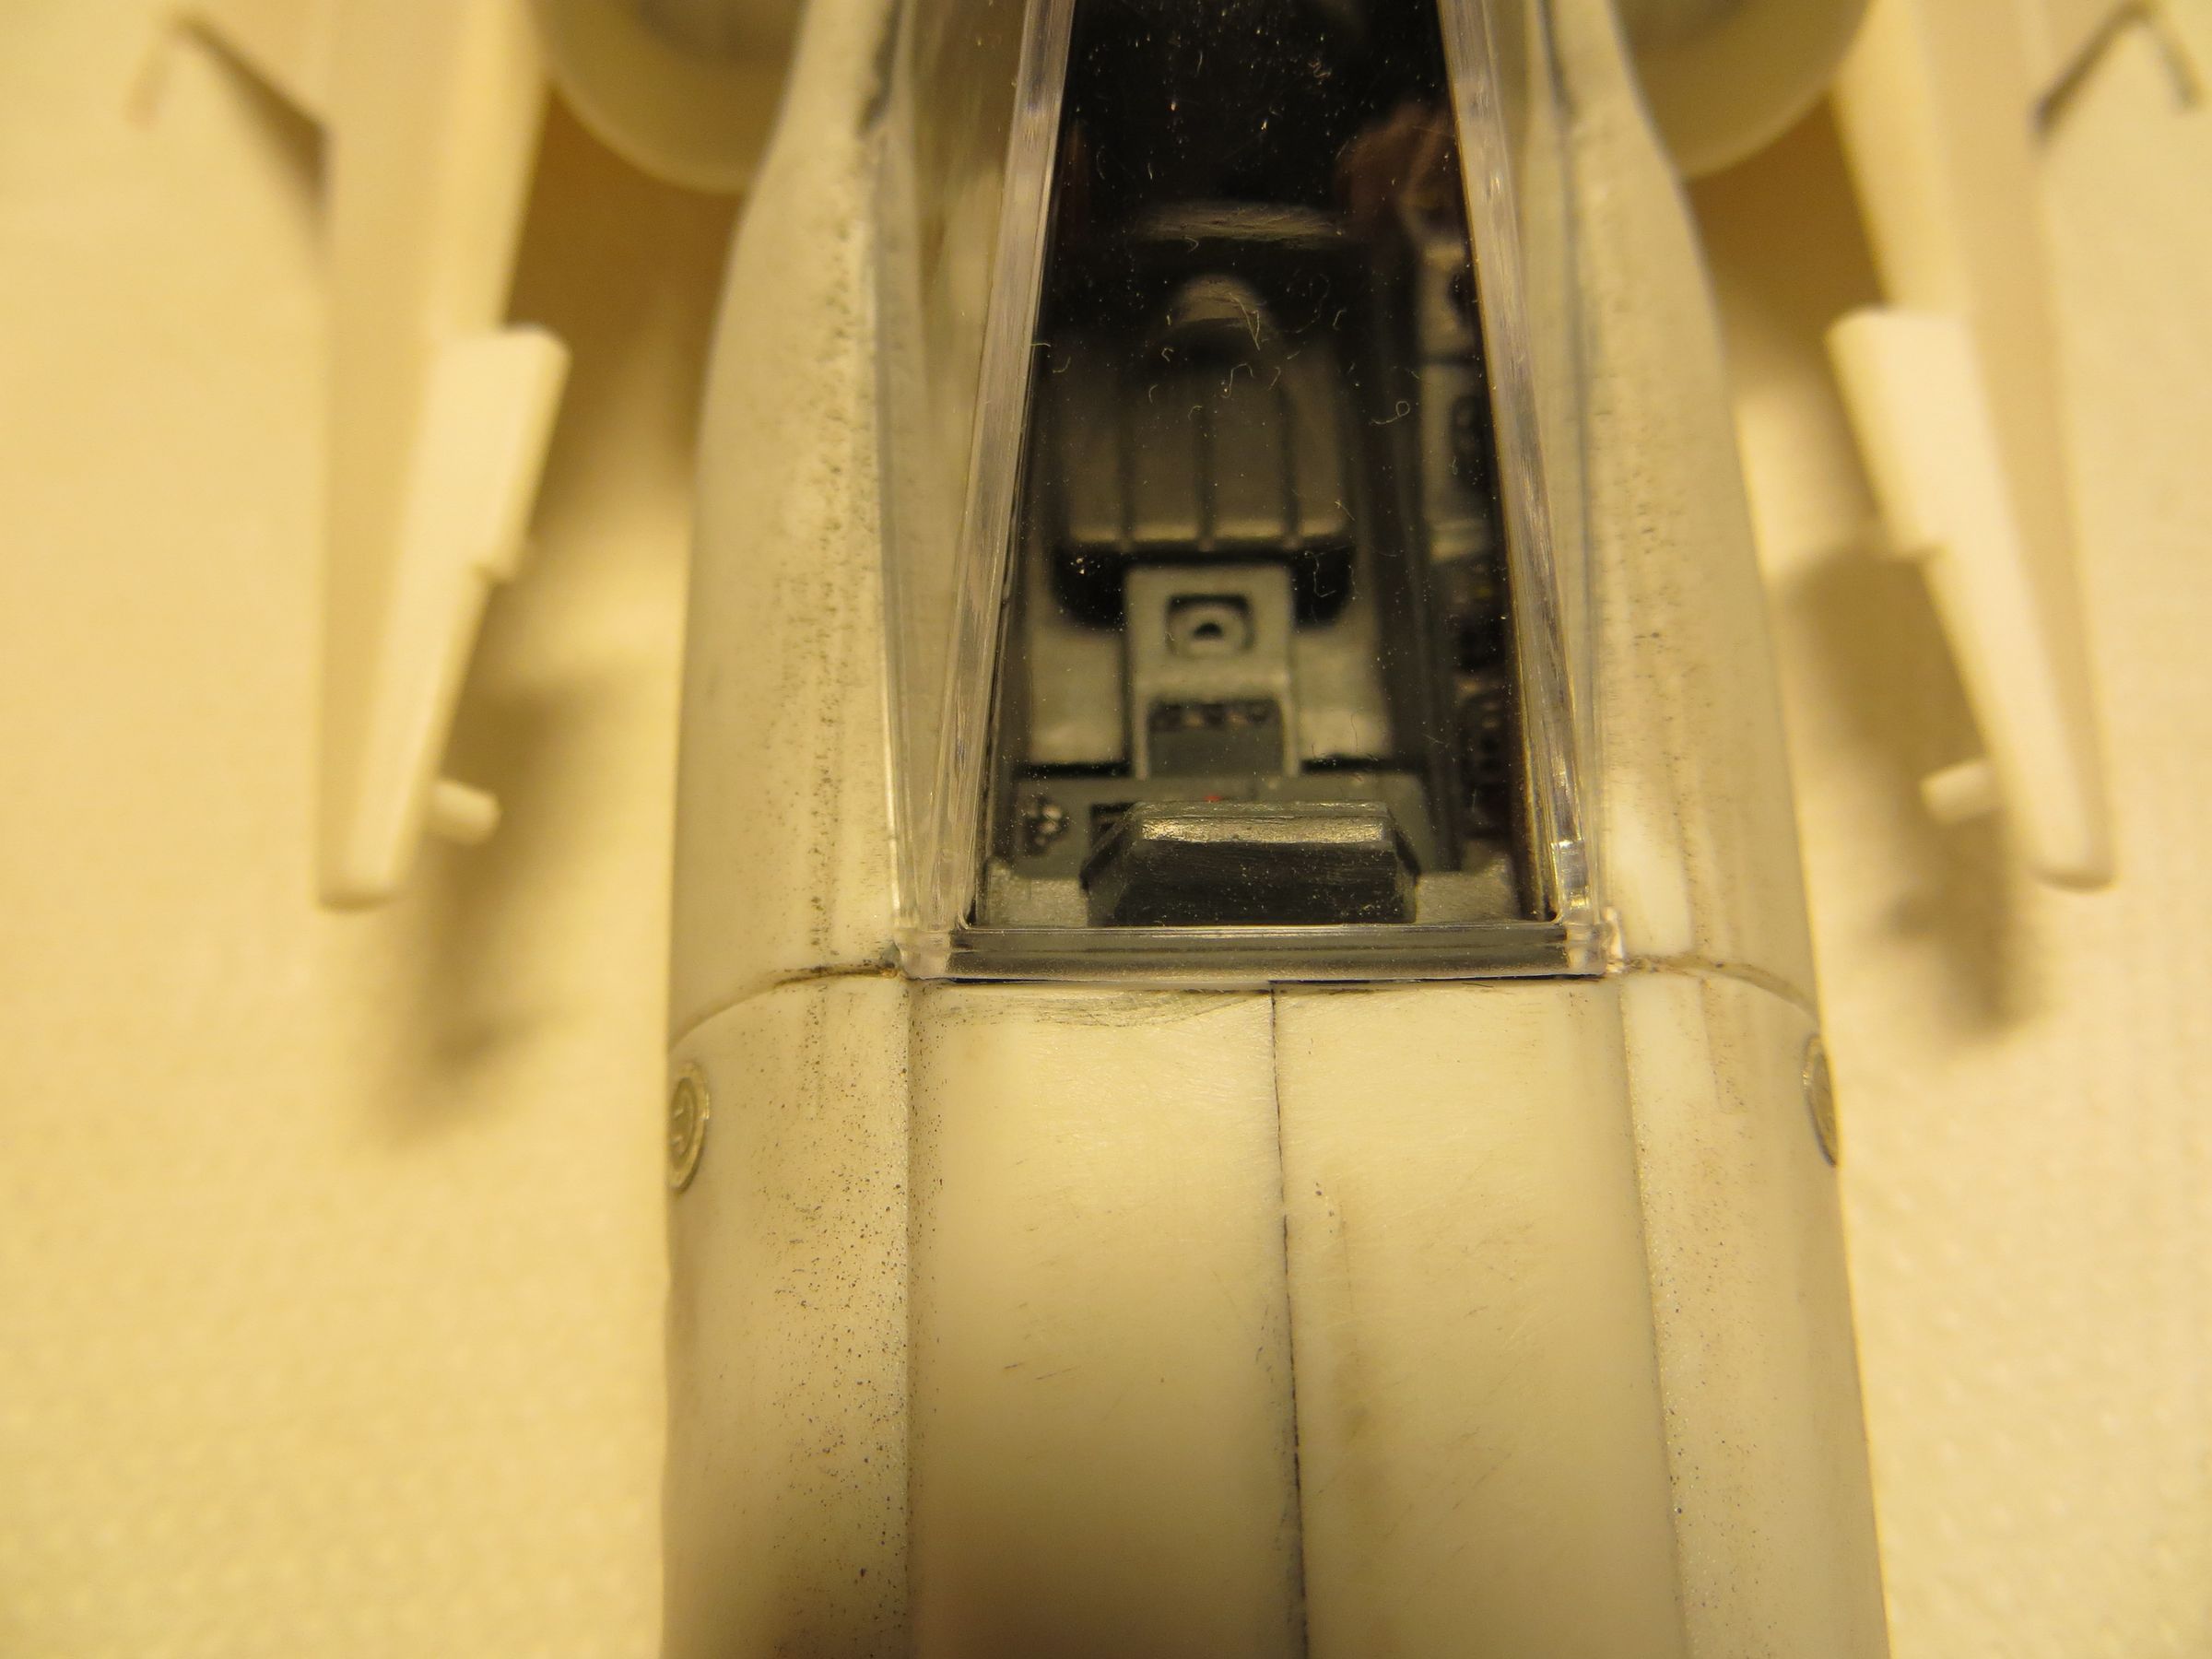
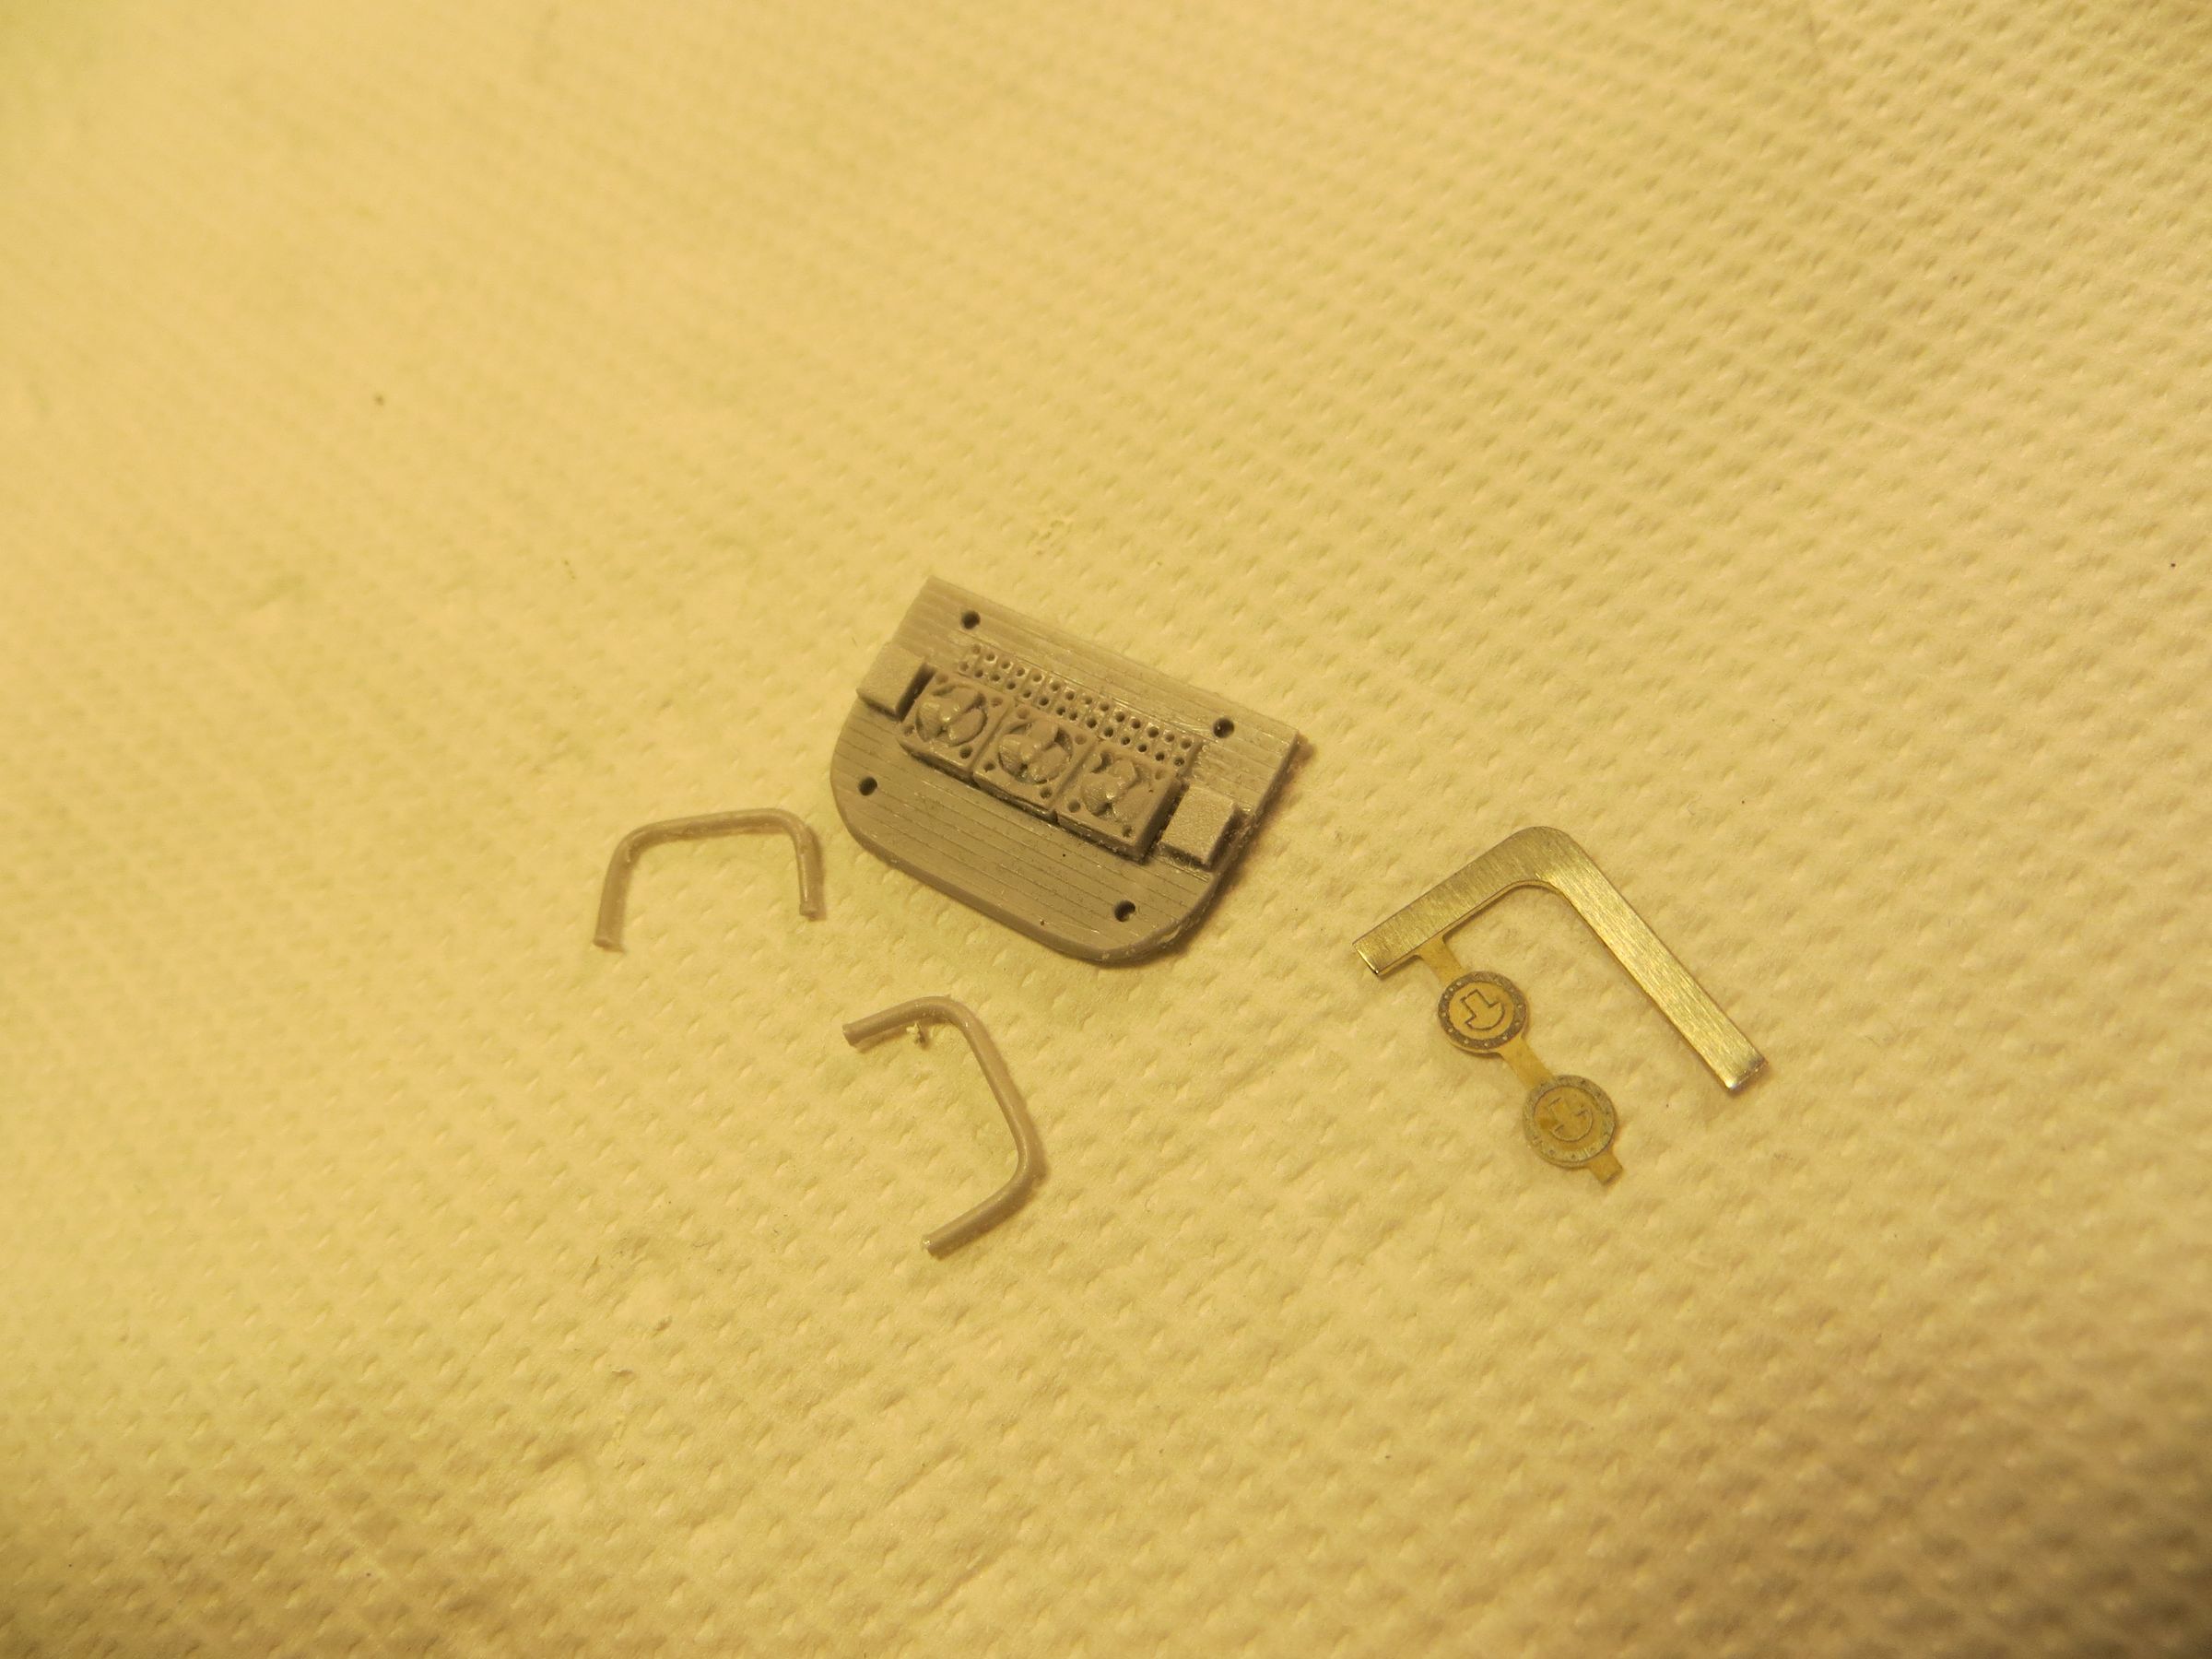
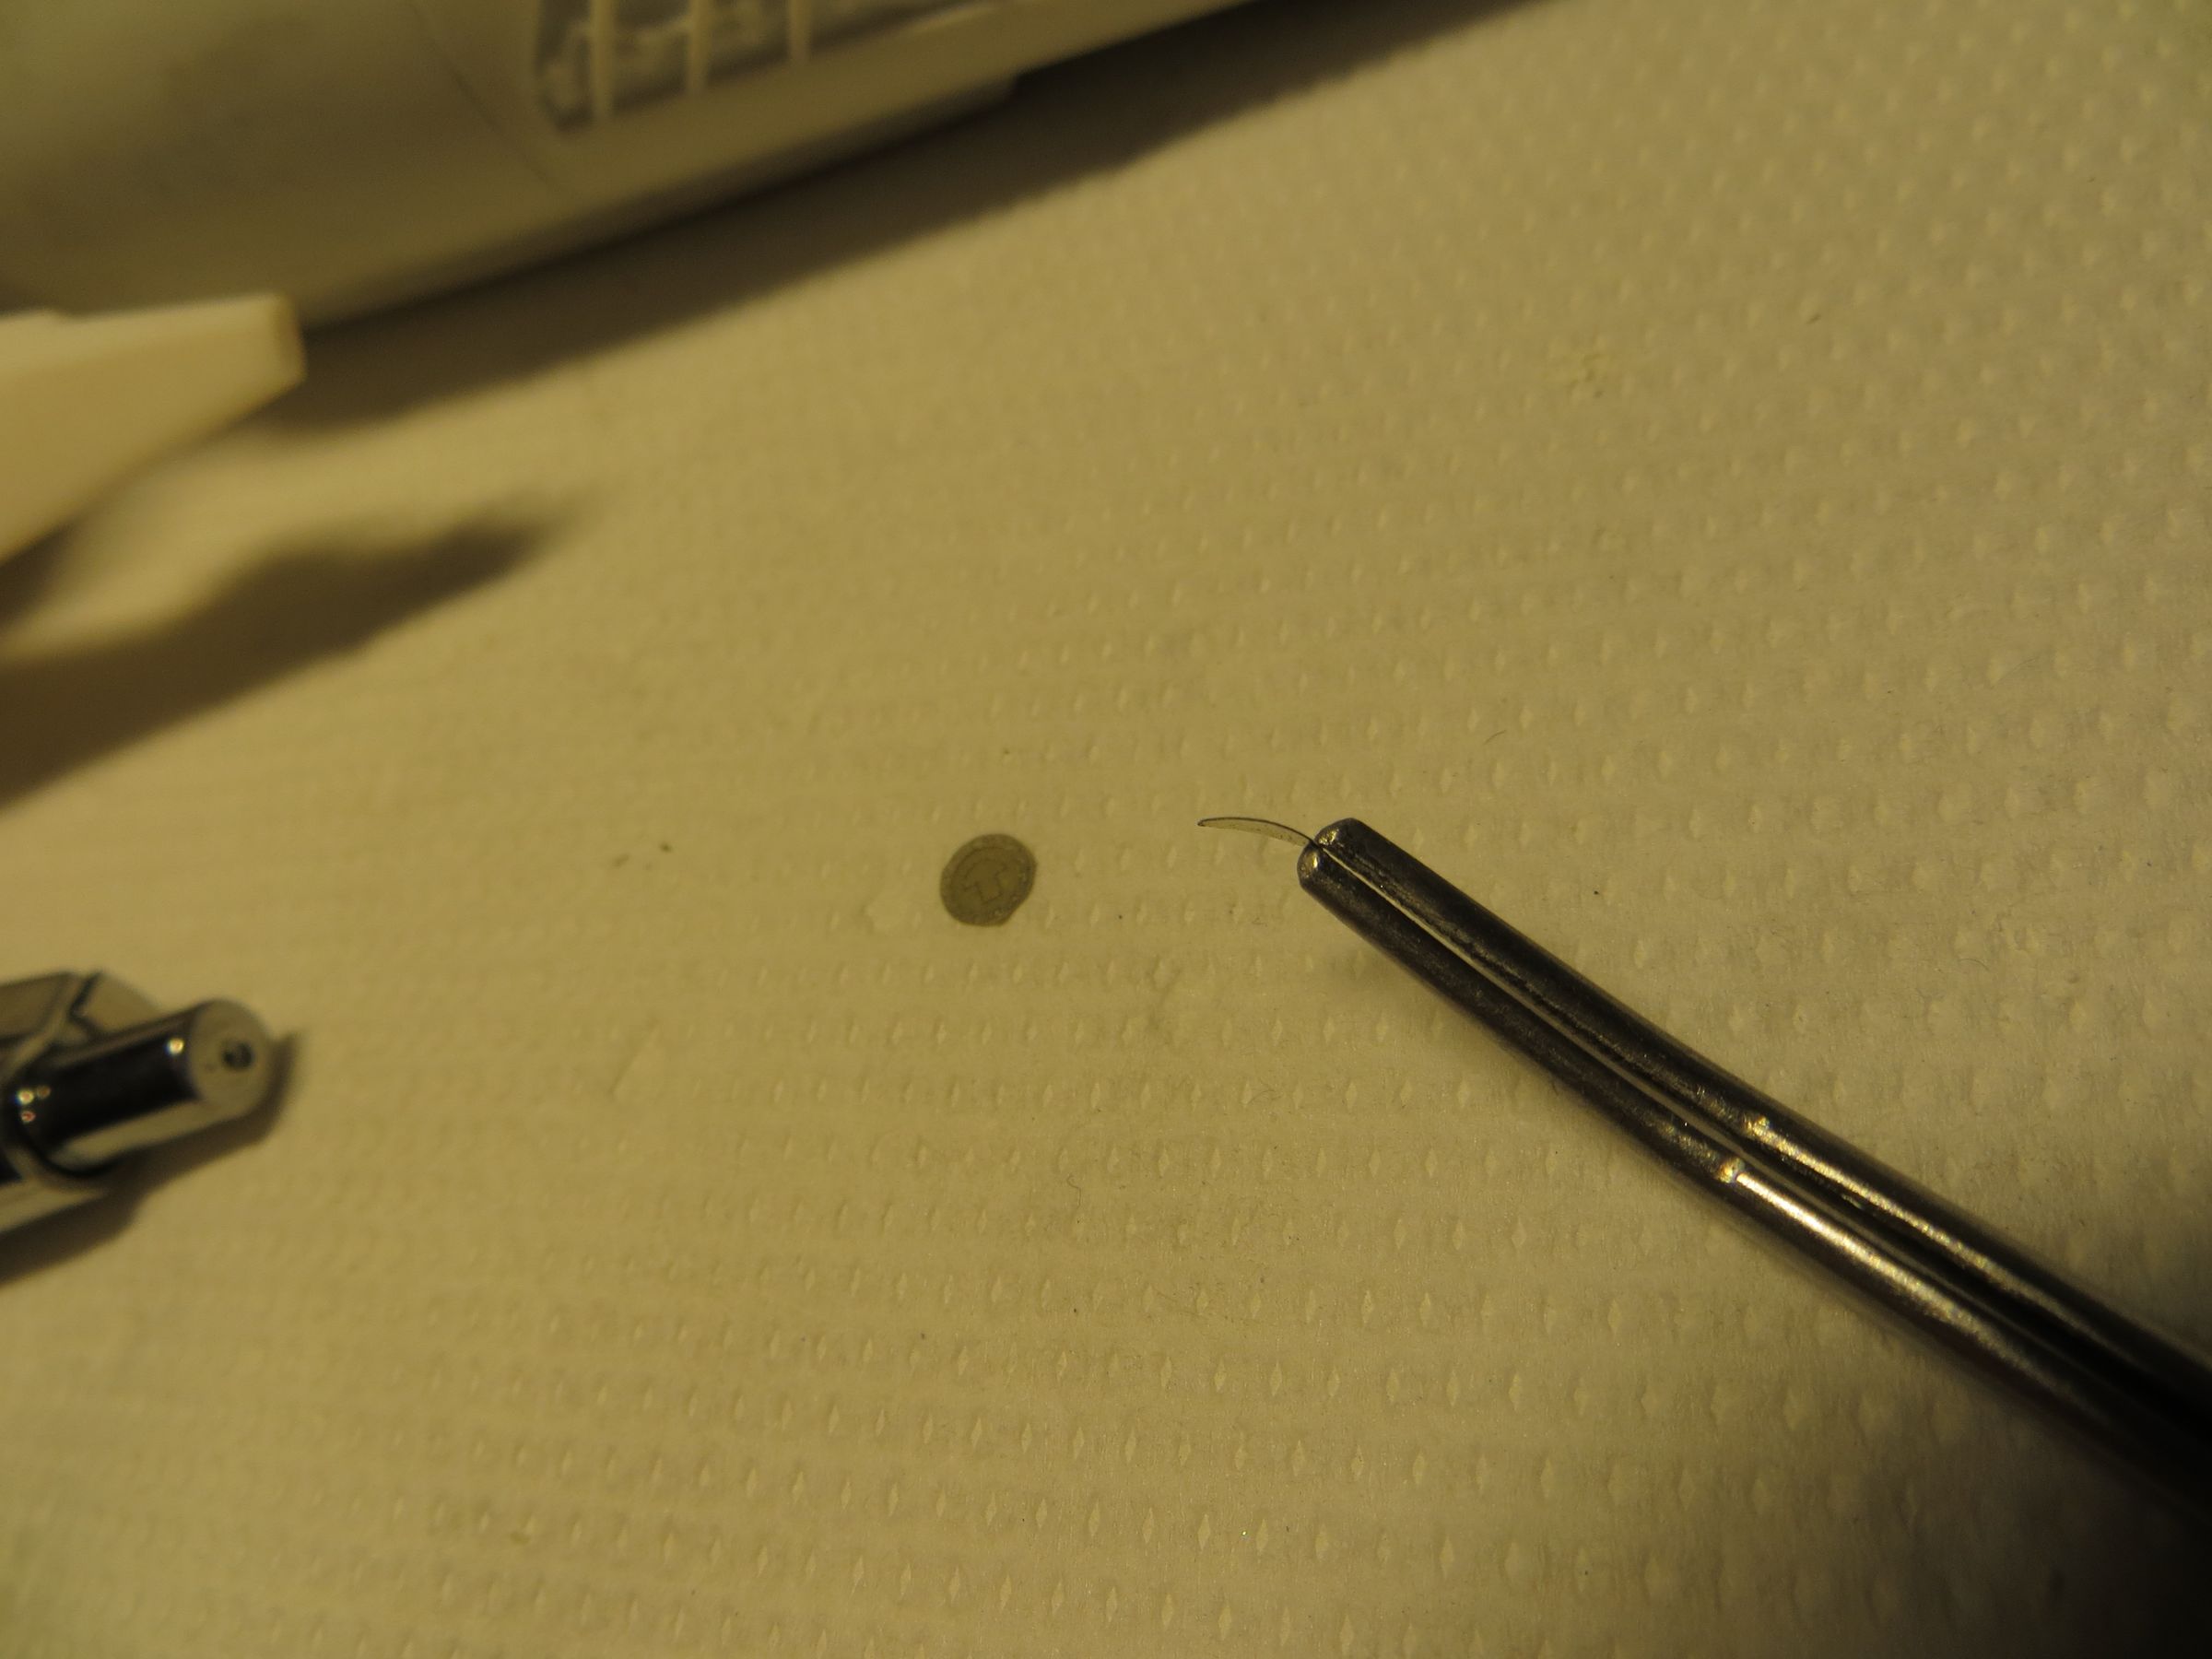
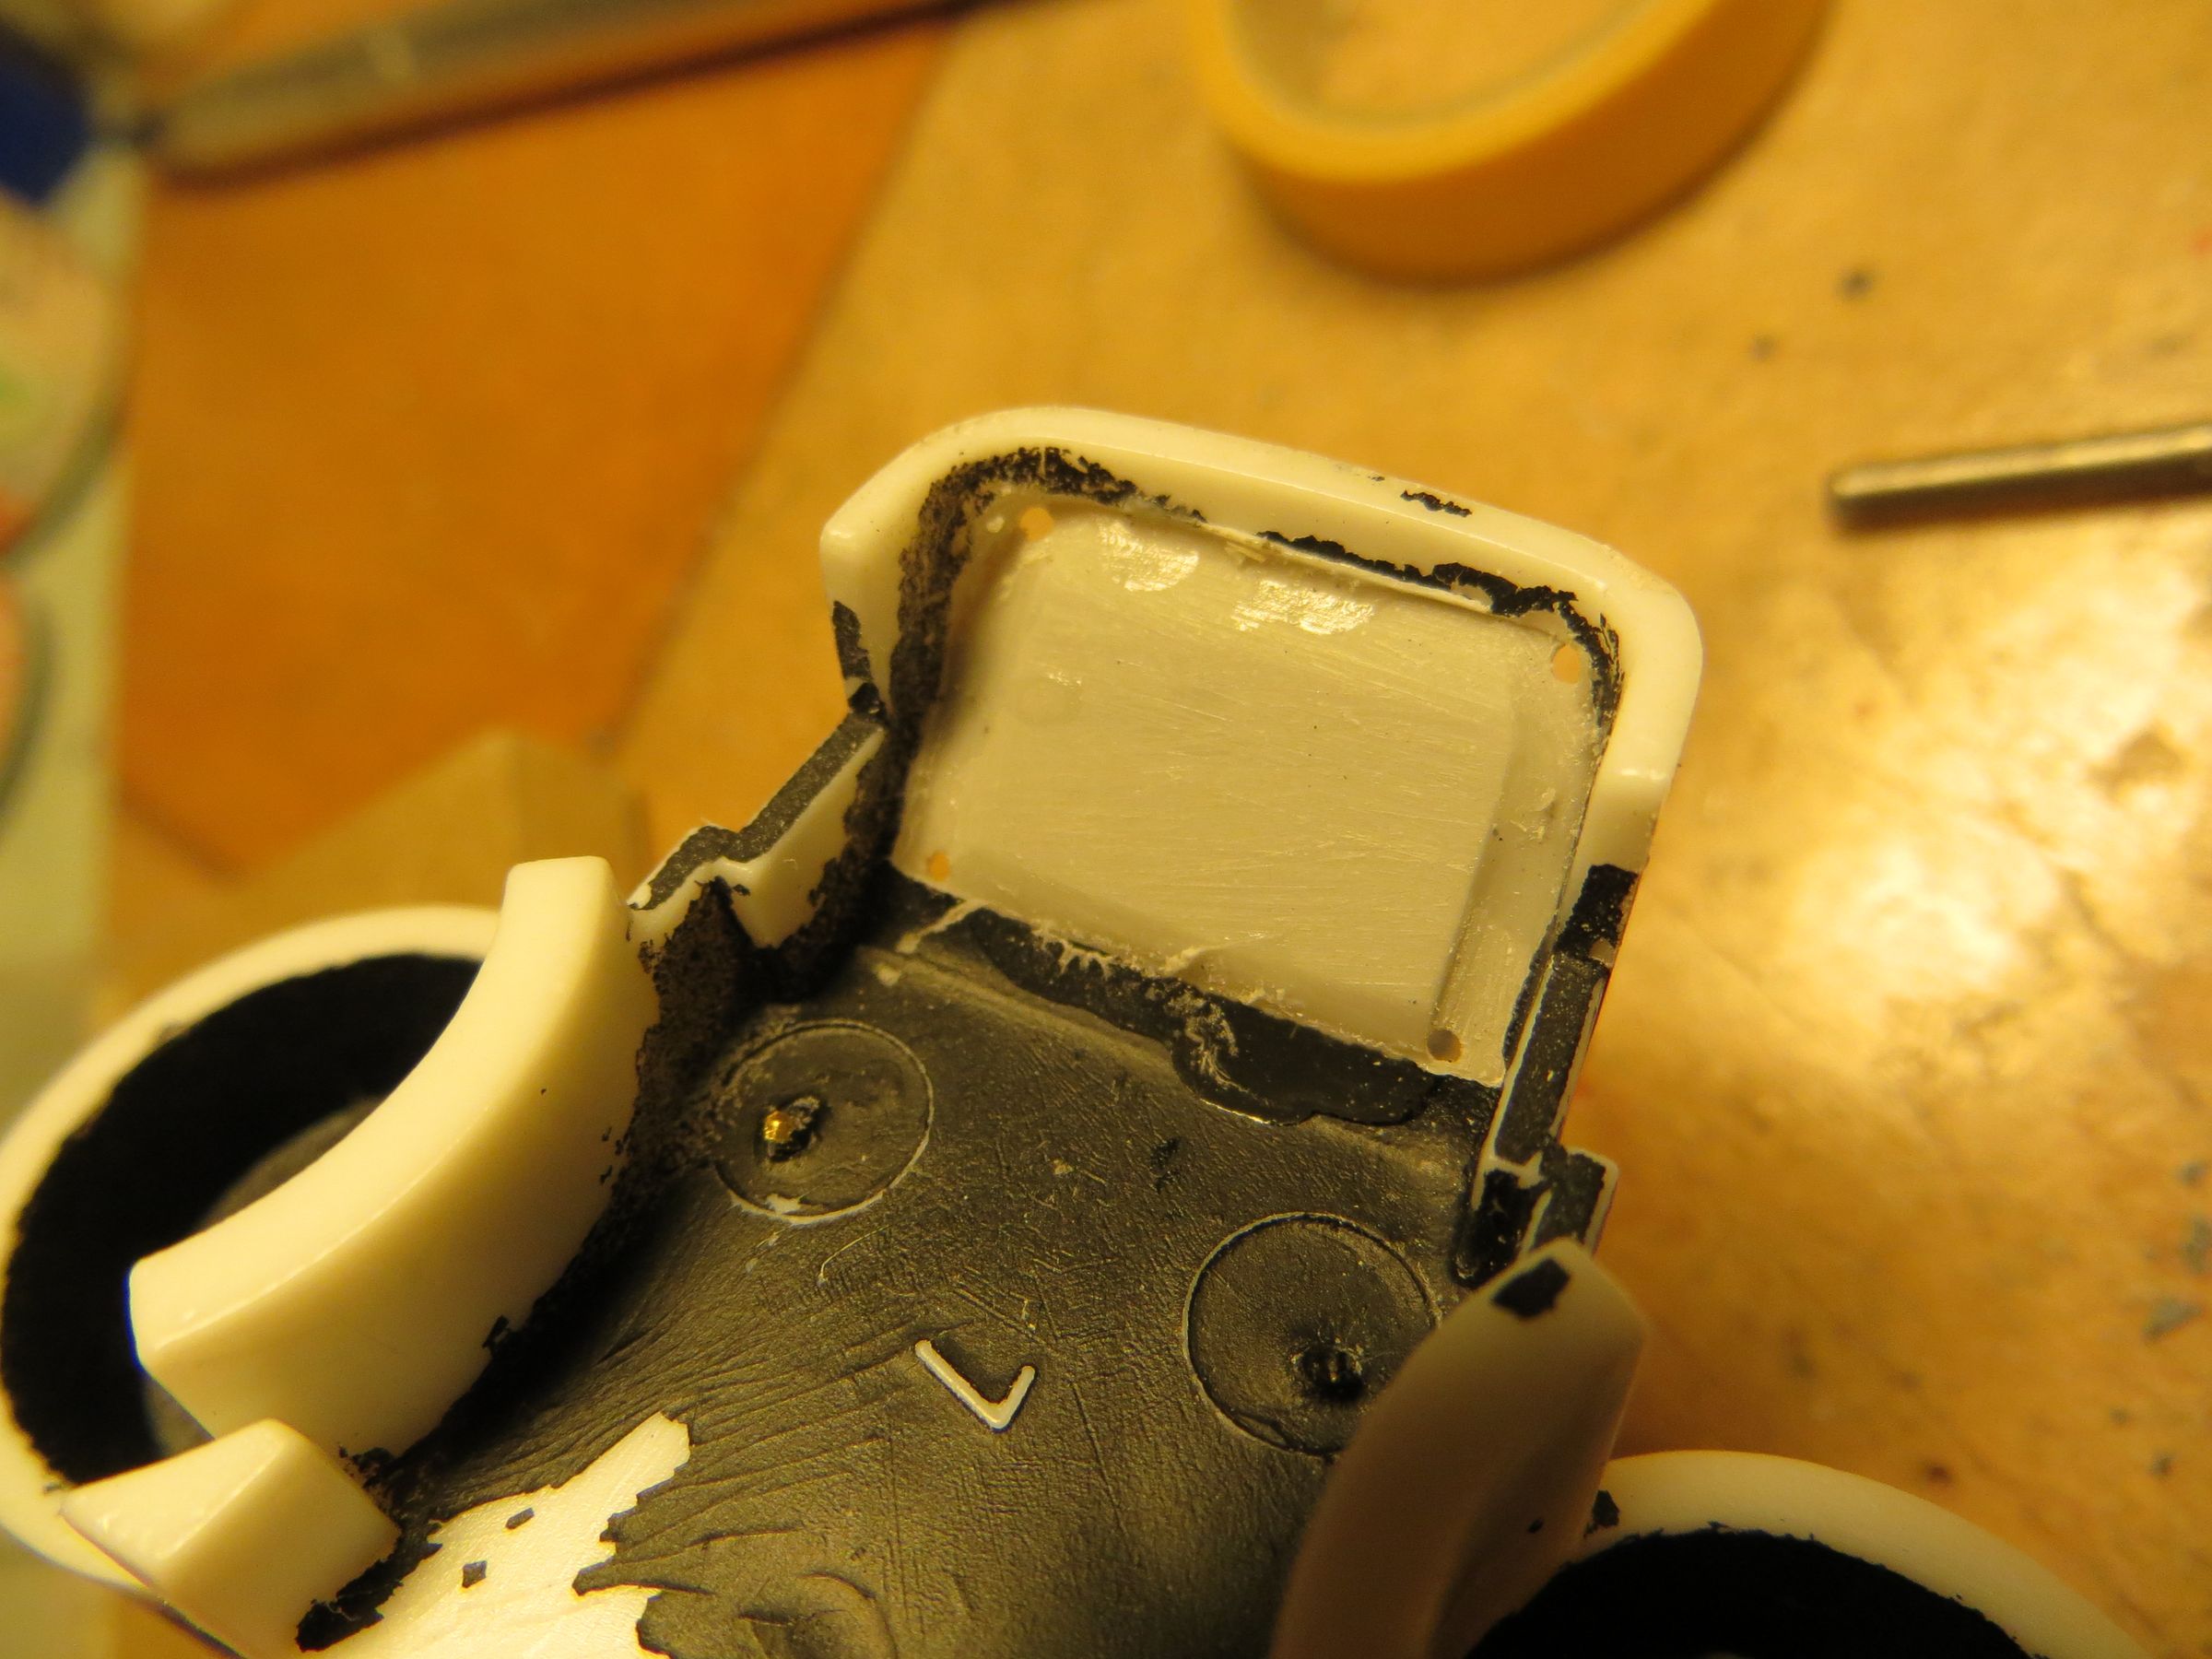
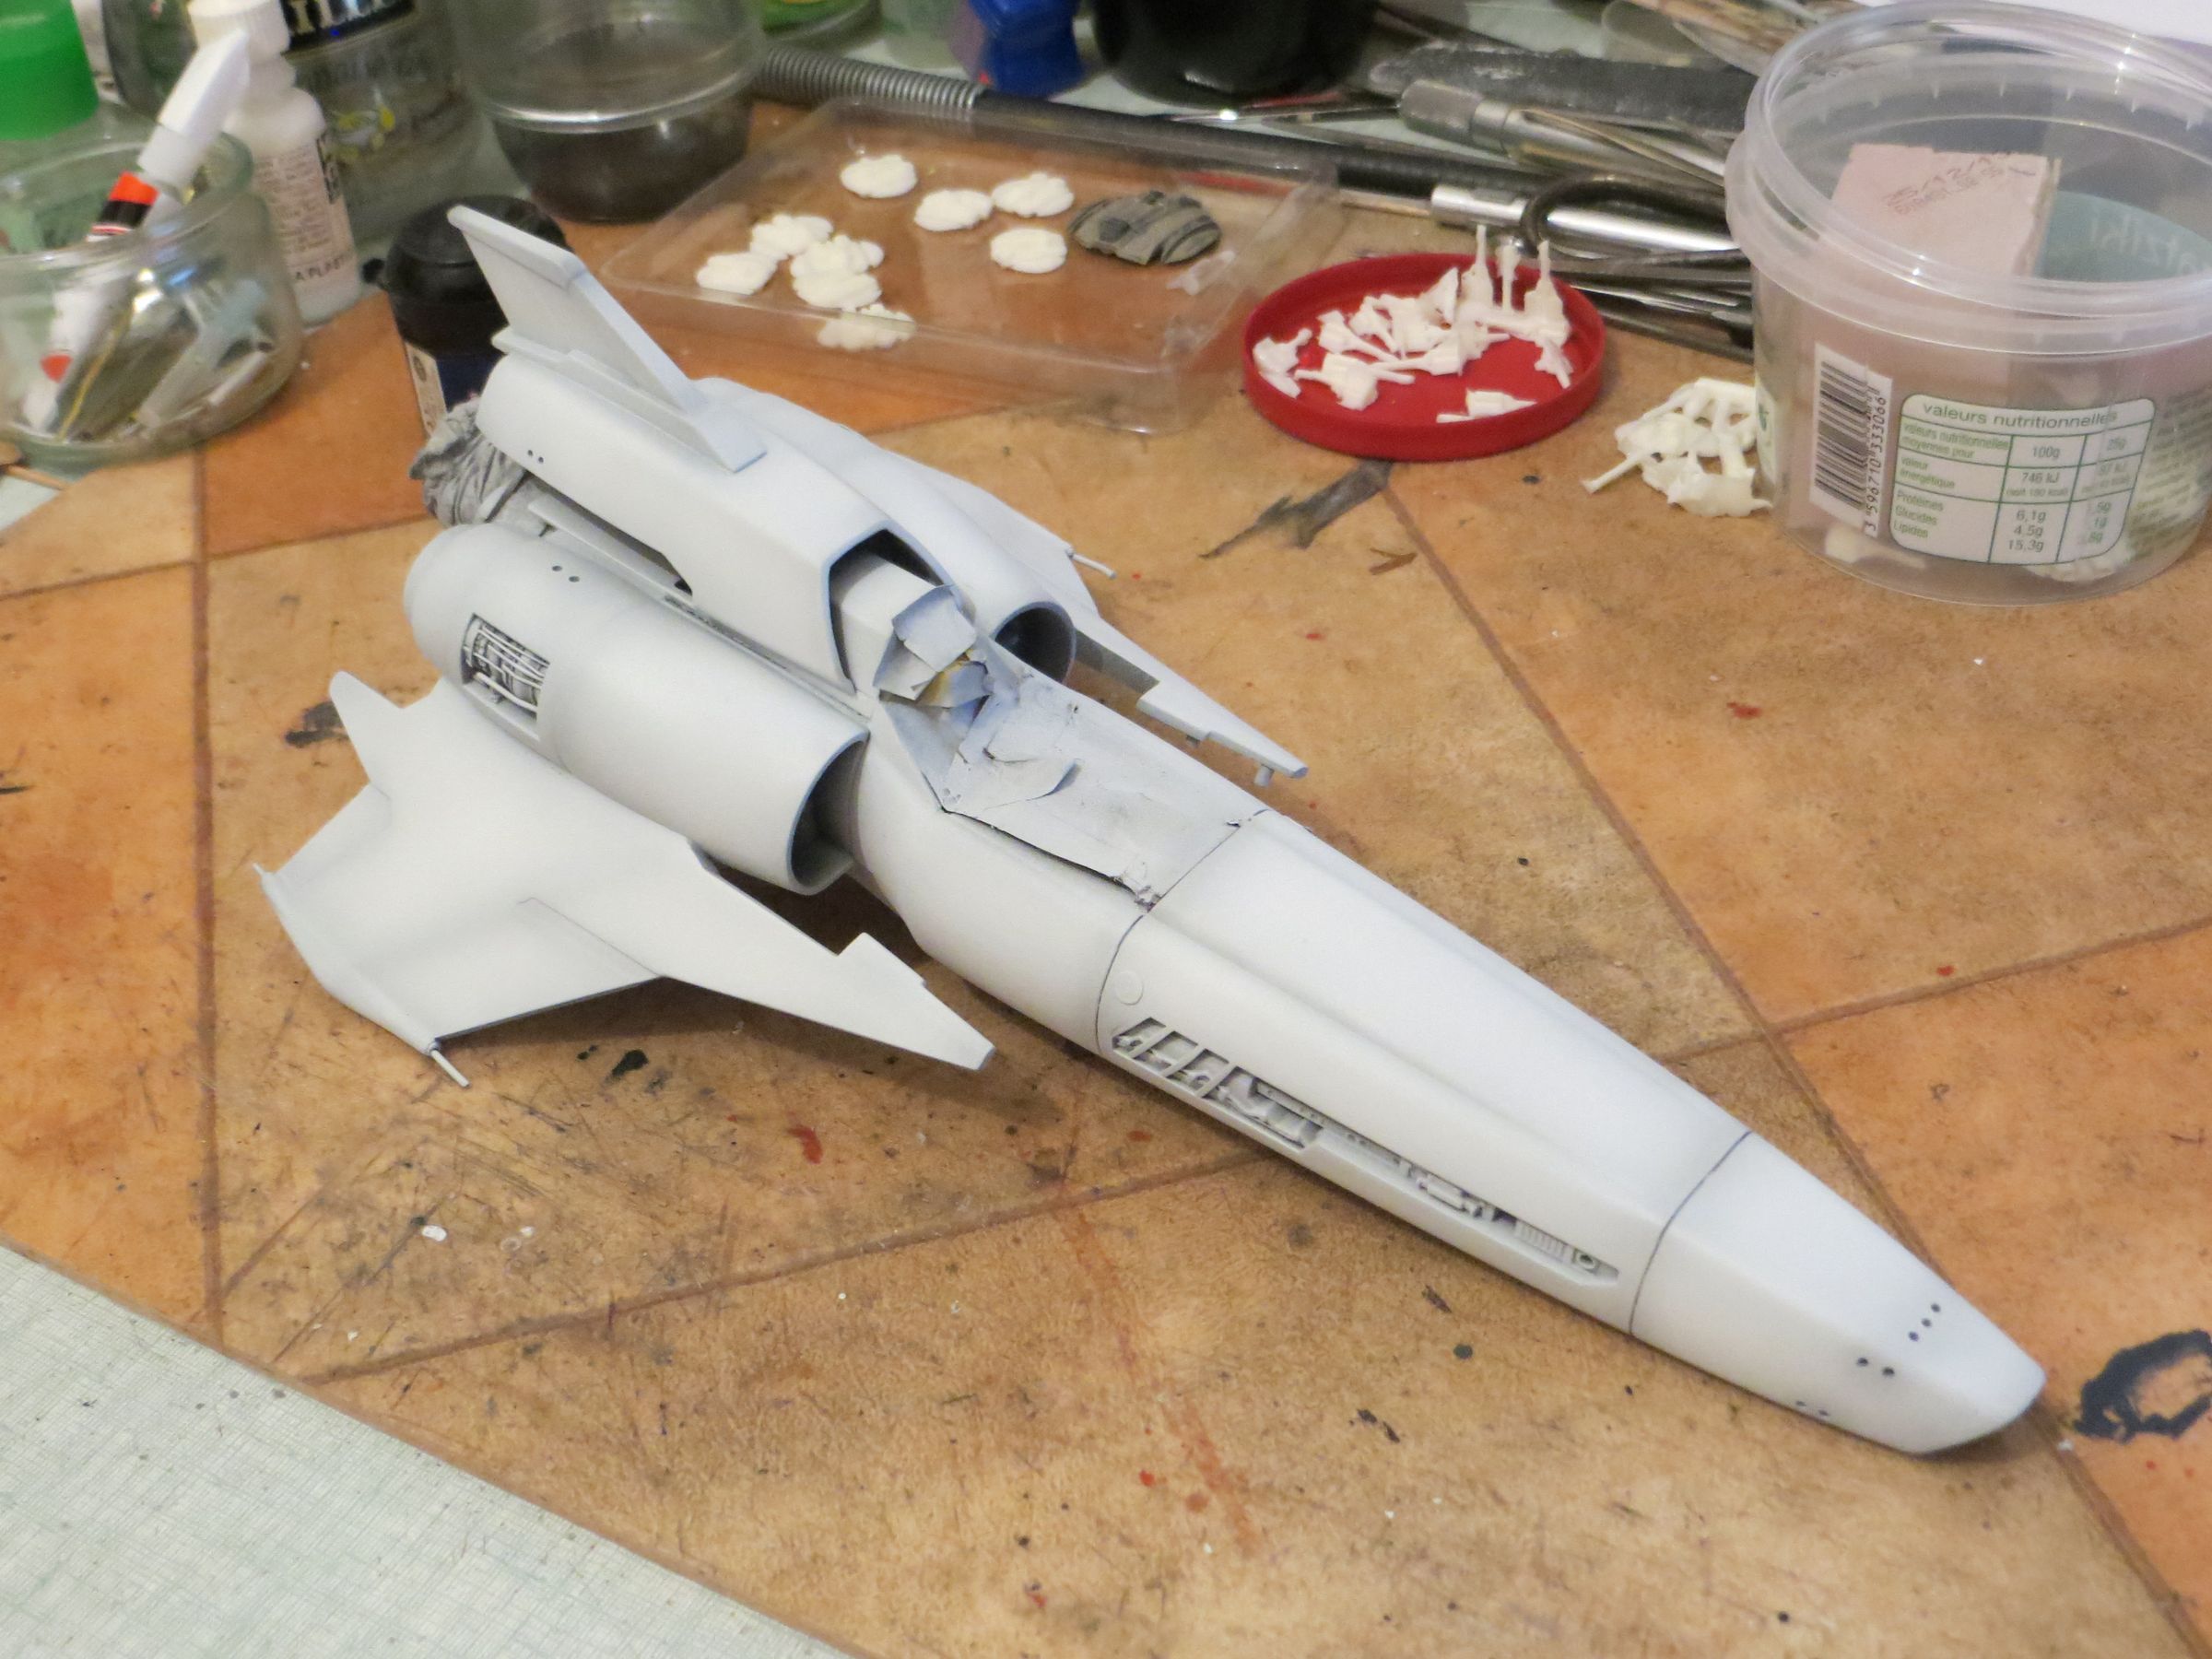
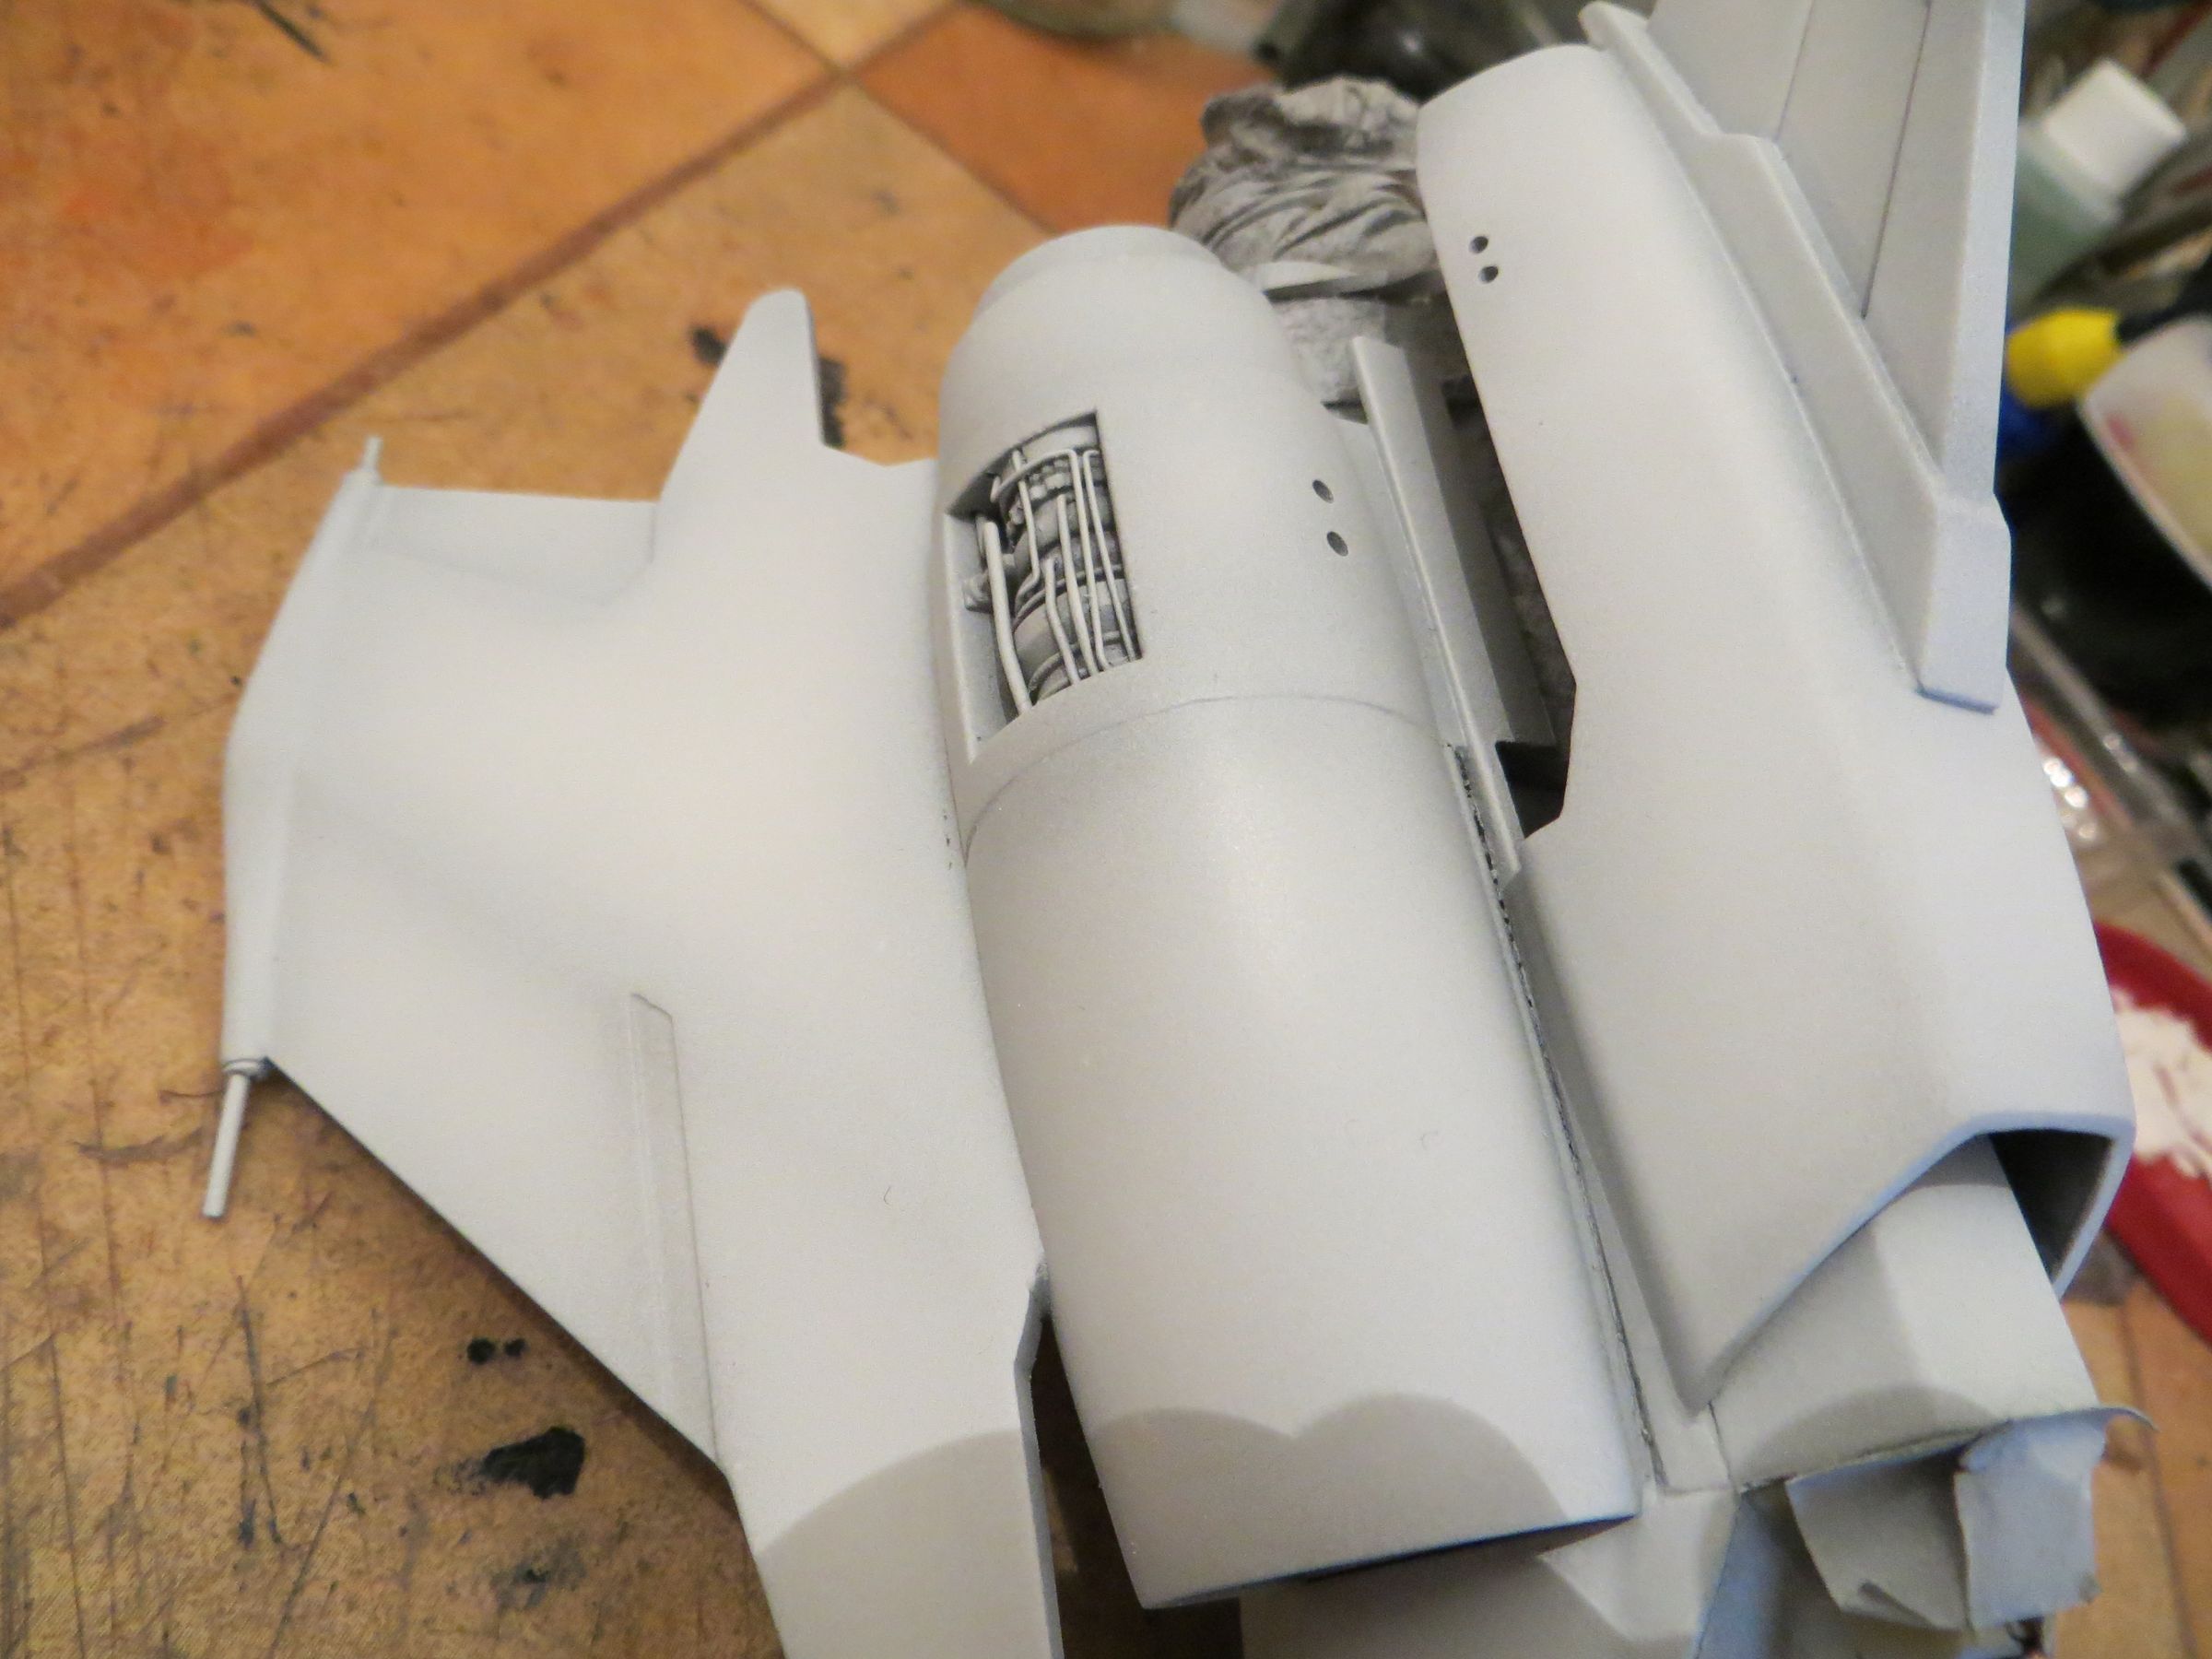
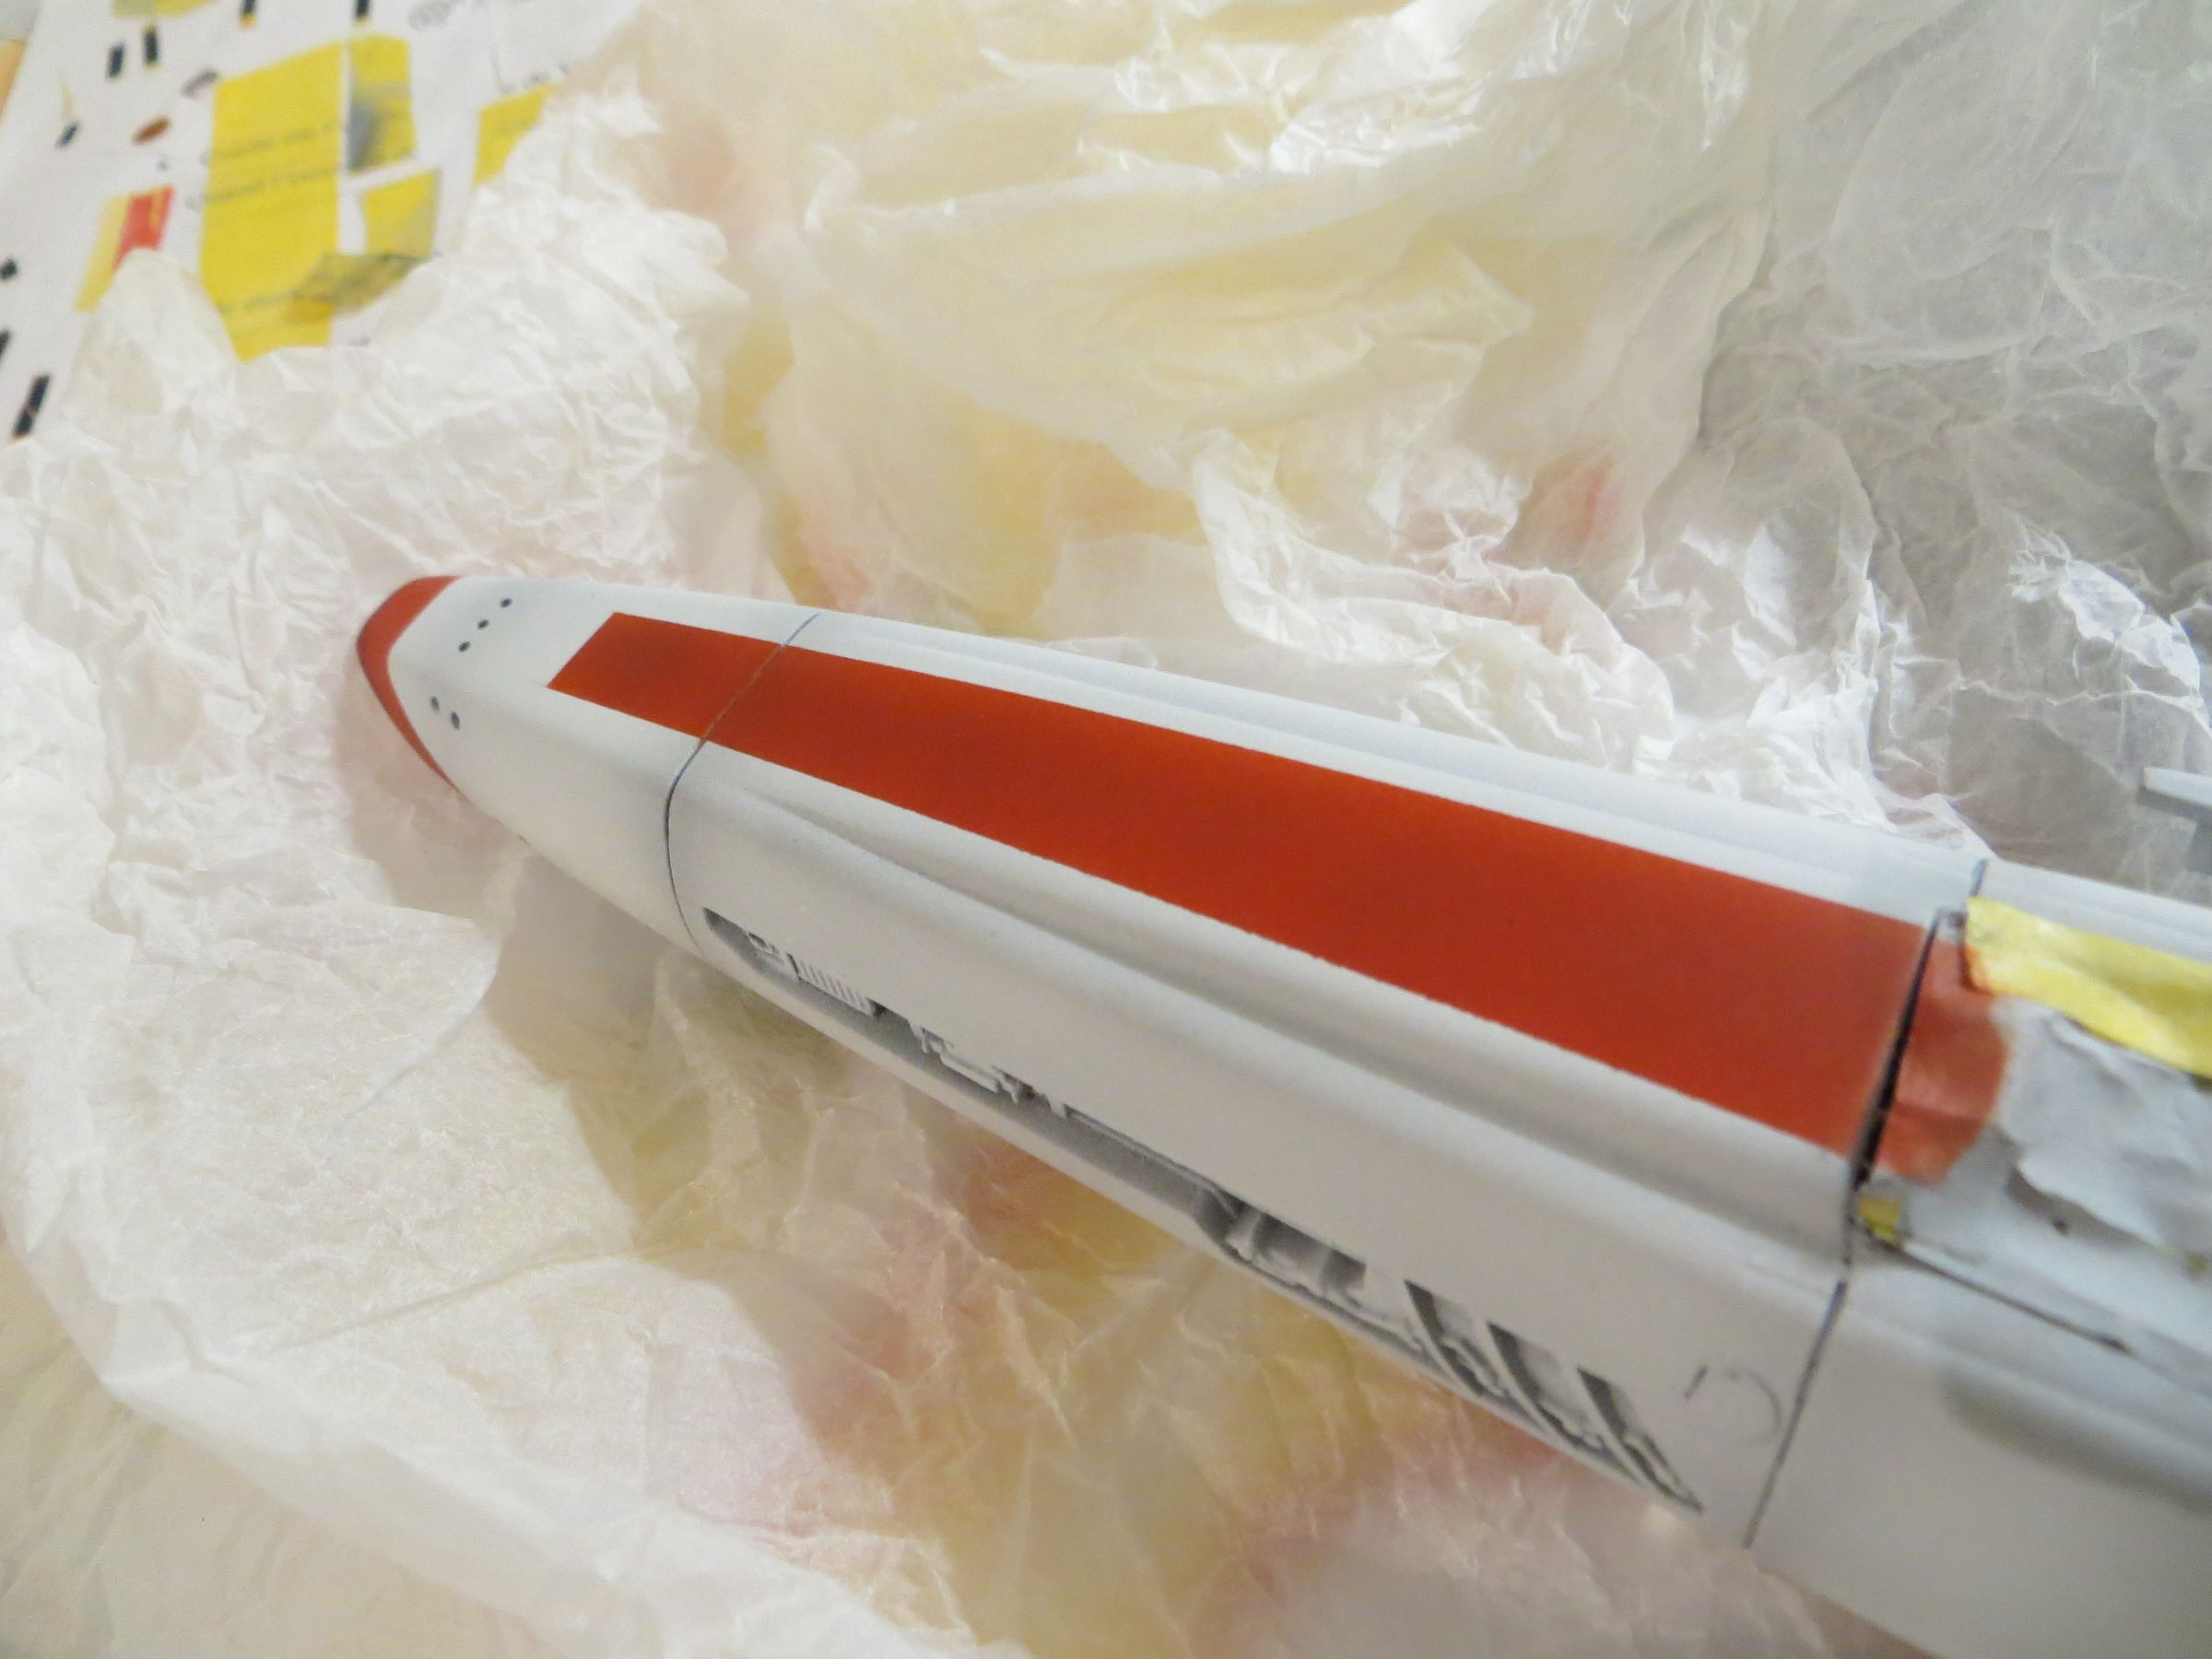
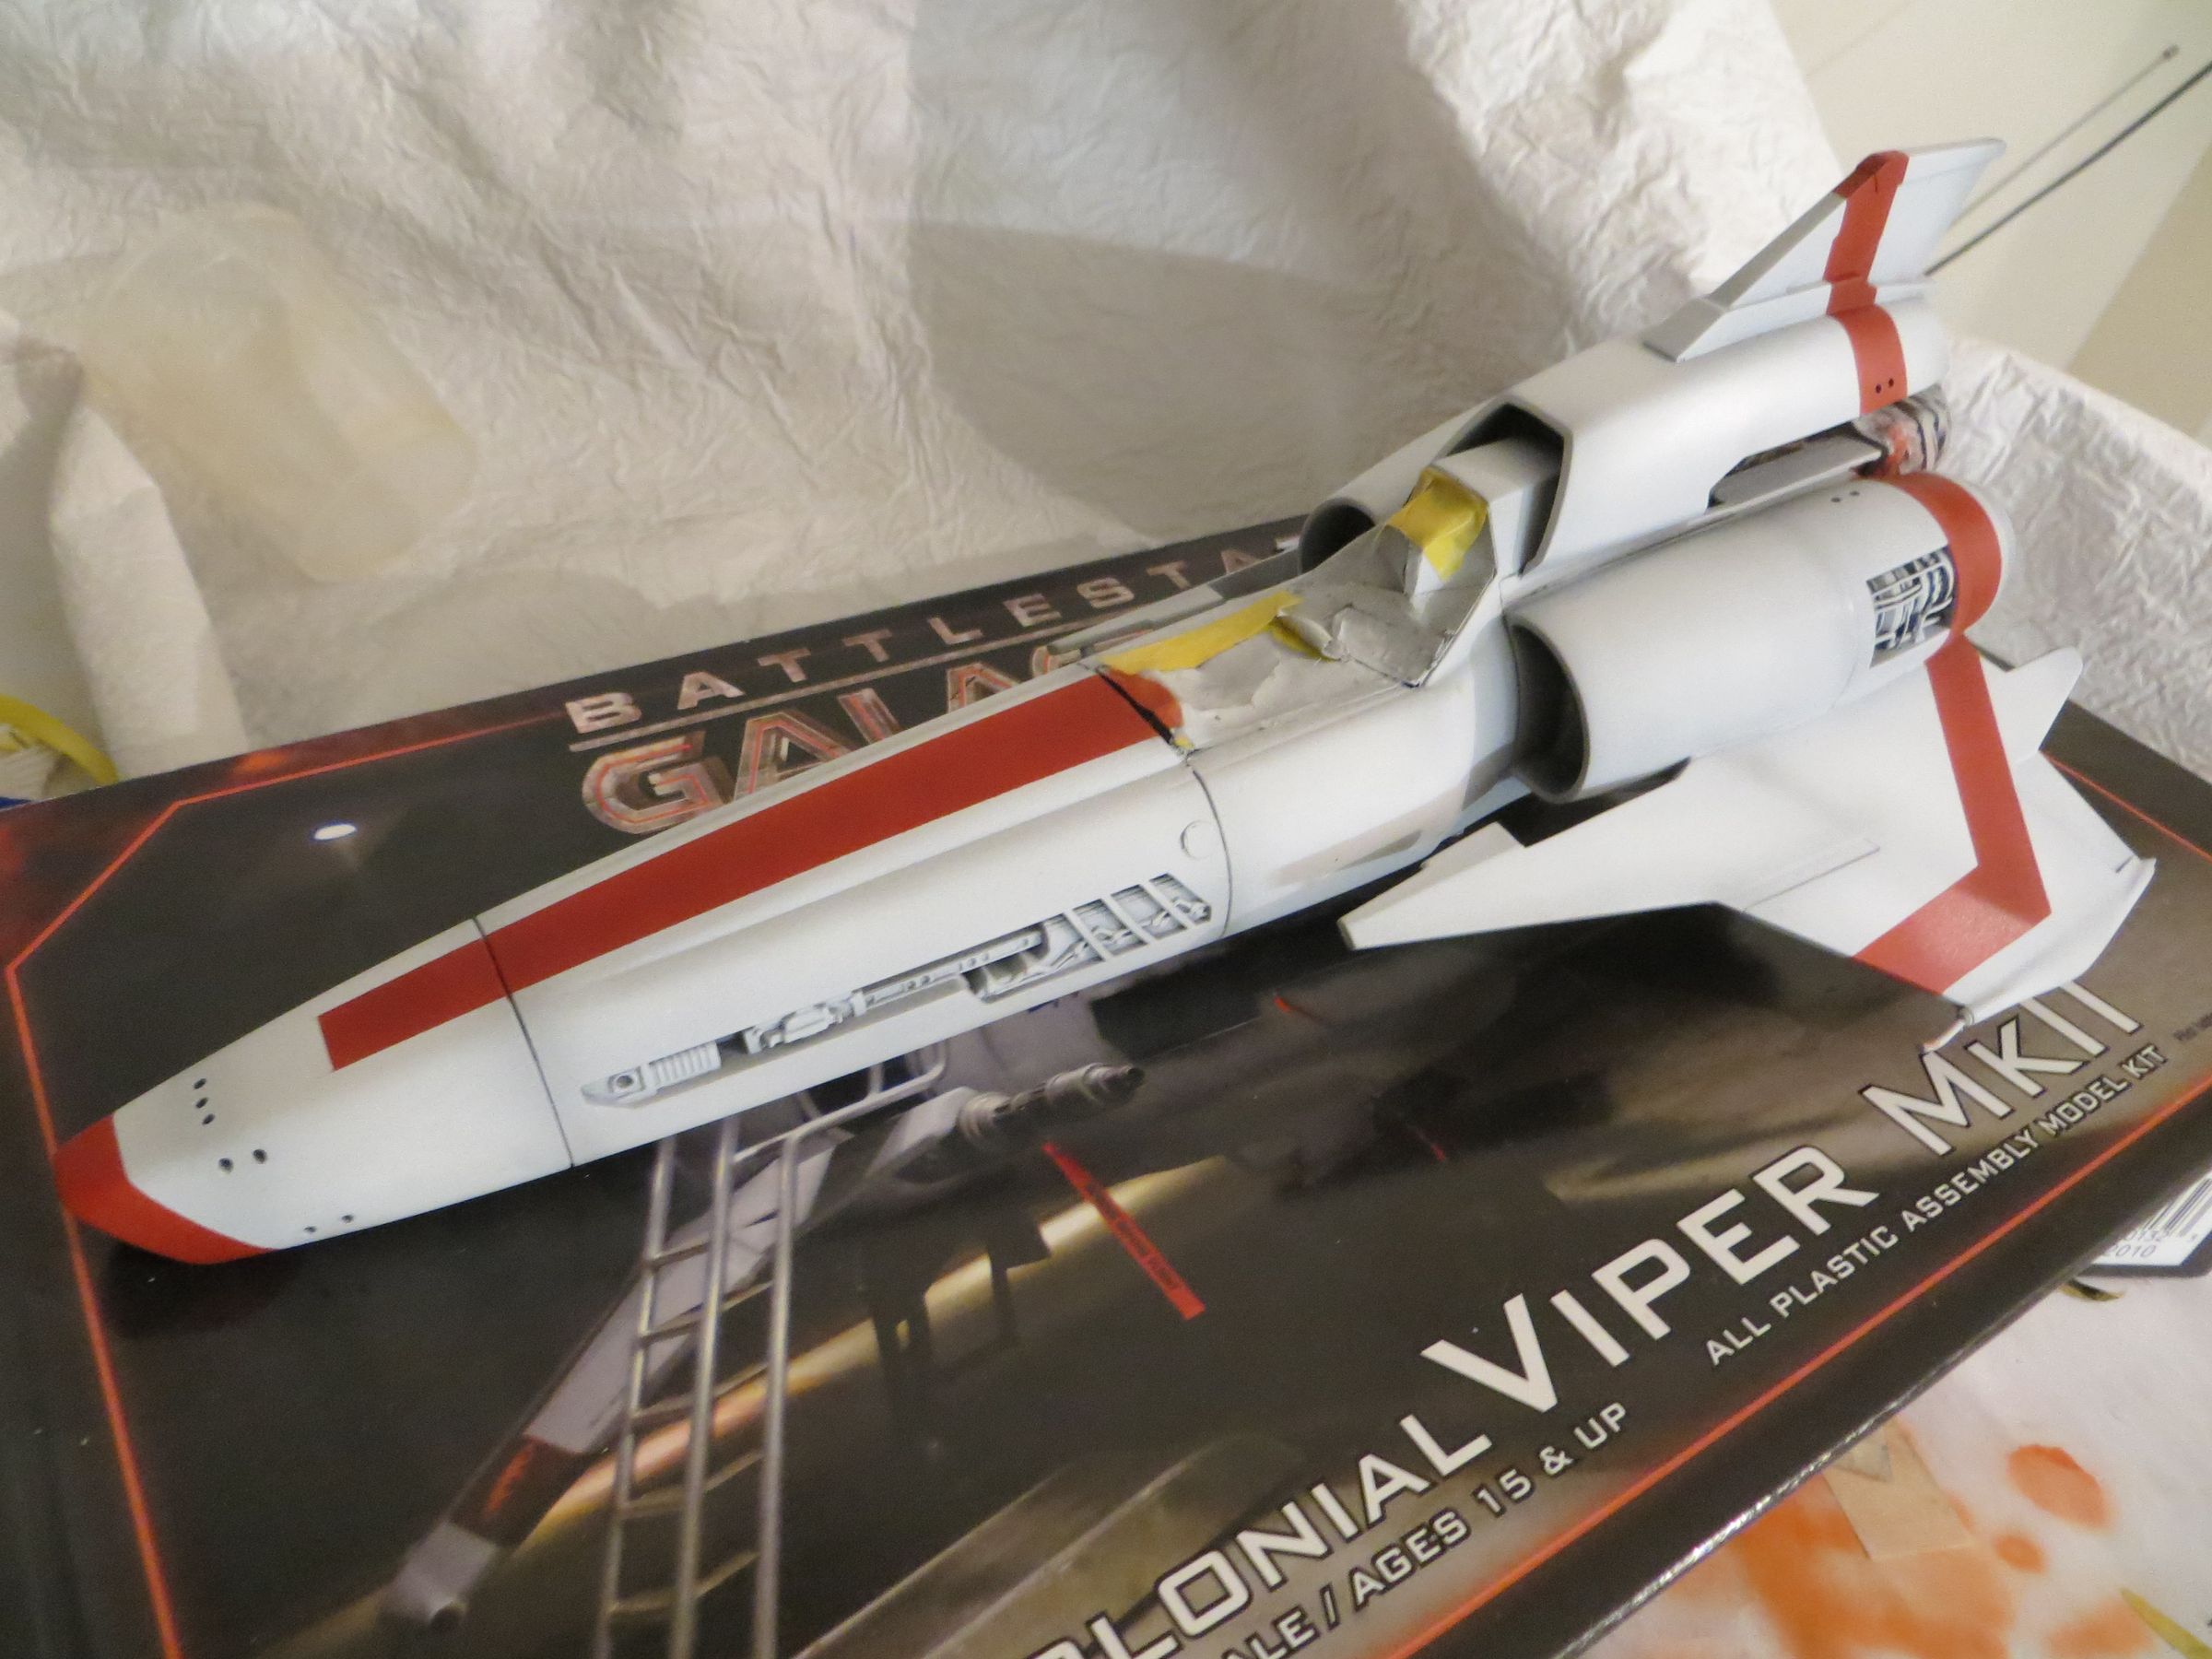
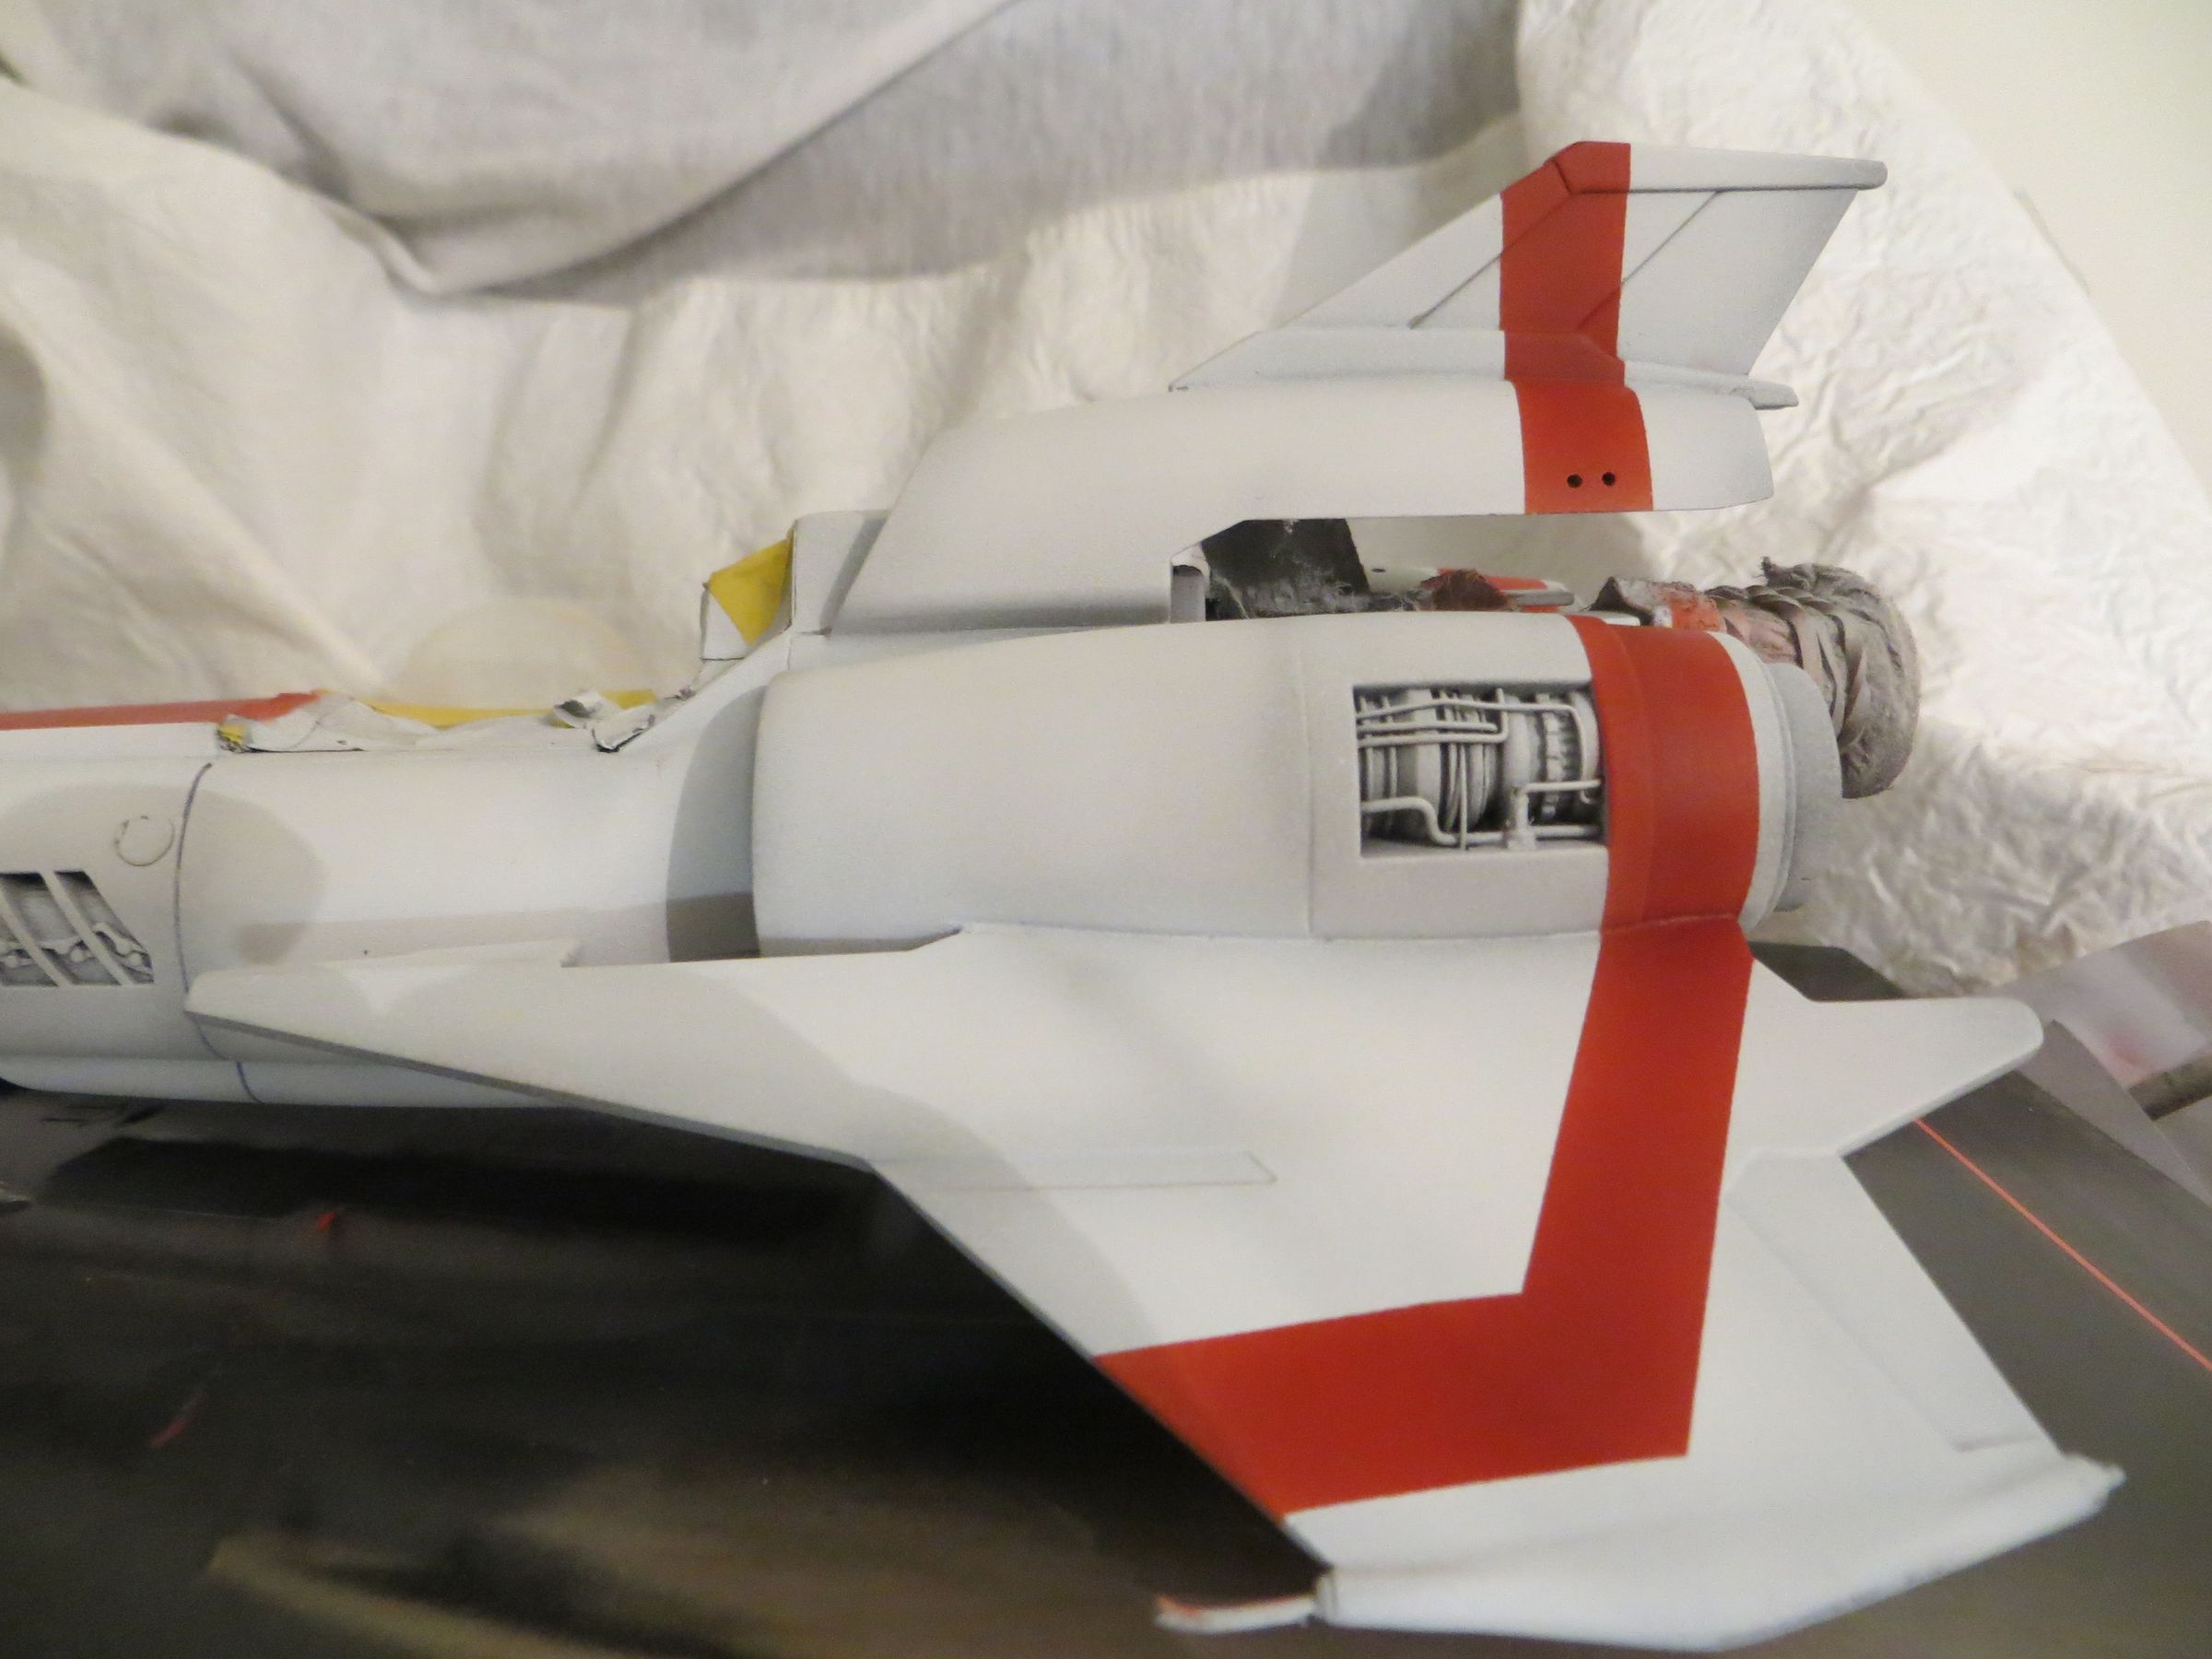
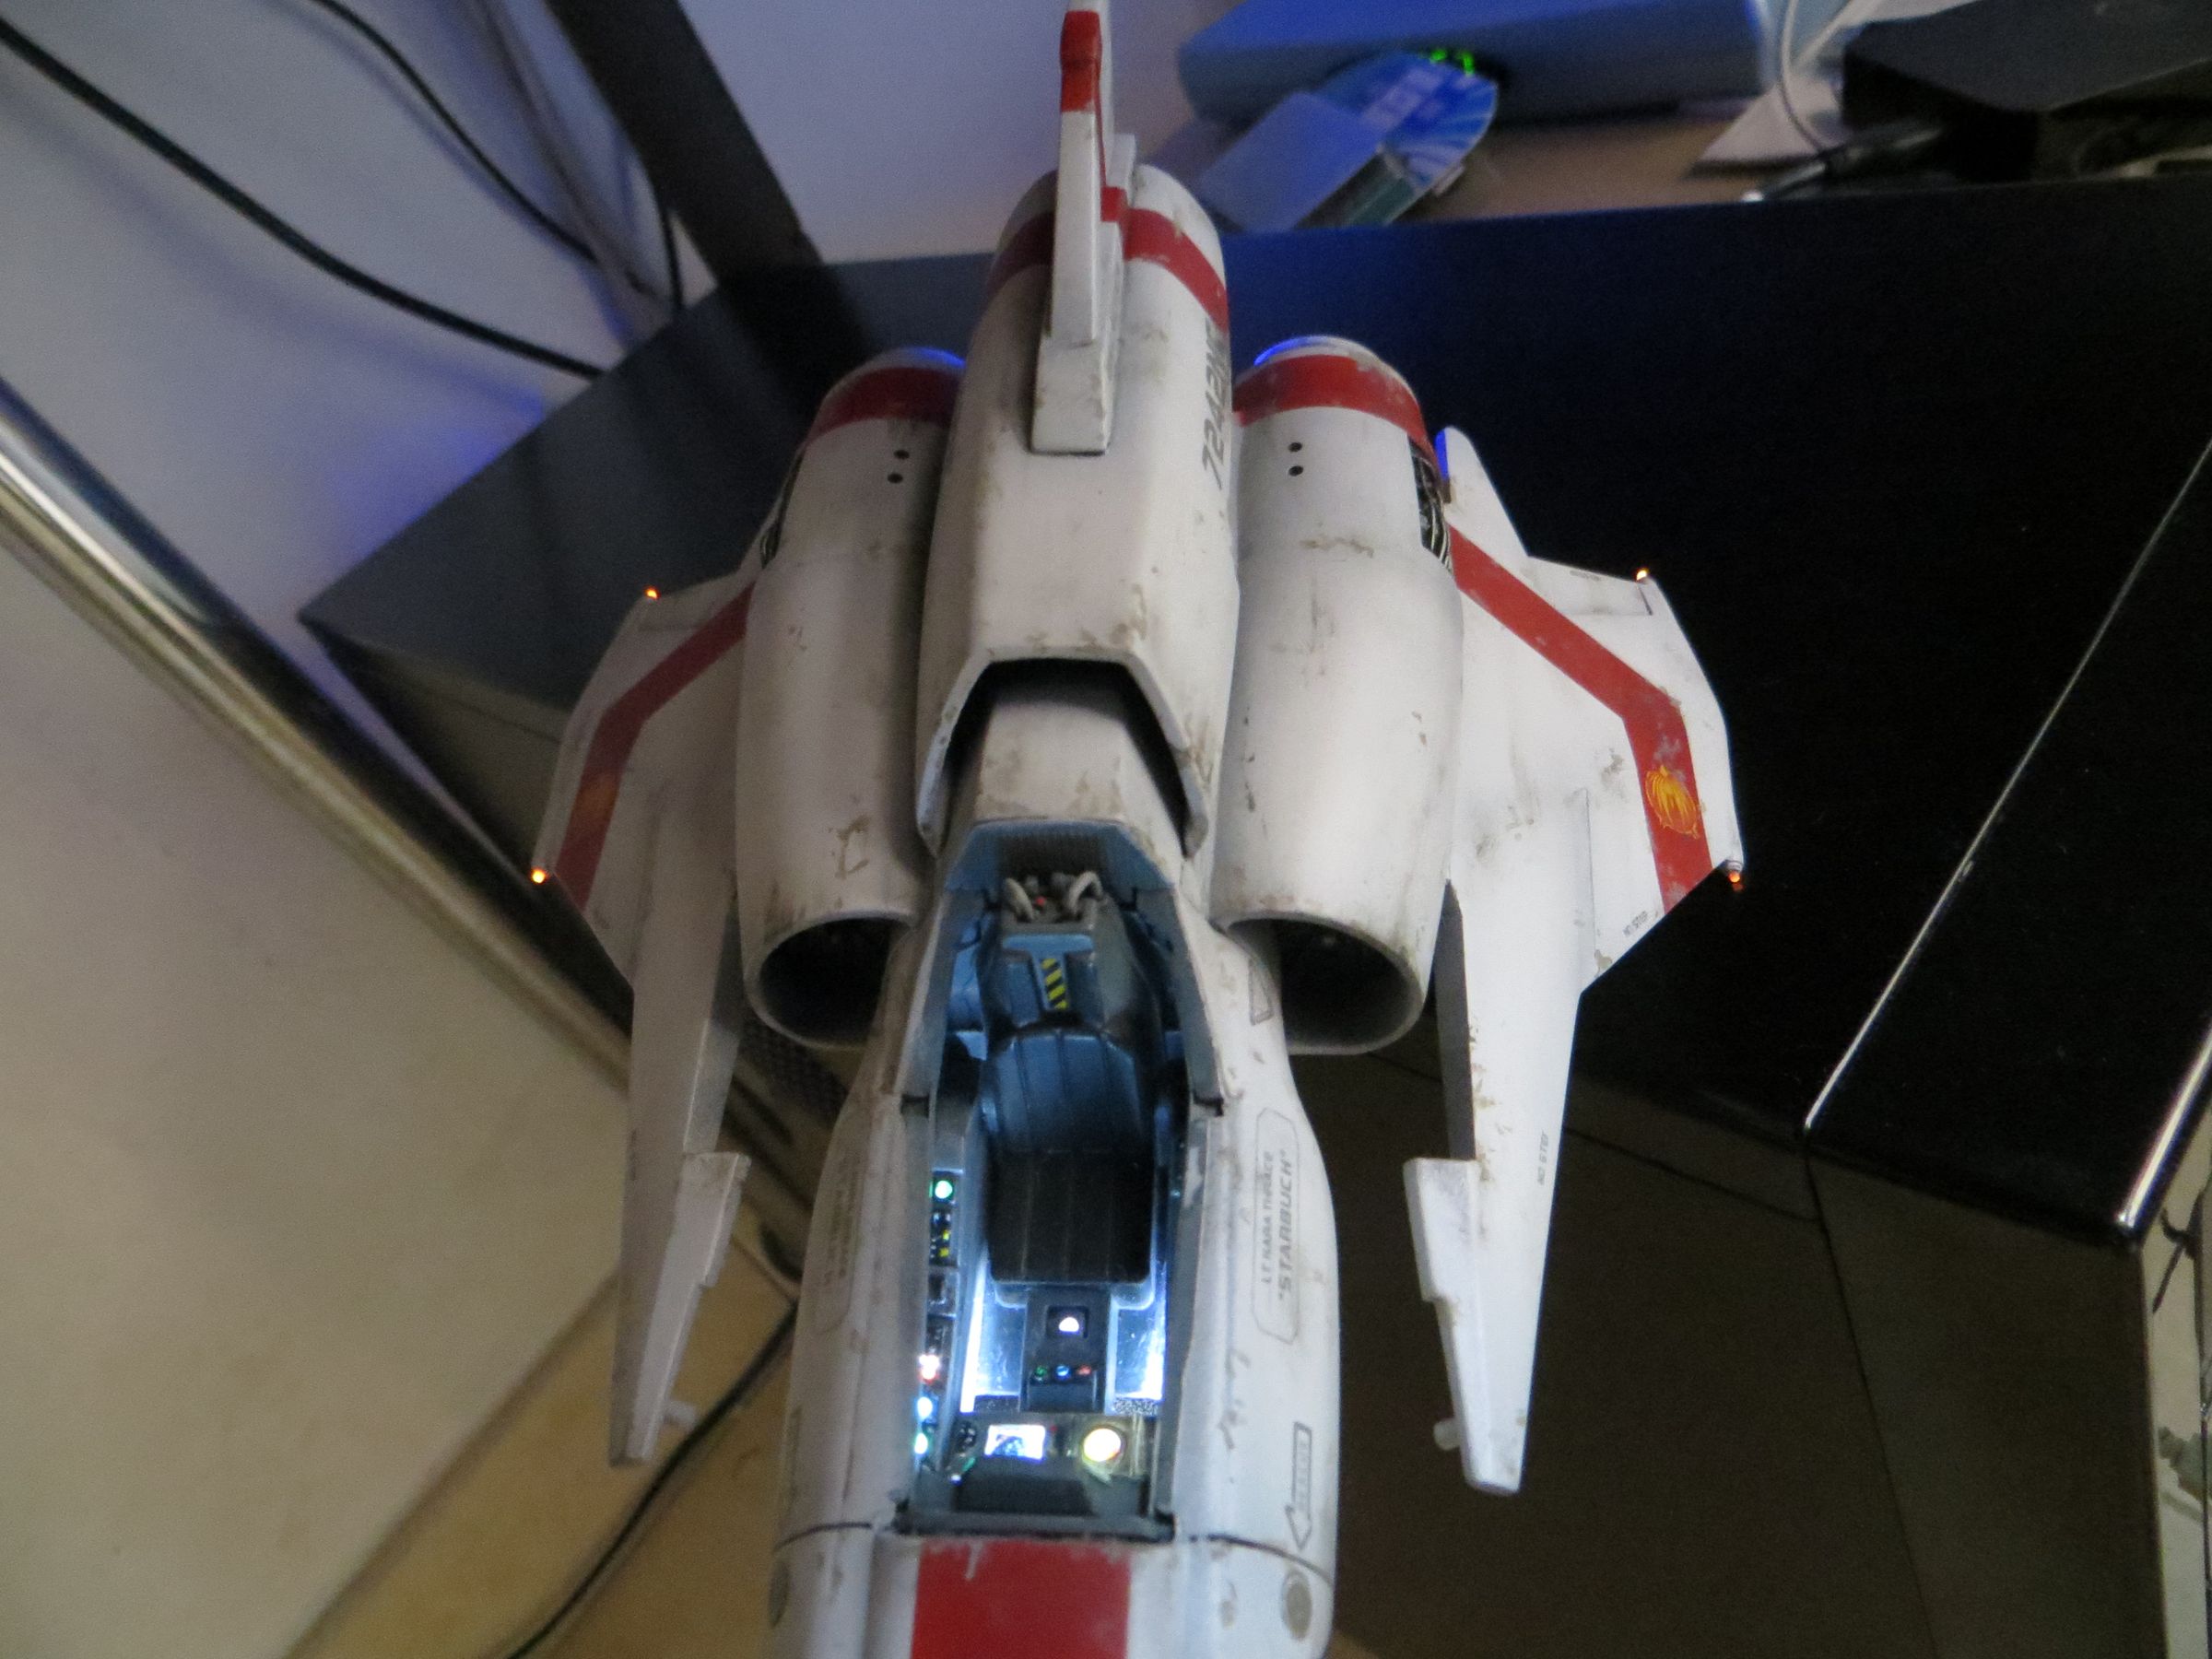
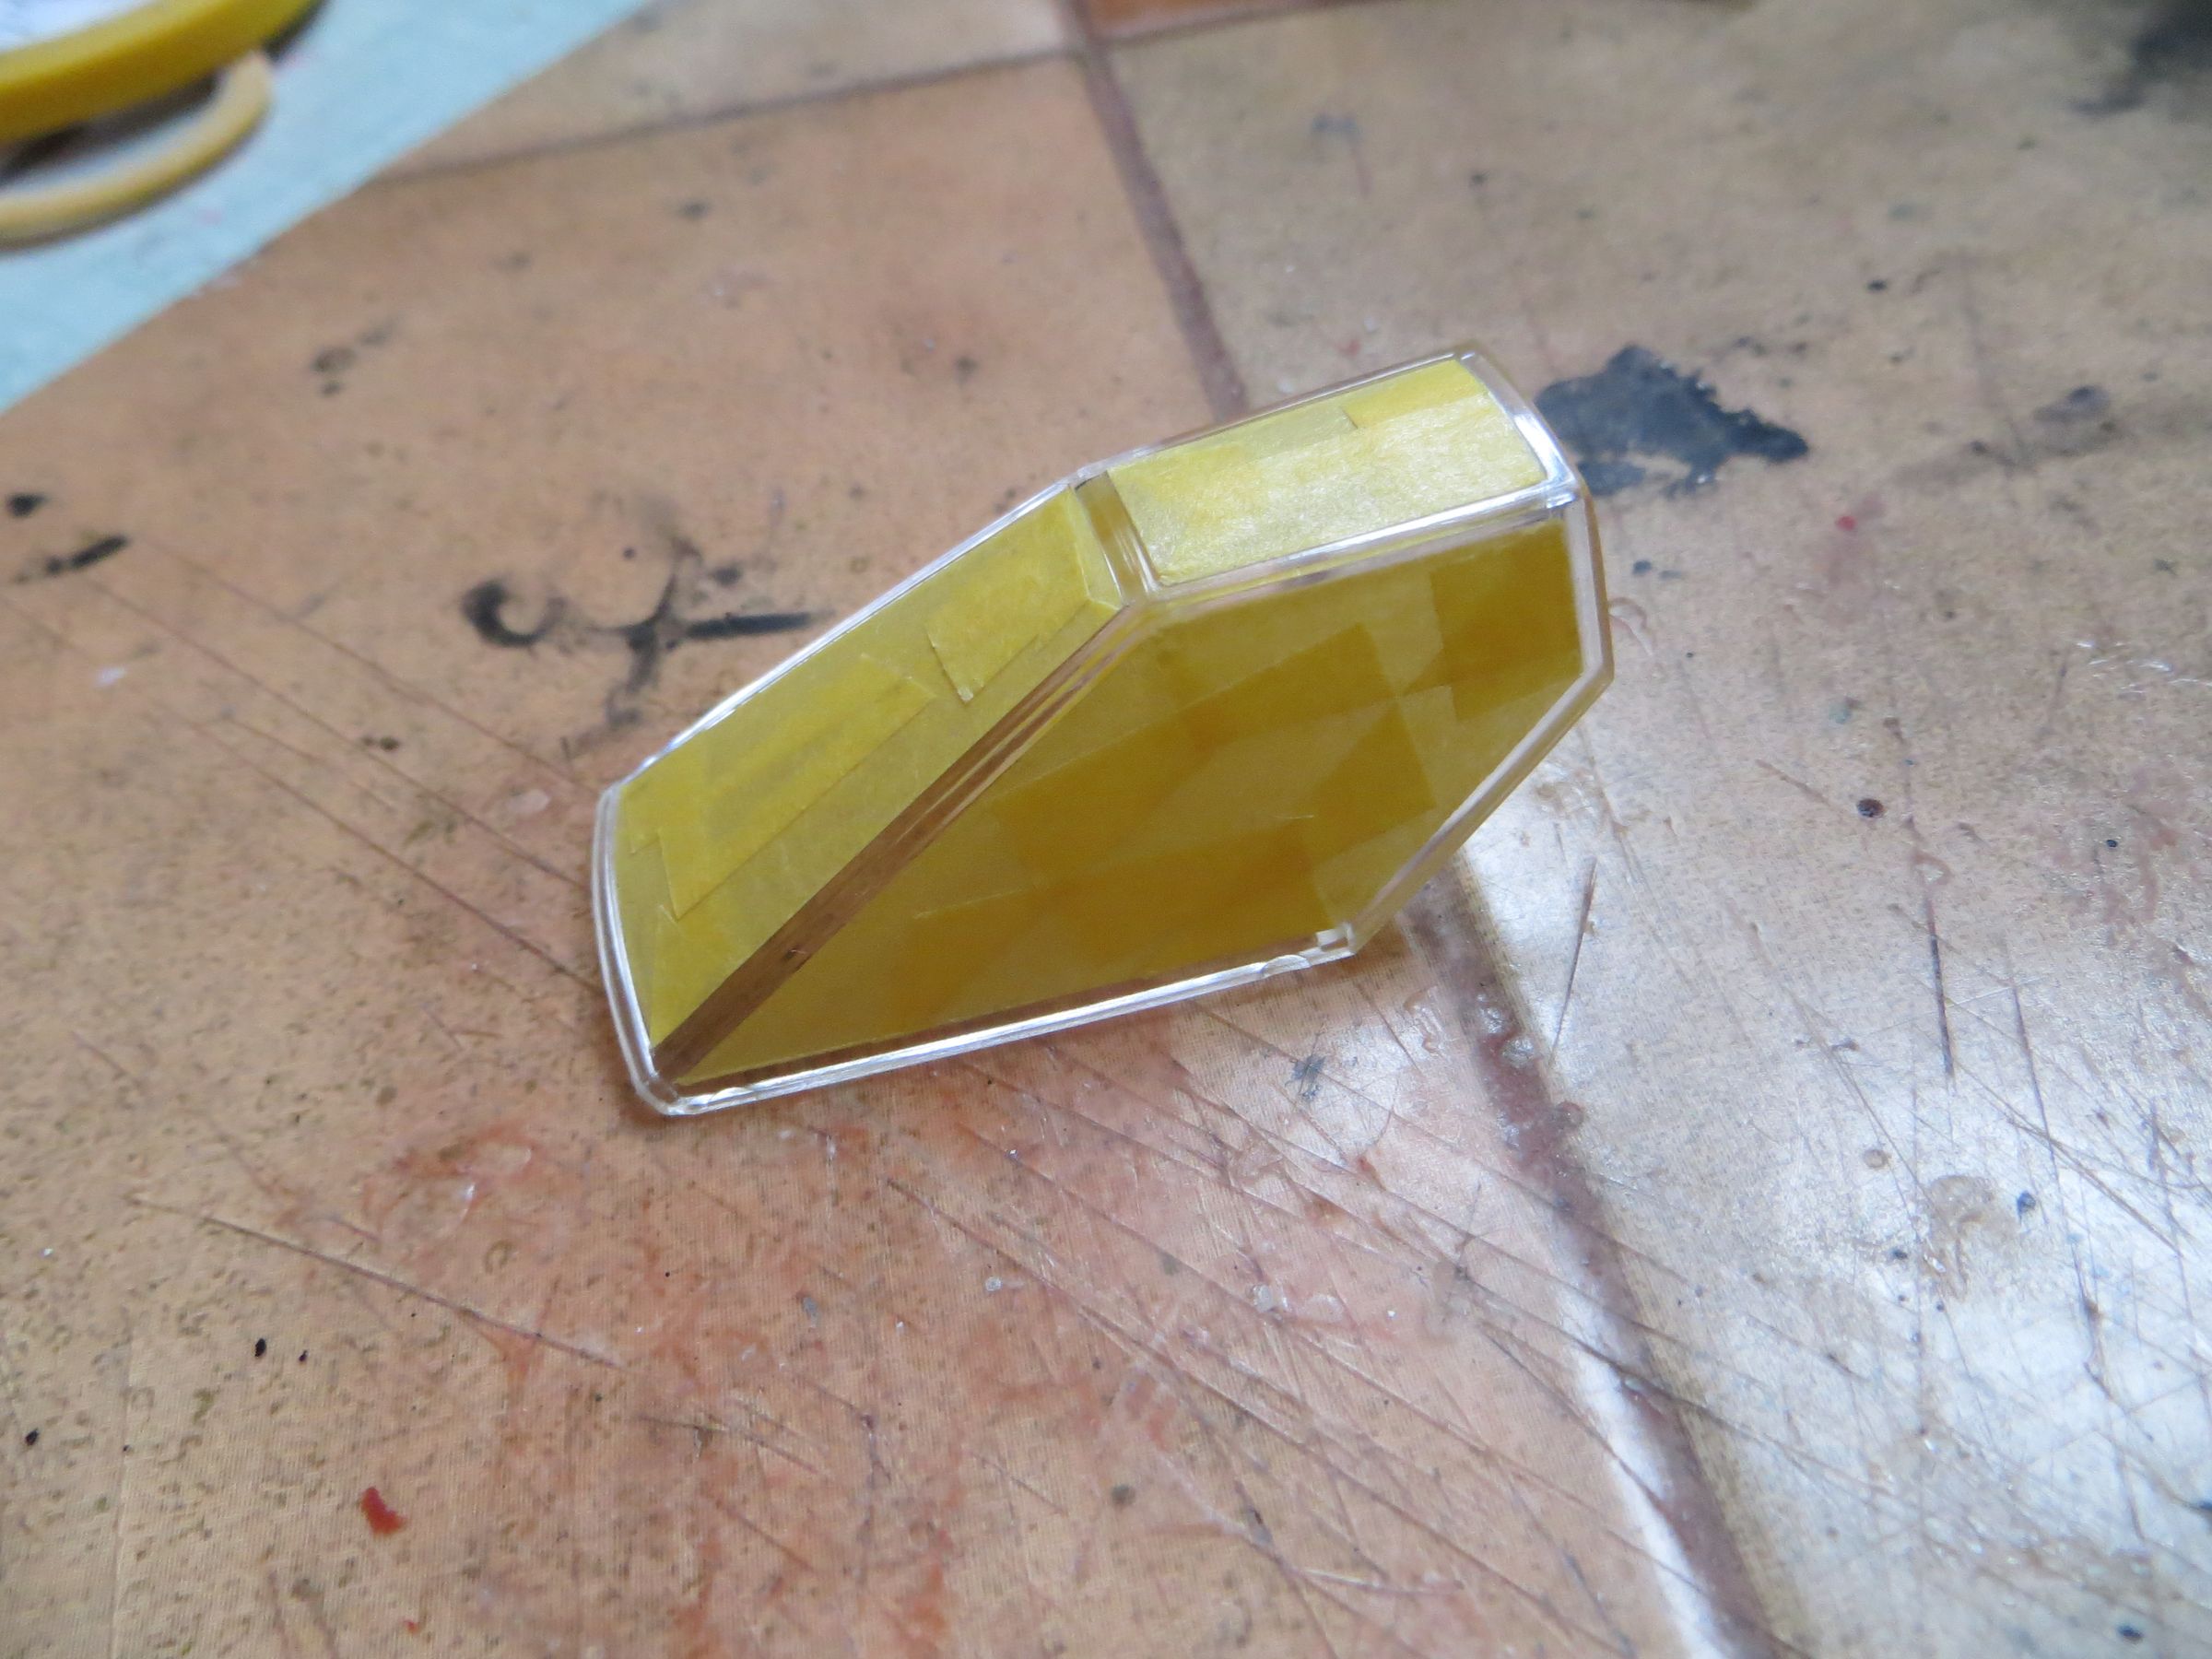
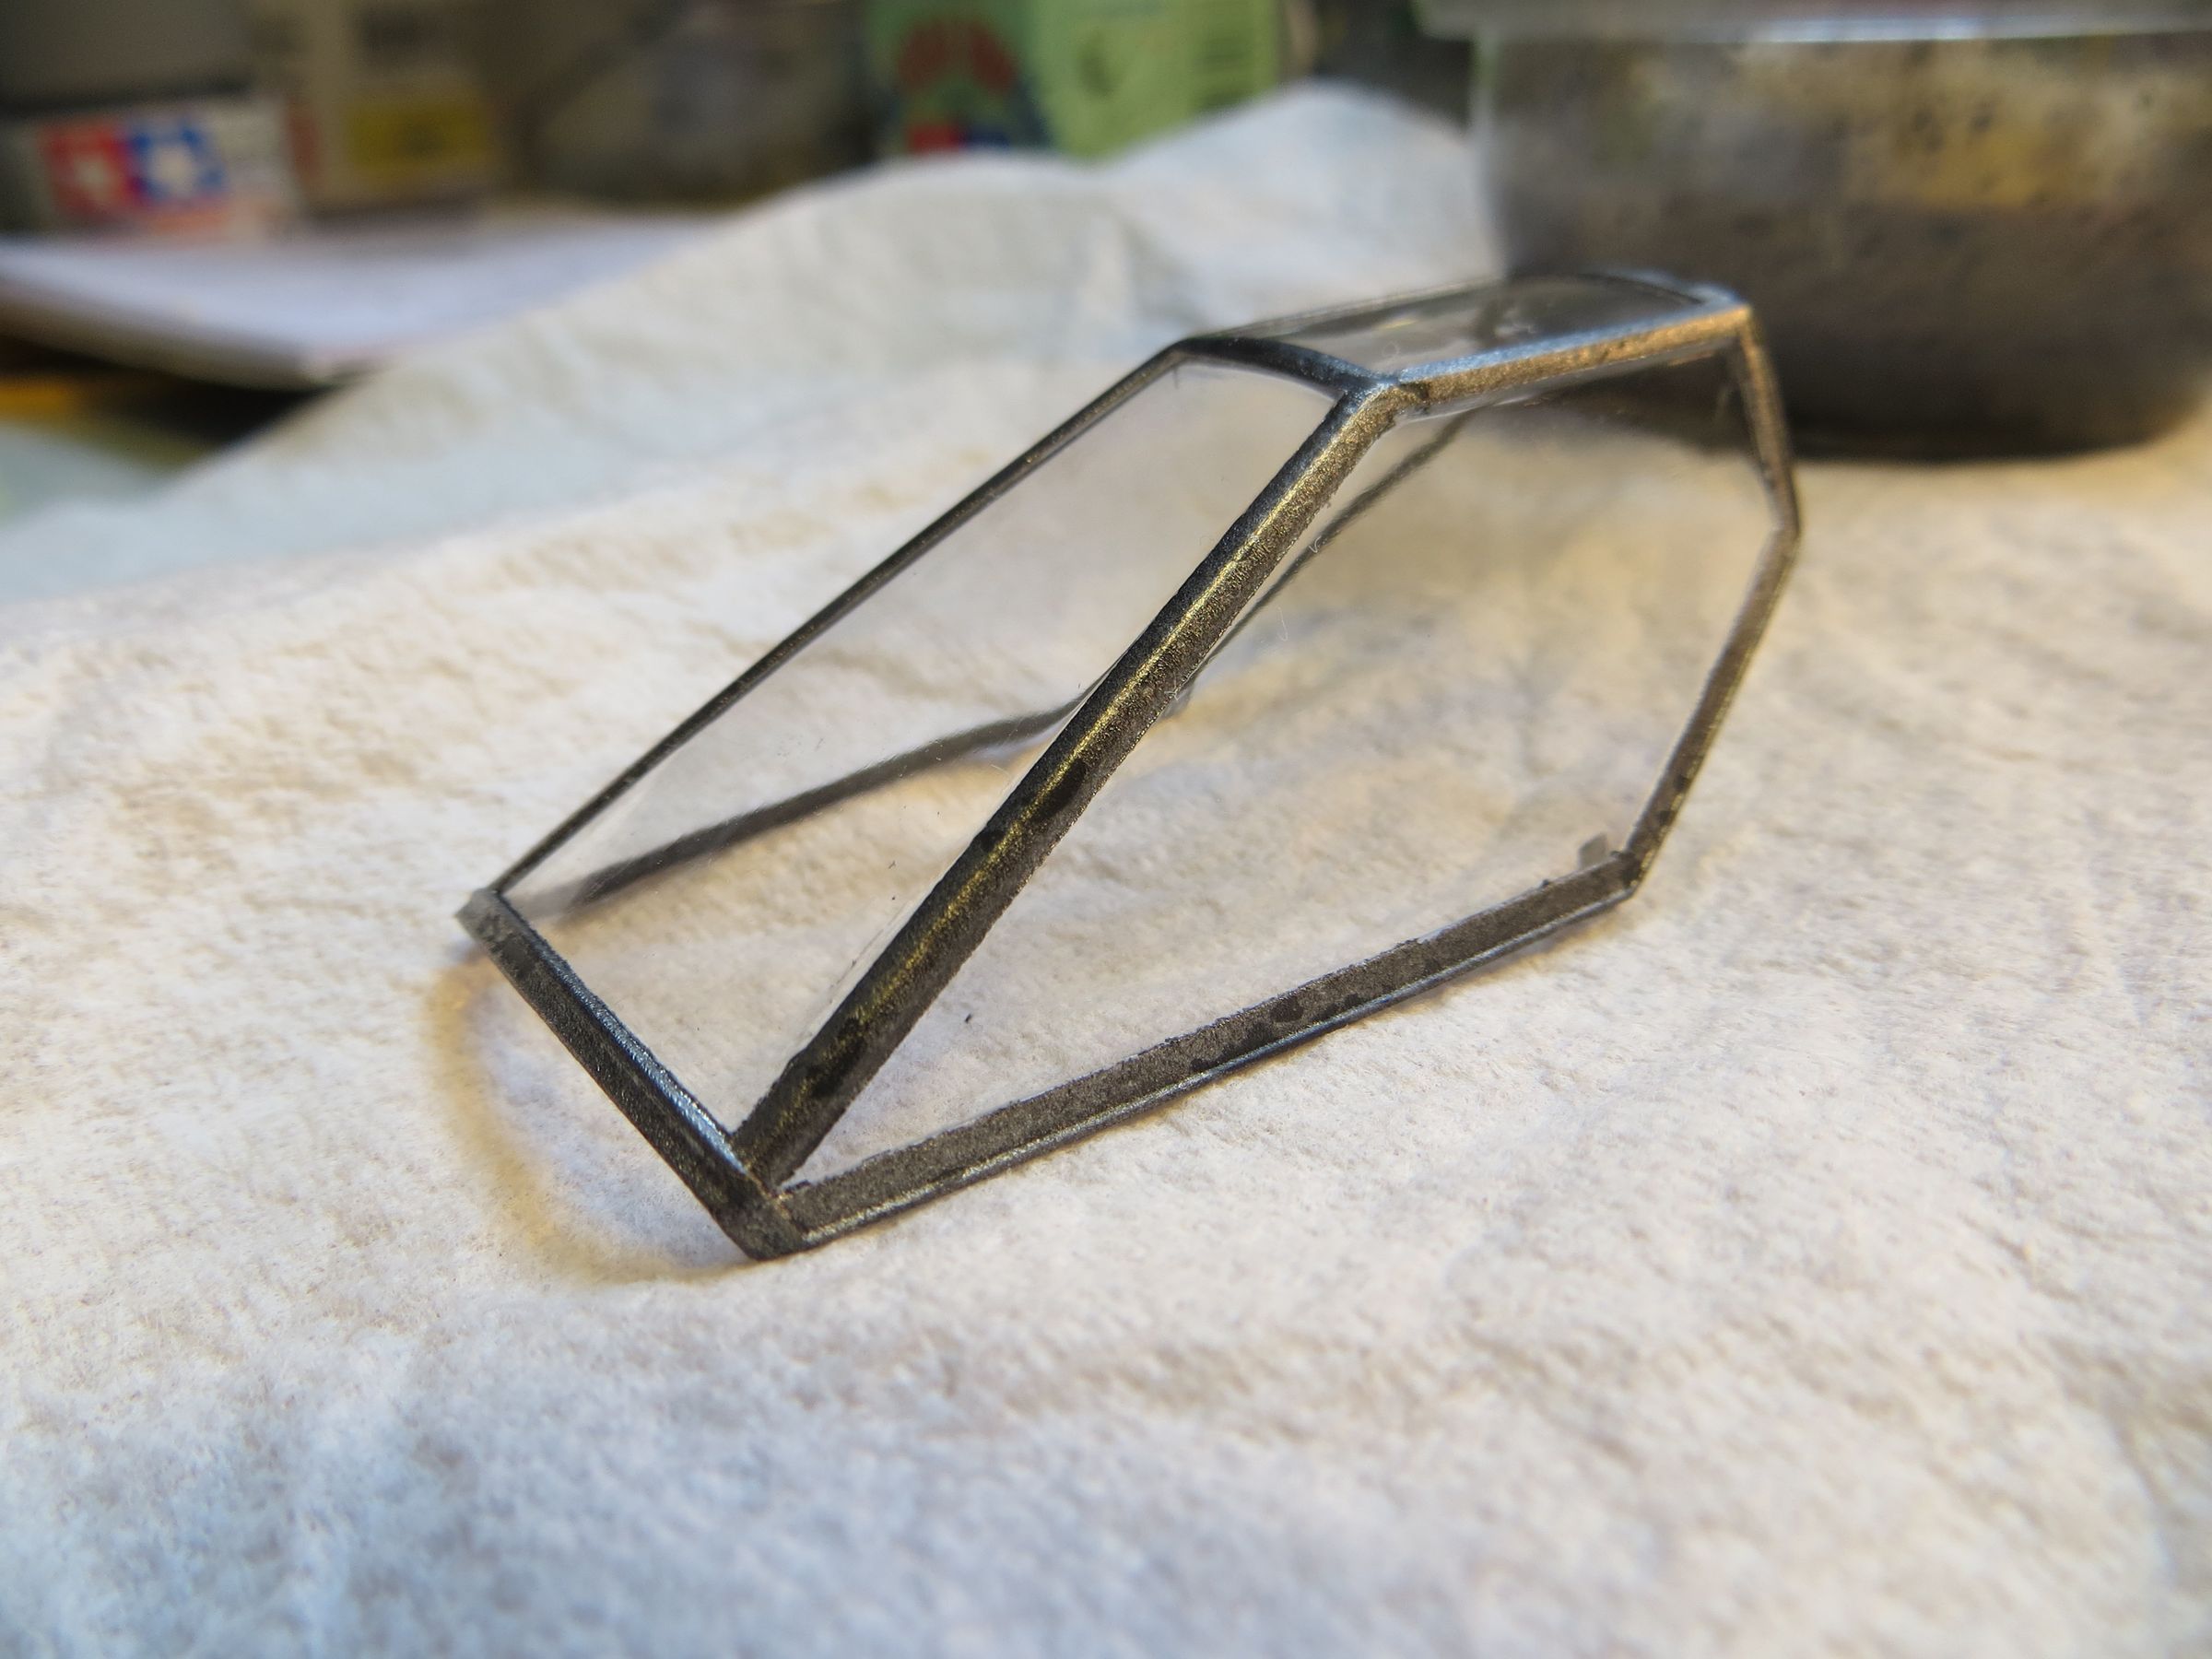
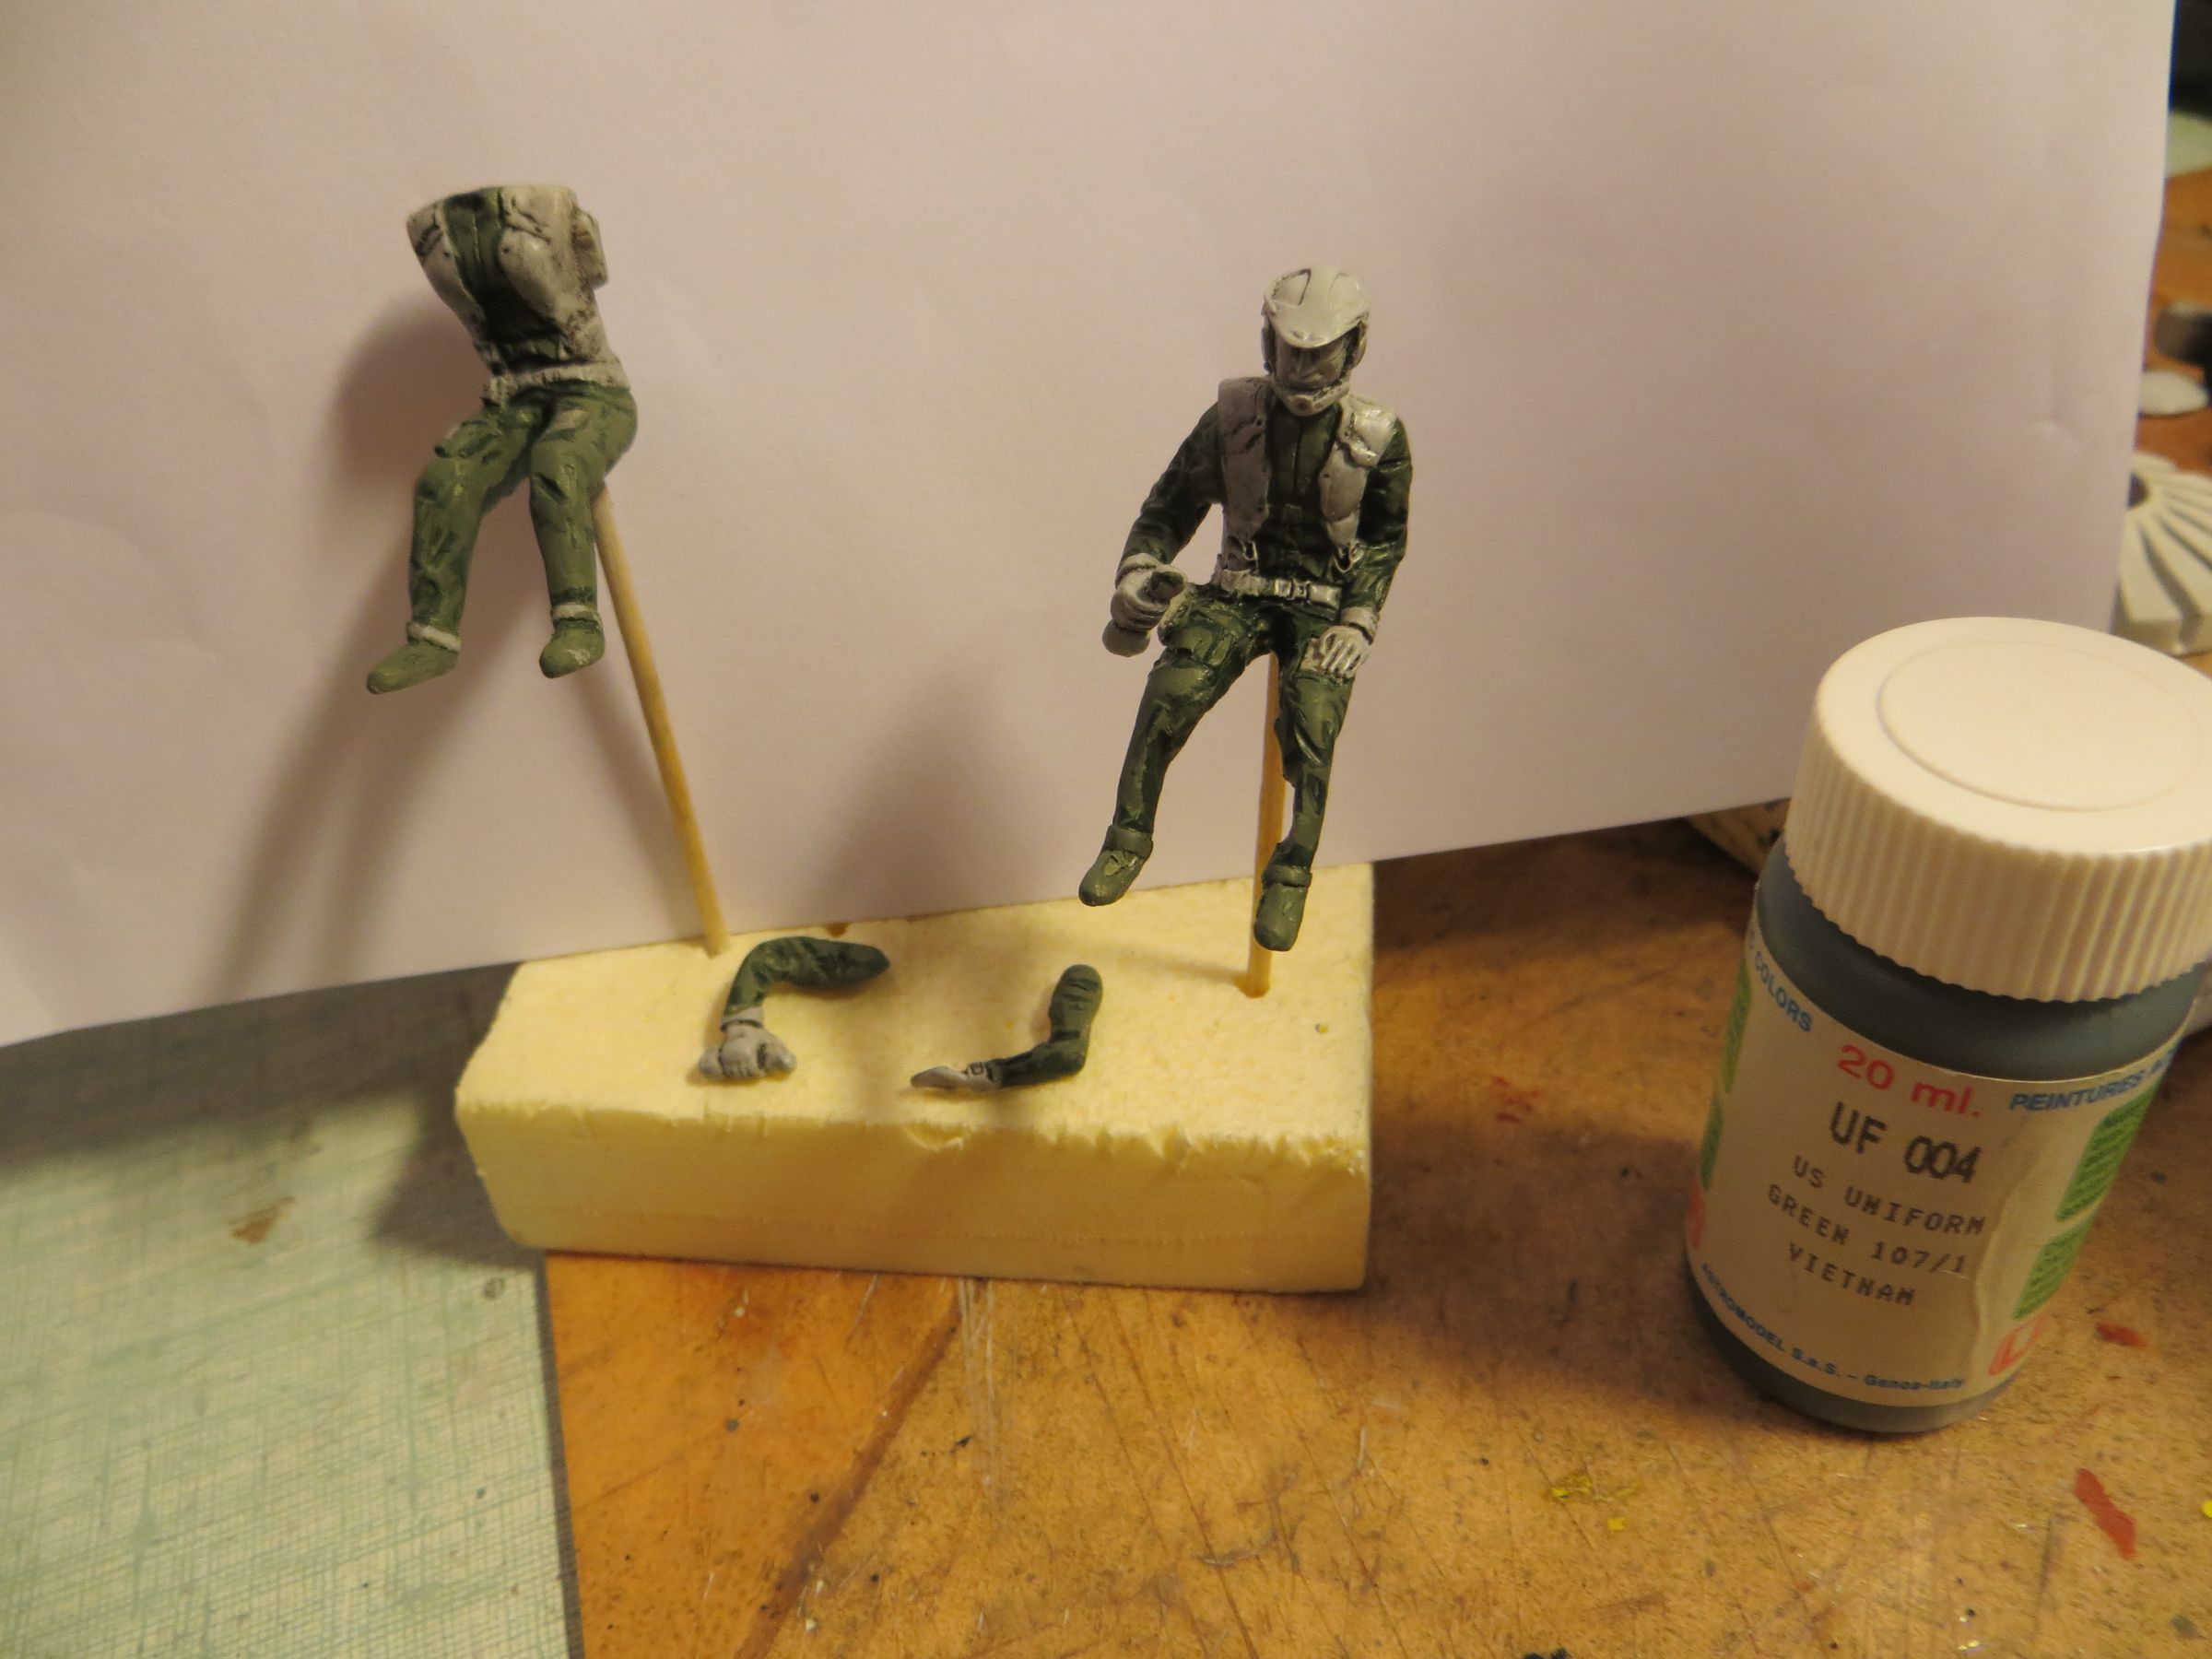
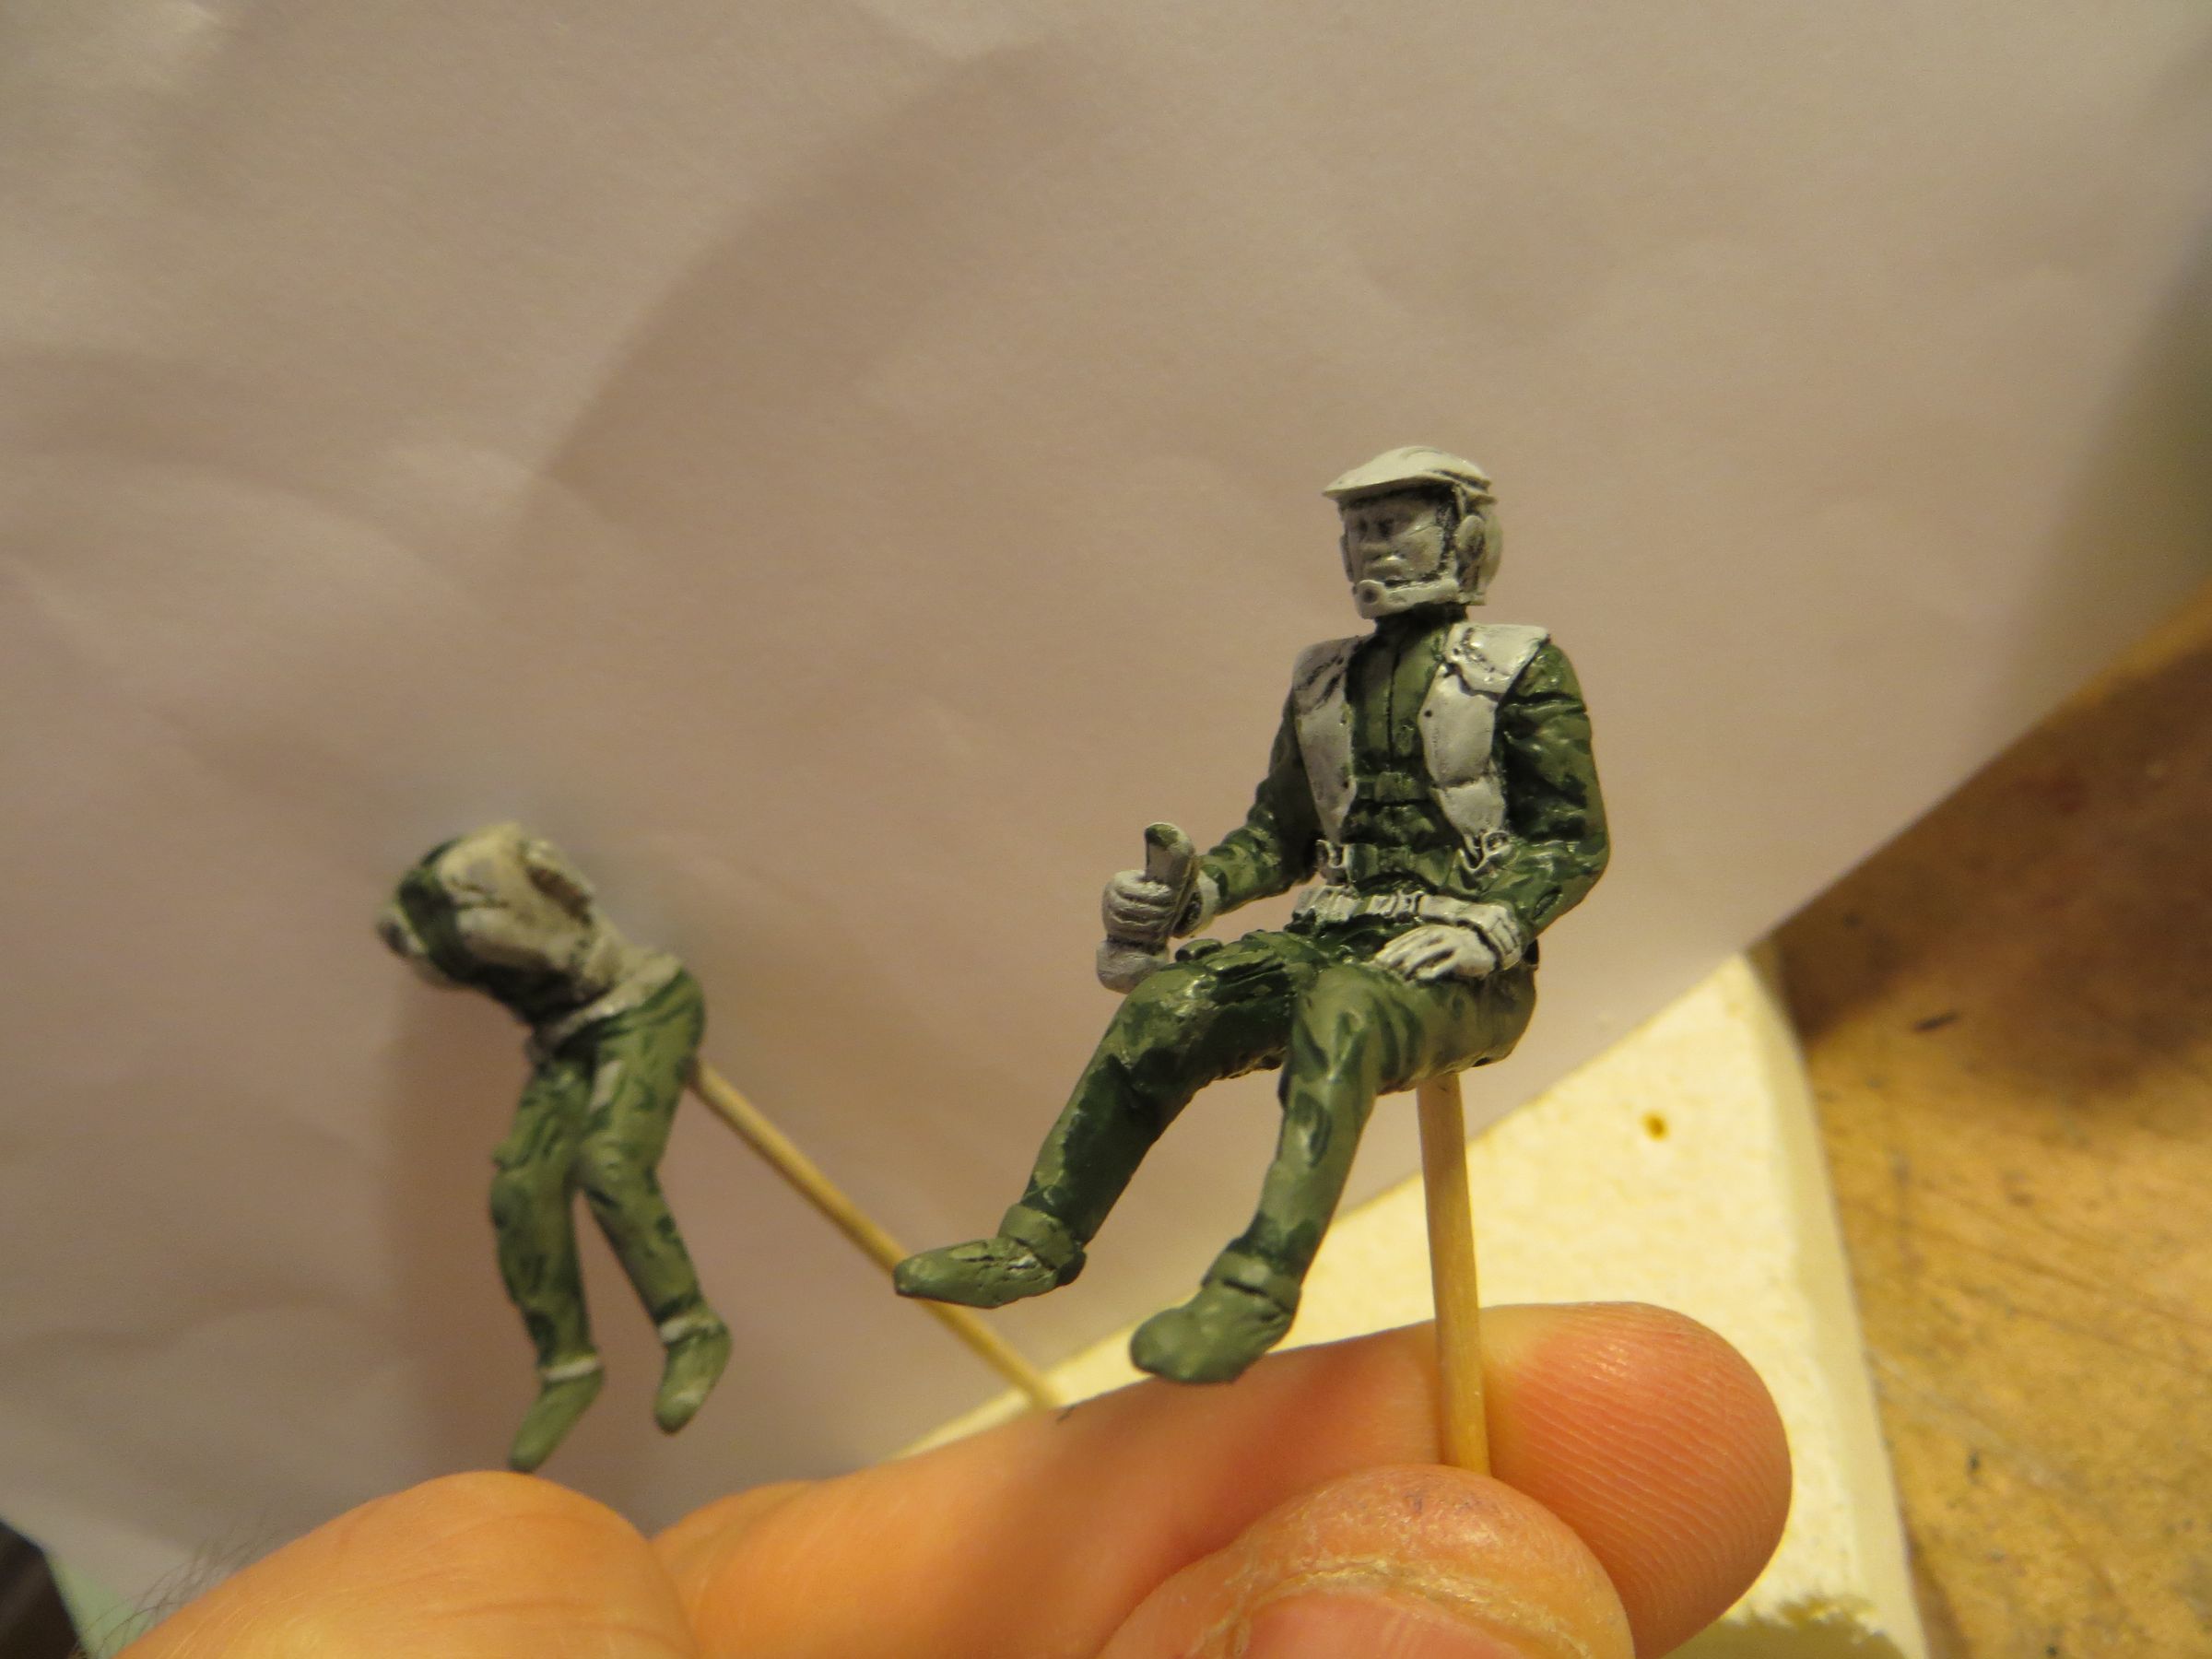
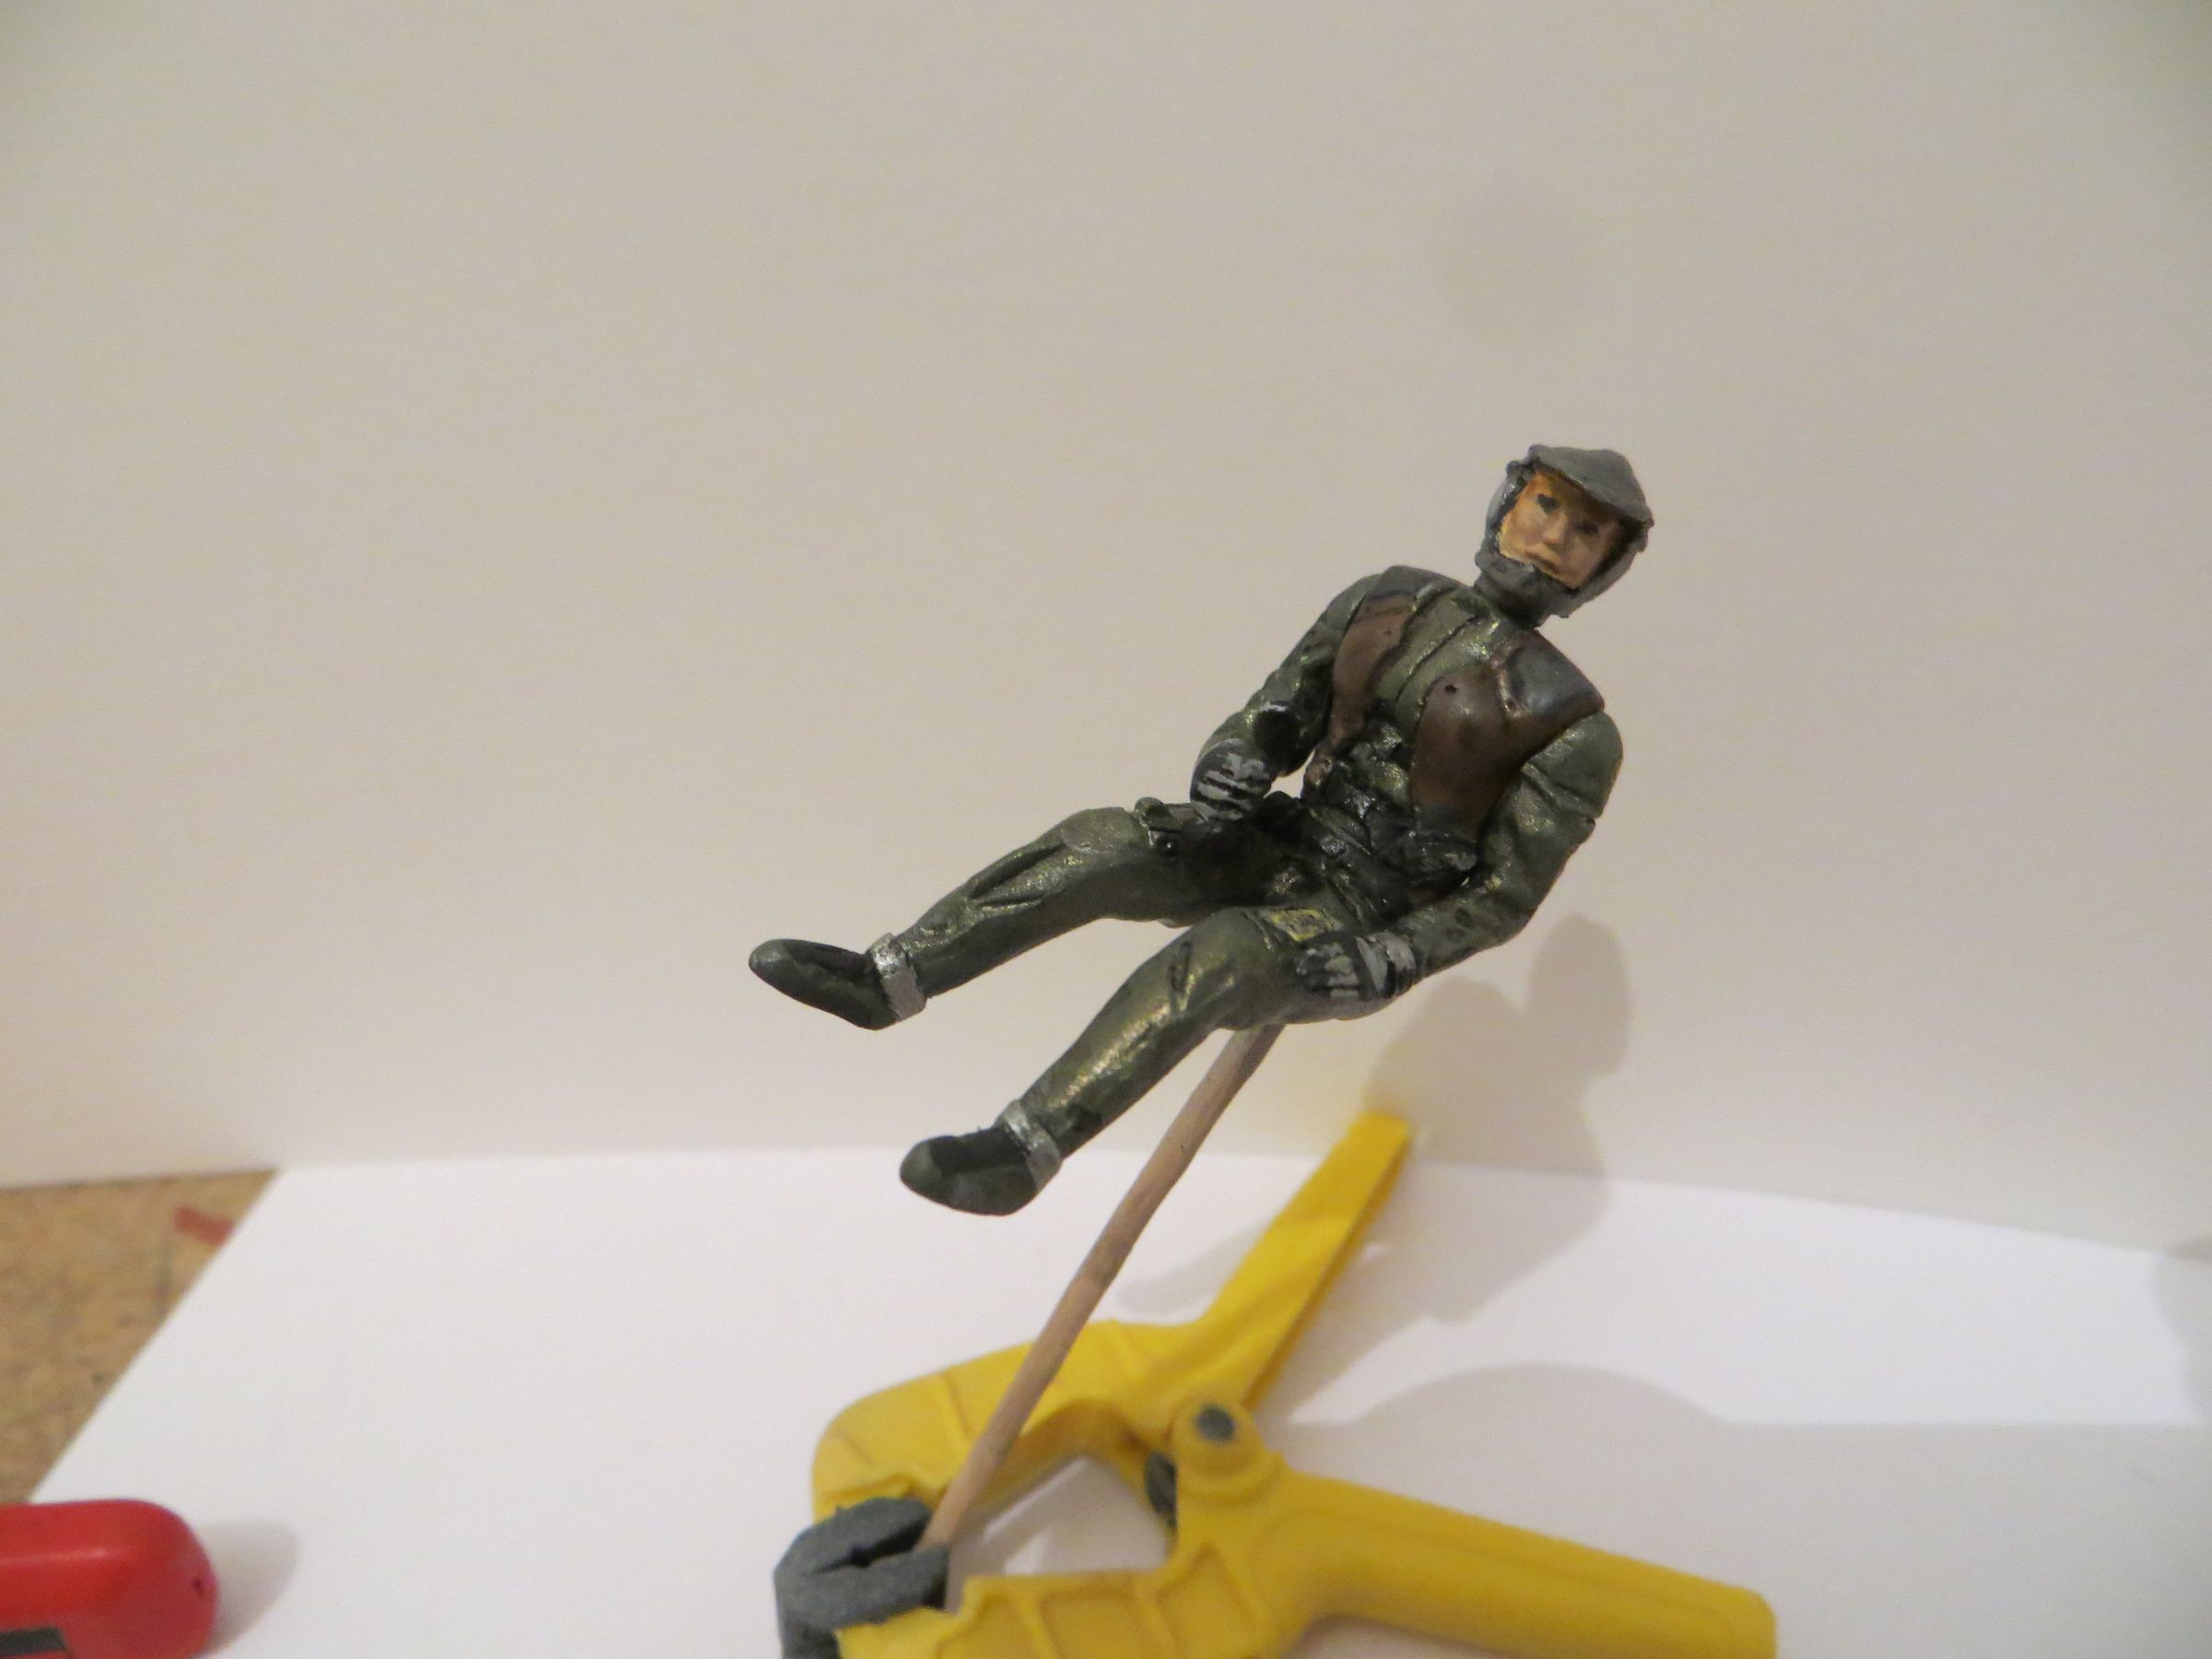
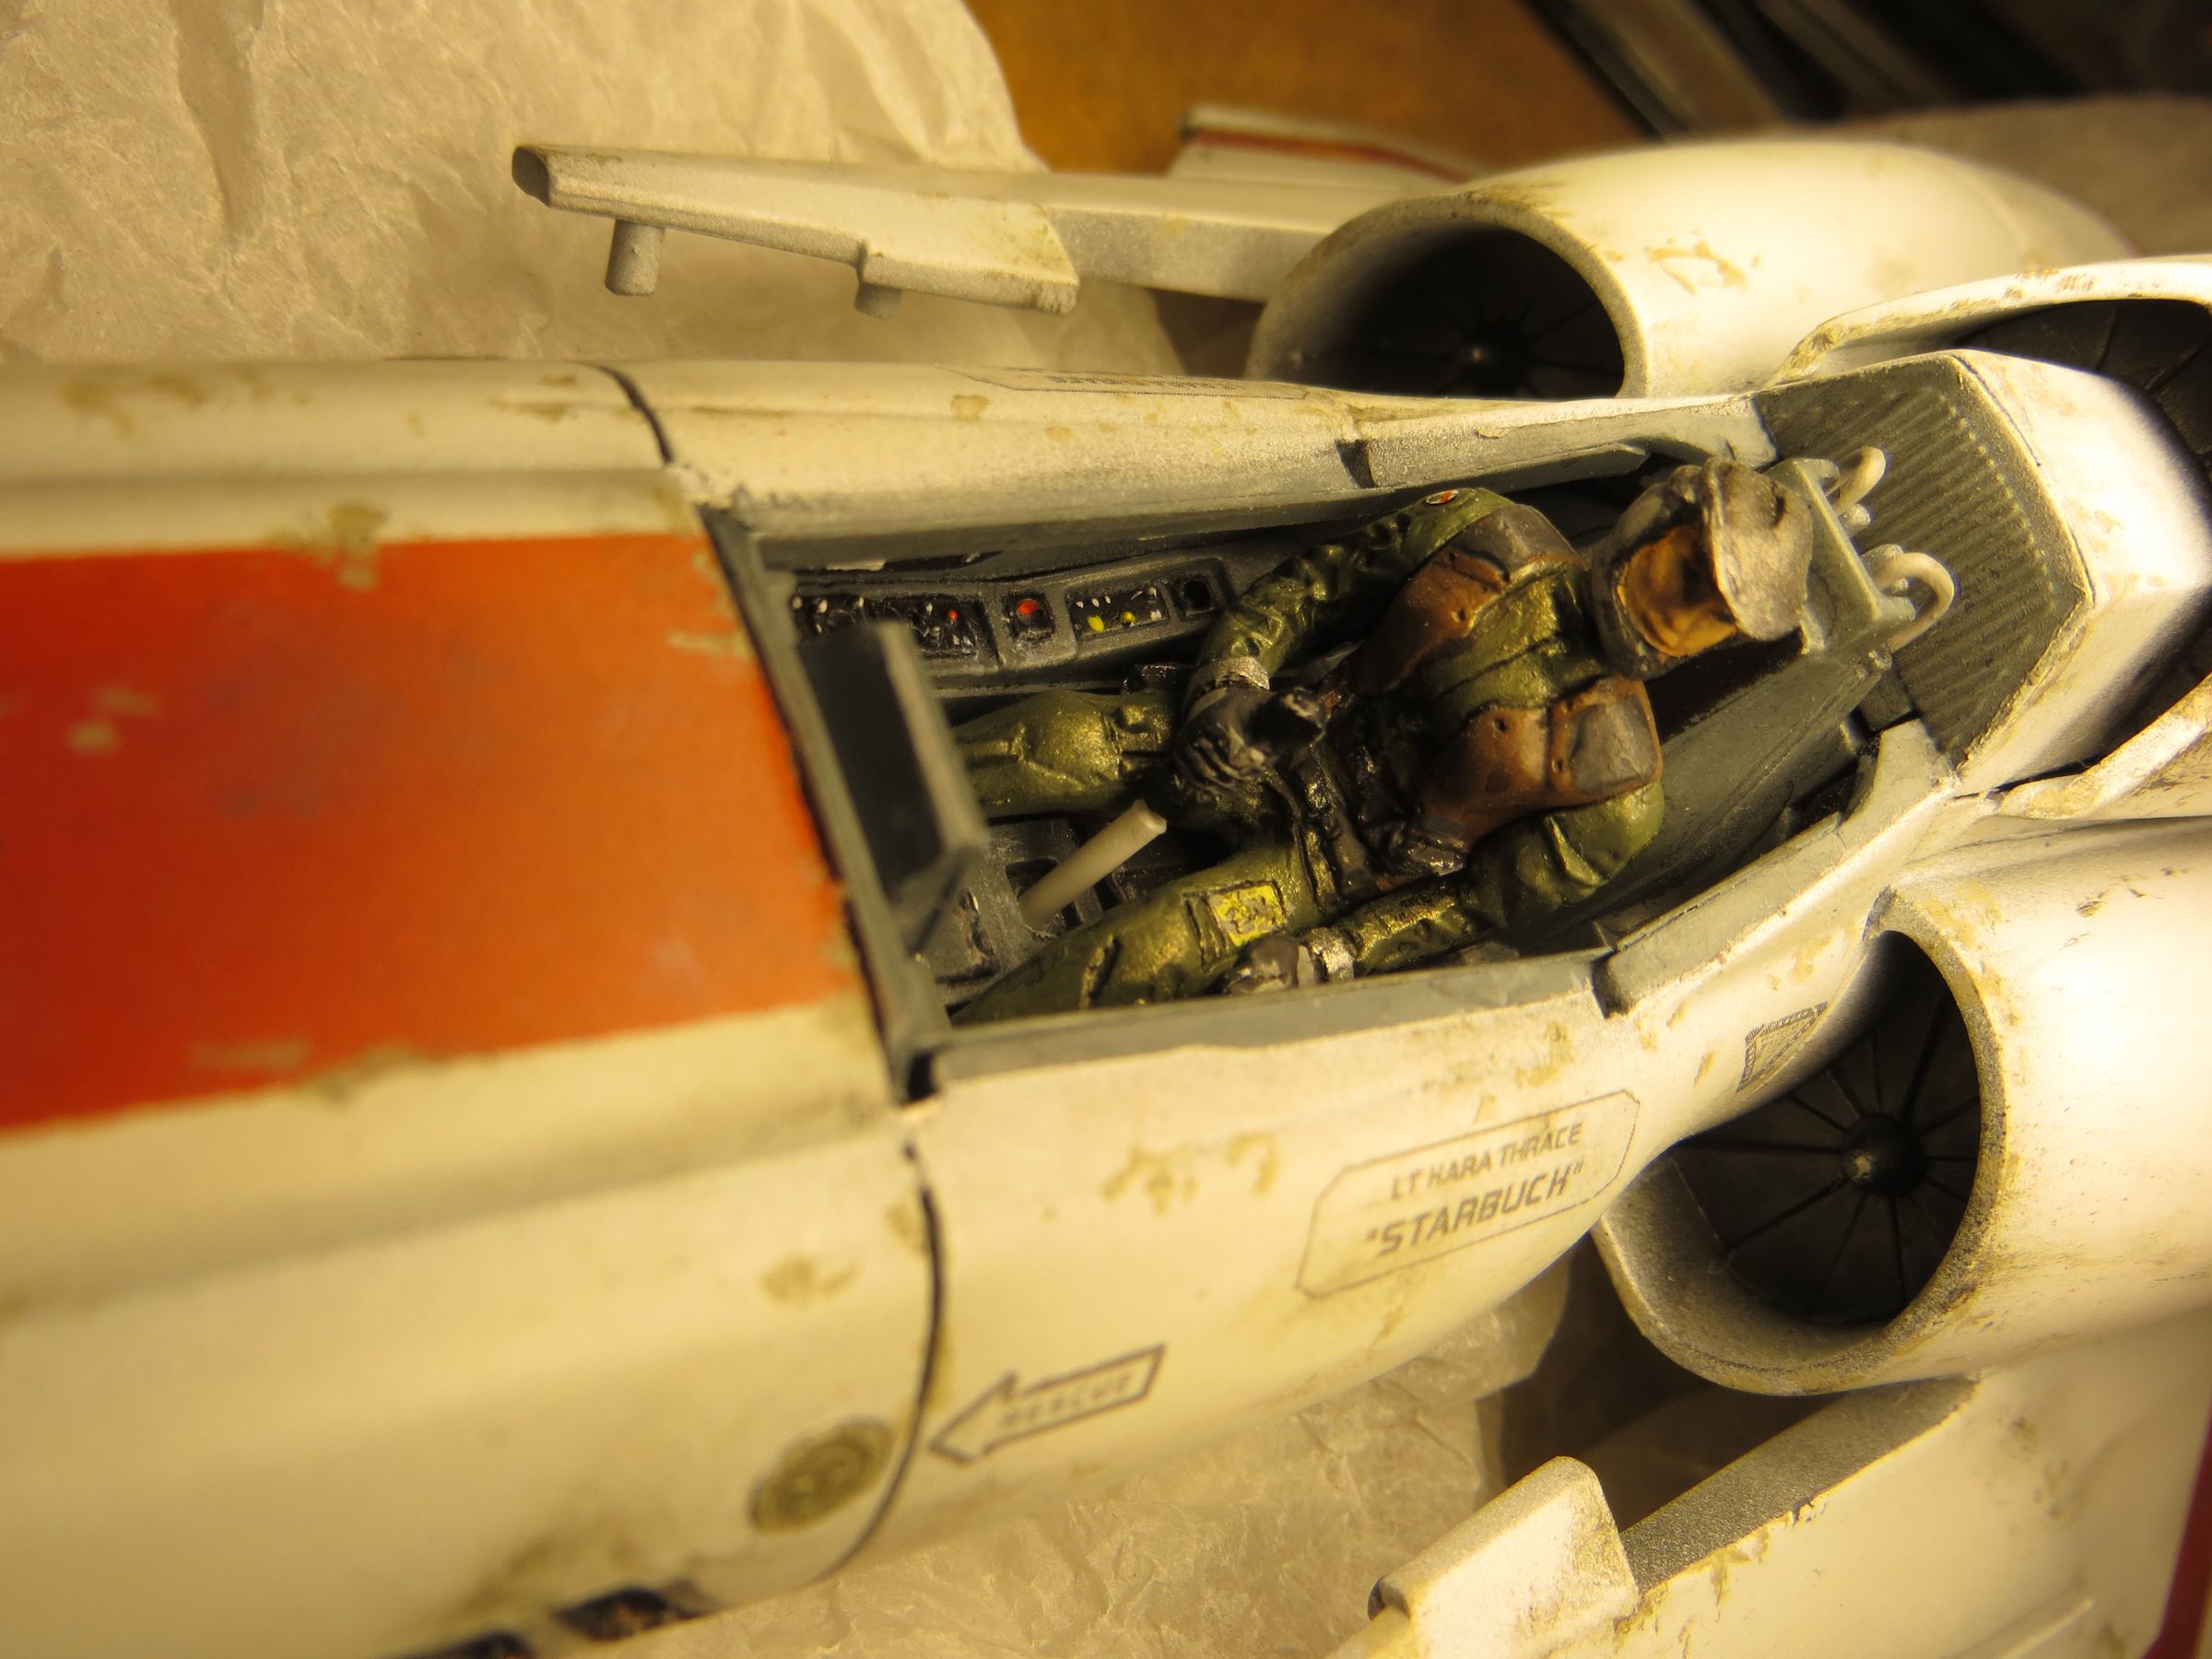
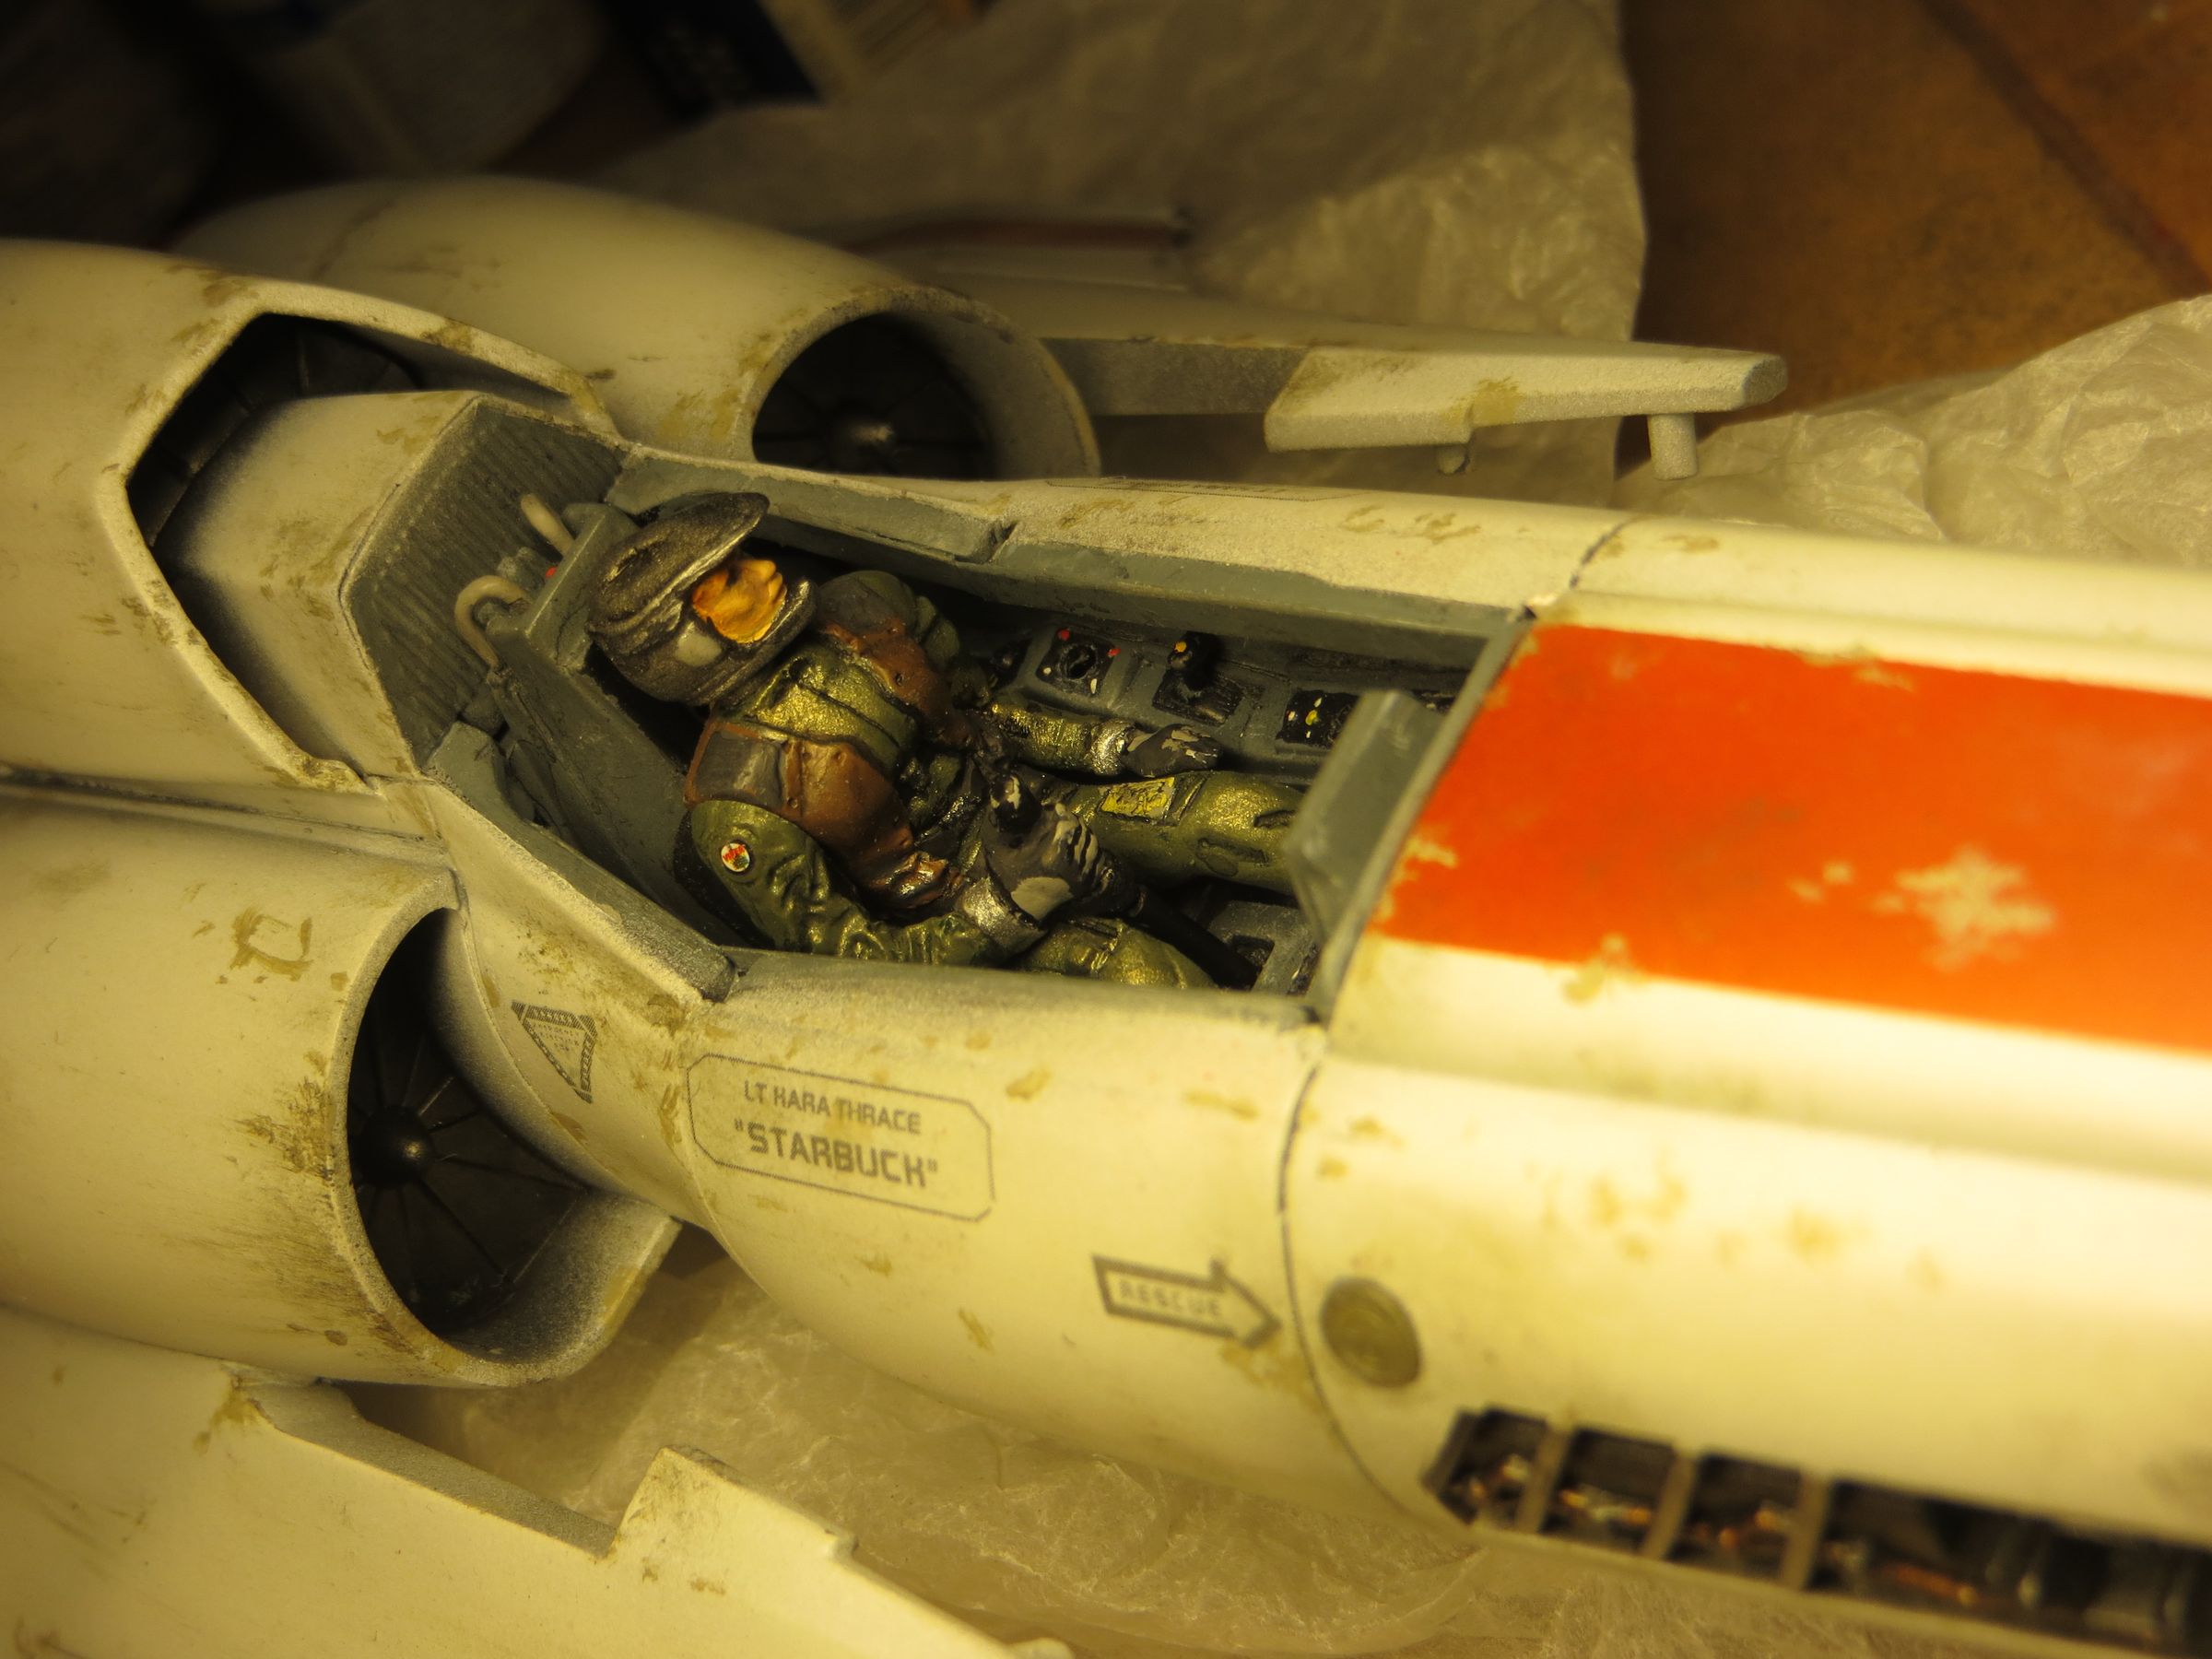
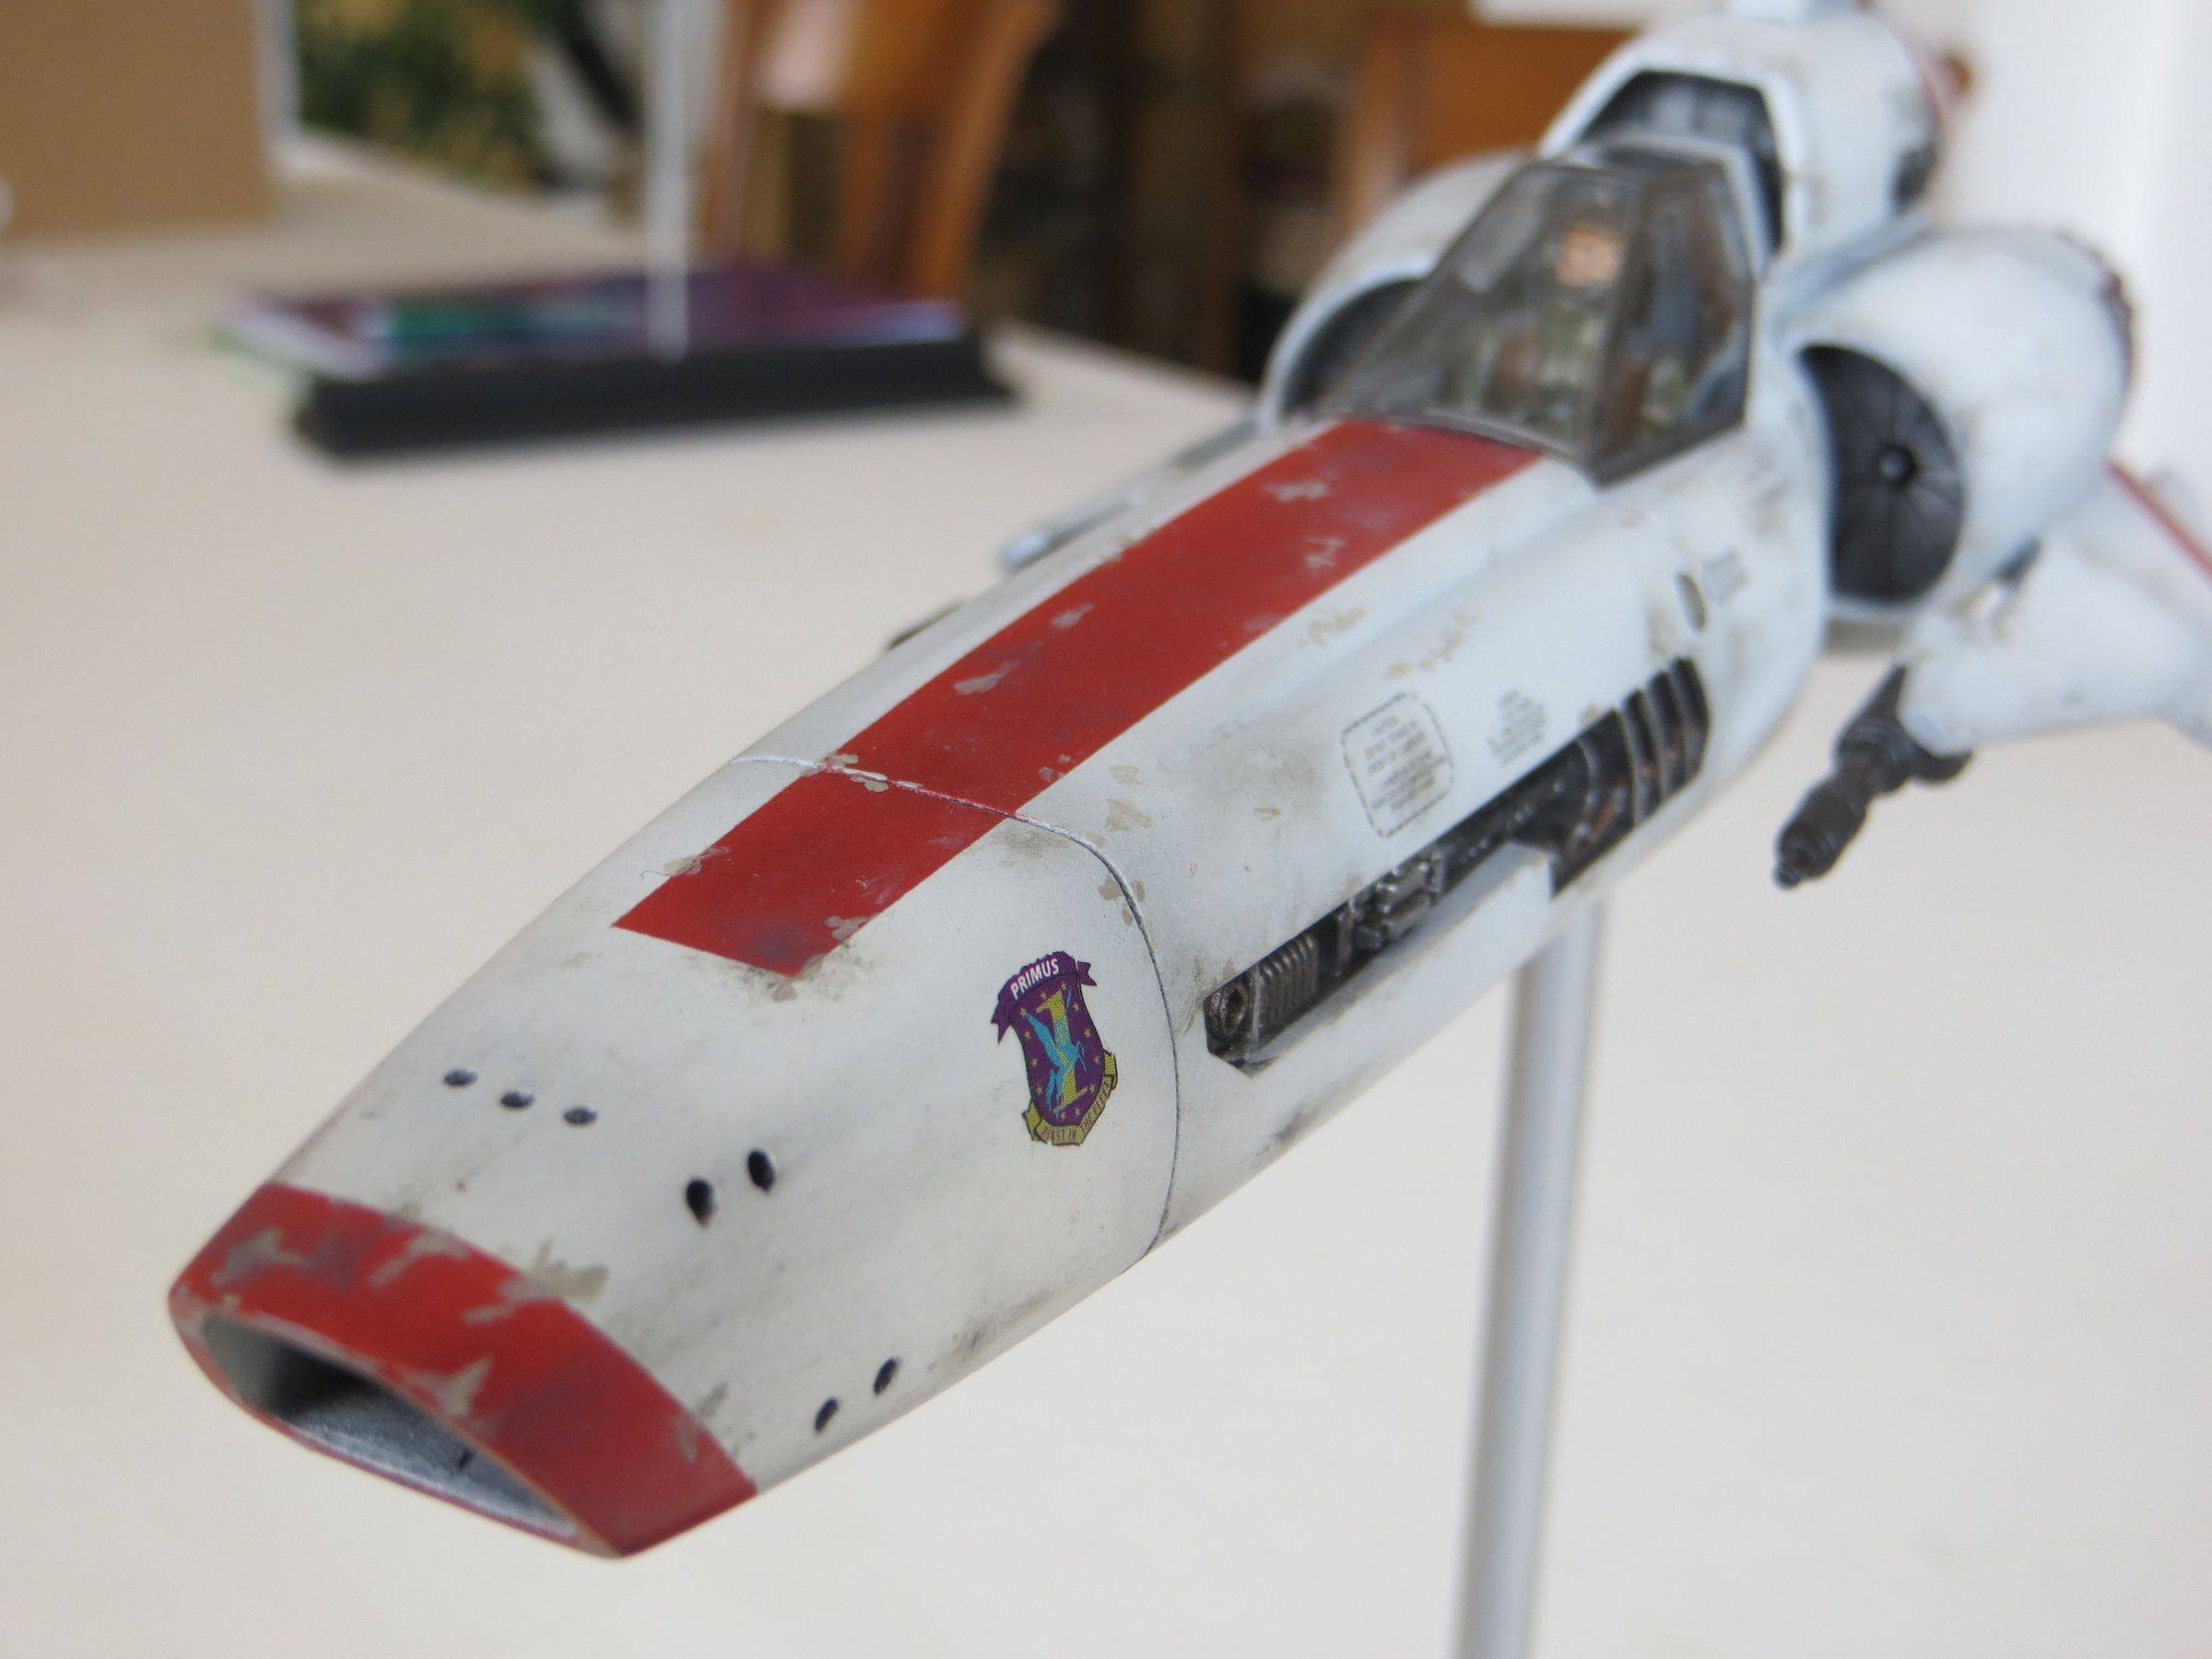
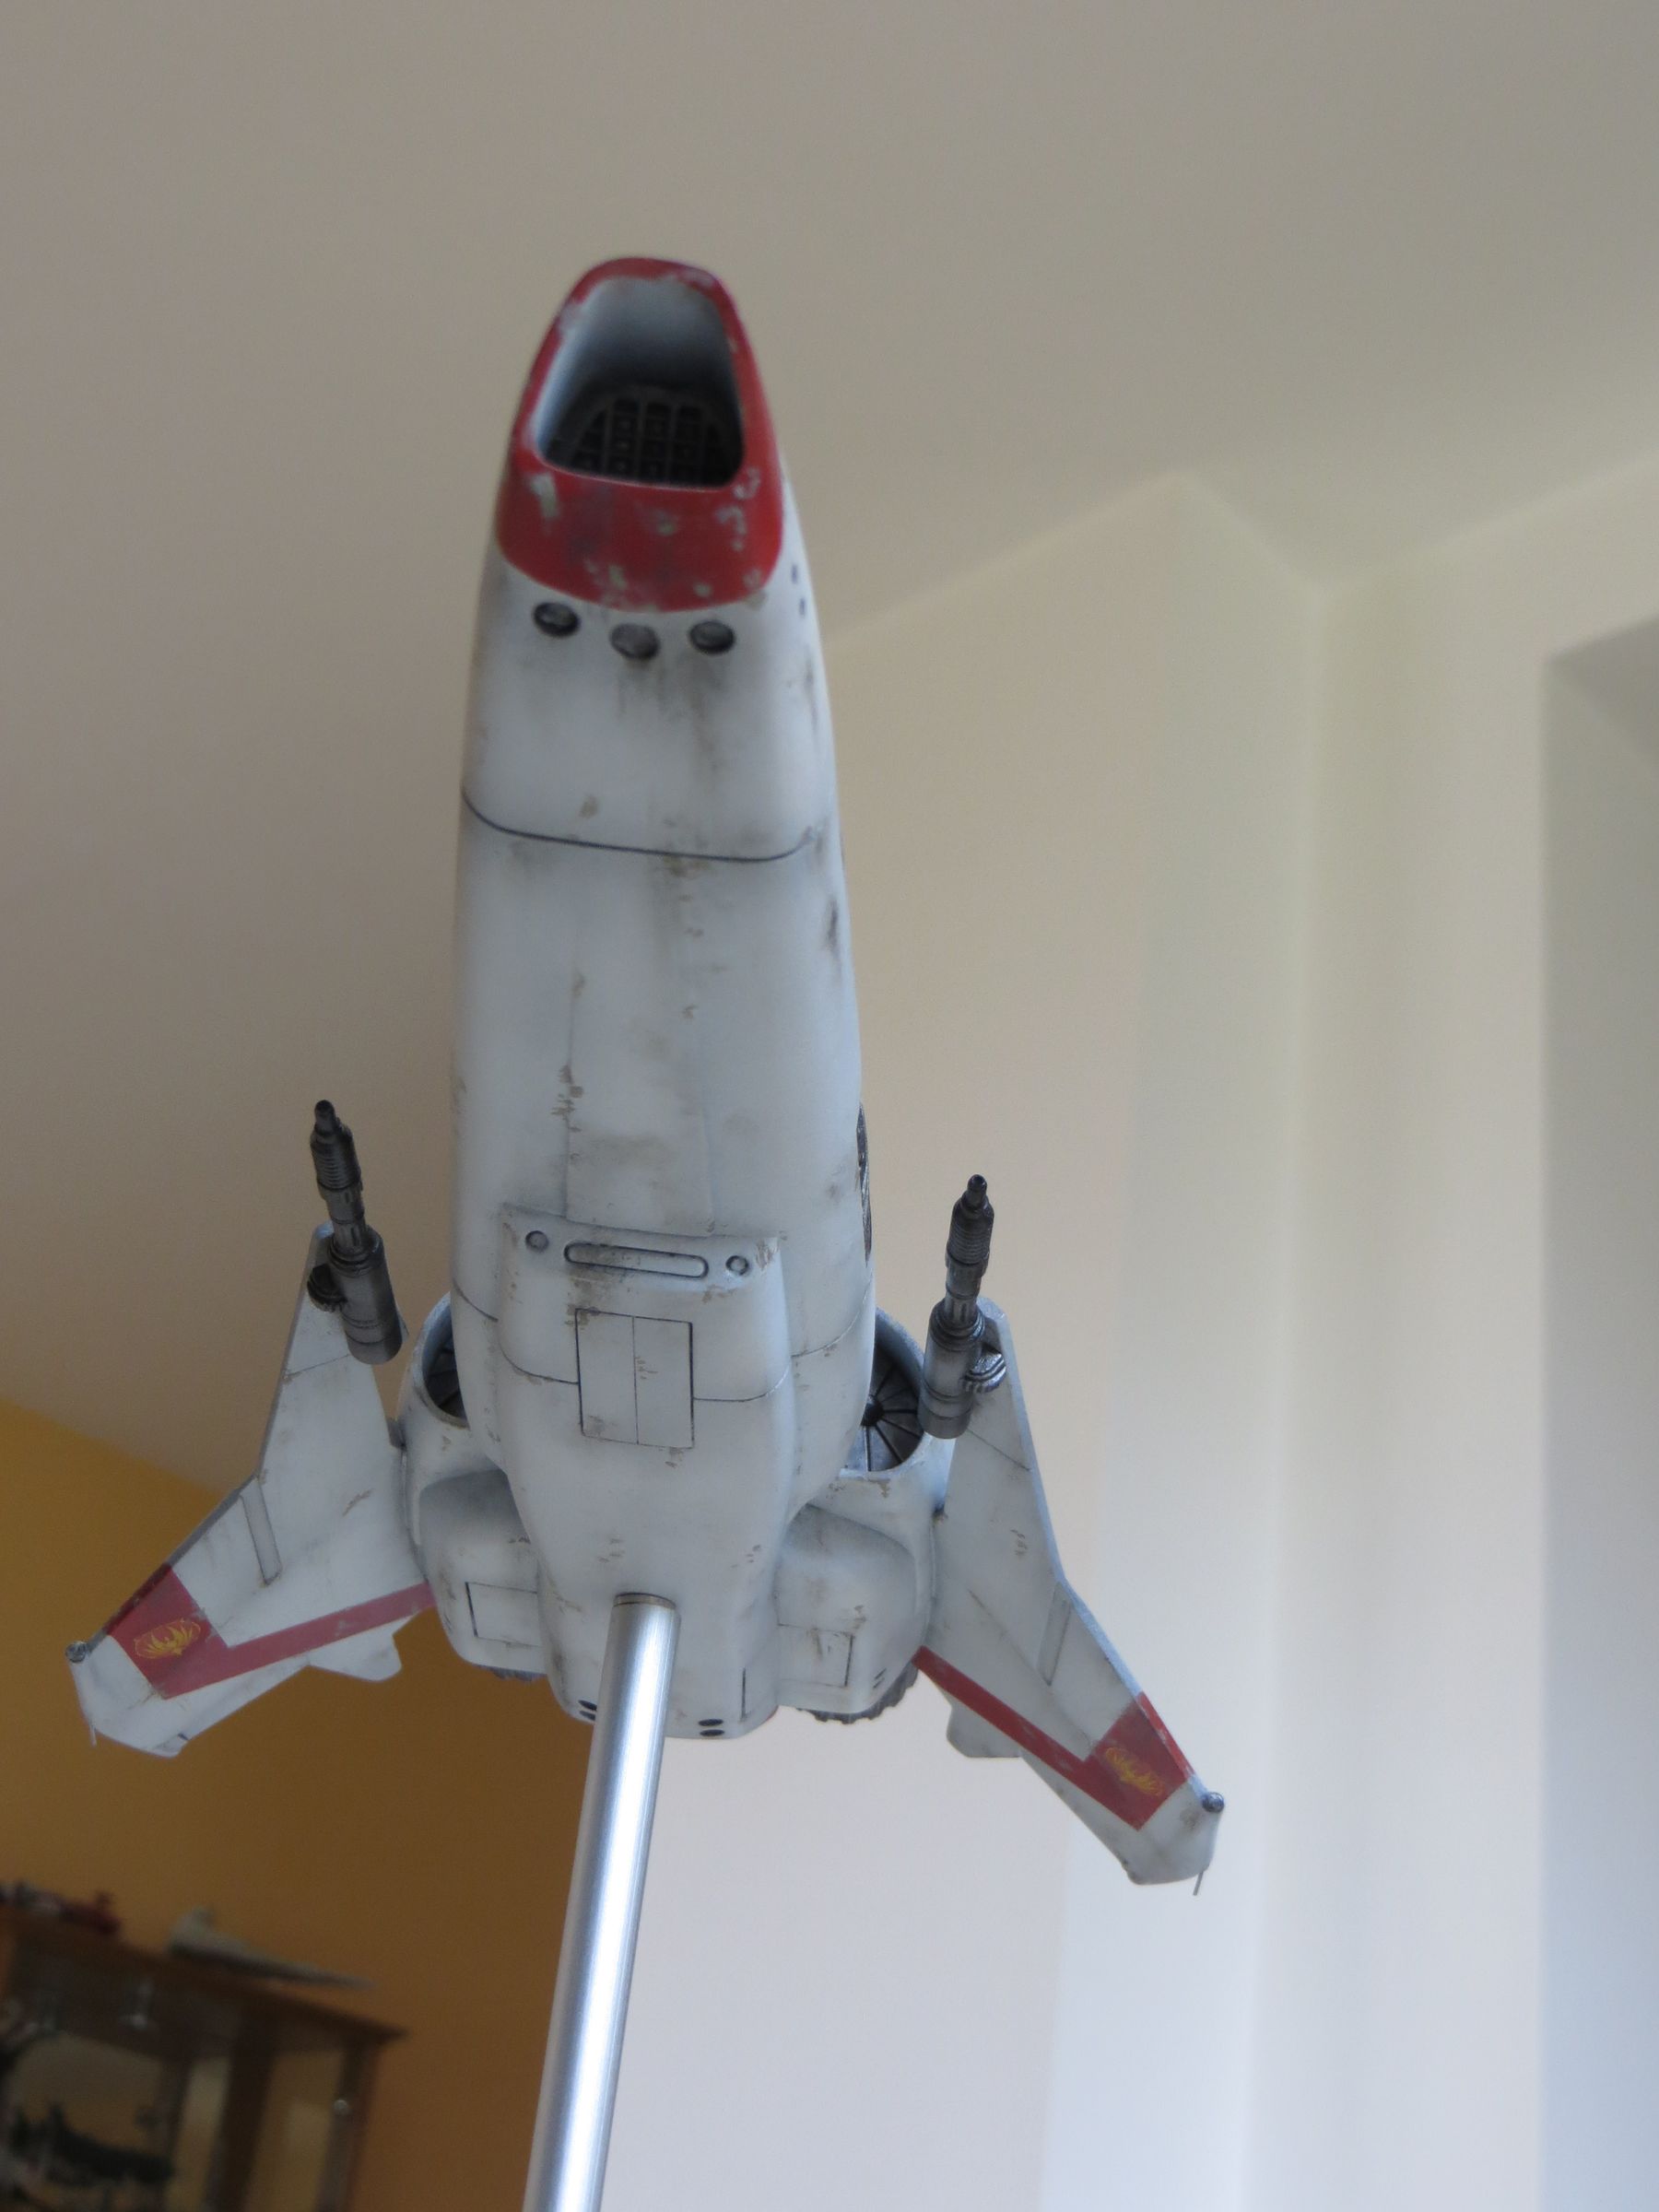
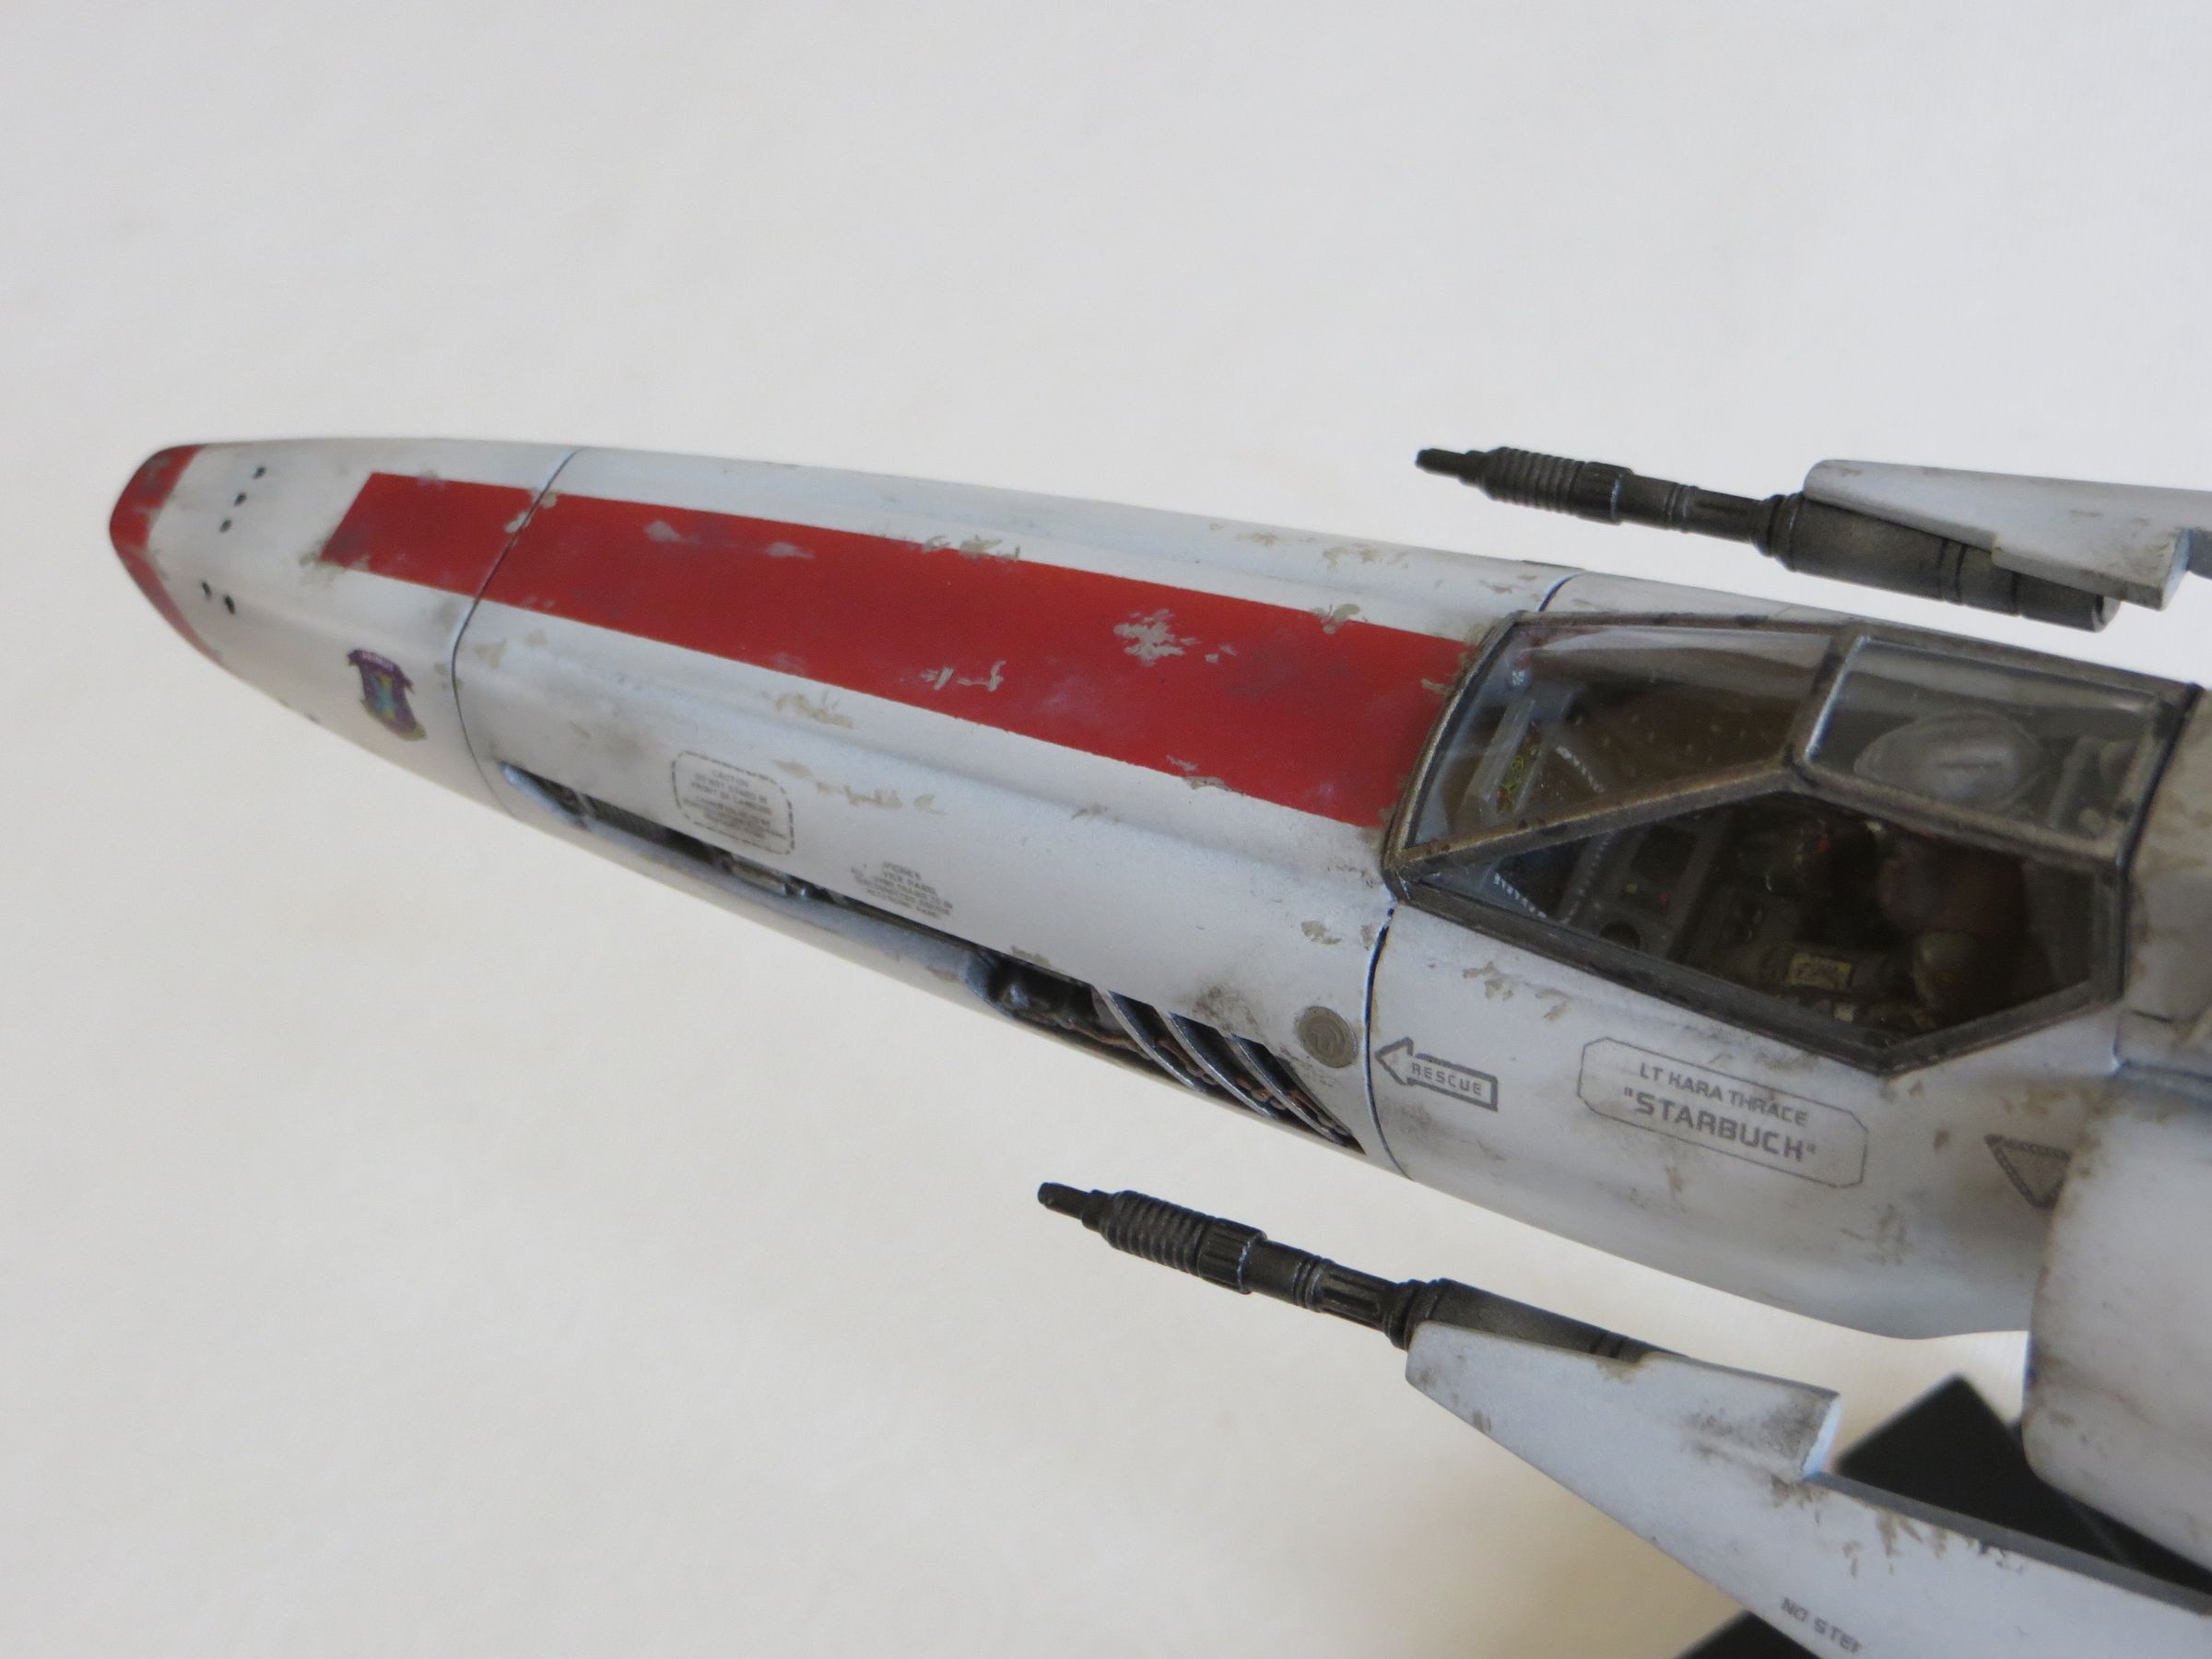
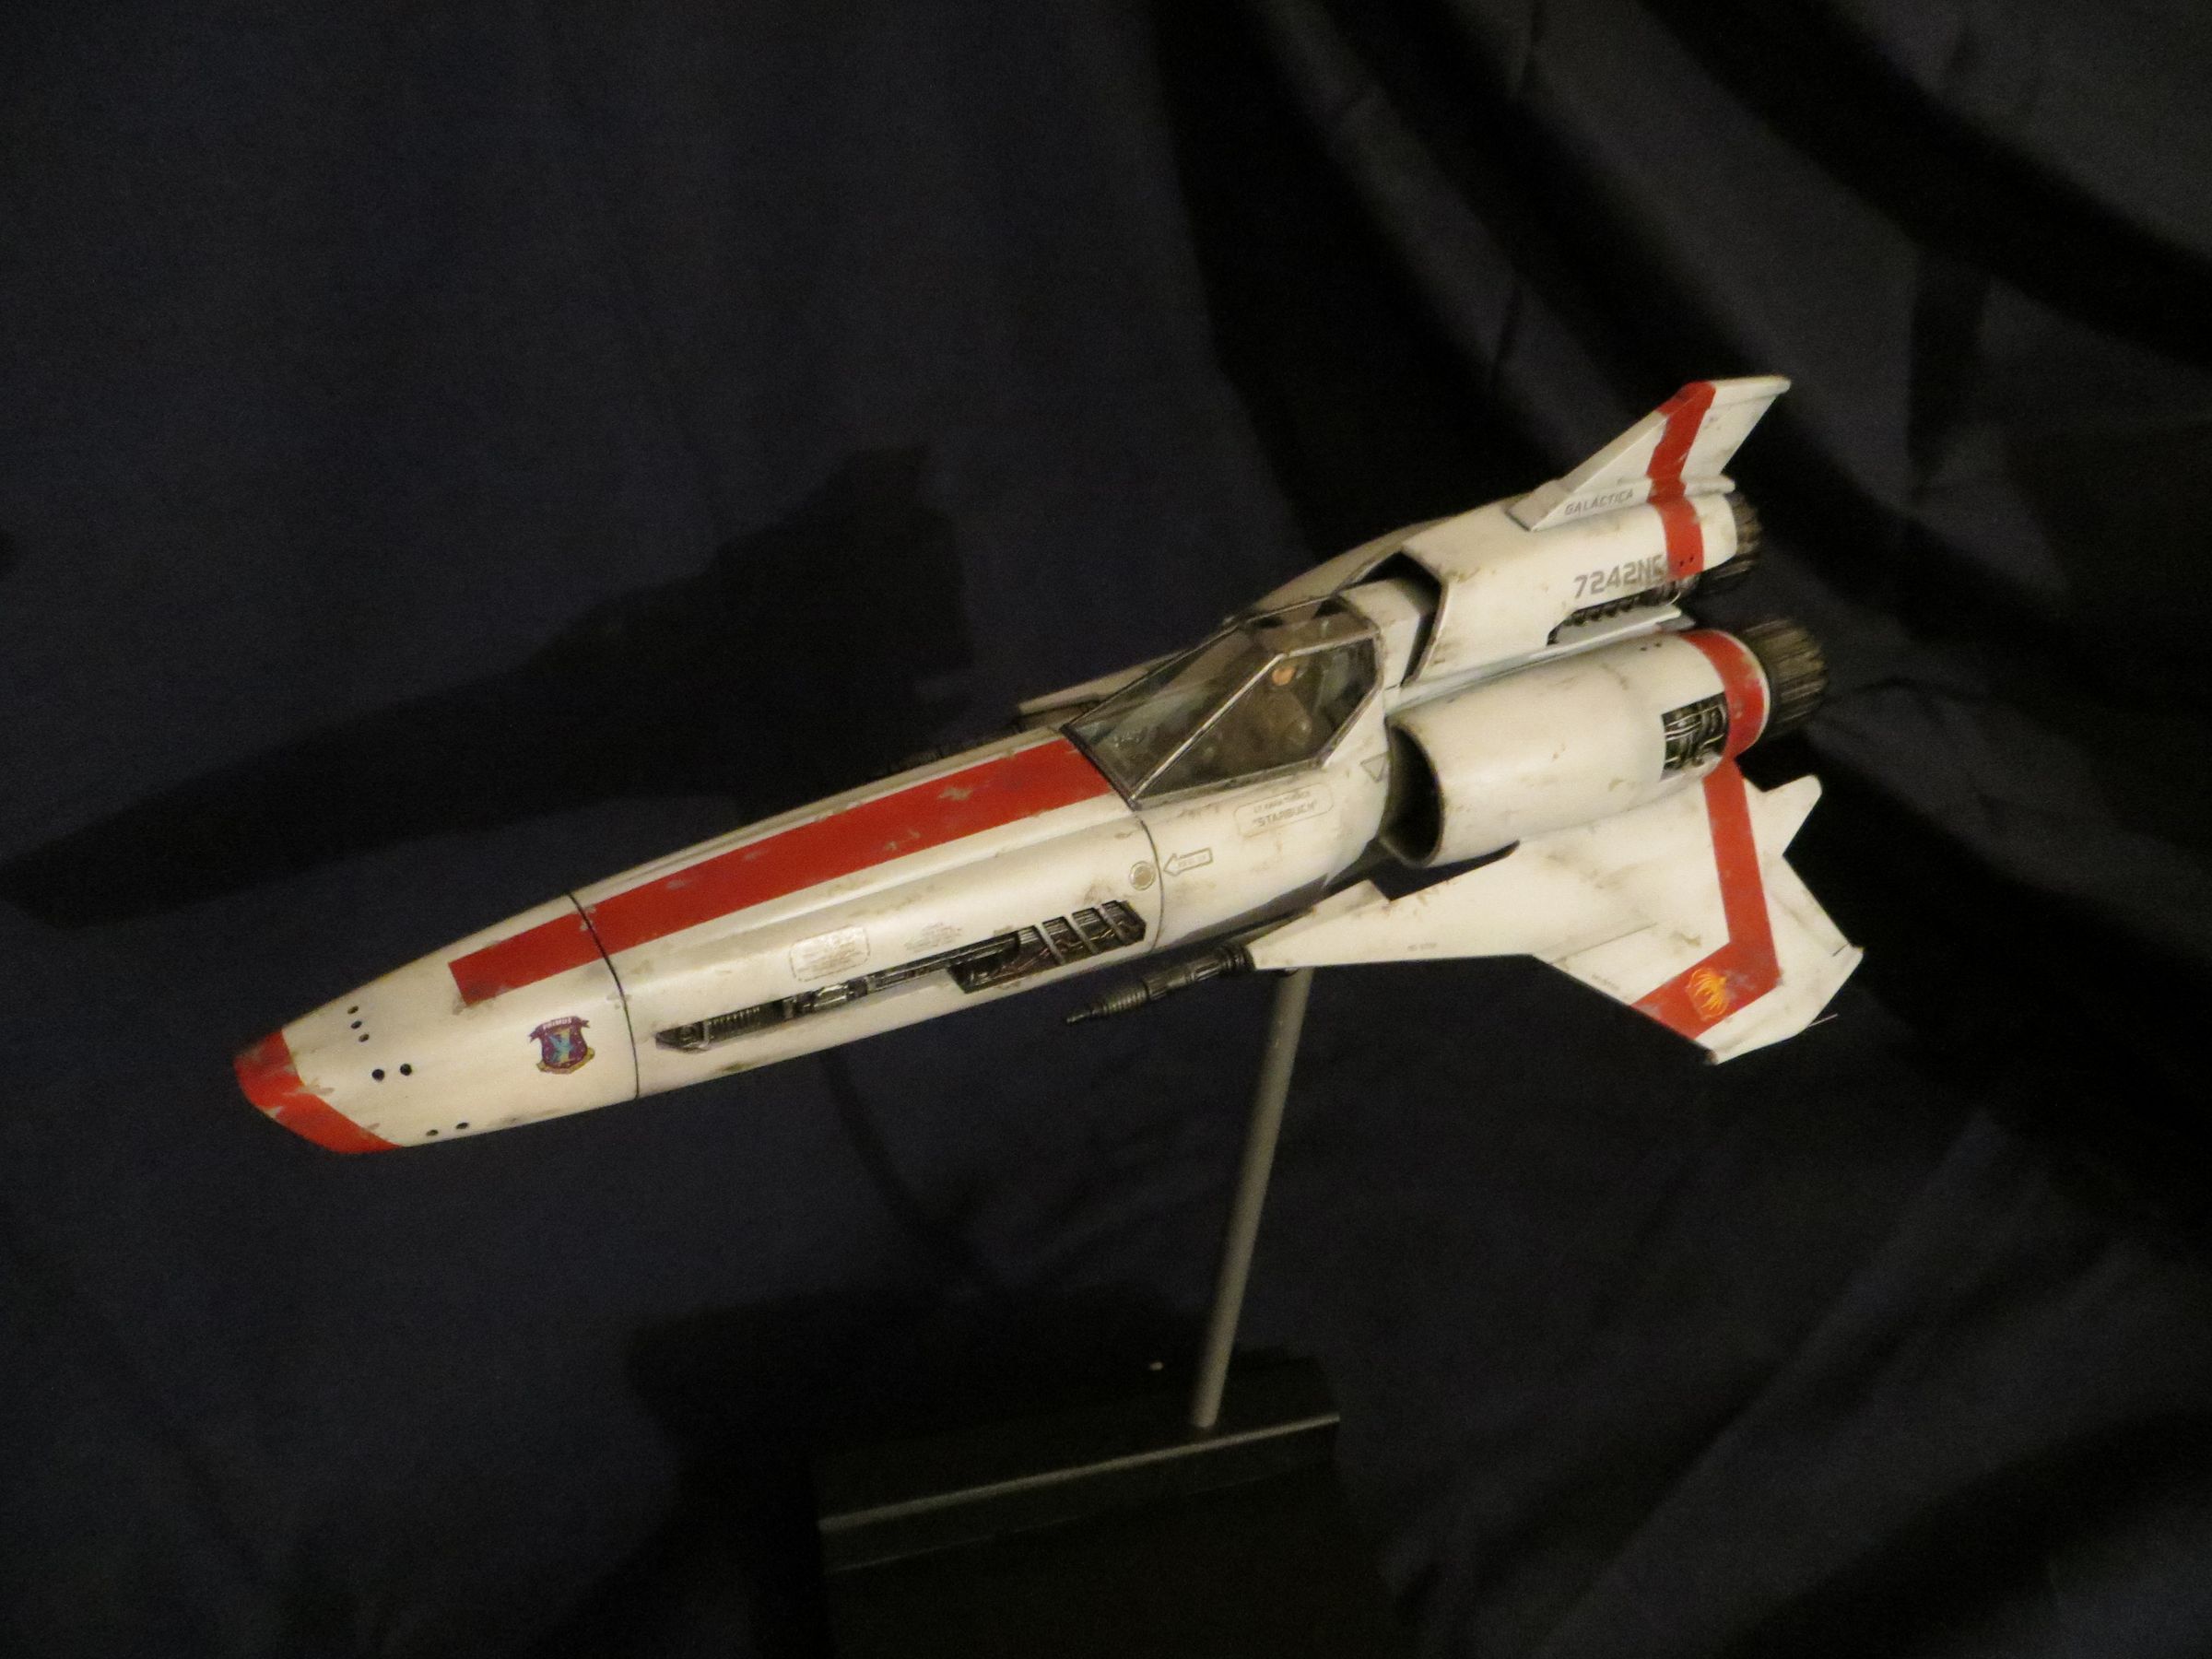
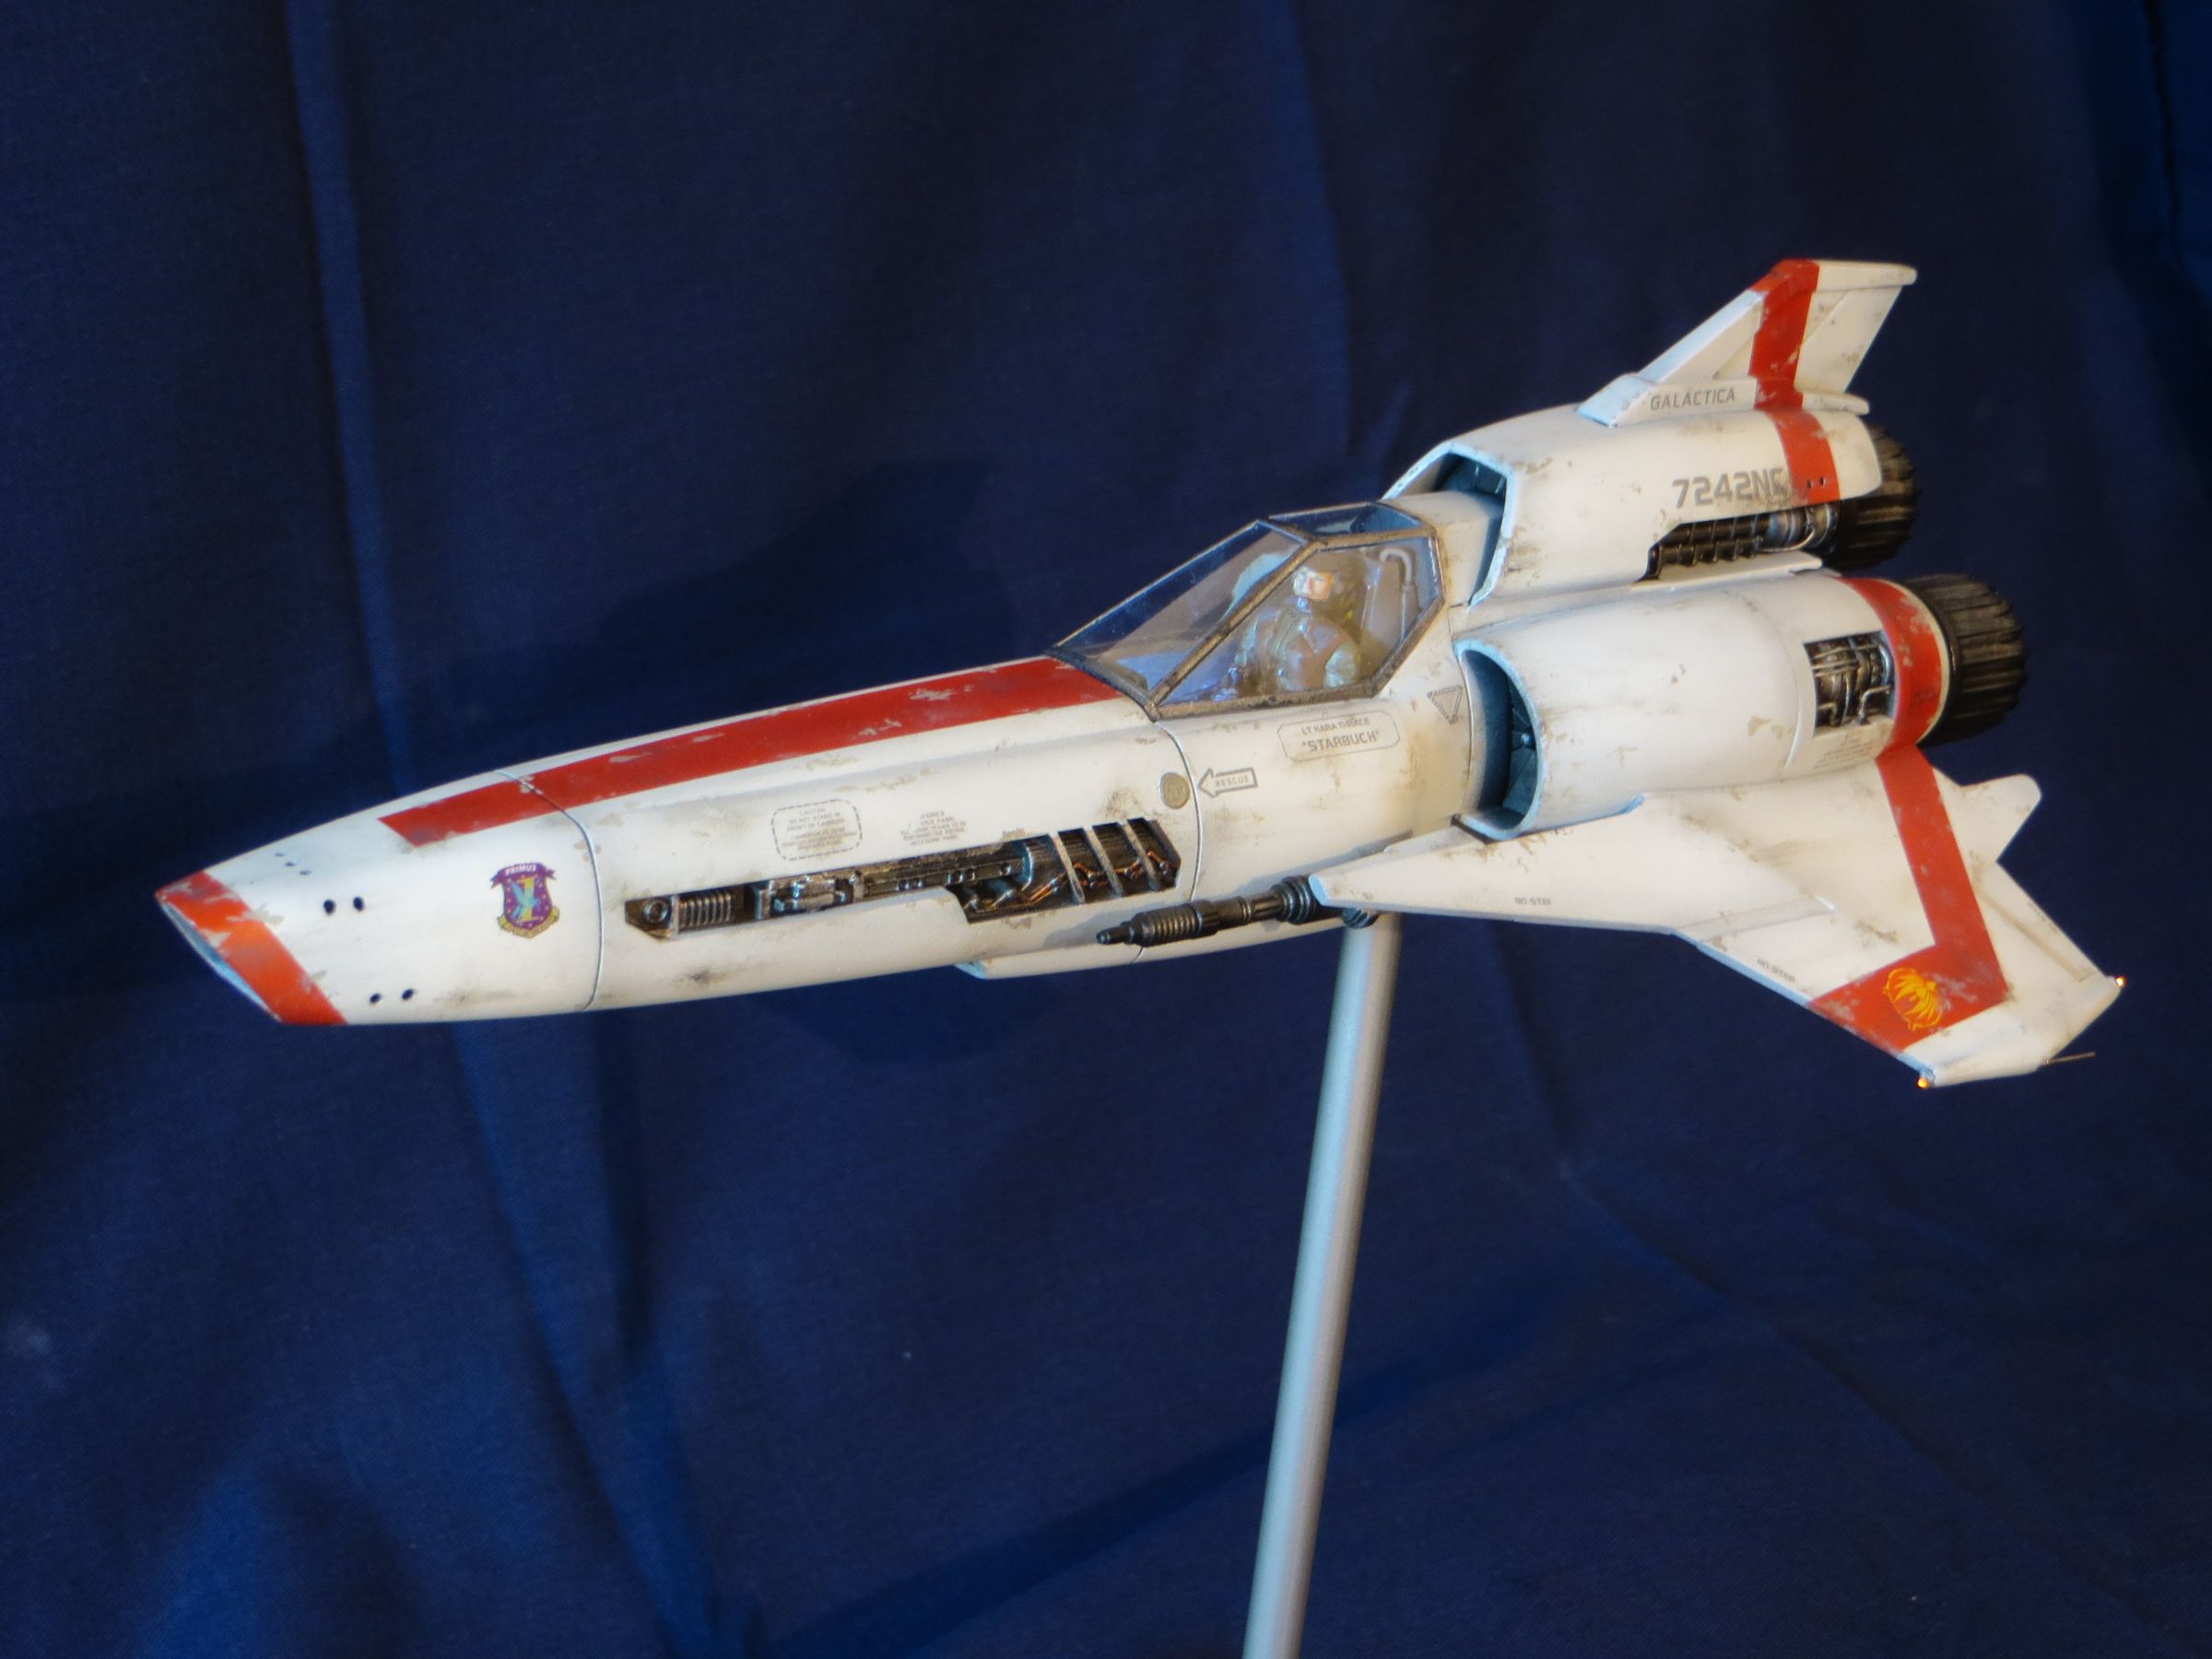
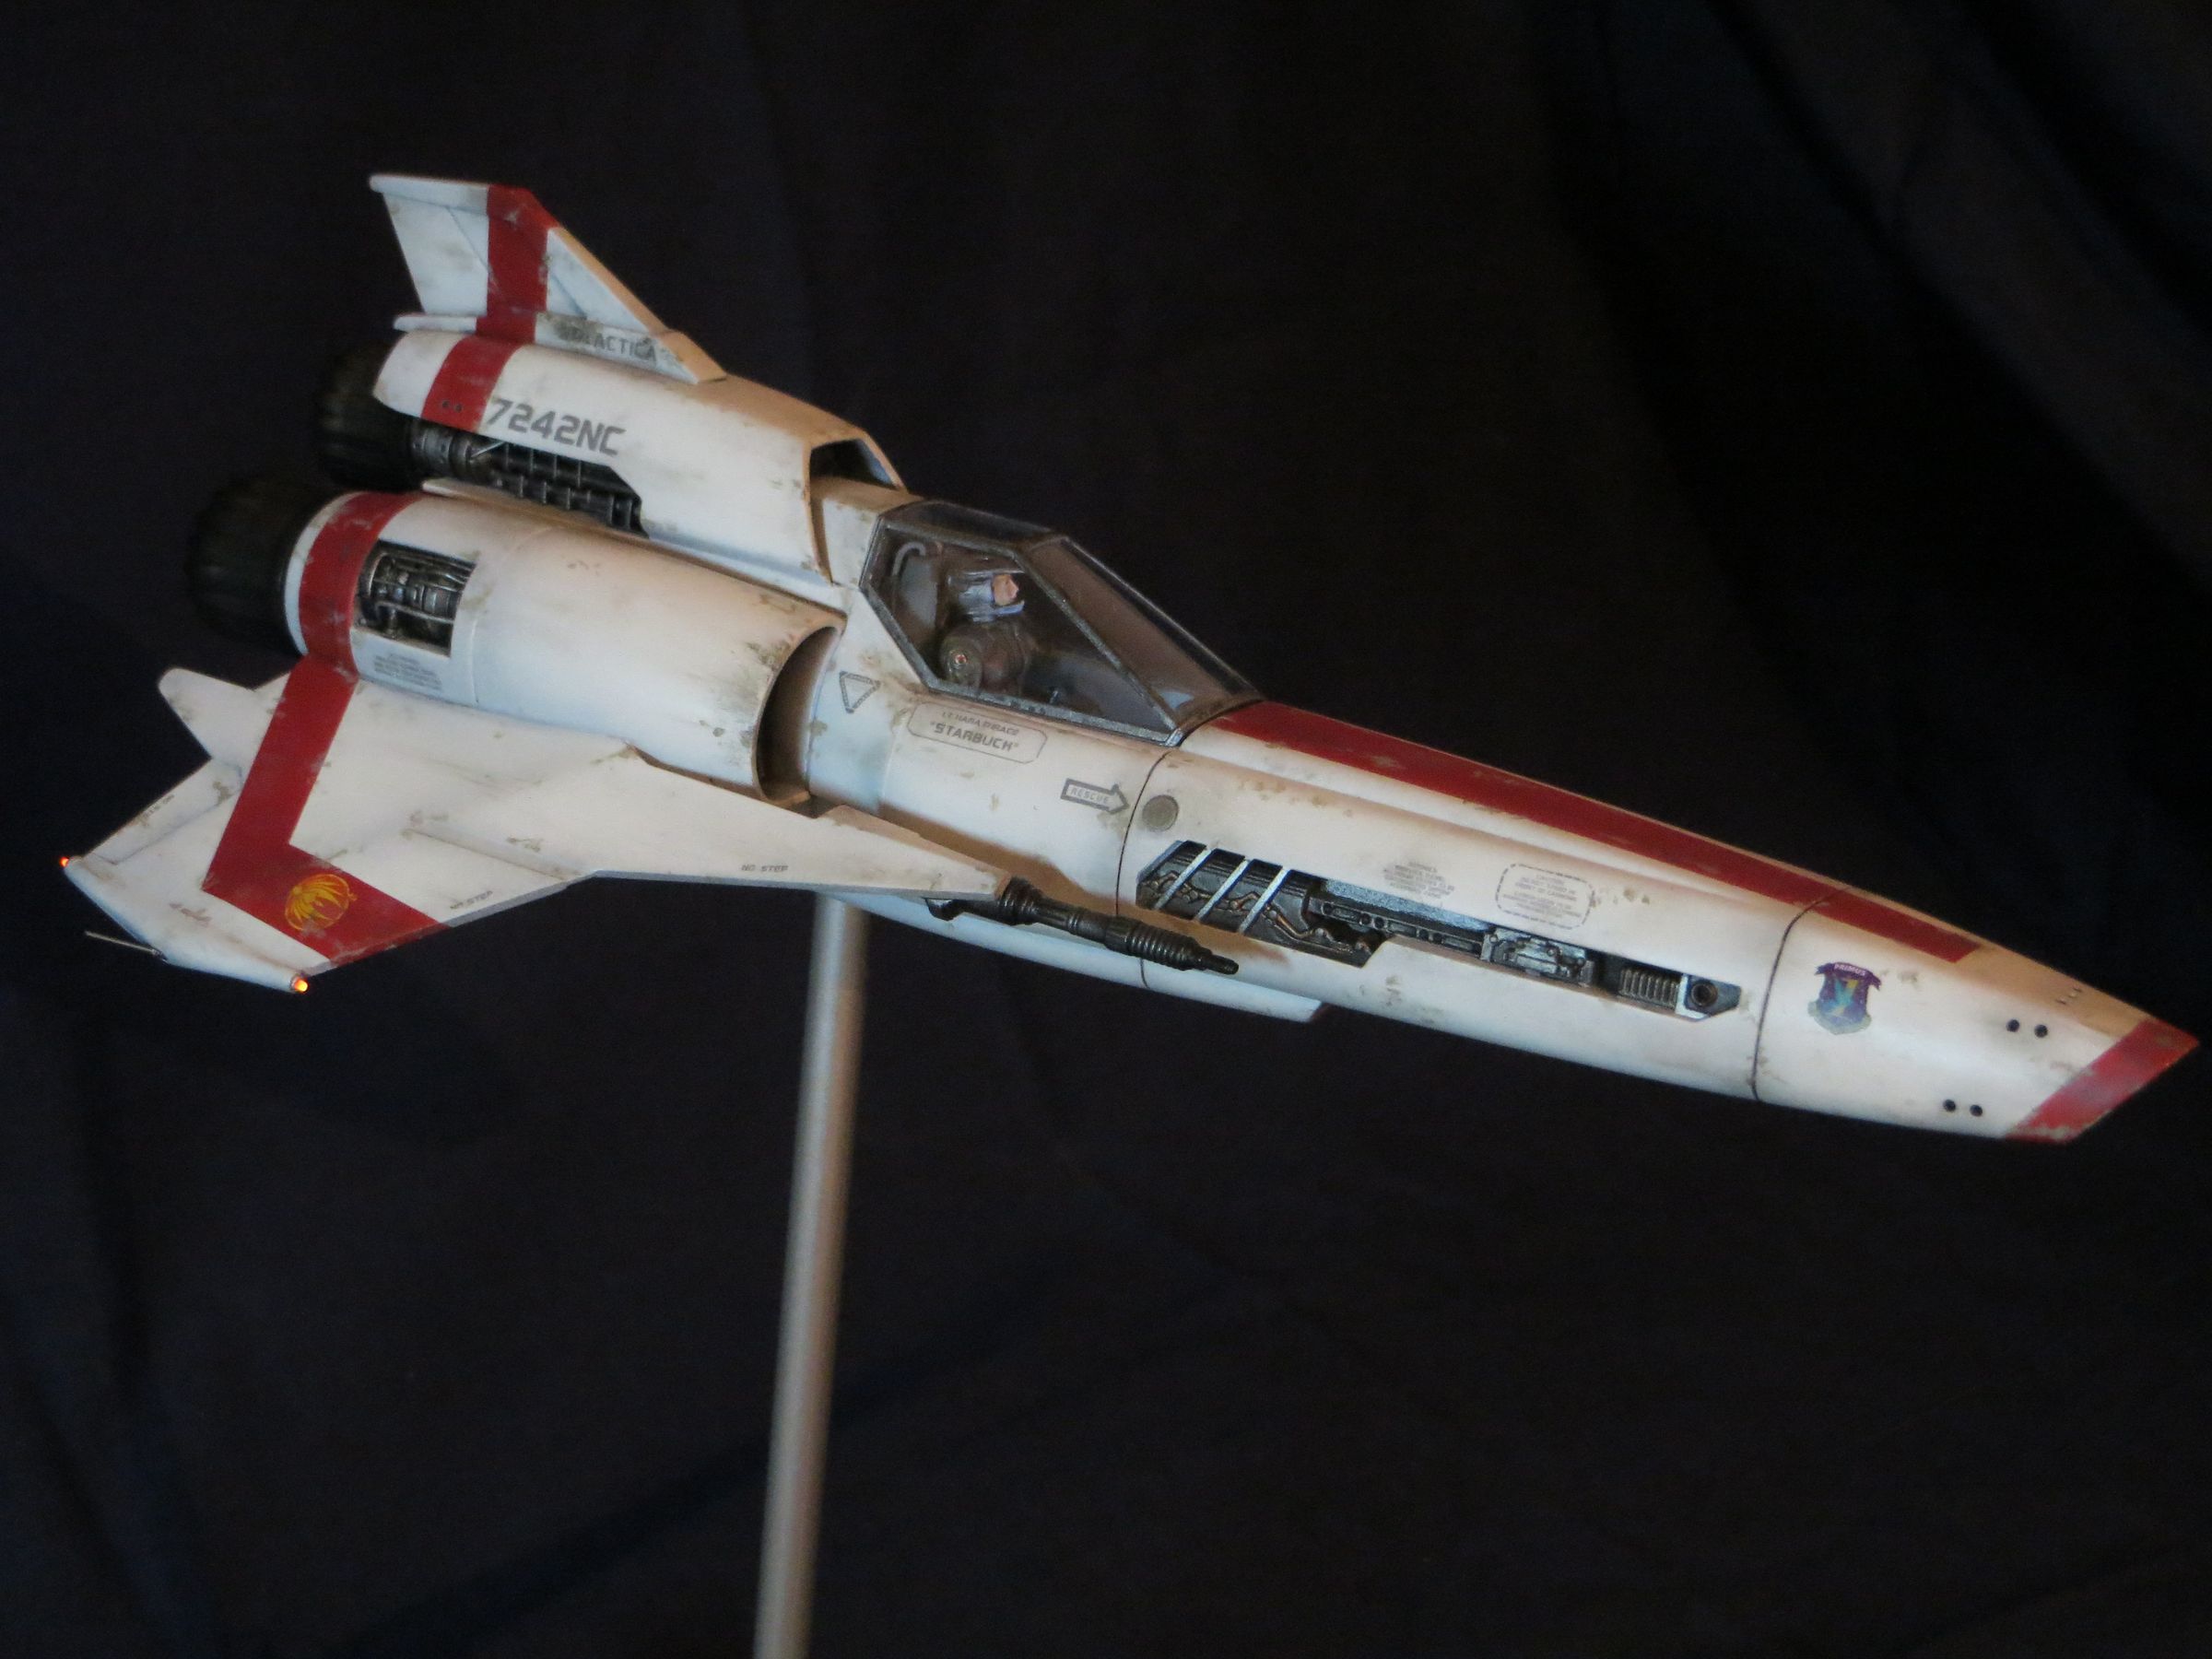
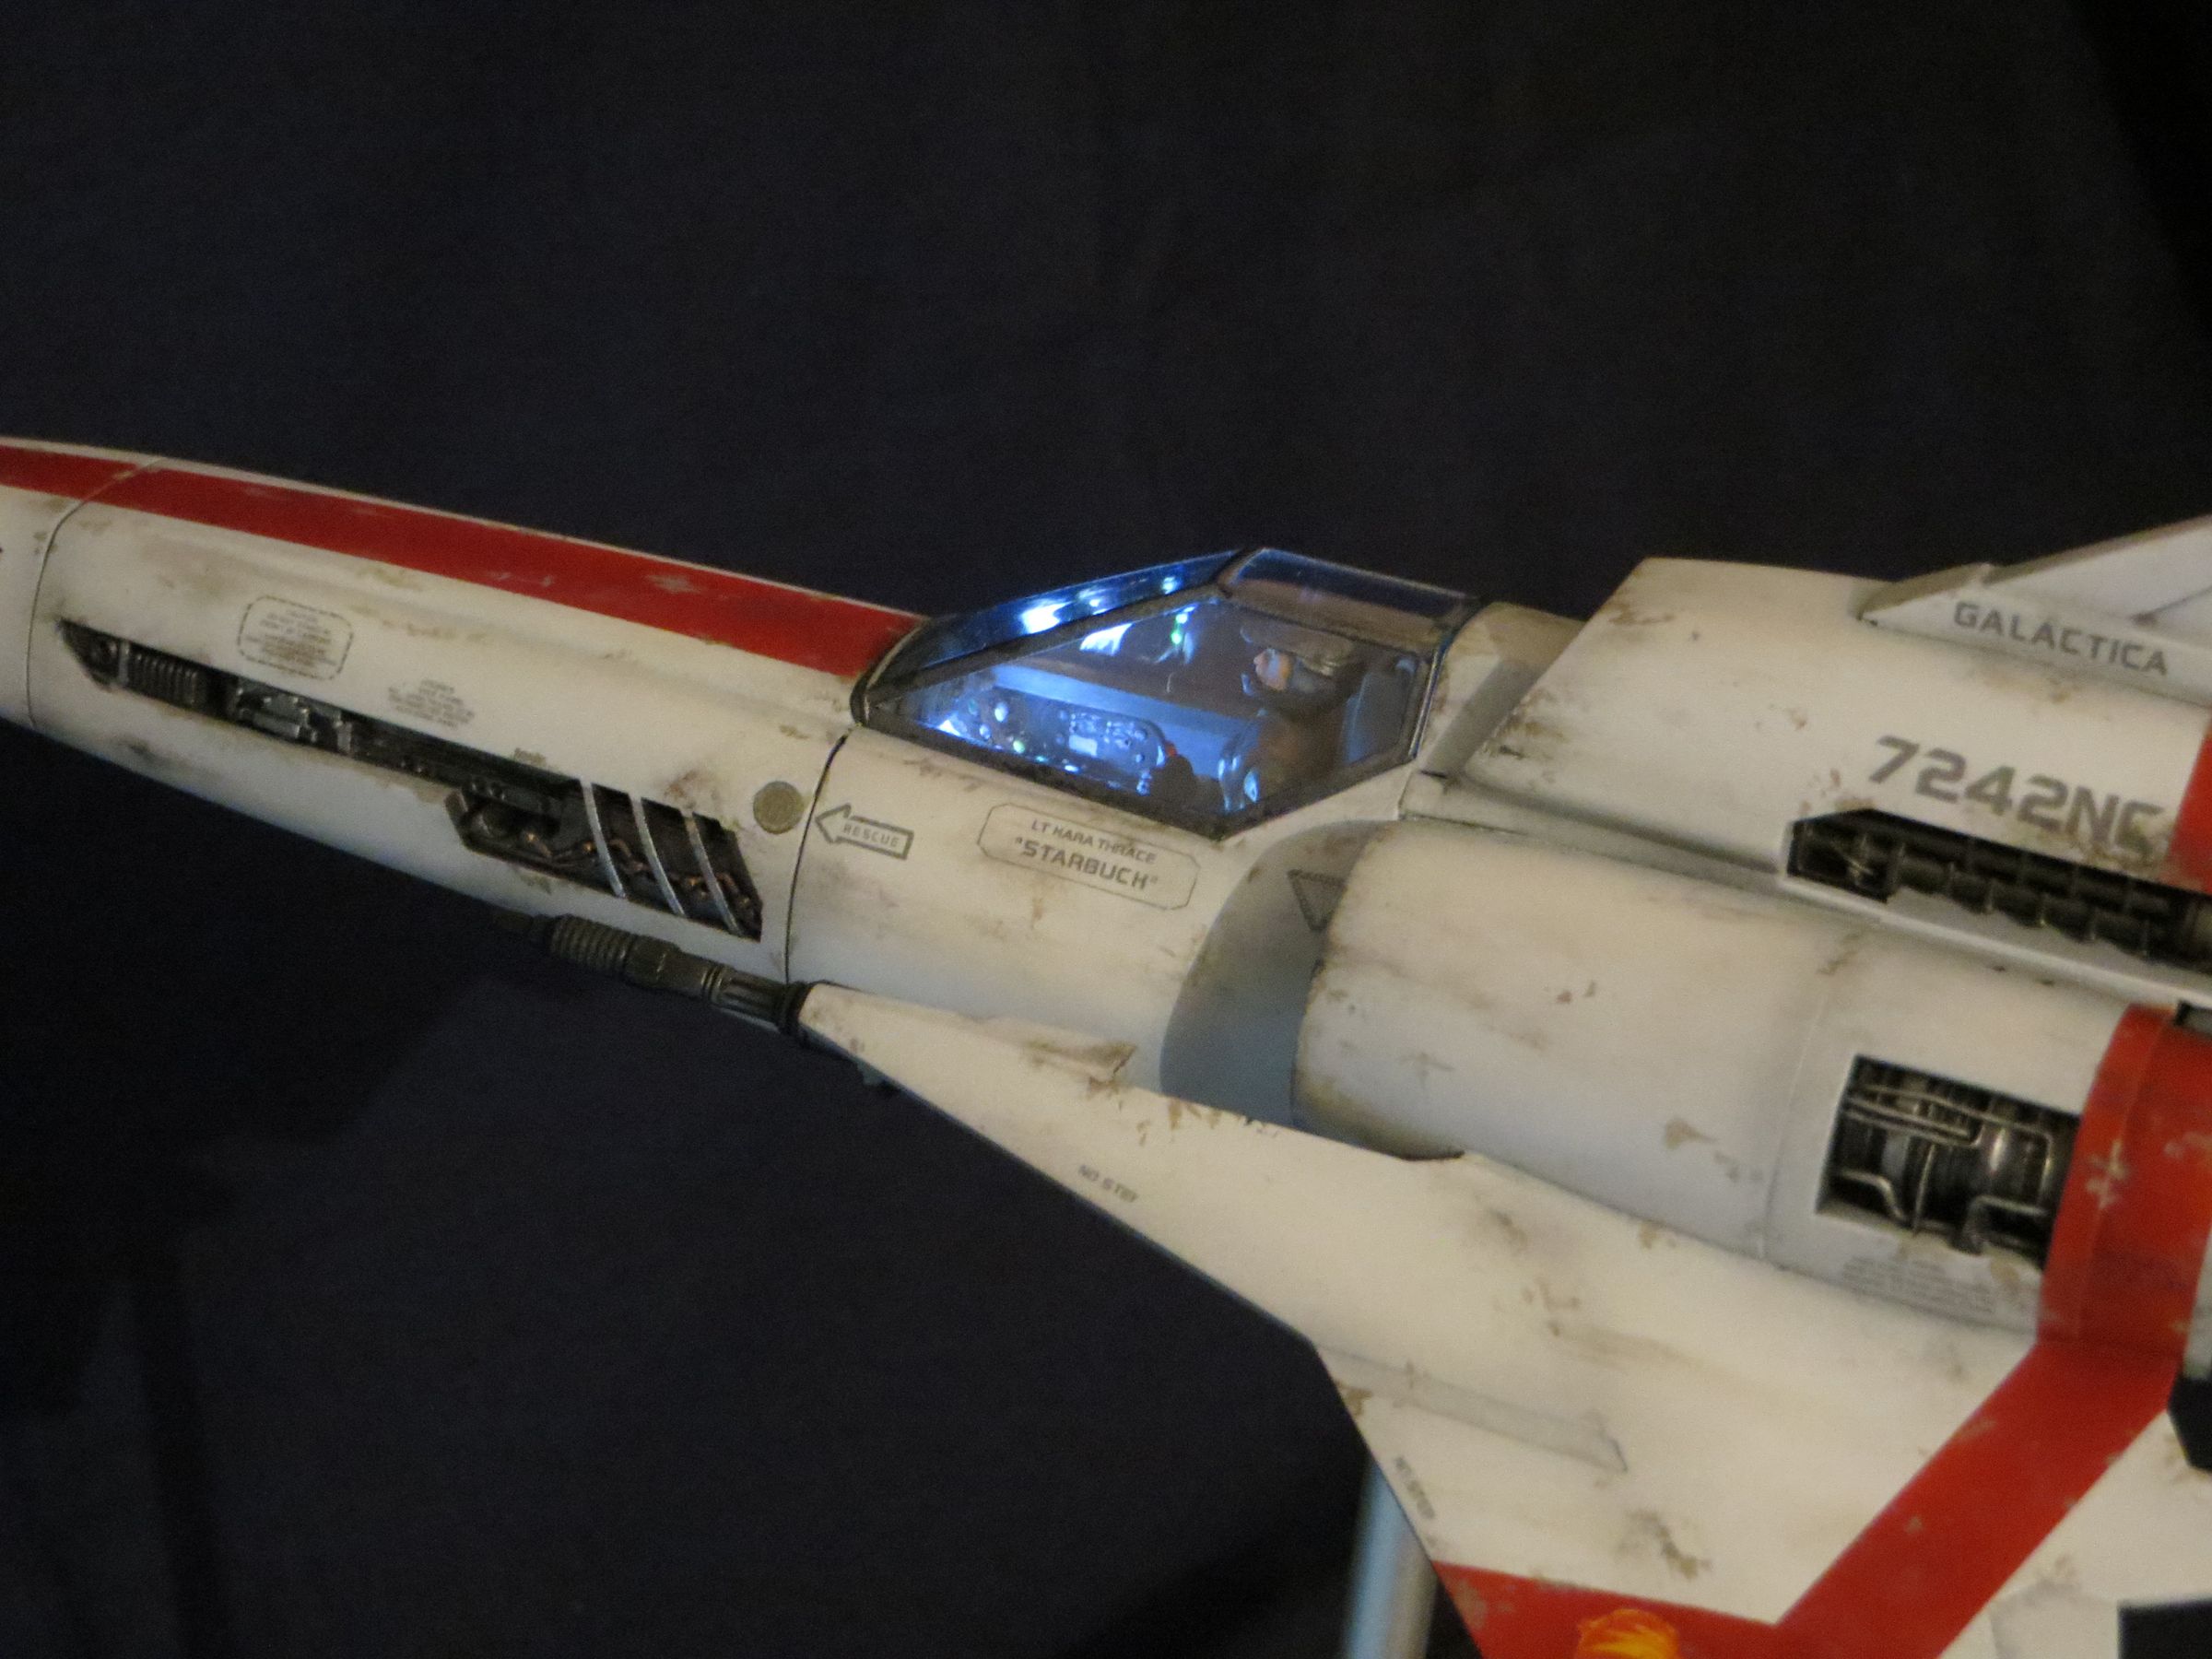
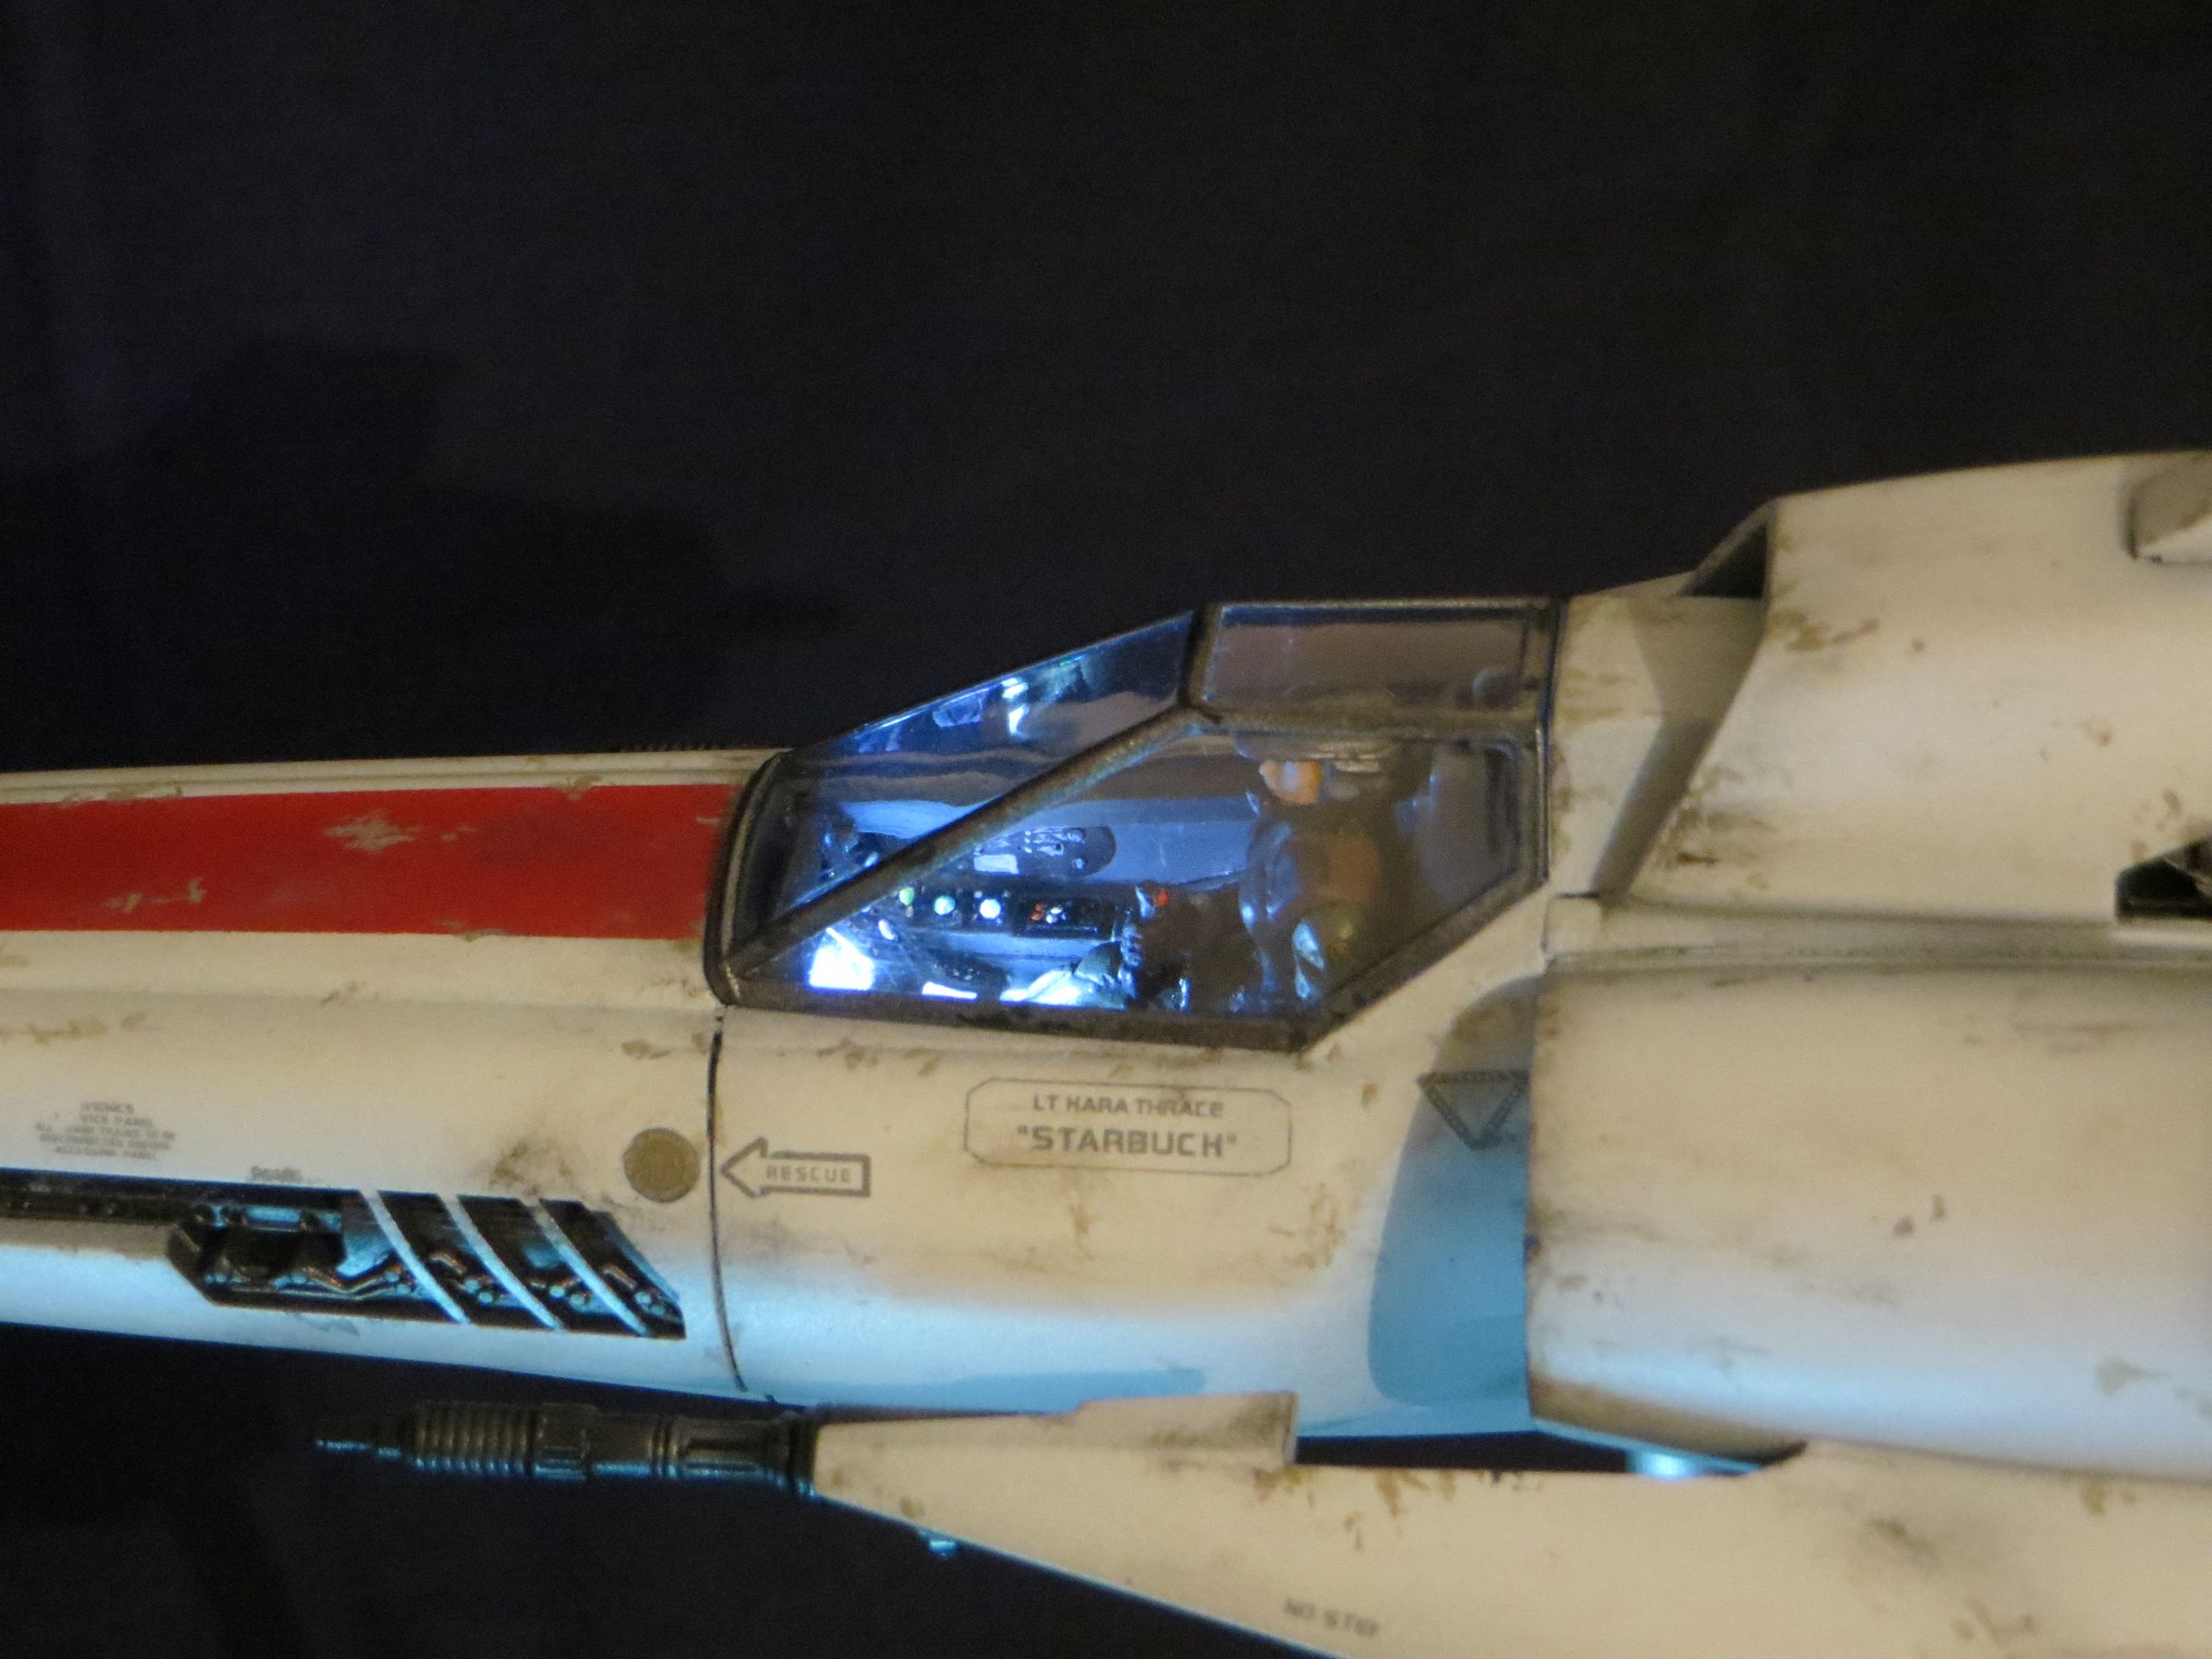
Returning to the cockpit for:
- Prepare the canopy and glue the panel behind the seat (which I had purposely left out so as not to damage during sanding the cabin

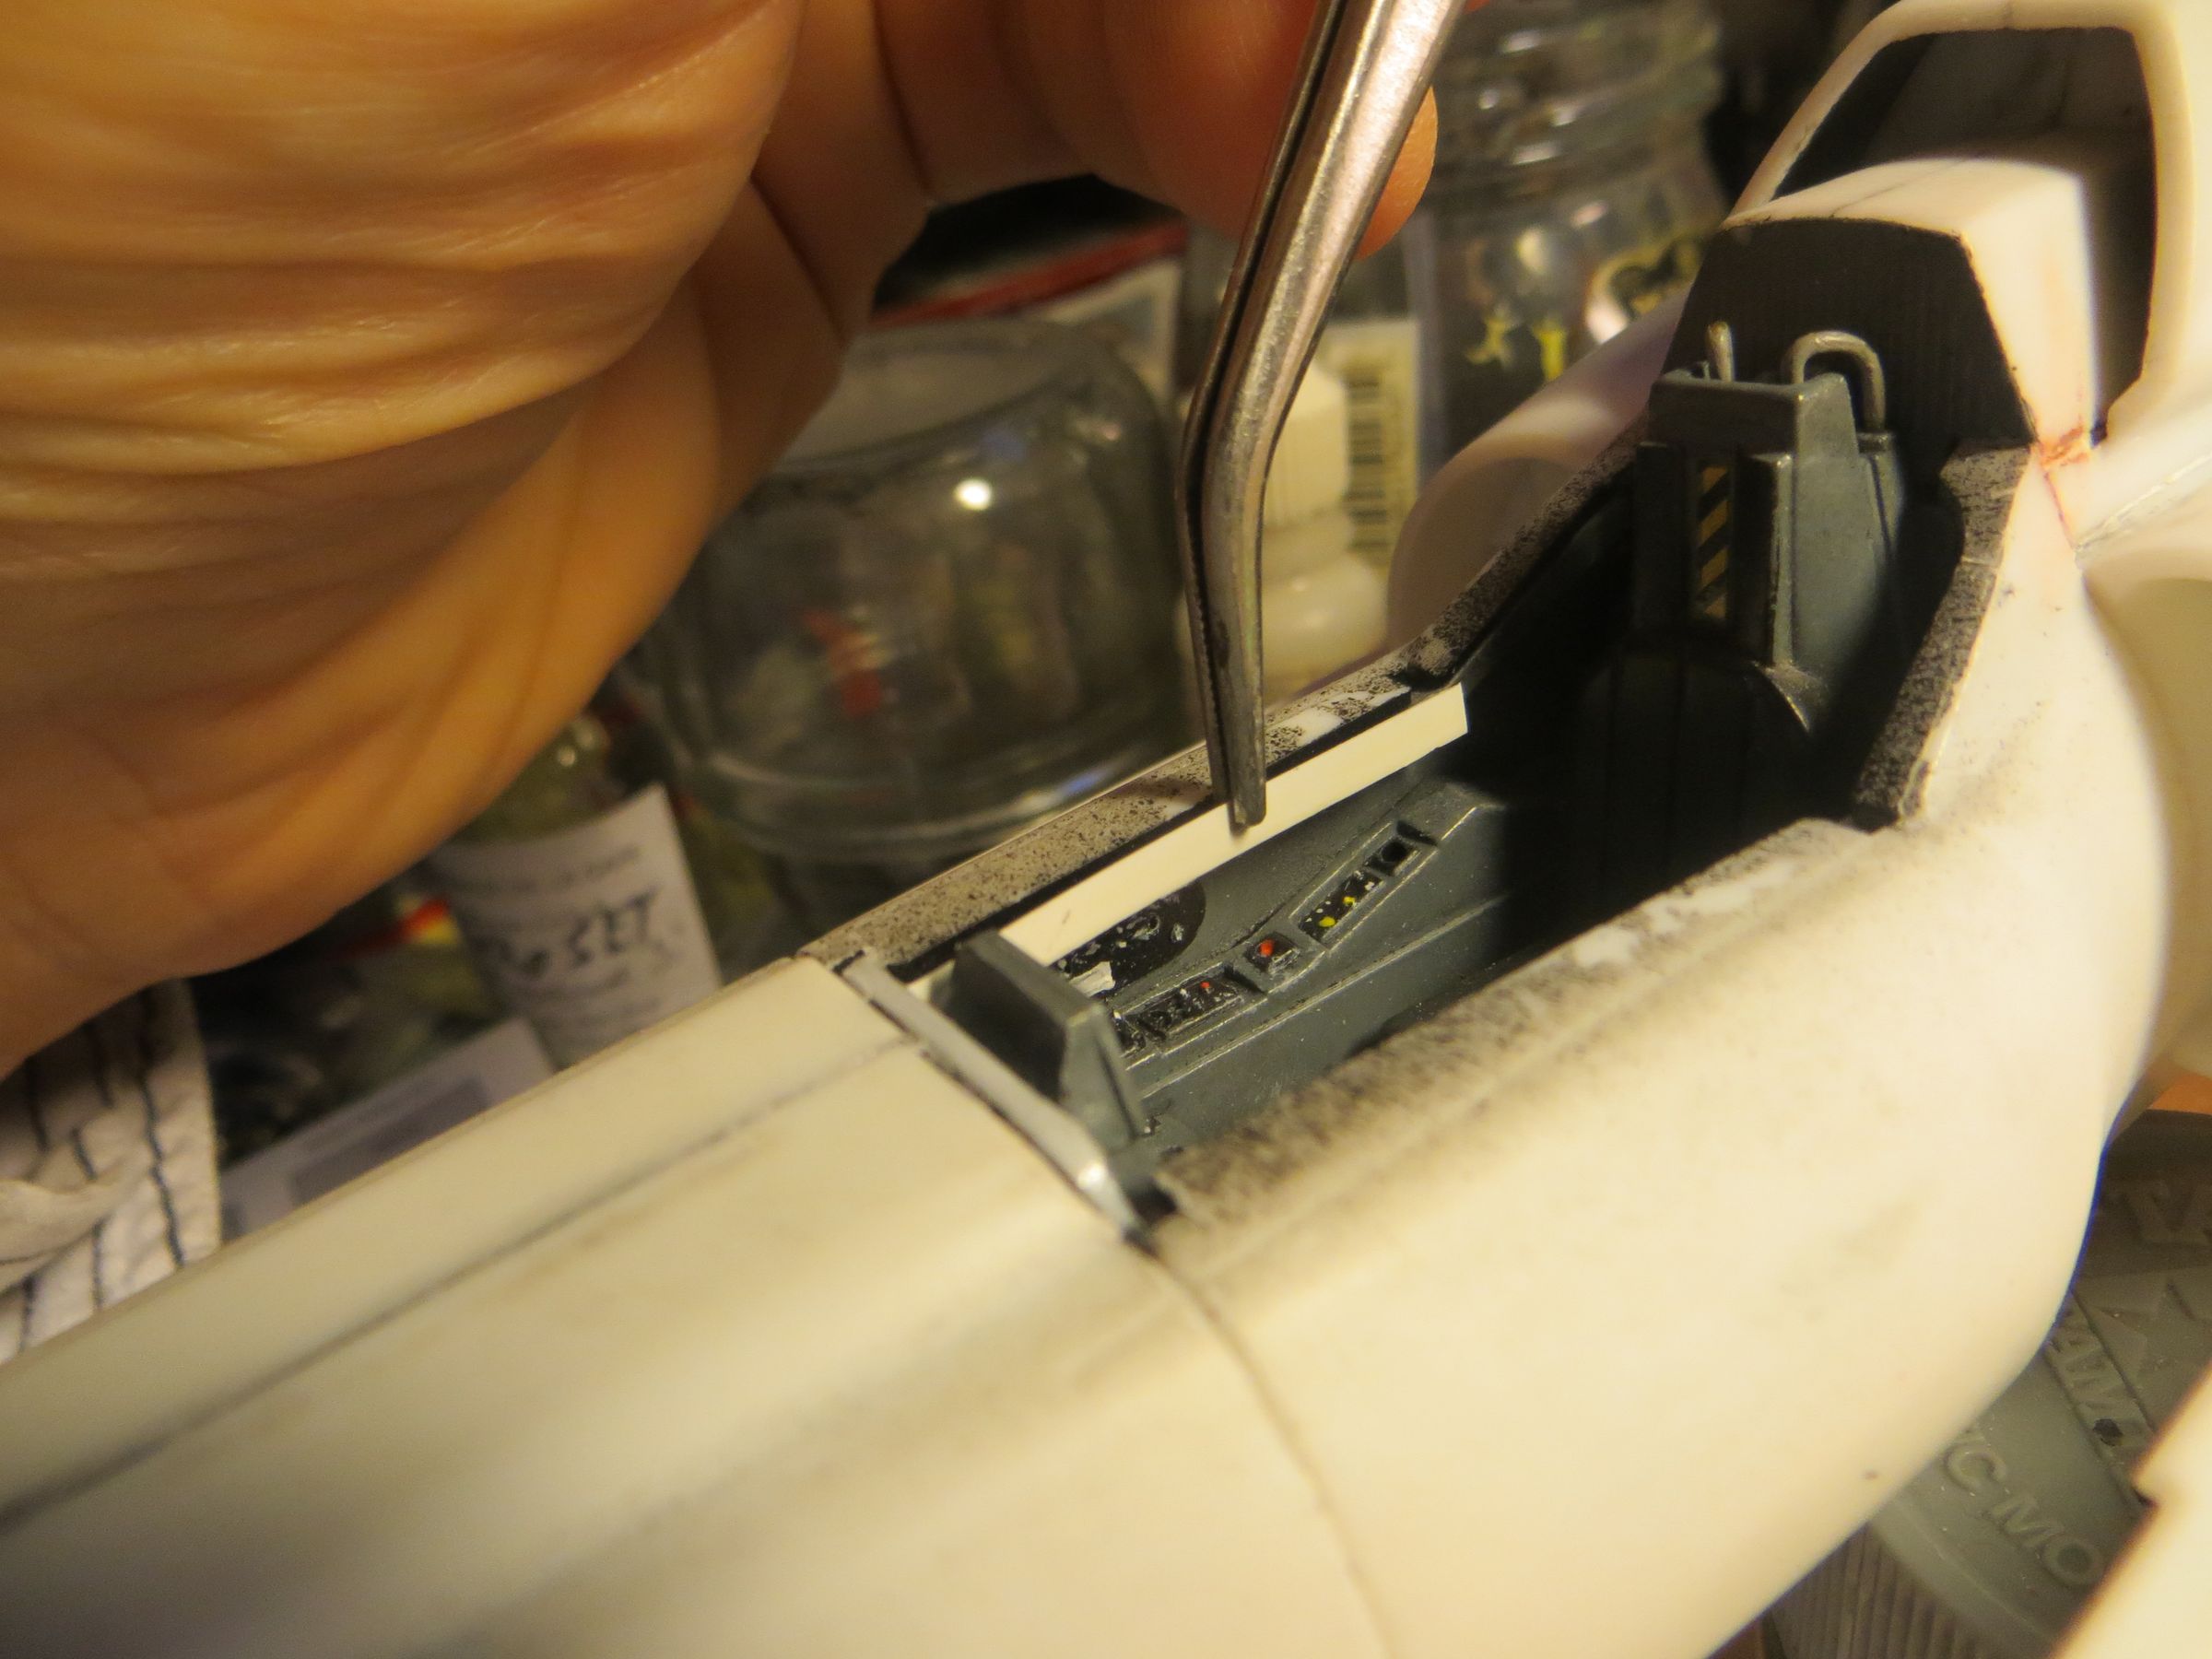
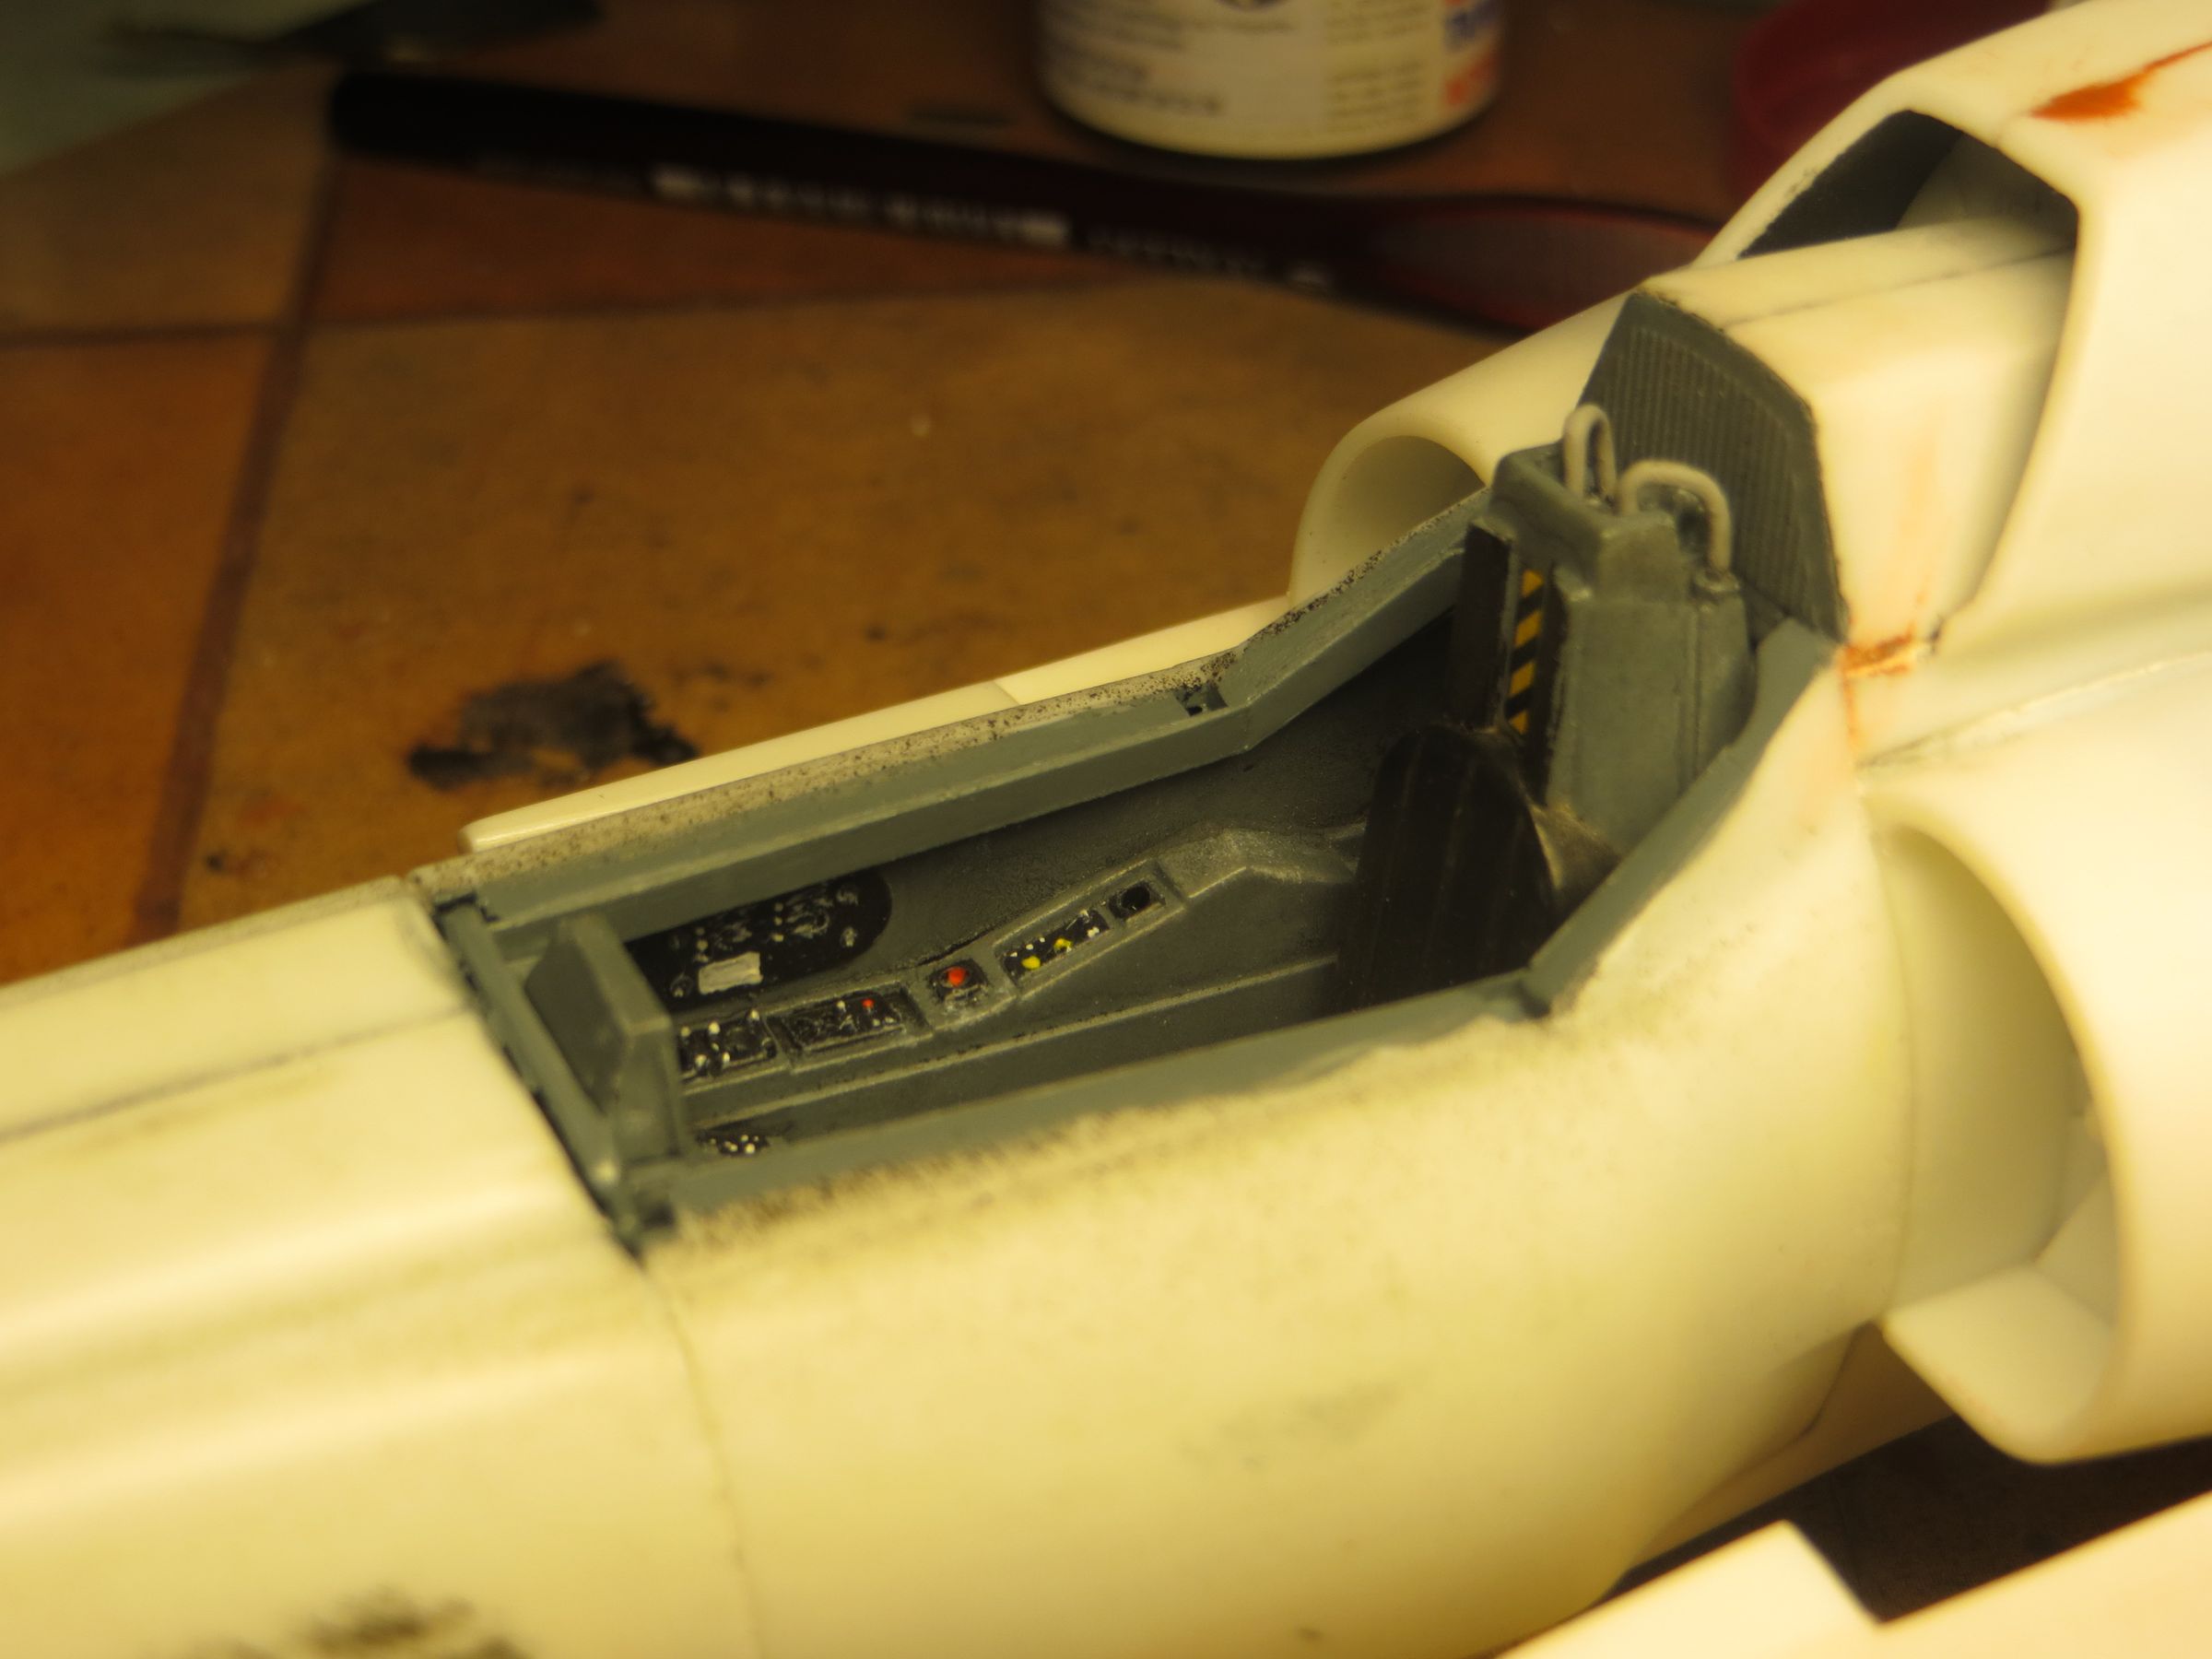
- The canopy does not lay properly because the dashboard is a little high, it was therefore necessary to sand it a little
before

After


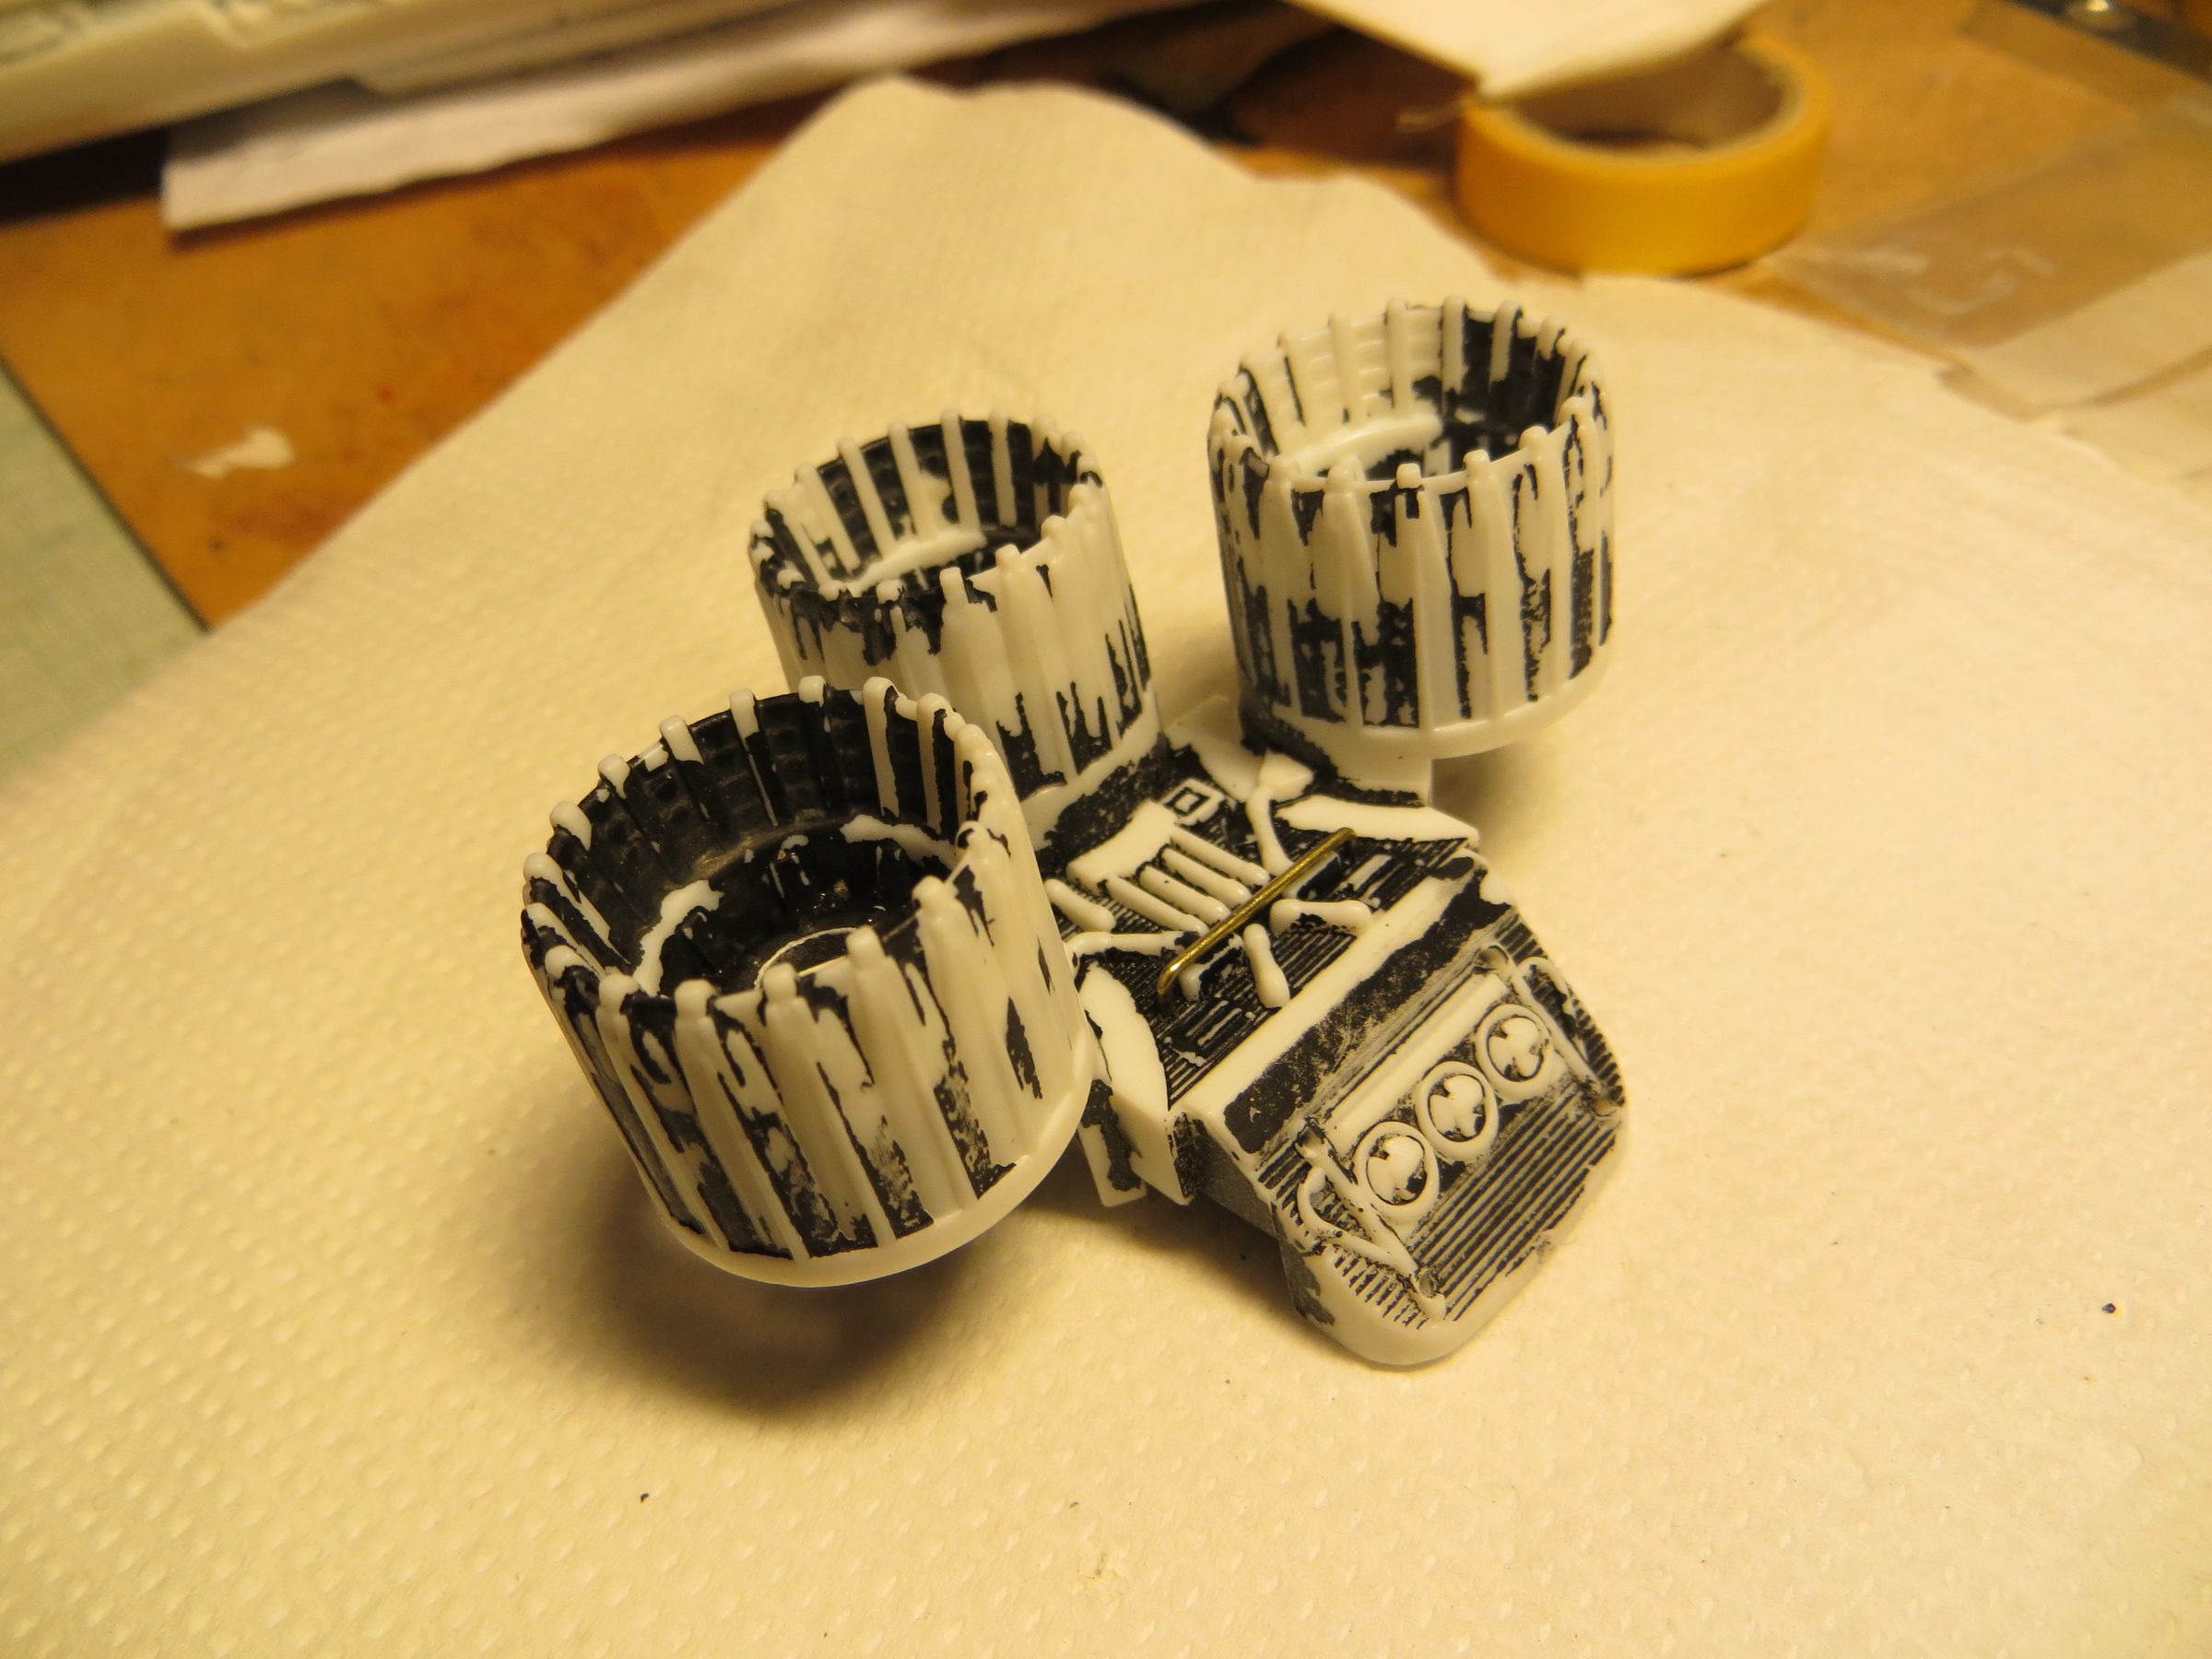
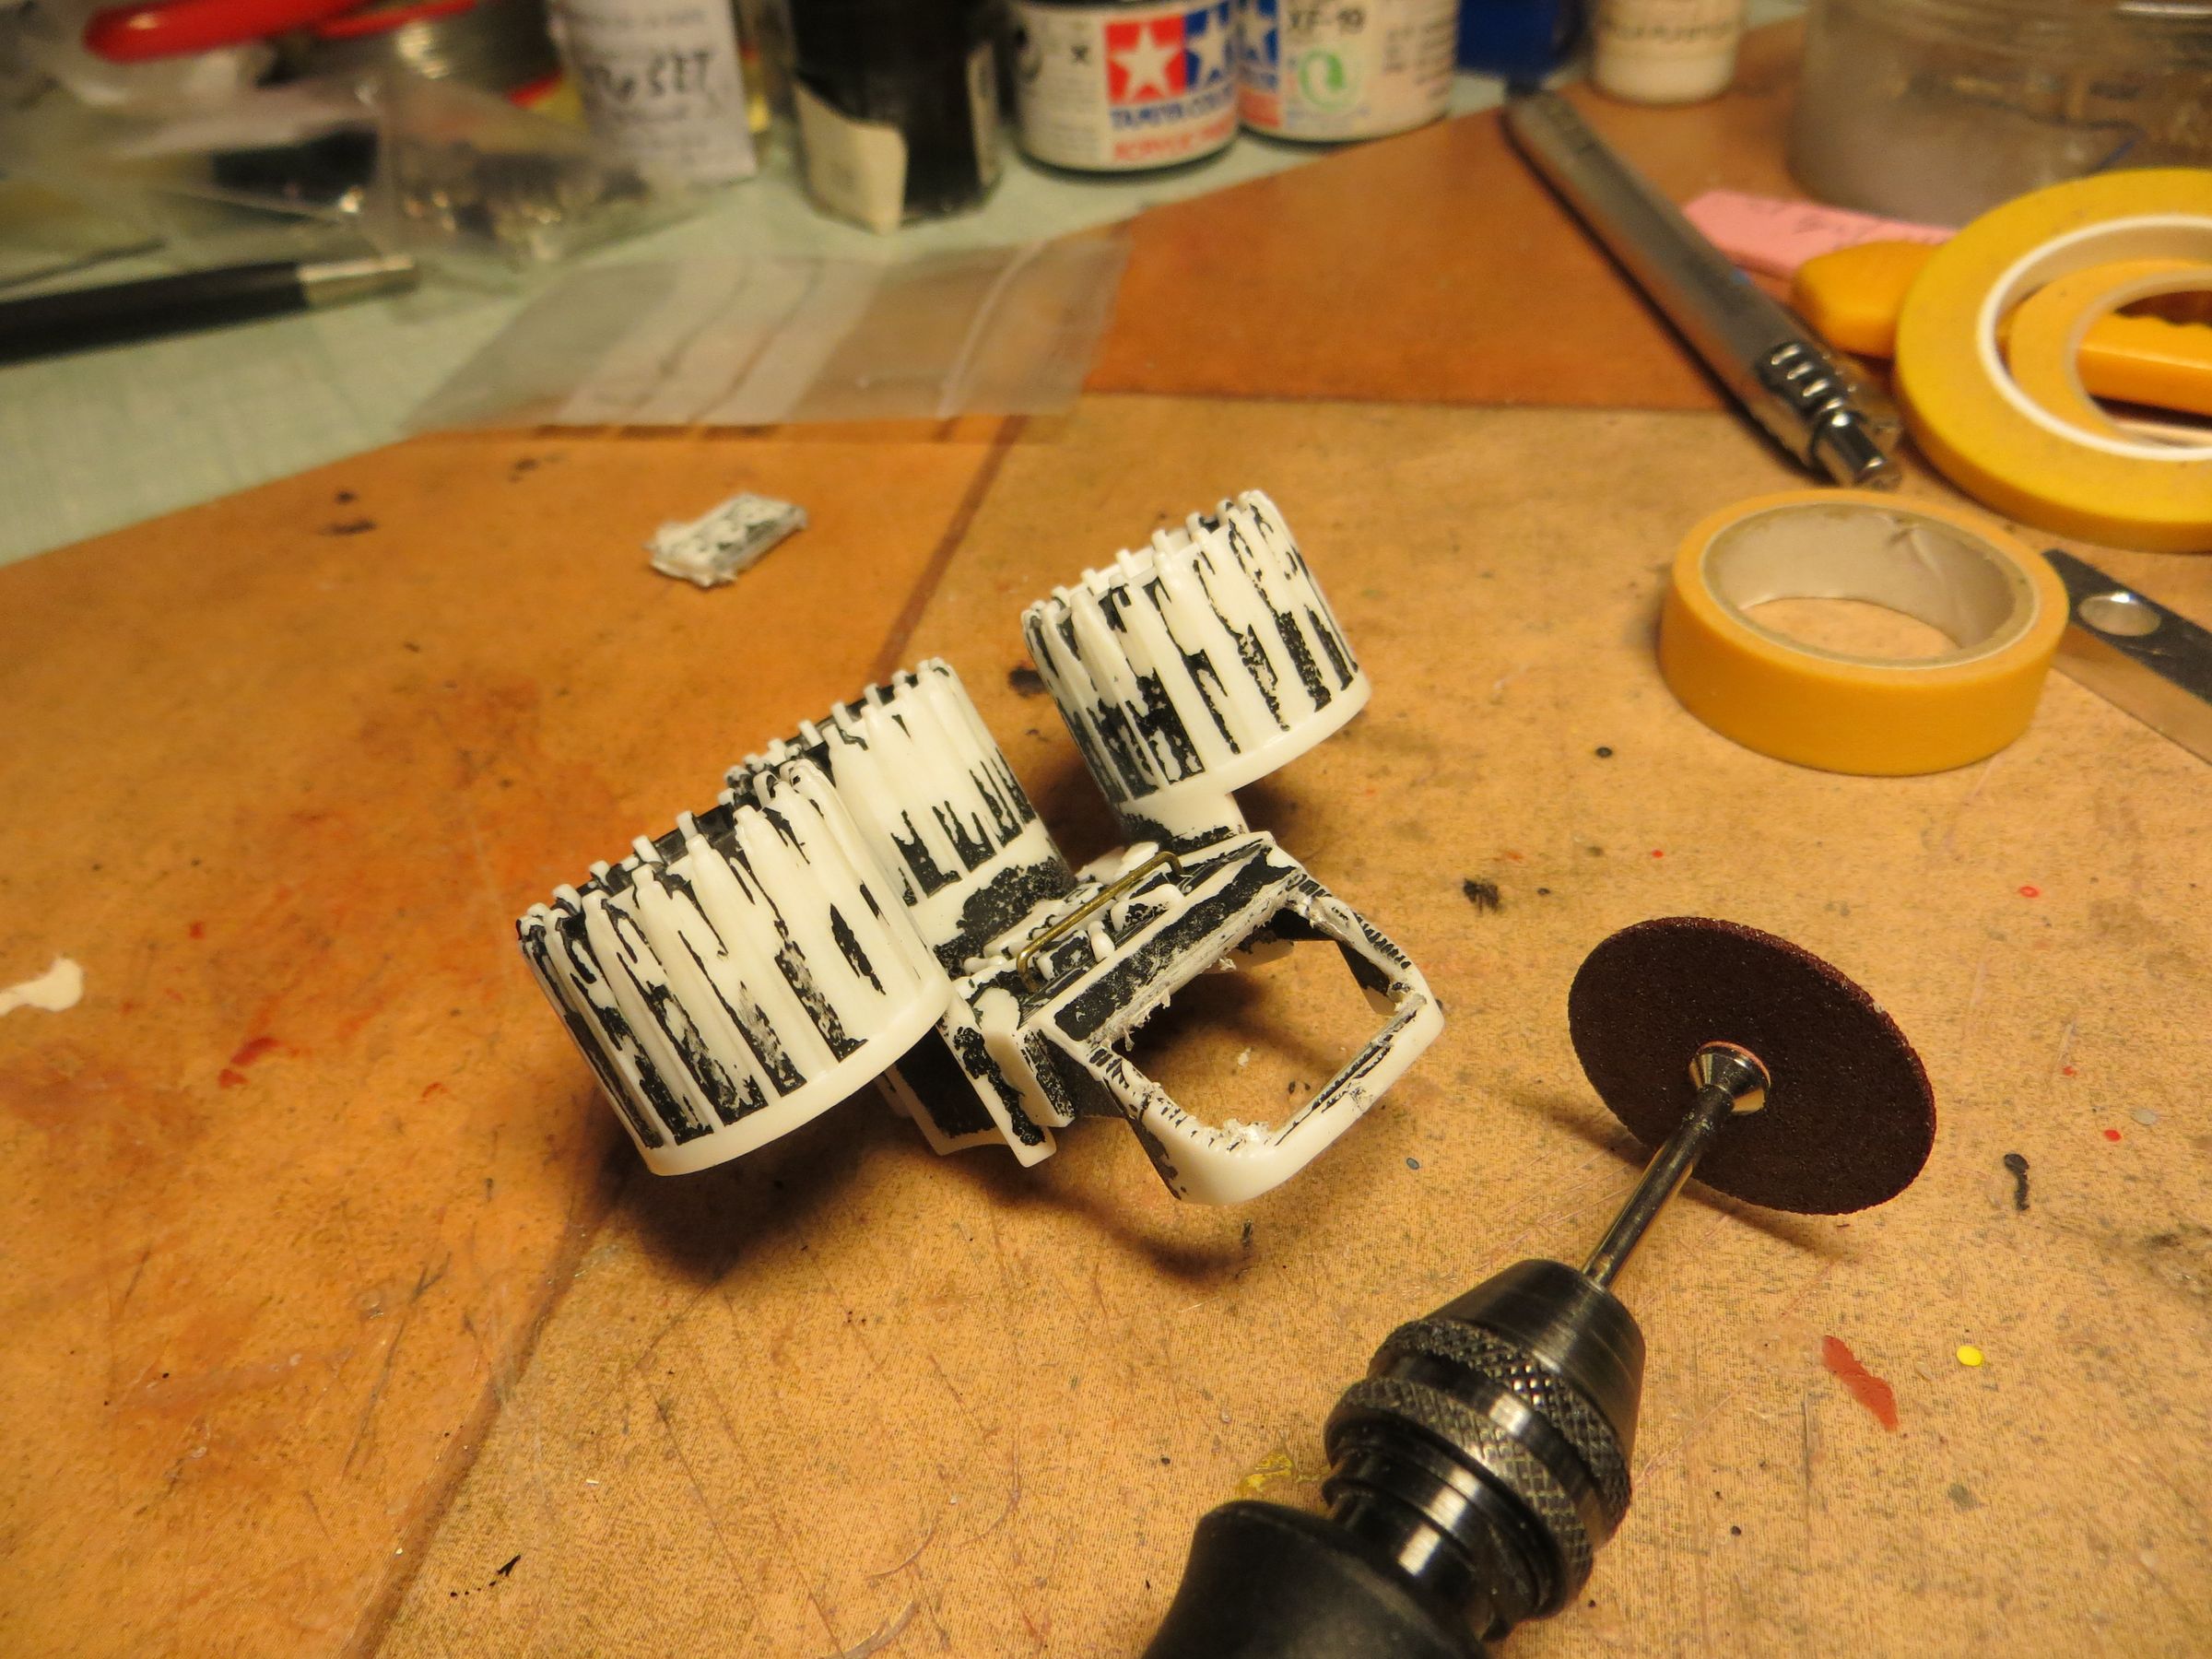
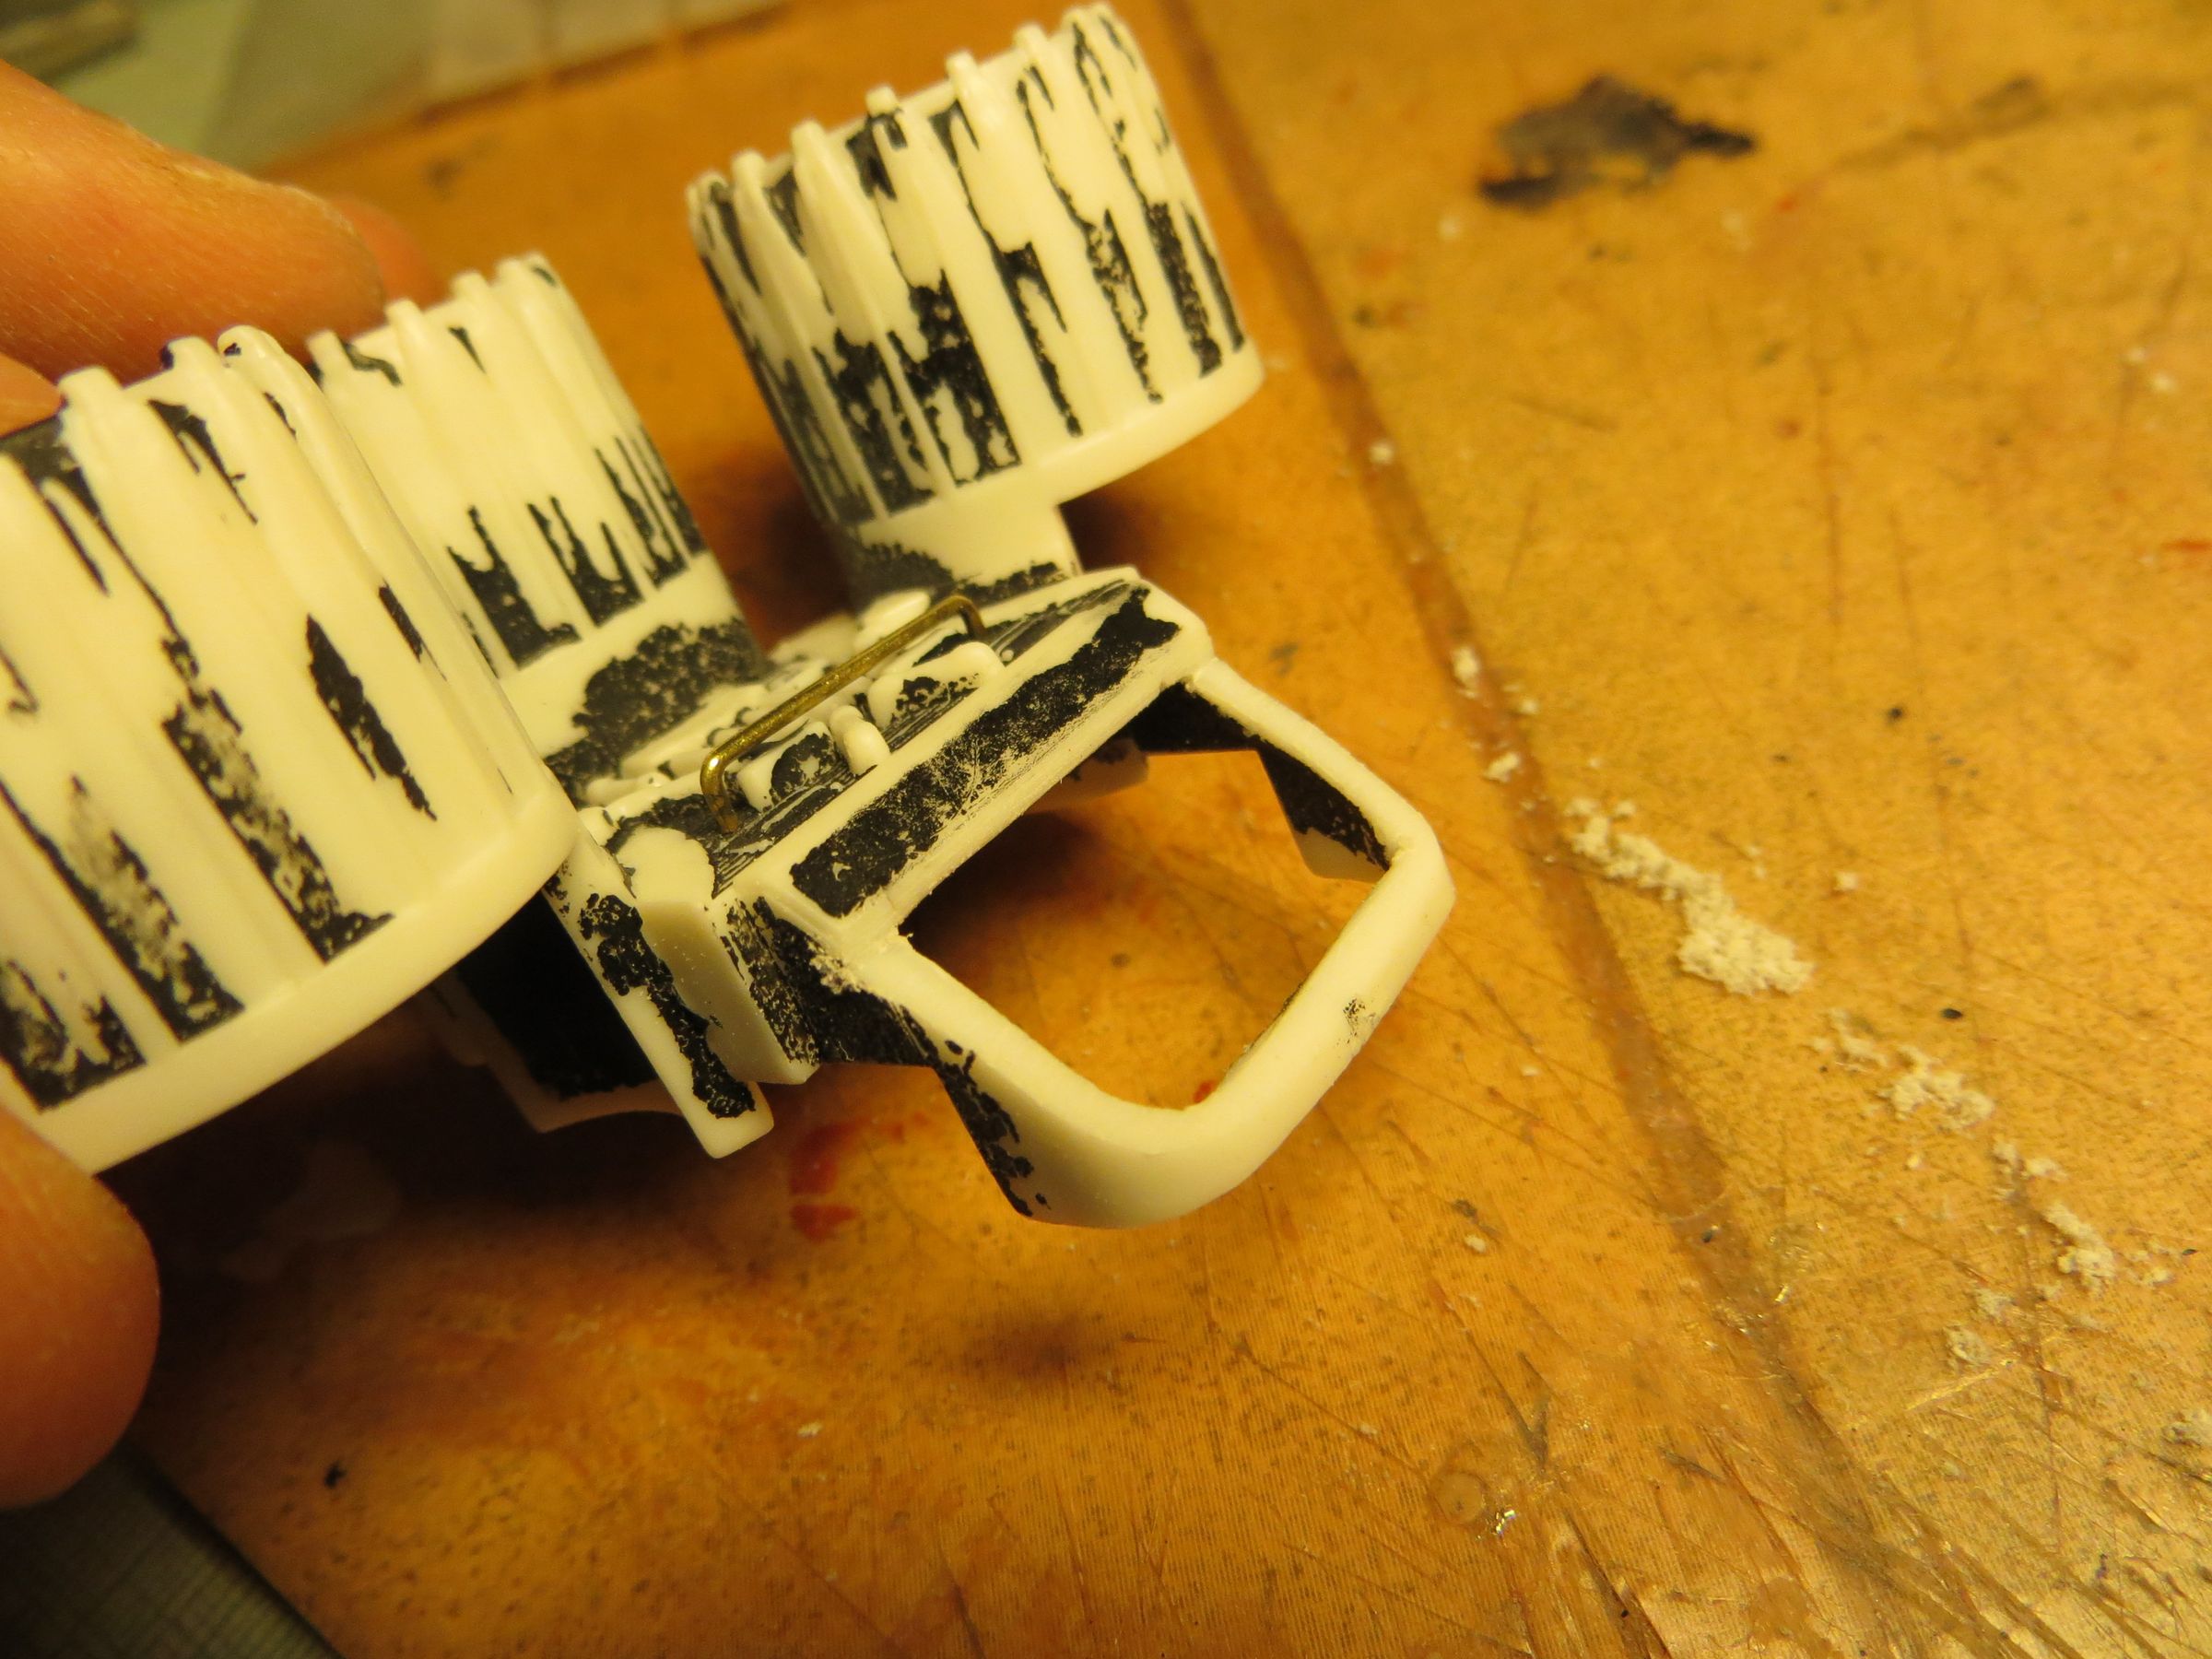
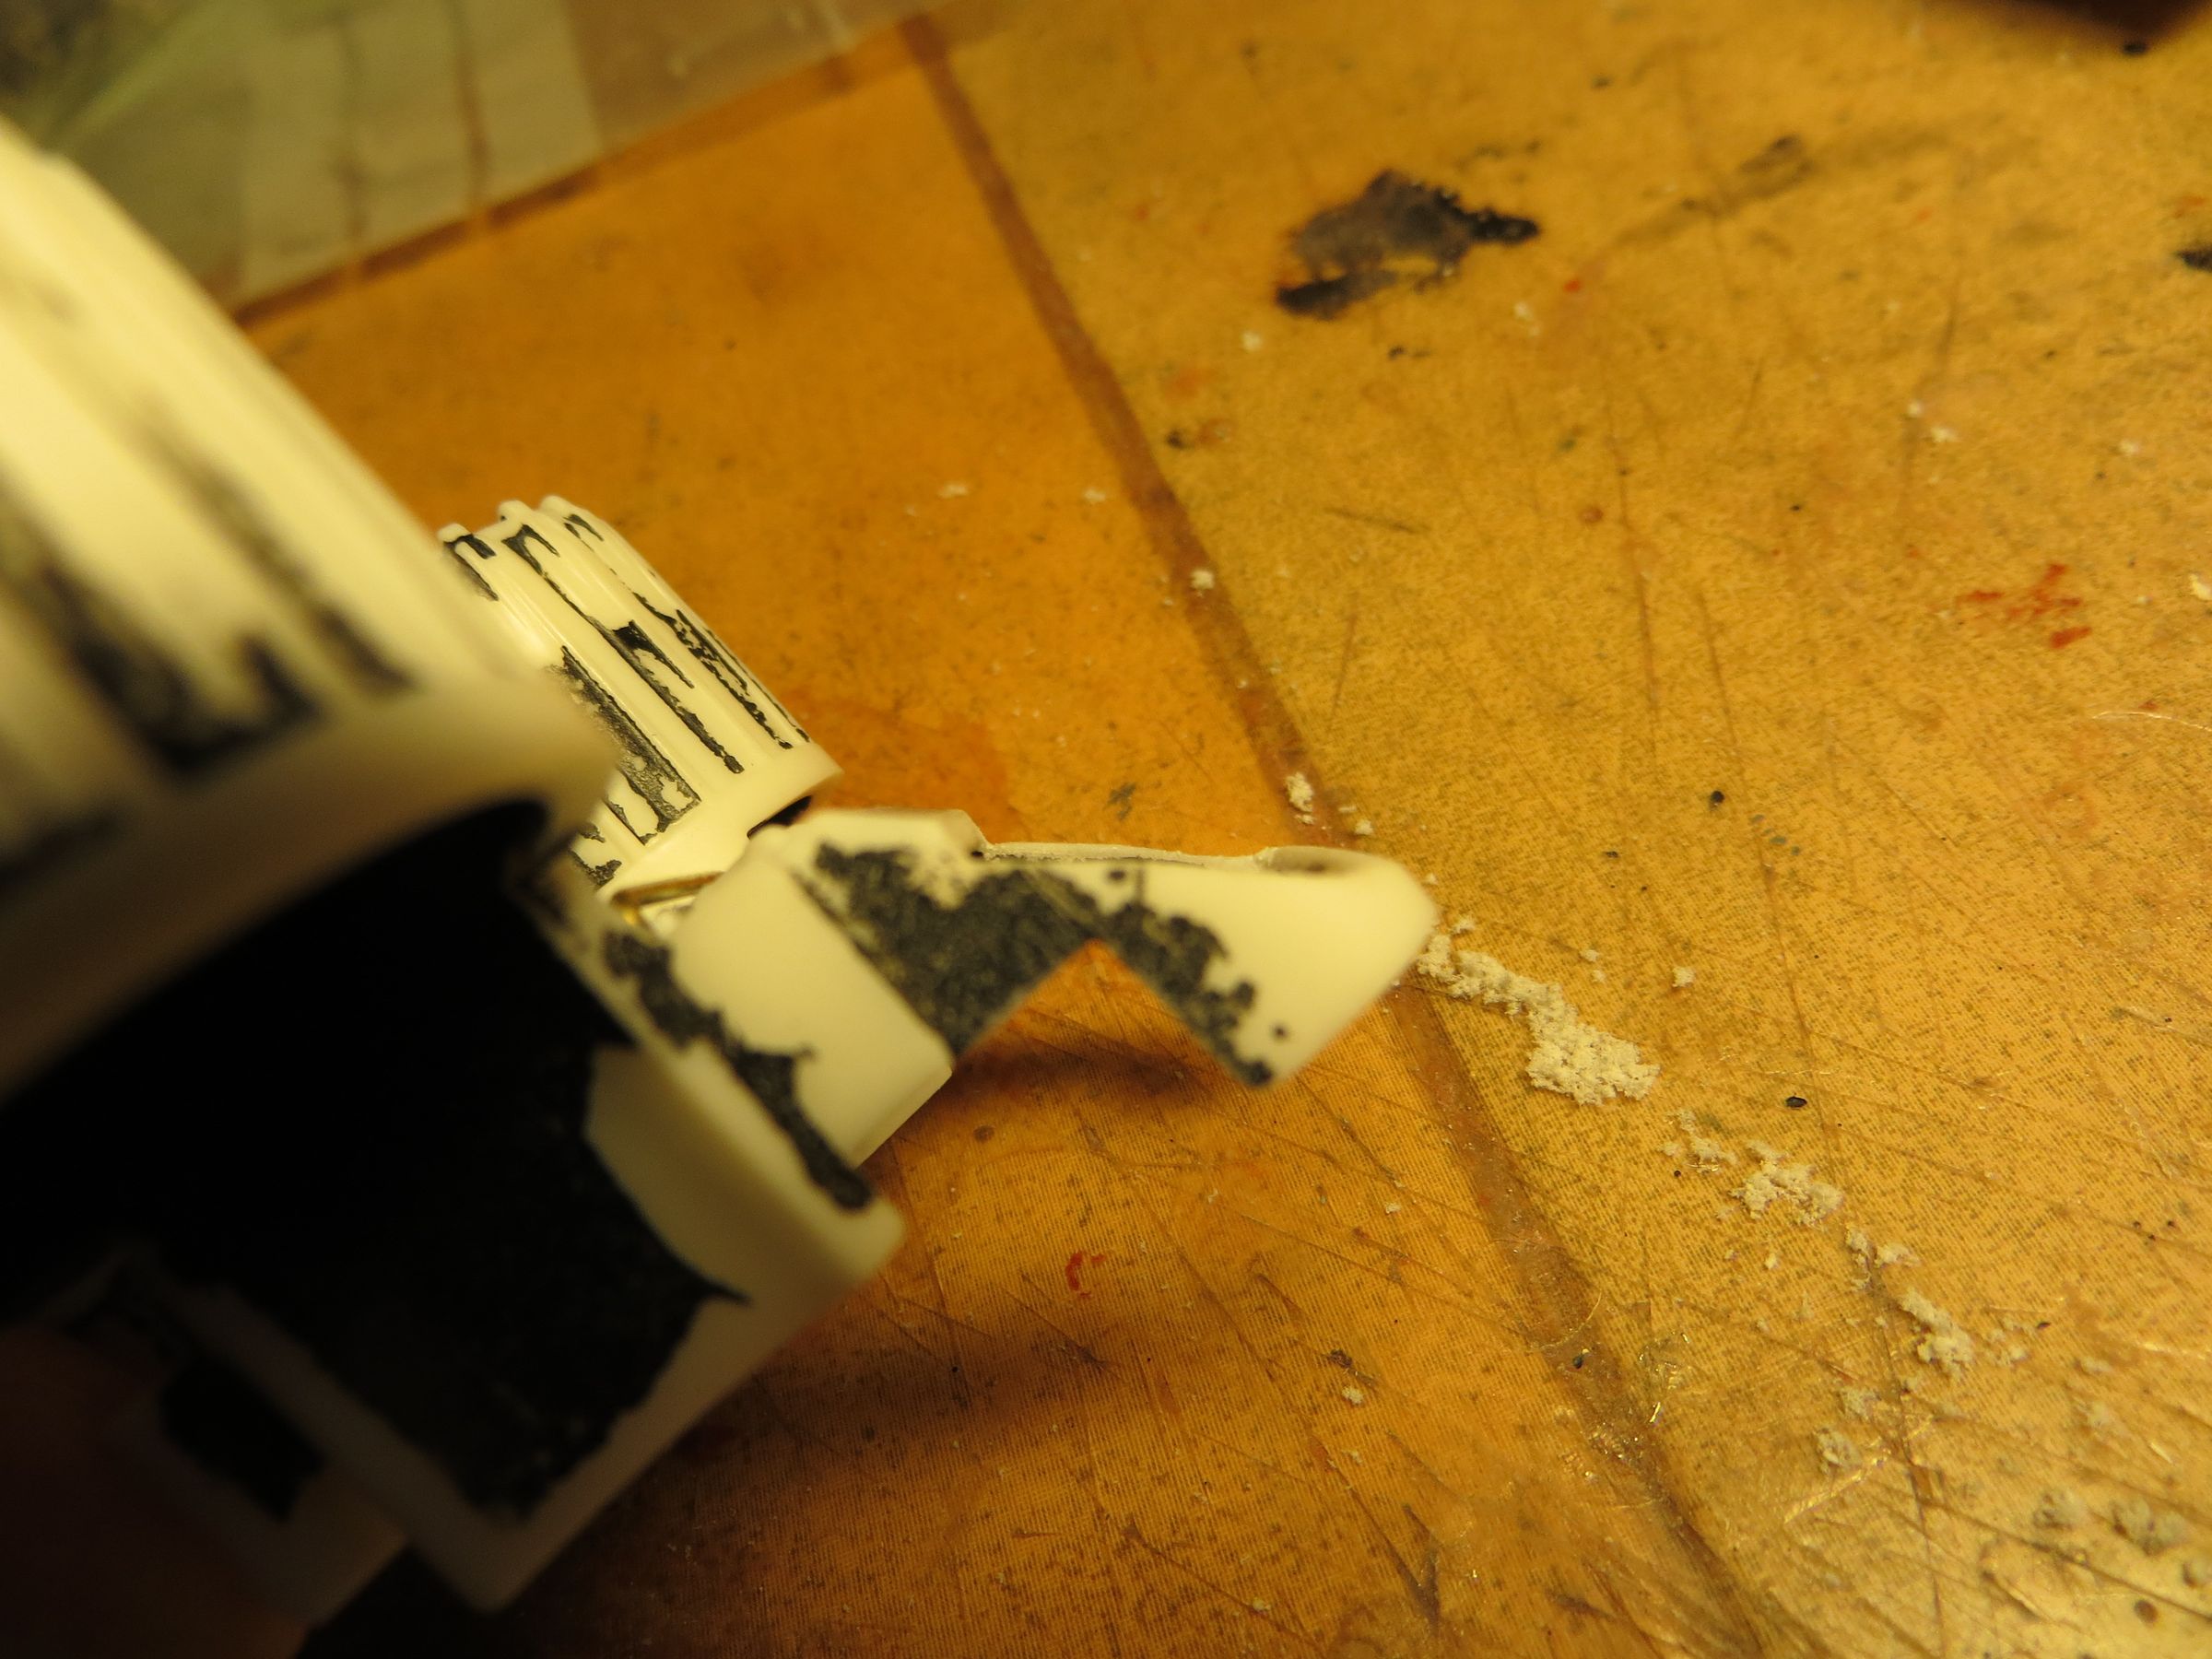
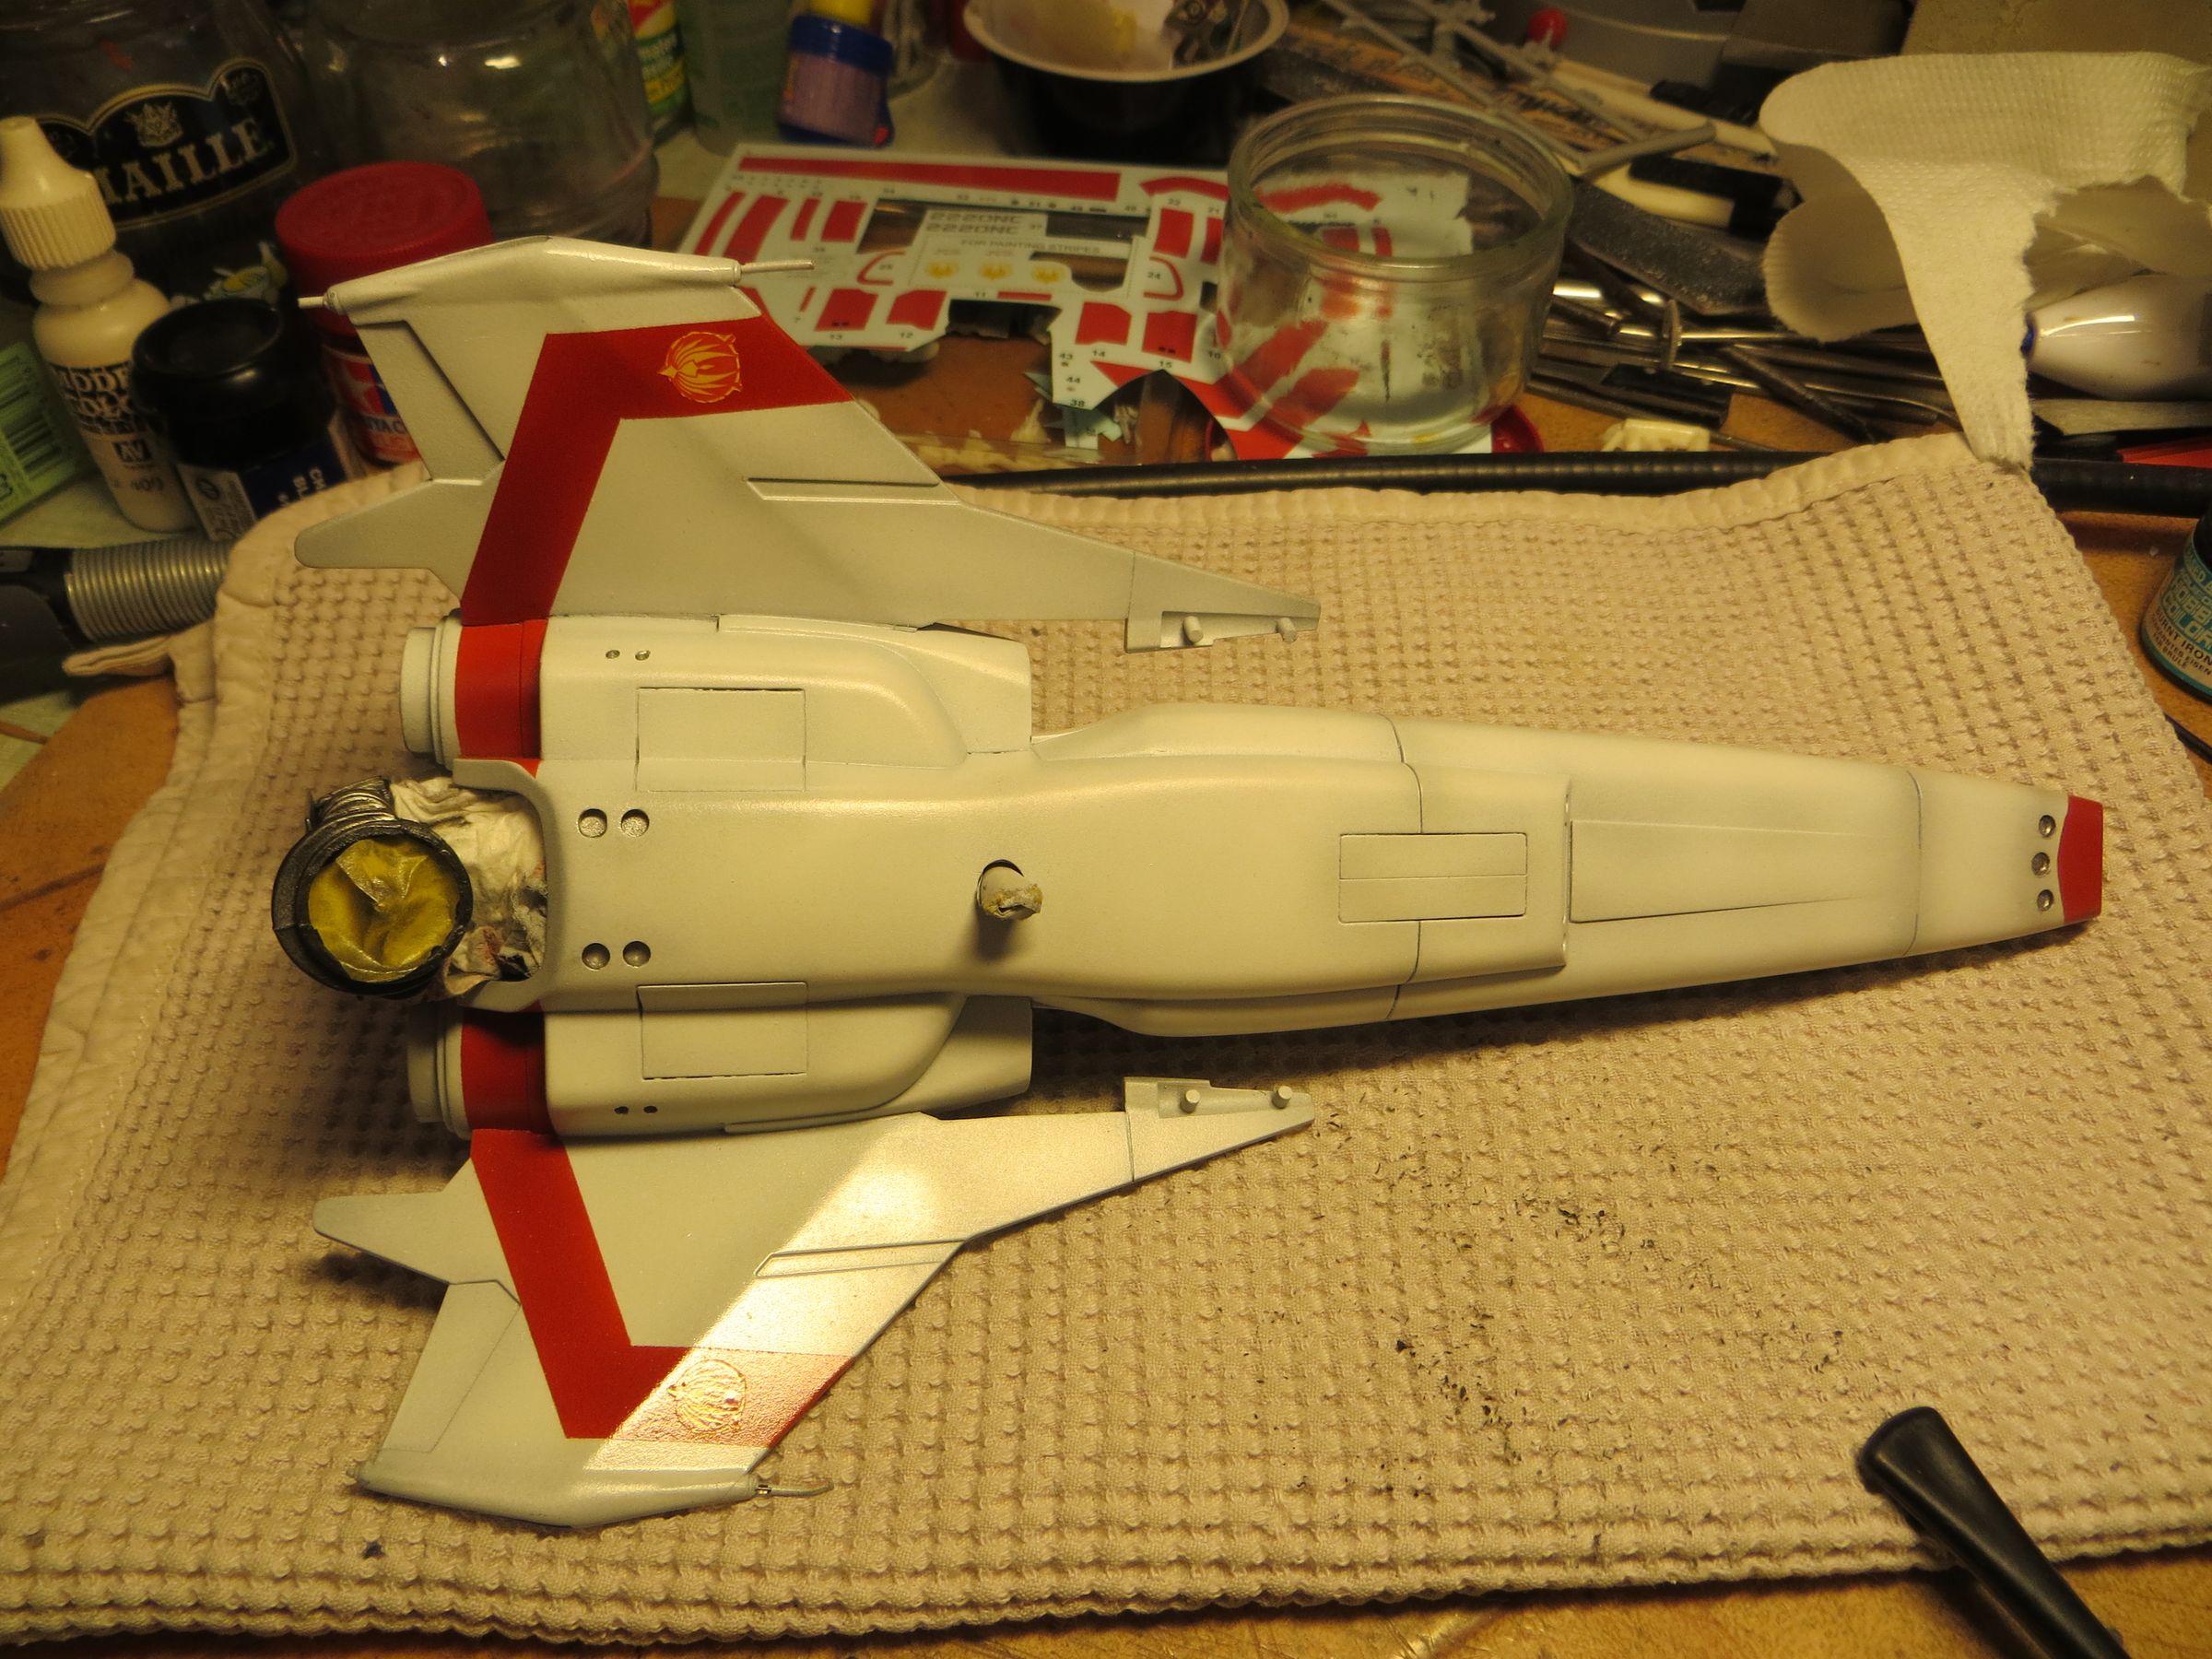
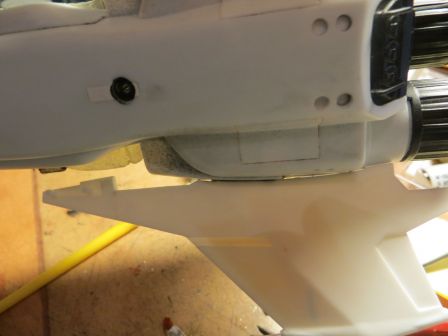
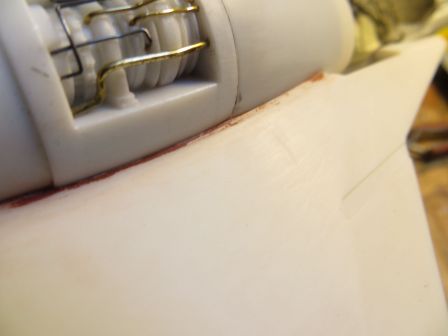
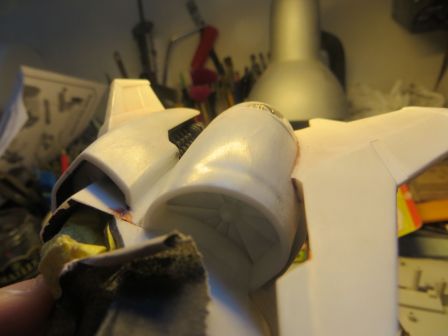
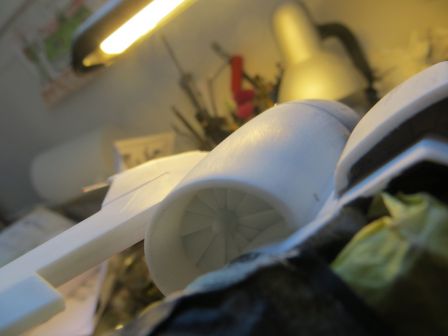
Some final details of construction are worked :
- Take care of the seams : engine hood, plate covers, belly ...
- For the air intake behind the cockpit, it had to take off the tabs, put a wedge below, glue back together and fill the seam (with two-component modeling glue and putty). After a good sanding, lines are engraved.

- For the wings, there was a gap of a good millimeter in some place (that I had not took car about during gluing, as I was focused to not brake the optical fibers).
It is filled again to two-component modeling glue, and after with thinner putty to fill the last defects.
- Fill a sink marks on the cheeks of air inlets
before

after

Returning to the cockpit for:
- Prepare the canopy and glue the panel behind the seat (which I had purposely left out so as not to damage during sanding the cabin
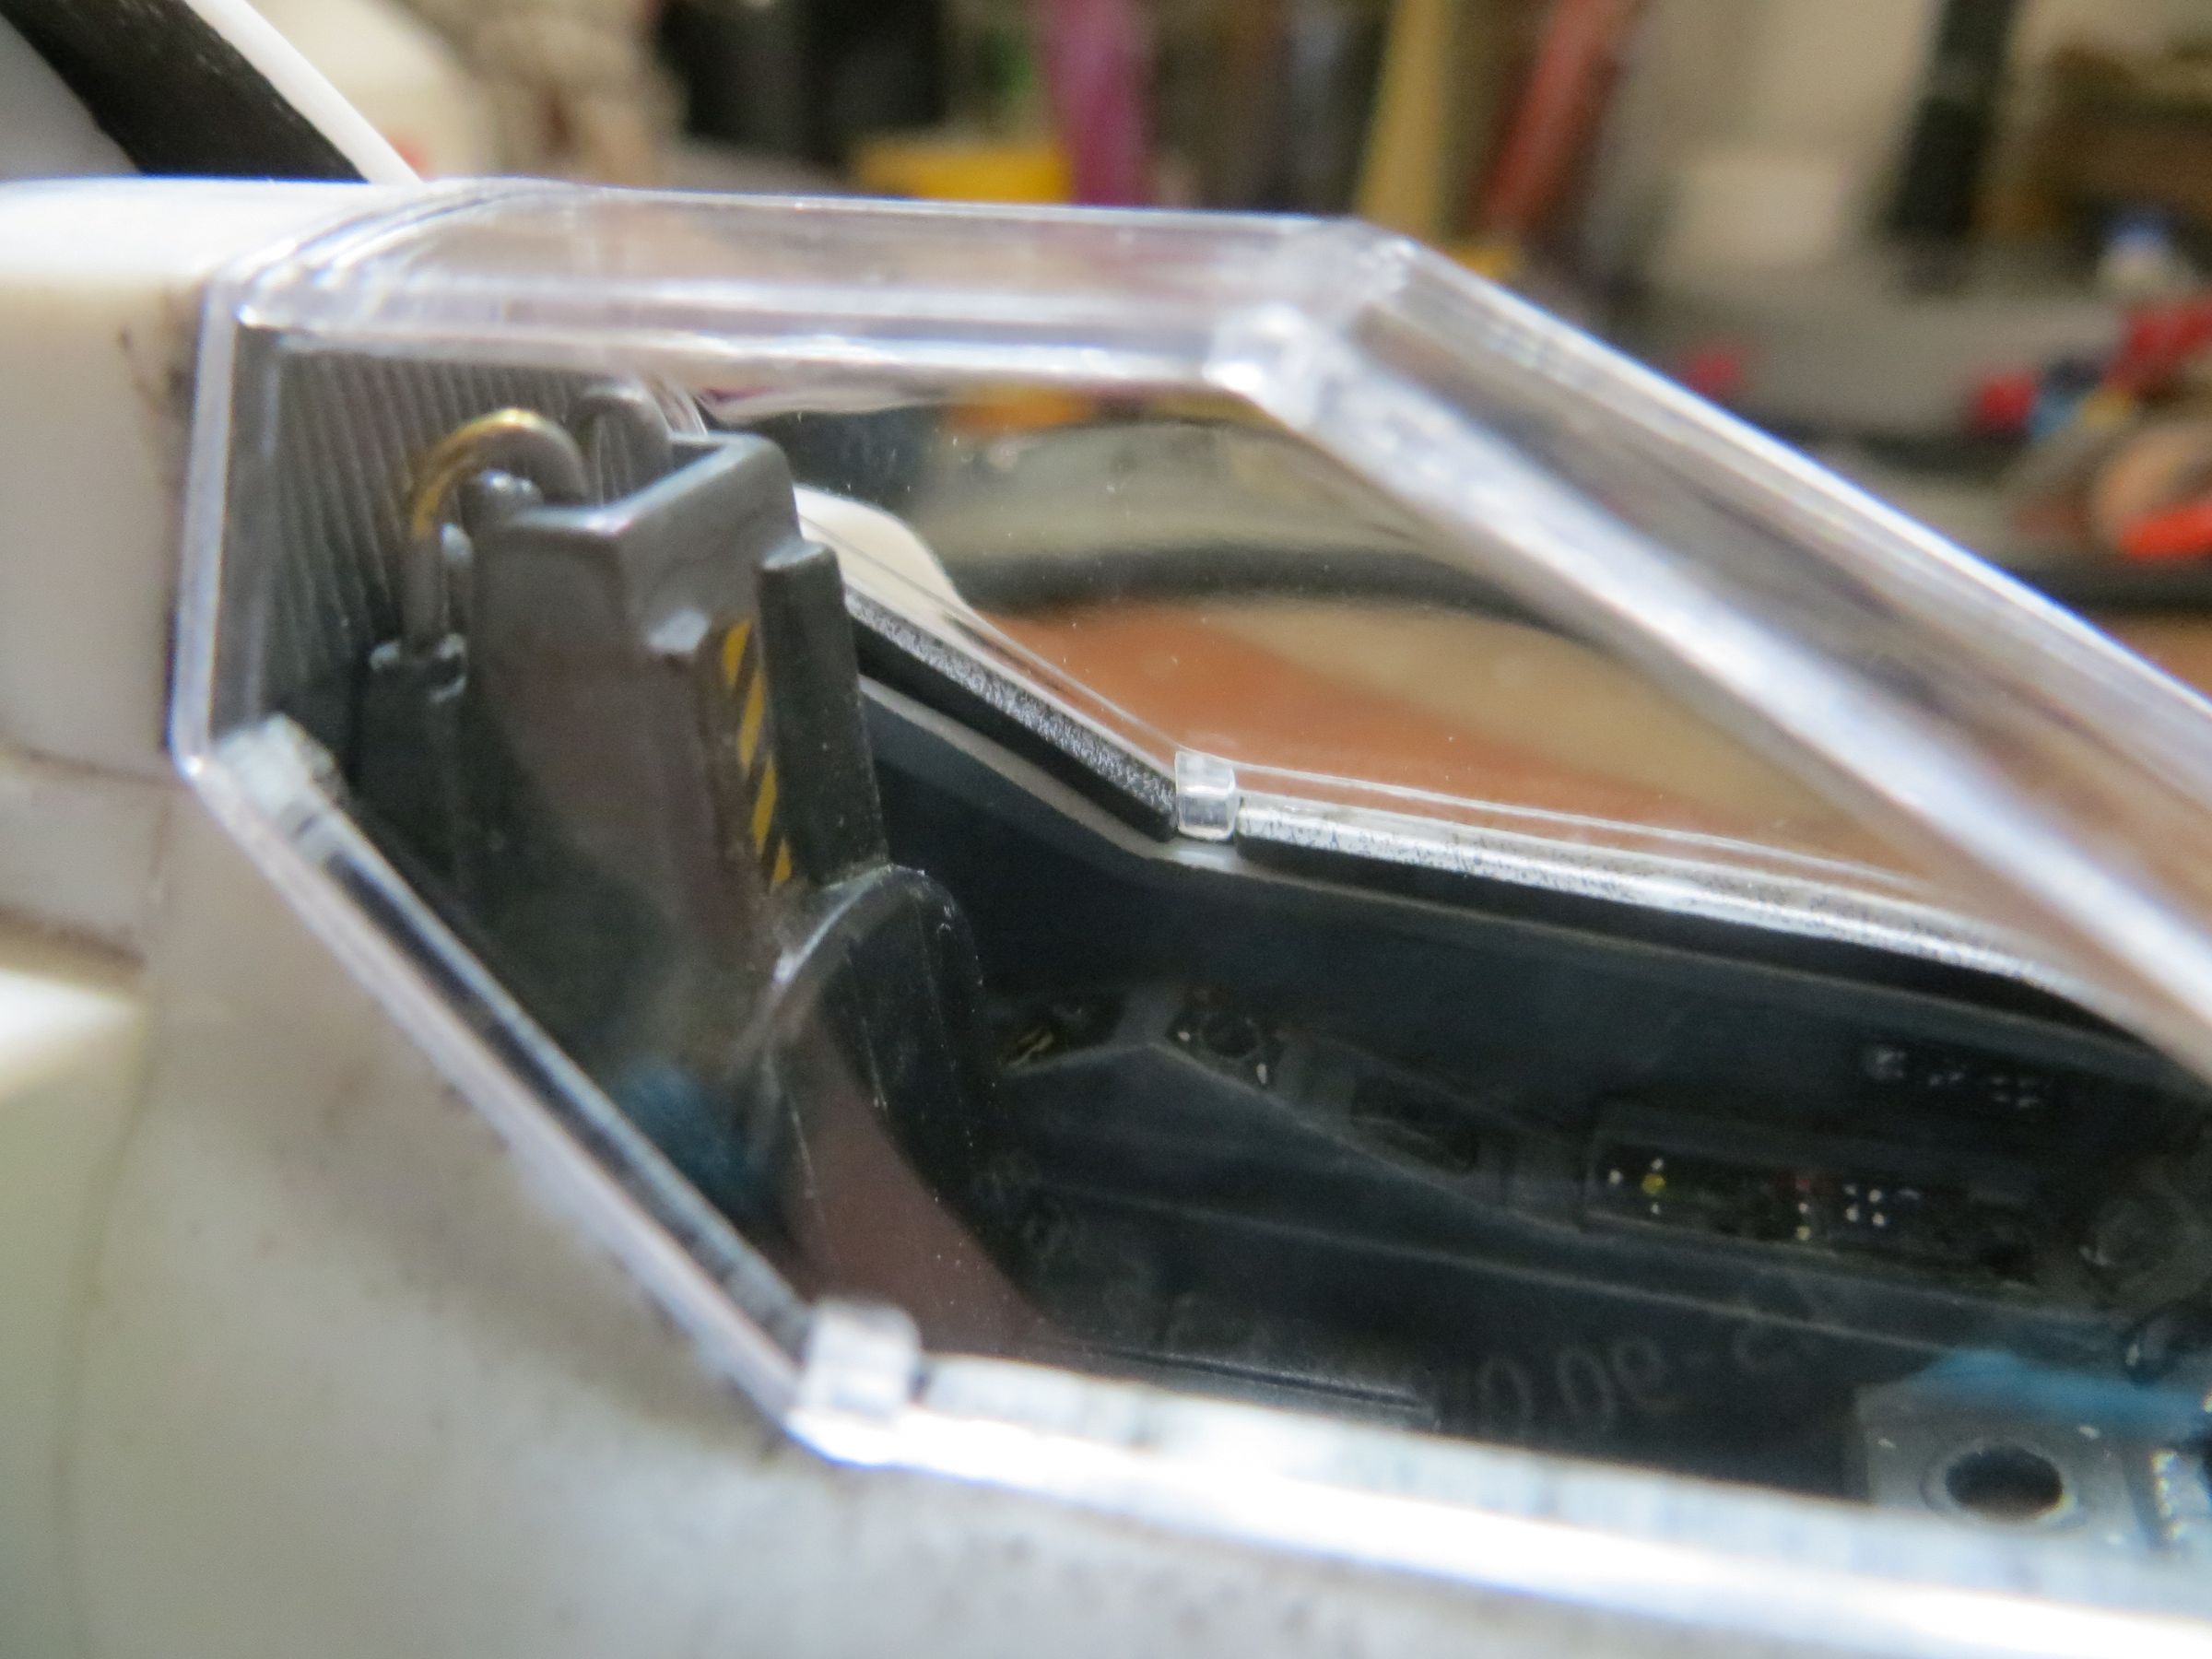
- The canopy does not lay properly because the dashboard is a little high, it was therefore necessary to sand it a little
before


After
")