Joining my (badly in need of updating) Merr-Sonn build and my custom Westar-34 build is this newcomer to my stable. Some may already know it from the five seconds it was available online before the mad frenzy wiped out everyone who had them stocked.  I managed to score a few for myself and a couple other folks.
So this is what I started with:
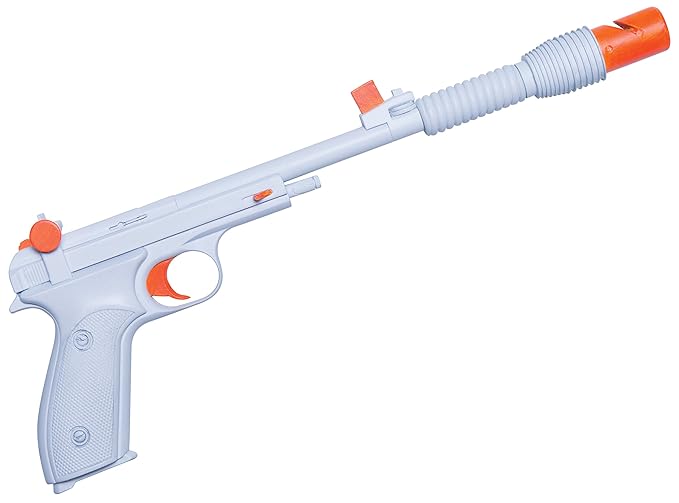
All the Margolin parts are dead-on. The Veyron Tomtit model radial engine cylinder bit is loosely accurate -- the distance from front fin to back fin is correct, the number of fins is correct, but the spacing is off, the tail end is too long, and the part inside the fins is supposed to step down from a larger cylinder to a smaller, rather than tapering like it does here. And the coil bit is the wrong length and diameter and number of coils.
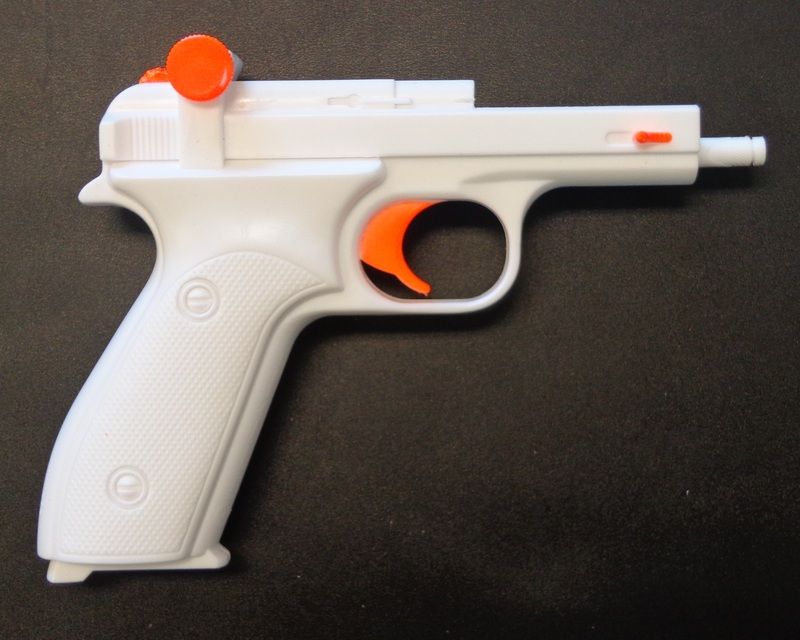
So, as is my wont, I did some careful butchery. After taking measurements, the barrel went bye-bye...
...the sight mount got carefully removed (and is most of the way though cleanup and prep)...
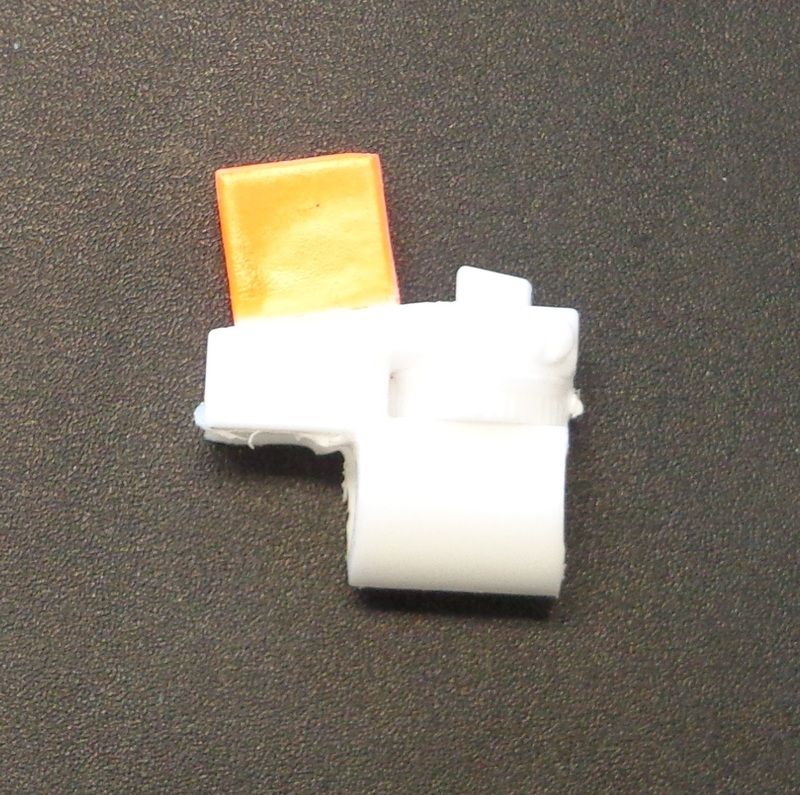
...and I hollowed out the muzzle brake to get rid of the post that was helping join the two halves just inside the barrel opening (also, said opening is slightly to small). I filled most of the compensator with plumbers' two-part epoxy putty, cut in the vent before it set up, and have drilled out a pilot hole along the bore (need to get it to a drill press to drill out the barrel bore). Still some other cleanup left here, too.
Now, on to construction... As I've said elsewhere, I like to think of myself as a bit of a virtuoso with K&S brass tubing. Here are all the parts for the build (except for the coil) laid out:
...and with the different subassemblies started:
At the top, that's a 1/4" brass tube, the inner diameter of which is the right size for a Margolin's bore. I'm using that for the spine of the barrel. Below that, from the muzzle back, the aforementioned modded compensator, one of the original Tomtit engine cylinders, the "plug" that slips down that central tube to help lock those pieces together and keep the barrel centered, then the substrate for the coil -- the rearward projection of which the sight slides onto, the sight, the next bit of tubing locks the sight up against the forward barrel, then the next plug for the main barrel, then the main barrel, then the rearward projection for it, which goes on last and will help anchor the barrel into the breech, with the help of more epoxy putty.
Now I need to sort out the coil and continue cleanup...
-Jonah
I managed to score a few for myself and a couple other folks.So this is what I started with:
All the Margolin parts are dead-on. The Veyron Tomtit model radial engine cylinder bit is loosely accurate -- the distance from front fin to back fin is correct, the number of fins is correct, but the spacing is off, the tail end is too long, and the part inside the fins is supposed to step down from a larger cylinder to a smaller, rather than tapering like it does here. And the coil bit is the wrong length and diameter and number of coils.
So, as is my wont, I did some careful butchery.
After taking measurements, the barrel went bye-bye...
...the sight mount got carefully removed (and is most of the way though cleanup and prep)...
...and I hollowed out the muzzle brake to get rid of the post that was helping join the two halves just inside the barrel opening (also, said opening is slightly to small). I filled most of the compensator with plumbers' two-part epoxy putty, cut in the vent before it set up, and have drilled out a pilot hole along the bore (need to get it to a drill press to drill out the barrel bore). Still some other cleanup left here, too.
Now, on to construction... As I've said elsewhere, I like to think of myself as a bit of a virtuoso with K&S brass tubing. Here are all the parts for the build (except for the coil) laid out:
...and with the different subassemblies started:
At the top, that's a 1/4" brass tube, the inner diameter of which is the right size for a Margolin's bore. I'm using that for the spine of the barrel. Below that, from the muzzle back, the aforementioned modded compensator, one of the original Tomtit engine cylinders, the "plug" that slips down that central tube to help lock those pieces together and keep the barrel centered, then the substrate for the coil -- the rearward projection of which the sight slides onto, the sight, the next bit of tubing locks the sight up against the forward barrel, then the next plug for the main barrel, then the main barrel, then the rearward projection for it, which goes on last and will help anchor the barrel into the breech, with the help of more epoxy putty.
Now I need to sort out the coil and continue cleanup...
-Jonah