Mass Effect N7 Breather Helmet

Yodajammies

Sr Member
Well it doesn't look like TommyFilth is ever going to finish his (poke, poke), so I've started in on my own.

This one is a commission piece, otherwise I'd still be chugging along on the collector.

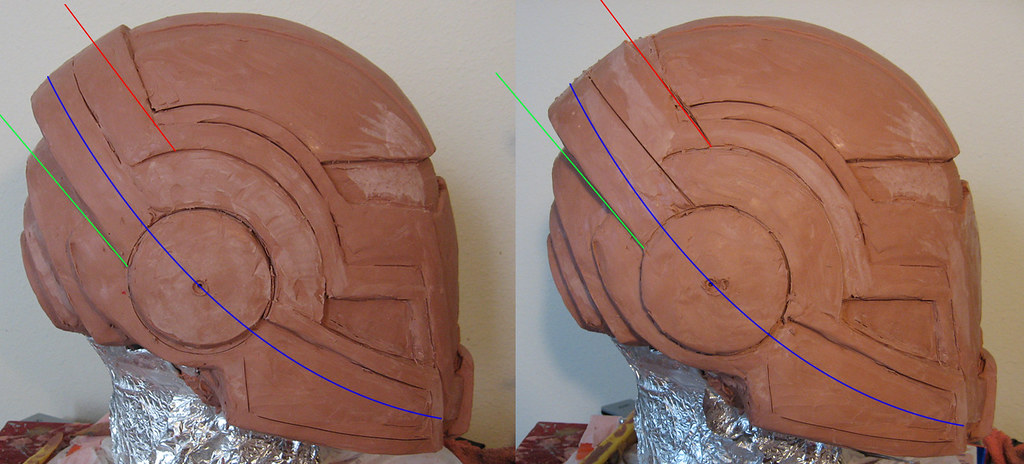
Day 1 -
I'm trying to focus in on the major components and symmetry to start. I can see why Tommy threw in the towel with his sculpt; the amount of complex curves and alignment of some of these parts is just ridiculous.

5415041968_77c50d722e_b.jpg


Day 2 -
The symmetry is getting a bit closer to being done. The right side still needs some adjustment and tightening up, and the back still needs a good bit of attention. Once the "rings" are finalized, I'll go back and add the back fins that wrap around them.

5417297450_0165edc6a1_b.jpg
 
Looks like it will be a beautiful piece when finished.
Might I suggest making the prongs on the back separate pieces that are attached to the main helmet when its finished to simplify the mold.
You could use pop rivets to connect them on the inside so there would be no visible fasteners and only minor work to hide the seam.
 
Eeeeee~! So excited!

Also, holy crap. That is some fast work for day 1 and 2. You'll be done in no time at this rate. =O
 
"I'm Commander Shepard, and this is my favourite helmet on the Citadel"

:thumbsup
 
5426090447_d338718ddf_b.jpg


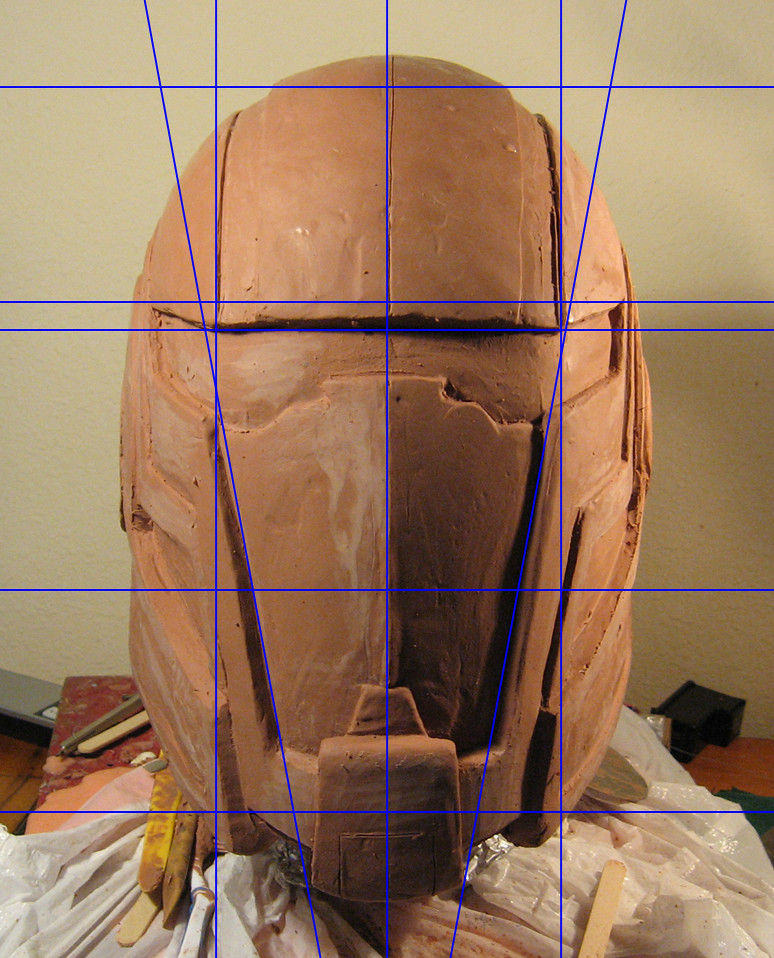
Day 3 (plus a bit this weekend)! Now we're truckin. Still on track to have this sculpt finished up by end of day, Thursday.
 
5426728800_9e13f8720c_b.jpg


I'm not sure this is completely straight on from the front, but I'm still noticing some nagging symmetry issues.
 
Day 4!

Now we're starting to get somewhere. I've been focusing in on the front of the helmet a little more as that's the money maker. If the grill is busted, noone will care about the back rings. I think the mutton chops still need to be filled out a bit, and I'll mill out the ears tomorrow and pop em in.

T-4 days till the molding supplies get here. Lets rock and rowwwwwww

5440001519_4ab361caed_b.jpg
 
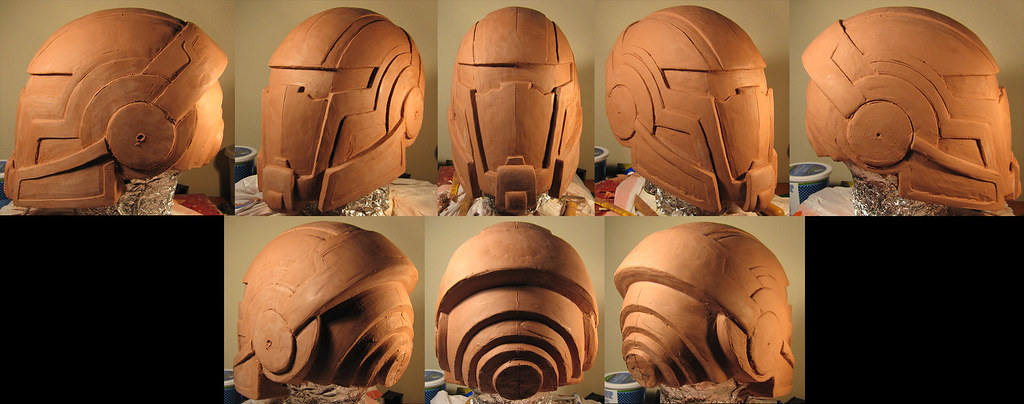
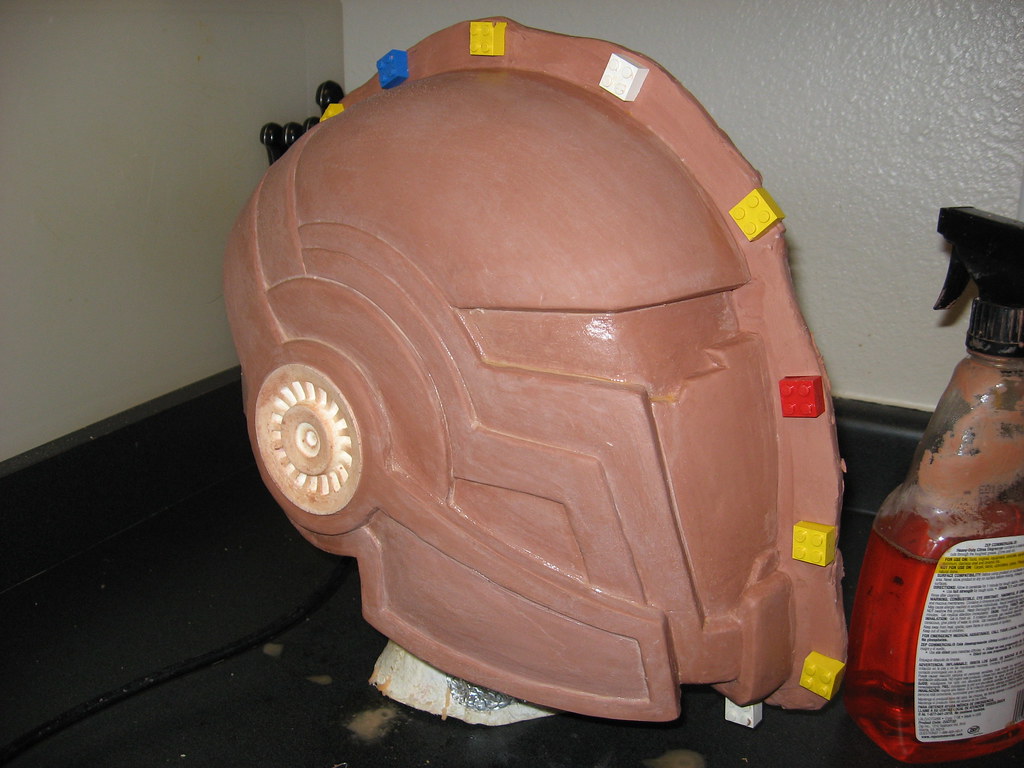
Blimey! It's got ears! Alright boys and girls, we're getting close to the end of the road. A bit more clean up and we'll be ready to mold.

5455366530_90e7f4862c_b.jpg
 
are you going to be making a waste mold, then sanding and finishing a hard master for a final, or is the clay sculpt going to serve as the final piece?
 
I'll be making a scrap mold, then adding styrene detail and finishing up. There are lot of tiny bits that would be fairly difficult to do in clay. Maybe if this was done in Chavant Hard rather than Medium I'd go for it.
 
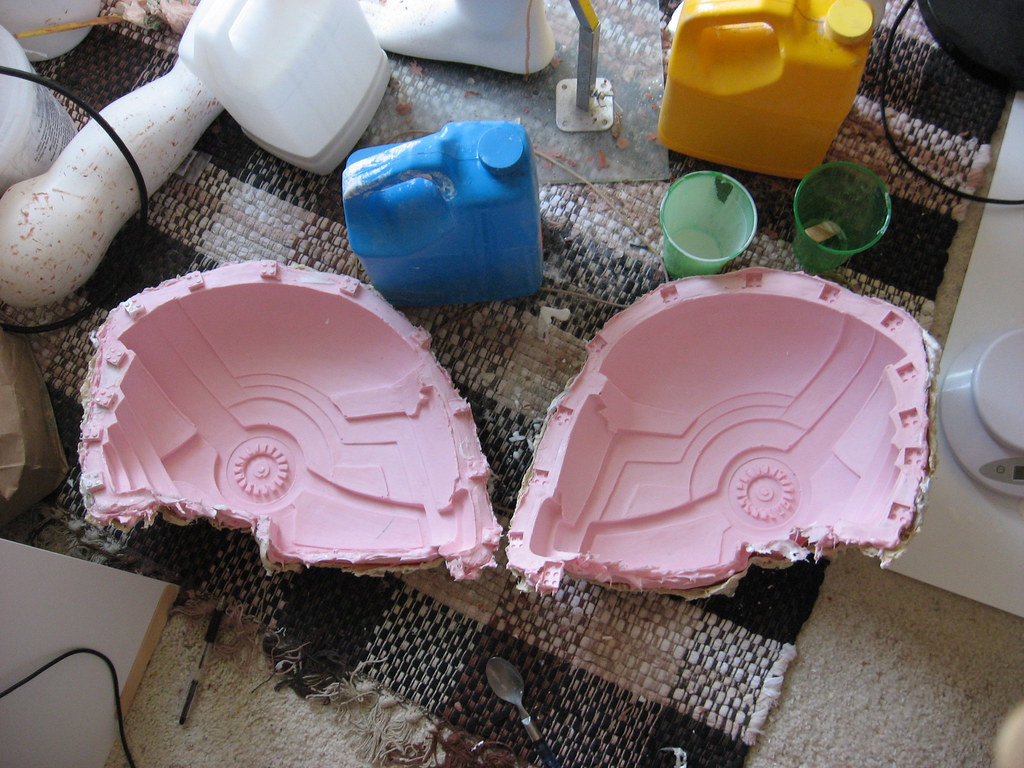
I've got the parting line built and the silicone thinner I ordered finally arrived so it's on to molding.

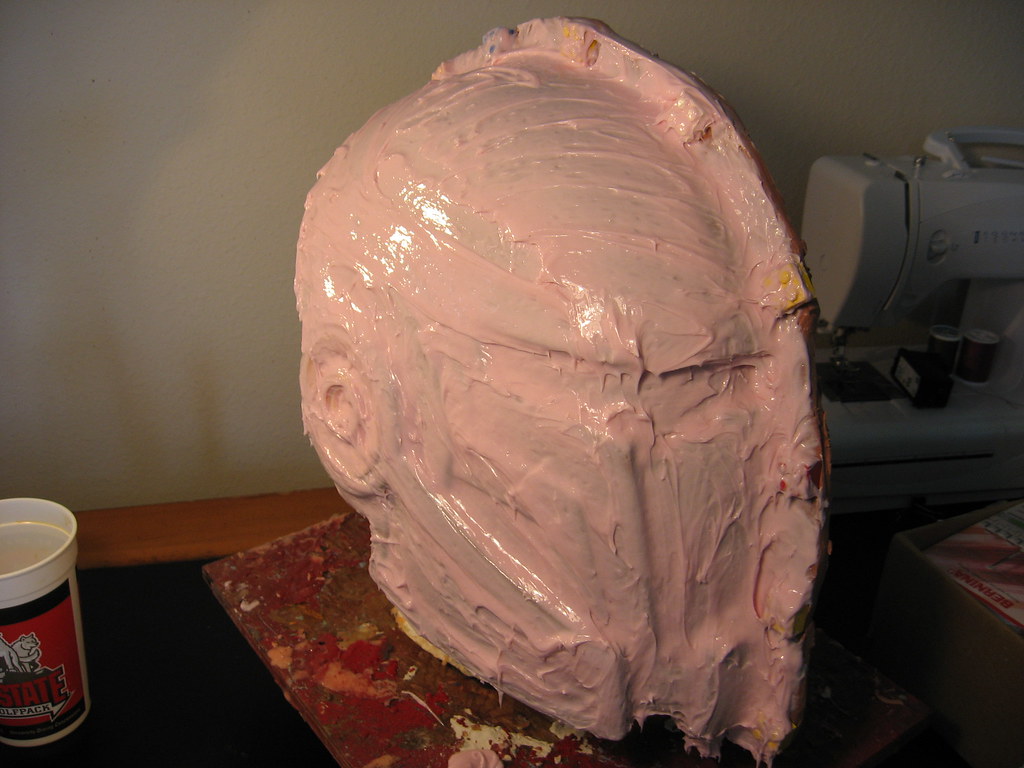
Even thinned, this rubber is like trying to spread cold frosting. I'd add a bit more thinner but then I'm risking cure inhibition and I've already scrubbed this mold once. I don't have high hopes for this print coat, so I'll definitely be using my standard Rebound 25 for the final mold.

5476381747_8d7925e943_b.jpg


5486553638_b1c20a4b78_b.jpg
 
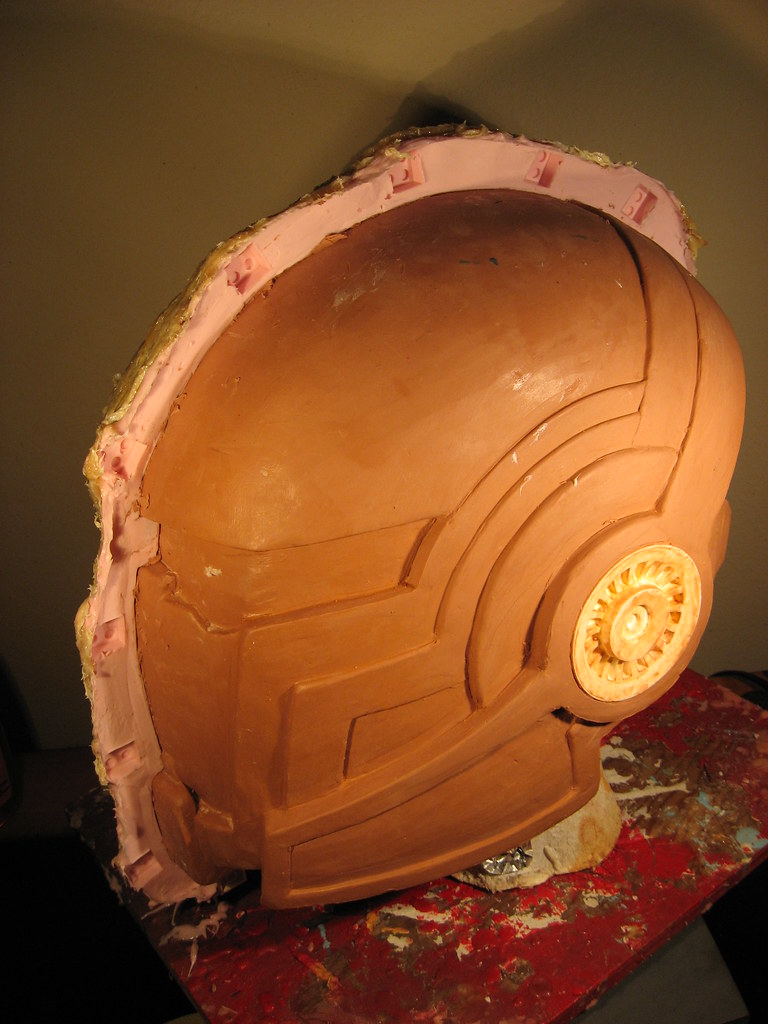
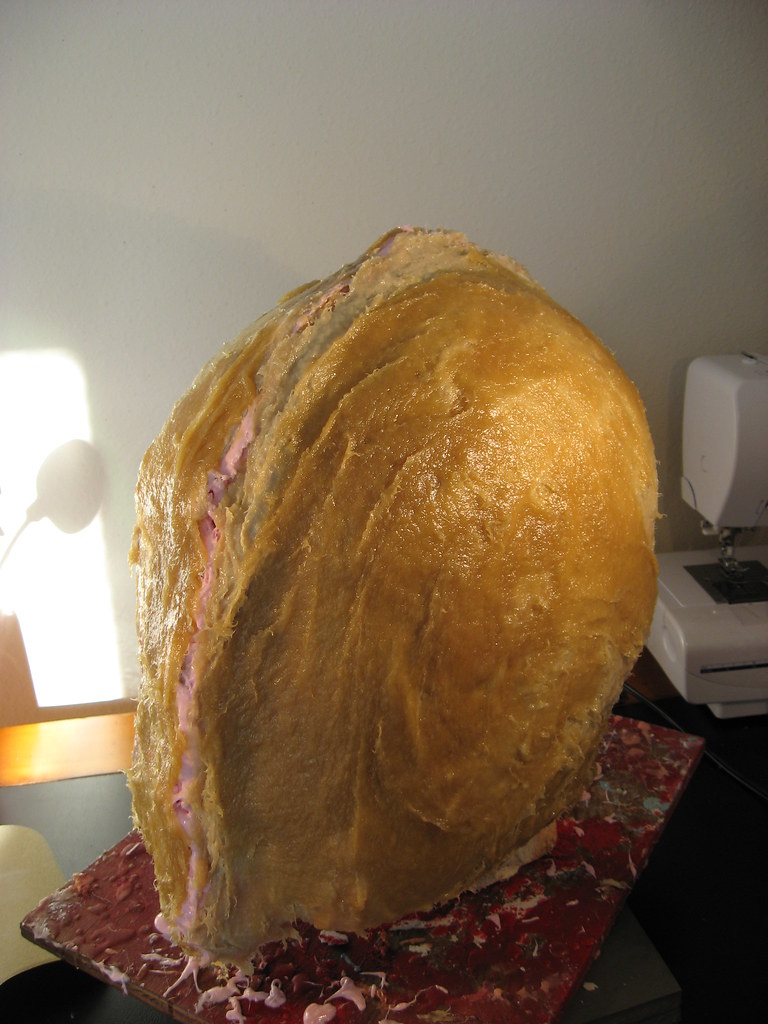
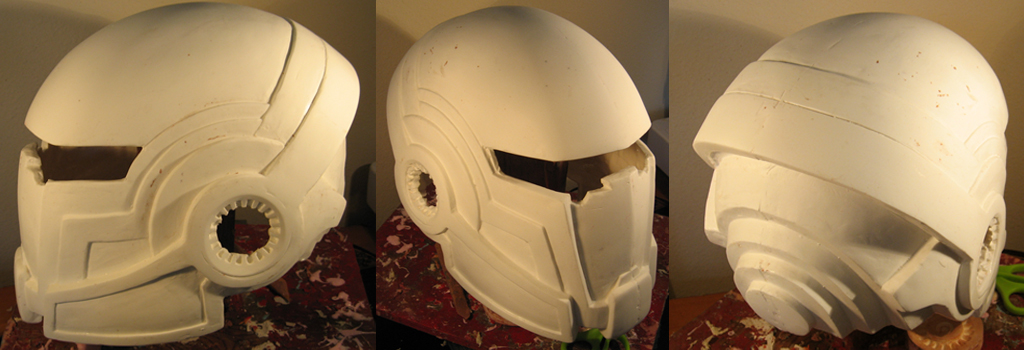
I finished up the mold last night and pulled the master copy this morning. I think I'll go with a glove mold for the final. I still suck at making 2-part molds.

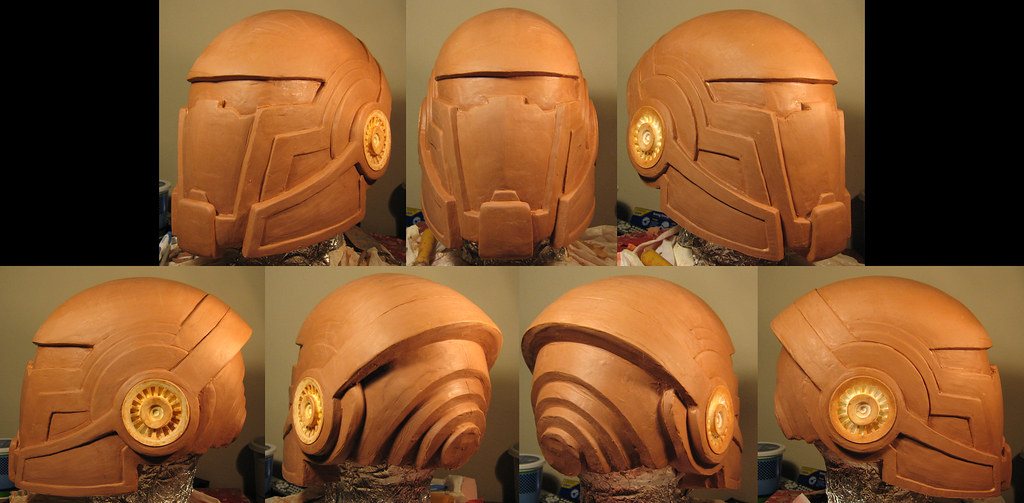
The ear pieces are being cut out to make room for the finalized greebled ears. If I were a smarter man I would have removed the placeholders before molding and just skimmed over them. My dremel hates me right now.


5492093462_38af89b794_b.jpg


5494558382_15a72cd5fa_b.jpg


5495033691_bf27f33f45_b.jpg


5494998811_c7d1f1343d_b.jpg
 
I was thinking of making one of these. I can't wait to see what it looks like when it's done.
 
5495352281_7a575eb029_z.jpg


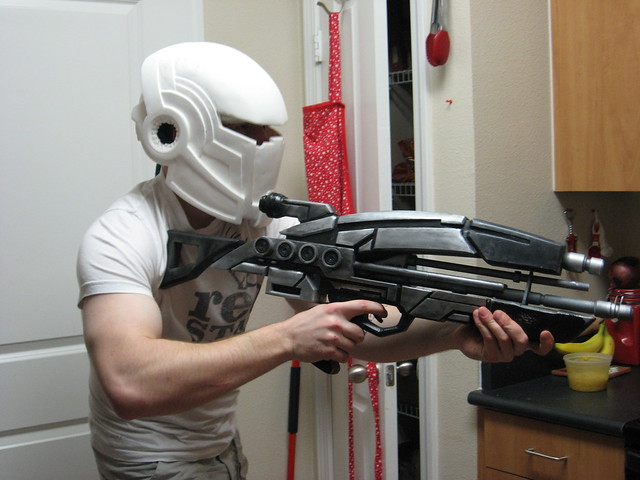
A clever padding scheme and a lot more sanding and it'll be appropriately sized. I imagine it would look a little more to scale if I had the armor on.
 
Back
Top