Mass Effect gun kits WIP

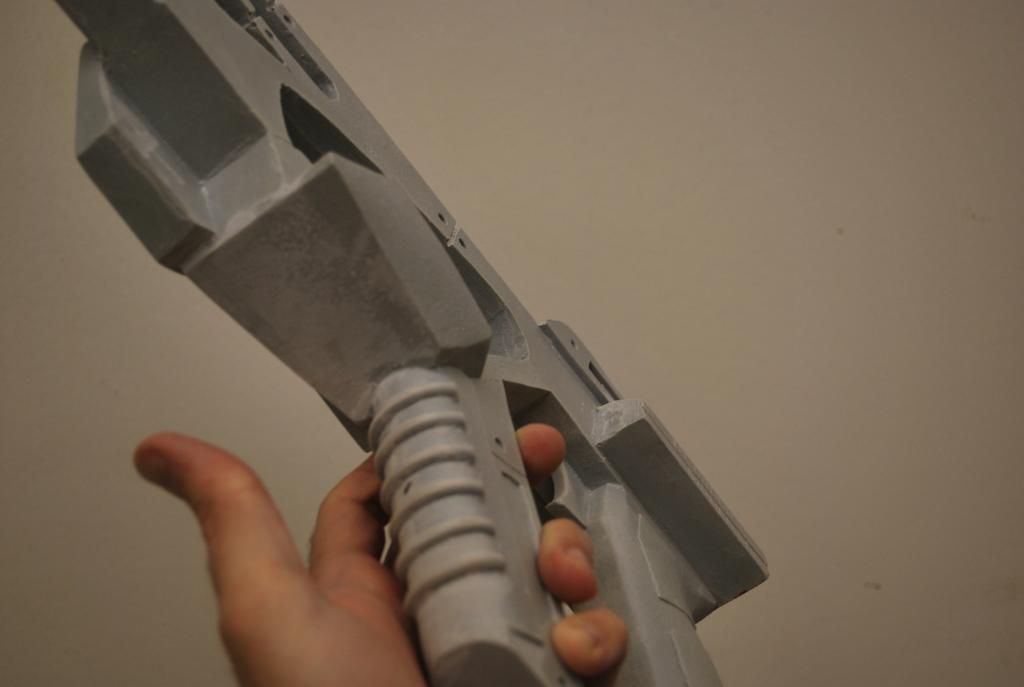
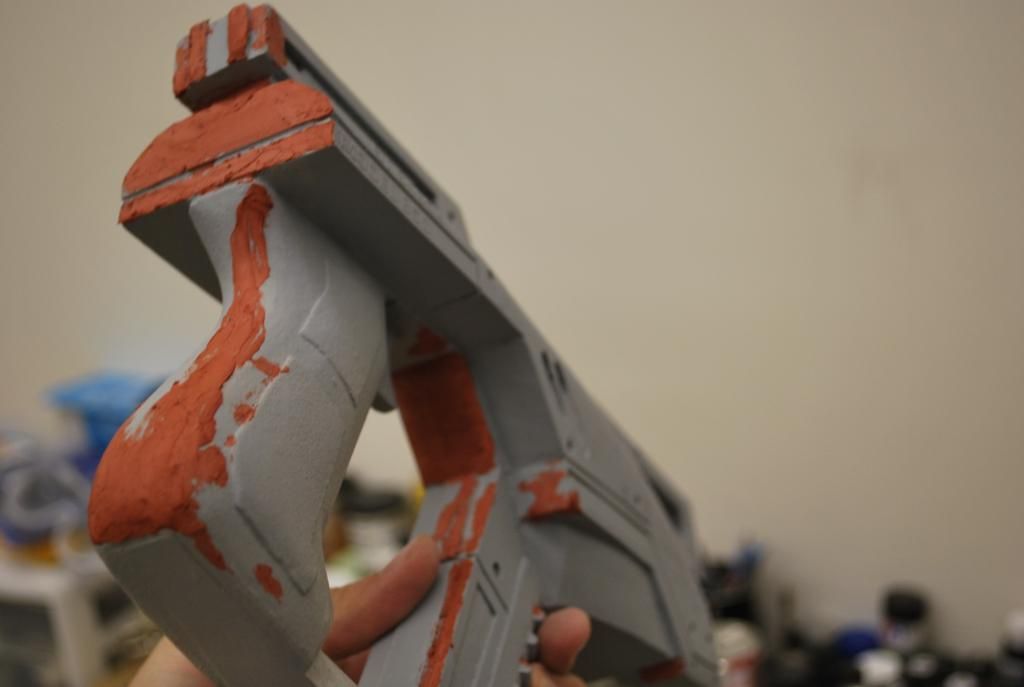
if you buy a raw cast, you should kind of expect this to be honest..
if i buy a raw cast i estimate 1-2 hours to get everything ship shape,
fill some bubbles, trim seams, and the like.
a raw cast is a raw cast, its just a kit that you fix up imo.

i've bought kits off the junkyard, ebay, and legitimate storefront sites too, and i've gotten far worse casts to look spotless with a little work,

a few airbubbles and some seams to deal with are nothing when it comes to a kit,
at least when i've had ones that are so over pulled and warped that a gun barrel is clearly slanting to one side.

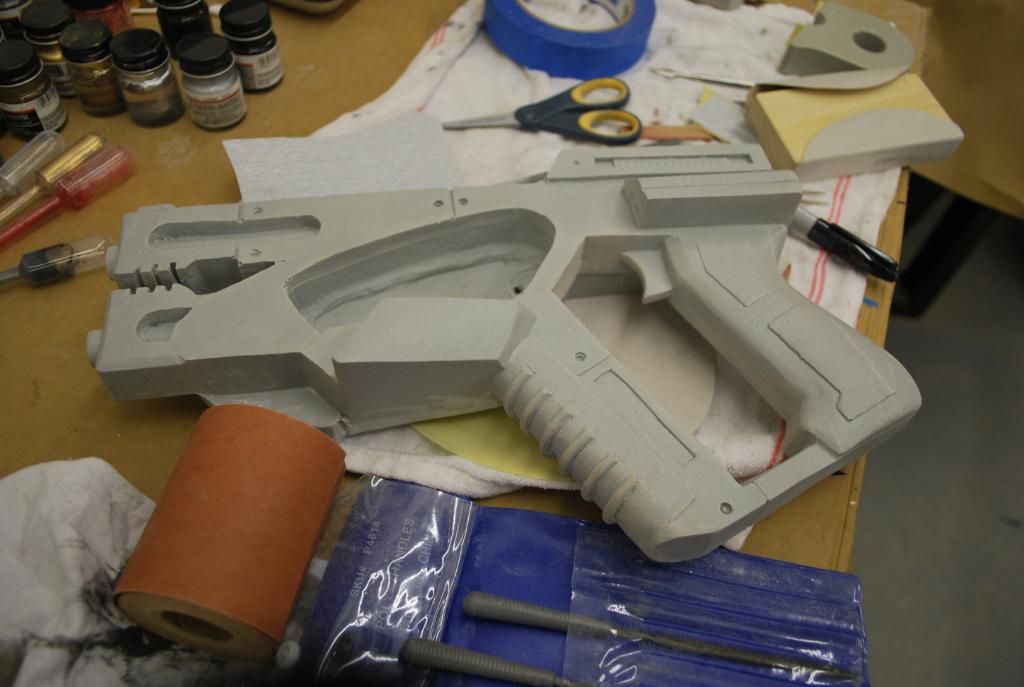
seems like a very decent price for the fact its hollowed out for electronics, and retaining a lot of it's detail.
some bondo or apoxie sculpt and it'll look picture perfect i'm sure.

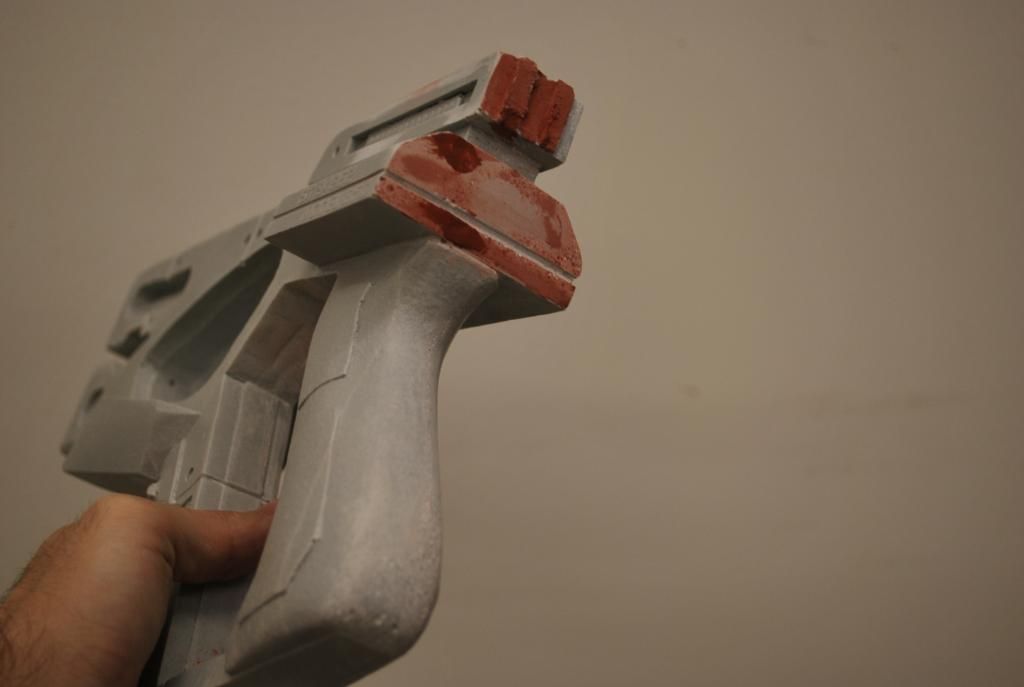
With all due respect, are you serious?

What you saying makes sense normally, but in this case this is way beyond normal. Obviously you didnt pay attention to the pics, or you havent seen this in person.

@zander, i hope you have better luck, let us know when you get yours
 
yes Im also sure about this and probably we should stop talking about the castings, 'nough said.
 
Last edited:
It's Ok really. I got a message from my client asking if I could really pull this off and it honestly is just going to take a little more time in the trim and sand stage than most kits require.
Seams and some bubbles are expected with garage kits, but this one has some serious problems which appear to stem from an overpulled mold and yes, that wonky barrel cannot be fixed but I've already made some good progress on cleaning this one up and will have some pictures to share come Monday evening.
Everyones words of encouragement and support will really make the difference here so I really appreciate everyone who has chimed in.

I think we've all had kits with some of these issues. I got one now that i've cut up to totally remake because of the air pockets. Just keep up the good work and i can't wait to see how they turn out.
 
I've been working on several projects at once as of late.
Today, I devoted some more time to working with this.
I got most of the gunky resin trimmed down and now have to tend with all that sponge-like holes all over the kit - the main concentration of this problem seams to be in the back of the gun.
Below you will see some pics that show how I was able to re-shape the gun tips and also see the putty this thing needs.
I started with a basic putty, sand and primer (primer to reveal where I was at) and then I did a re-putty.
I will continue this process until I am confident I have gotten things as good as they can get before I start the actual paint process.
I know it still looks very rough - bear with me while I continue work on this...
11.jpg

DSC_0684-1.jpg

10.jpg

09.jpg

14.jpg
 
Thank you for the kind words.
This is a work in progress and there is still a lot to do on this before I can start thinking about paint.
I haven't even LOOKED at the submachine gun kit in a while. That's a good thing, I just don't want to overwhelm myself visually with all the defects that have to be corrected.
 
Worked on this a little more tonght but no exciting pics to share yet.
Sanded down all those parts that were puttied, cleaned and put down a light primer coat only to discover It STILL needs more putty! I'm switching from the bondo to the Avery brand modeling putty to fill some of the bigger holes, then a total re-sand to smooth out as much as I can.
At some point, I'm going to have to say enough is enough and start the painting process on this. A nice paint job will make this look really good despite the MASS DEFECTS...get it...Mass DEffects...haha....ok, I'm just tired...
 
Frosty, for the flat areas, Just cover it with thin styrene :)

I thought about that actually, and I do have some styrene sheets in stock at the shop but I think I can do this within the price range I quoted my client without having to use some of my styrene. I've made some really good progress on cleaning this up. I think a really good paint job will make all the difference once I work out the kinks.
 
Man, it's a shame that these require so much work, but you're making some great progress on them.

I'm sure by the time you ship 'em out to your client they'll look amazing.

-Nick
 
Man, it's a shame that these require so much work, but you're making some great progress on them.

I'm sure by the time you ship 'em out to your client they'll look amazing.

-Nick

Thank you for your support. I've actually grown to appreciate the challenge, although I still don't agree with how poorly these were casted.
I'm working on some paint samples right now that are looking promising.
 
Frosty, for the flat areas, Just cover it with thin styrene :)

Did you receive yours Zander?

@GF,

you are doing just fine mate, the barrels looks really round, how did you manage to clean them so nicely? I think I will have to cut mine and add some PVC tubes
 
I got mine today yeah. Its a little worse than the one in the pictures. It would be faster for me to scratch build one than to clean this up to spec. Not sure what im going to do with it :(
 
Did you receive yours Zander?

@GF,

you are doing just fine mate, the barrels looks really round, how did you manage to clean them so nicely? I think I will have to cut mine and add some PVC tubes

I carefully shaped the barrels using a cutting tool on my Dremmel, then did more shaping with sandpaper by hand.
 
Back
Top