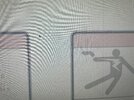
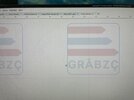
The Siser does read those marks, yes. Not sure why the shift, I might recalibrate it and see if different. Like you say, not visible from more than a bit away (lets say, 1m, because metricIs the print being reloaded into a secondary cutter via target marks? There seems to be a consistent shift to the left before cutting. The yellow one would work fine because you can trim the white from the left hand side but the other small one seems to be cut very close to the C. This is nitpicking of course because at anything over a foot away they will look wonderful. Question on the first batch of printed ones, the dashed lines throughout would likely mean the image was printed at a lower dpi than the image you provided. Possibly a conversion step is dropping the quality? Again, only going to notice with one eye nearly touching the plastic but it is there
")
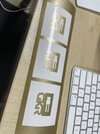
The first black/white prints were my home (CHEEEAP) laser printer. 2nd washed out color set were a friends laser, 3rd set was "done by adults" at a printing shop.
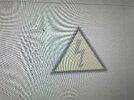
I've also now gone and added more black around the triangles. I dunno if I can get the siser software to undercut those (I prob can, but then I have to split the job into two parts blah blah and not sure I can be bothered)