Kit of the USS Daedalus NCC-129?

Status
Not open for further replies.
No it's my dust buster. ;) LOL Of course it's a phaser. Doesn't everyone have one? It's under overhaul currently. It's a Playmates I believe but I do have a real one from the show too.

Steve
 
Thanks!

It took almost two days of playing around with different approaches to some of the smaller stuff which gave me the most problems with trapped air. But it very minimal now. I think you guys can fill a bubble or two.

I have a bunch of parts in that two days. Enough to build three models with back ups.

Randy of Voodoo FX got me all my lights and boards today for the strobes, NAV lights and all the rest of the lighting. Rob starts on the decal on Monday.

So over the weekend I'm going to get as much built as I can. So check back often.

Steve

IMG_7122.jpg


IMG_7123.jpg


IMG_7124.jpg
 
Steve you are amazing. Forget another else's youtube videos for instructions , you have everything here in this thread. This thread should be a sticky and a " must read " for anyone making resin kits.

-James
 
I am a noob and just have to say how impressed I am. I have loved this design since I was a boy reading The Making of Star Trek. I will have to get this kit. ~Russell
 
Thanks Randy and Russell.

Today has been one of those days. Finally get home from running all around town for things I need and lose the day. But I did start a few windows and I must say this will be the hardest part of the build. I used a 1/16 drill bit and drilled the holes. Then used an Exacto blade to cut them out close to the edges as shown in the castings. Then I used my small set of files I got off of Amazon to clean them up.

Tomorrow I'll get them all done and then start on the armature.

Steve

IMG_7126.jpg
 
Going back a step, I'm guessing you poured the resin into the concave mold, then when you replaced the convex mold, it forced the resin into the proper shape?
 
I think the proper procedure is to put both parts of the mold together then pour the resin into the void between the two parts (which would be the shape of the finished piece) No?
 
Yes. That is typically referred to as a "squish" mold. Steve your work in incredible! Cutting out windows from resin is a PITB, even when you have the window pattern recessed into the model.

Keep up the good work. Although I can't afford it, I hope to save up some money to buuy one to sit next to my 1/350th TOS E I built.

Scott
 
well, you learn something new every day.

they don't call me "dummy" fer nuthin'

I take it that the "squishing" forces the air bubbles out? or is that a function of the vaccuum pot??
 
As it turns out it takes about 5 hours to cut out and file the windows. Not bad at all.

I got mine done and it's all light proofed. I still need to paint the white inside. Tomorrow I’ll do Doug’s and start the armature.

Steve


IMG_7129.jpg


IMG_7131.jpg
 
Steve,
Did I miss the part where you said how you'd handle the windows? Dental Acrylic? Clear epoxy? Testors window maker/clear cement?

thanks for sharing this build
 
i didn't see anything about it other than they needed to be filed out.
They look awesome by the way....very clean and can't wait to see them lighted up.

Awesome kit.
 
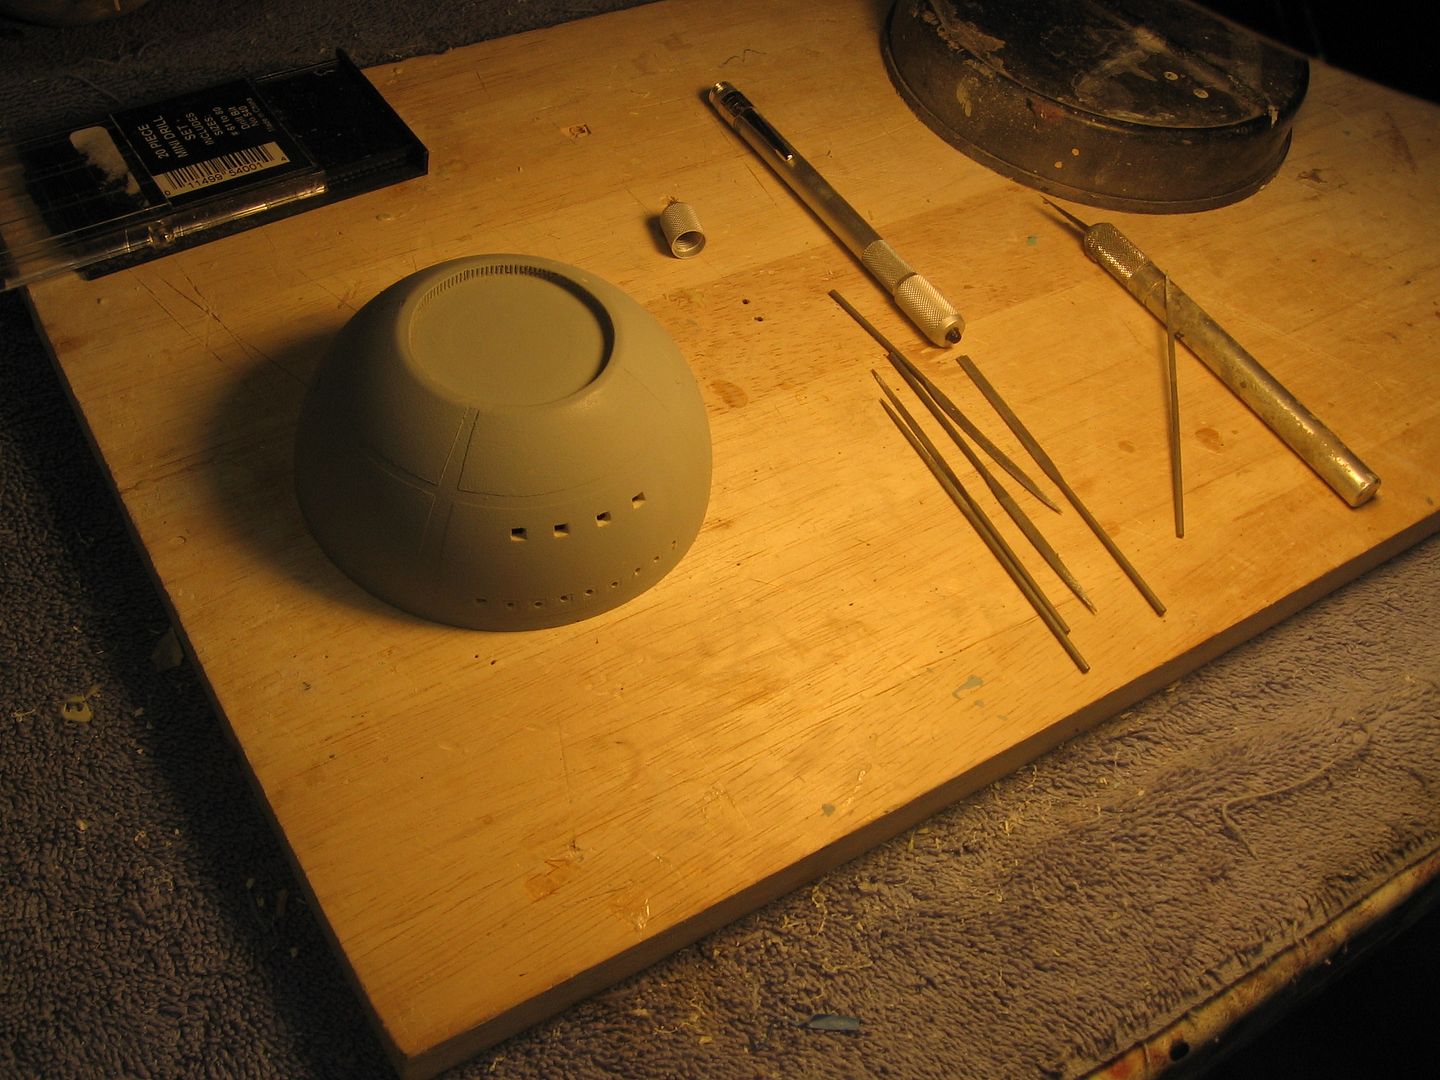
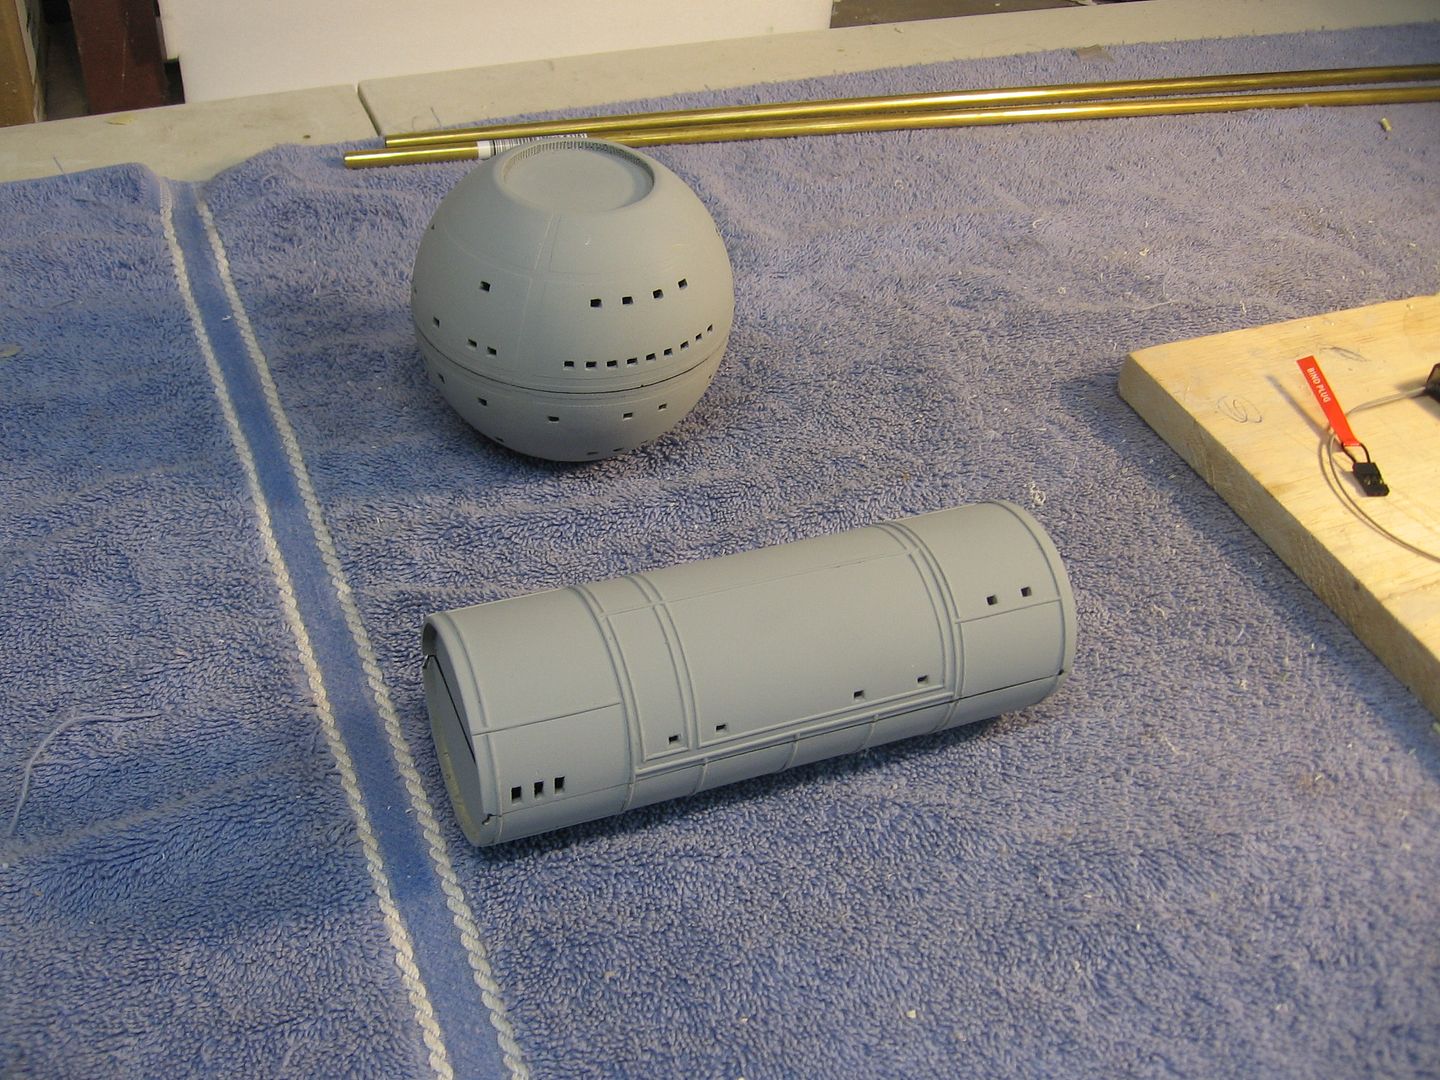
For windows, you have a couple of choices...

You can open them up, Like Steve did here, paint the entire model and fill them in with Testors (or any other brand) window maker. You just touch the tip to one corner of the opening and pull it around. Surface tension keeps it solid across the gap and it solidifies into a nice semi-clear window that dissipates the light across the opening. This process works for smaller-scale windows like this.

If the ship is larger, it would need clear acrylic or styrene inserts. (or actual clear sheet). You can also leave open holes.

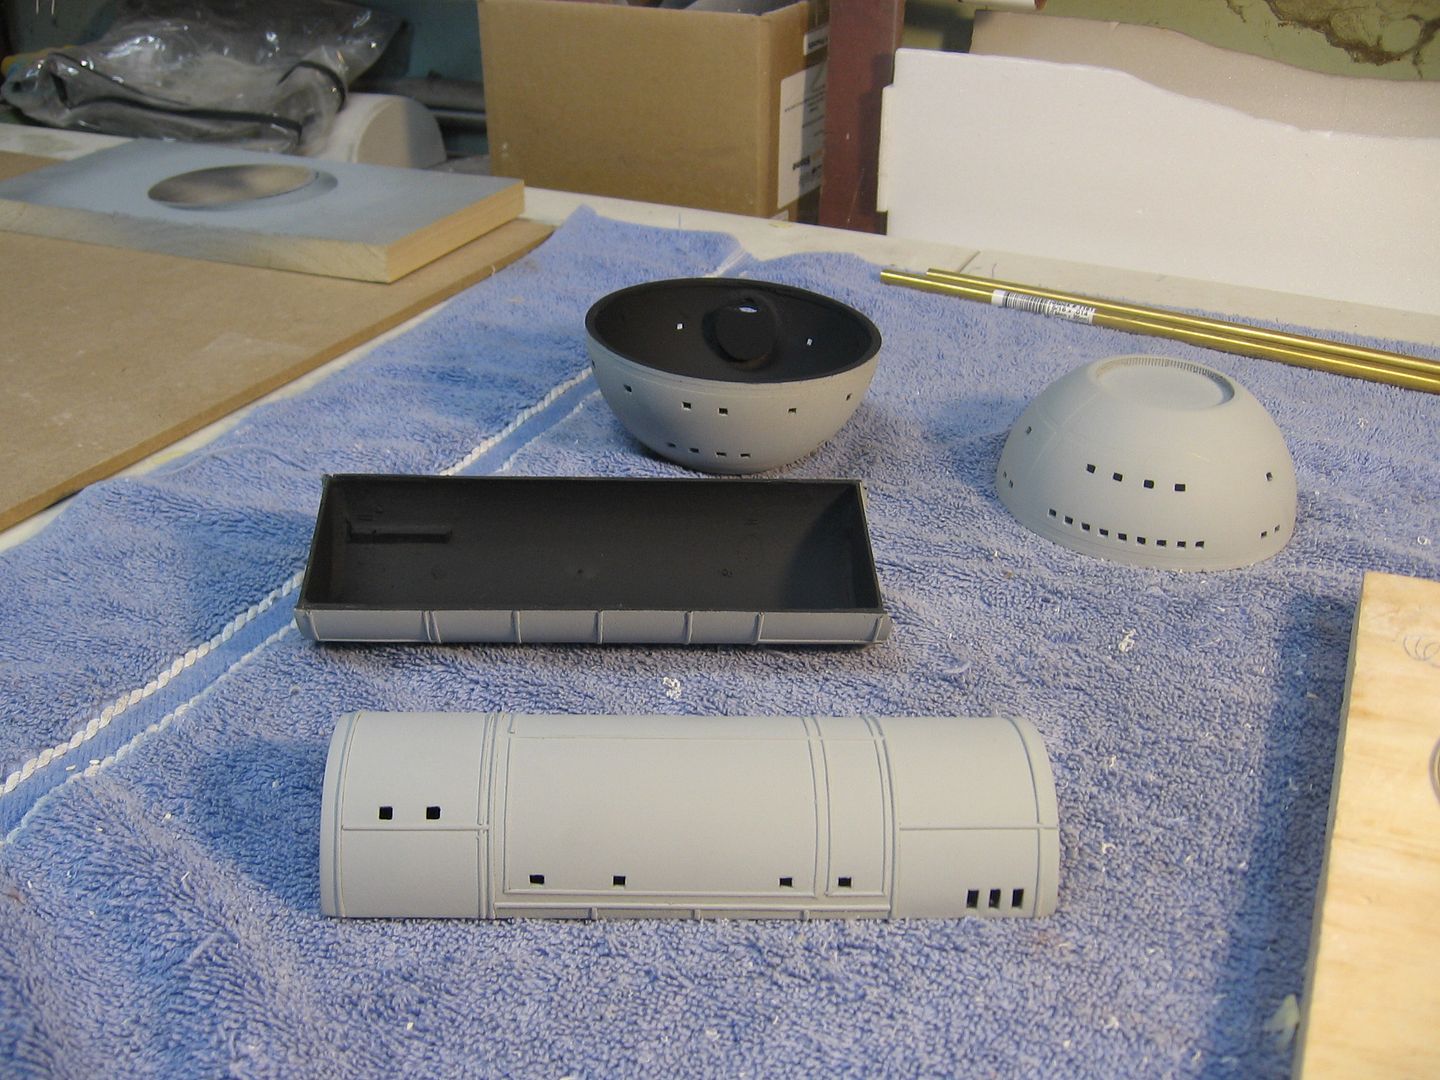
The problem with just leaving the windows "OPEN" is, if they are large-enough, you can see inside the model and you get "hot spots" where you can see the lights inside as you move it around... Unless you install a physical interior.

I plan to make it just like the DS-9 model in Sisko's office, so Greg's original didn't have lighting; just black rectangles (thank God).

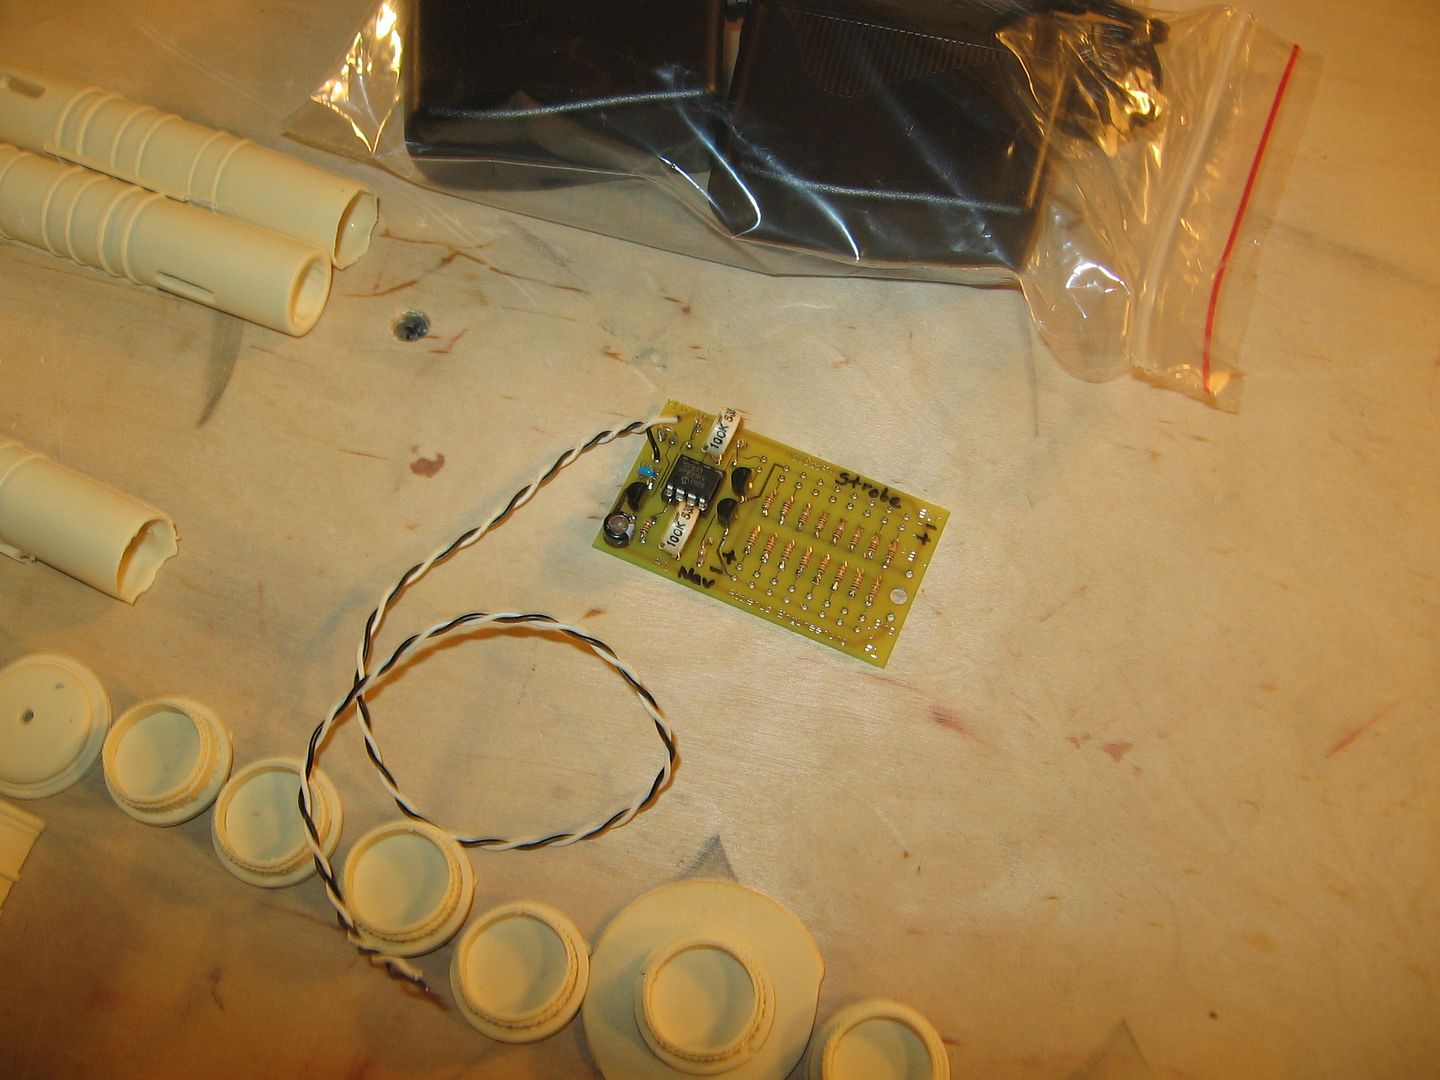
Also, you should take into account "scale lighting". People put BLINDING lights inside their models and it blasts out of the tiny windows and everyone says: "Great job!" "It looks cooool!"

No, it doesn't. If this was a real ship, the crew would be BLIND with the interior being so bright. Take a look at high-rise buildings, in large cities, from a distance. You can use that as a guideline as to how bright model ship windows should be.

If they are too bright, or not located properly, it gives the model a goofy, toy-like quality. I have been building models professionally since around 1990, so I have seen a lot of badly lit models. (some of them were mine :lol )

So you can do a stellar paintjob and weathering, but if the lighting isn't right, it really kills the model over-all.

Let's be careful out there...

(hops off of soapbox).

Hijack over. :lol
 
Steve those cut out windows look great! Perfectly square. It's one of those jobs that a lot of times ends with the model laying out in the street and you have a sore arm in the morning.
 
Status
Not open for further replies.
Back
Top