Kit of the USS Daedalus NCC-129?

Status
Not open for further replies.
Not sure about those yet. Maybe turn them in plex and make a mold. They are pretty tiny. I do have a micro lathe now so we'll see.

I'm going to include those bussard caps, Just frost them and light them up. ;)

Thanks a bunch,

Steve
 
Steve, we are of one mind on what JJ did to Roddenberry's Trek. To *our* Trek. To *THE* Trek.

I can't imagine the idea of designing a ship to one scale, and then saying by fiat that the ship is, in fact, almost TWICE that size -- without serious structural and visual changes being made. Those people are idiots. (A *BREWERY* as engineering? Please.)
 
Agreed. Another man should be allowed to alter another's creation. End of story.

Today was a packing and shipping day. Also had to work on the vacuum pump and chamber to get it all working.

Last part of the day I got to end cap the open ends of the masters with styrene and cut the mounting boards. Also go that spike made.

So tomorrow I can mount the masters and start the mother molds.

Steve

IMG_7025.jpg


IMG_7027.jpg
 
Believe it or not it took all day to lay in the styrene strips, mount the parts to their boards and key them. The styrene raises the master parts up above the mounting surface rather than having the edge of the part butt against the surface. It also gives you a nice crisp line to cut and flat sand once you have the part cast.

The pegs are keys that will later key the cores.

The inner lines are where the silicone jacket will be and the outer the stone mother mold.
Tomorrow I’ll make the mother molds and drill them through for the bolts.

You can just see the dark dots where they will be drilled through the stone in order to key the mother mold back to pour the silicone.

More tomorrow,

Steve

IMG_7031.jpg


IMG_7030.jpg


IMG_7029.jpg
 
Steve,

No more questions about backstory. Agreed about things as they stand in film land on designs. 'Nuff said. No more from me on Trek.

Best of luck with the model, and I'll pop in once in a while to see how it's going.
Detail is already popping up nacelle on the nacelles for sure!

My best wishes and prayers for your wife.

Miracles happen, Steve, with positive thoughts.

I'm familiar with cancer in my own family so I know how that goes...
 
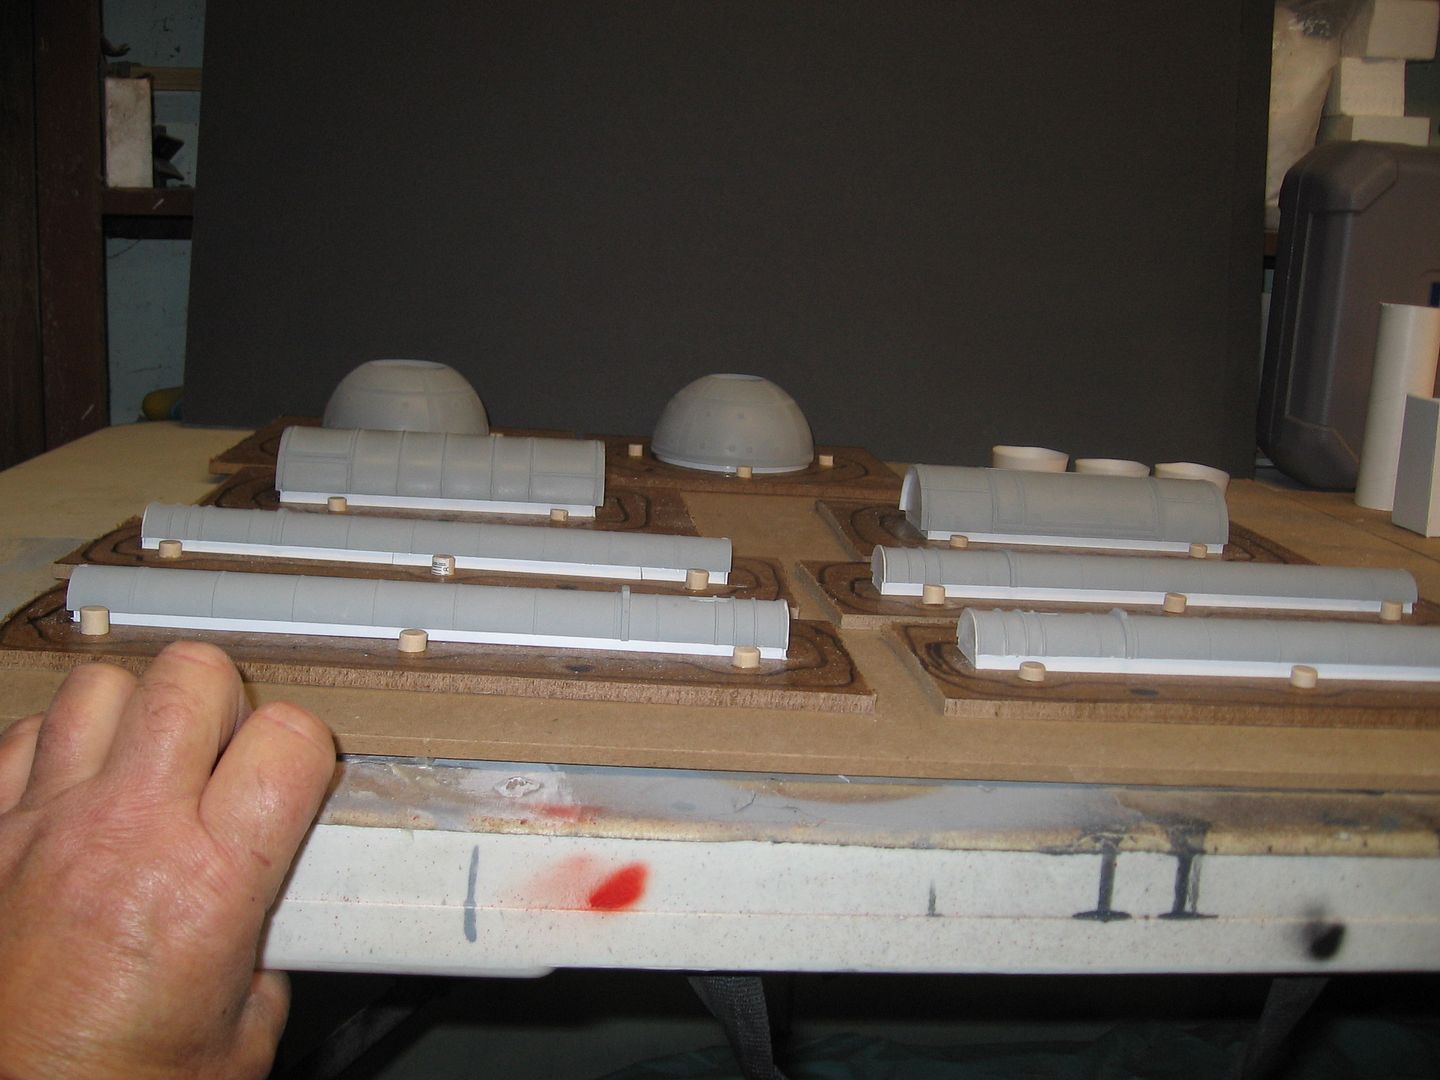
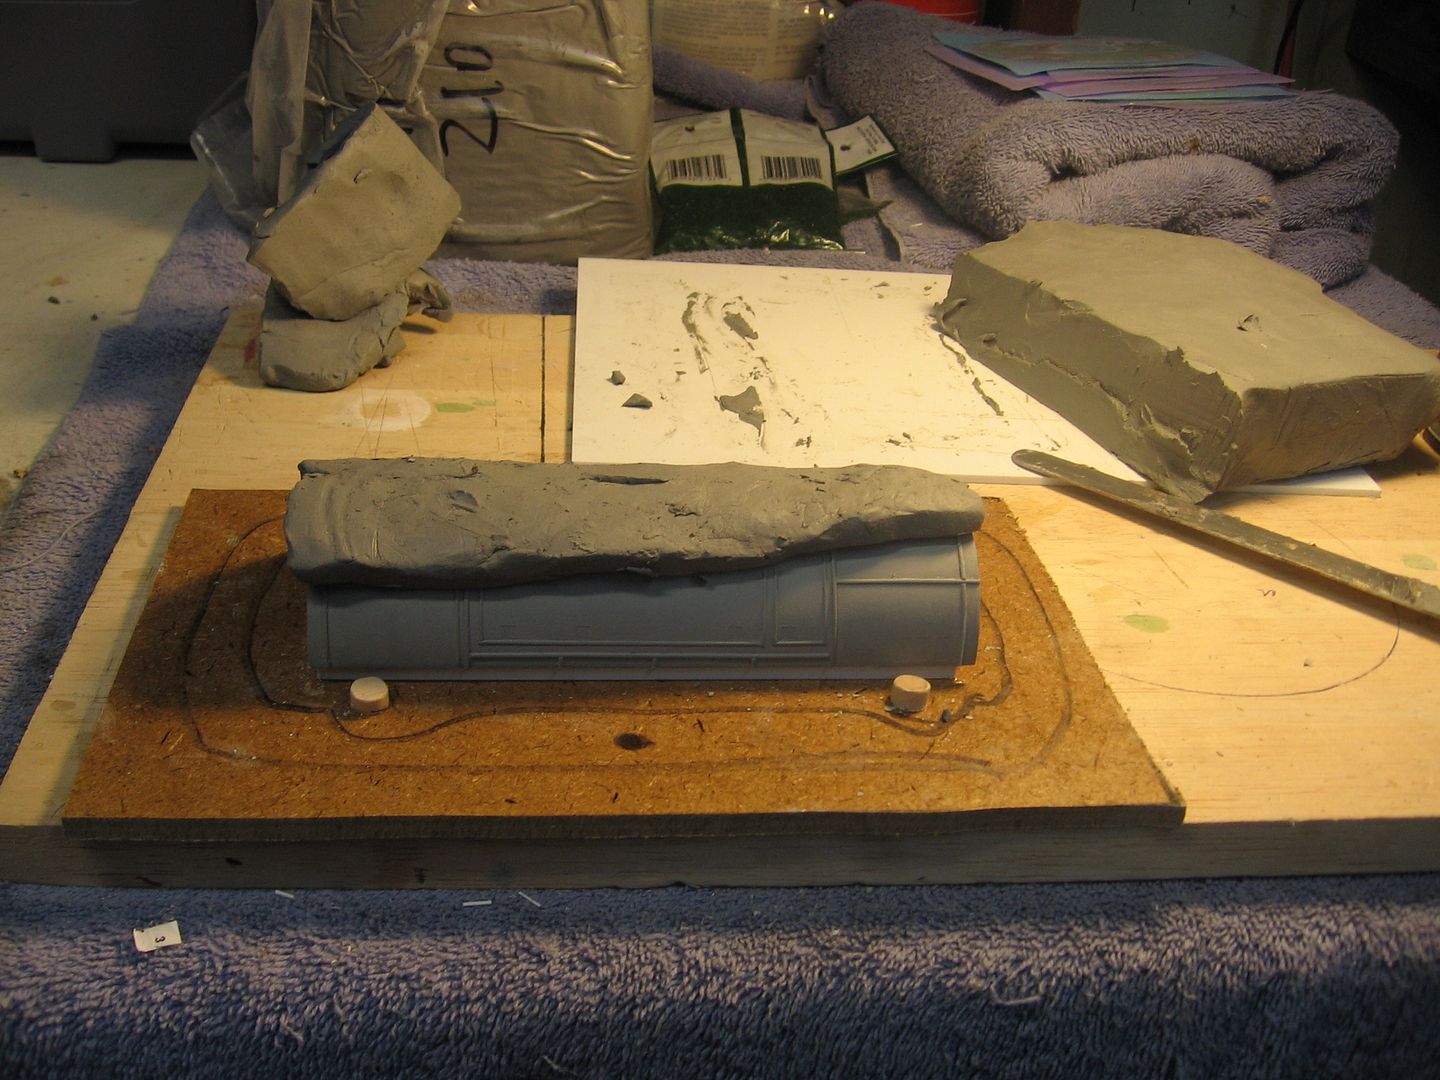
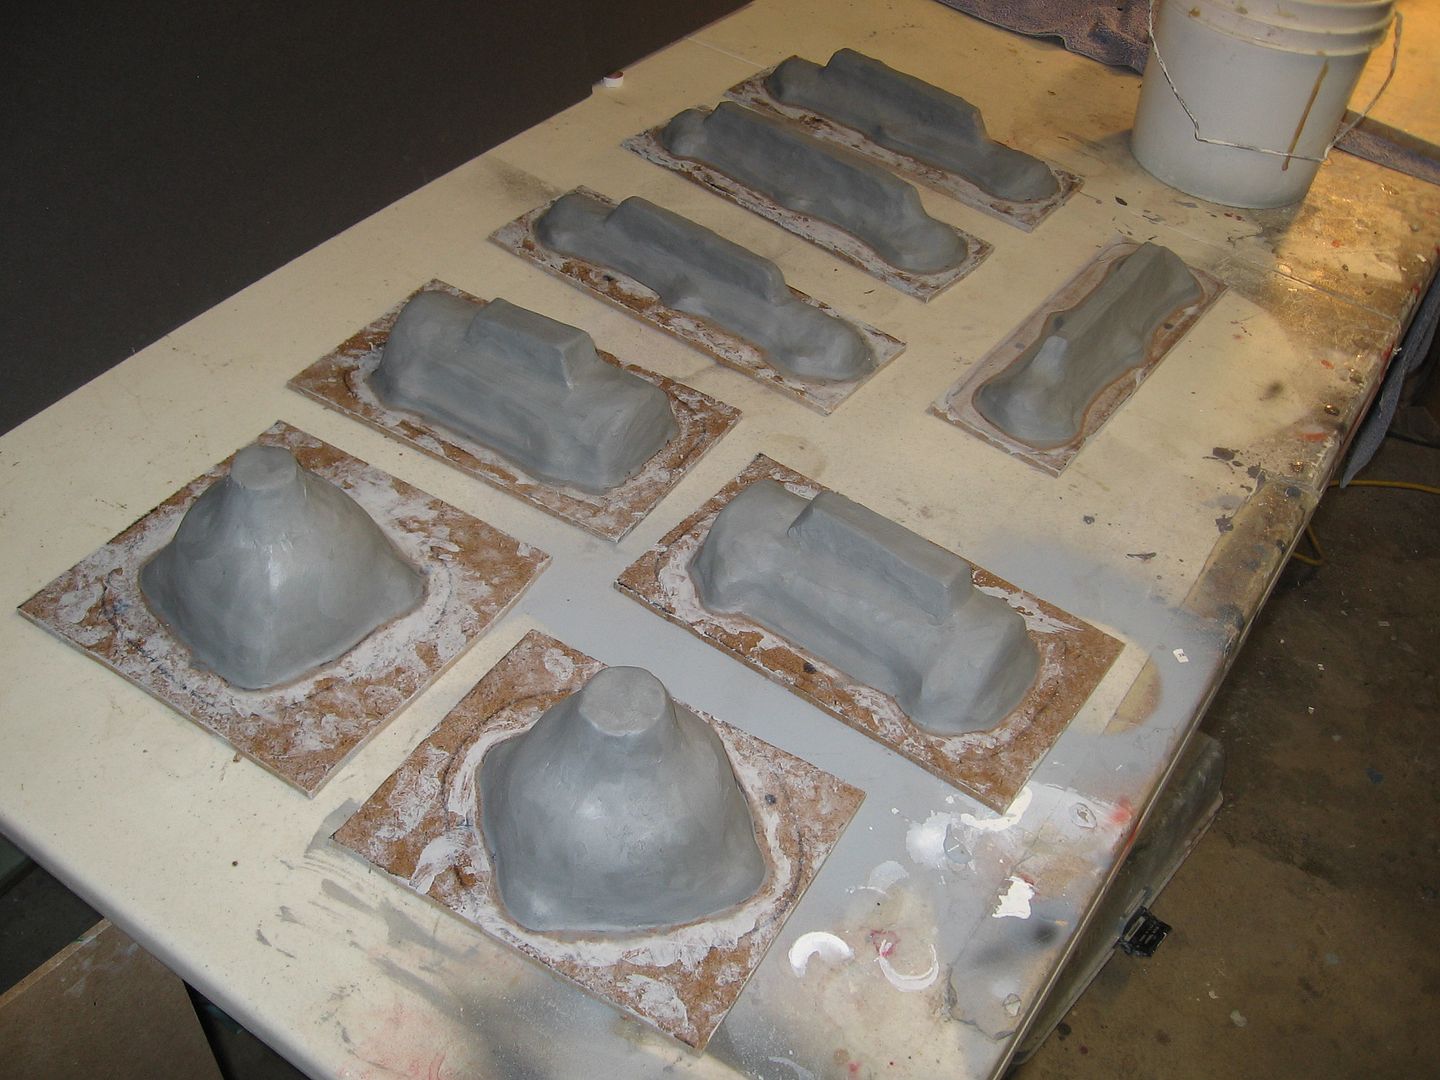
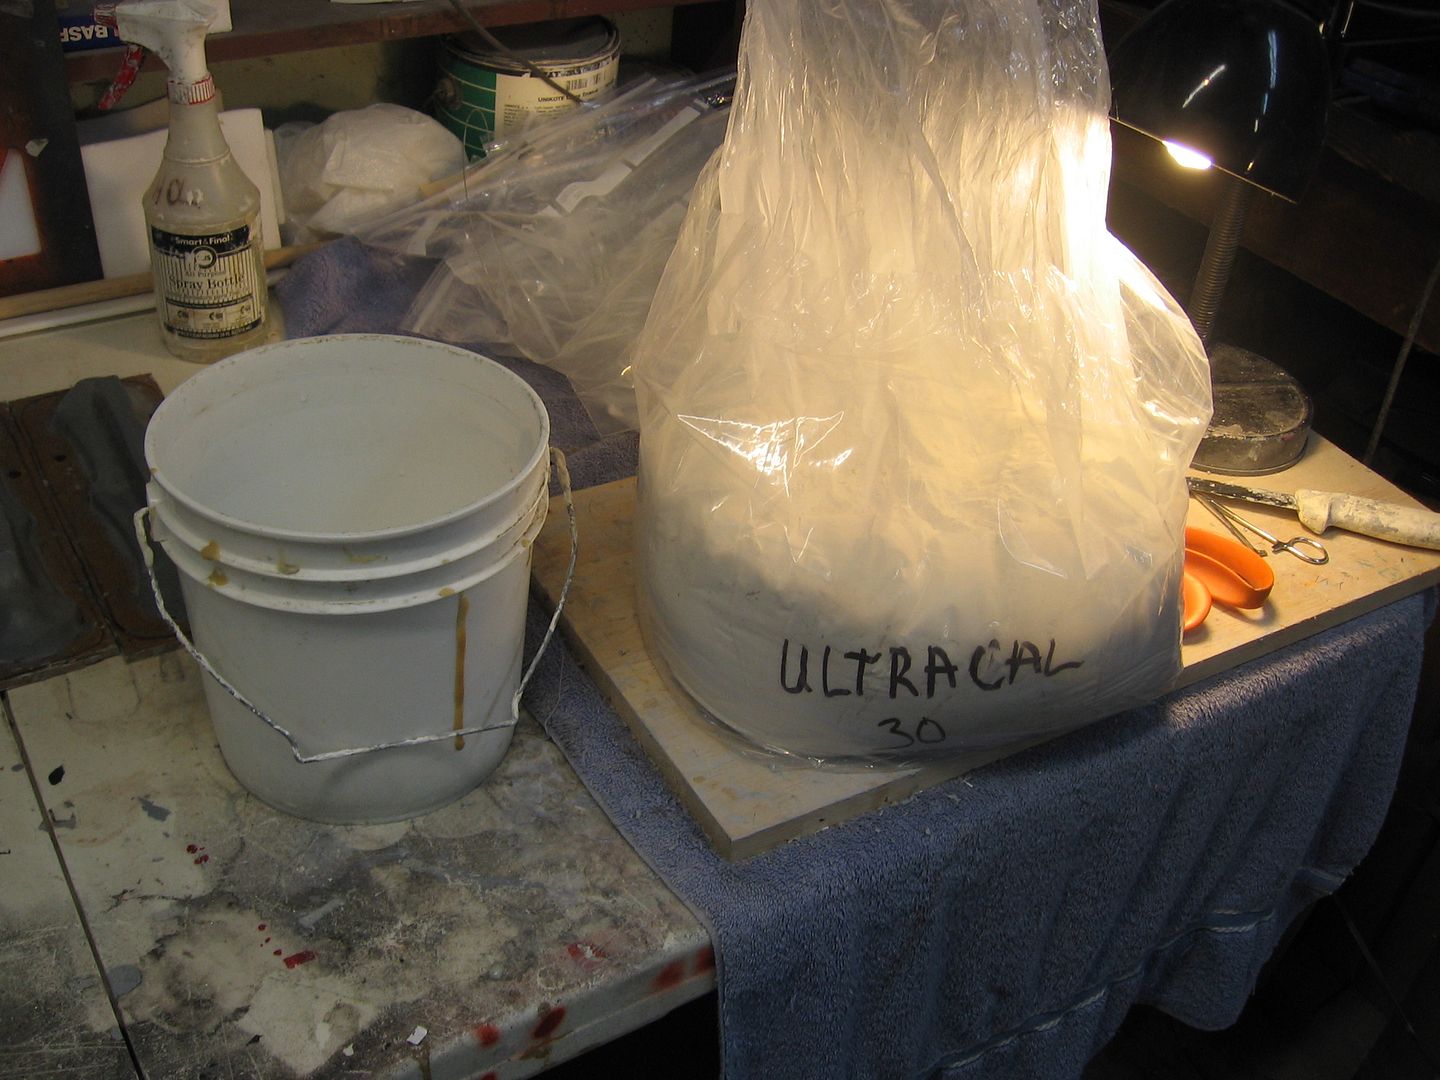
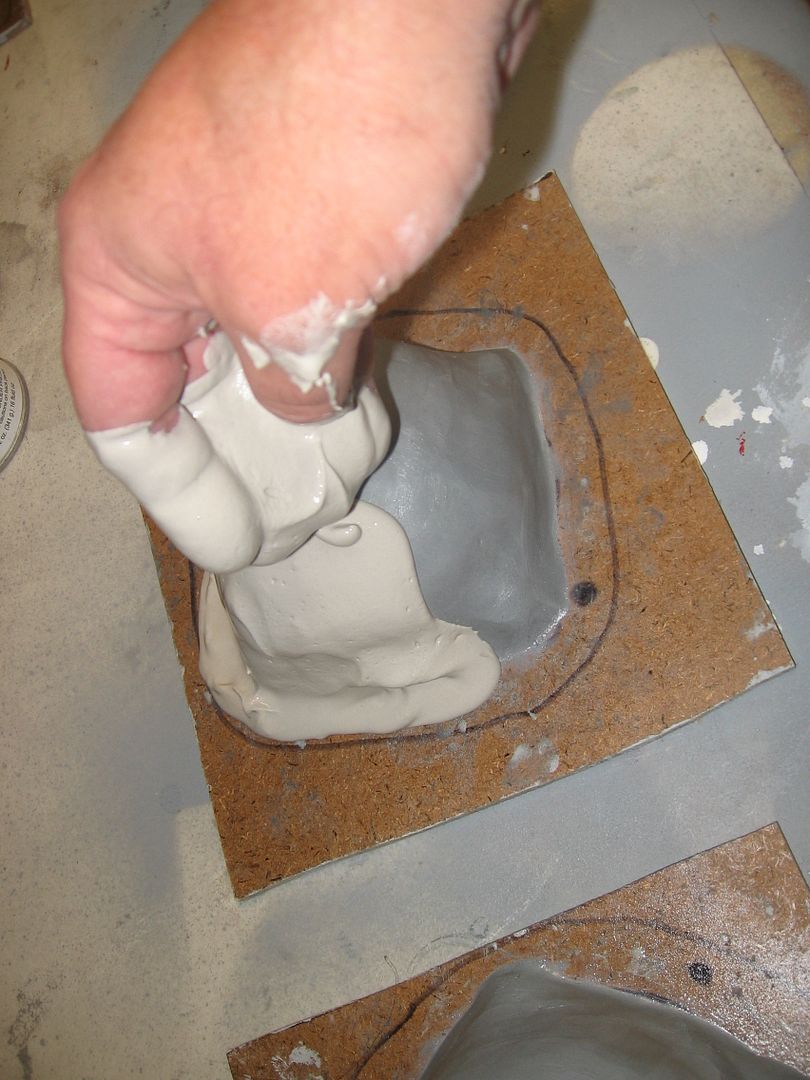
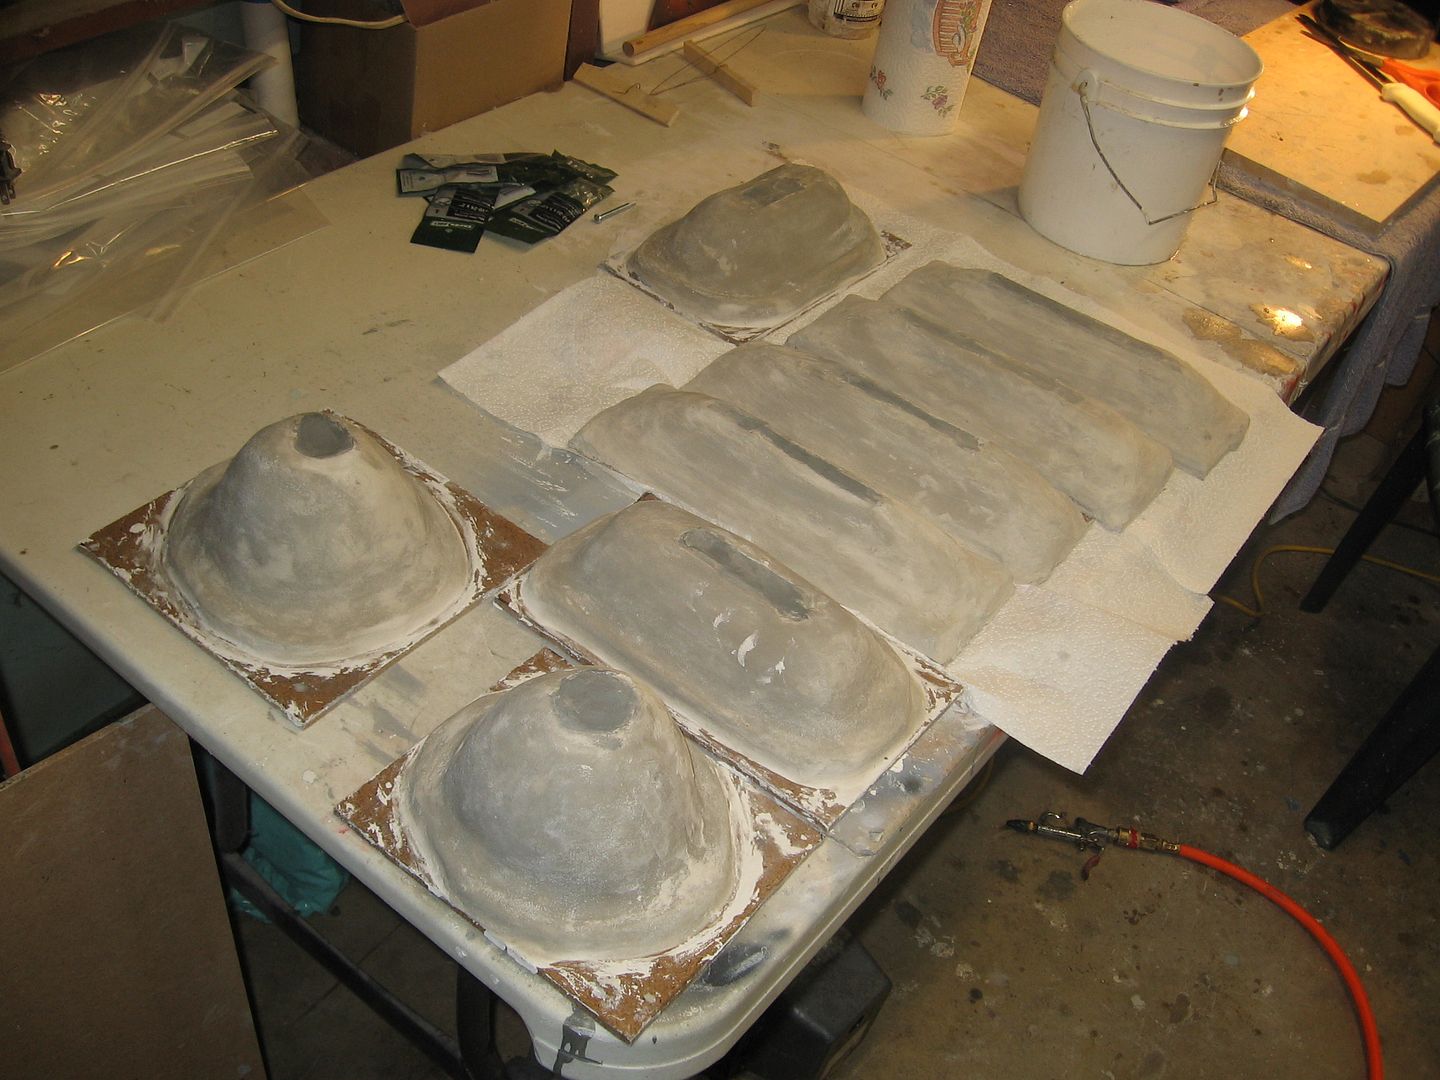
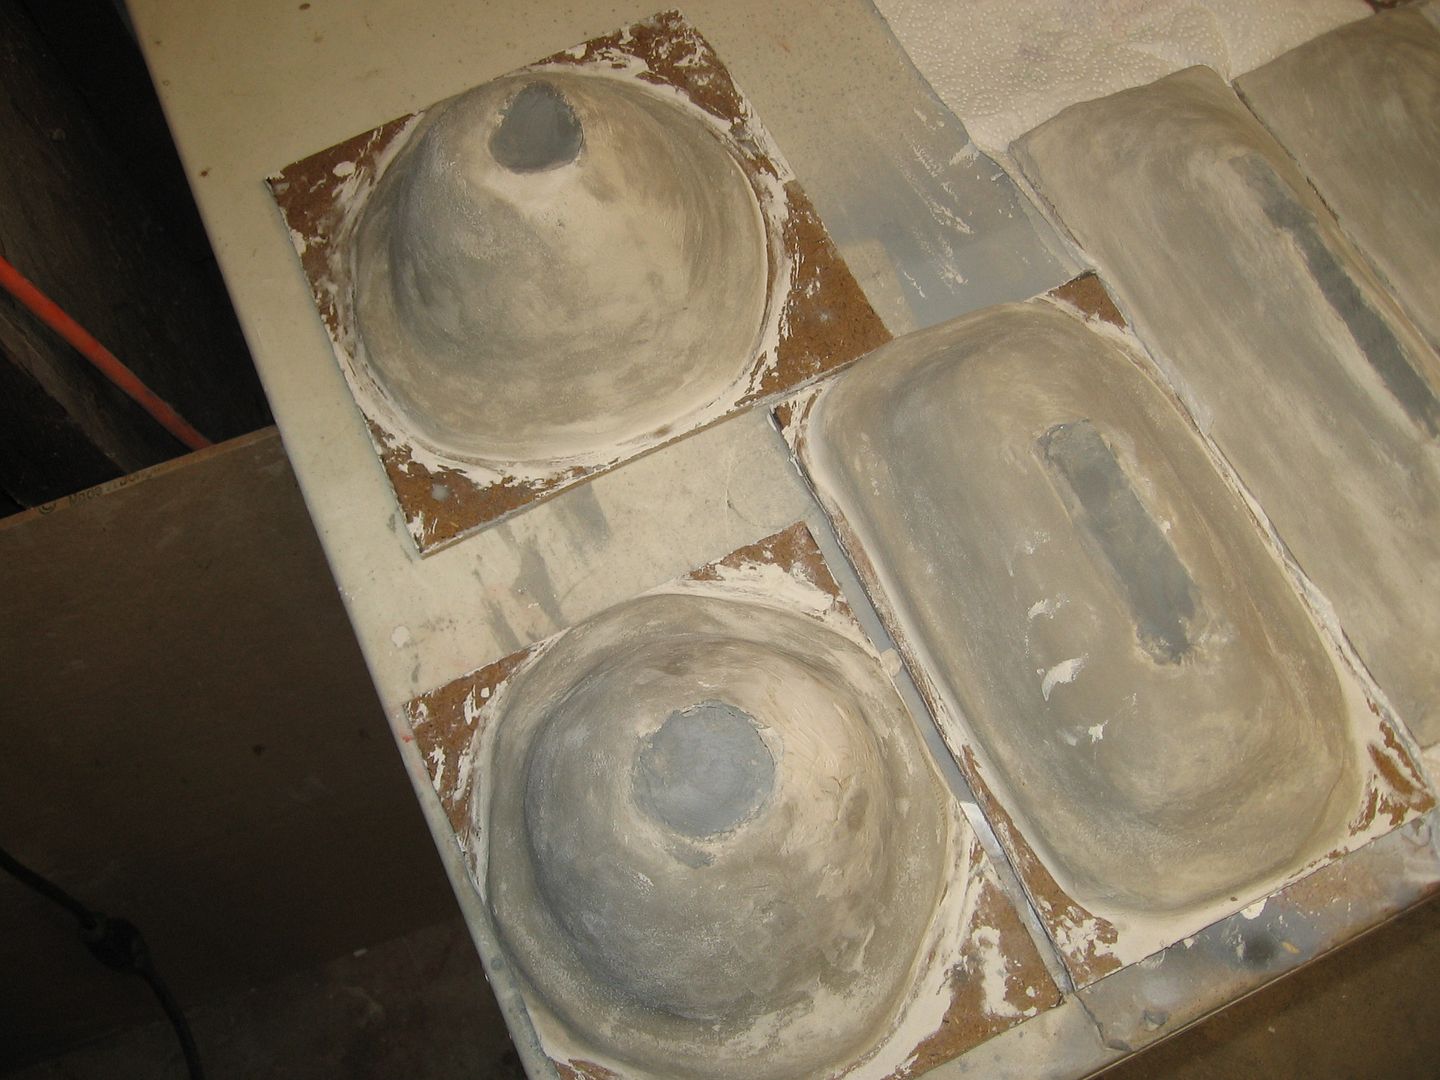
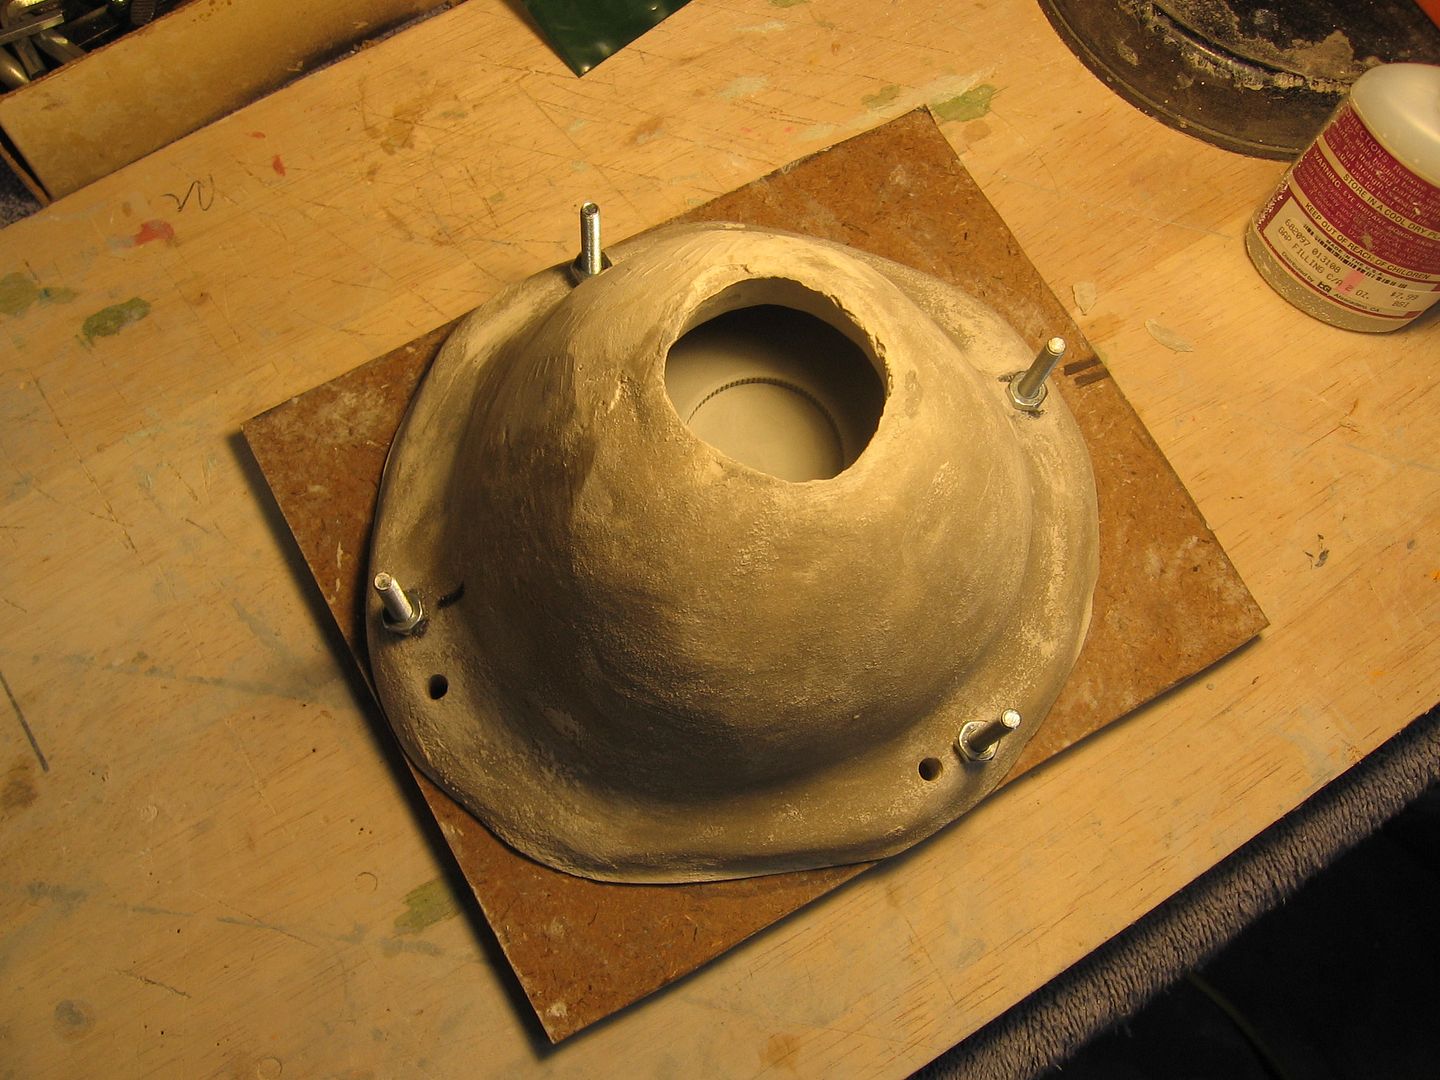
What you see here is EM 210 water based clay and I’m using it to form what will eventually be the silicone molds themselves. It’s backward but it will create the correct shaped mother mold made from Ultracal30. A very hard tool stone.

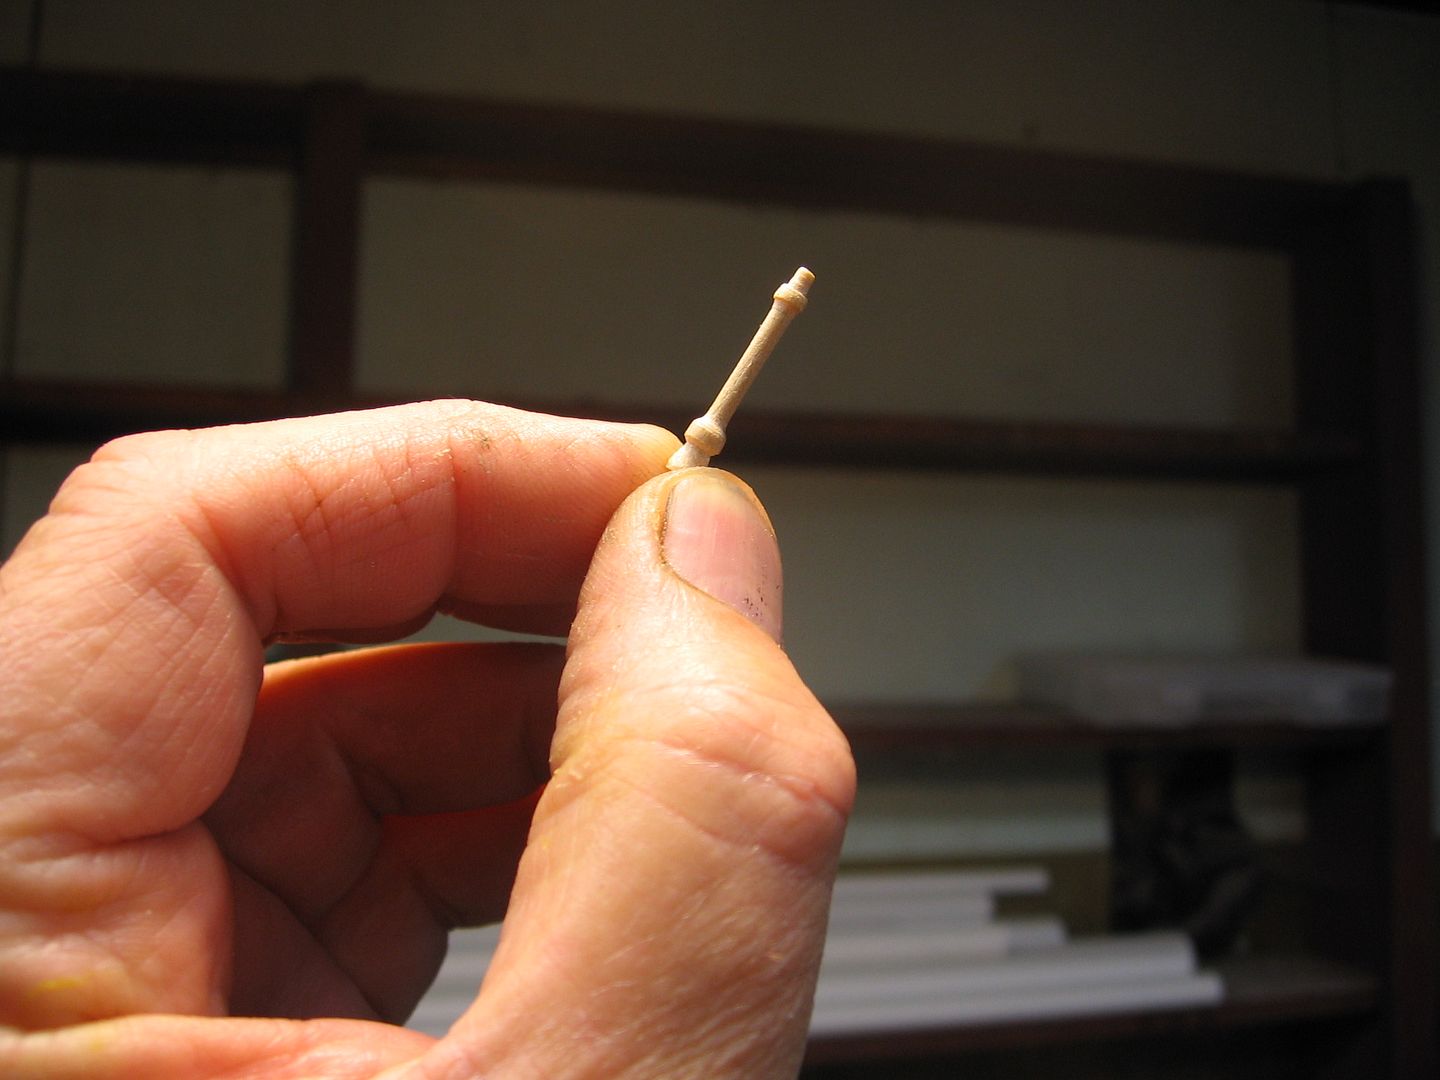
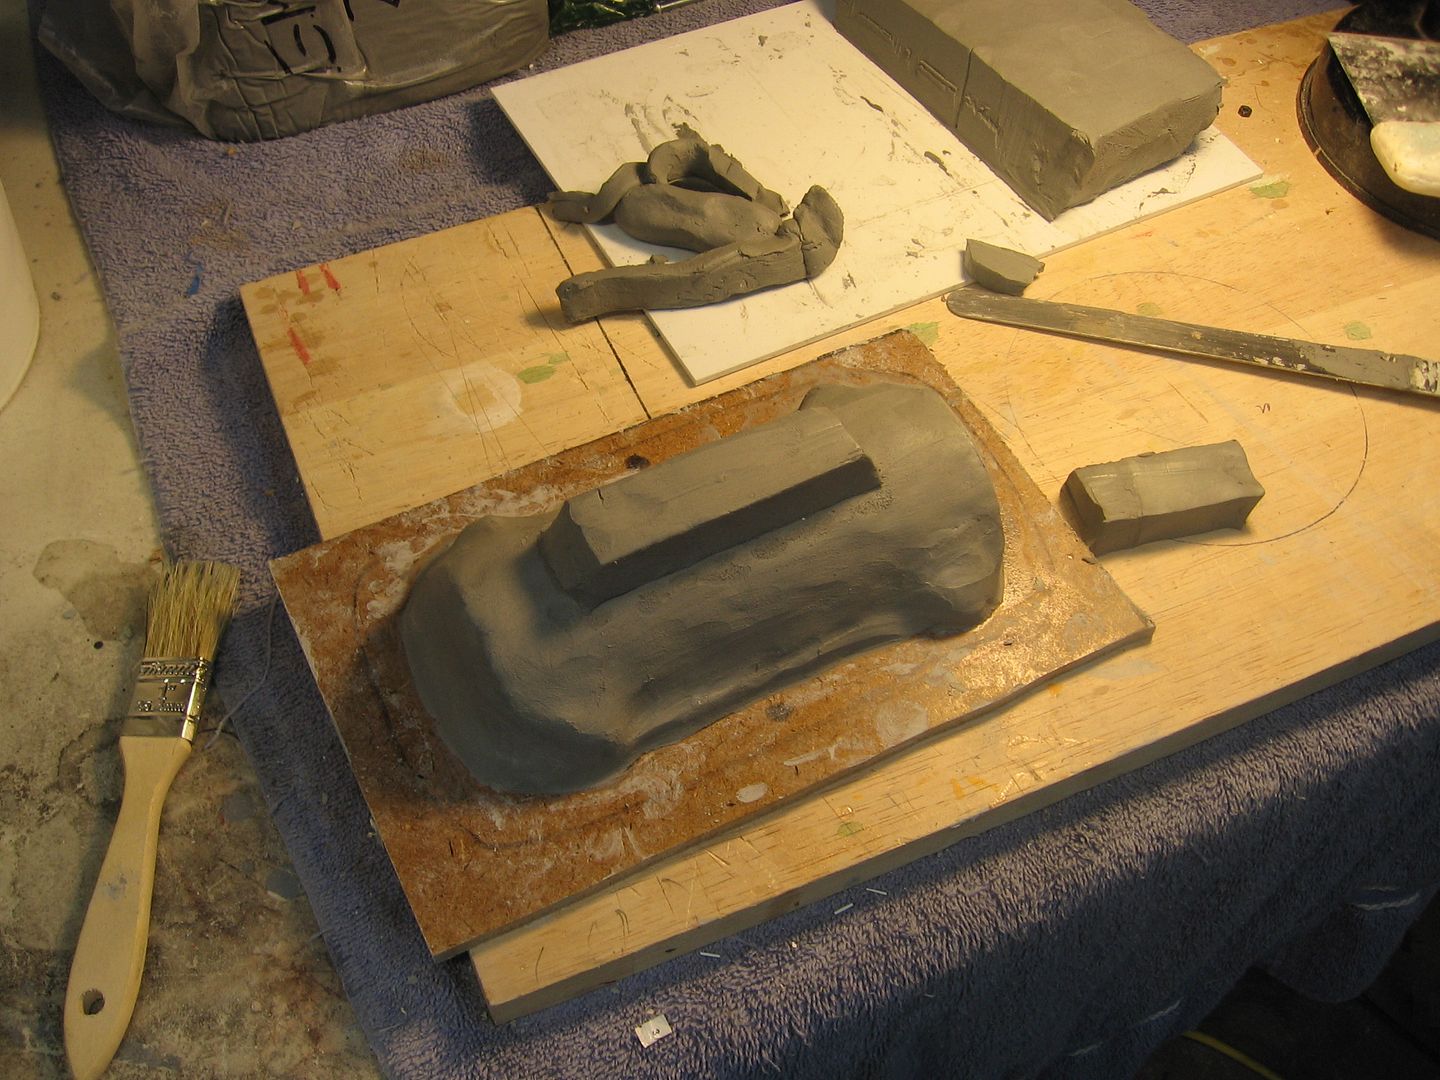
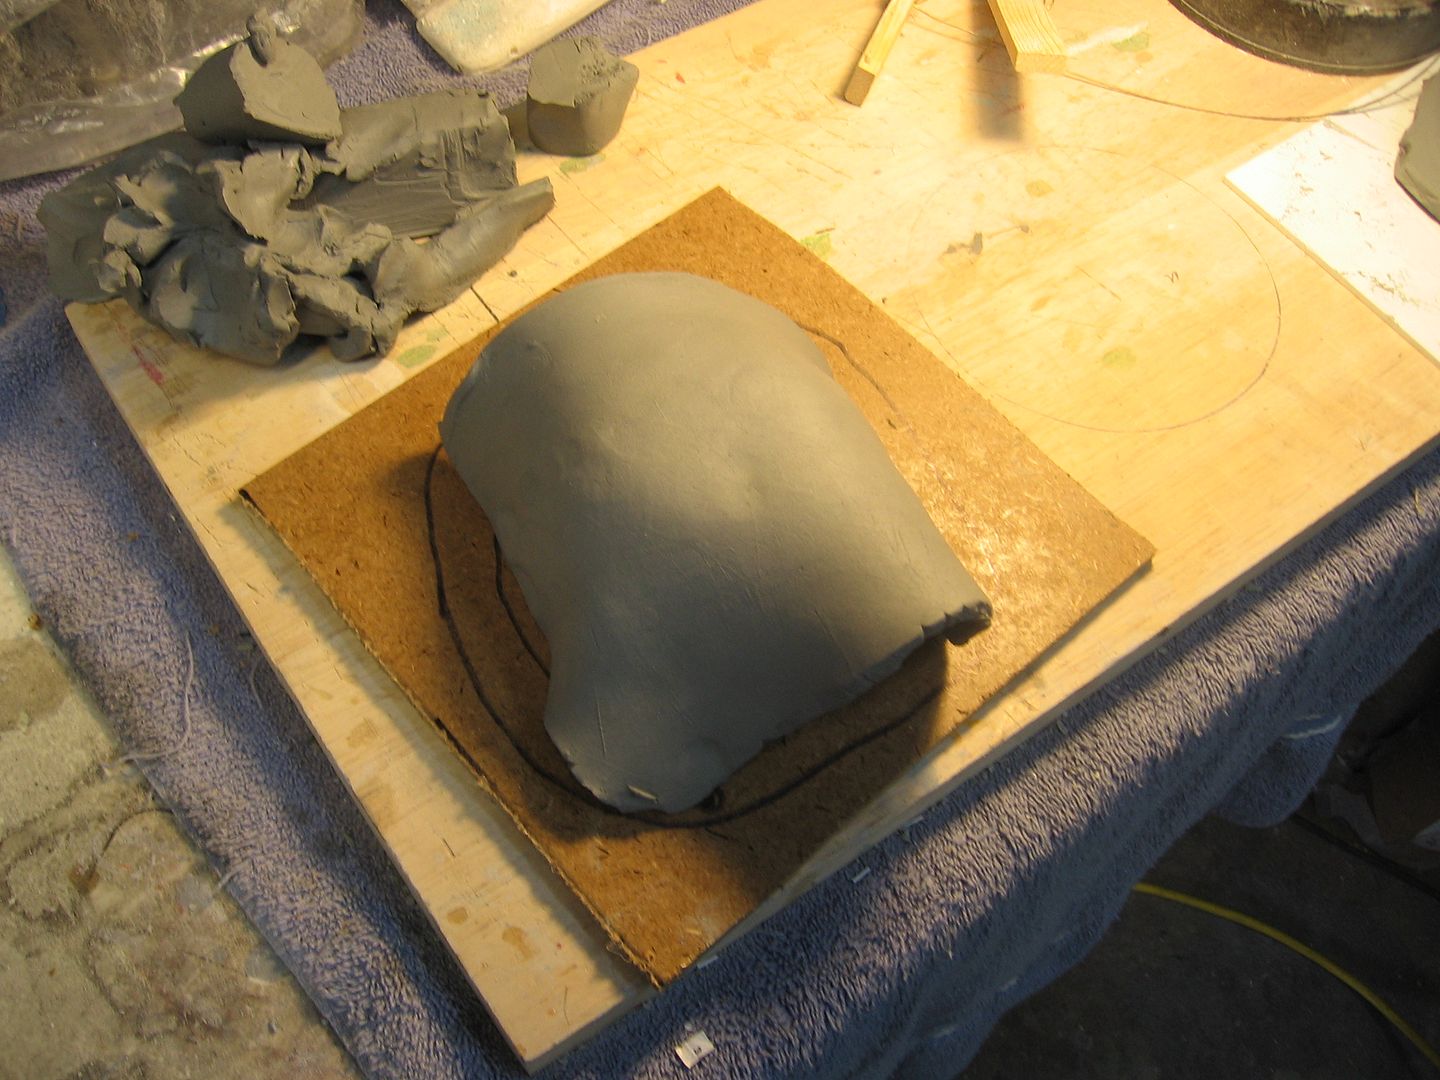
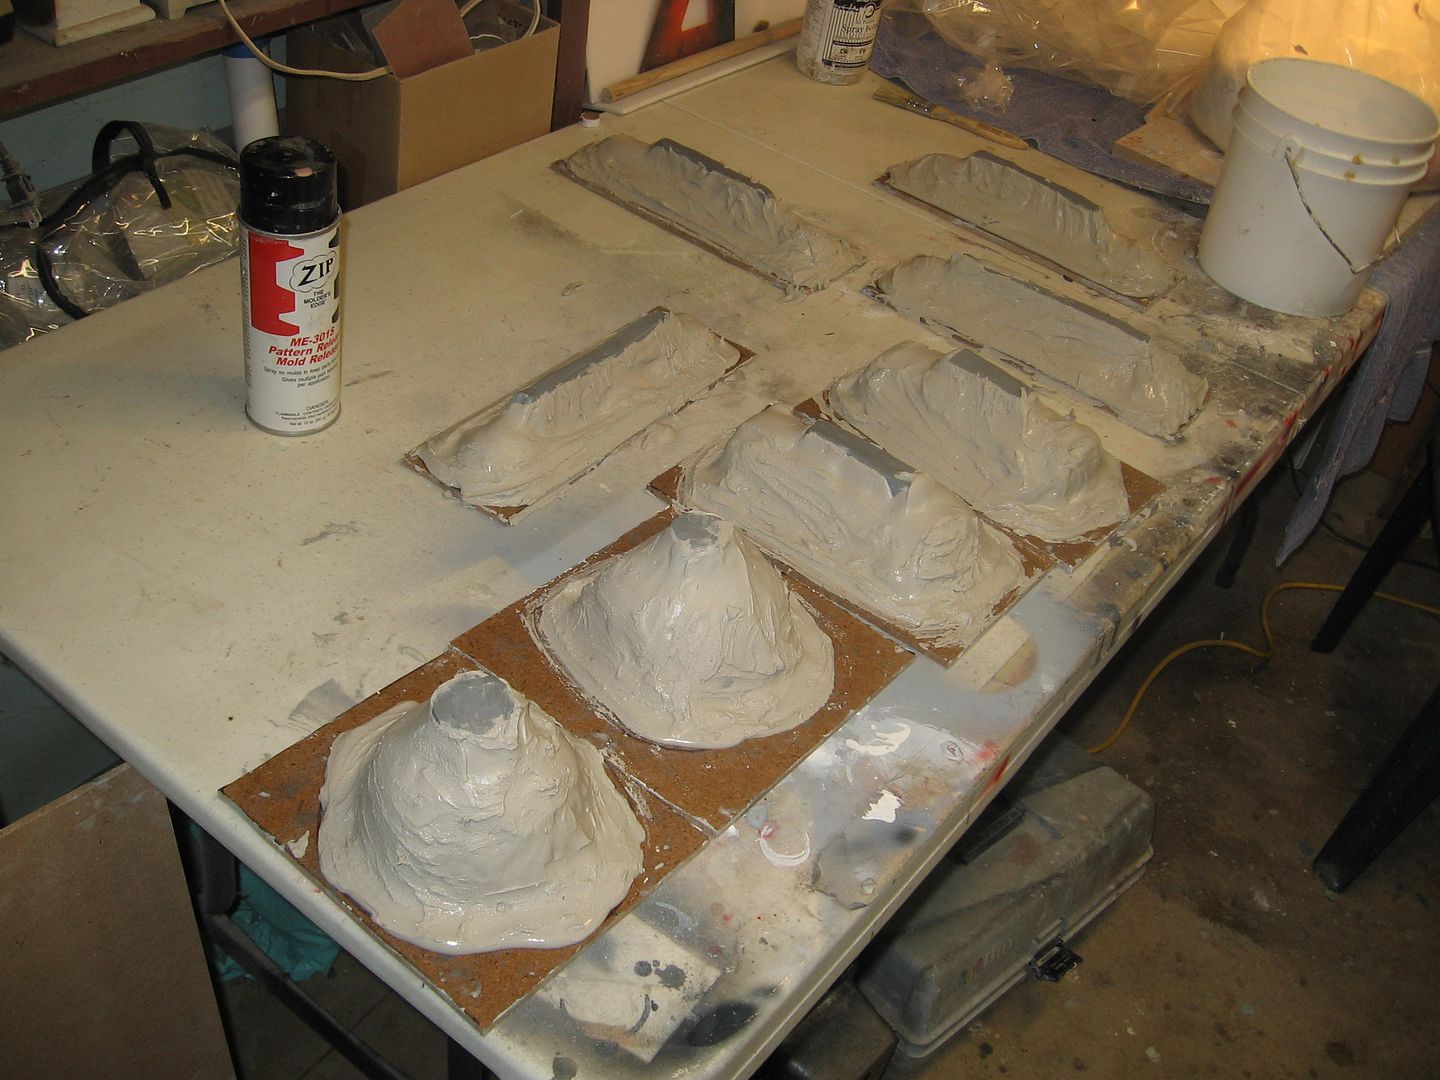
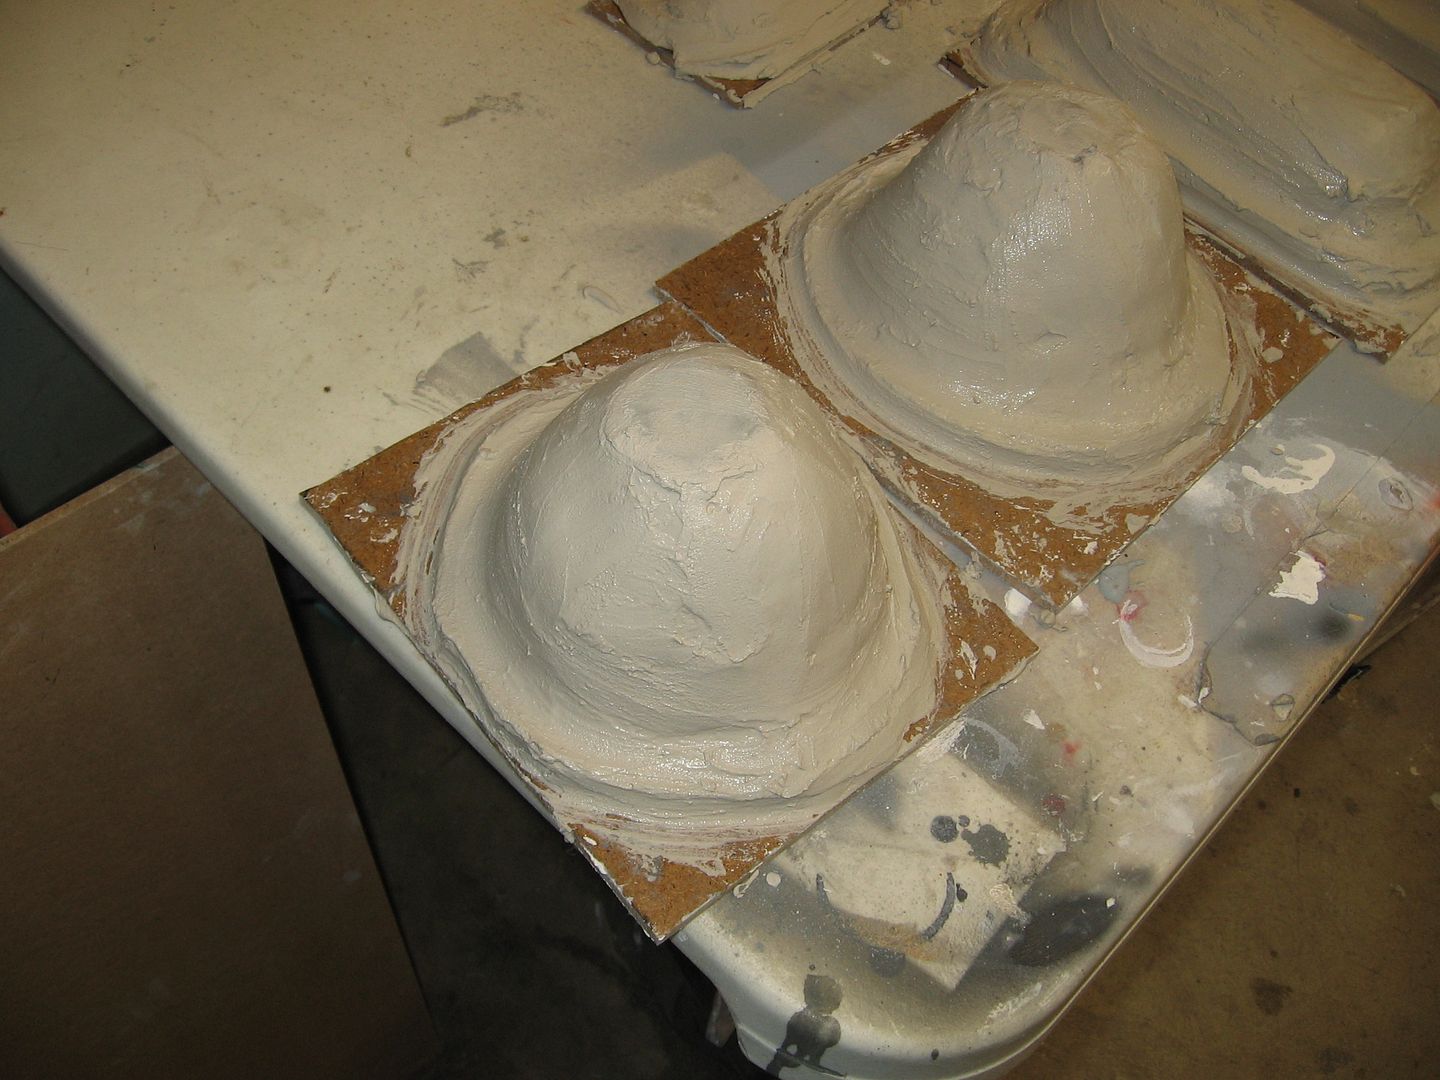
The clay is sliced up in thin sections and formed over the masters. You can smooth it out with a bit of water and your hands. The part sticking up is the pour hole.

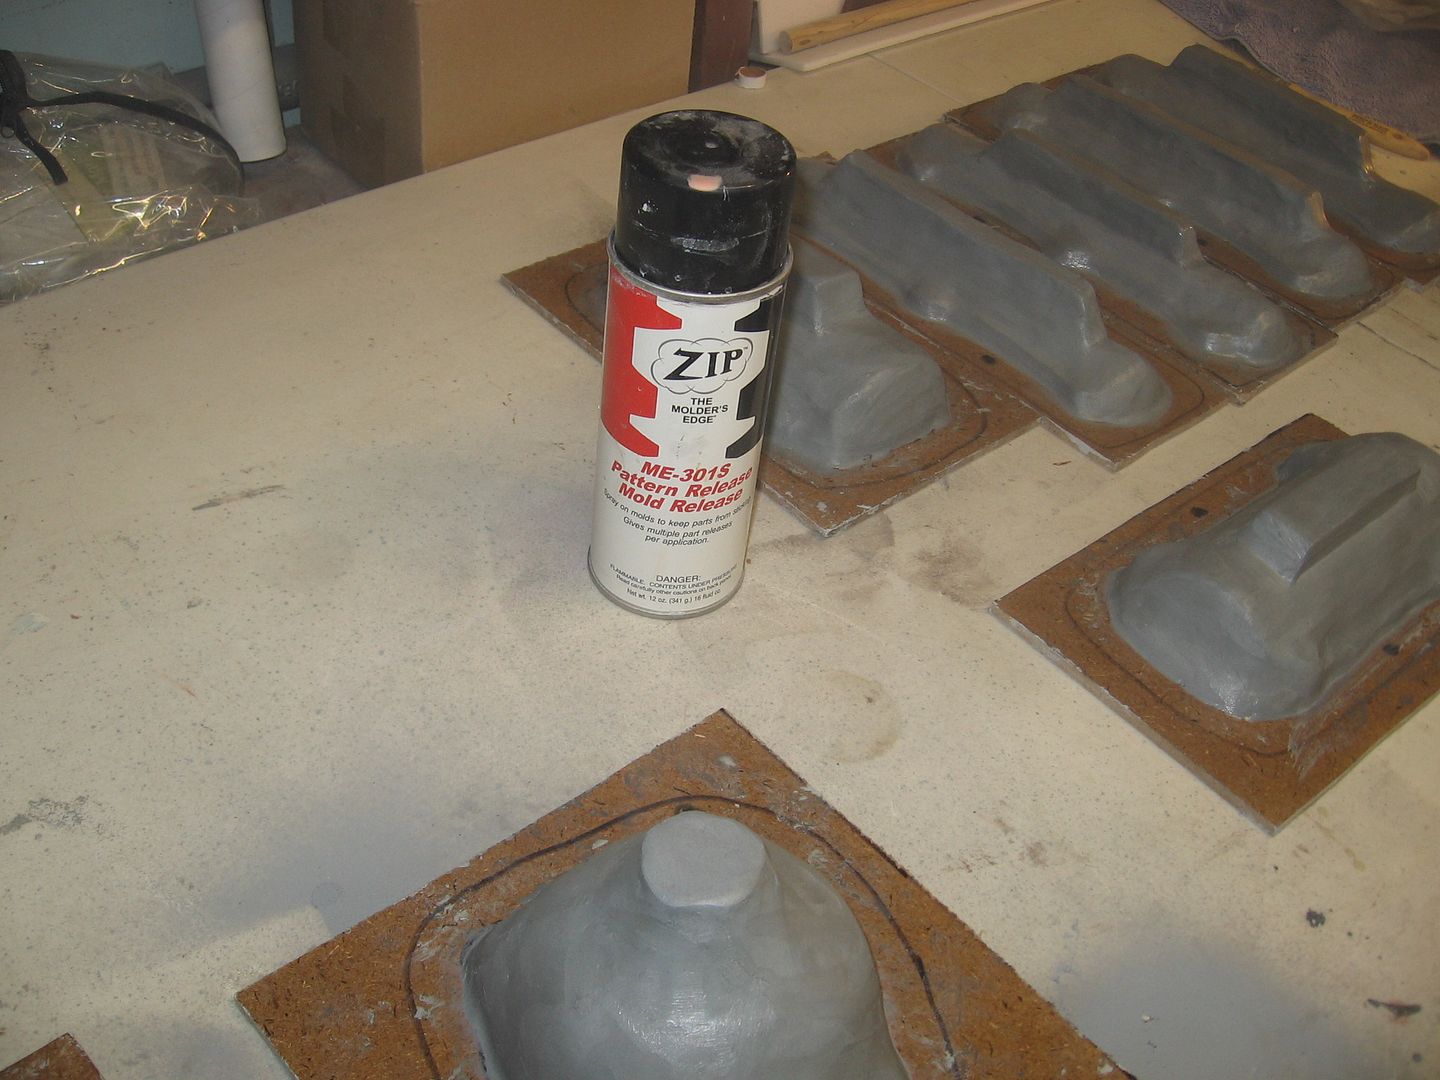
Once all the jackets are formed in water based clay I use some Crystal Clear over the clay. This forms a barrier that helps the clay pull away from the stone when opened. Additionally I use petroleum jelly based mold release on the surrounding wood mounting board to aid in release from the stone.

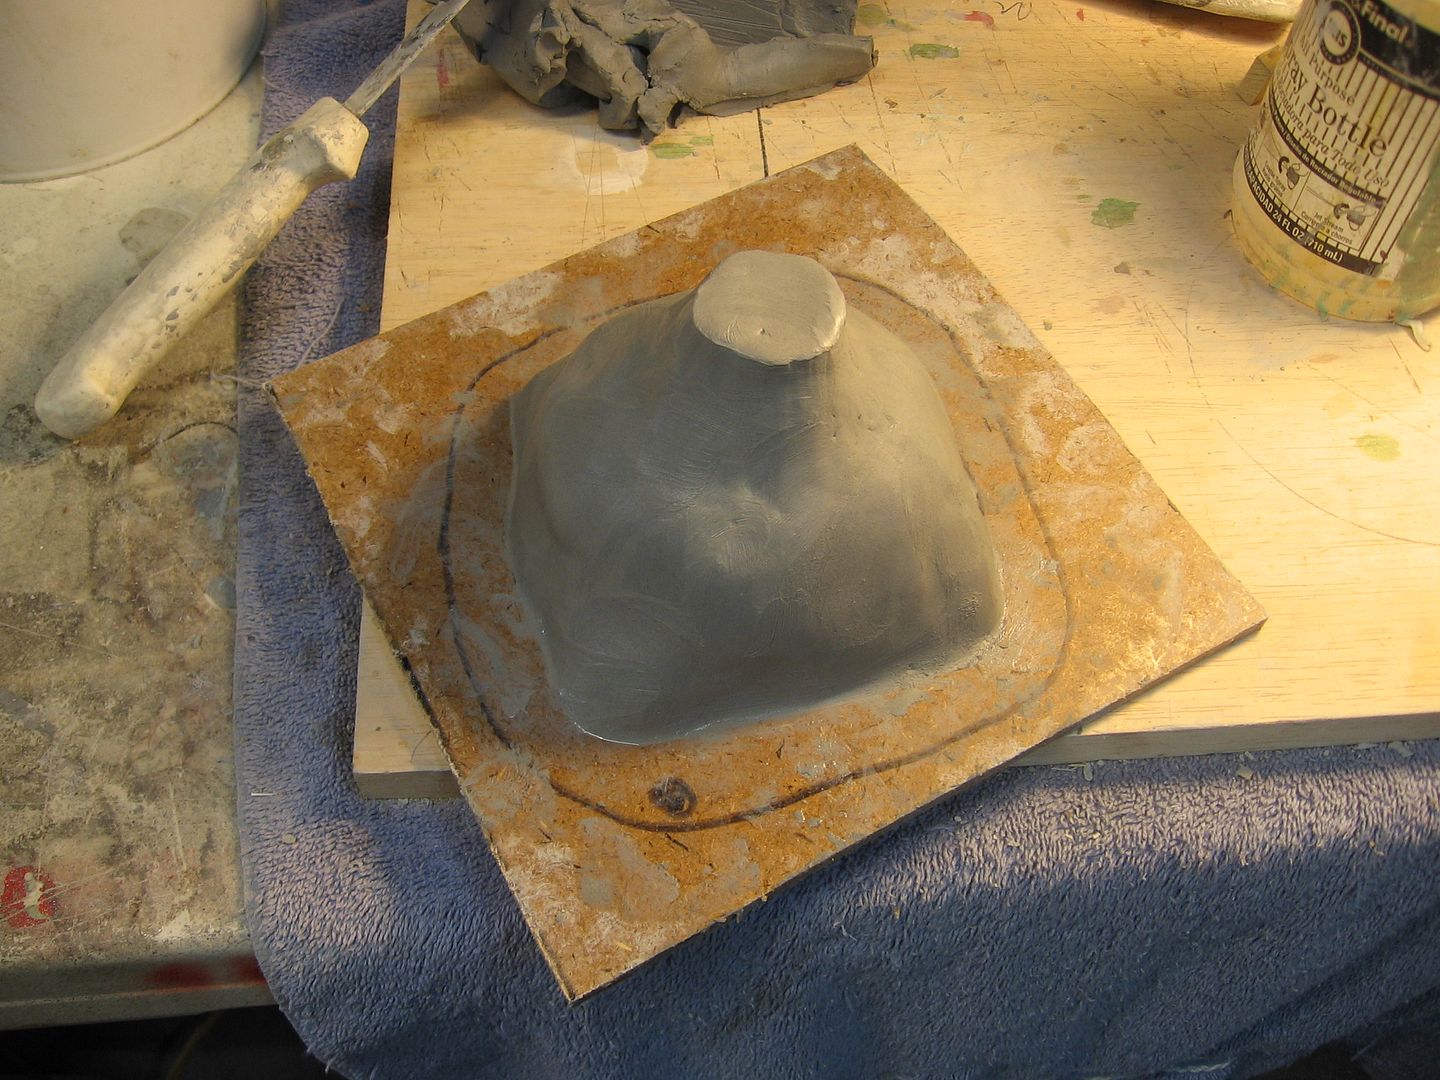
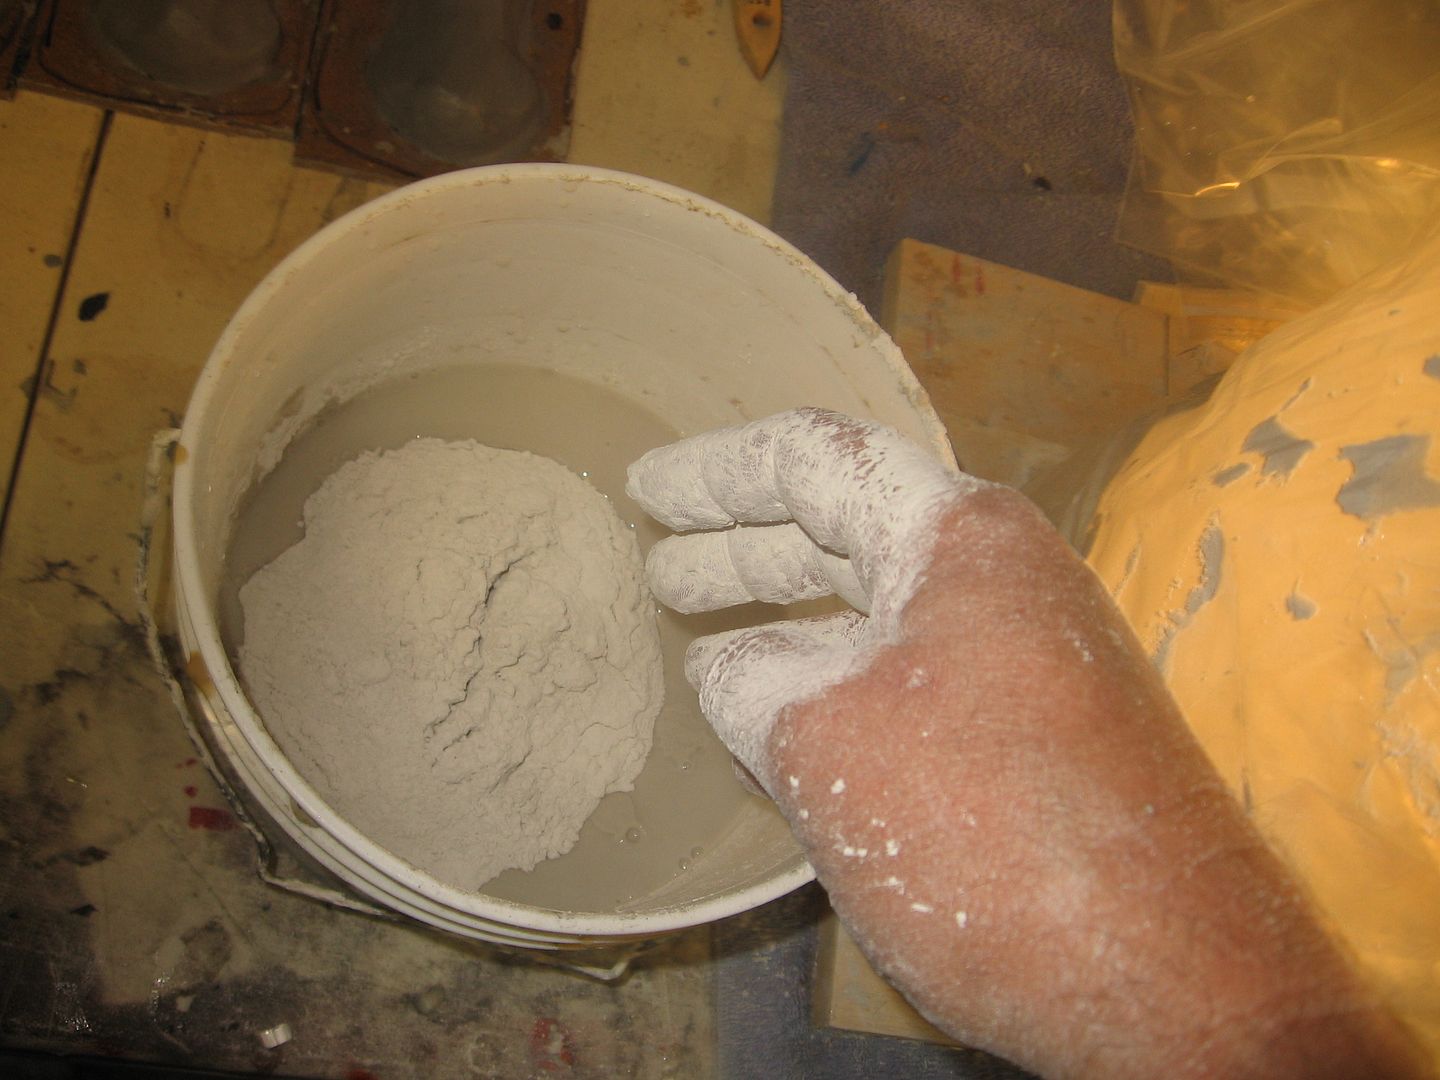
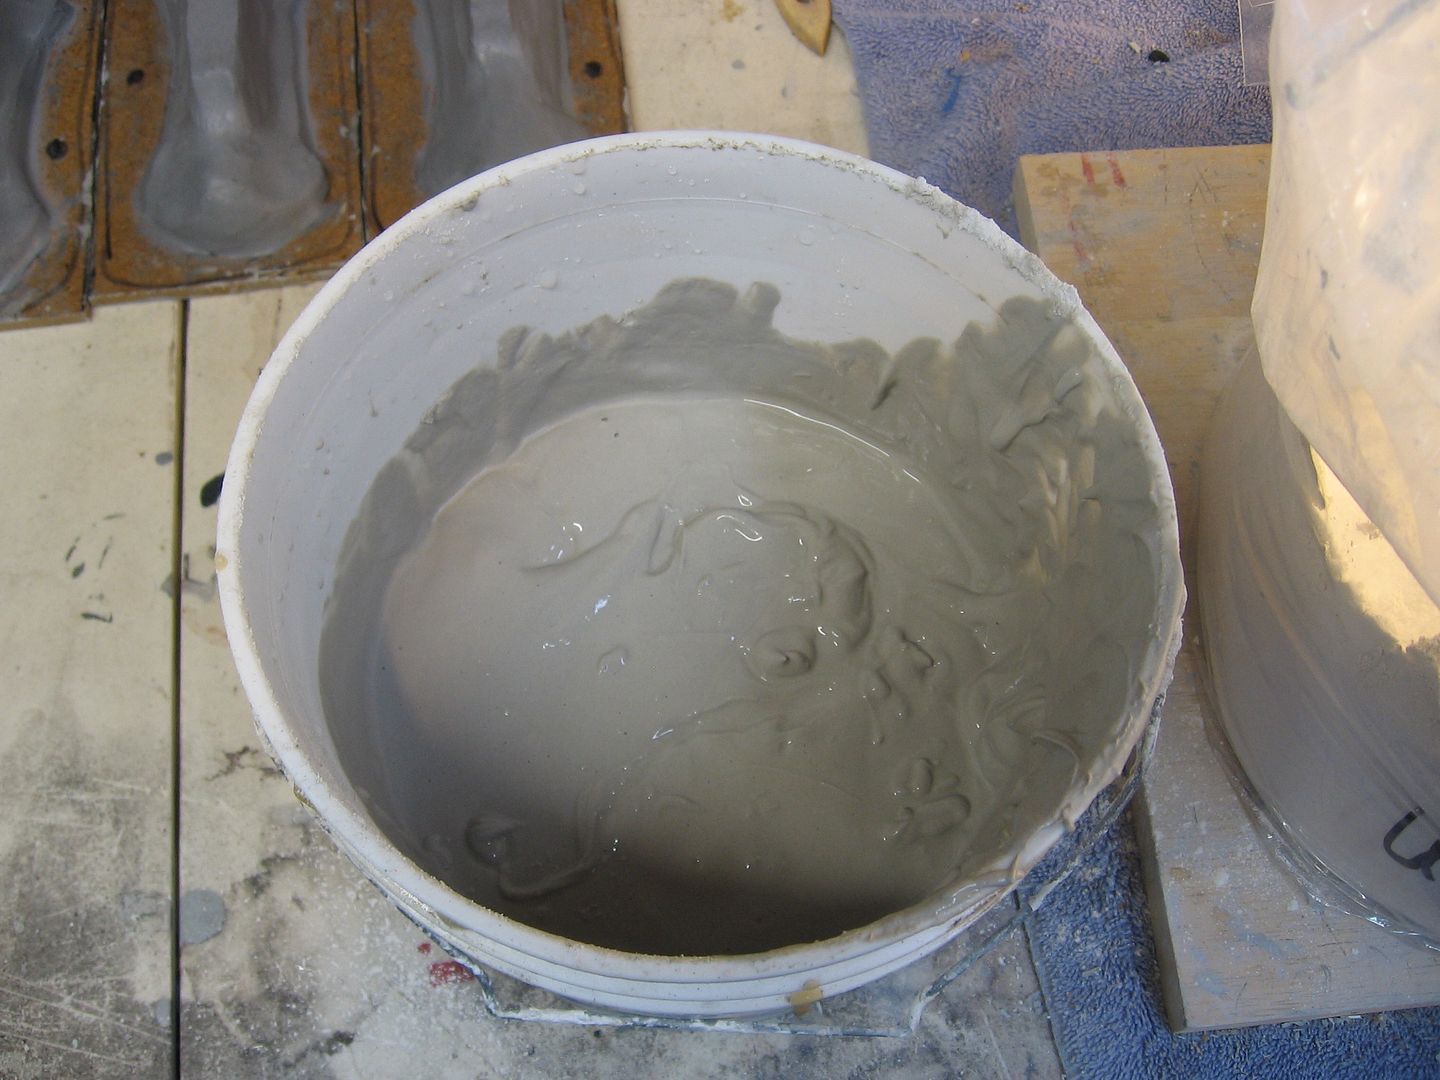
Ultracal 30 mixes just like plaster and takes longer to set up giving you plenty of working time to form it. It will gel up slowly and using water and your hands you can smooth it nicely.

I first use a splash coat and before that sets up all the way I apply a second coat. If you are doing large molds you’ll need to use some burlap or fiber to reinforce the stone. But these molds are small so I left that step out.

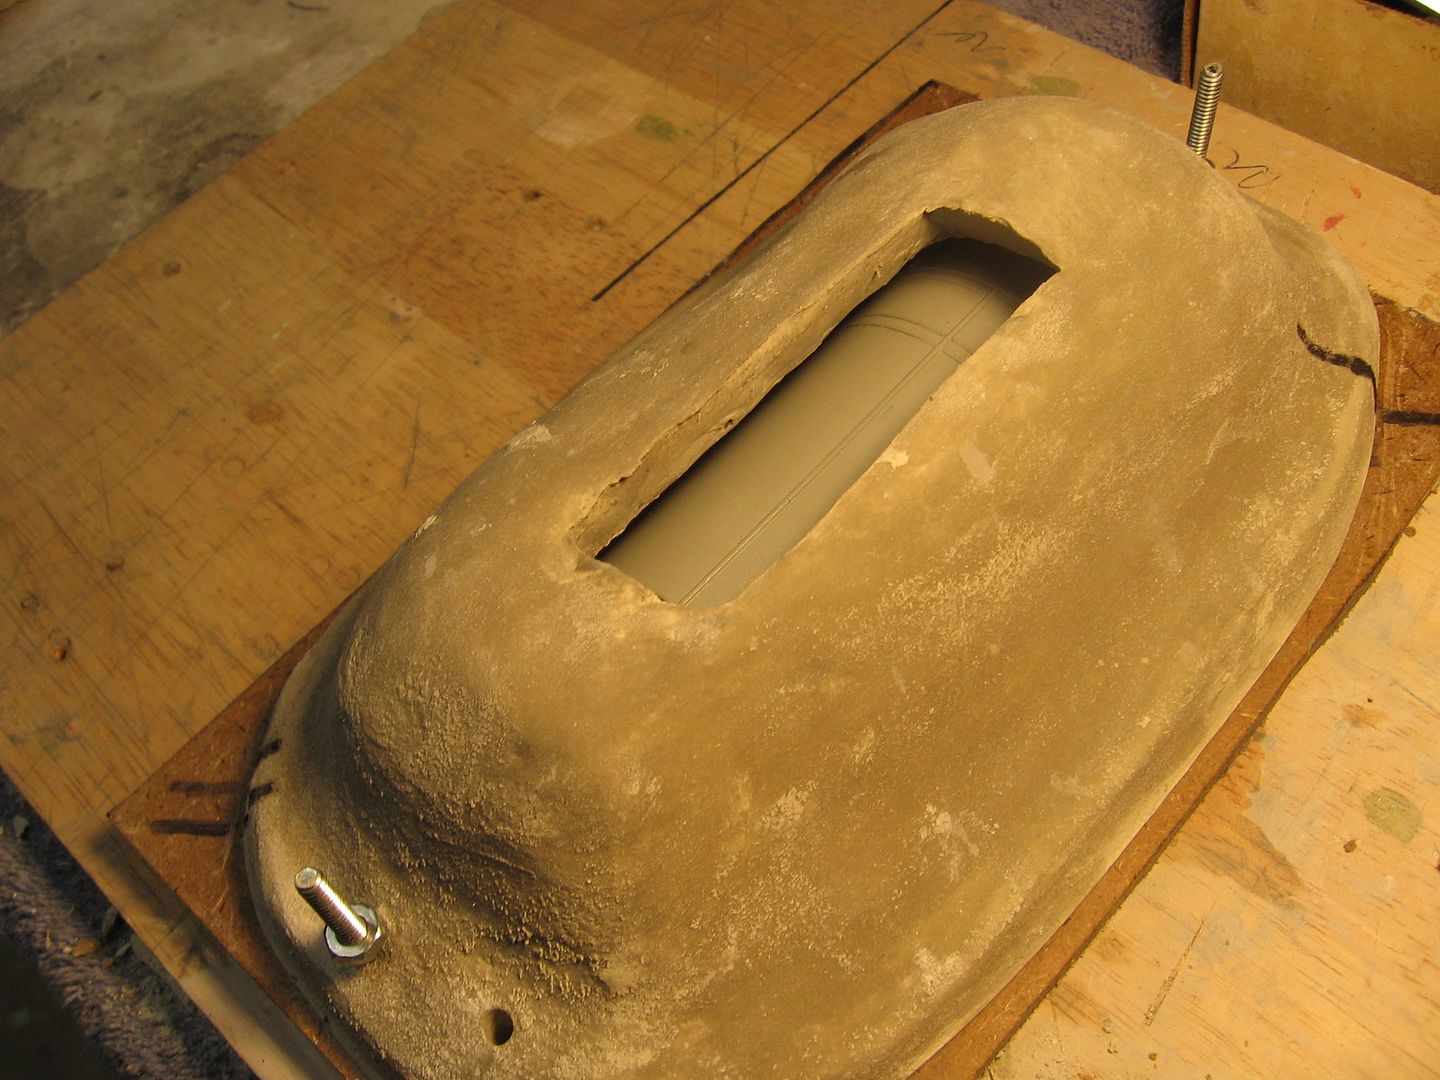
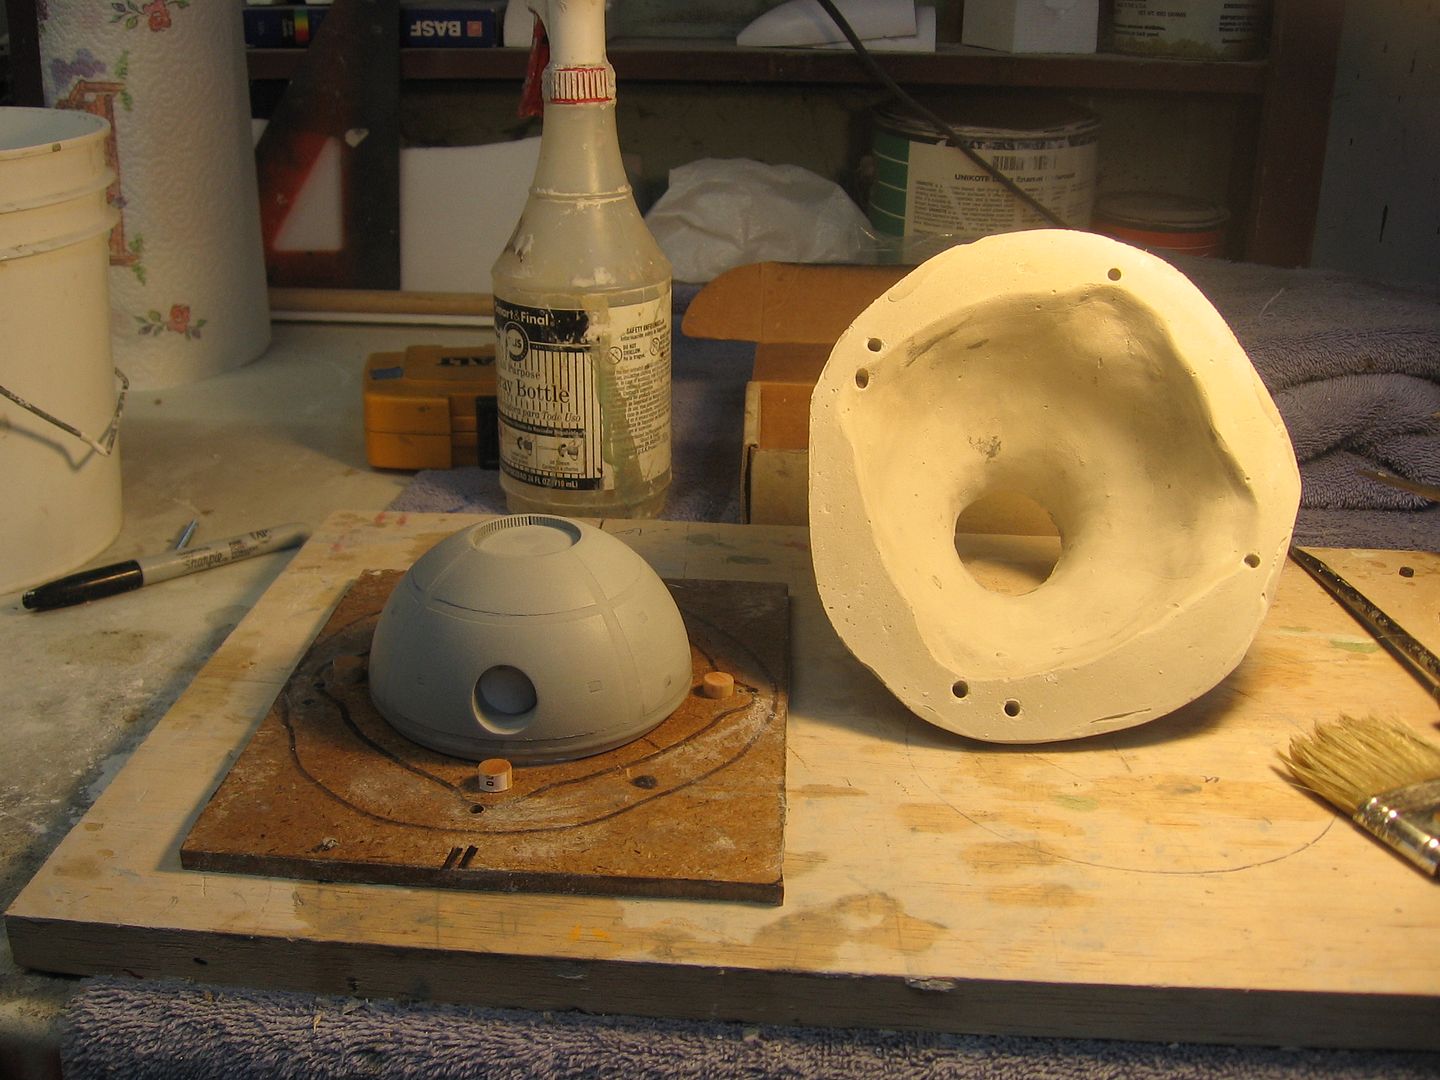
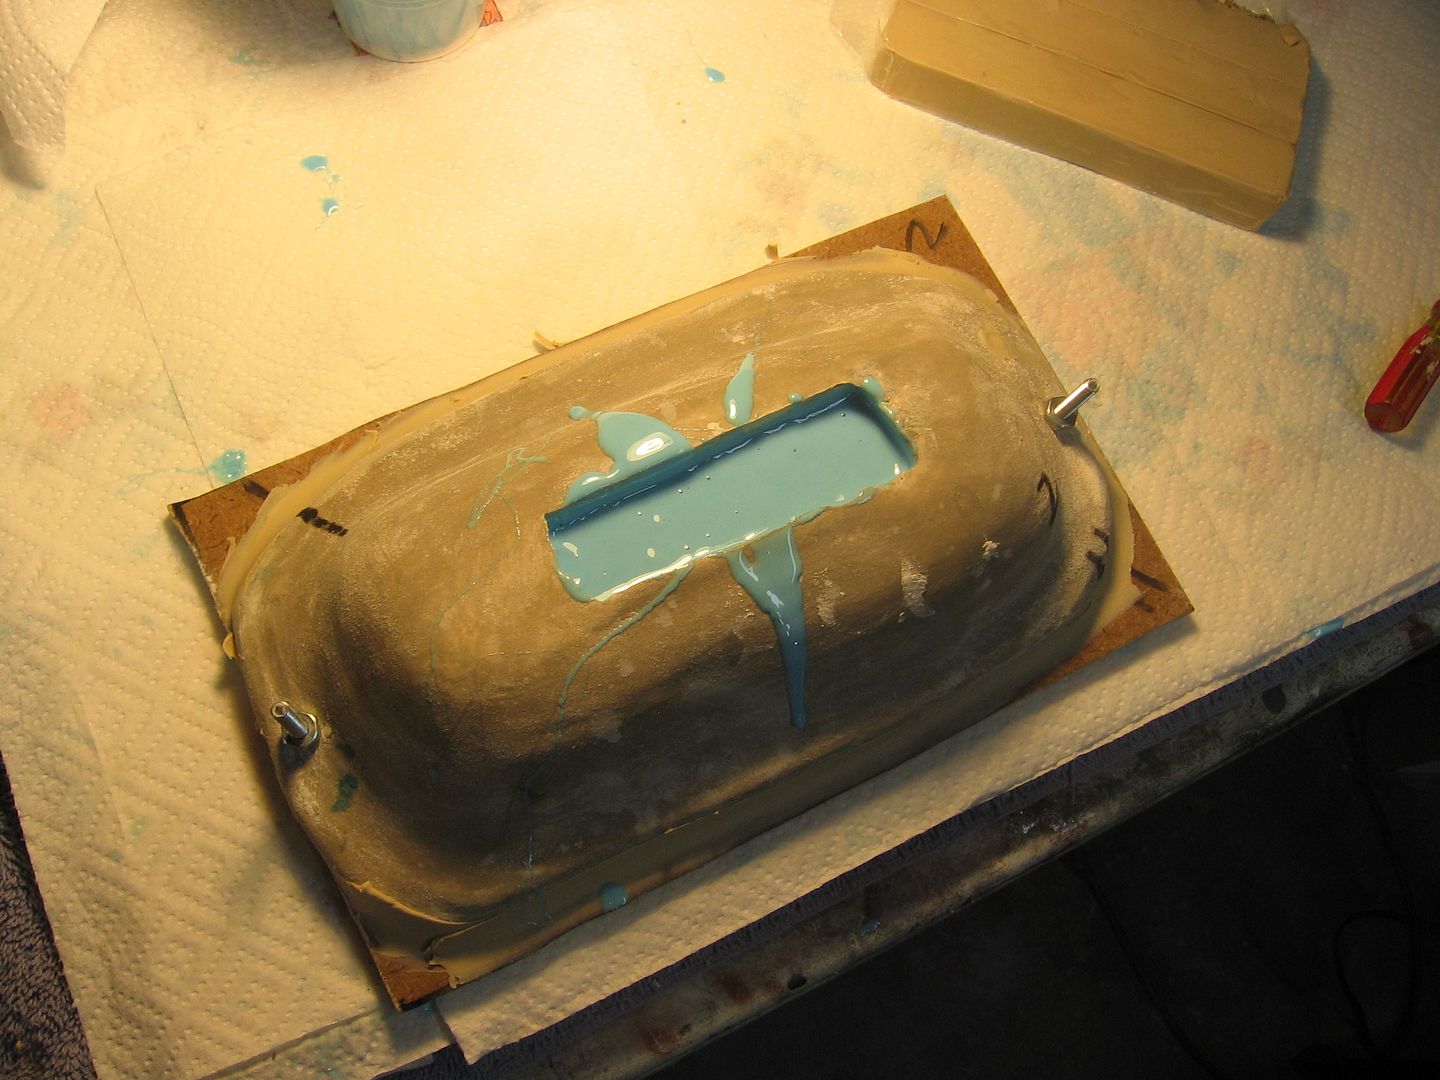
Once the stone sets up I like to leave it over night before opening . But before I do open them up tomorrow I have to drill a few alignment holes through the edges. These will later be used to bolt the case mold to the mounting surface. They have to go back in the same position over the master and this prevents them from floating under the hydraulic pressure of the silicone once poured into the mold.

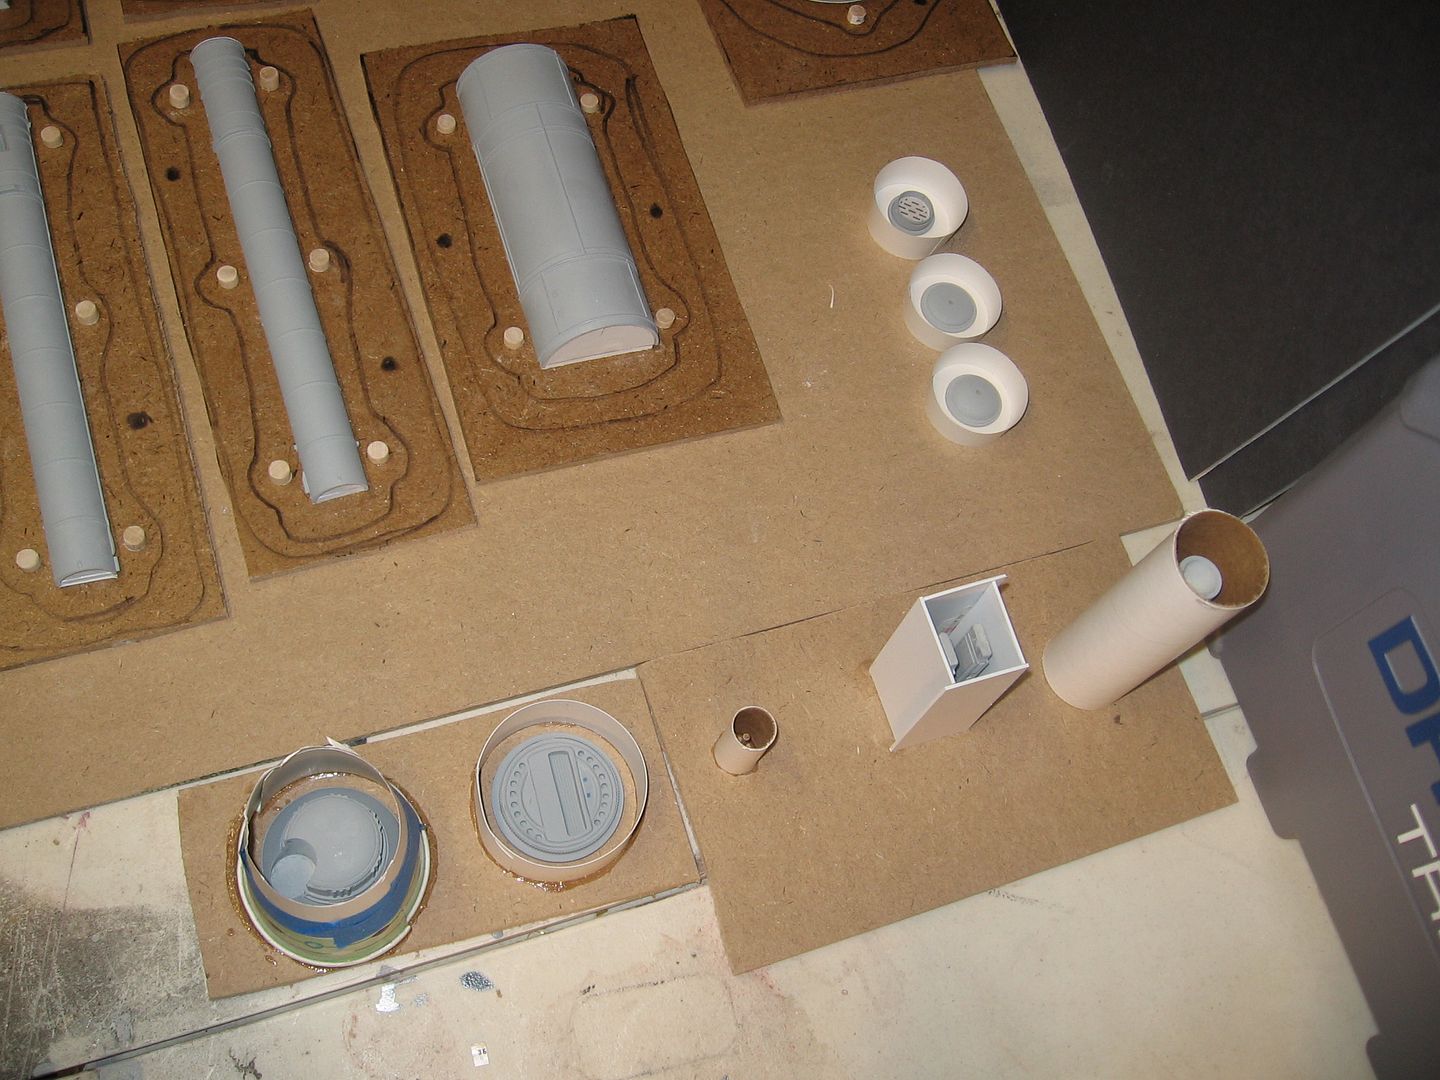
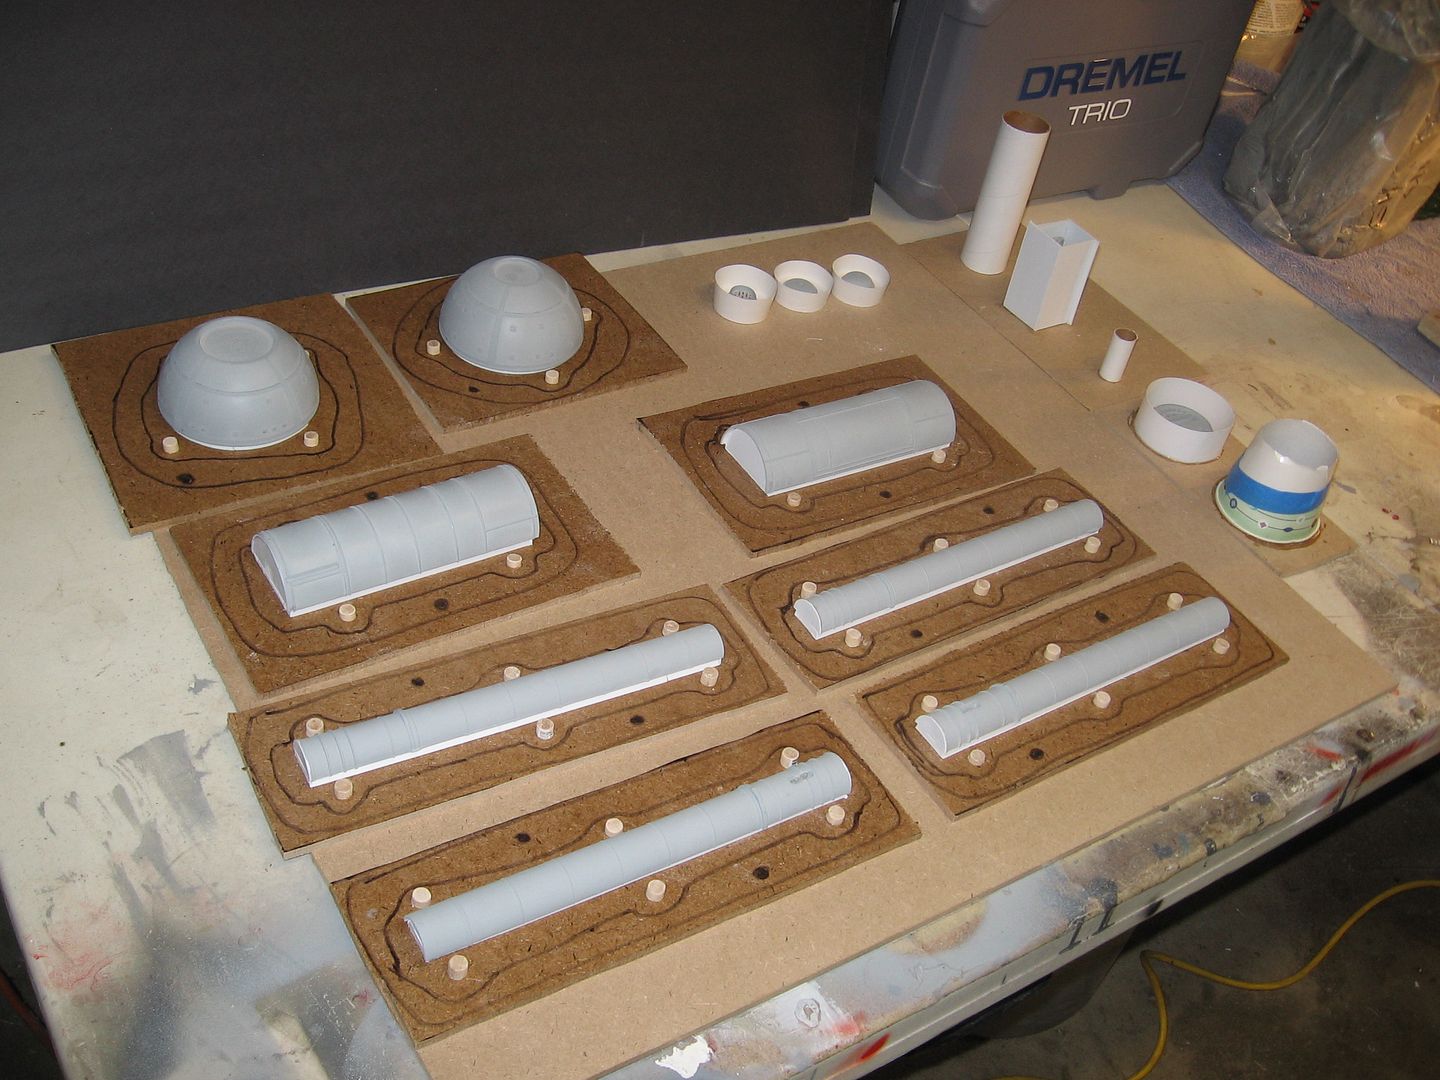
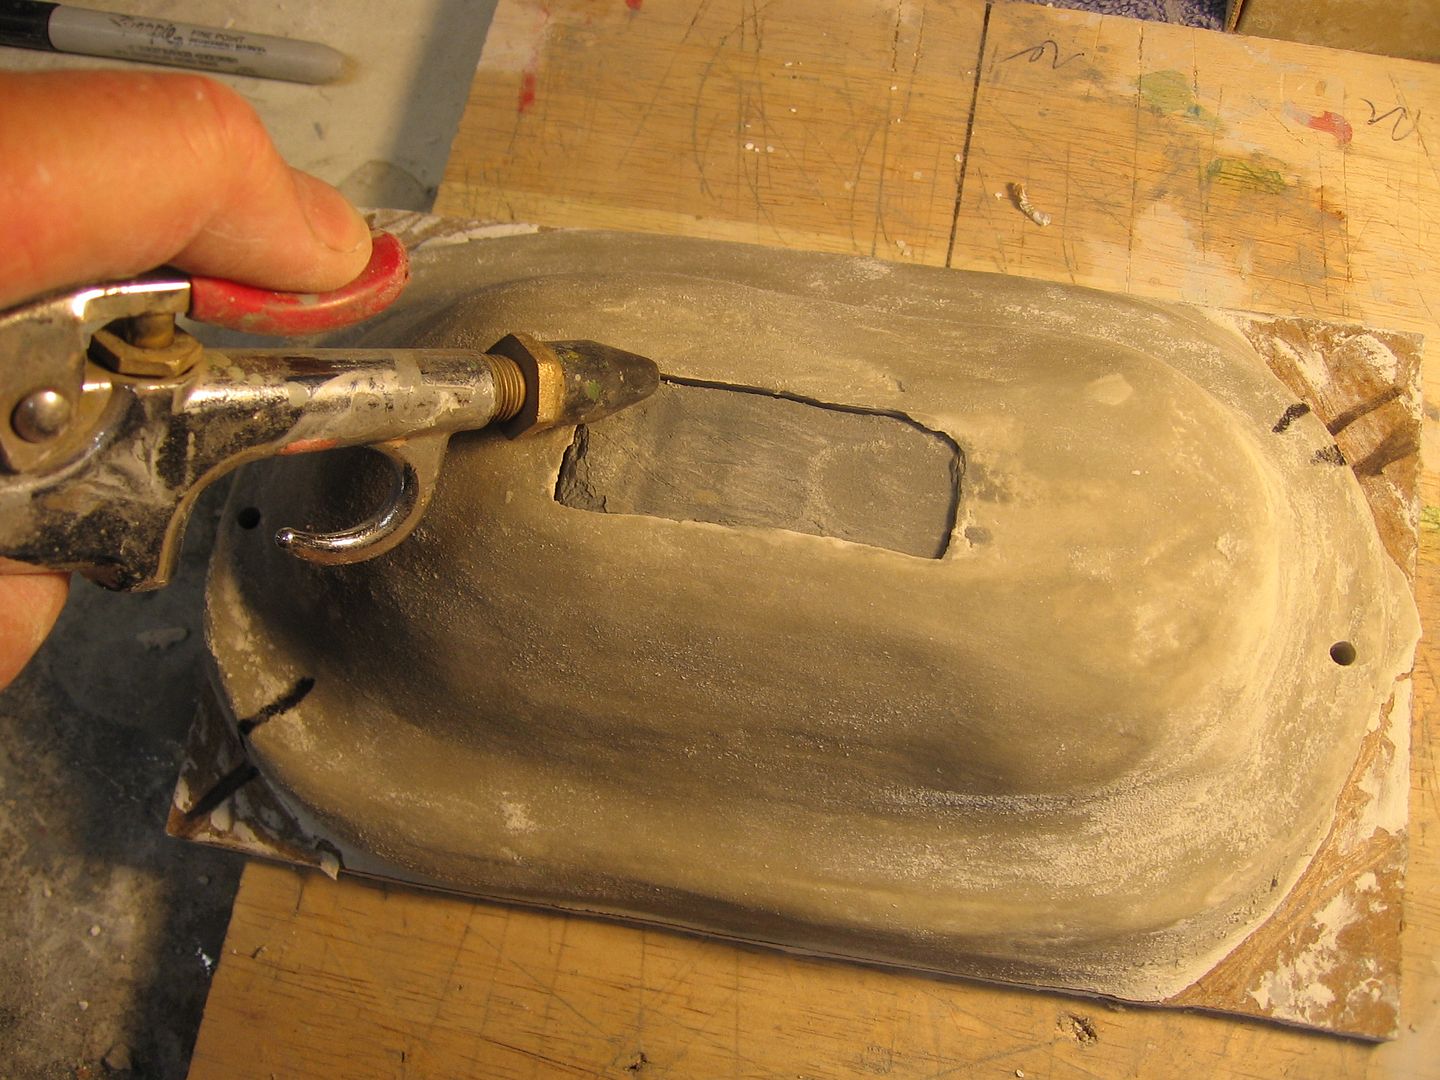
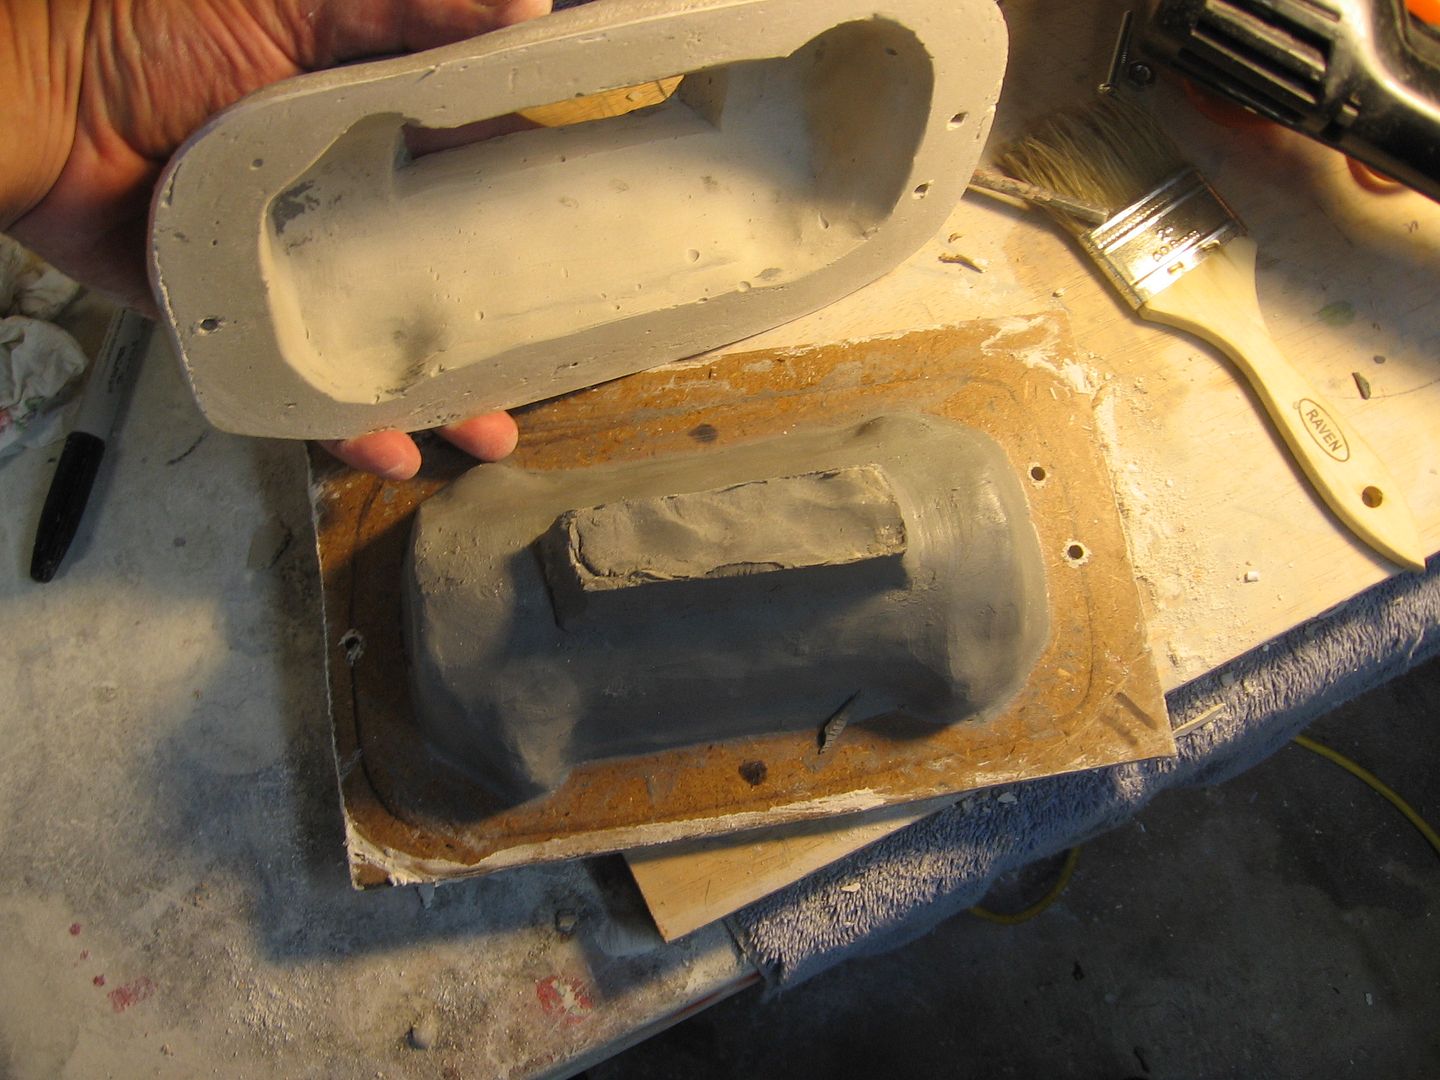
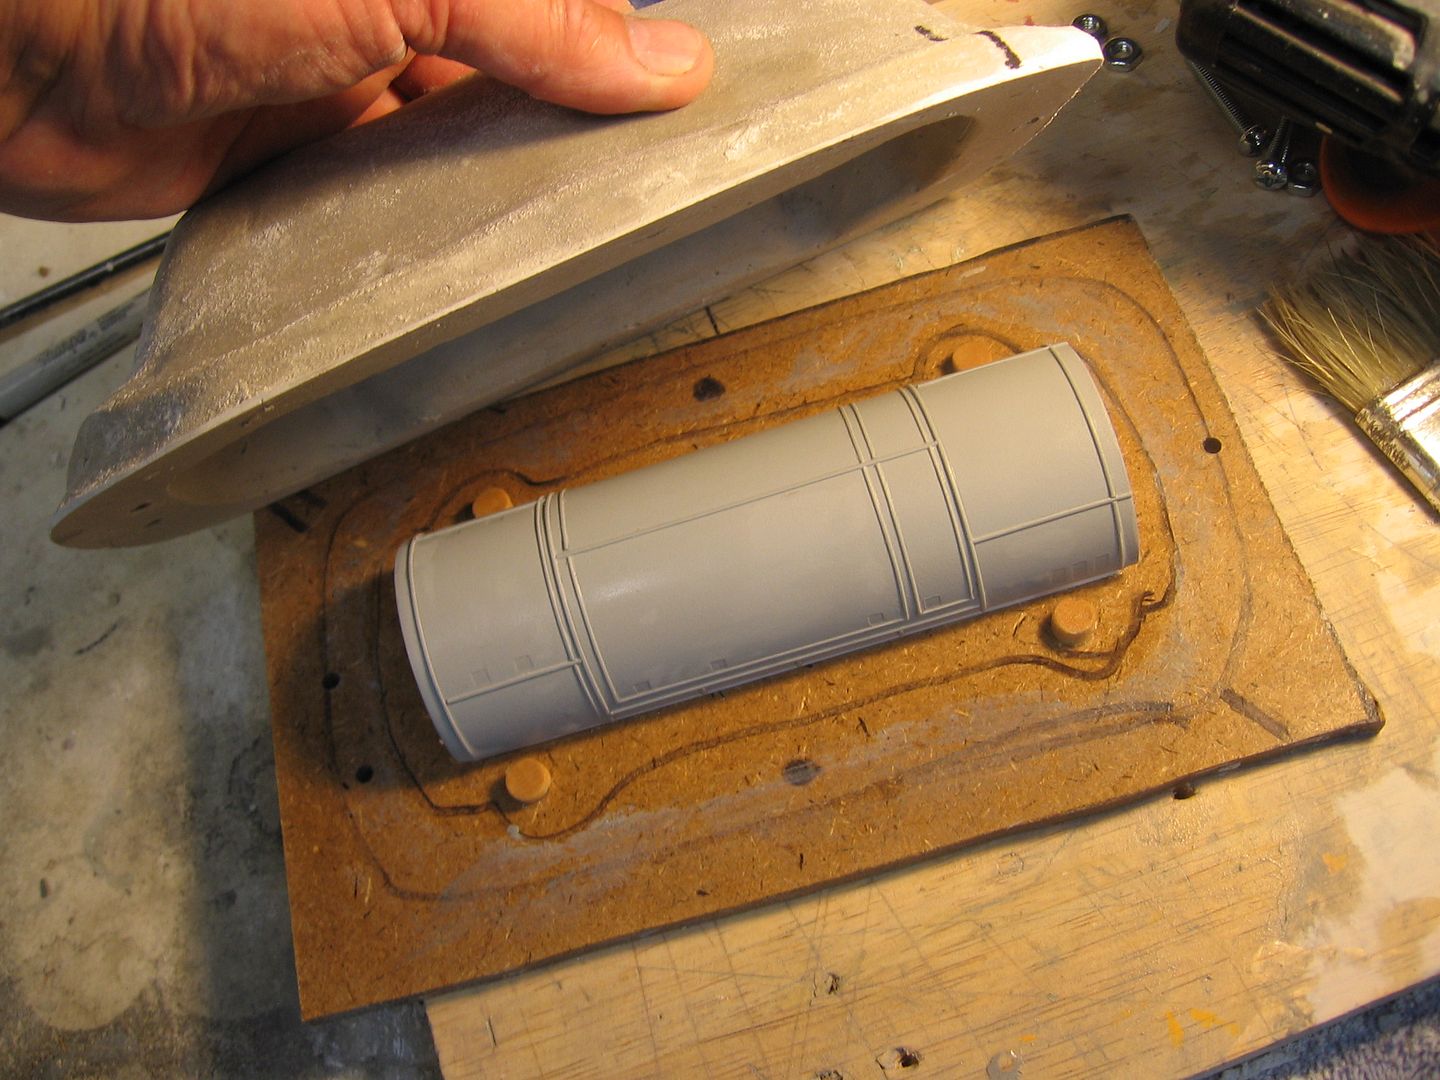
Next I’ll open these up, clean out the clay and clean the masters off with water. The masters should stay mounted to the boards when opened as they are tack glued down. The water base clay in general doesn’t stick well to plastic and wood surfaces.

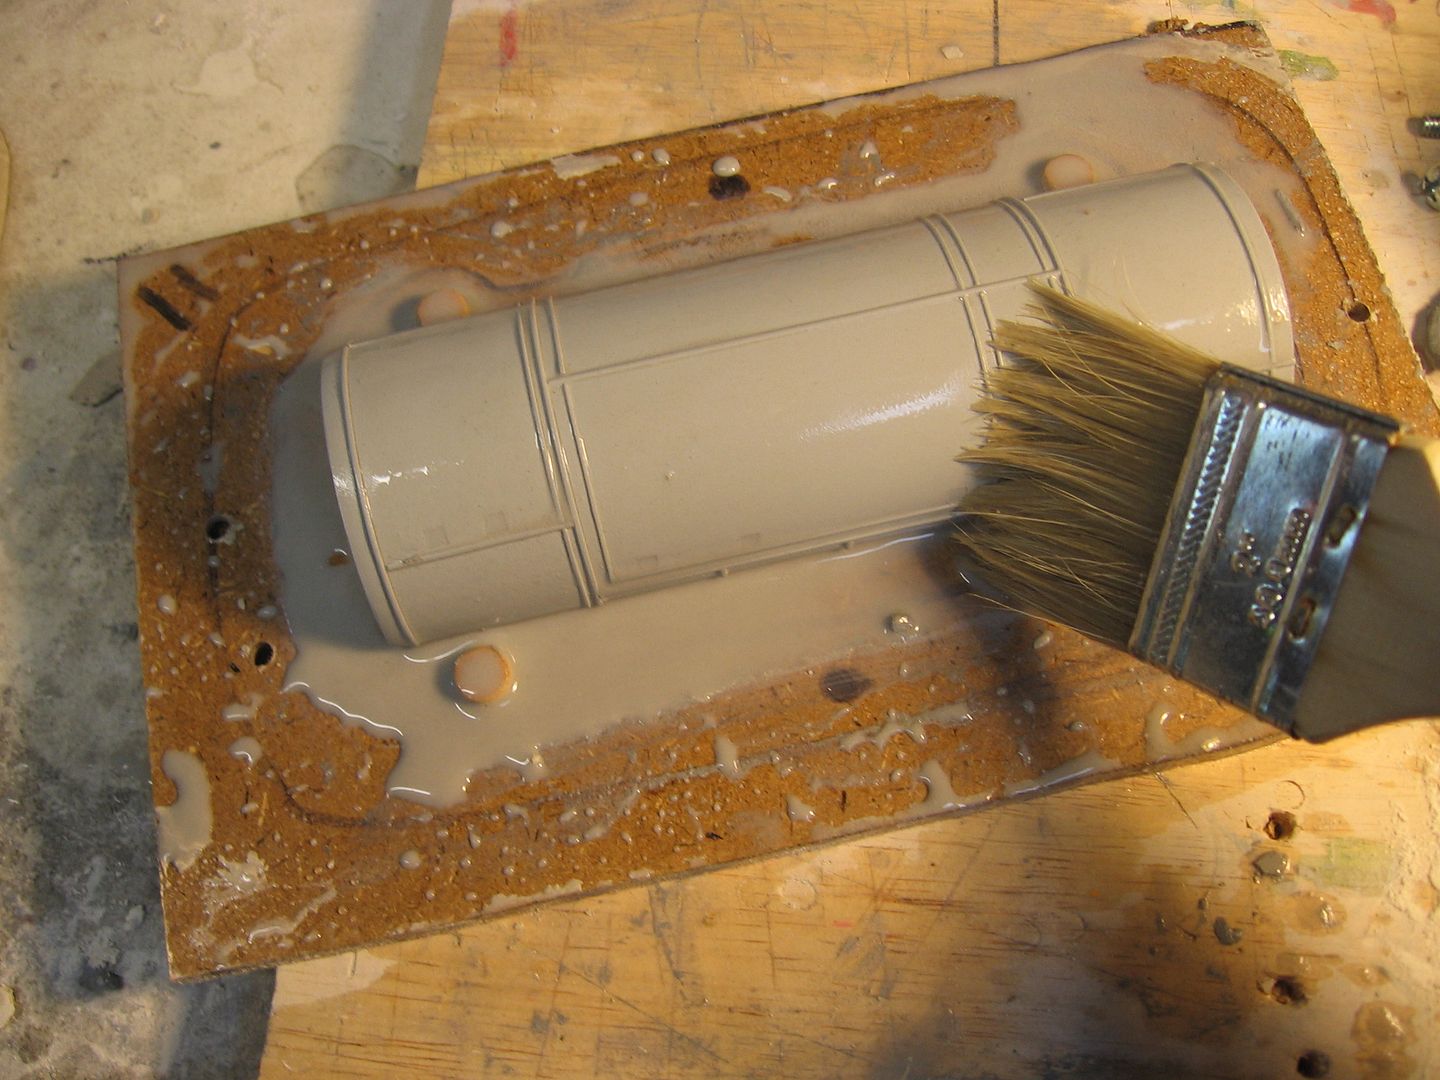
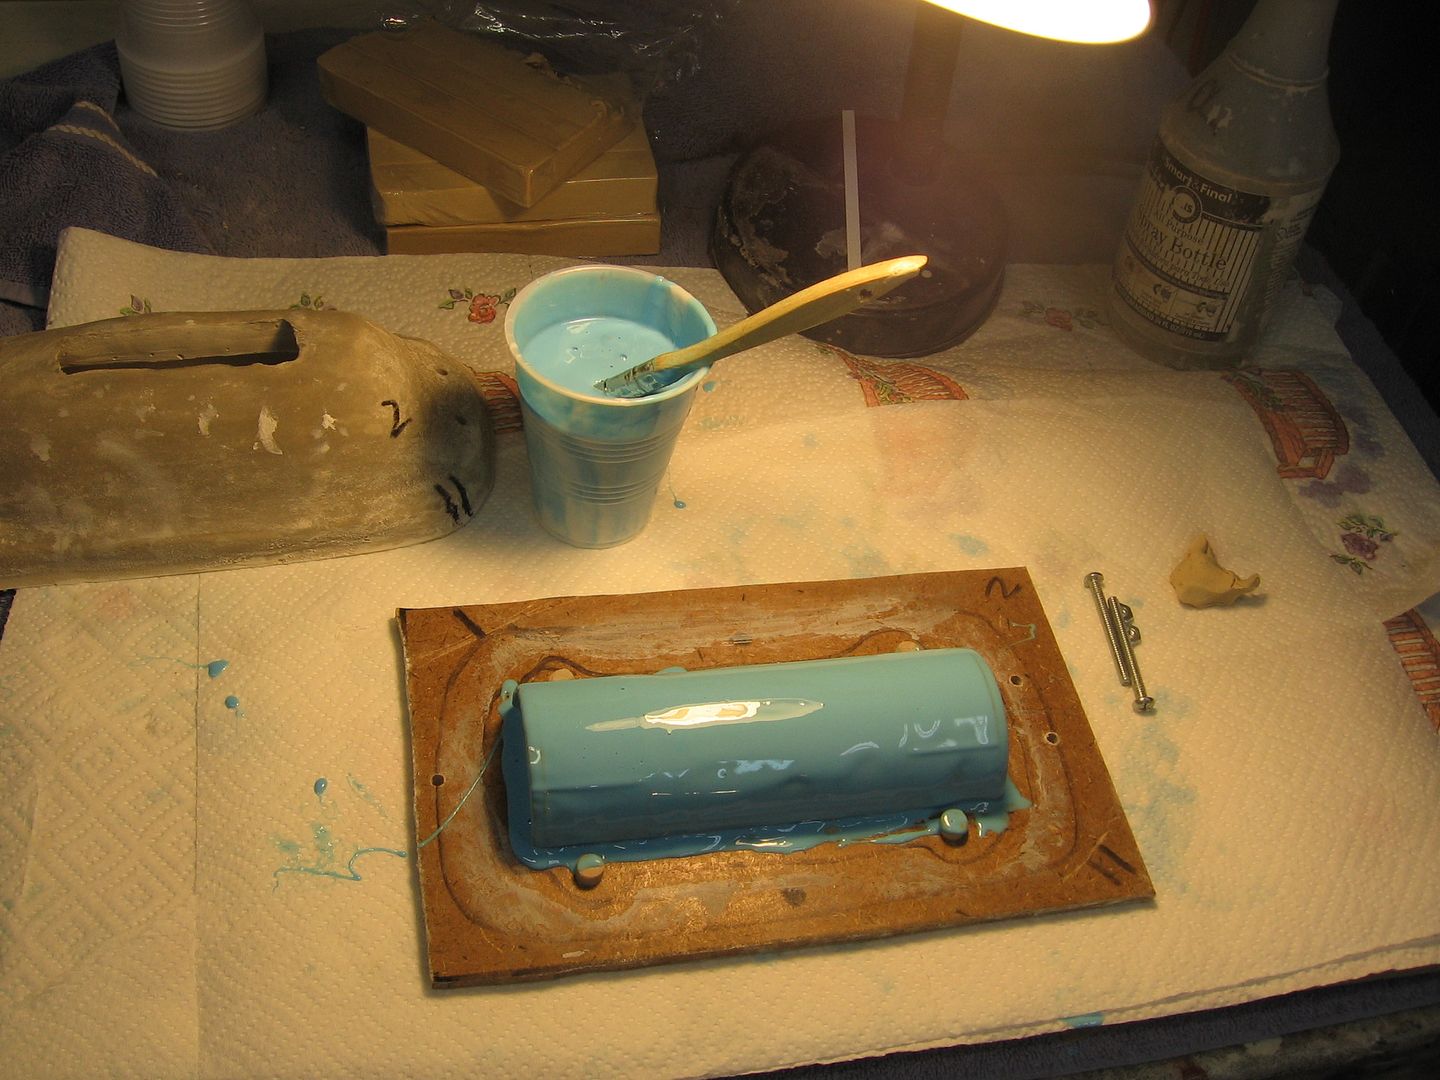
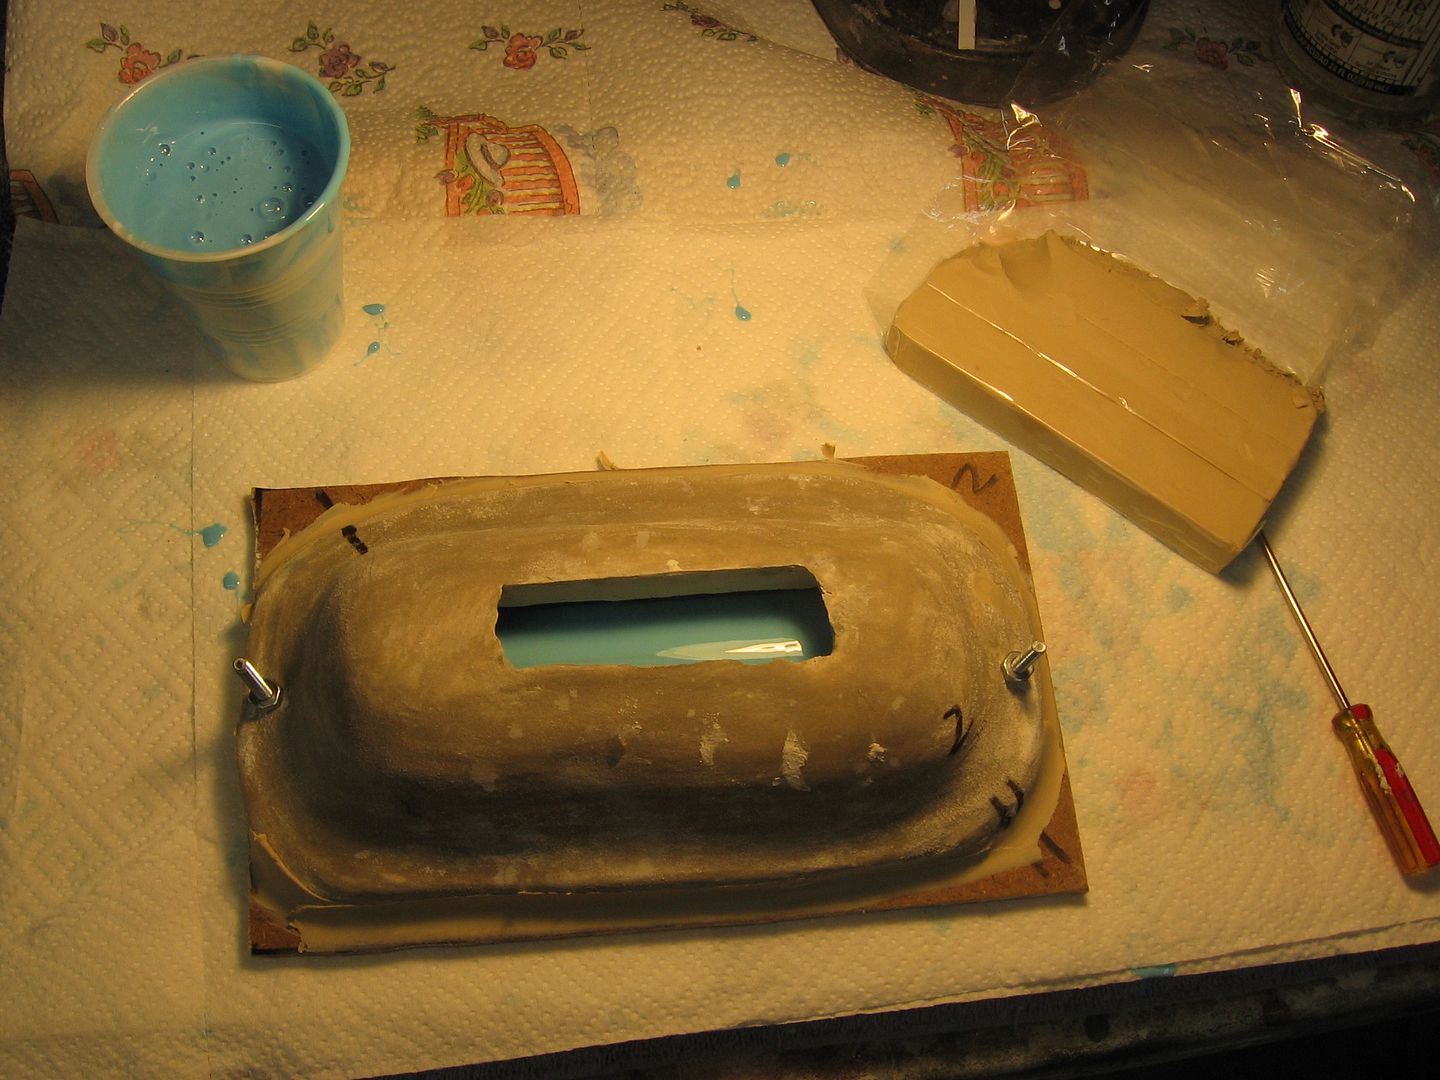
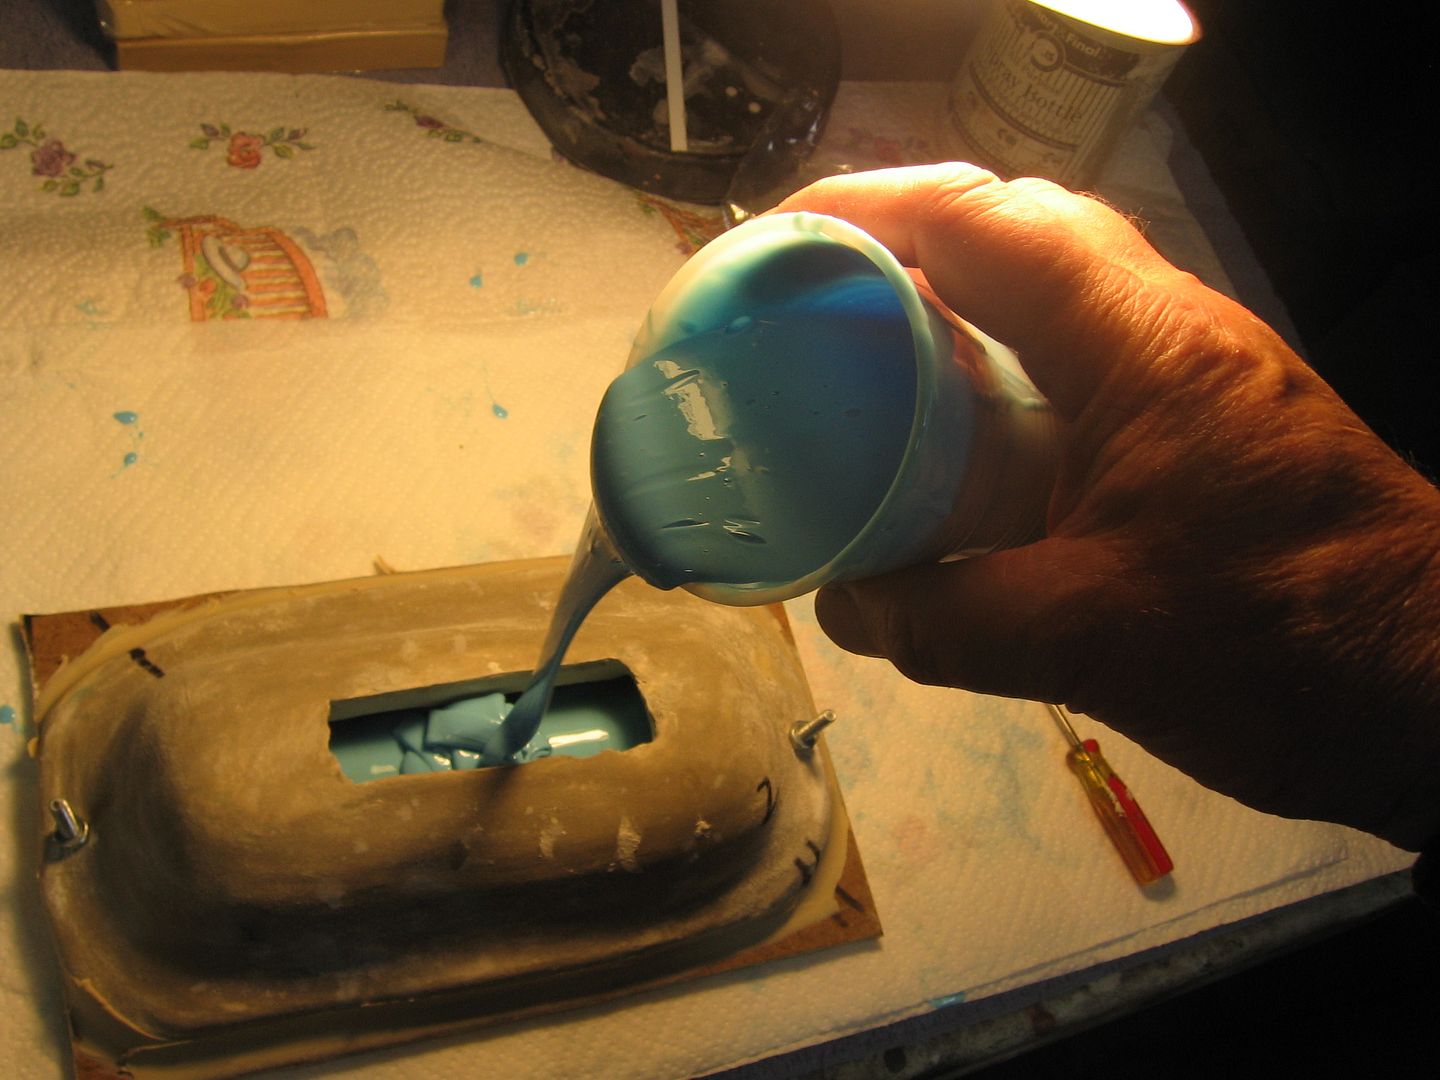
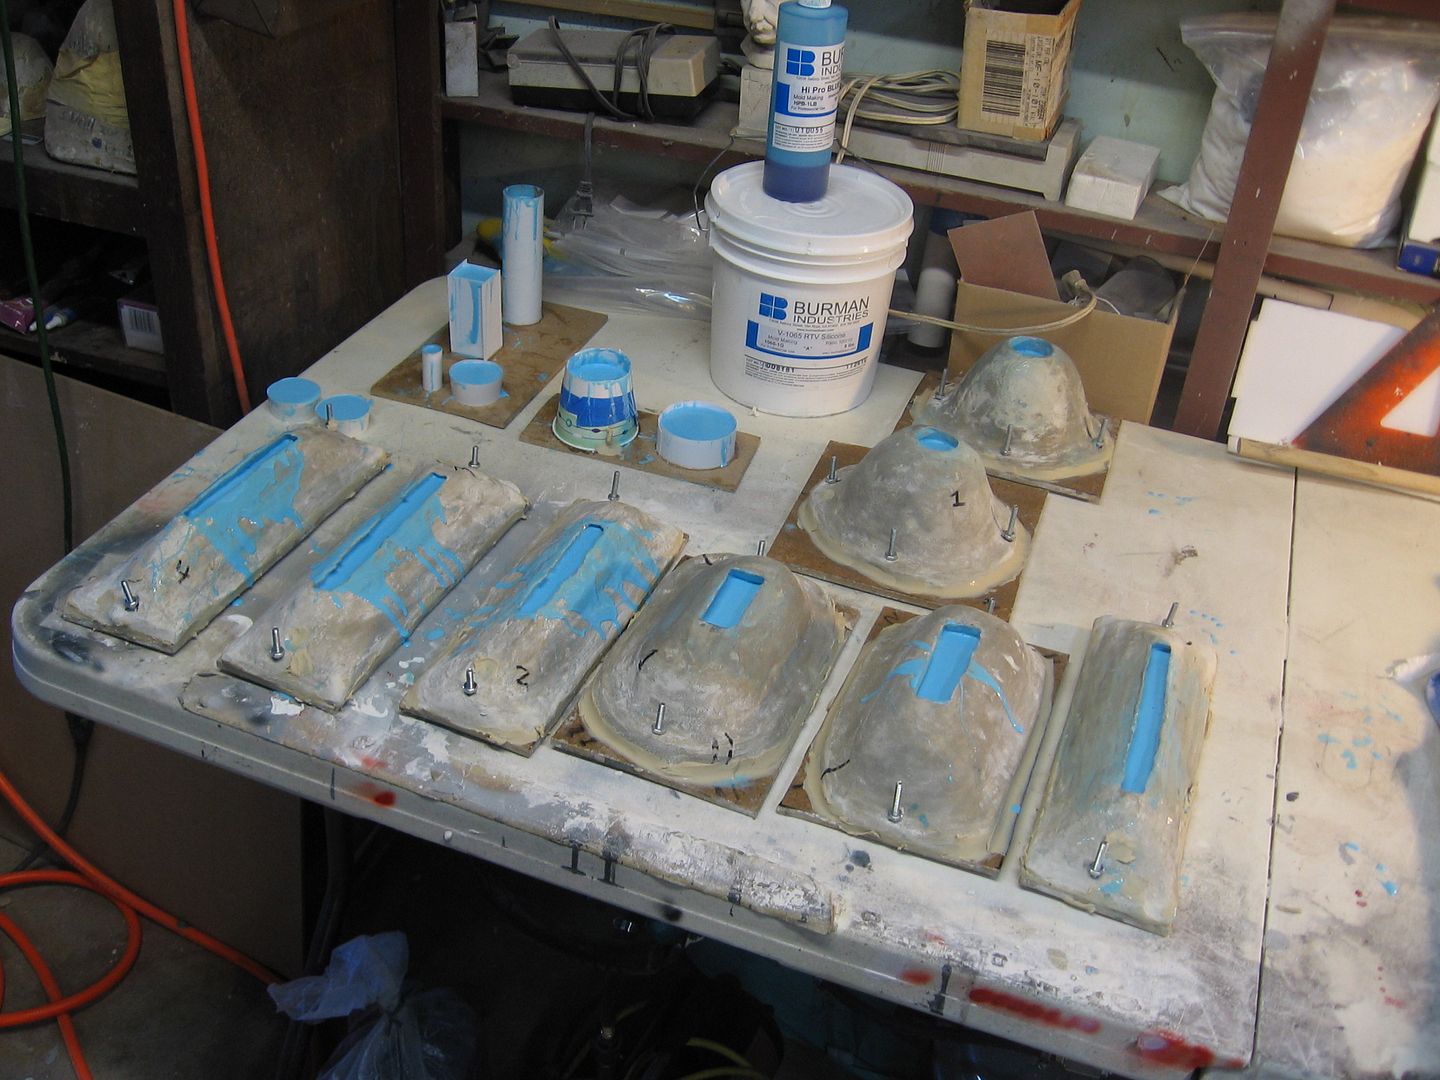
Once they are all cleaned out the case molds are put back over the masters. Bolted to the surface and the silicone poured into the openings up top of the cases or mother molds.

I will drill some relief holes in a few choice locations for trapped air. Once poured up you will see the silicone coming up through them you know the trapped air is evacuated. Simply stick some clay in the hole to close it.
Once you open the molds you have a nice even thickness silicone mold supported by the stone mother mold and little or no waste of silicone.

More tomorrow.

Steve

IMG_7032.jpg


IMG_7034.jpg


IMG_7033.jpg


IMG_7035.jpg


IMG_7036.jpg


IMG_7039.jpg


IMG_7040.jpg


IMG_7043.jpg


IMG_7045.jpg


IMG_7046.jpg


IMG_7048.jpg


IMG_7050.jpg


IMG_7051.jpg


IMG_7052.jpg


IMG_7054.jpg


IMG_7055.jpg


IMG_7056.jpg
 
Man I love watching your threads Steve!!!!

If I am understanding correctly the clay is a placeholder and once the plaster dries it is removed and replaced by silicone? This is a bit different than how I have done this in the past (I am no pro though :lol). I suppose I could wait until you post the pic's of the next step but I just had to ask.
 
Yes that's right. You could stand over the master for 20 minutes with a brush and brush it up until it gels and them mix up the tool stone and make the support mother mold. but you have little or no control that way and end up wasting a lot of silicone. You'll see tomorrow.

Steve
 
Thanks you guys. If it gets you building more models from scratch then I'm happy! ;)

By now some of you are probably lost but as they say one picture is worth a thousand words. Well here are several pictures.

I’ve removed the case mother molds after drilling holes through them for alignment and holding them to the surface.

I use little compressed air through the tops where we eventually will pour our silicone and the cases float off leaving the clay behind.

We carefully remove the clay as not to lift the master from the board. Clean it up with a brush and water.

Then I put them back together to let dry over night.

One neat trick is save the clay, compress it and fit it into a one gallon bucket. I now know that I will use about one half of a gallon of silicone.

As you can see all that is left to do is pour silicone through the open pour holes and we have a silicone case mold. These will be poured tomorrow.

These will sit for 24 hours so Monday I’ll make the cores.

More on that later,

Steve


IMG_7069.jpg


IMG_7061.jpg


IMG_7063.jpg


IMG_7065.jpg


IMG_7067.jpg


IMG_7059.jpg


IMG_7060.jpg


IMG_7071.jpg
 
Steve, what a cool way to make molds. I've done some mold work myself but this is a great technique. One question, will the final parts be hollow or solid when complete? The photos are great! Keep it up, I'm inspired!
 
These molds will be cored so they will be hallow for sure. This is needed to light them model and file out the windows.

Steve
 
great showing of technique....how facinating.
Enjoying this thread quite a bit.
Keep up the great work Steve.
 
Thanks Mobius.

Got all the silicone poured today. Vacuum chamber wasn’t working I have to fix it so I did a surface coat first and let the bubbles pop using compressed air. Then closed mother molds, bolted them down and poured.

I use Klean Clay all around the edges and possible leak points. The one picture you see where the silicone is starting to come out the small hole is a vent hole that I plug with clay once it fills. This relieves the trapped air and lets me know that part of the mold is filled.

All the silicone has gelled by now and will wait through tomorrow before I open them. I’ll leave the masters inside and fill the insides with more silicone on Monday to create the cores. This will produce nice even thin pieces to make it easier to file out the windows.


More on Monday,


Steve


IMG_7073.jpg


IMG_7075.jpg


IMG_7076.jpg


IMG_7078.jpg


IMG_7079.jpg


IMG_7081.jpg
 
Status
Not open for further replies.
Back
Top