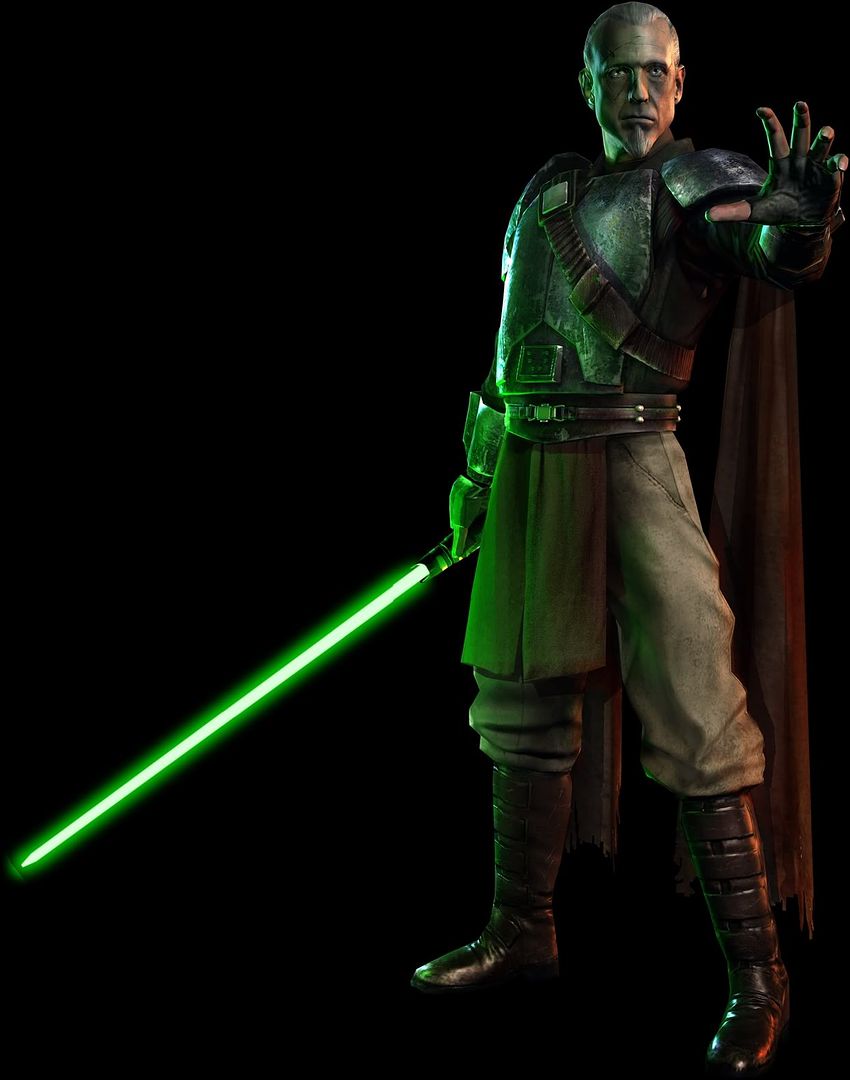
Jedi General Rahm Kota

Outstanding work. I love seeing the progress photos before the finished product. I'll be watching this and hopefully picking up some tips!


yeah... I'm thinkin' 2012ish. :rolleyes
Don't worry, you'll still be done with it before the game is released. :lol
 
I'm not a big fan of lightsabers, but yours caught my eye. I'm really, really liking the leatherwork on it. Cheers, and good work on the rest.
 
i love how the right hand plate finish came out, can you explain how you made it?

For the weathering I used Krylon Fusion paint for plastic - Nickel Shimmer - sprayed like 5 heavy coats. Then I used Rustoleum Hammered Finish for plastic - Dark Bronze (I think it was called, basically dark gray textured) - and sprayed one thin coat (not thin enough though, live and learn). Then I used 400 grit wet-dry and lightly sanded off the dark gray so the silver showed through.

I like the Nickel Shimmer and the dark bronze 'cause they both have a tiny yellow tint. The Nickel is not too silvery and the dk bronze is not too black. It leaves a more subtle weathering effect.

I did the left handguard yesterday, but didn't rub off so much of the dark color, plus I added little scratches to kind of mix it up. I came out very nice, and gives me even more ideas for the larger pieces.

One interesting lesson I learned:

If you look closely at the weathering pattern, you'll notice the darker "ring" around the very edge, in a couple mm from the edge. When I sprayed the heavy coats of silver for the base color, I held the sprayer almost horizontal, to make sure I got the sides of the piece covered well. I didn't consider that doing so would build up a tiny ridge of sorts all around the rim of the top surface.

The air currents caused by the sprayer gave it a "sand dune" effect. As the current went up the side and hit the top edge, it swirled forward and down, dropping more paint near the edges than on the rest of the top surface. This built up just enough so that when I sanded the darker topcoat off, it came off the higher ridges first.

On the other pieces, I'll be sure to spray straight at the top surfaces so this doesn't happen.

~ BC
 
Last edited:
I'm not a big fan of lightsabers, but yours caught my eye. I'm really, really liking the leatherwork on it. Cheers, and good work on the rest.
The braidwork on the sabre is an especially nice touch.
Thanks to you both.

I took some design liberties on that get-up. The action fig saber suggests a tsuka-ito, but is only on one side of the hilt. Since his character description mentions "Samurai" Jedi, my saber hilt design moved in that direction. I have to say, if you could wield the bad boy you'd agree that I took the right liberties there. :cool

I wrapped it very tight and epoxied it at every turn. It's hard as steel but still quite grippy.

~ Koda
 
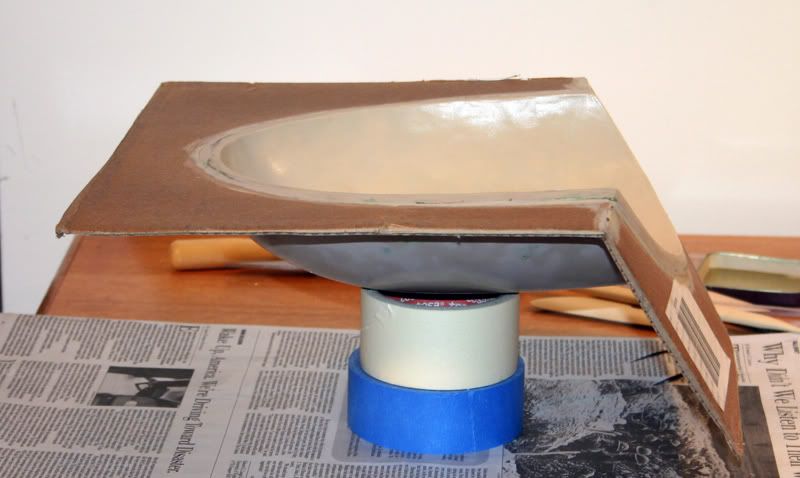
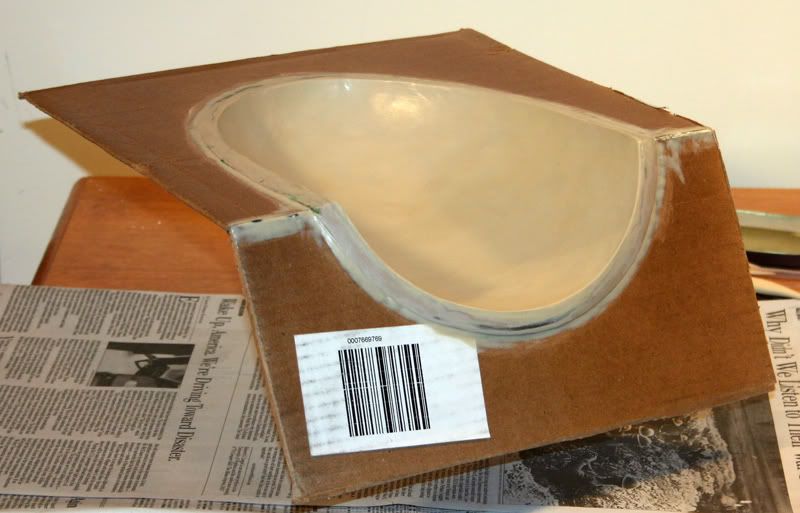
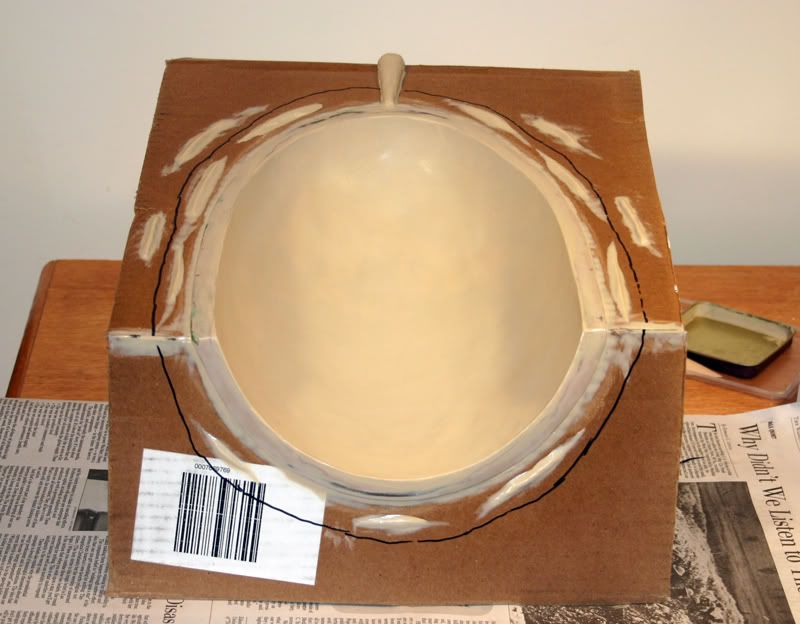
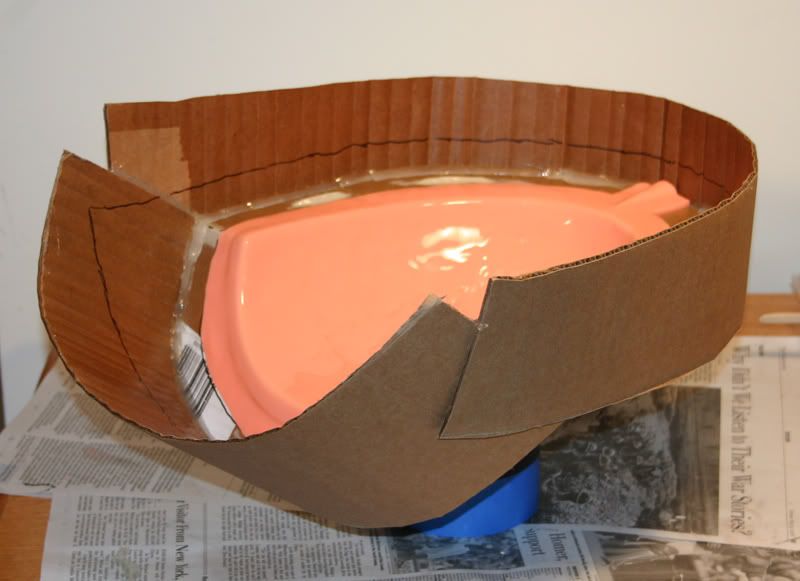
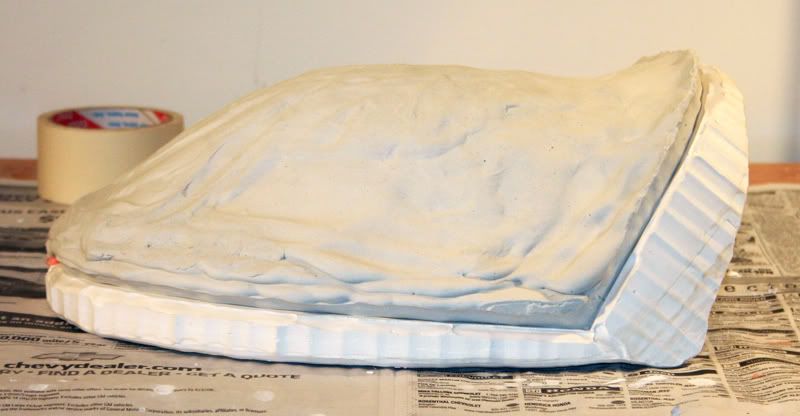
I've back filled the shoulder bell with clay, and today I smoothed it all out and masked it off for taking the mold.

I cut two cardboard templates from outline tracings, and hot glued them to the model from the back. I put double-sided tape along the edges first to make it easier to remove the boards. The front join edges I filled with clay.

I put in the pour-hole and registry keys, then sprayed the whole mess with clear coat.

Tomorrow I make the mold.

Shoulder_Master_masked_01_800w.jpg

Shoulder_Master_masked_02_800w.jpg

Shoulder_Master_masked_03_800w.jpg


~ Vonnor
 
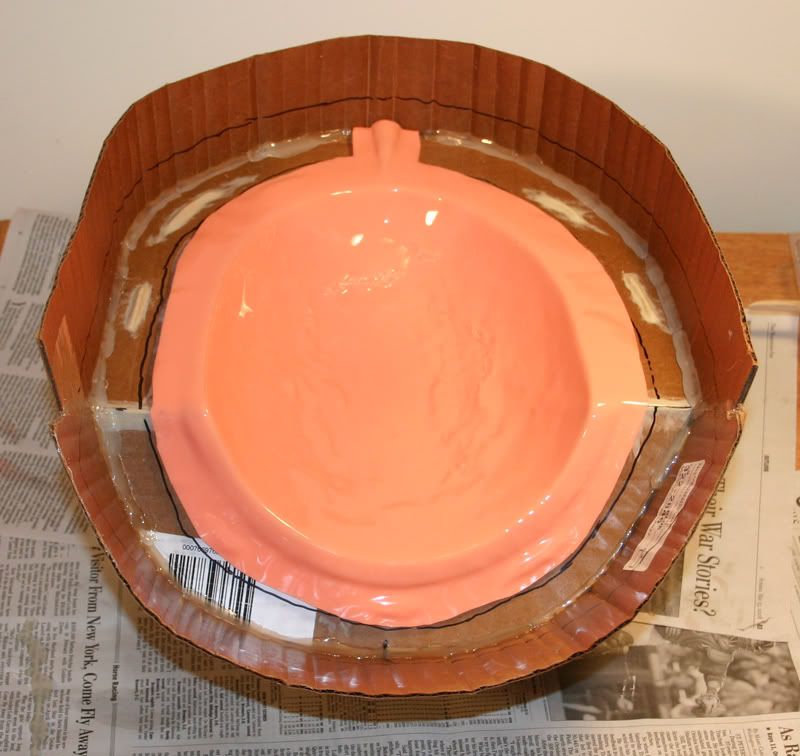
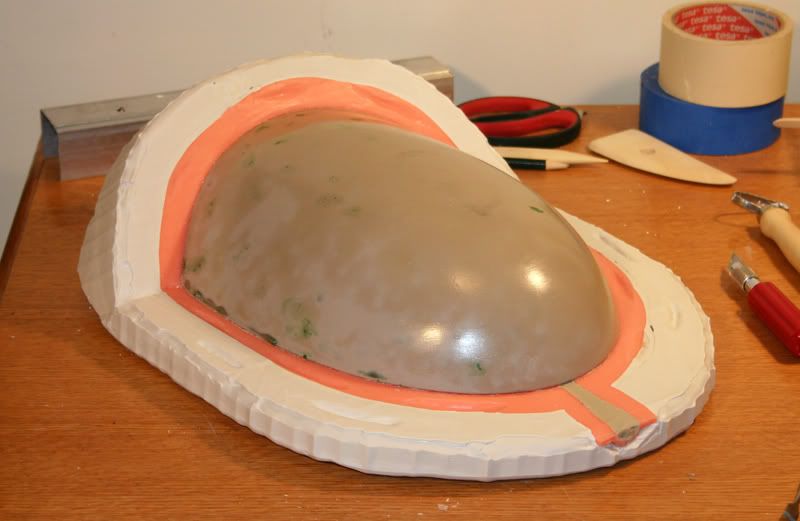
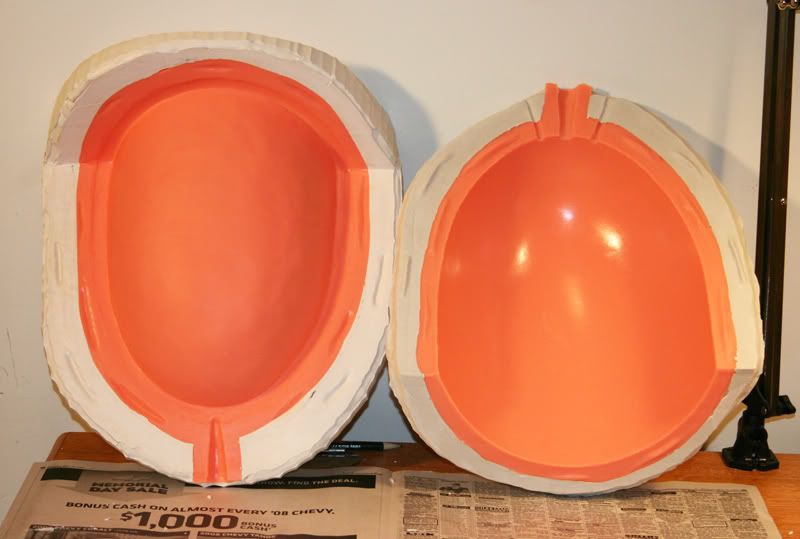
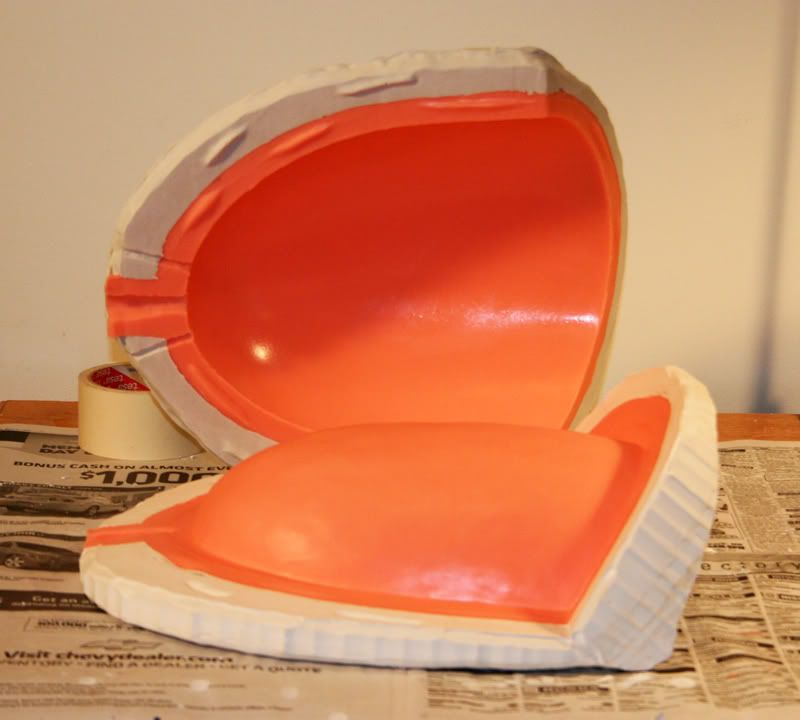
Could only finish half the master mold.

I ran out of plaster. :confused

I used Rebound-25 from Smooth-On for the rubber core. It was pretty easy to work with. Got more art plaster on the way. Will do the other half when it arrives.

By rights it should have air-holes to either side of the pour hole. I forgot to put them in. I'll cut some in on the second half.

bellMold_02-800w.jpg

bellMold_03-800w.jpg

bellMold_04-800w.jpg


~ Koda
 
New preview clip! Go to THE STORY OF TFU

OK, I couldn't play it with the sound on 'cause I'm at work. But I guess my character dies? Vader is holding Rahm Kota's lightsaber in one scene. I'm confused by that, since the story has Kota becoming the Secret Apprentice's mentor.

I see why it's best to not rush into a costume design with insufficient references :unsure :

- My lightsaber is close to accurate, but not exact. Not too happy about that. The pommel should not be tapered and should be capped with black. The black ring near the emitter has a radial groove cut in it. I might can get Don Close to make the black-capped pommel for me and maybe groove the emitter. It shouldn't be a big modification. I also have to move the brown suede wrap up to the switch area and replace it with black wrap down near the pommel.

- I'm glad I waited on sculpting the BP. The clip shows the contour, thickness, and cut of it very well, especially the top edge. :D

- The handguards seem to sort of wrap around the wrist a bit. That'll have to be a revision two fix. :p

- The vambrace box/clips are cut a bit differently than what I did, taking them from the action fig. Also a revision two fix.

Lastly...

Holster.

Definitely holster. :cool

~ KV
 
Well, it wasn't the weather that prevented me from casting the shoulder armor yesterday. It was rotten luck (maybe rotten engineering more like).

I strapped the two halves together as tightly as possible and went to fill it with water, so I could tell how much resin I'll need. The water leaked out all over the place. :eek So I tried painting another thin layer of pink stuff on the plaster around the rim under the rubber edge, to kind of build it up so the rubber would press more tightly together at the seal. Strapped it up again and tried the water.

Still leaked, but not as bad. :unsure

Made a run to the hardware store and got some caulk, latex with silicone in it. Ran a bead of caulk around the edge where the rubber meets the rubber. Sprayed some mold-release on one half and strapped the bad boy together again. Waited overnight and went for the water a third time. Didn't appear to leak but when the water got up to the pour-hole it WAS going down slowly so it must be still leaking. Quick emptied it into a pan (measured 31oz) and took it apart. The latex caulk had not cured. :wacko

I'm pulling my hair out over this! :angry

Maybe I got some burrs on the plaster rim keeping the two halves from sealing. I don't know, I guess I'll try shaving a little off the plaster so the rubber seals tighter. Any ideas?

~ Koda "ReallyStartingToHateThisProject" Vonnor
 
Last edited:
Today I found the Holy Grail of Kota reference pix! :eek

Every scar on his face.
Every ding in his armor.
Every scratch on his boots.

Even shows the belly-box is thicker at the bottom than at the top... there's another revision two fix. :unsure :lol

Rahm_Kota_HiRez.jpg


~ Vonnor
 
Back
Top