Jedi General Rahm Kota

Koda Vonnor

Well-Known Member
I just found this forum today. Very cool place!

Since I'm re-creating this costume, I wanted to post progress as I go.

1_bg.jpg


(Most of the following posts copied from the Rebel Legion forum)

~ Koda
 
Last edited:
Here is a working sketch of the breast plate. It's a slightly expanded view due to the curve of the body and will look a bit skinnier when it's finished, but I wanted to have something to go on when I put the clay to the plaster armature.

RahmKotaArmor_Breastplate.jpg
 
I had these machined from PVC and aluminum...

RahmKotaArmor_BellyBox.jpg


Bandoleer_Buckle.jpg


Bracer_Box.jpg


EdgeStrips.jpg


The belly box needed to be done before the chest armor was sculpted, as I will press it into the clay on the model so it leaves a slight depression in the final casting, making it easier to attach.

The edge strips need to be done before the arm bracers, as I will use them to thermo-form the sintra bracers.

The bandoleer buckle needs to be sent to my leather crafter so she can attach the straps correctly. It is a tad smaller than it should be, to scale the bandoleer to my shorter torso.
 
I made handequins from plaster bandages... that I sculpted the handguard armor on top of. I also made a tin mandrel to form the sintra bracers around. I did this type of thing with the bottom part of the Kyle Katarn Bryar pistol. I dipped the plastic sheet in hot water, then quickly wrapped it around this mandrel to get the final shape.

handequins.jpg

handequins2.jpg

bracer_mandrel.jpg

bracer_mandrel2.jpg


~ Koda
 
I made an "armequin" and started on the handguards. These were still rough sculpts but they showed the basic idea. In the only canon screenshots the handplates looked relatively thin compared to what the shoulder and chest plates looked like, so I crafted them accordingly. This was also mostly practice for me since it was my first time working with clay.

The pencil line on the armequin was drawn perfectly vertical while I wore it, and along the virtual centerline of the arm from front to back. The plan was to sculpt the shoulder bell symmetrical along that line, so I didn't have to mess with separate left and right. I could cast one, sand it down and take a mold of it, then cast the other from the first one.

Kota_workbench.jpg

Handplate2.jpg

Handplate1.jpg

Armequin2.jpg

Armequin1.jpg
 
These are the parts from the machinist. From right to left, here's the rough cut bandoleer buckle (bottom view), belly box, and closure assemblies for the bracers (bottom view).

kota_kostume_parts_900w.jpg


~ Koda
 
Version 2 of the belt...

Kota_Belt_03.jpg

Kota_Belt_04.jpg


Love how the weathering came out! :mrgreen:

...and a rough bracer...

I still have to smooth the edges, fill that small gap, line it with neoprene, sand-paint-n-weather it... oh and build the other one too. :confused

Wanted to show how the closure works. I'm quite proud of that design. :mrgreen:

Kota_Bracer_rough_03.jpg

Kota_Bracer_rough_04.jpg

Kota_Bracer_rough_06.jpg

Kota_Bracer_rough_07.jpg


~ Koda
 
These photos are, among other things:

- Incentive to lose that belly-roll
- A revelation that my body lacks symmetry
- A study in 3-Dimensional curves and intersecting planes :confused

Chestequin_front.jpg

Chestequin_3QR.jpg

Chestequin_R.jpg


~ Koda
 
This shows the rough extents of the shoulder bells. I cut templates out of poster board so I could get the curved edges and cross-sections just right.

Clay_Shoulder_Rough_01-900w.jpg

Clay_Shoulder_Rough_03-800w.jpg

Clay_Shoulder_Rough_04-800w.jpg

Clay_Shoulder_Rough_05-800w.jpg

Clay_Shoulder_Rough_07-800w.jpg

Clay_Shoulder_Rough_09-800w.jpg


~ Koda
 
Here are some more shoulder armor progress pix:

I smoothed down the surface and added mold walls around the edges. Those defined the 1/2" thickness of the finished pieces.

Clay_Shoulder_Finished_02-800w.jpg

Clay_Shoulder_Finished_03-800w.jpg

Clay_Shoulder_Finished_06-800w.jpg

Clay_Shoulder_Finished_09-800w.jpg

Clay_Shoulder_Finished_07-900w.jpg


~ Koda
 
Last edited:
Back to he handguards.

I cut out the right side and shaped and smoothed both. Then I hot-glued cardboard walls around the clay and covered both assemblies in clear gloss spray paint. I mixed up some plaster and poured it into the little cardboard "bowls."

Out came the handguard molds! :D

Clay_Handguards_Finished_01-900w.jpg

Handguard_Molds_01-900w.jpg


~ Koda
 
Took casts of the handguards, I mixed up gray colored gelcoat (3wht/1blk) and laid it onto the molds, then practiced layering in fiberglass. Put in 4 layers and finished them off with another layer of gelcoat. The surface got a lot of brushmarks in it. I think I used too much sealer or mold release or something. I'm sure I can sand down the brushmarks.

I also cast the hard model of the shoulder piece. I made my own gelcoat for this one (1bondo/1resin) and did not use a brush to spread it into the mold. I just poured it in the "bowl" and kept rotating it all around 'til the gel started to set up. This left only a VERY thin coating around the edge undercuts, so I mixed another batch and made it thicker (2bondo/1resin). This coat I brushed in and after it started to thicken I pushed more into the undercuts. I layered in the fiberglass (3-4 layers) and finished off the undercuts with a VERY thick paste (4bondo/1resin). I want to let it harden overnight before I crack it out of the mold.

I'm building up the inside with clay and have sanded the outside smooth. I will make a two-piece shell mold from that. I'm going to make the final shoulders out of poured feather-weight plastic.

You can see the fiberglass layers in the photos.

bellMasterCast_01_900w.jpg

bellMasterCast_03_900w.jpg


~ Vonnor
 
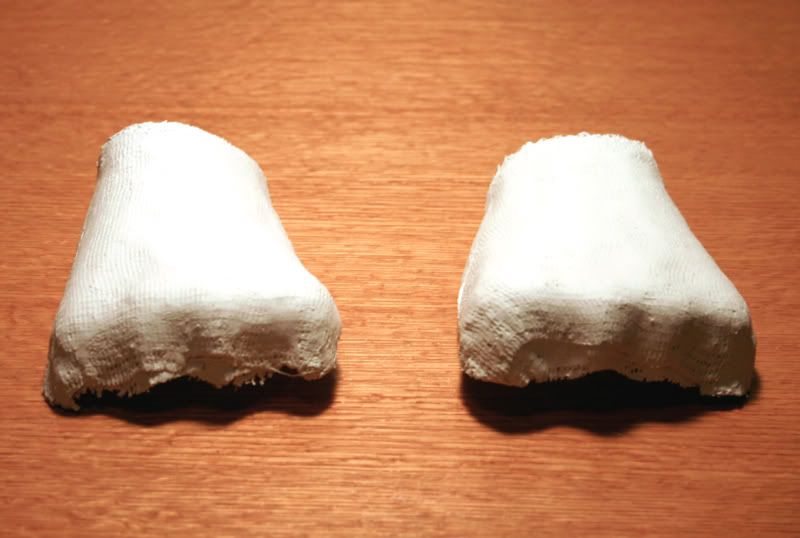
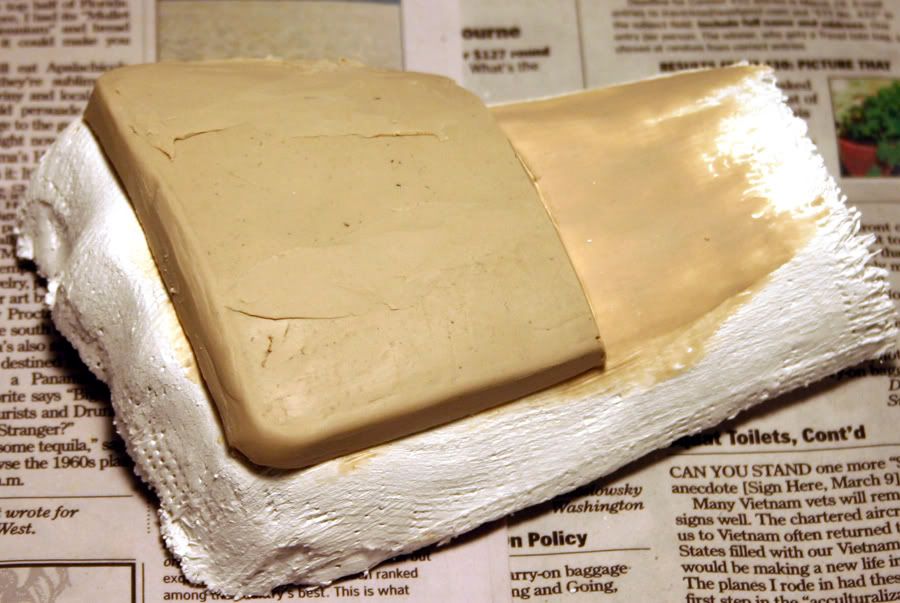
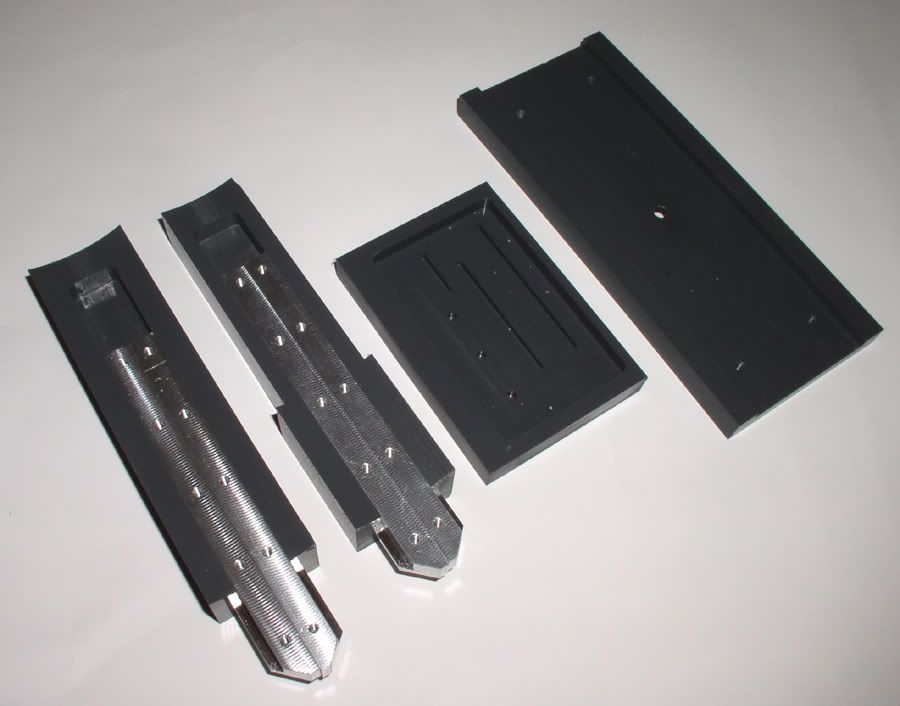
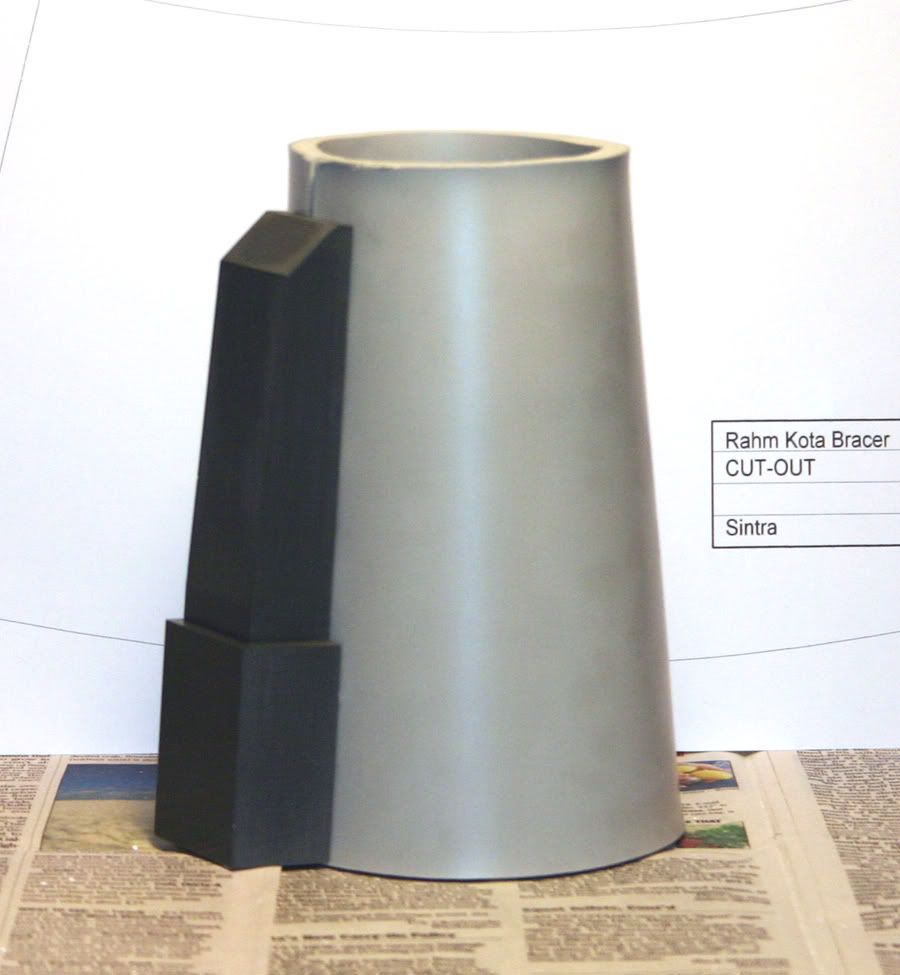
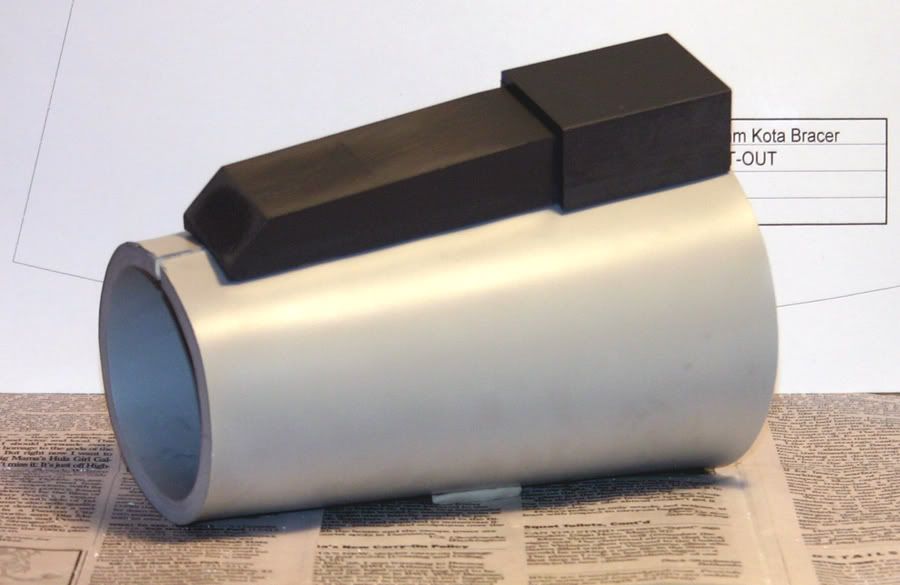
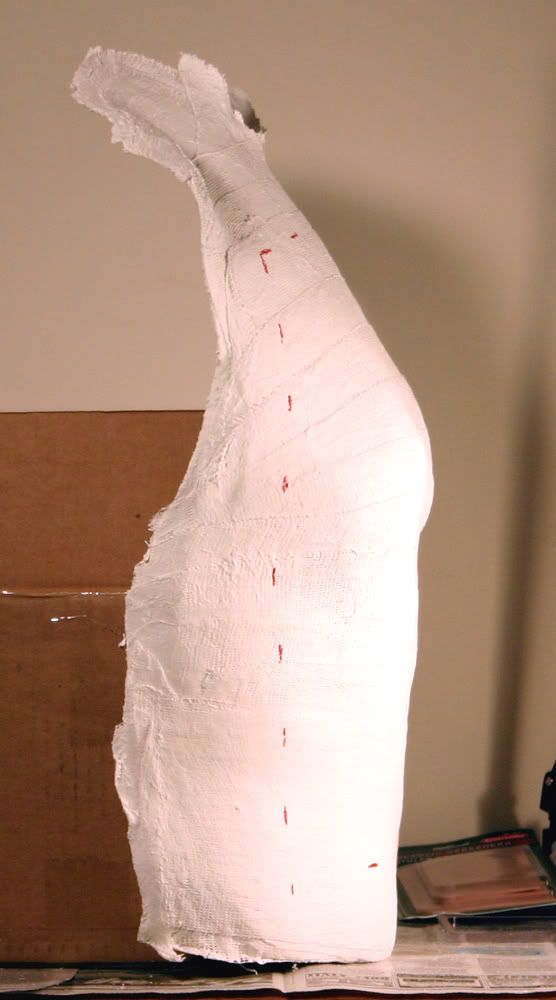
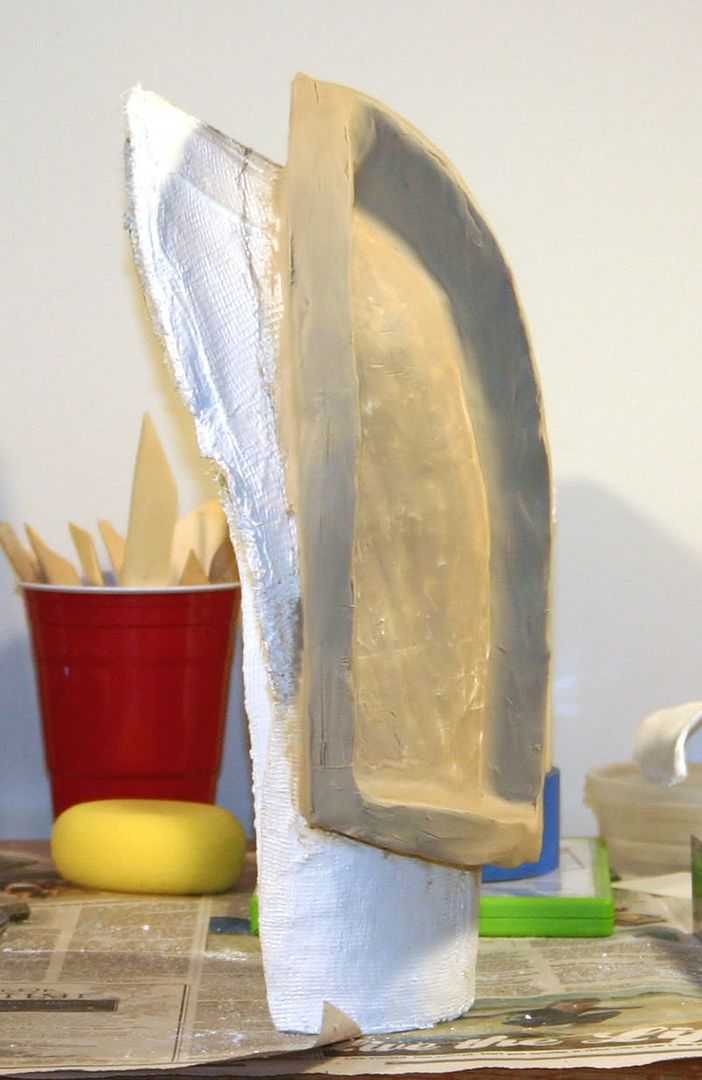
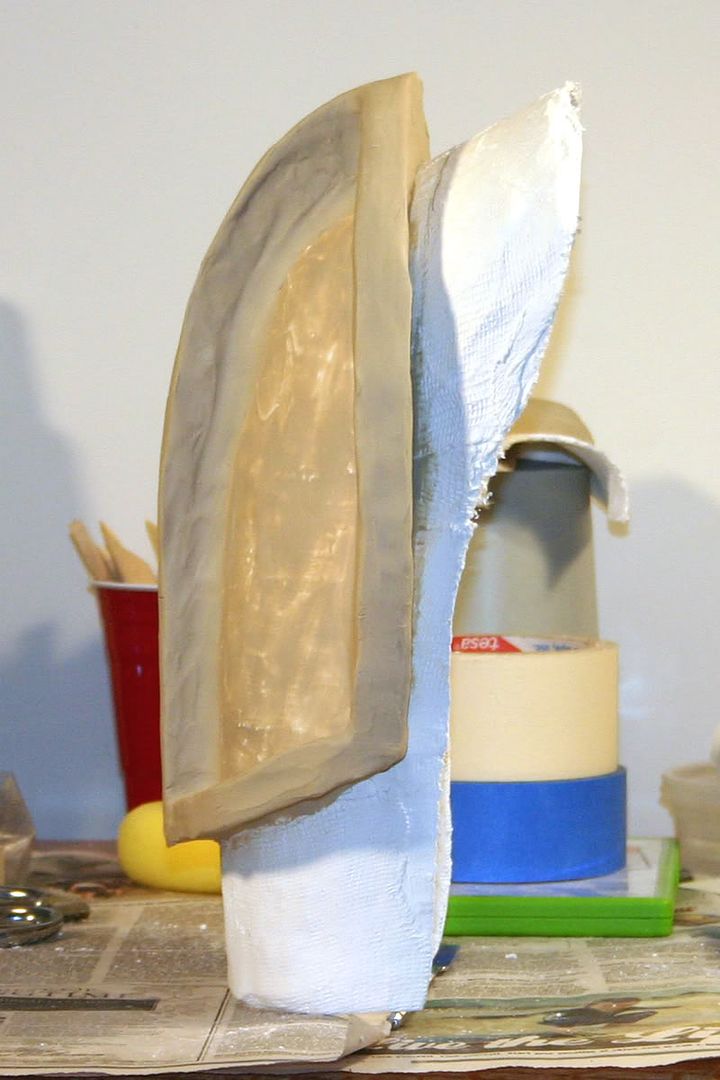
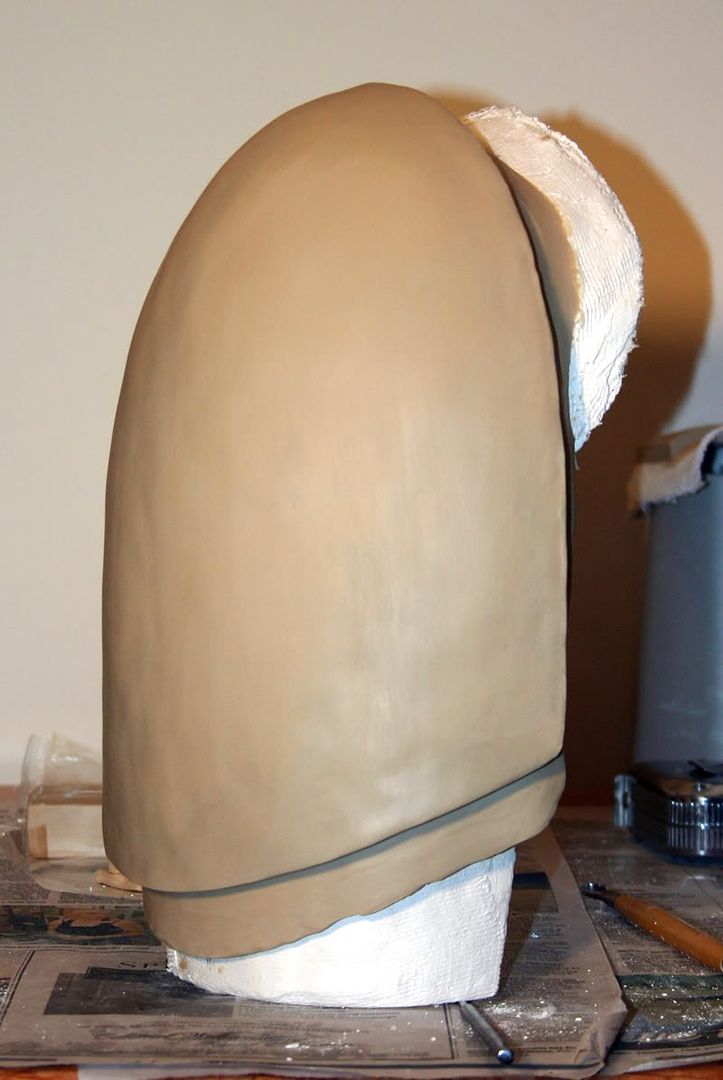
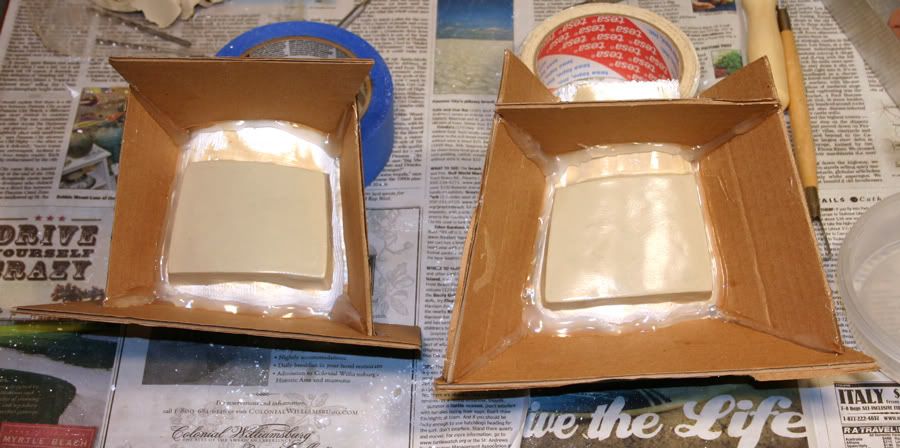
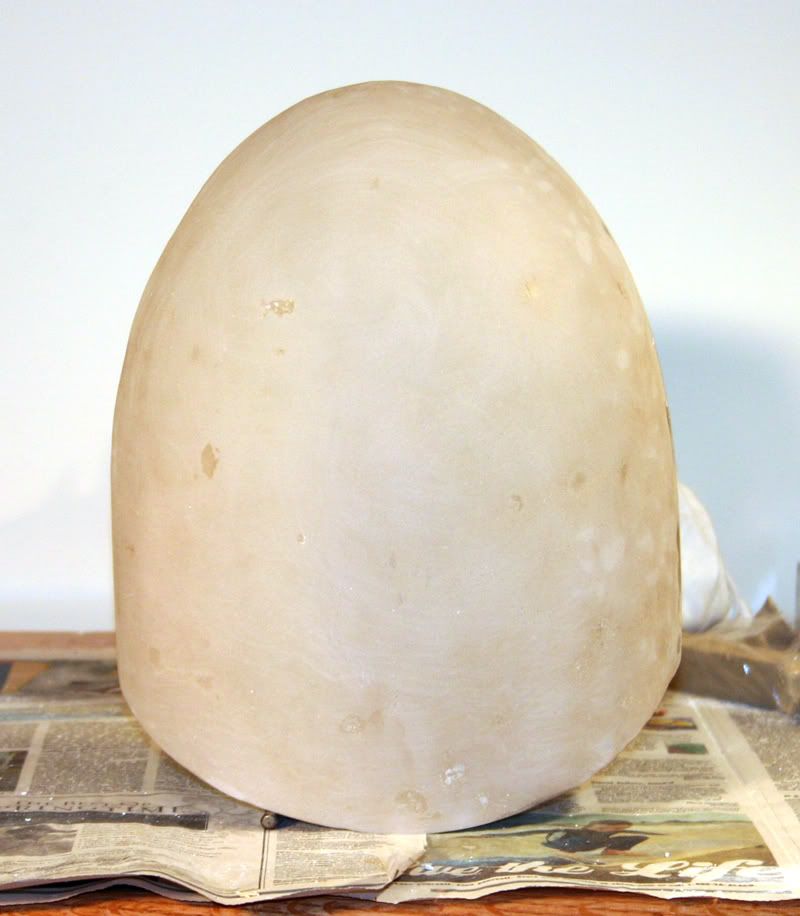
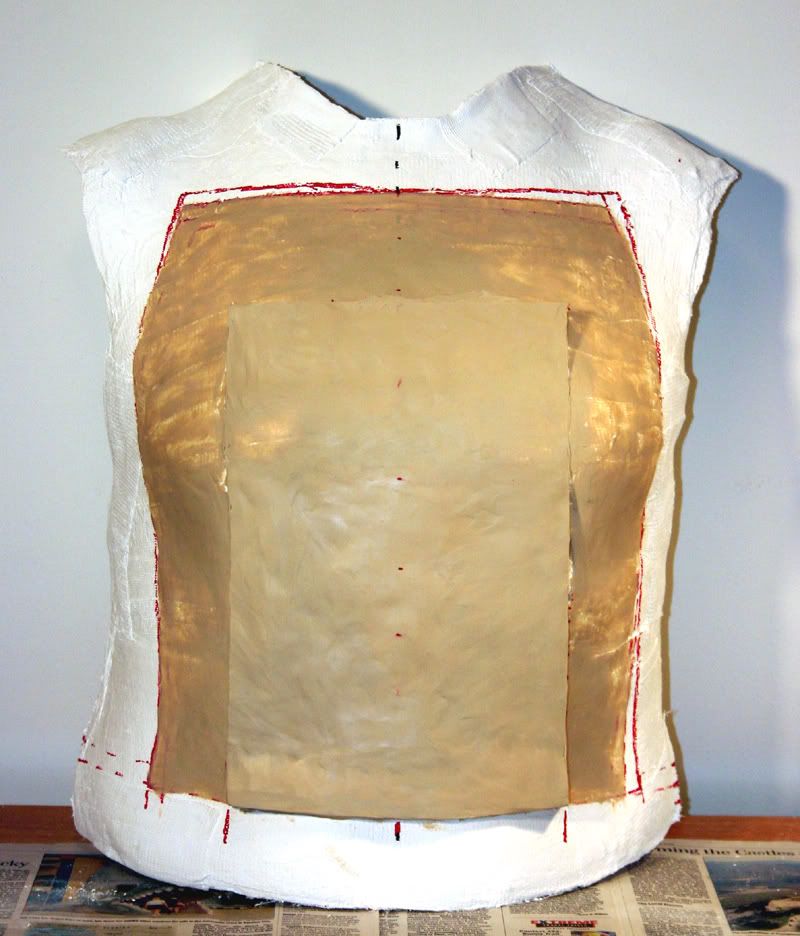
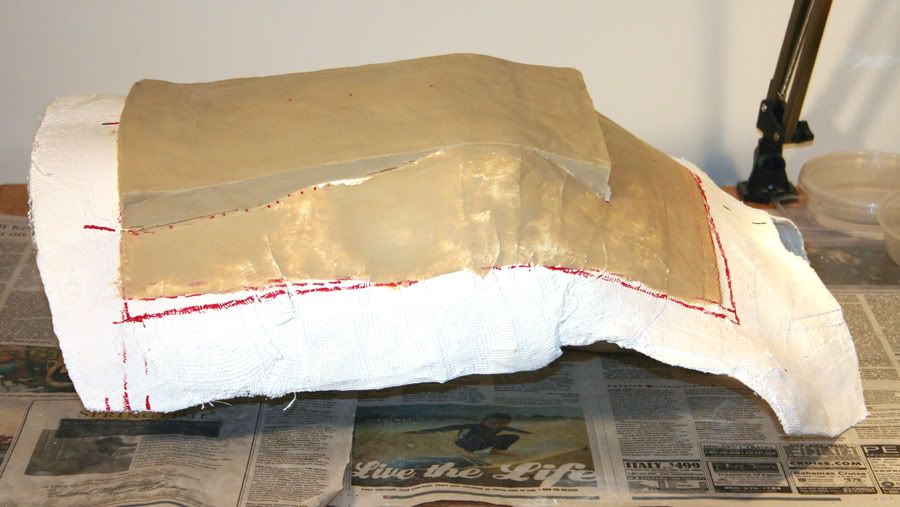
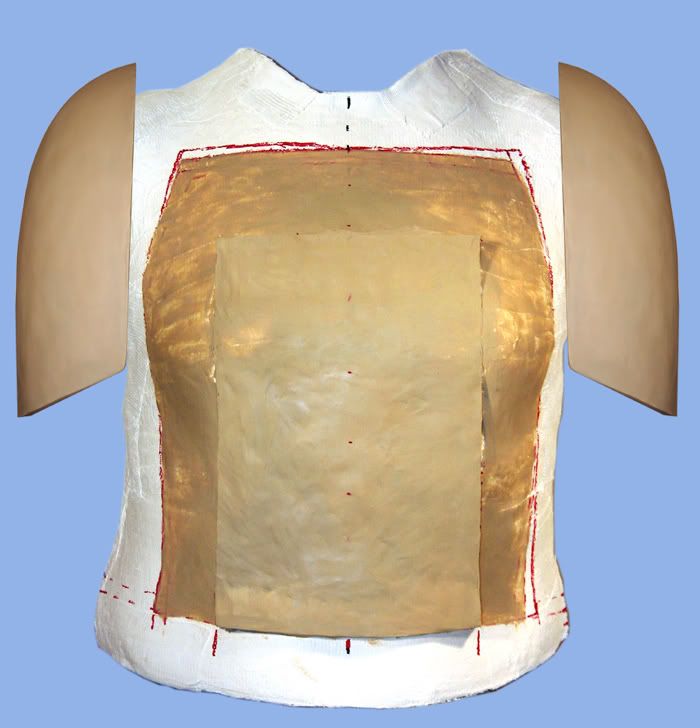
Here's the hard model for the shoulder bell...

bellMaster_01_800w.jpg

bellMaster_03_800w.jpg

bellMaster_05_800w.jpg

bellMaster_07_800w.jpg


I still have to shape the curvature better and smooth out the surface some more, but it turned out decent and workable. I will fill in the back side with clay to about half inch thick overall, then make a two part mold to cast the final pieces.

Lessons learned:
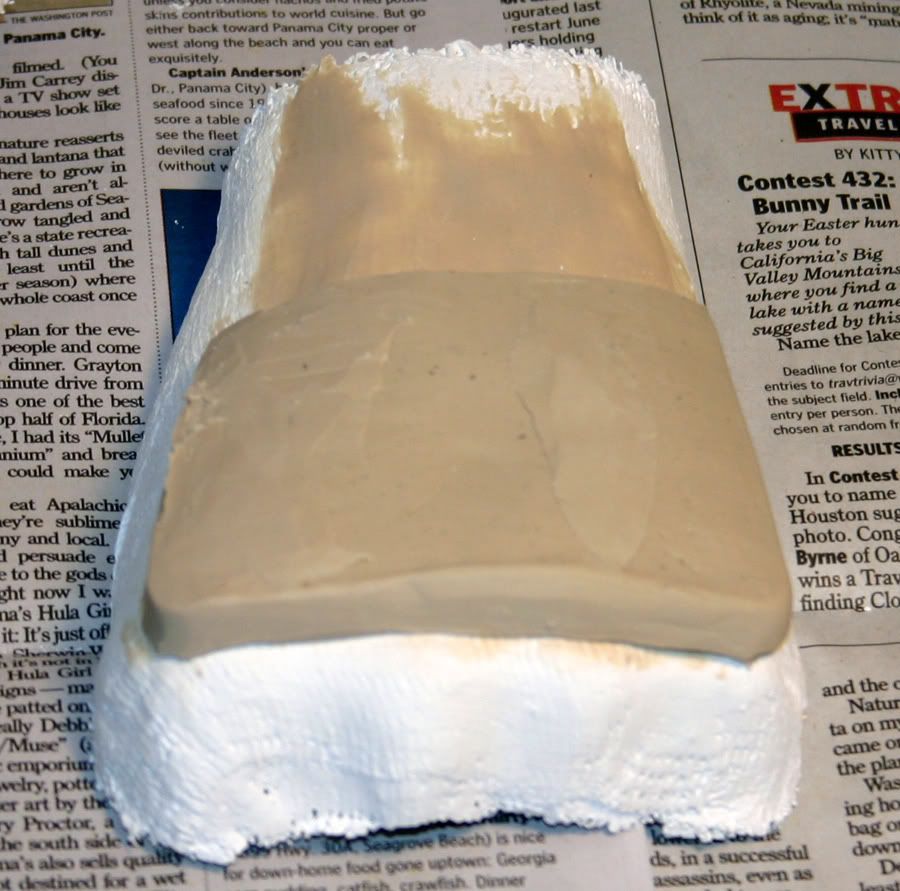
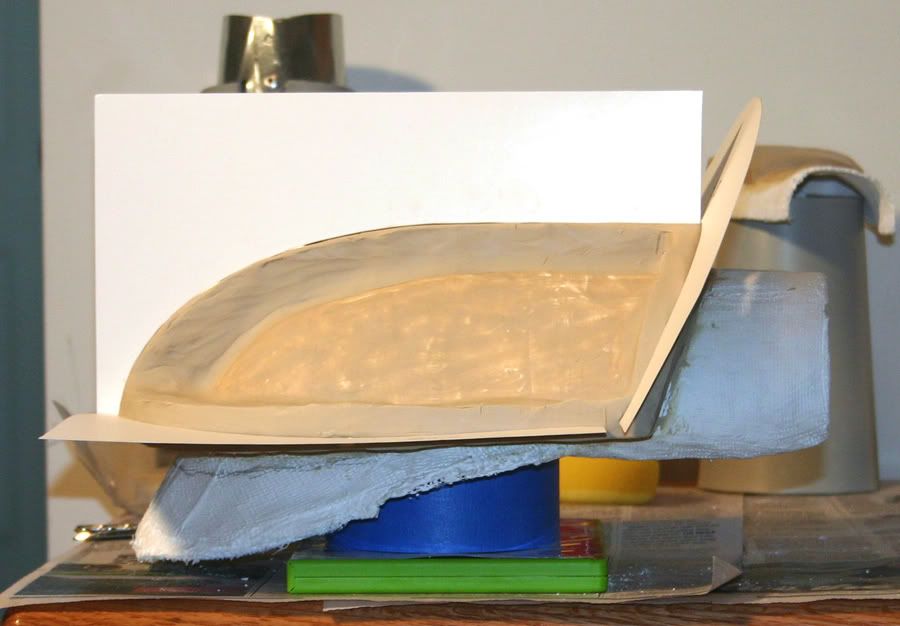
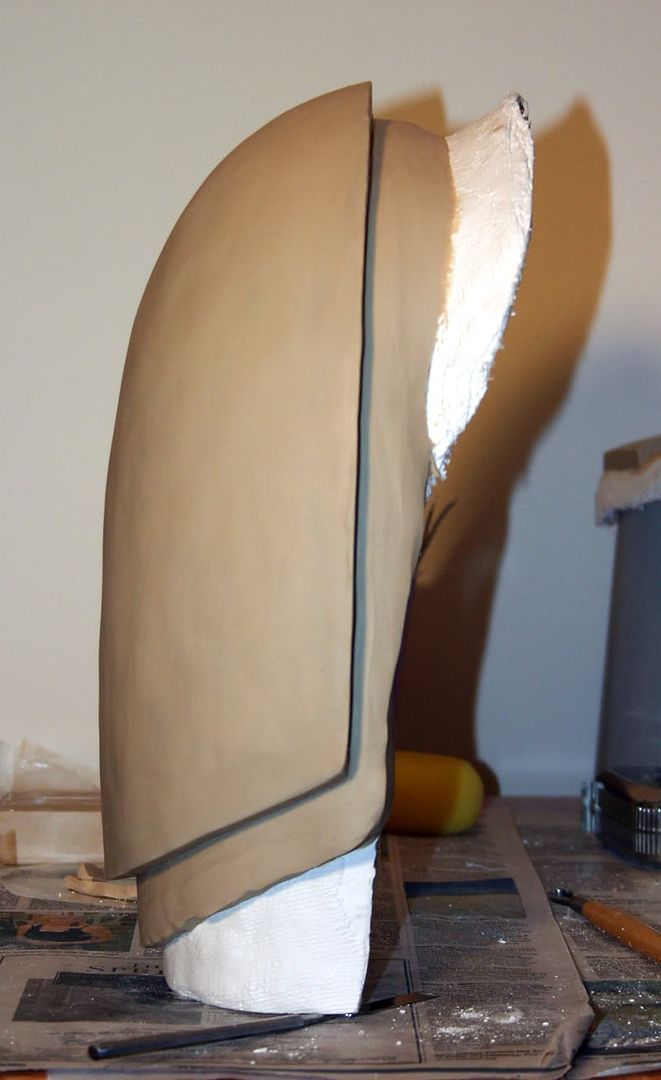
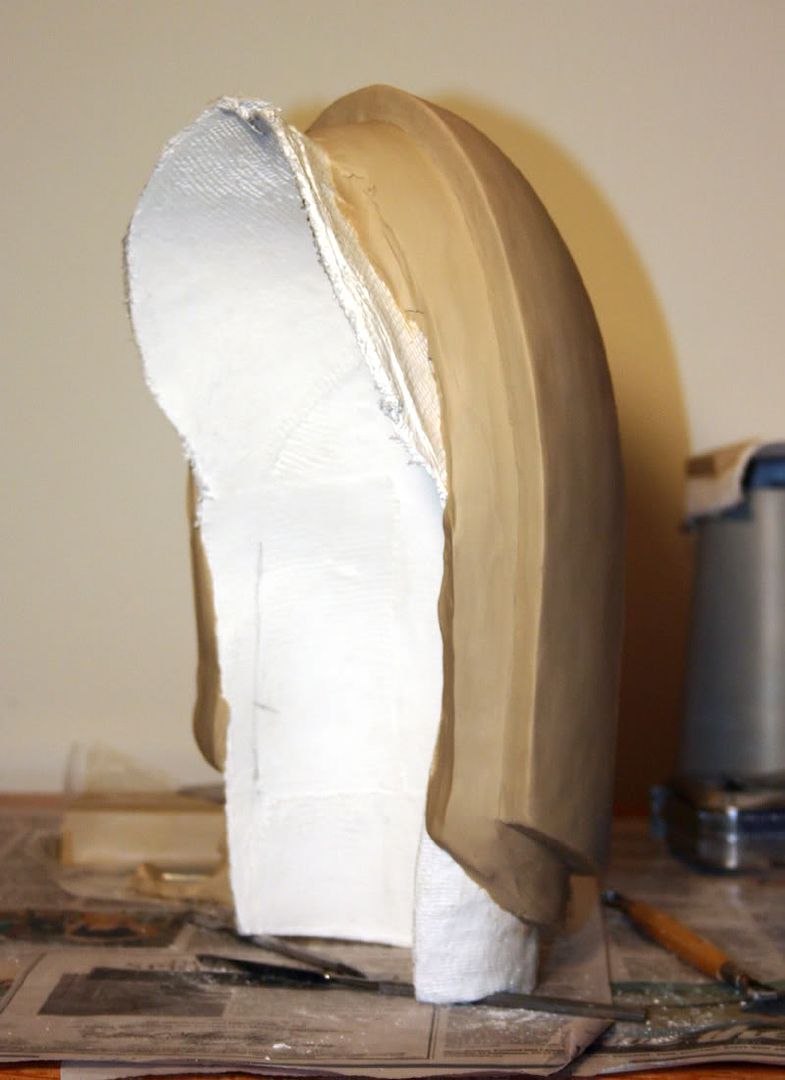
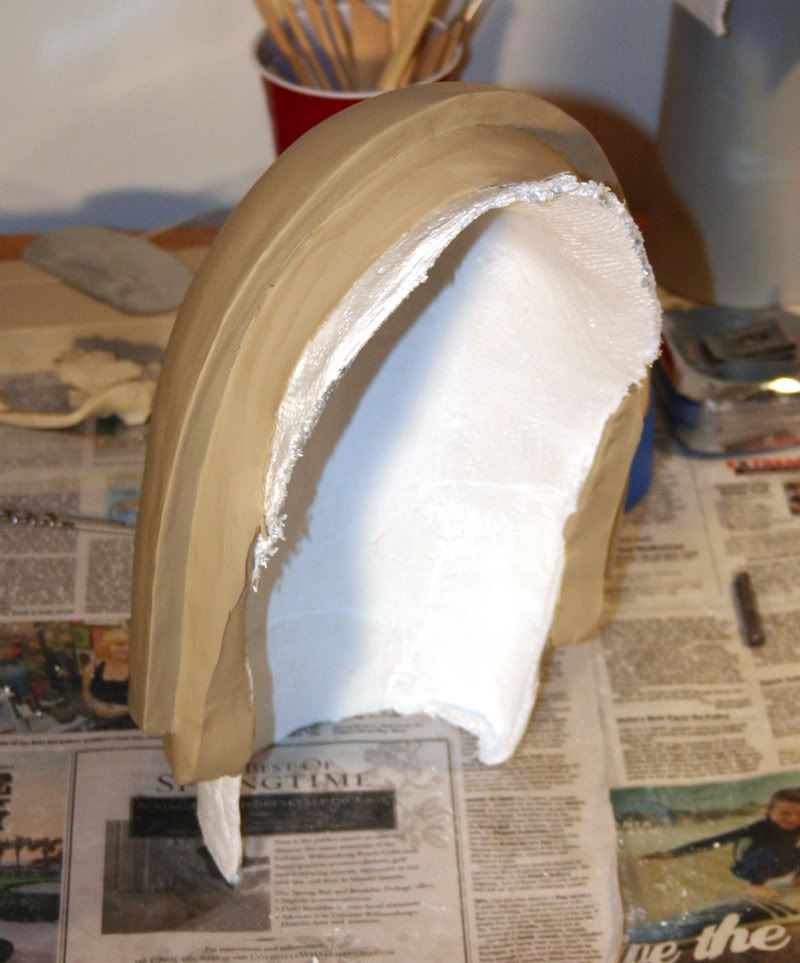
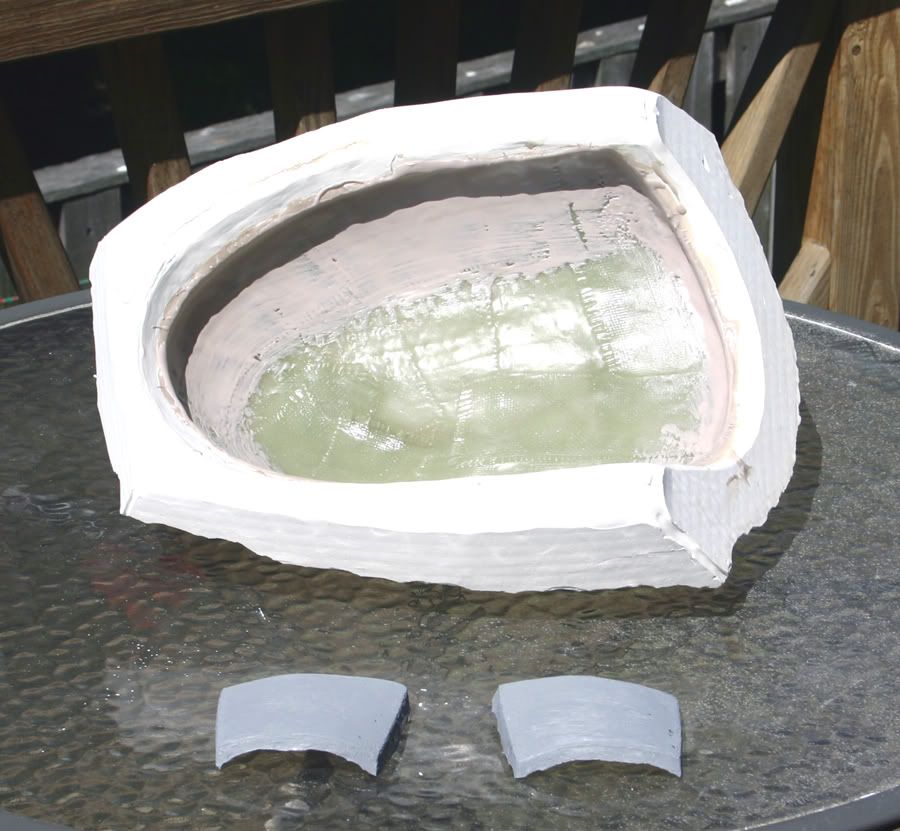
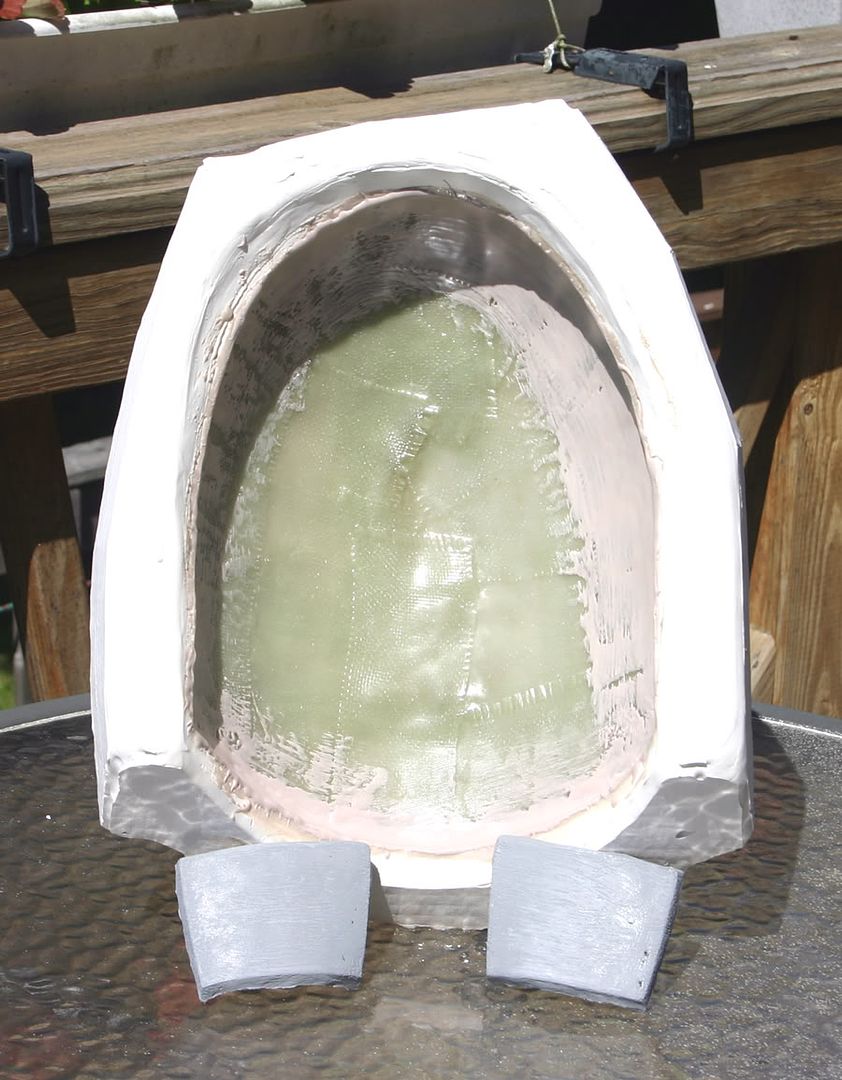
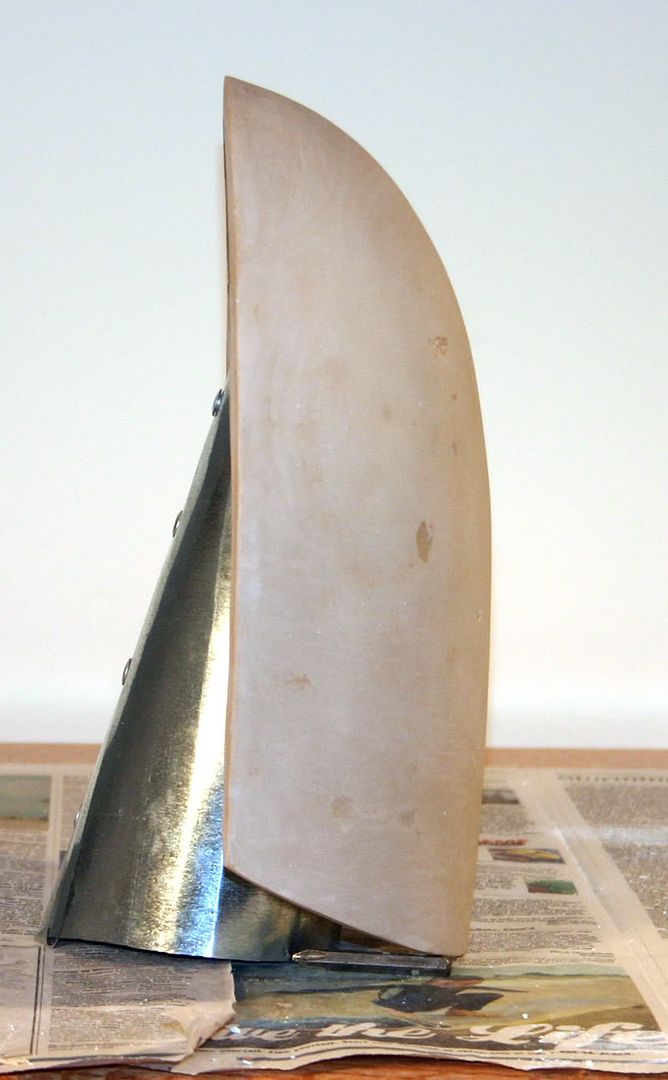
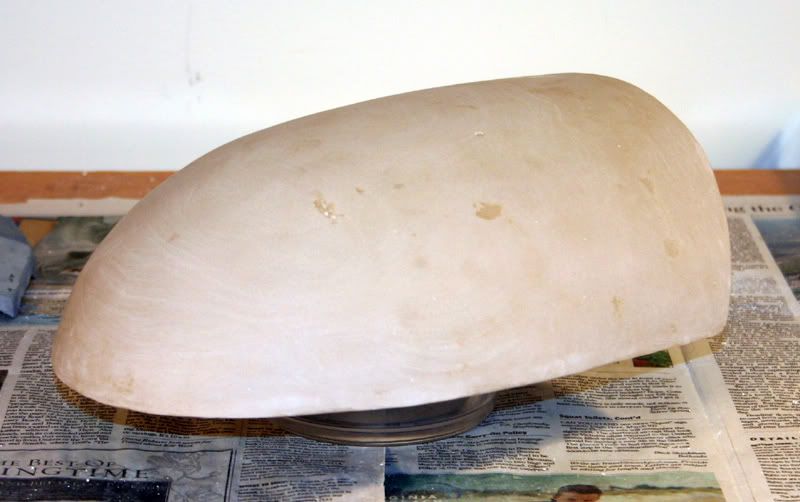
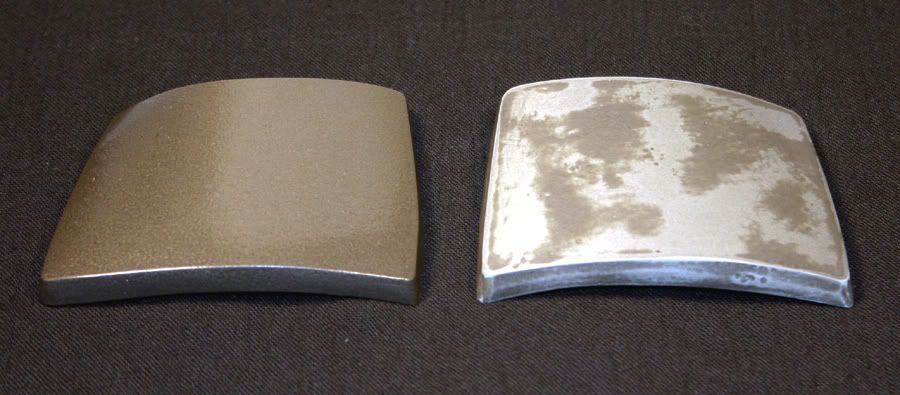
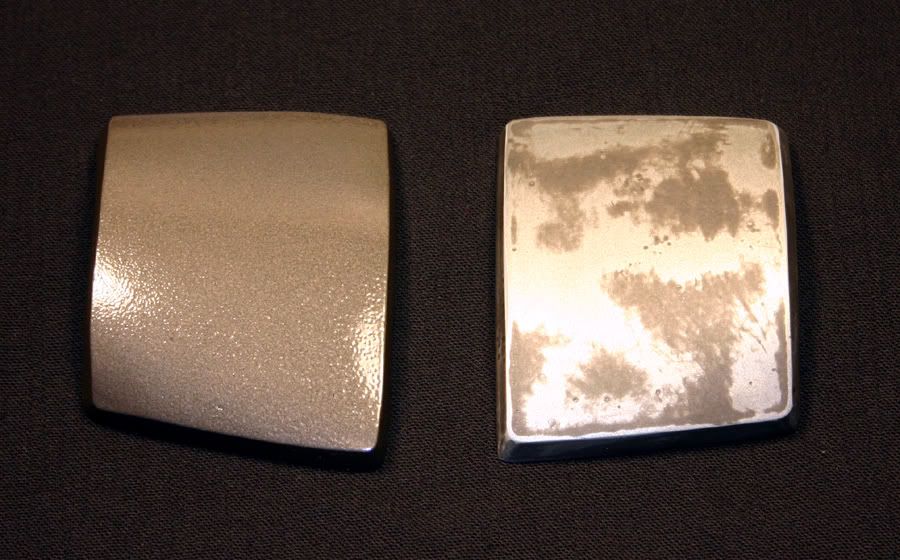
- You can see in the pix there are a couple dozen low spots, 5-6 of which were from pockets of un-cured resin. I know what I did wrong there, I mixed the bondo hardener and the resin catalyst in the same cup that I mixed the bondo and resin in for the gelcoat, then poured the whole mess into the mold. I should have poured the homemade gelcoat into another cup before adding the hardener. There was some unmixed resin on the sides of the cup that got into the mold as I poured. :confused

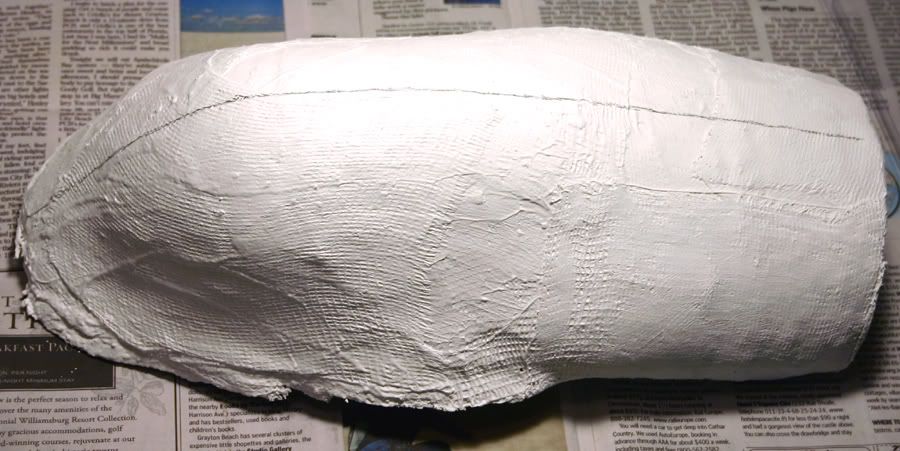
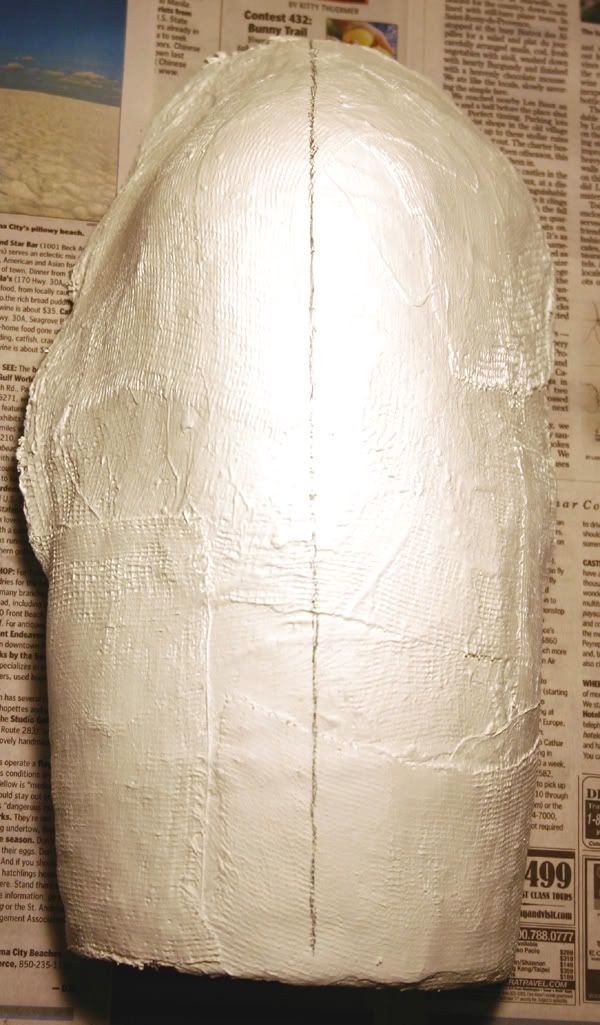
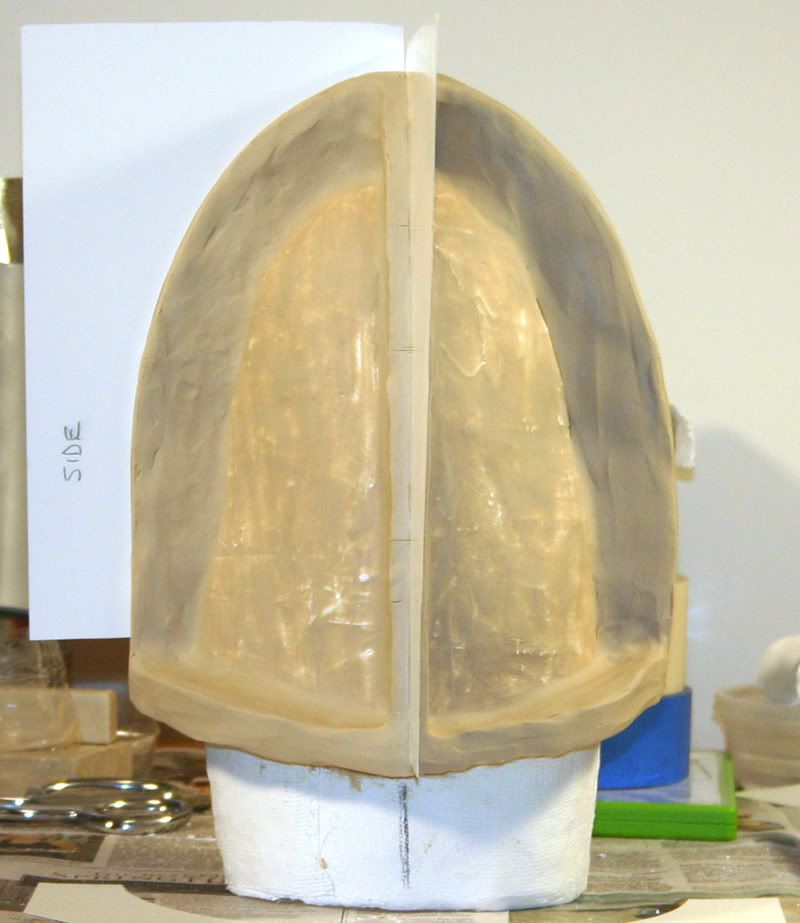
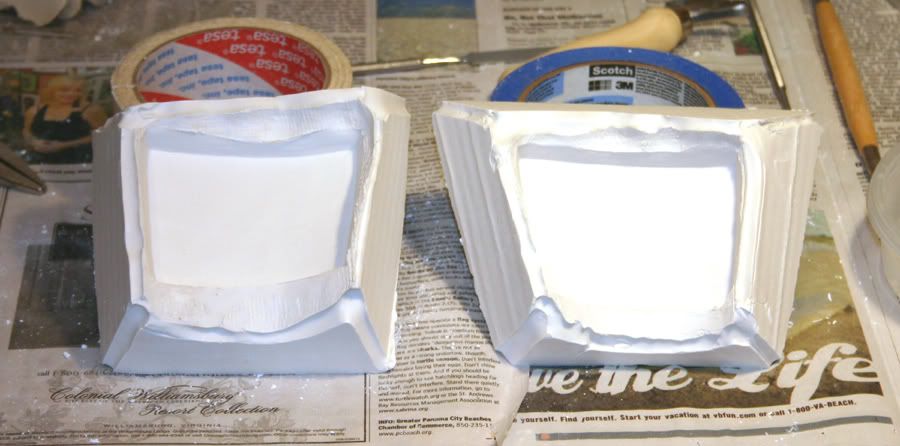
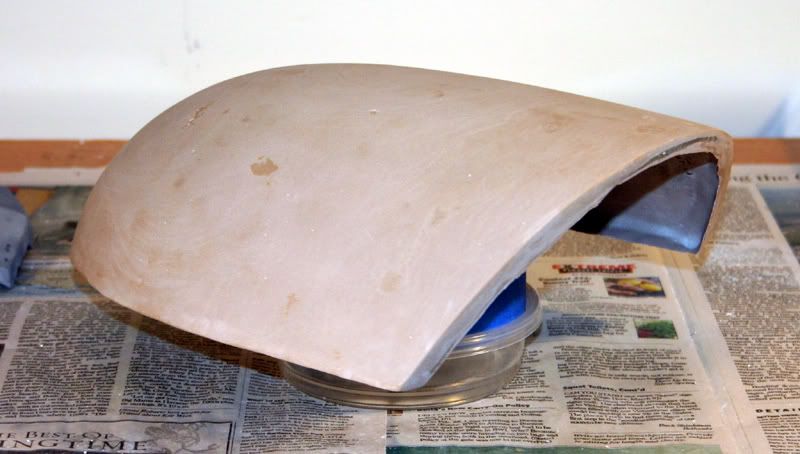
- I should have left the plastic harden overnight before breaking it out of the mold. When I did the handguards they shrunk a tiny bit as they cured, and popped right out of the mold with no problems. I only waited like three hours. When I demolded it there was a boatload of plaster totally stuck to the model. Also, just from jockying it around to try and break it free, I put several cracks in the bondo edges. Luckily, the plaster was pretty easy to scrape off and the cracks I can fill with epoxy.

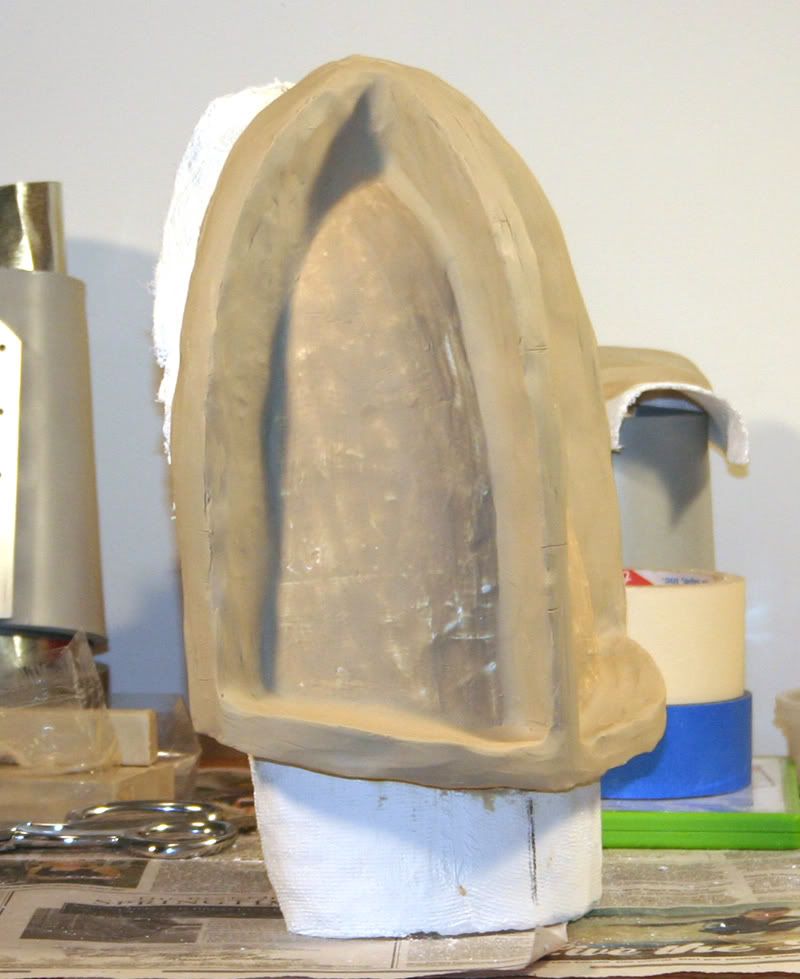
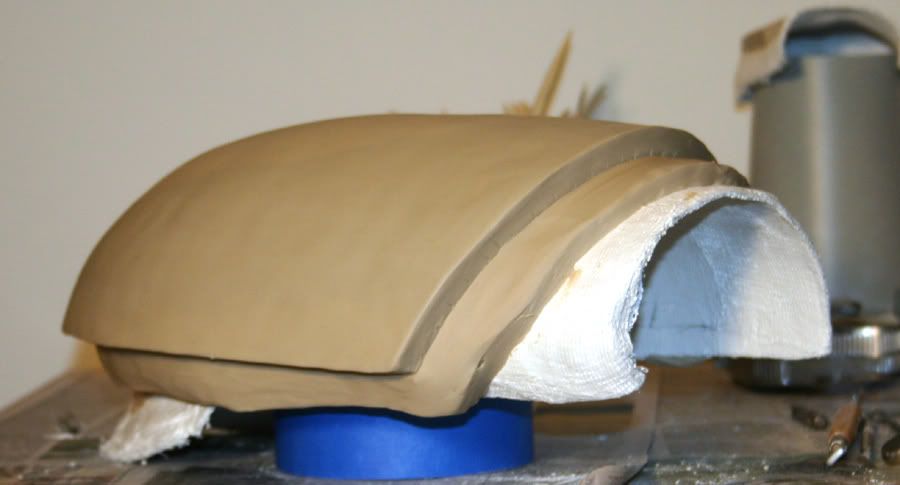
I'm sorely tempted to leave the low spots in the model. With a little creative weathering they could be blaster dings.

~ Koda
 
List of remaining project tasks:

- finish chest plate sculpt
- seal/wall/mold chest plate
- cast chest plate
- shape/smooth chest plate
- paint/weather chest plate
- make silicone/plaster shell mold for shoulders
- cast shoulders
- shape/smooth shoulders
- paint/weather shoulders
- attach inner form padding to shoulders
- re-form bracers
- fill/shape/smooth bracers
- paint/weather bracers
- build/paint neoprene wrist seals
- modify gloves
- build undertunic
- build outer tunic
- build tabards/capes
- build armor harness
- attach velcro to armor/harness/tunic/gloves
- design/fit bandoleer
- shape/smooth bando buckle and belly-box
- greeblify bando buckle and belly-box
- paint/weather buckle and box

yeah... I'm thinkin' 2012ish. :rolleyes
 
Last edited:
looks good so far. Can't wait to see how the rest turns out. I really dig the look of this guy. Should be something fun to see fleshed out.
 
This thread is more than 9 years old.

Your message may be considered spam for the following reasons:

  1. This thread hasn't been active in some time. A new post in this thread might not contribute constructively to this discussion after so long.
If you wish to reply despite these issues, check the box below before replying.
Be aware that malicious compliance may result in more severe penalties.
Back
Top