wristracer
New Member
Wow, great work!
I want to build this right the first time with the correct dimentions.
") :thumbsupthumbsup
:thumbsupthumbsup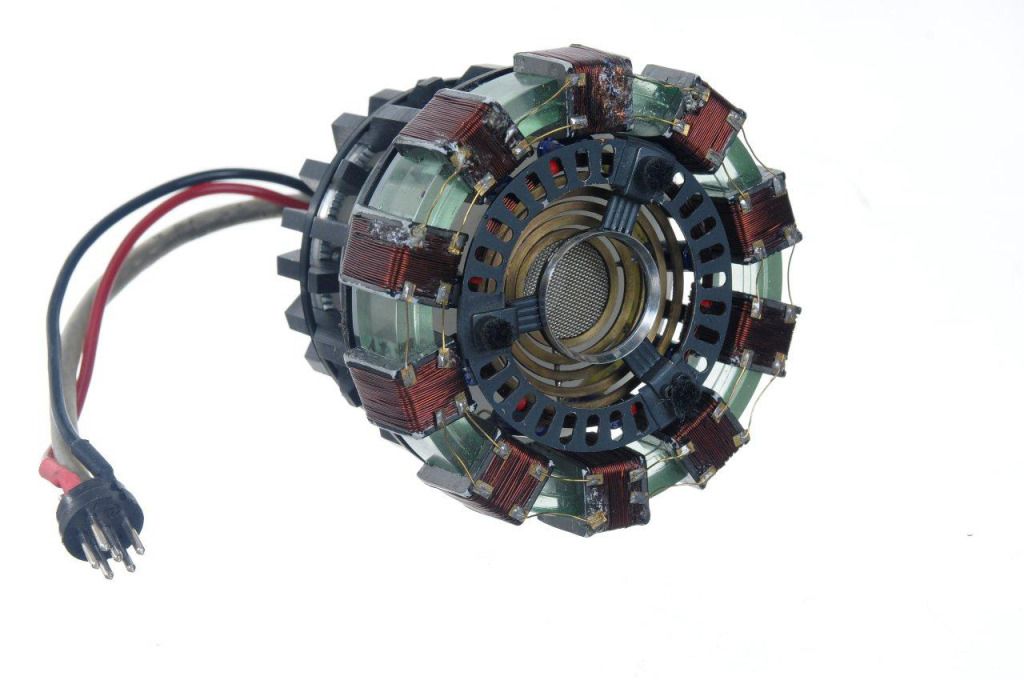
Hi dmaul,
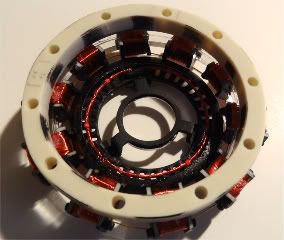
You have an absolutely fantastic build there...
Though I want to know/see the reference photos you have as your basis for accuracy. Your awesome build is the kind that I would not want to see less spot on or less accurate as I've read from your above quote that you want to build it right the 1st time.
I dont know if its just me, but I see some of the parts on your build seems different from the screen used arc reactor.:confused
If it was intended to be that way, please disregard what I've said.
Nevertheless, you have an extra-ordinary skill... keep building
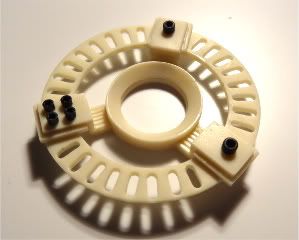
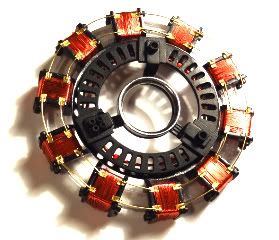
I hope this is the same photo you have for accuracy reference...
cheers!
You're in the home stretch!