How do you guys get such great photos of your props?

DerekH

New Member
Not sure if this is the right place, since this is a more general question, but I notice that in a lot of the build logs and such that you guys are some great photographers. How do you do it? I assume there is more to it than just some decent camera, but try as I might I have yet to get any decent photographs taken of any of my items.
 
The most important thing in photography is lighting. Without good lighting even a $3000 DSLR won't take good photos. For the best results you will need diffused lighting (either a soft box around the light itself, or have your prop inside of one and shine the light through that). You can build one yourself for a couple of dollars, or spend a few hundred on a studio setup.
 
I take a TON of photos when I'm photographing something. Unlike film, with digital it's easy.

I use flash, no flash, every angle I can think of, micro setting, close-up, far away but with the zoom, everything.

Then I dump all the photos and sort through for the best ones.

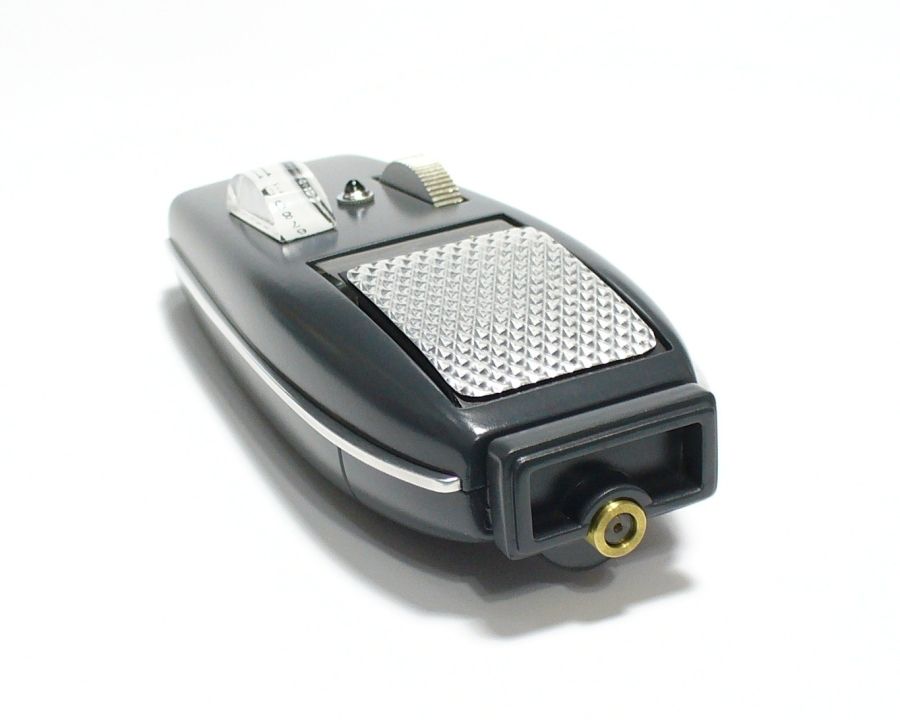
This is one of my favorites:

oldben010-vi.jpg
 
Don't use a flash is my first rule. If not enough light open your aperture up or slow your shutter speed or combination of both. If you need better depth of field keep your aperture closed down as much as possible, slow your shutter speed and put your camera on a tripod so the image doesn't blur.

Make sure the light falling on the object is interesting and shoot the object from an interesting vantage point.

Try to photograph in natural light (in front of a window or outside), unless you are going for a low key contrasty or dark look.
 
I'm no expert photographer, but I do take a fair number prop/display photos in my work.

A tripod is definitely the best "first step" to improving your pics. Being able to shoot w/o a flash is really crucial to going from looking like a "snapshot" to looking like a "photograph" IMO.

That said, there are times where a flash just works for a particular item, so don't be afraid to experiment.

Another neat trick is to lock down your tripod and take the pic TWICE, once with flash and once w/o and then mix the two images in photoshop so you have have some of the benefits of the flash w/o the harshness.

Hope that's a little help!

Tom
 
No Flash.
Natural Light
Take plenty of shots
Adobe Photoshop

This formula has worked for me for years. As said above, a tripod will help.
 
i just got myself a new canon ixus 100 12mp compact.

waiting for a tripod to arrive also.

i consider myself to be a novice in the photo department, can someone explain the iso settings to me and when would i use the lowest and highest settings.

i do prefer to take pics without flash as the images seem to get washed out.


if i do get i good pic i just count that as being lucky. :unsure

-z
 
In general, it's best to keep the ISO as low as possible and play with other settings (aperture and exposure time). I try to leave the ISO on 100 most of the time. The main reason for this is that a higher ISO can make grainy pictures. 200 - 400 are probably okay, but anything higher and you want to make sure you look at the pic on a computer before you stop shooting. It'll look fine (probably) on the little camera screen, but seen on a computer monitor it might look a lot different. (Of course, this also depends on the look you want. If it's a prop from 300 you might want the grain. :) )
 
and what most people forget is to set the MACRO function on :lol

.
 
Last edited:
Yes remember the Macro setting.
Some of my wip model pix I use flash or a florescent light over the parts.
I usually take several pictures with different lighting than sift through them then use photoshop for sizing and clean up.

hatchframe.jpg

wooddeck2.jpg

0012.jpg

003.jpg


Taken with a Canon SX110 IS

D6
 
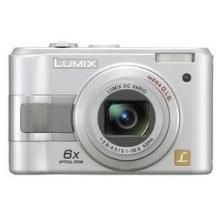
You really don't need a DSLR to take good pics, though it certainly wouldn't hurt. I use this little 5MP Panasonic for my prop pics.
Lumix.jpg

The big drawback is ISO settings. It works great at 100, but higher settings, for low light, have too much "noise". It makes the pics look grainy, so I stick to 100 and light accordingly. DSLRs have larger sensors and don't have nearly as much noise.

Here's a phaser I finished recently, no flash, lit from above by a daylight fluorescent lamp. The light is a bit harsh, I'm gonna start using some kind of diffusion.
Alley-17.jpg


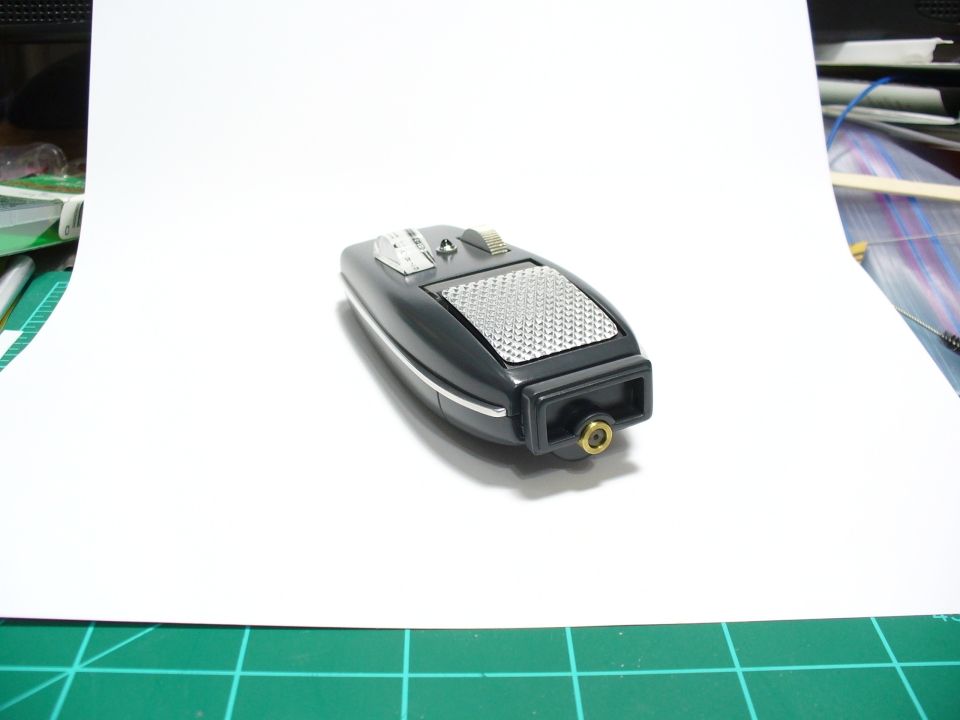
I took this on my work bench, the white backing is a 8.5x11 sheet of matte photo paper. Here's the shot before it was cropped.
Alley-17a.jpg


I don't have Photoshop, I use free programs like Paint.net and Picasa for image touch ups.
 
Whether you have a small point and shoot or a DSLR, the main things you need to watch in order to get a good picture are

1. Lighting - Halogen work lights, scoop lights, lamps, it doesn't matter too much as long as you take the time to set it up. By set it up, I mean move the lights around until it looks interesting, add and take away lights until it's bright enough for your cam, etc.

If you're having issues with harsh unflattering light, either diffuse the hard light with something like parchment paper (you'll find it in the baking section of most markets) or bounce the light off a wall/ceiling. I've never had issues with parchment paper (had it on halogens which get about as hot as any lights you'll deal with and never had a fire issue - still use at your own risk, which is why I also suggest bouncing the light to soften it)

Avoid the flash whenever you can, but if you have to use it, diffuse it. Diffusion on the flash can really do wonders to keep the overall image from having the usual awkward hot spot.

2. Stabilize - tripod, beanbag, anything you can put the camera on or attach it to (so long as you can still set it up to frame the picture how you want it). If you can get the cam stable, you have alot more leeway to slow down your shutter speed if you don't have enough light - plus you just plain avoid the issues and frustrations you can get from camera shake softening an otherwise nice shot.

3. Composure - A well lit and perfectly stable shot can still be boring. So try to adjust lighting to get some cool shadows, contrast the subject from the background, angle things. Really just take a bunch of pictures in totally different setups until you get a feel for what you like and how you want your pics to look.

4. Settings - If the cam is stable, there's light on the subject and your shot is actually setup in an interesting way (prop in this case) your main worry left is how the settings are going to affect your picture.

ISO - keep it as low as you possibly can. In darker settings, the ISO will go up to brighten the picture, but it will add grain/noise which can trash an otherwise decent picture. For most digitals anything over 400ish is starting to push the limit of where the noise will become too noticeable - for DSLR's you can usually push a little farther toward 600 or 800. You're still better off not chancing it, as all cams introduce noise differently and in different quantities - so just add more light and keep the ISO low.

Aperture - If you stabilized the cam, focus more on aperture than shutter speed (so if you don't have a manual mode, but you have an aperture priority and shutter priority mode, go with aperture). Your aperture will both brighten/darken the picture as well as chance the depth of field. If your cam is stable, you'll focus on using it for depth of field. Basically, close the aperture more (higher numbers) to increase the depth of field (more stuff is in focus) and open the aperture up (lower numbers) to decrease the depth of field (shallow - much less stuff in focus).

Shutter Speed - If you focus on the aperture and stabilize the cam, you just need to change the shutter speed until the picture is properly exposed. You shouldn't be getting motion blur with stationary props, so I won't go into balancing shutter speed and aperture for a moving subject.
 
Not a pro Photographer ata all (& it shows)
i have no idea what settings to use and barely know how to use a camera at all.
I use a cheap Olympus FE-210 digital.
that being said, I wanted to talk about flash a little bit.

I took pics of my Michell Engineering sweeparm
I used a flash on some & no flash on others.
I didn't think it would make that much of a difference, but maybe highlight some areas and show the details a little better.
as you can see in these pics, I was wrong
Flash
sweeparm012.jpg


No Flash
sweeparm013.jpg
 
a little out of topic, but this was used on a Prop right? Starwars maybe...

yes.
This item contains parts used on Boba Fett's costume
1. Knee Darts
2. Toe Spikes
3. Jetpack Stabilizer
4. Gauntlet Darts

It's a very desirable item for Fettheads
 
i must admit i had noticed camera shake was probably the biggest factor in poor shots i have taken, even if you think your holding it still, your not.

getting a tripod for xmas i'll maybe look into some decent lighting too.

-z
 
as you can see in these pics, I was wrong
If you're talking about the color cast being different on both pictures, that's a white balance issue. When the flash is on, the cam knows to white balance for its own bulb - which is at a known intensity and color value. When you aren't using the flash, you have to adjust the camera's white balance (should be at least a selection for types of light in the menu - sunlight, fluorescent, incandescent, etc.) to account for whatever type of light you have in the room. If you go through the white balance settings you can pick whichever one looks closest to right on the screen and that should fix the color problem.

Even better is if you have a manual white balance option - for that you just light everything how you'll want it, put a white piece of paper (printer paper, notebook paper, no huge deal so long as it's white) under the lighting, and select the manual white balance to set it for the exact lighting you have.
 
Back
Top