well self explanetory really, i have a matty board on order so until that arrives i decided to have a bit of fun, needless to say this bit of fun making a quick and simple board for my mags went a little ott......again.
so what happened.............well the intention was a simple board for my mag display, i did not want to use wood as i didnt want to have the grain visible - even tho that would add to accuracy, so tossing accuracy aside i decided to go as good as i can get with whats available both off the shelf, cheaply and more importantly ease of making.
so the material - i didnt want wood due to the grain, and the sheer weight of 25mm wood was not something i wanted in case at a later date i wanted to sell it on. Also with wood its a pain to get the marty boards angle without making and adding it to a bit of wood.
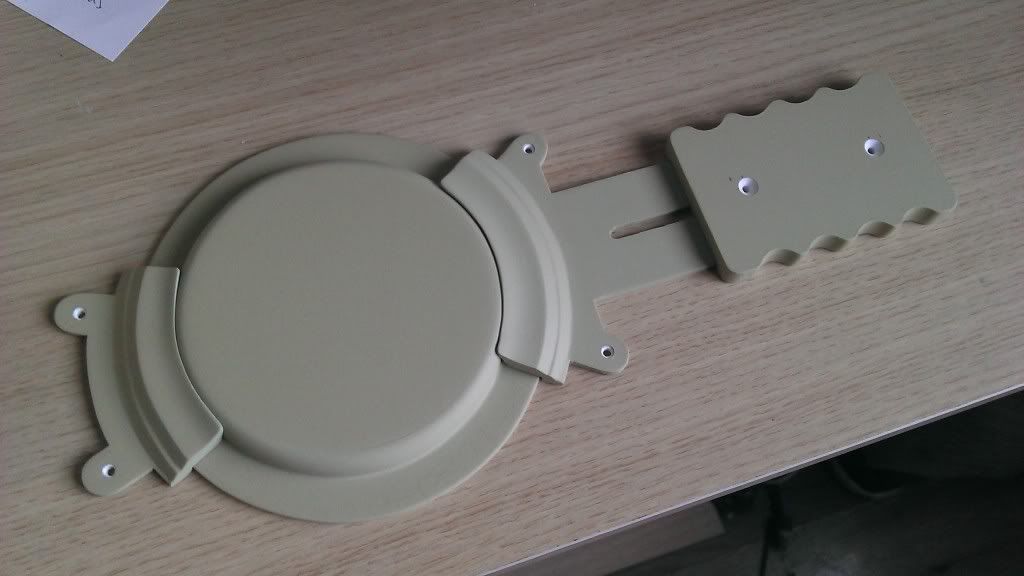
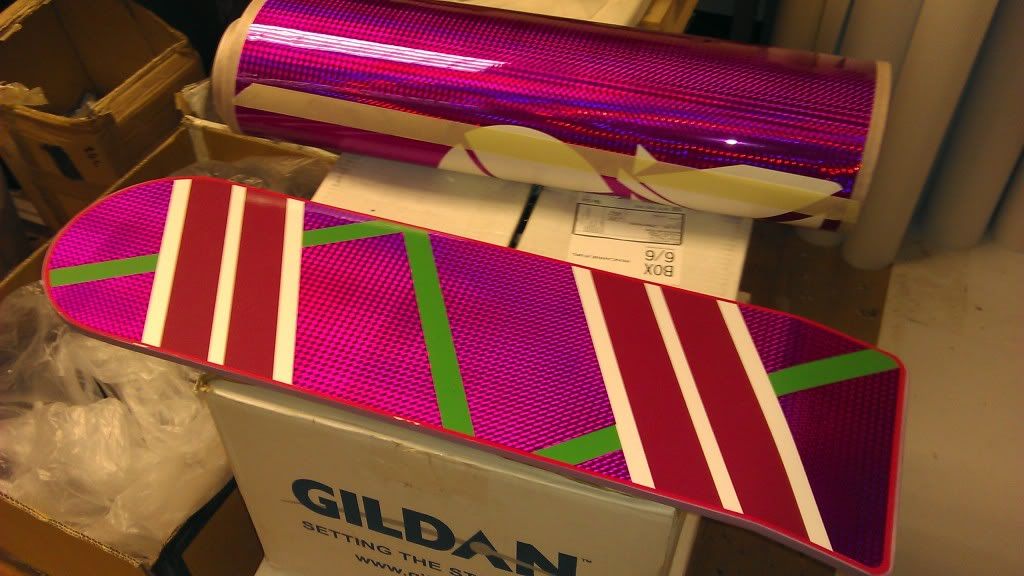
so 10mm foamex it was, fantastic material, can cut by hand, easy to sand down smoothly and best of all with a heat gun i was able to angle the end of the board.
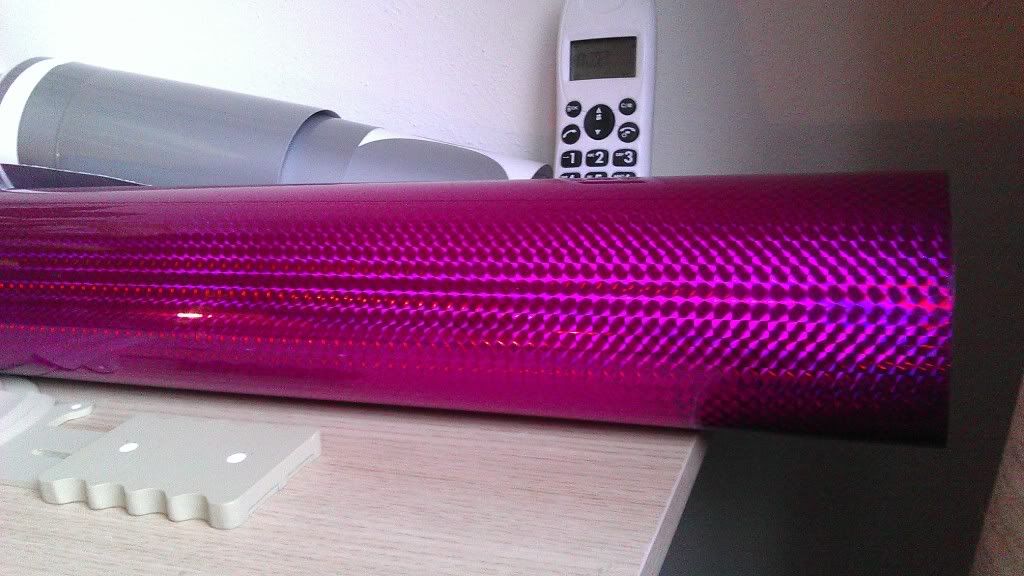
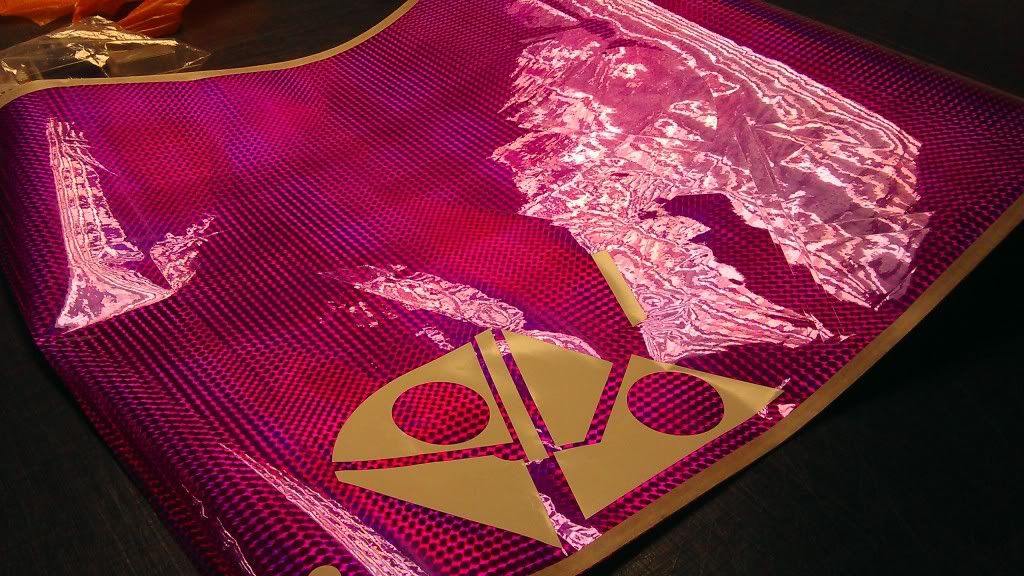
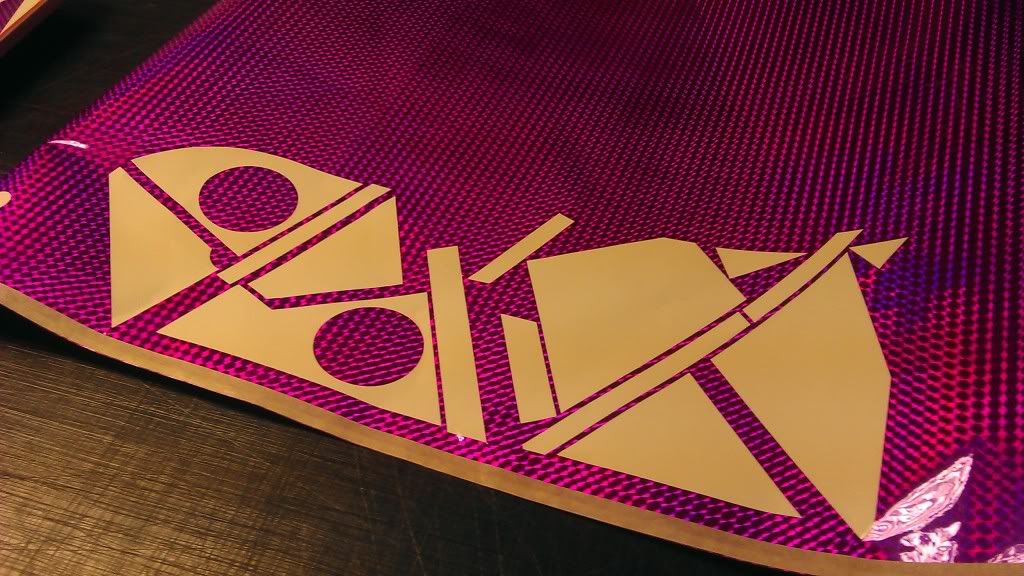
the graphics were printed on a digital solvent printer where i work onto a self adhesive vinyl and laminated.
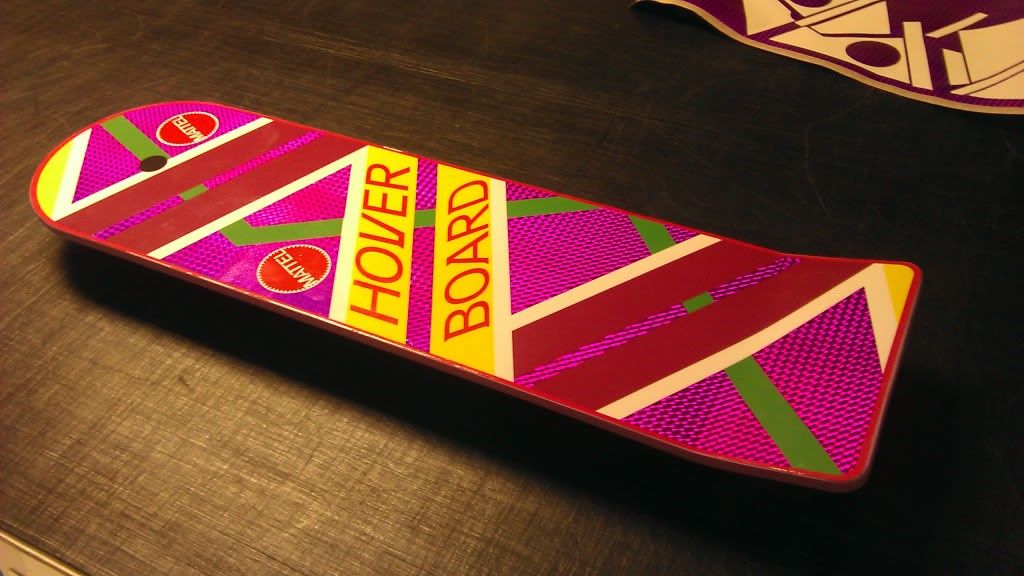
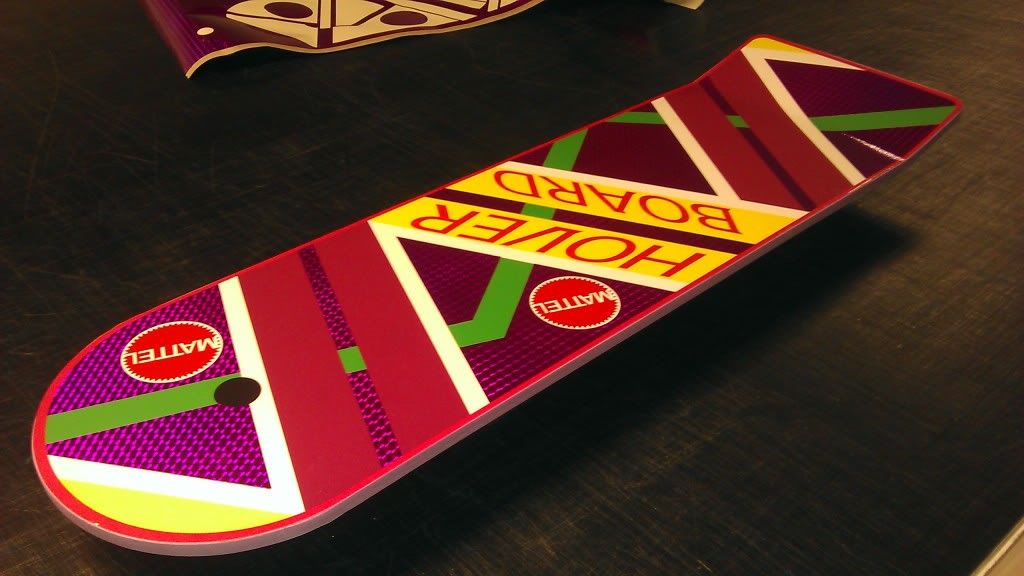
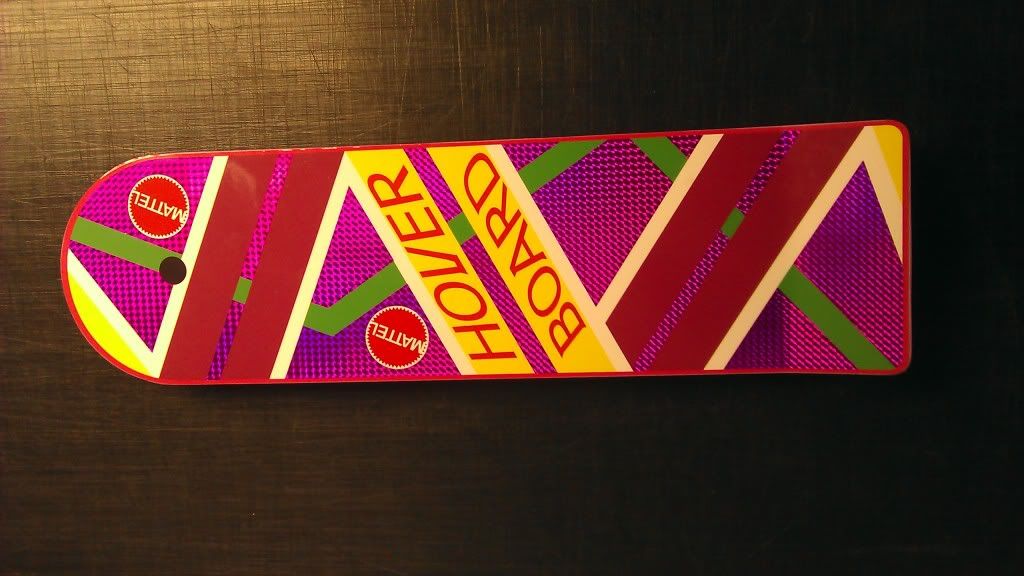
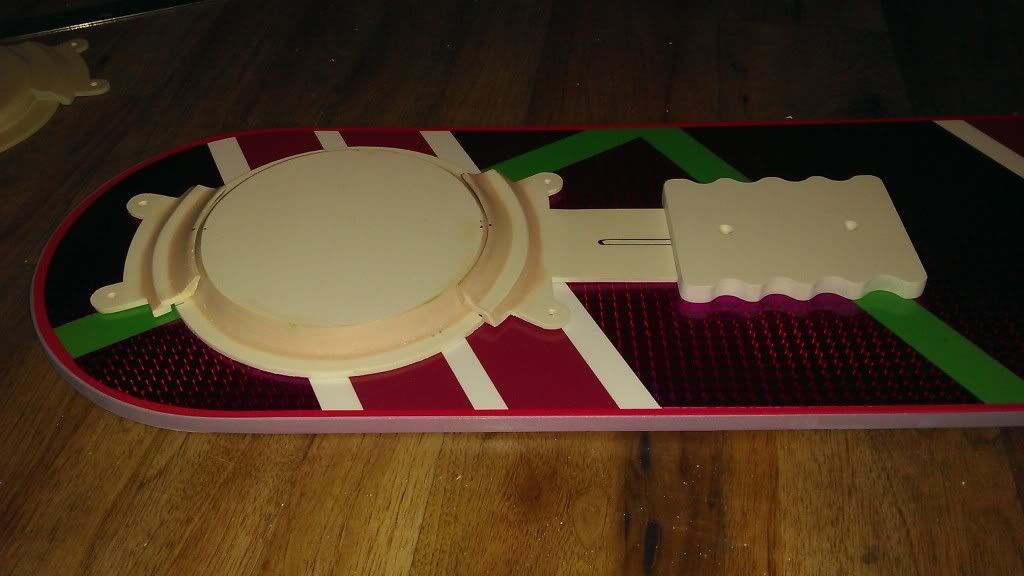
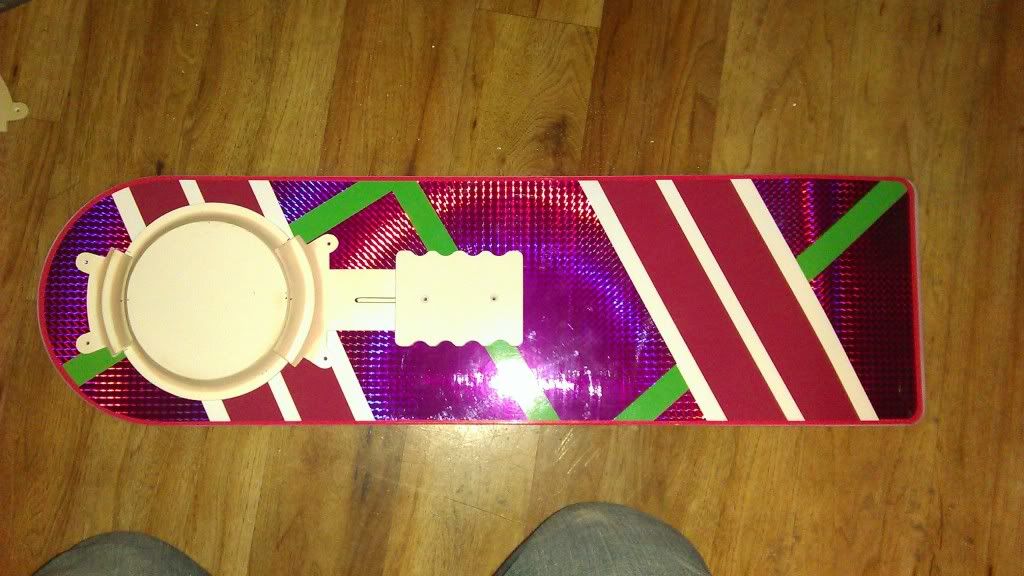
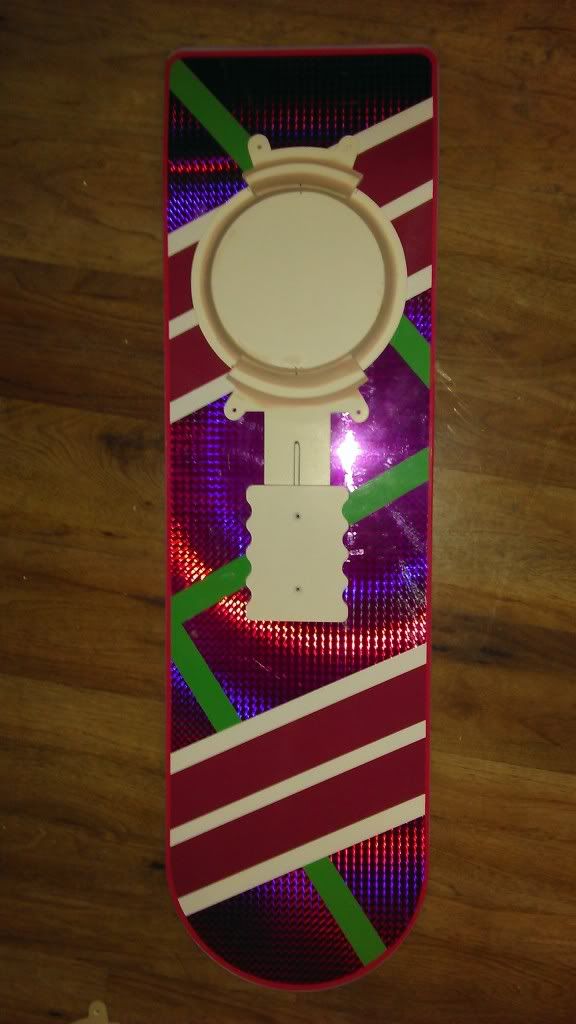
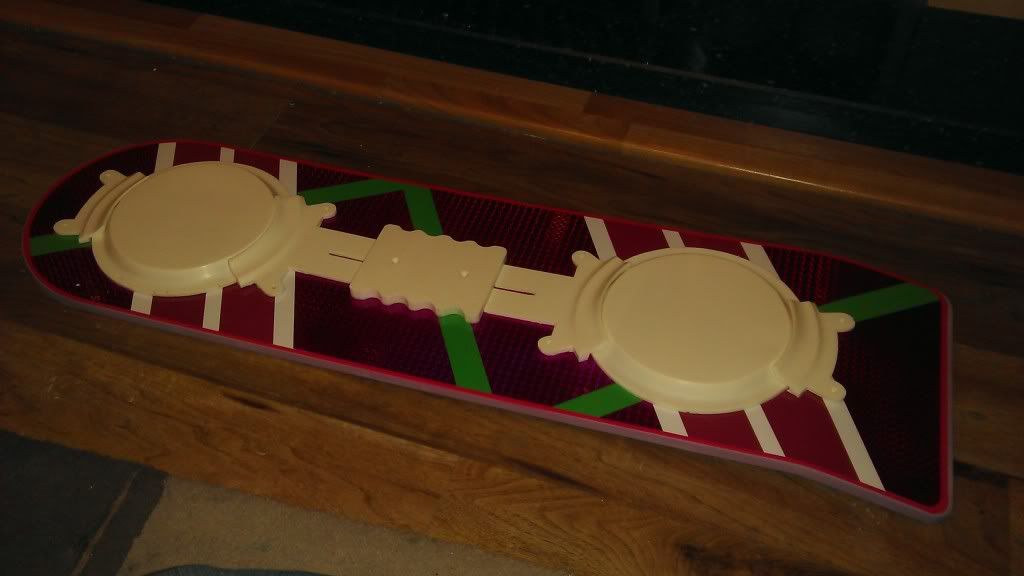
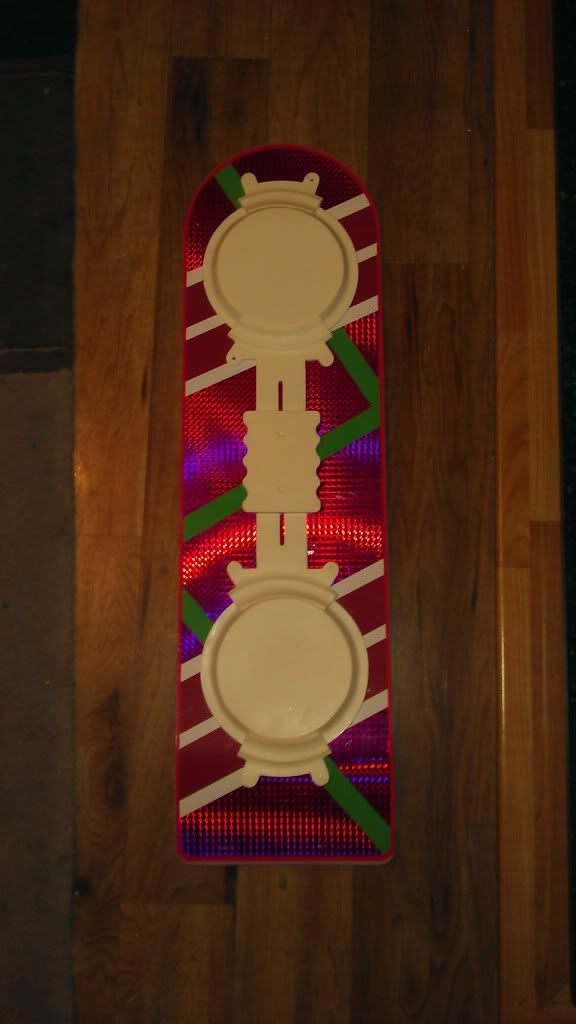
so the first board was made for a quick display;


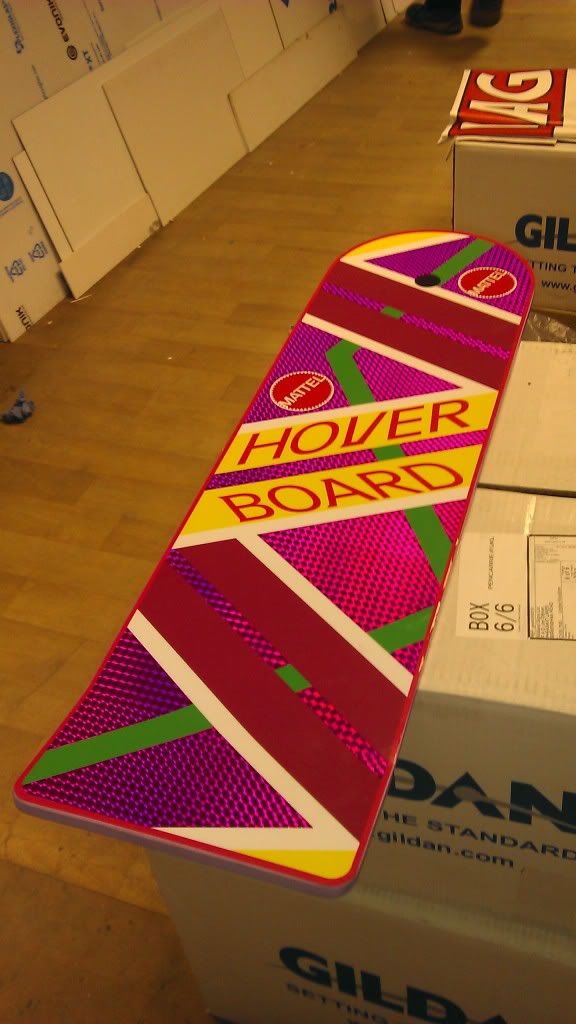
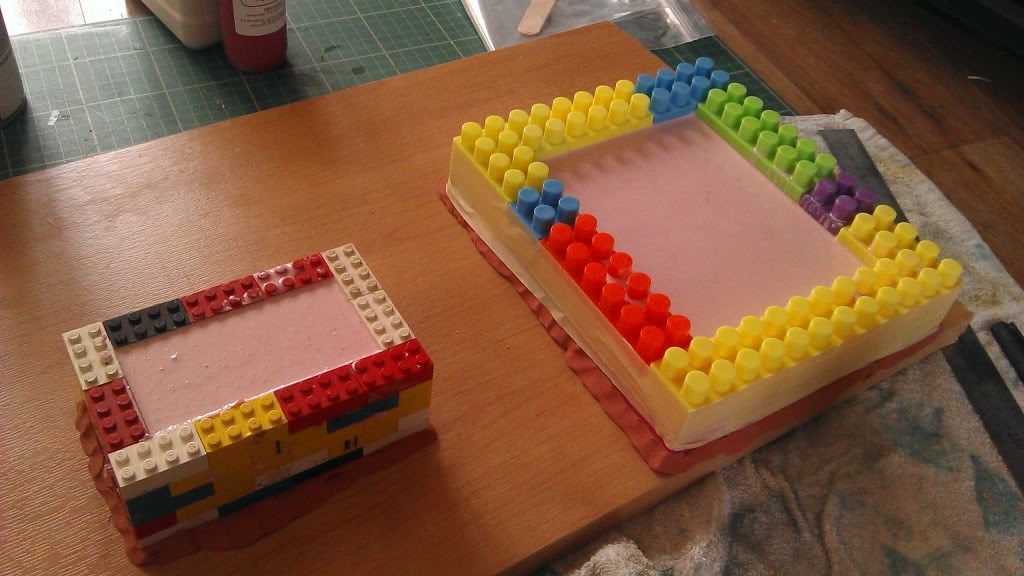
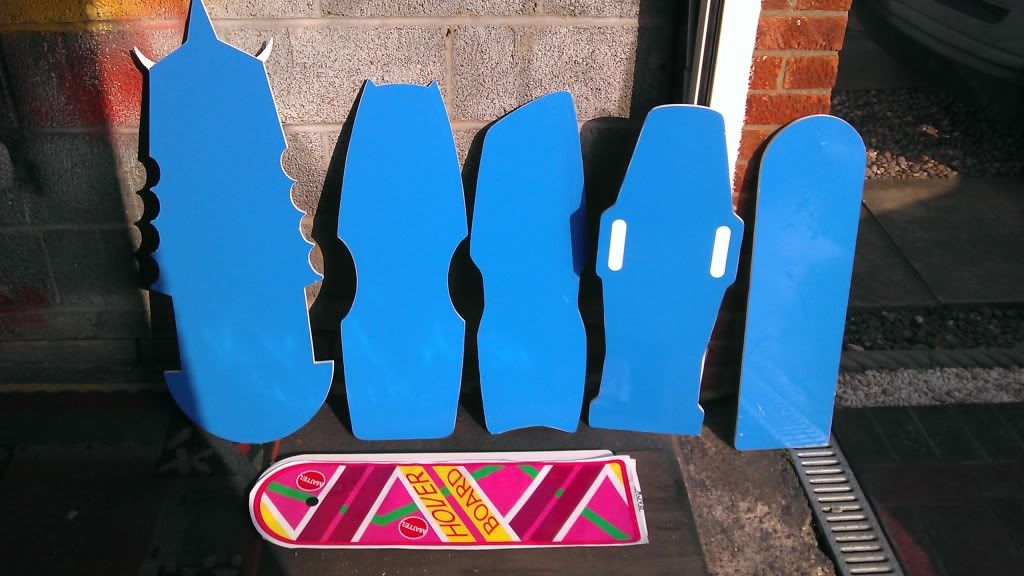
now at this point the lightbulb went off and whats stopping me make the others............well more 10mm foamex and a jigsaw, sanding down of the edges and we got this:
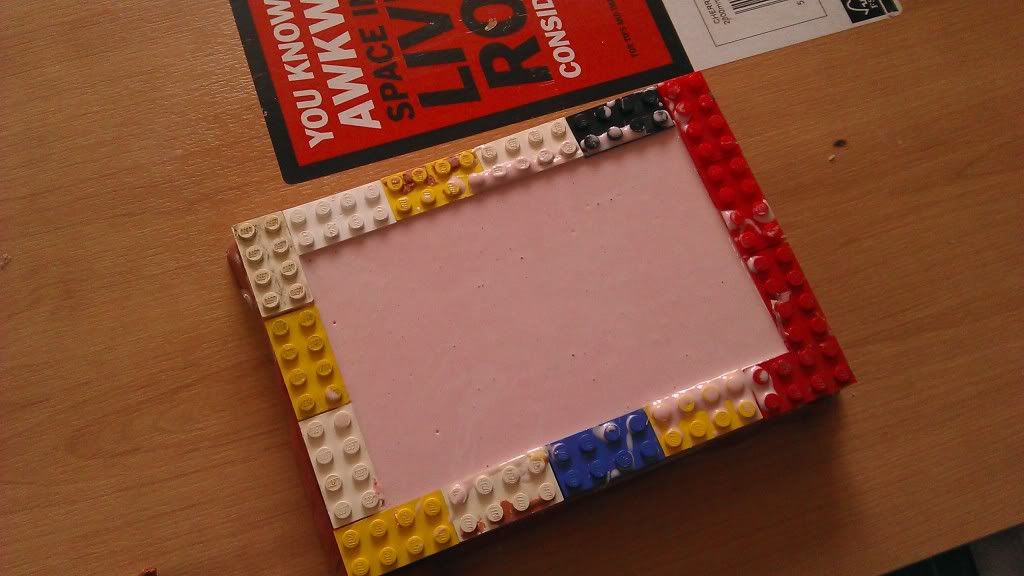
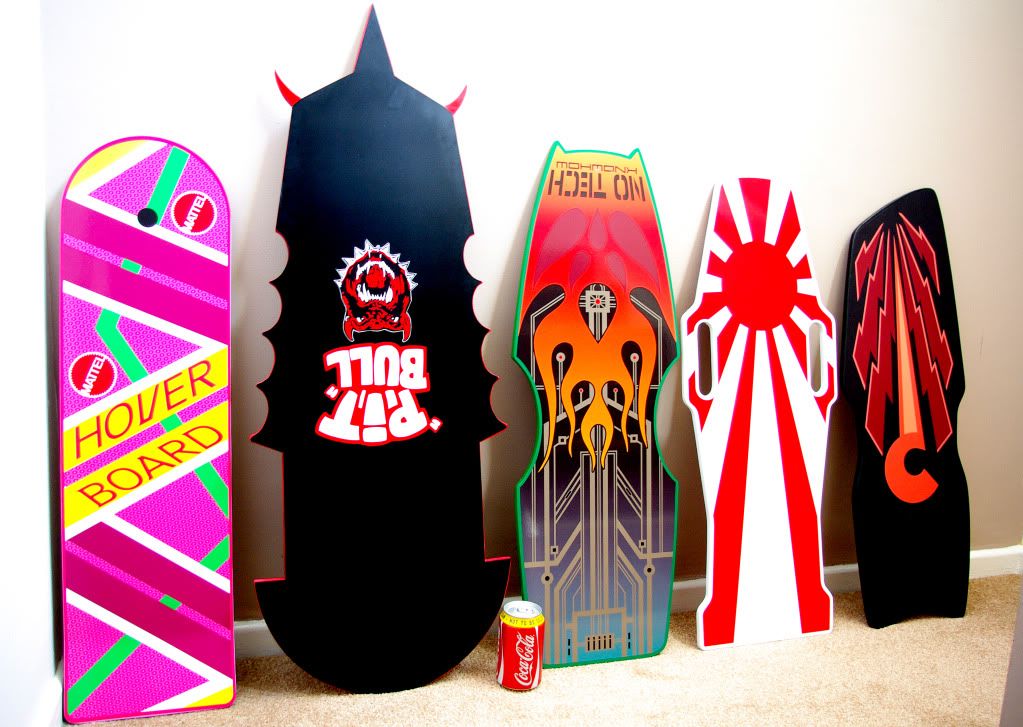
no progress shots on this next stage, so as the edges were sanded smooth out came the plasticote, and painted the relevent boards the colours i needed, then i applied the sickers to the top and bottom of the boards:
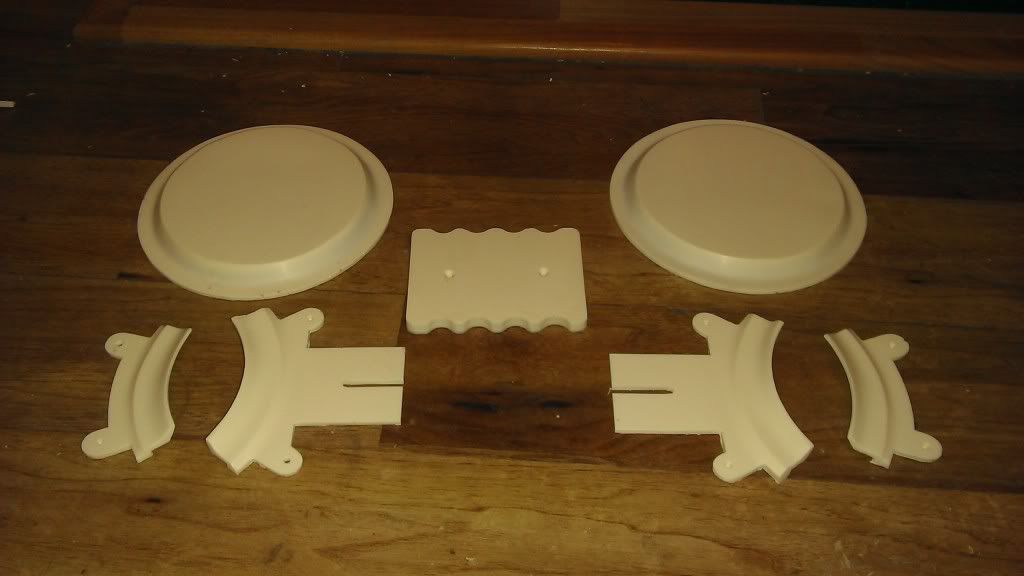
nows the part where after a week i decided to add more, getting resin parts proved impossible, even trying to pay legitimatly for wnough bottom parts resulted in no response as the maker didnt want recasting happening - even tho i wanted enough parts to do 5 boards.
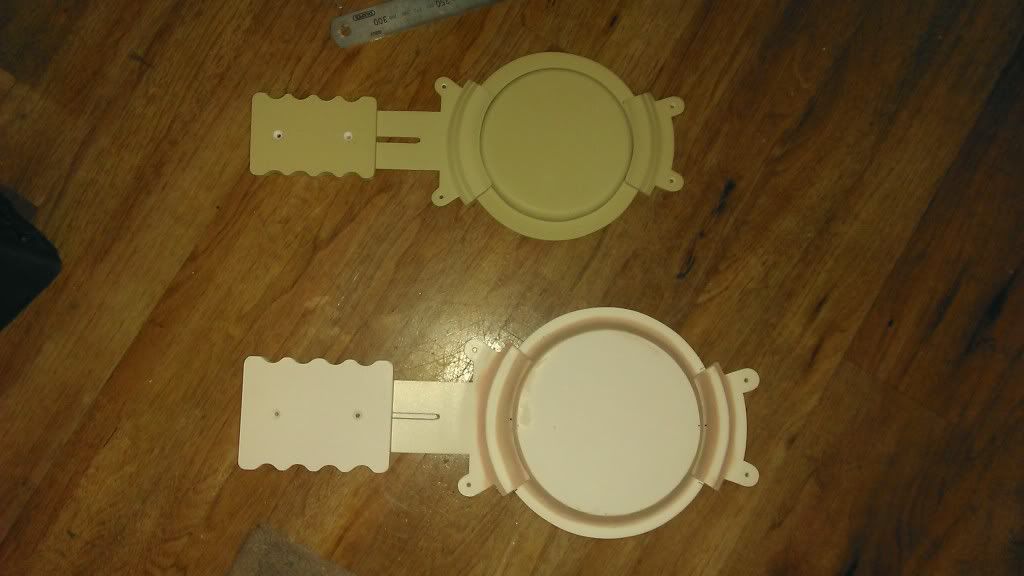
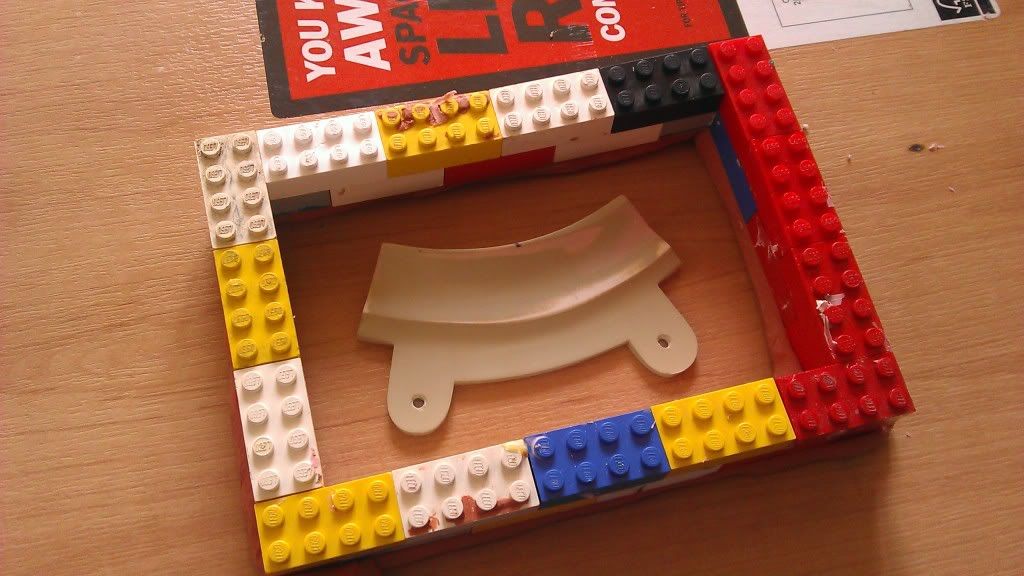
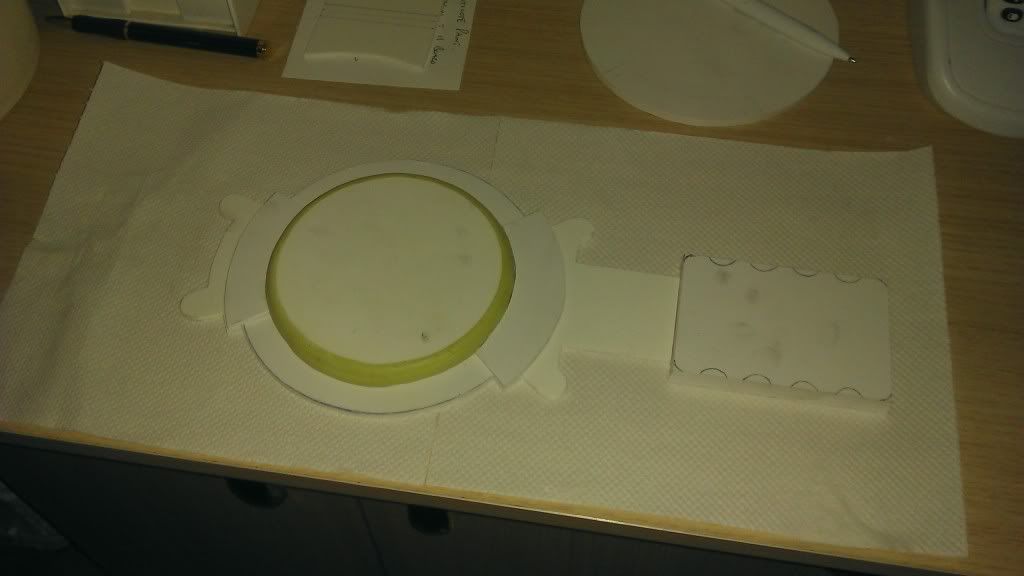
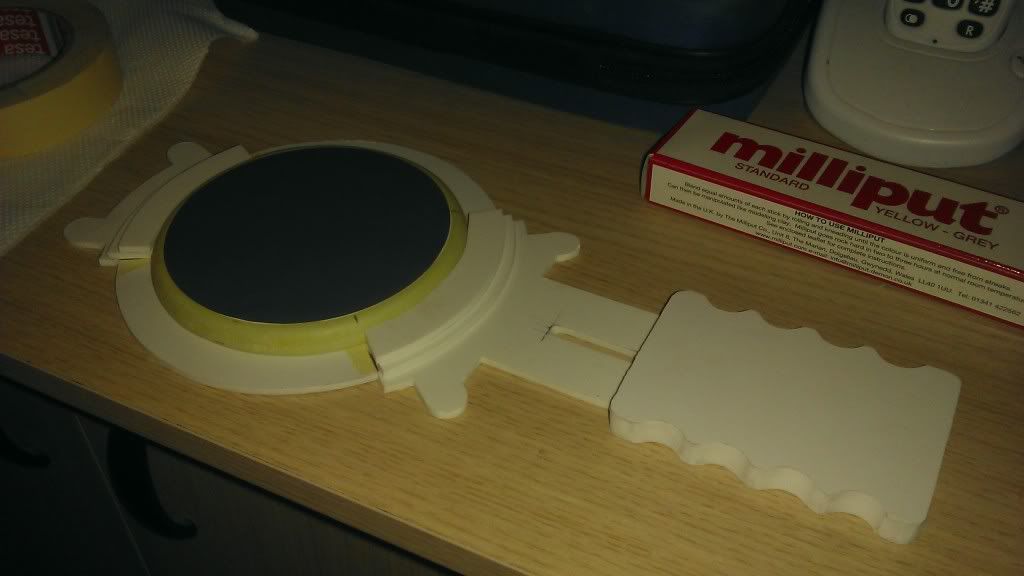
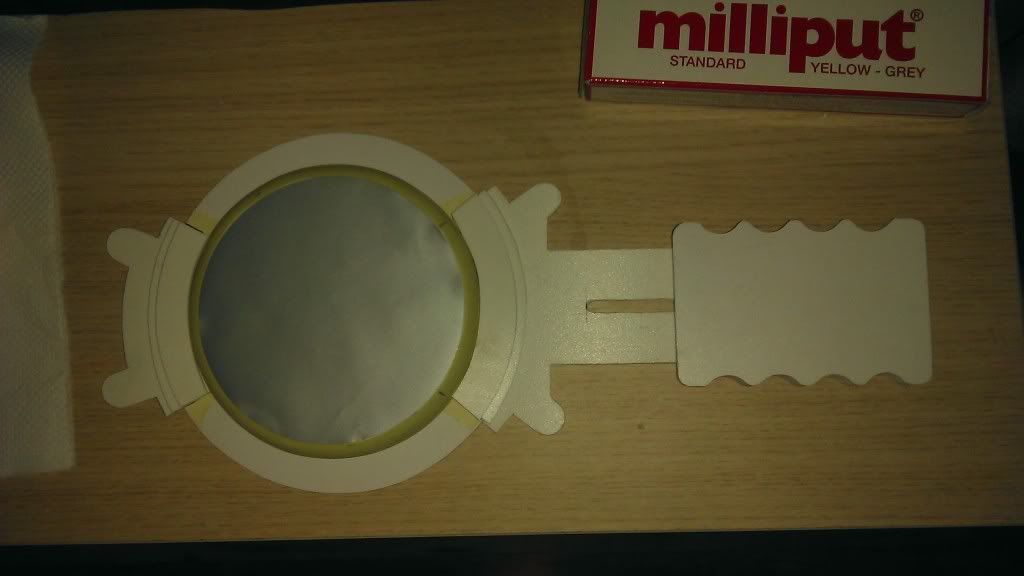
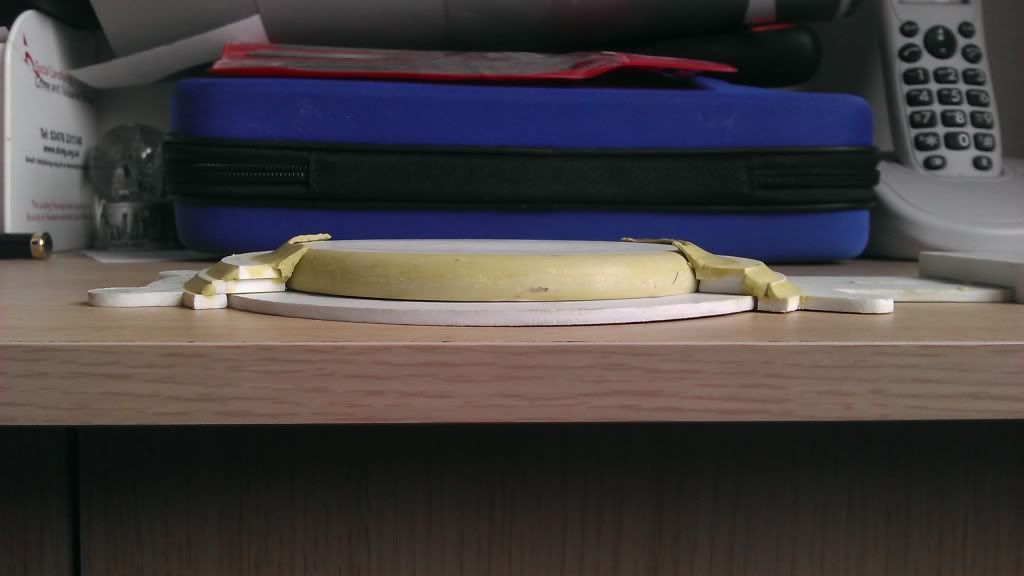
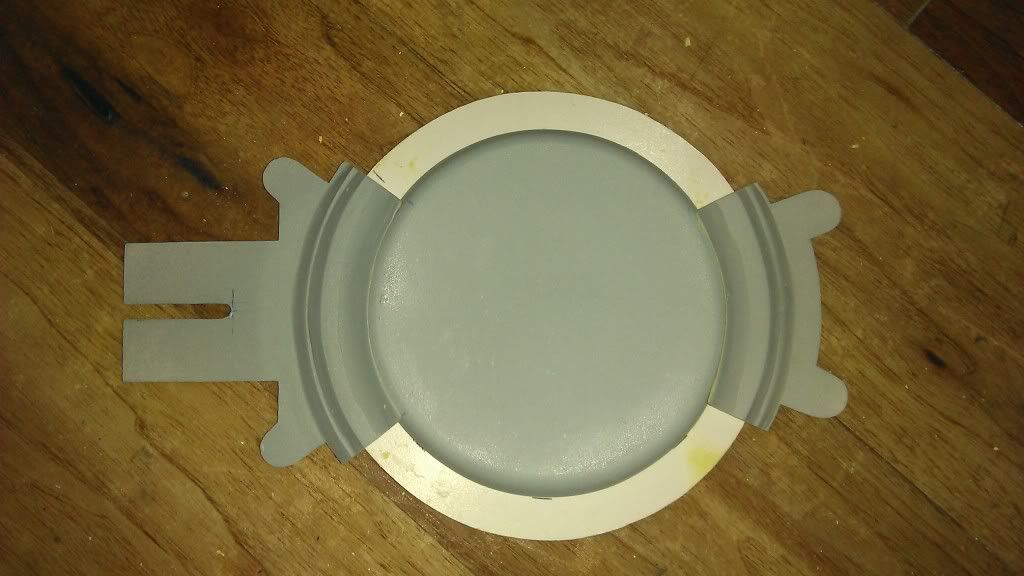
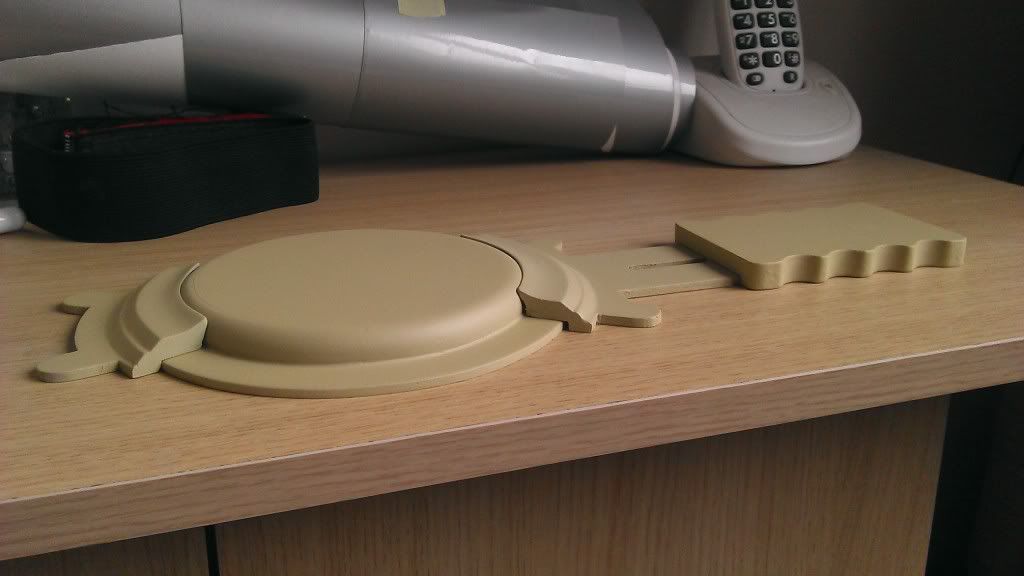
whilst scouting the pep files i stumbled over 2 files, pit bull and the marty, i took the relevent printouts of the pep files and once again opted for the foamex....... i hand cut all of this with a scalpel knife to see if my idea would work, with the initial parts cut it looked promising:

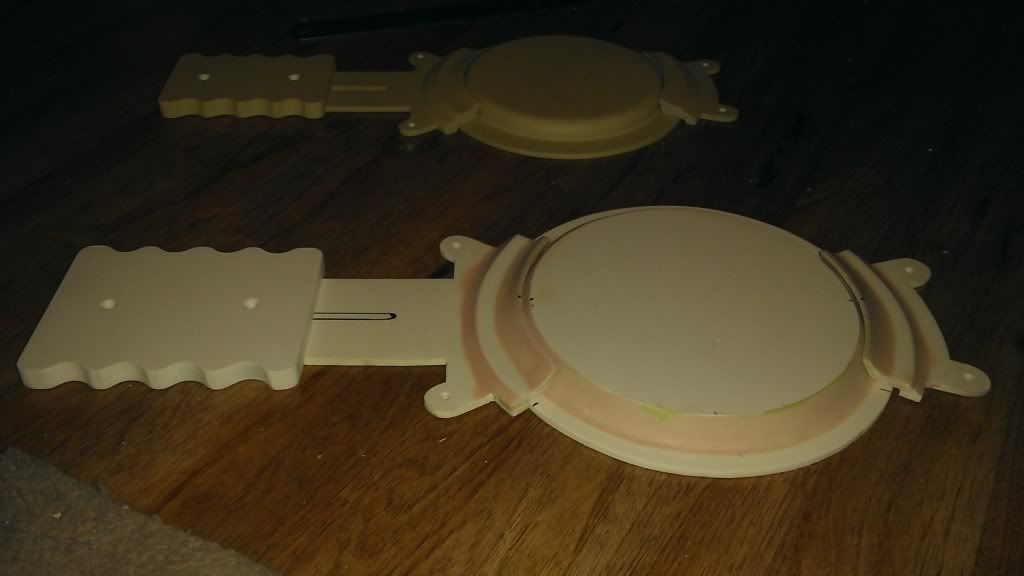
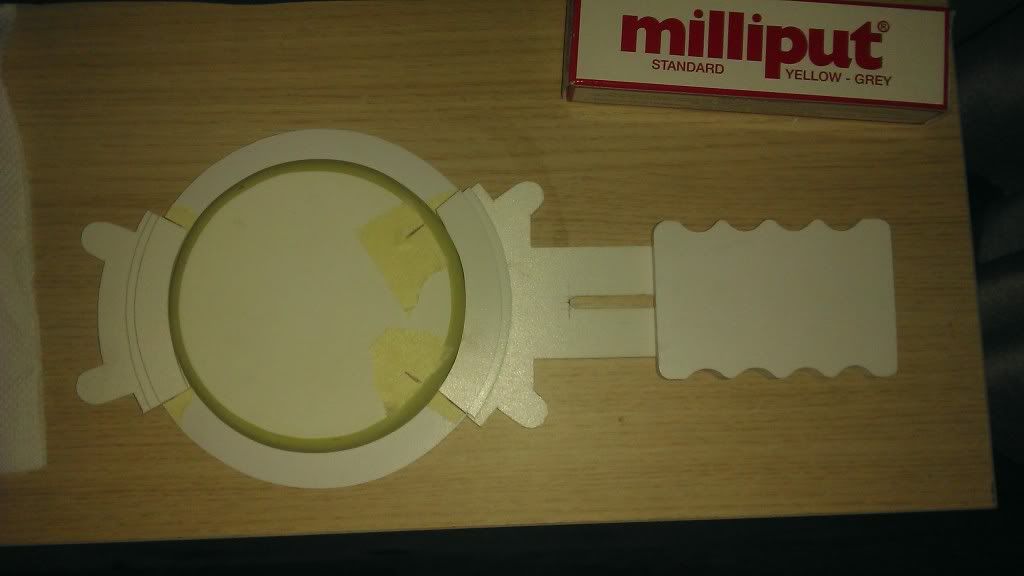
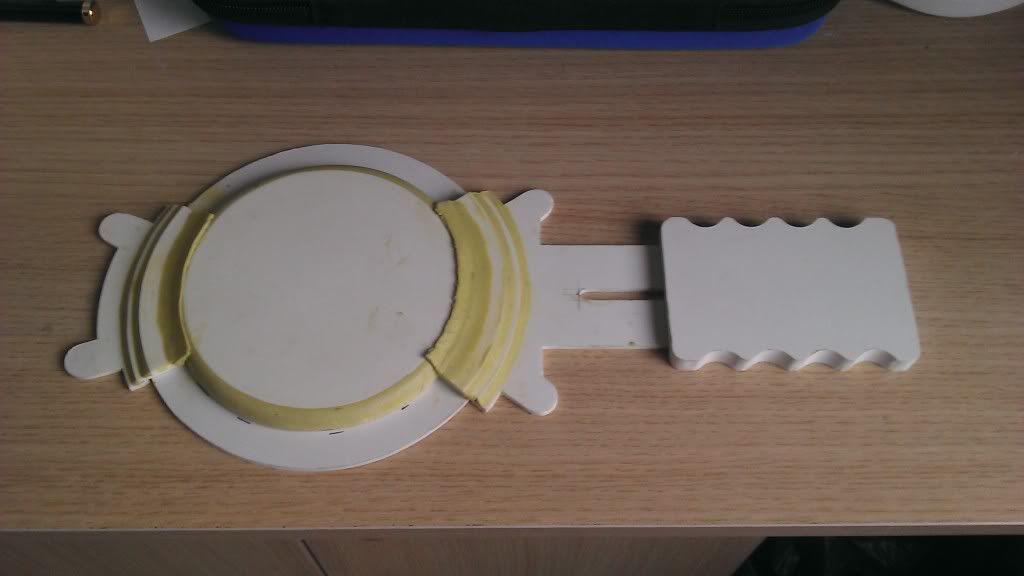
added some milliput to get the curve i was seeking:

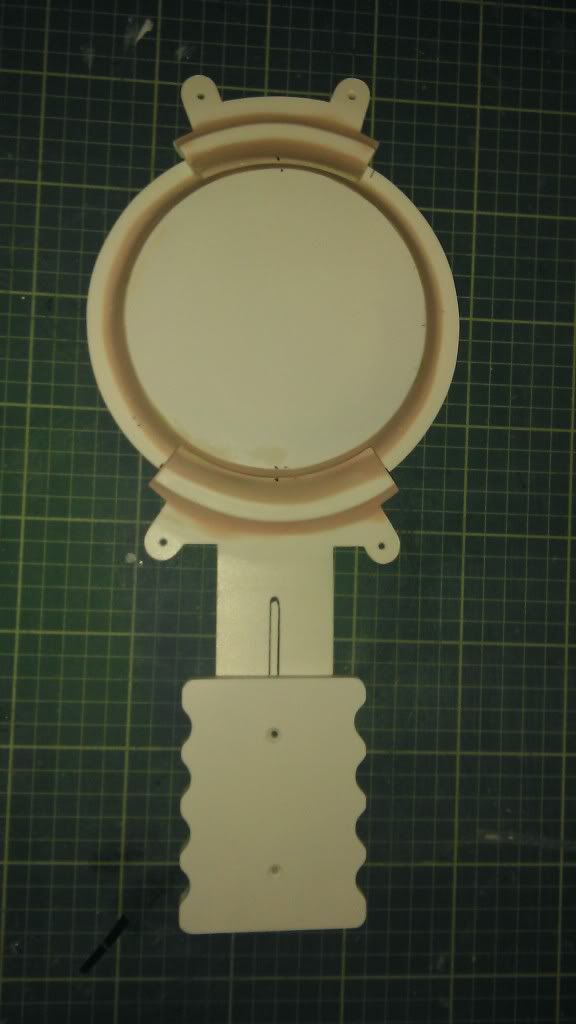
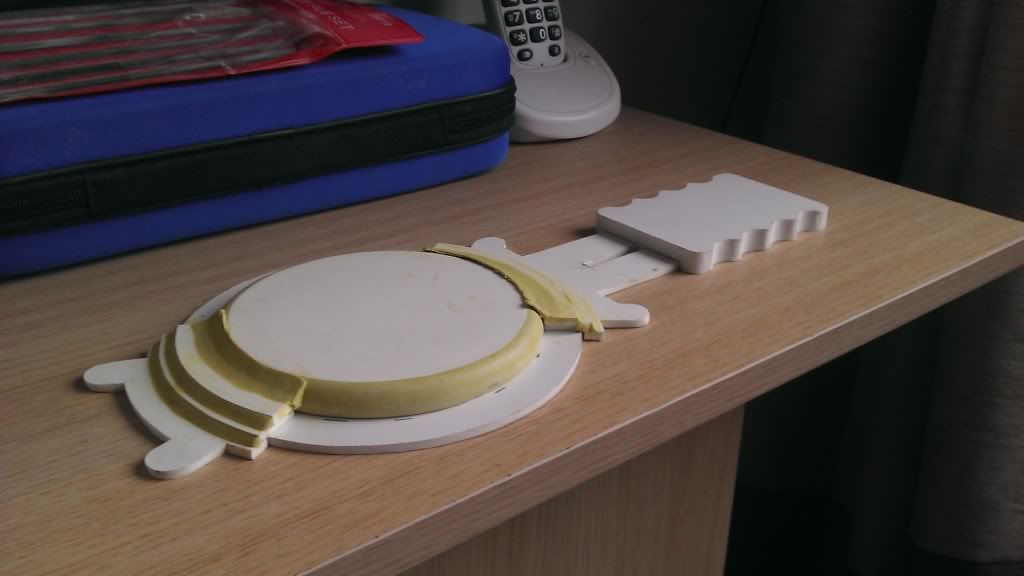
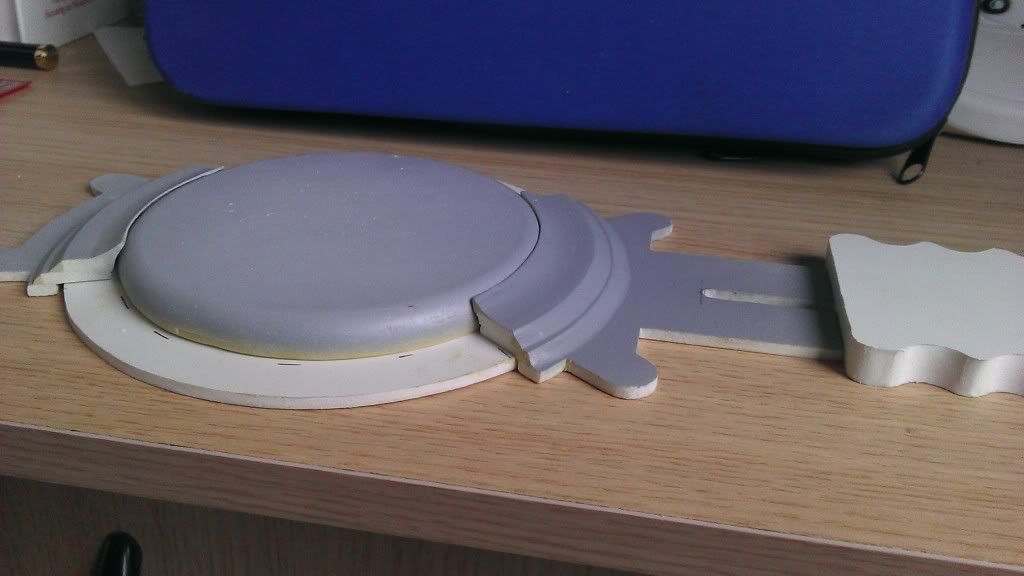
took the dremel out and used the sanding wheel which was a perfect fit for the arches to be cut out
the test fit for the hover section - silver shiney vinyl means once cast i can paint the whole part black and have a nice clean edge on the circle
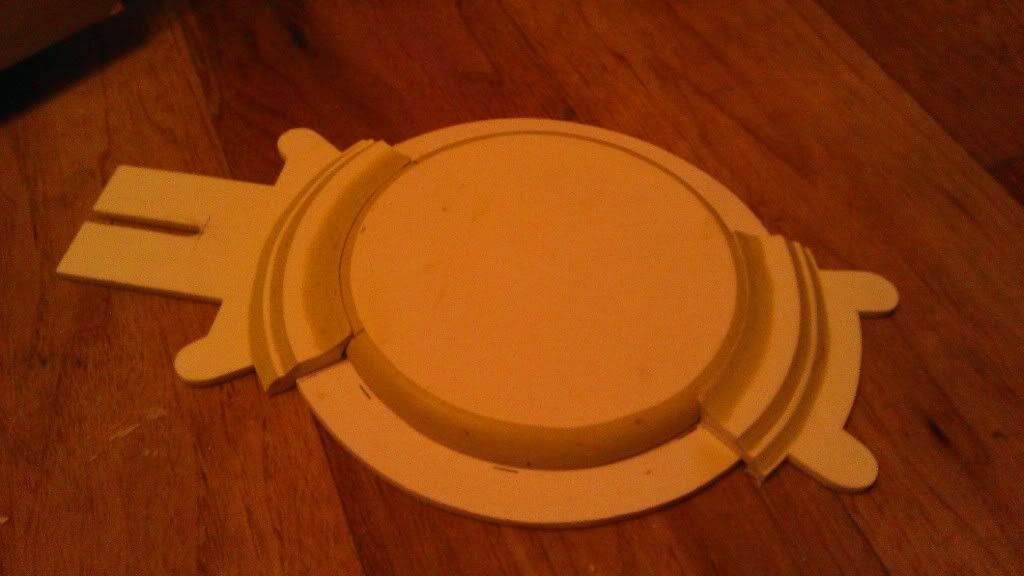
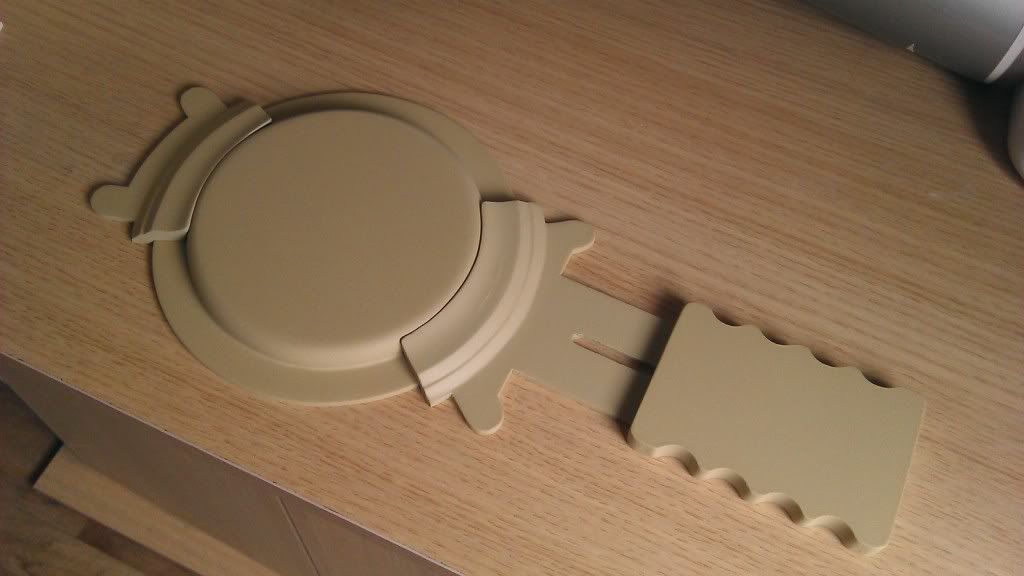
the curve sanded
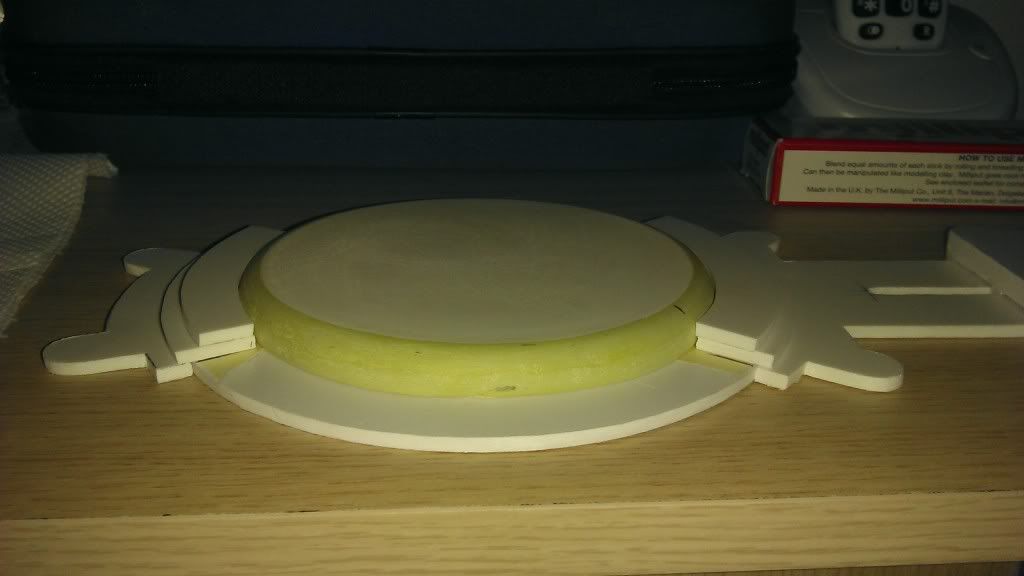
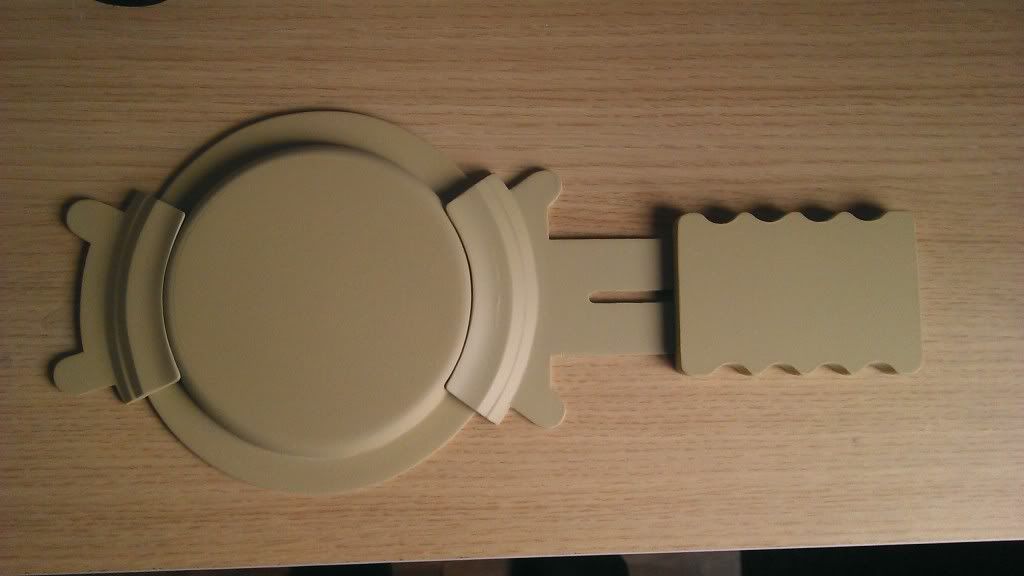
and adding the rest of the milliput to get the smoothness on and give that little flare
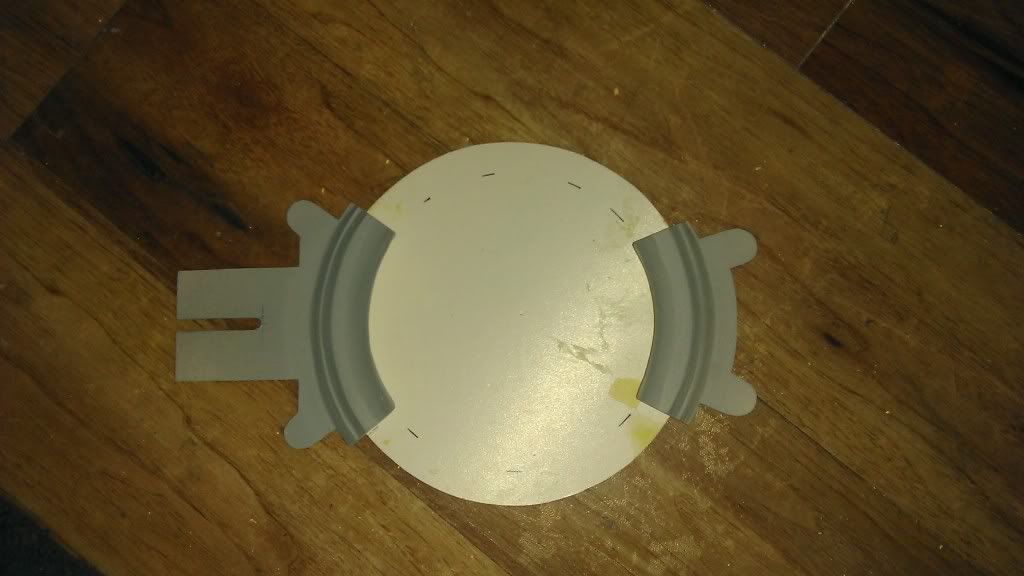
couple of passess with the hand snading and its certainly getting there
a quick primer coat to see the defects

a bit more sanding over the edges and curves
and a hit with some filler primer to build it up a little so i can just knock it down


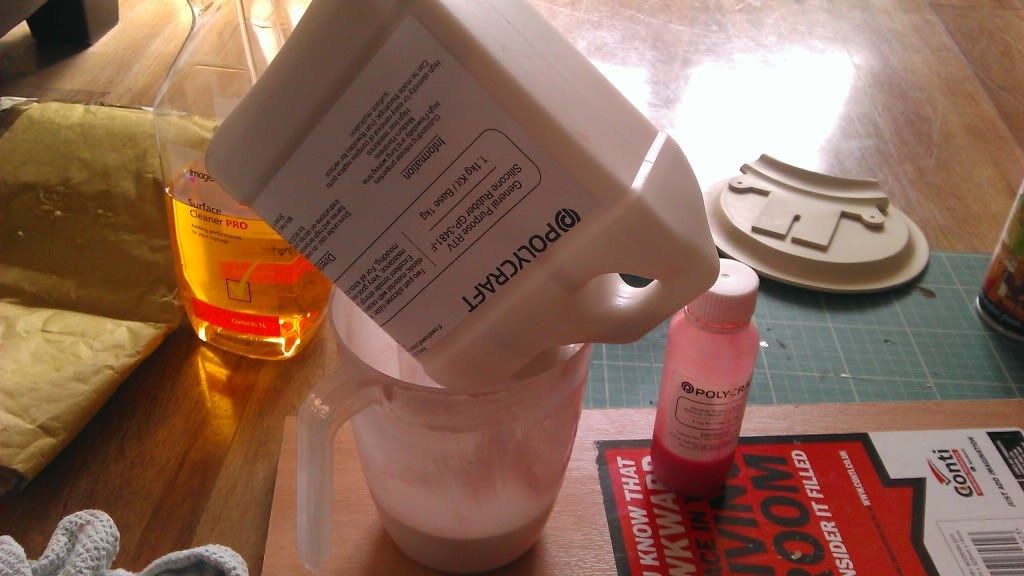
next update will be soon..... waiting on materials now as i need silicone, resin, and some nice vinyl to recreate the lenticular look - so will update as and when i can
so what happened.............well the intention was a simple board for my mag display, i did not want to use wood as i didnt want to have the grain visible - even tho that would add to accuracy, so tossing accuracy aside i decided to go as good as i can get with whats available both off the shelf, cheaply and more importantly ease of making.
so the material - i didnt want wood due to the grain, and the sheer weight of 25mm wood was not something i wanted in case at a later date i wanted to sell it on. Also with wood its a pain to get the marty boards angle without making and adding it to a bit of wood.
so 10mm foamex it was, fantastic material, can cut by hand, easy to sand down smoothly and best of all with a heat gun i was able to angle the end of the board.
the graphics were printed on a digital solvent printer where i work onto a self adhesive vinyl and laminated.
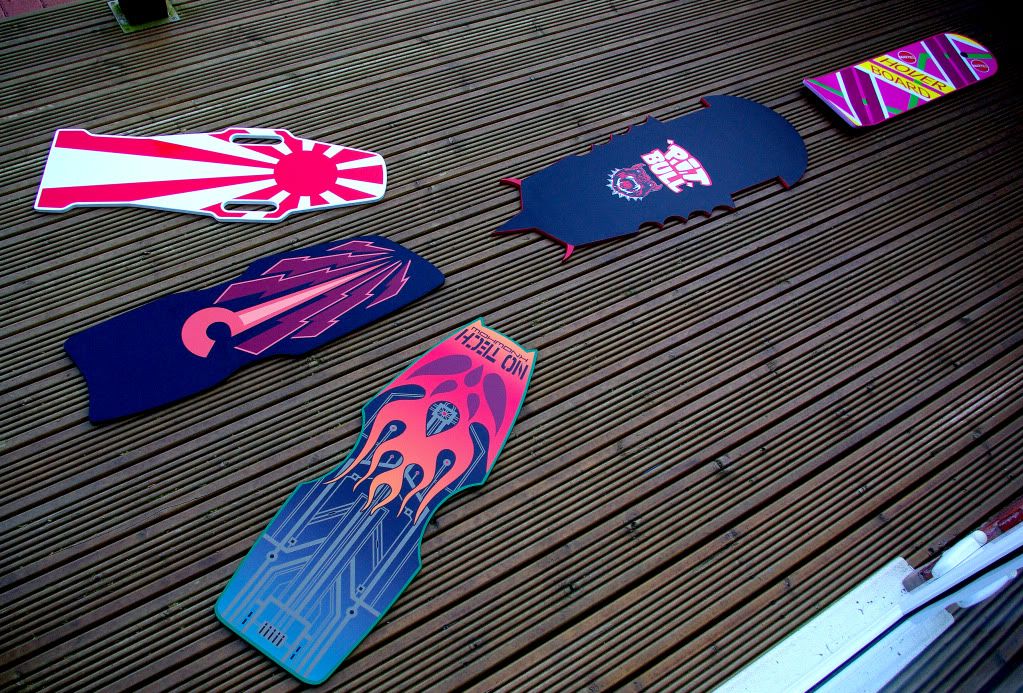
so the first board was made for a quick display;
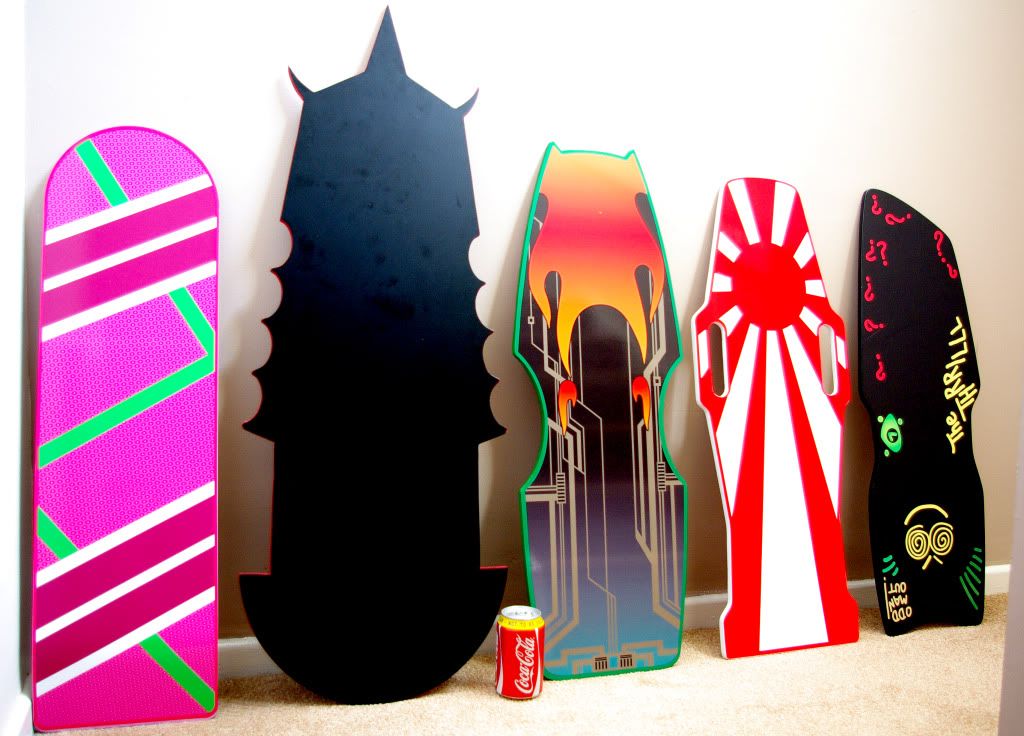
now at this point the lightbulb went off and whats stopping me make the others............well more 10mm foamex and a jigsaw, sanding down of the edges and we got this:
no progress shots on this next stage, so as the edges were sanded smooth out came the plasticote, and painted the relevent boards the colours i needed, then i applied the sickers to the top and bottom of the boards:
nows the part where after a week i decided to add more, getting resin parts proved impossible, even trying to pay legitimatly for wnough bottom parts resulted in no response as the maker didnt want recasting happening - even tho i wanted enough parts to do 5 boards.
whilst scouting the pep files i stumbled over 2 files, pit bull and the marty, i took the relevent printouts of the pep files and once again opted for the foamex....... i hand cut all of this with a scalpel knife to see if my idea would work, with the initial parts cut it looked promising:
added some milliput to get the curve i was seeking:
took the dremel out and used the sanding wheel which was a perfect fit for the arches to be cut out
the test fit for the hover section - silver shiney vinyl means once cast i can paint the whole part black and have a nice clean edge on the circle
the curve sanded
and adding the rest of the milliput to get the smoothness on and give that little flare
couple of passess with the hand snading and its certainly getting there
a quick primer coat to see the defects
a bit more sanding over the edges and curves
and a hit with some filler primer to build it up a little so i can just knock it down
next update will be soon..... waiting on materials now as i need silicone, resin, and some nice vinyl to recreate the lenticular look - so will update as and when i can