hoverboard build from the uk

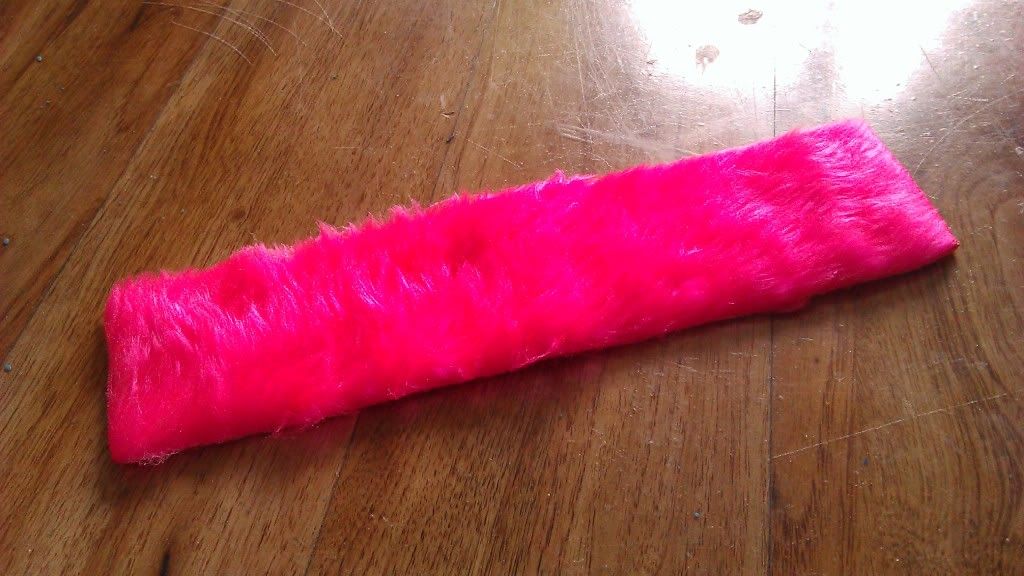
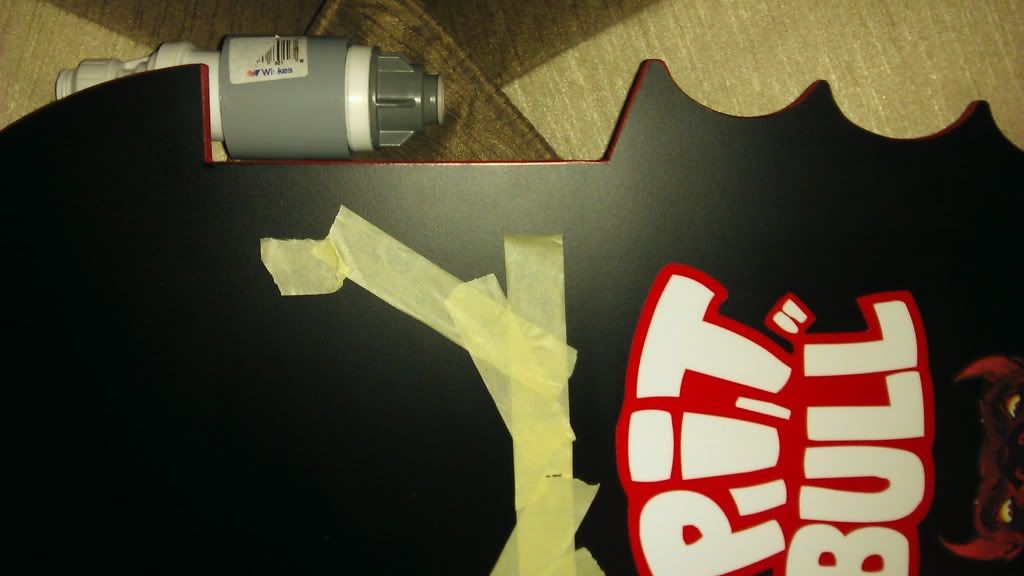
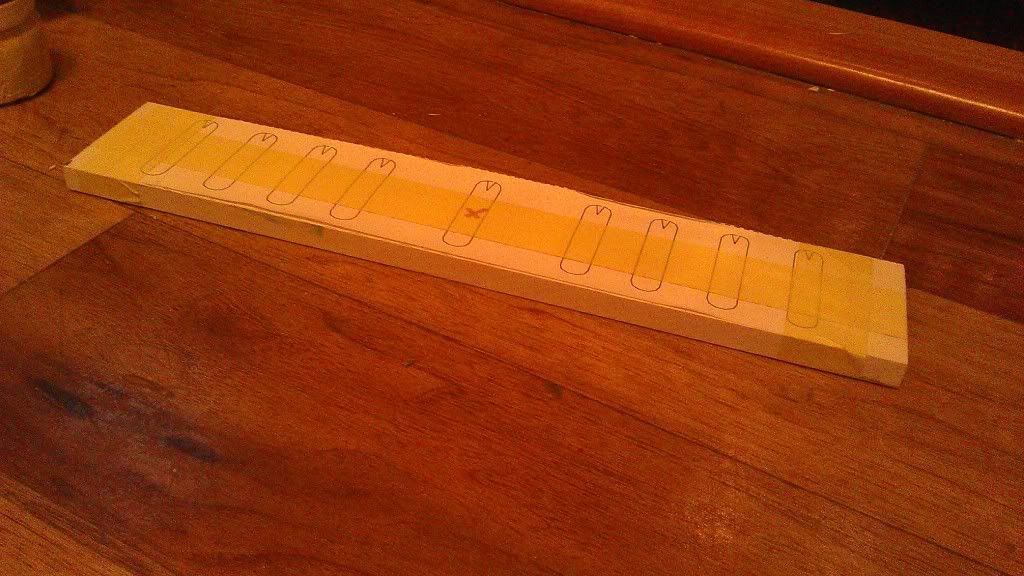
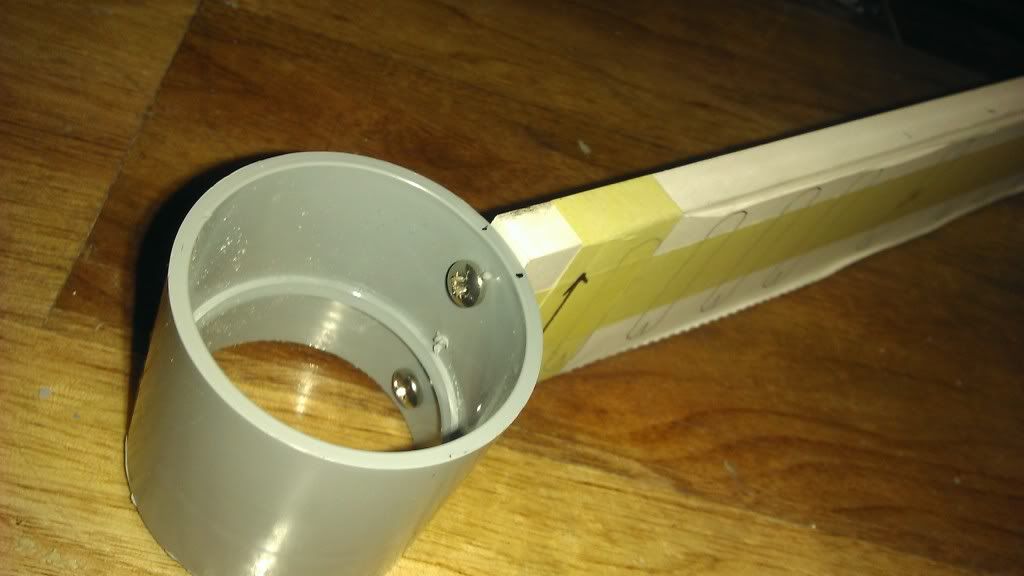
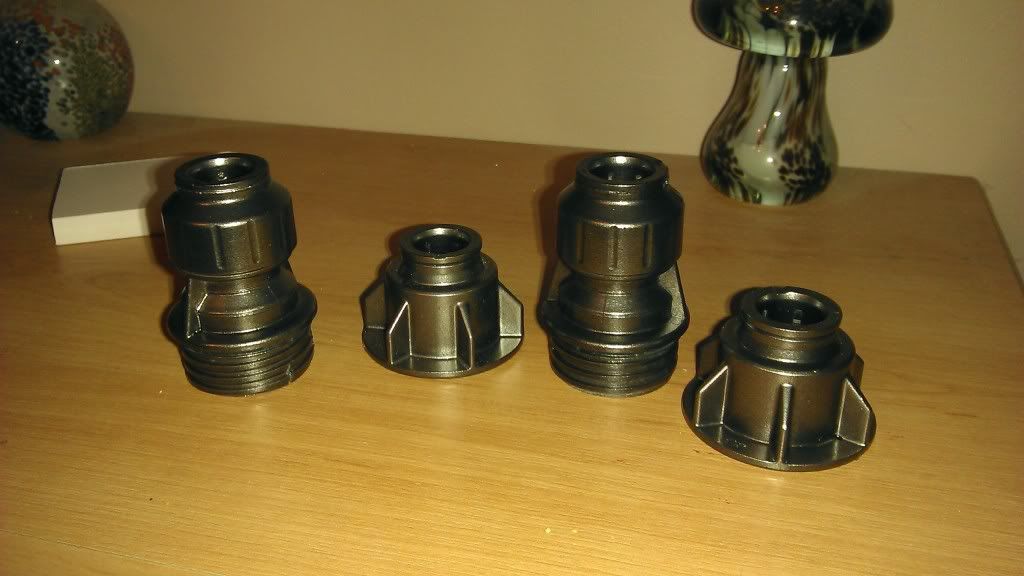
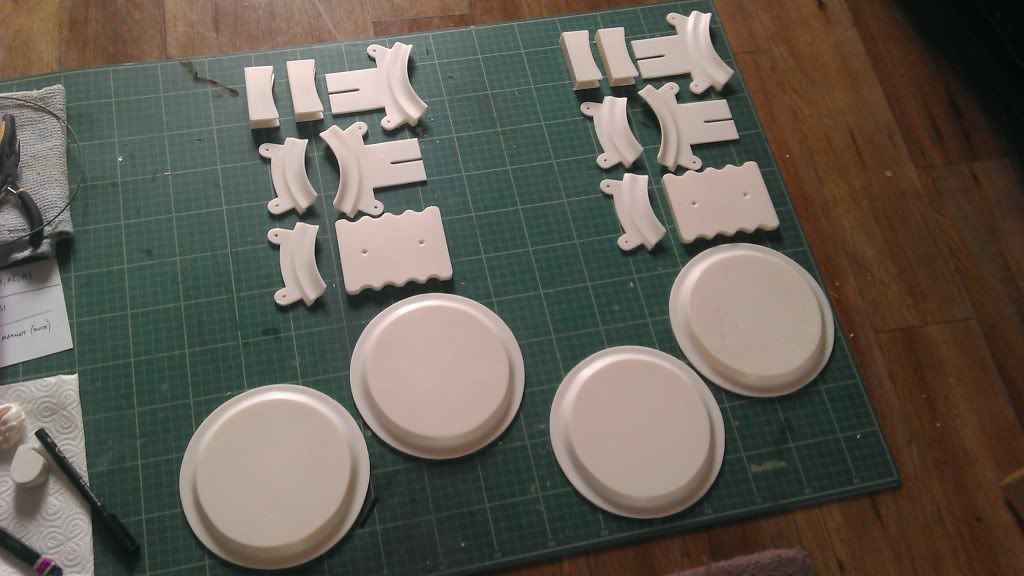
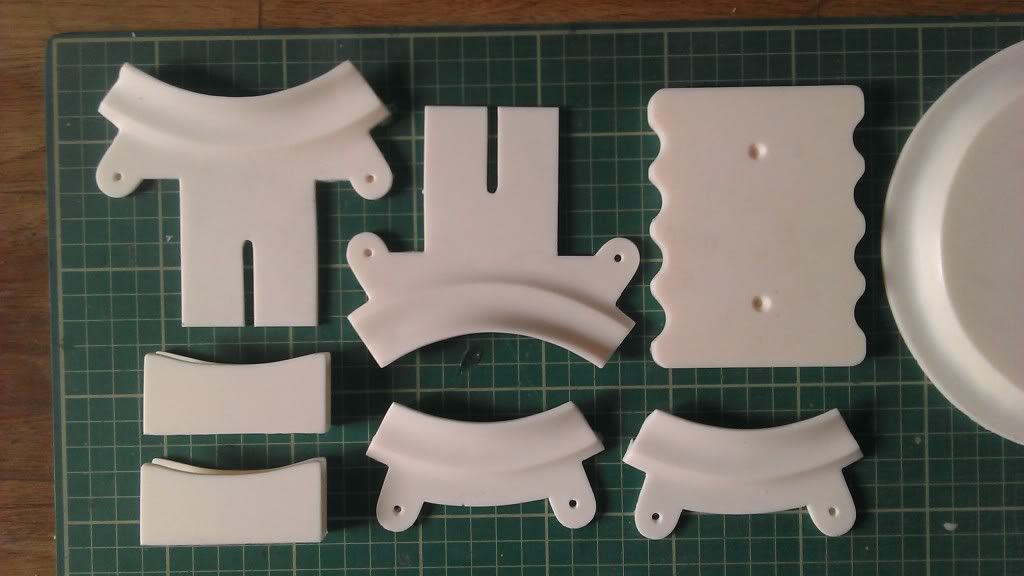
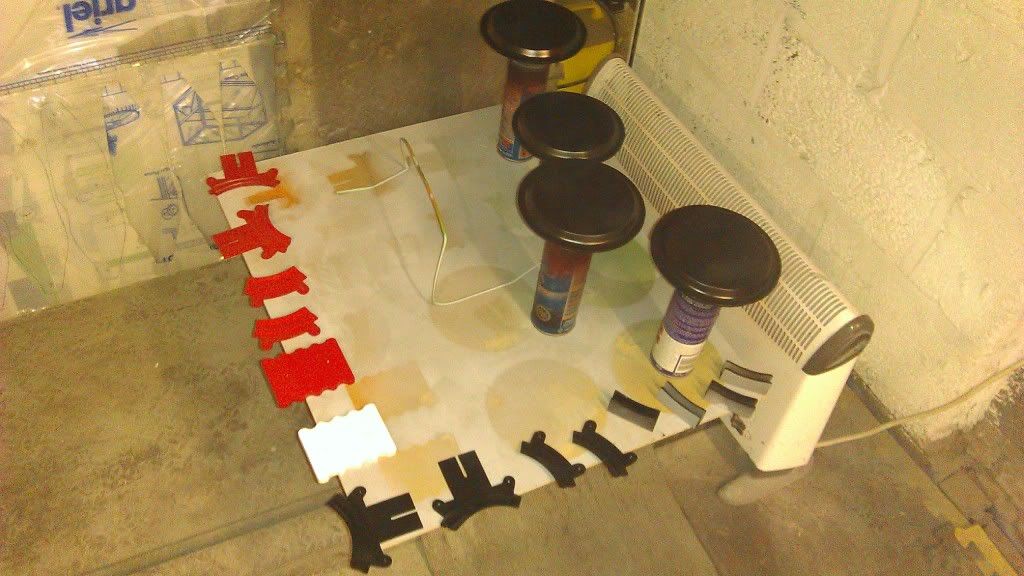
today was paint day: the task to paint up the 1st casts:

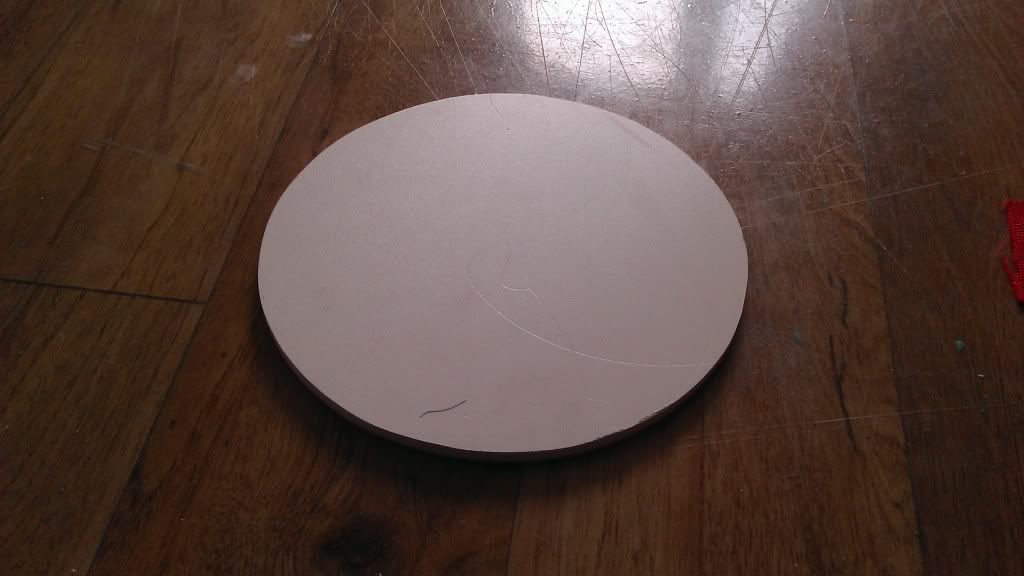
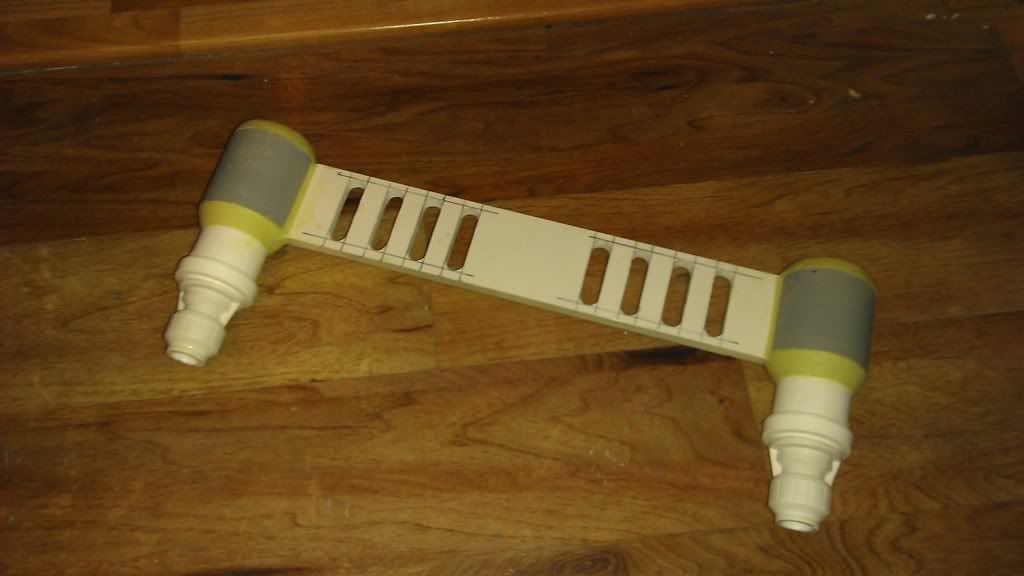
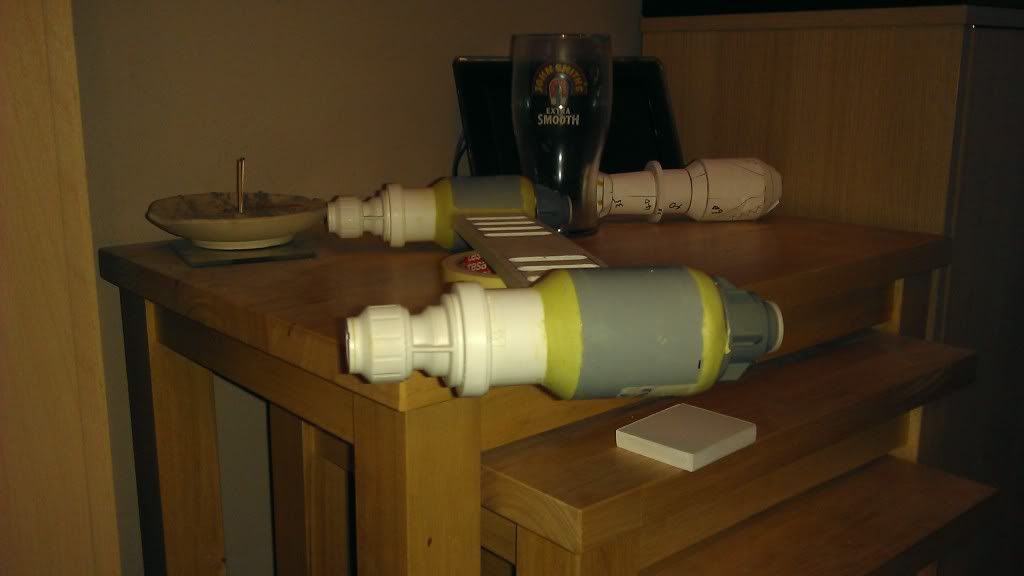
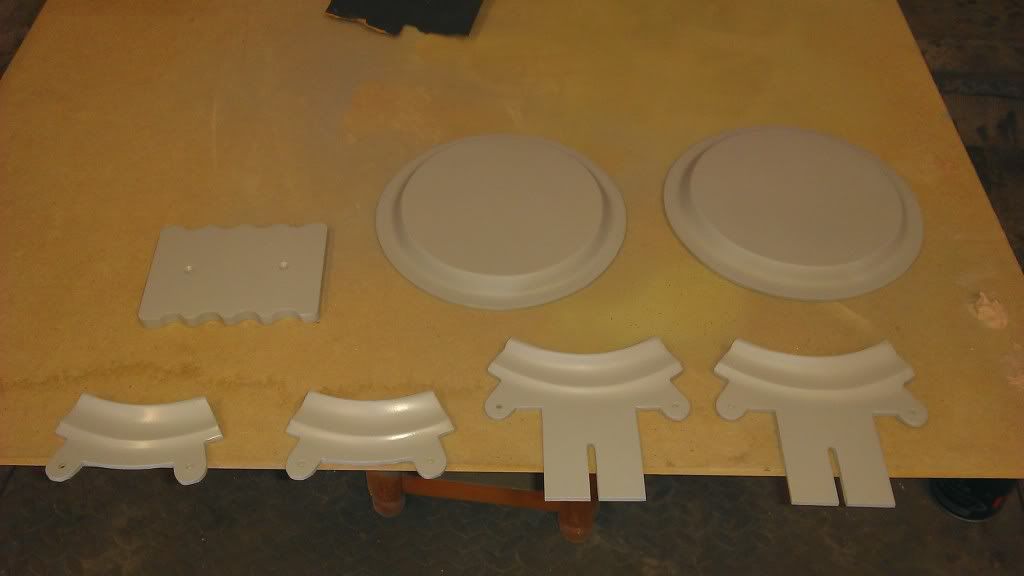
opted for the hi build primer in case of any minor flaws, seems i may as well just gone for the normal primer as there isnt anything on the surface causing a problem, so cleaned down the resin of its oils, gave it a little sand to the underside of the parts to keep it all flat:
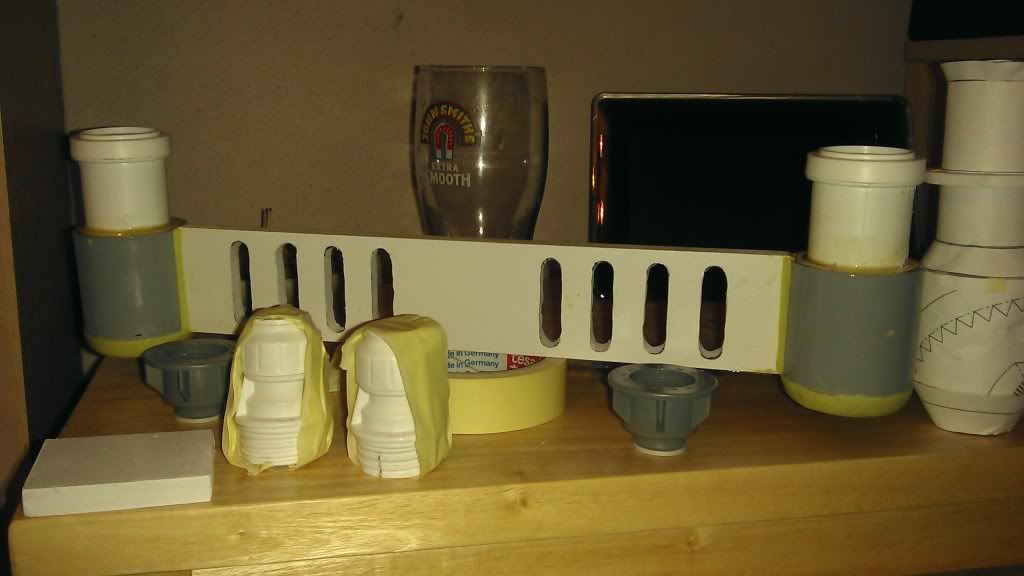
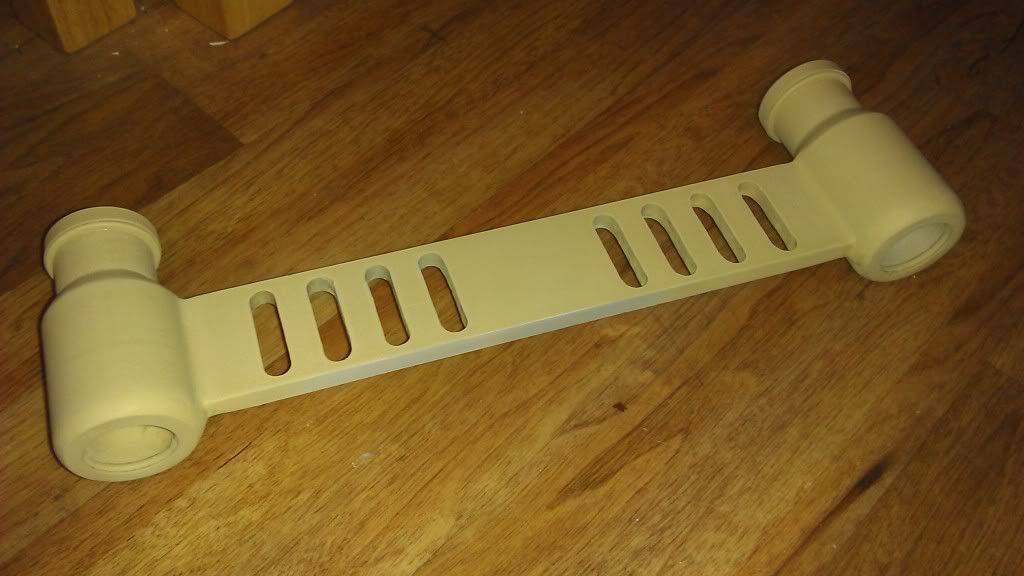
so primered up:
IMAG1009.jpg


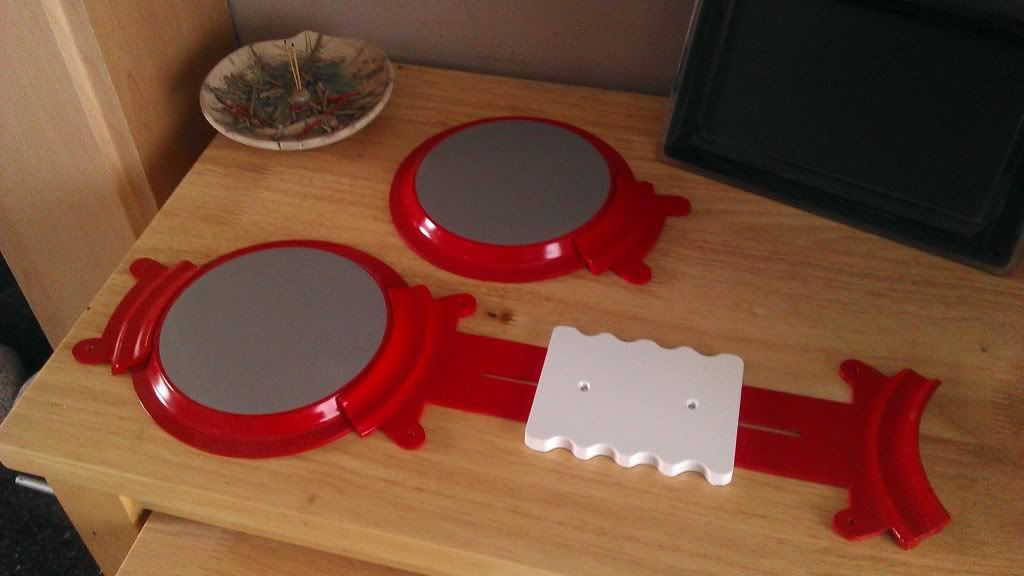
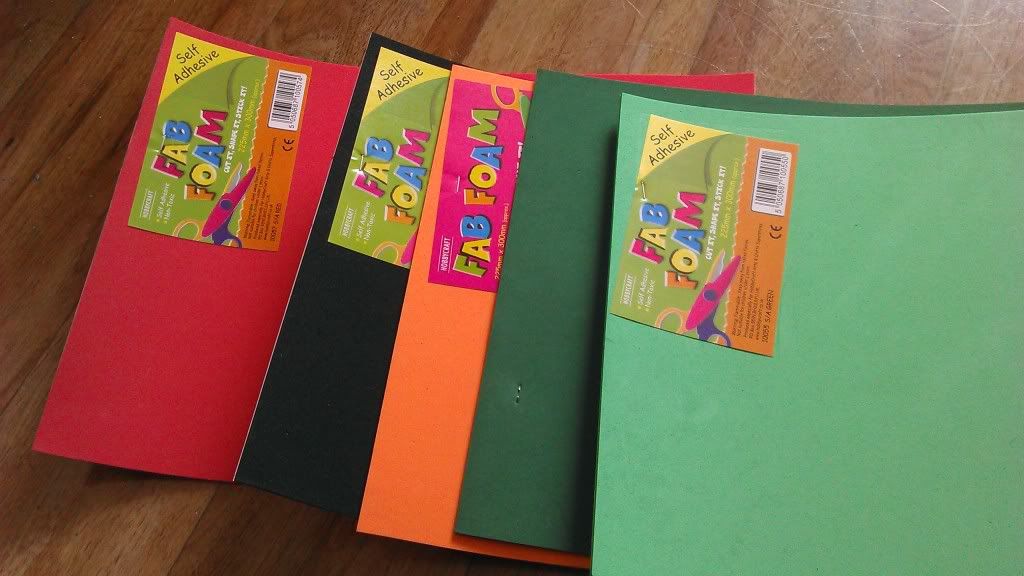
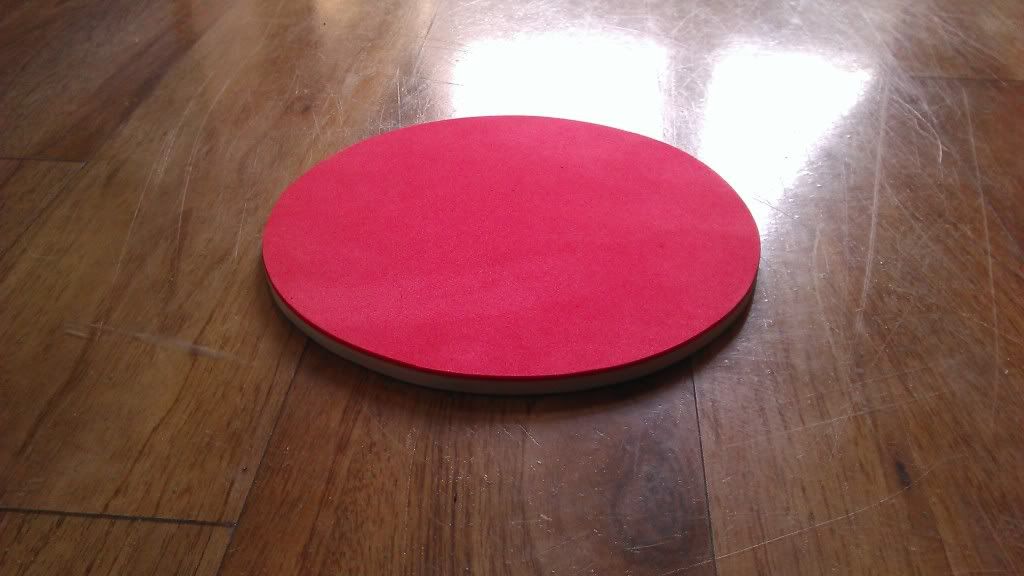
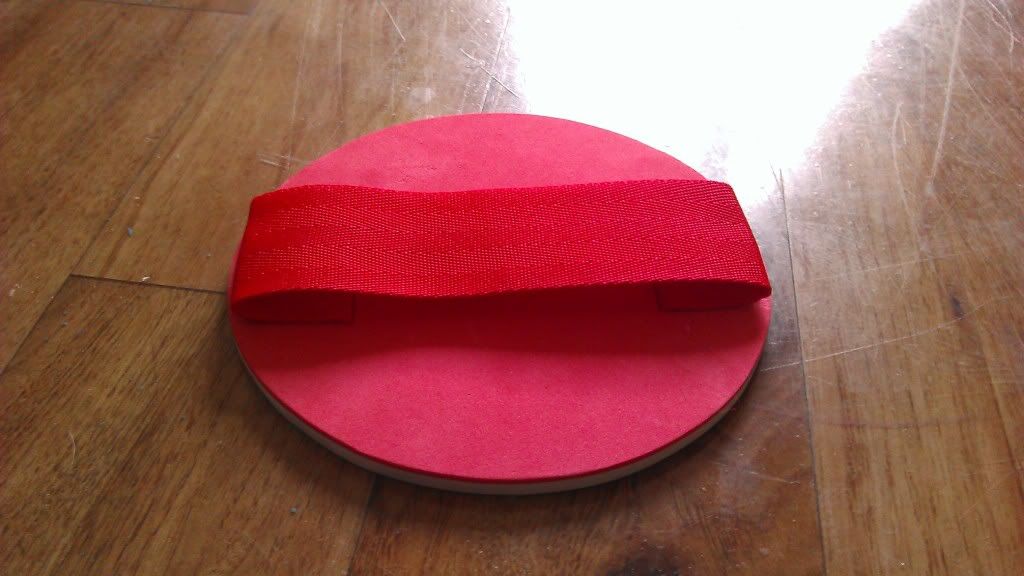
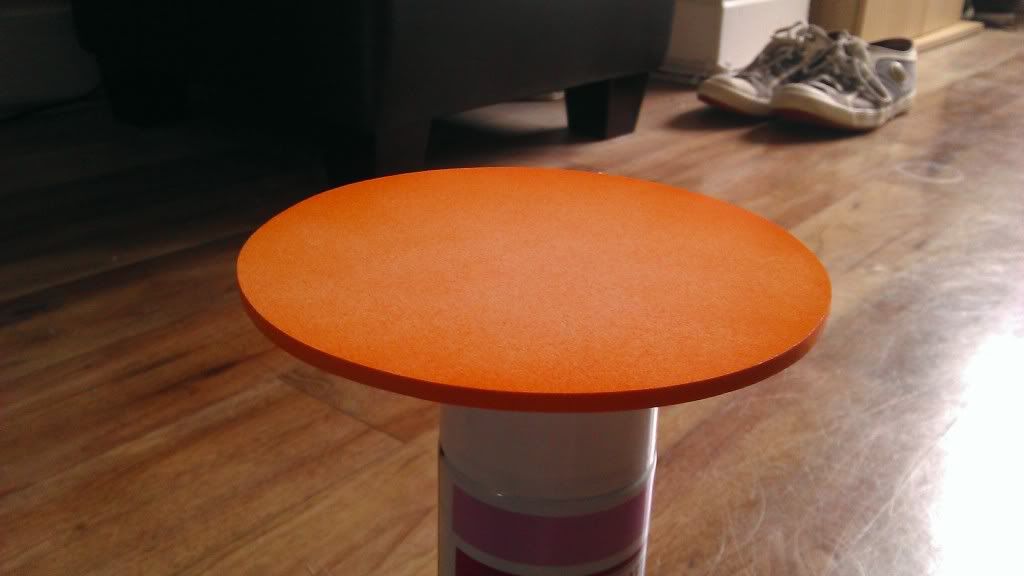
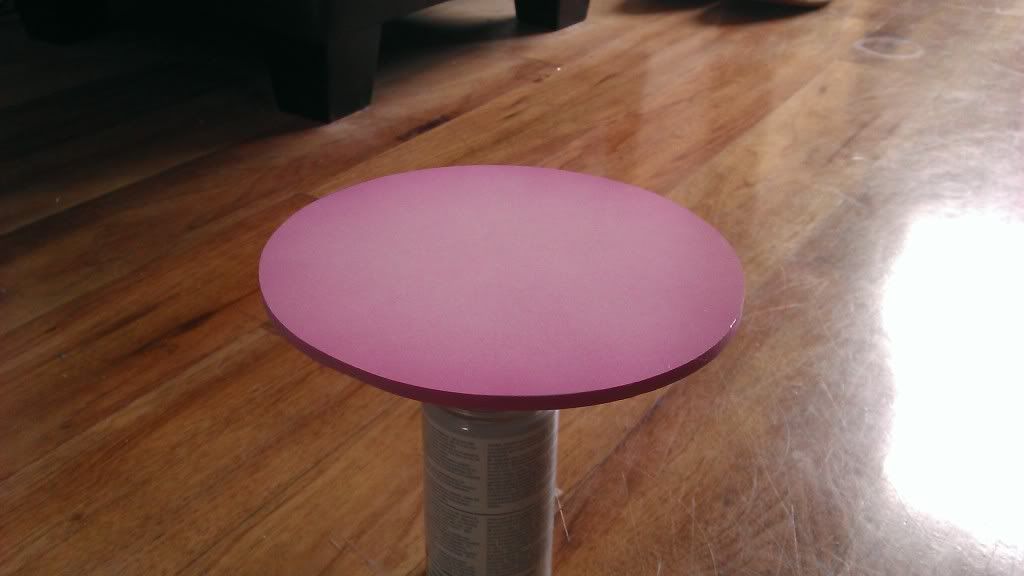
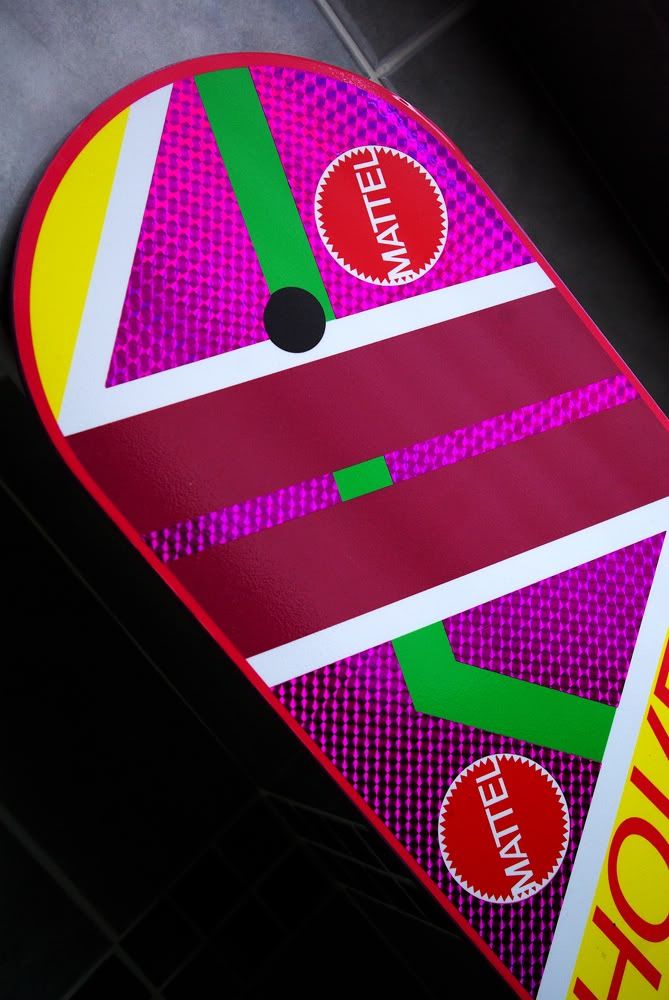
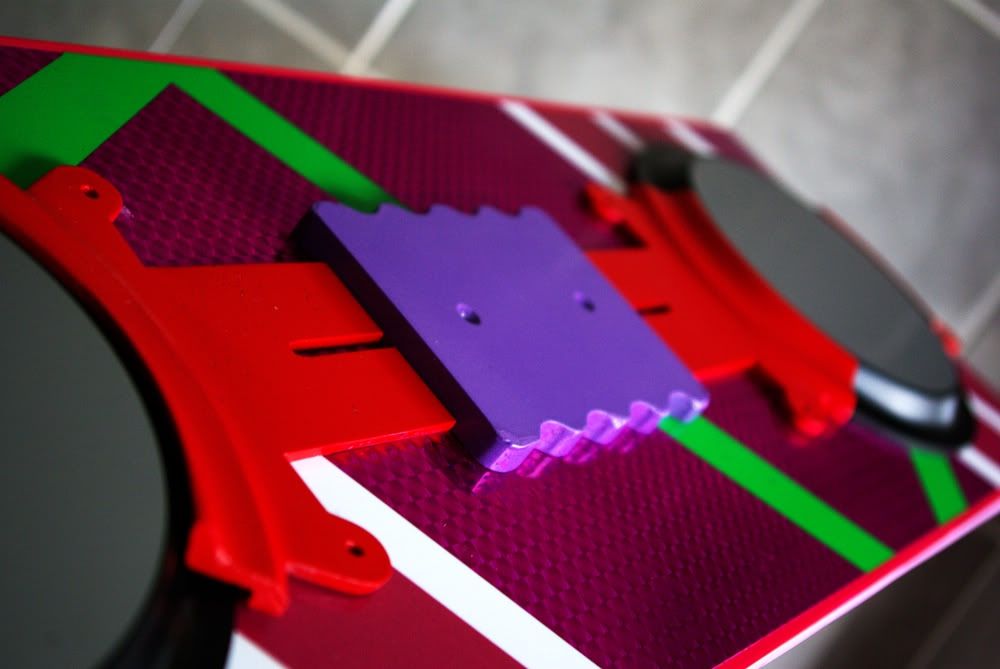
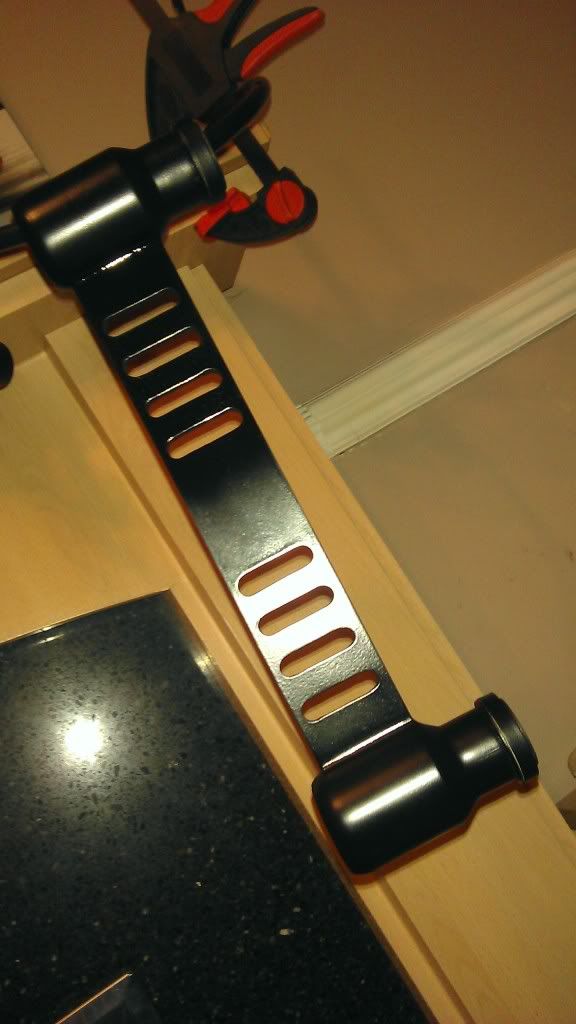
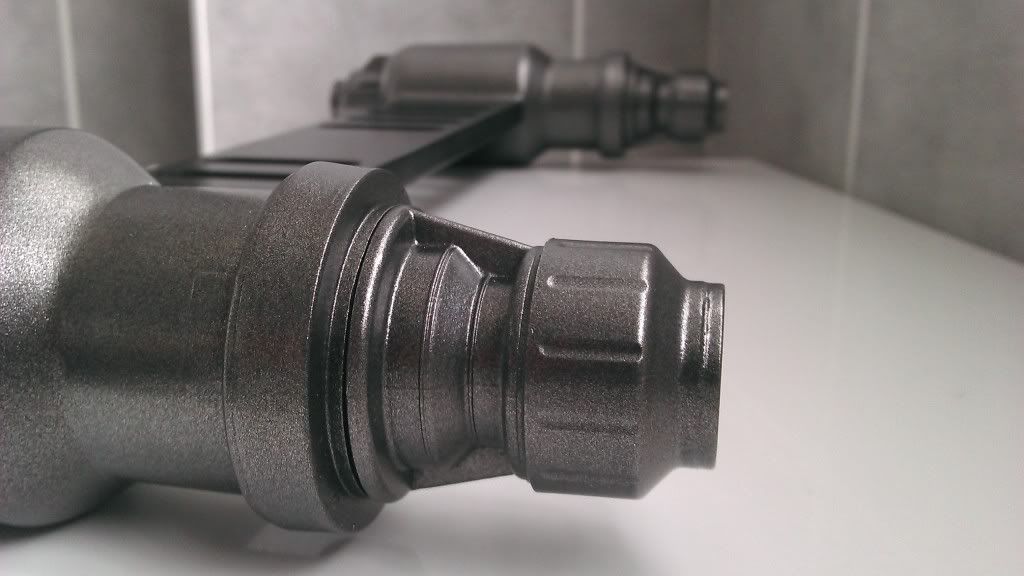
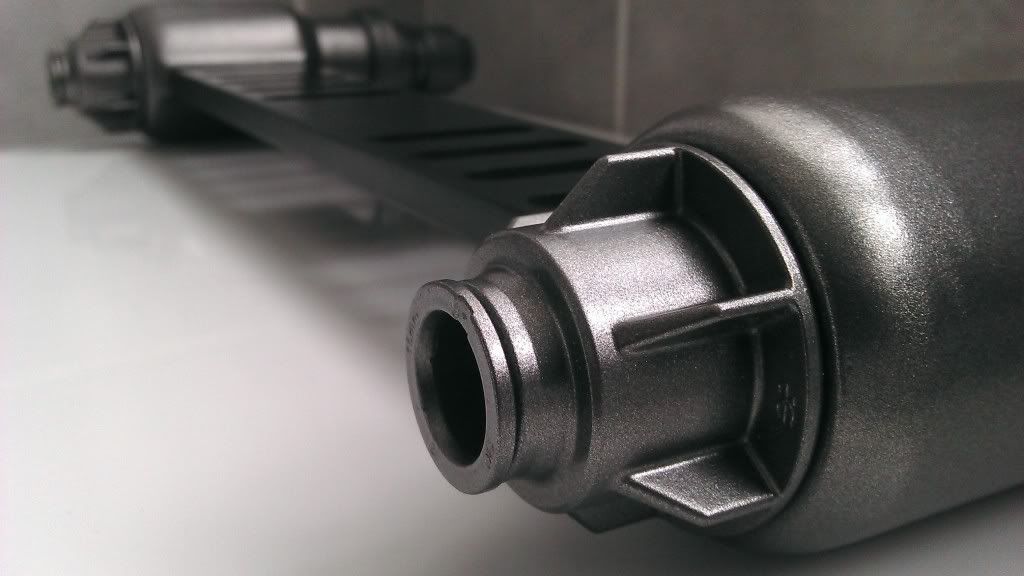
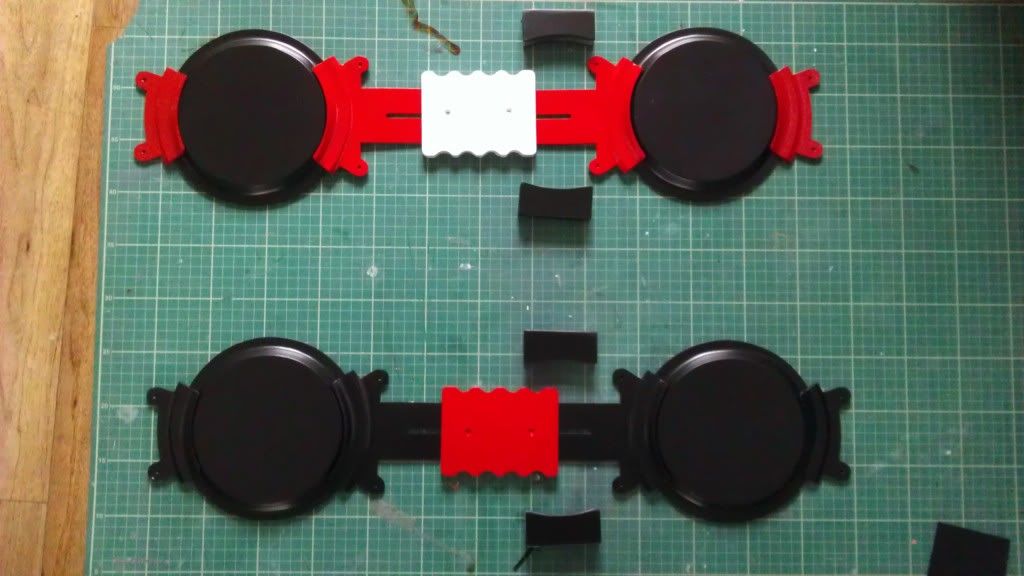
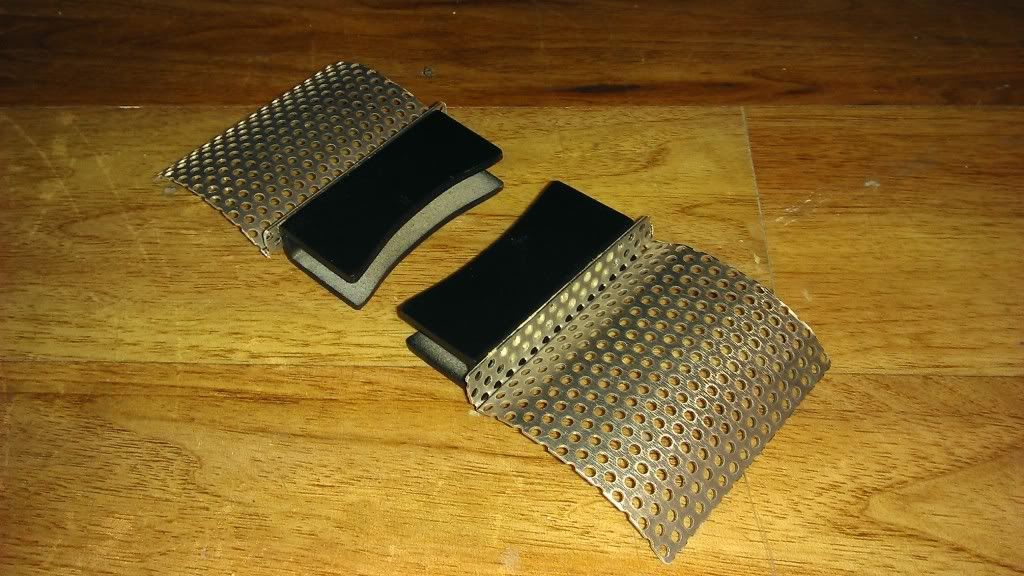
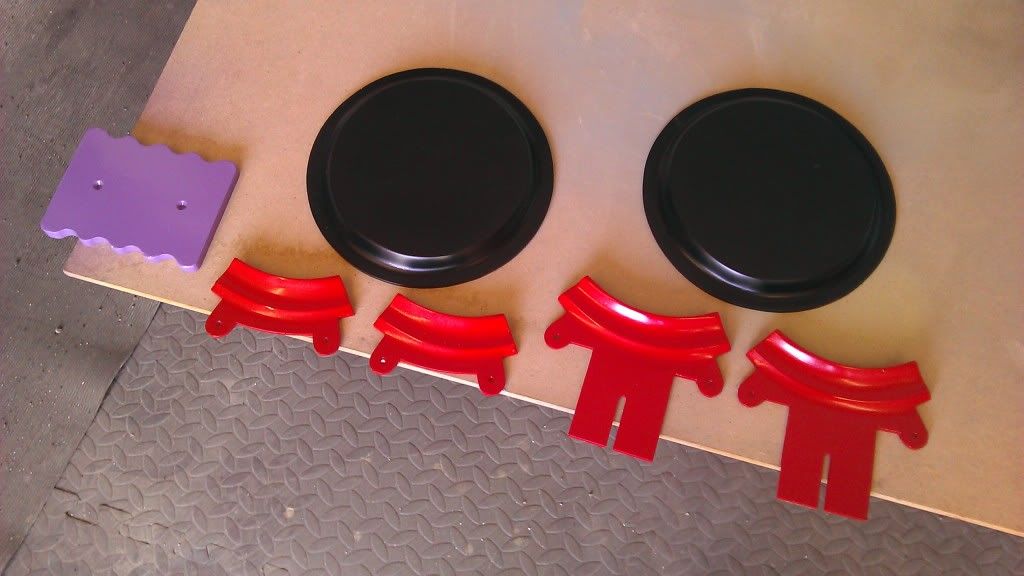
next step paint choice - i was seeking a red theat wasnt bright, yet had a brown tinge to it, hard ask so i opted for ford radient red: hard to see in the pics but there is more burgandy with the naked eye, satin black for the magnets, and lavender plasticote for the purple centre bit:
IMAG1010.jpg

IMAG1011.jpg


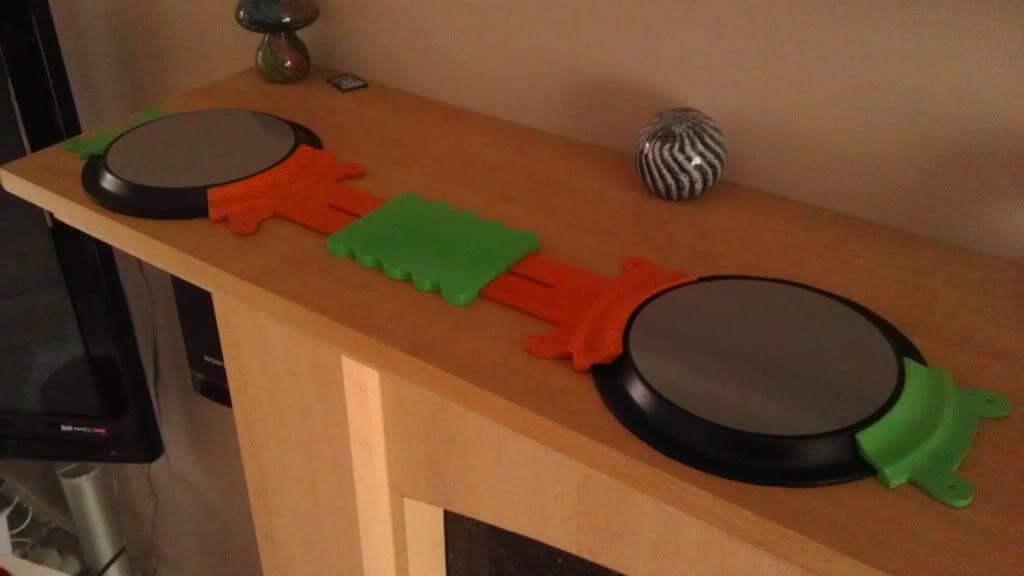
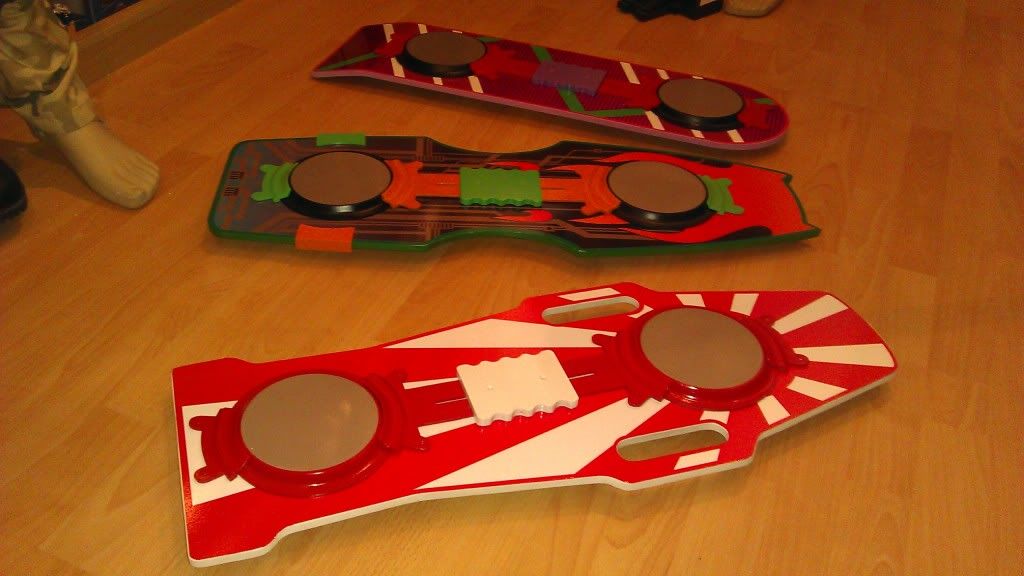
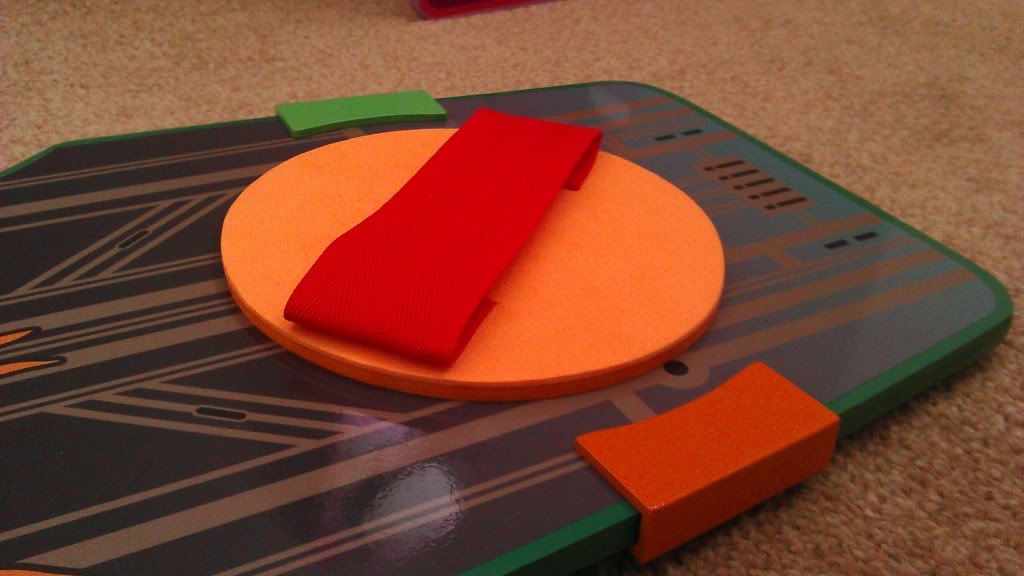
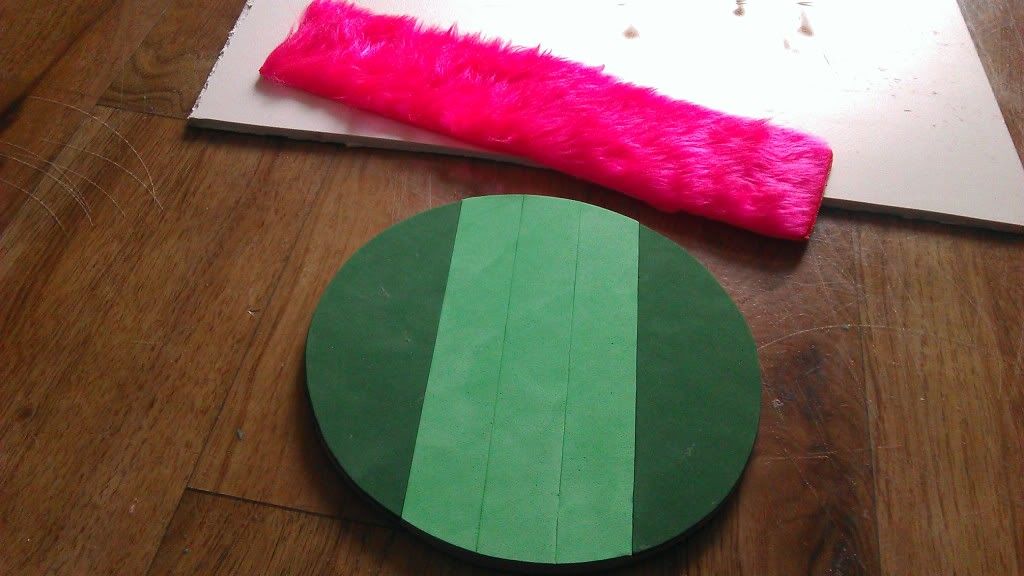
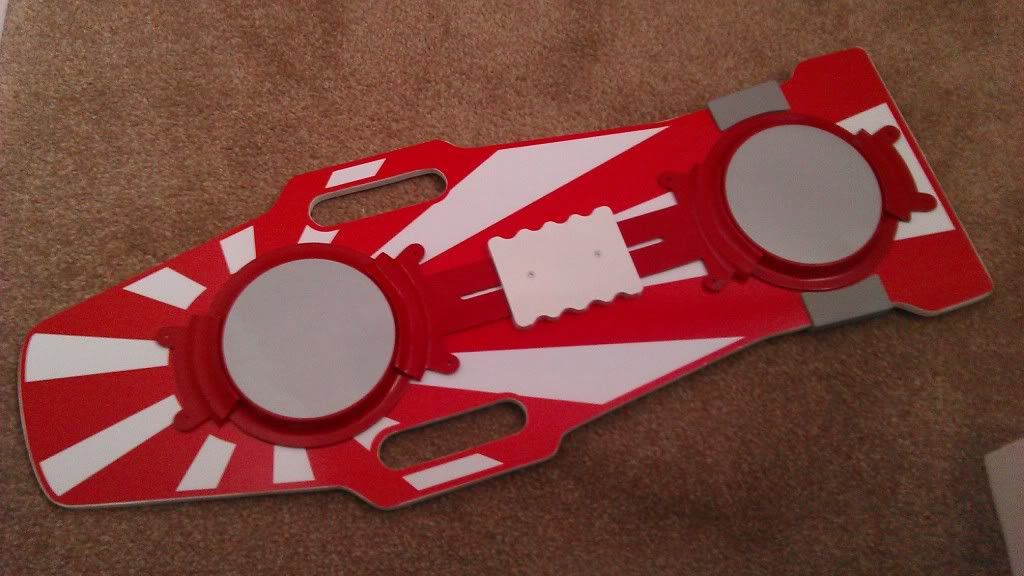
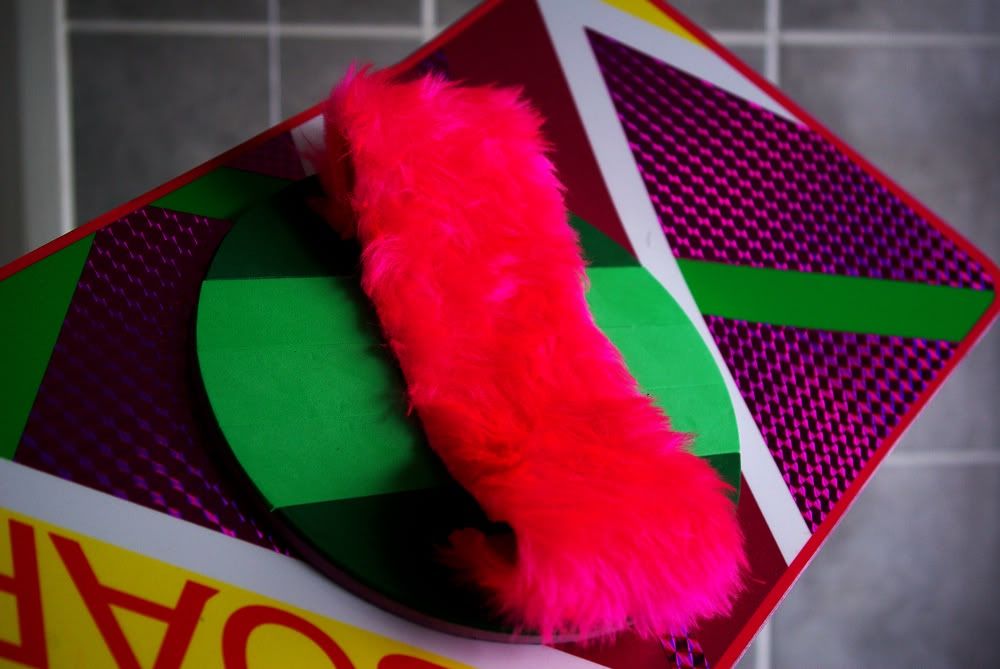
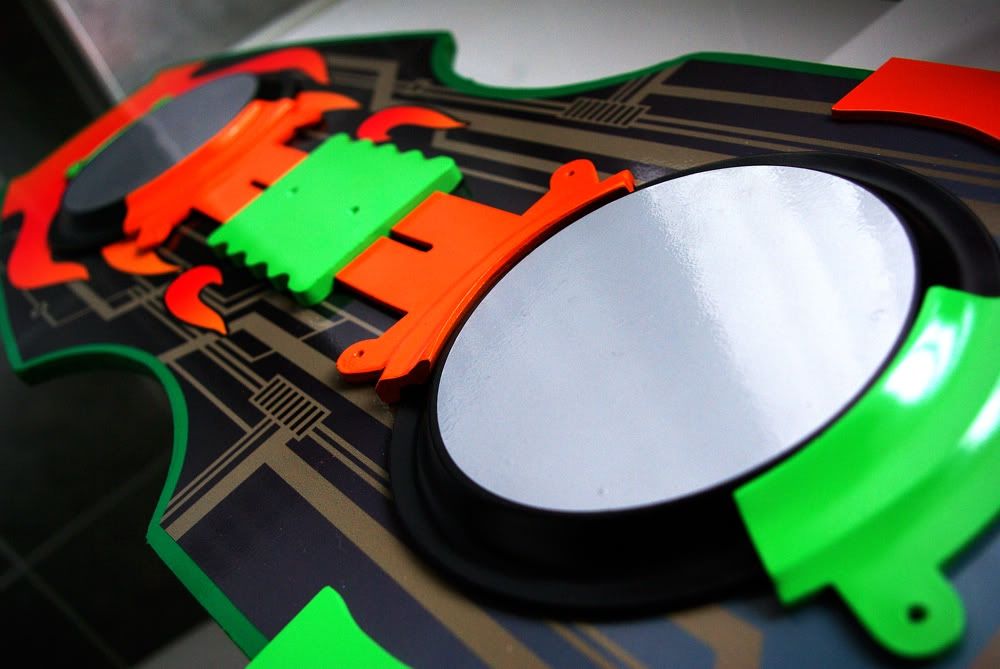
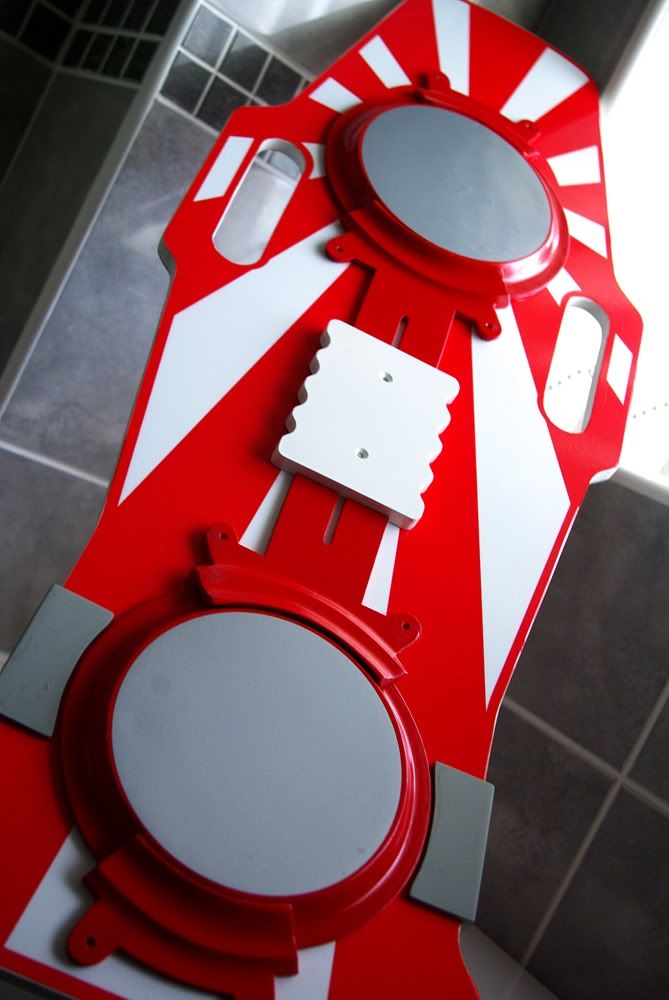
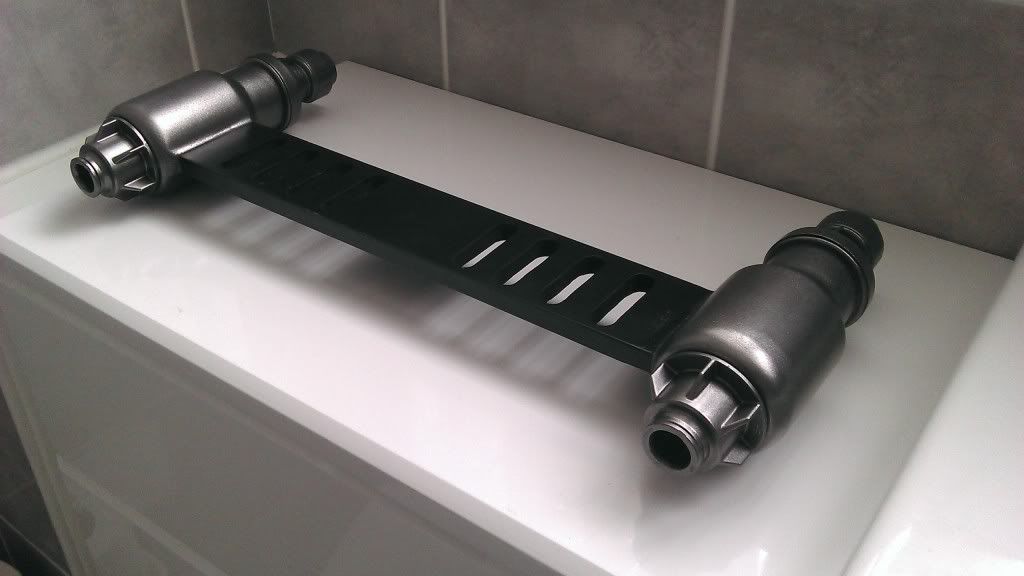
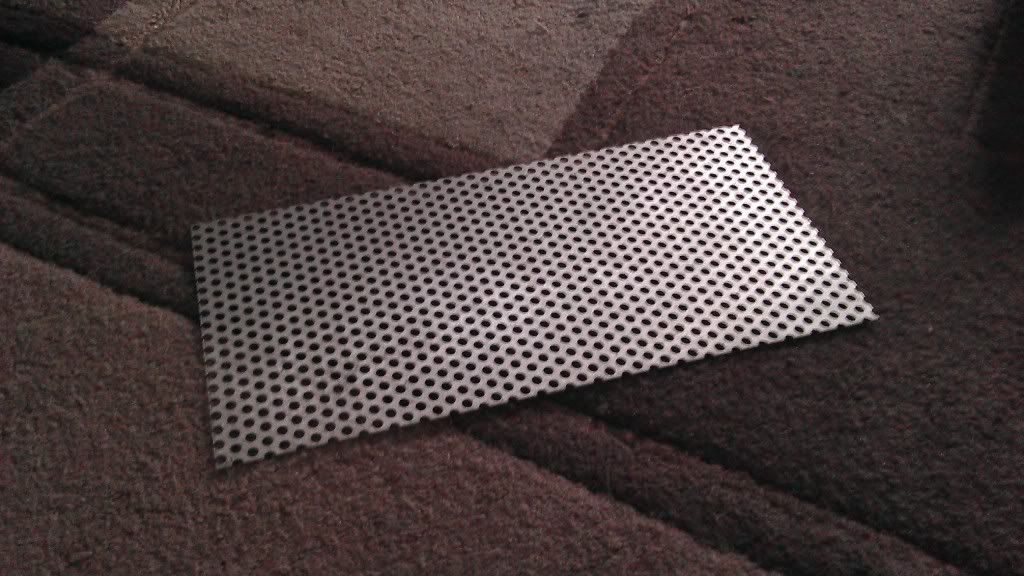
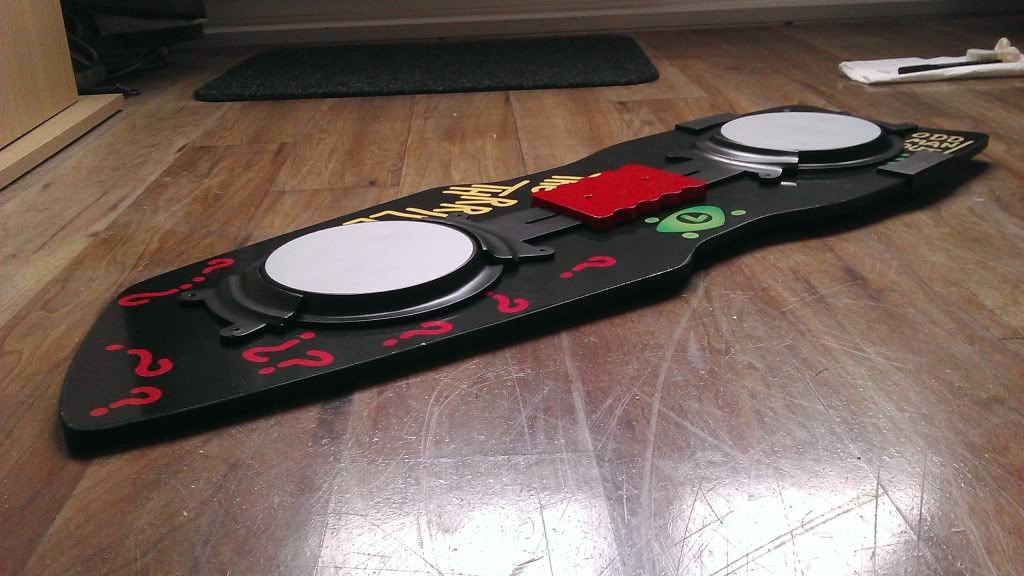
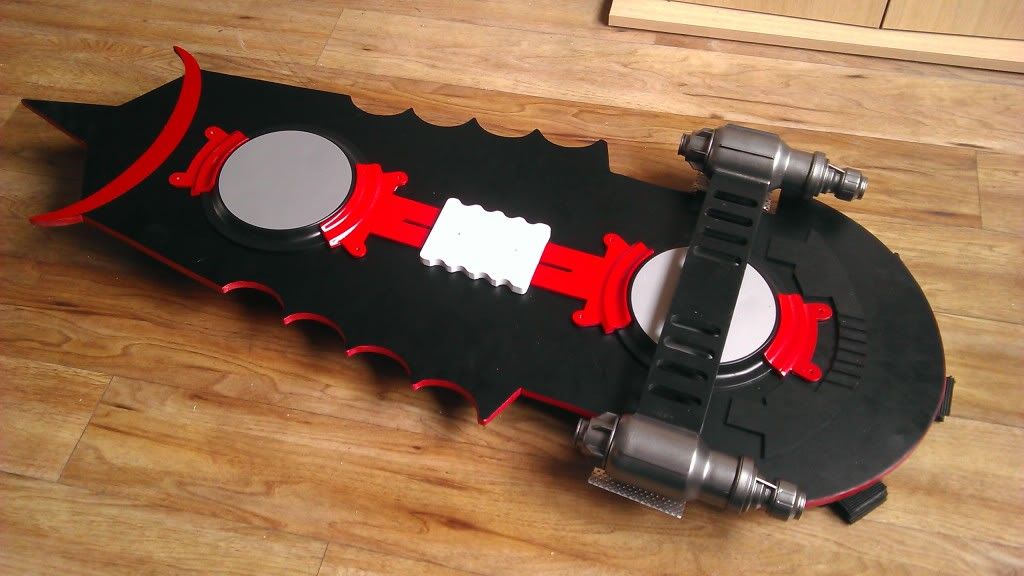
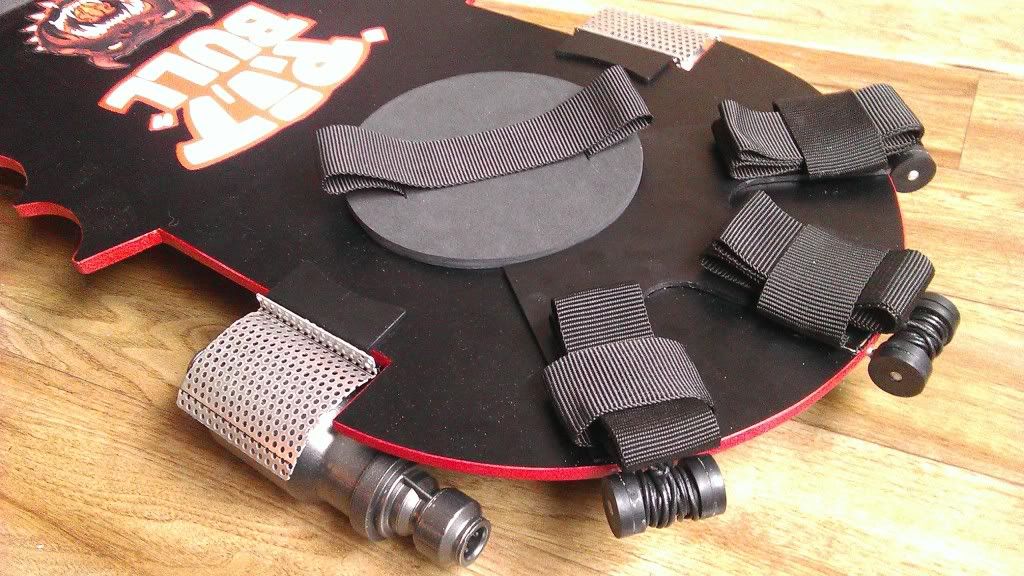
decided to roughly put the bits in order, added the adhesive silver circles, the vinyl im using is a silver with a metallic look to it so it gives off a nice reflection without lamination:
IMAG1012.jpg


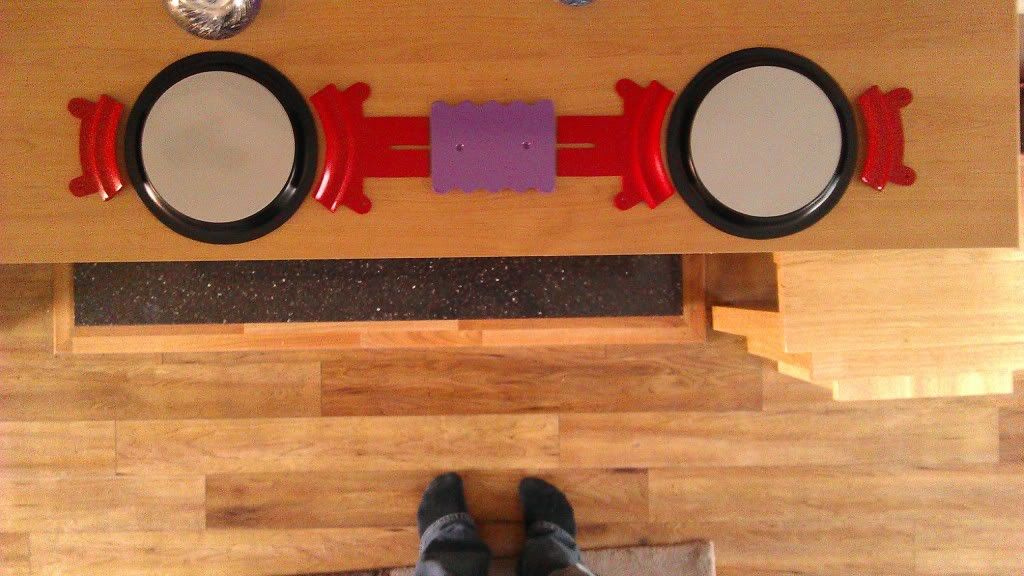
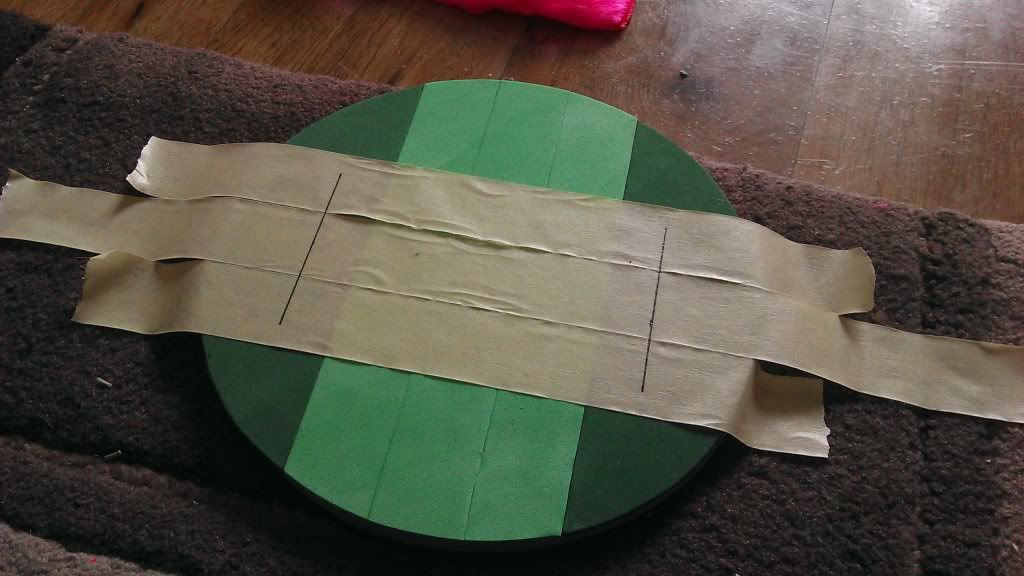
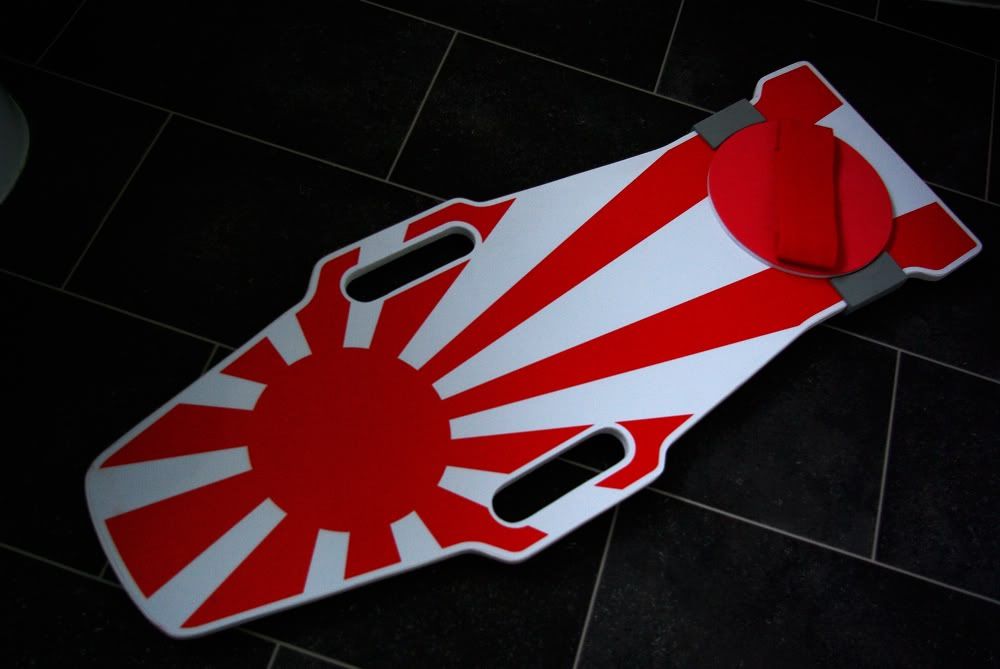
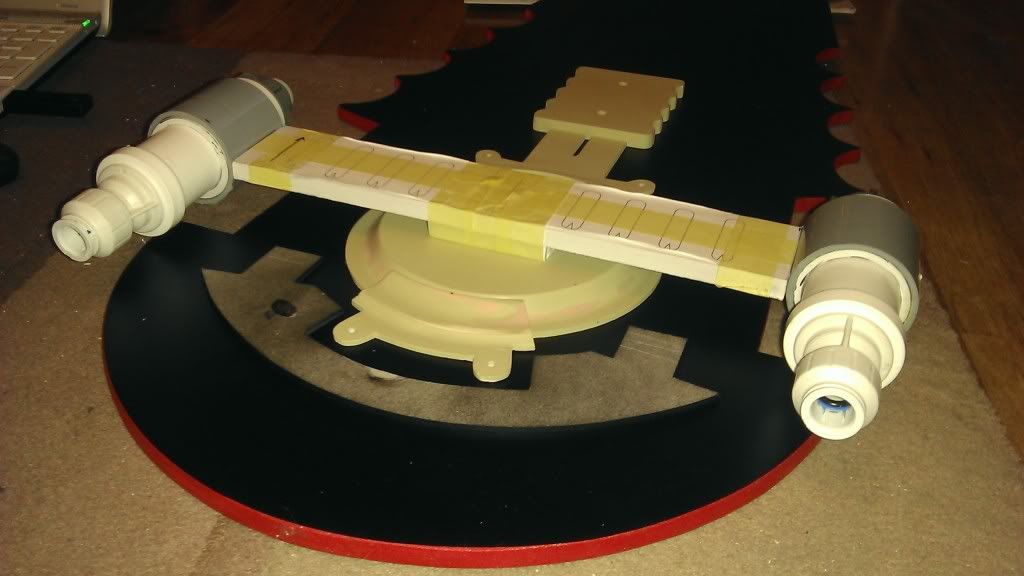
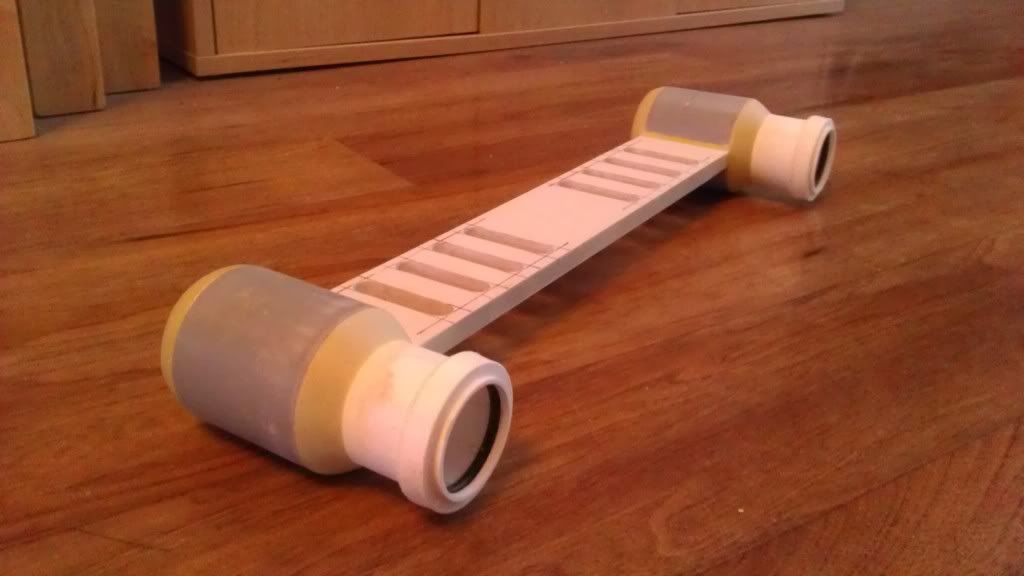
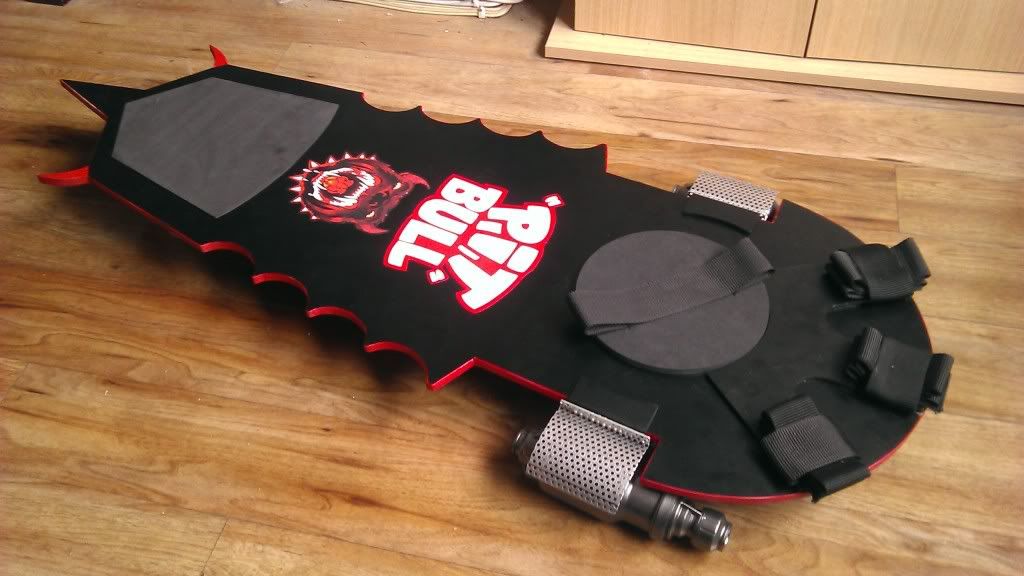
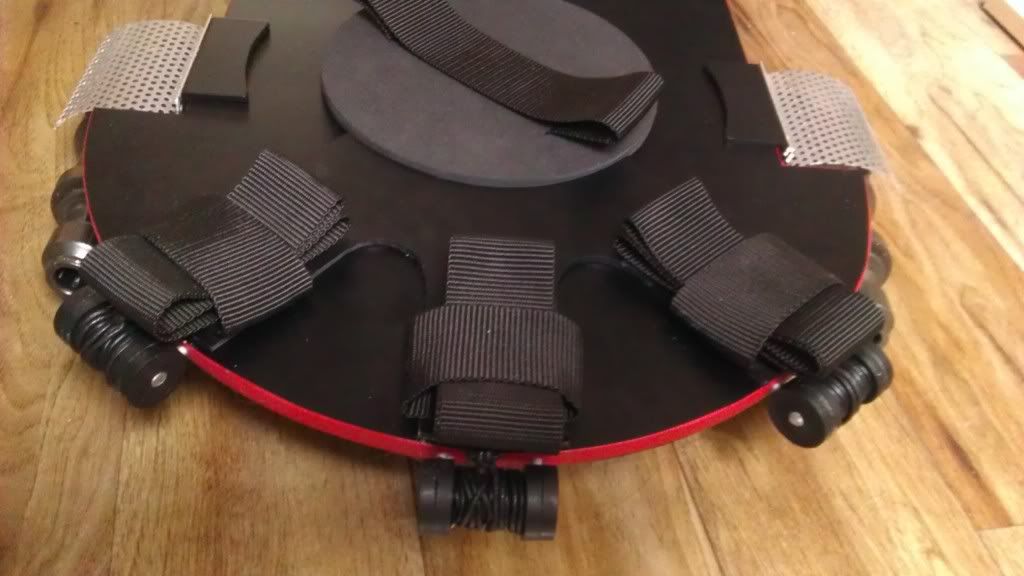
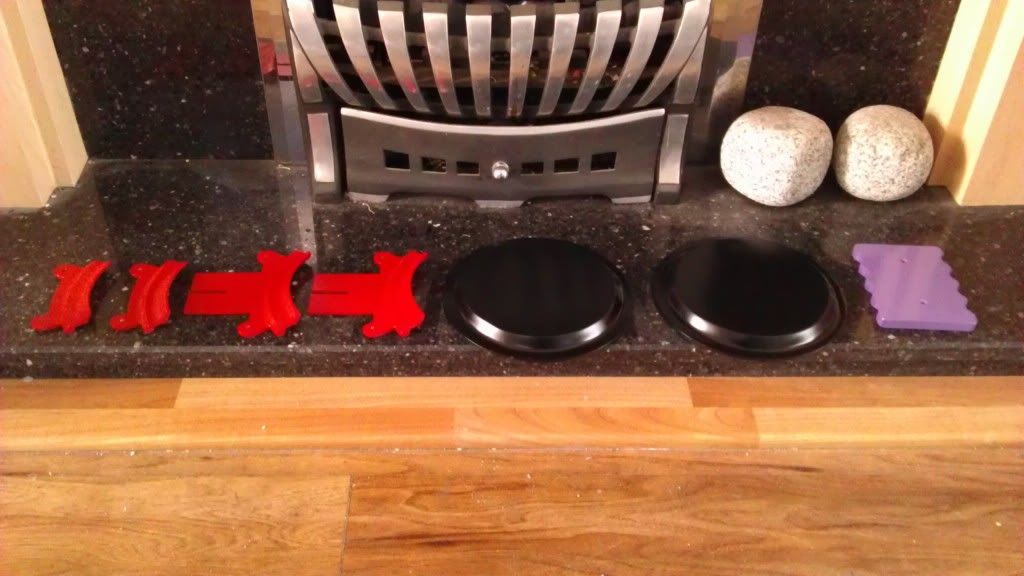
and when dryer i positioned all the bits butted up:
IMAG1015.jpg


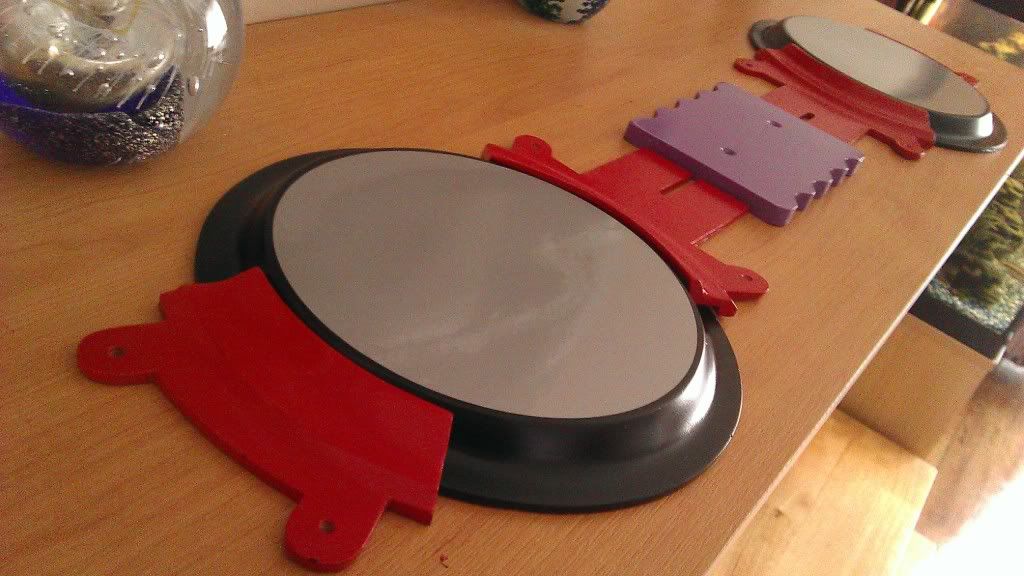
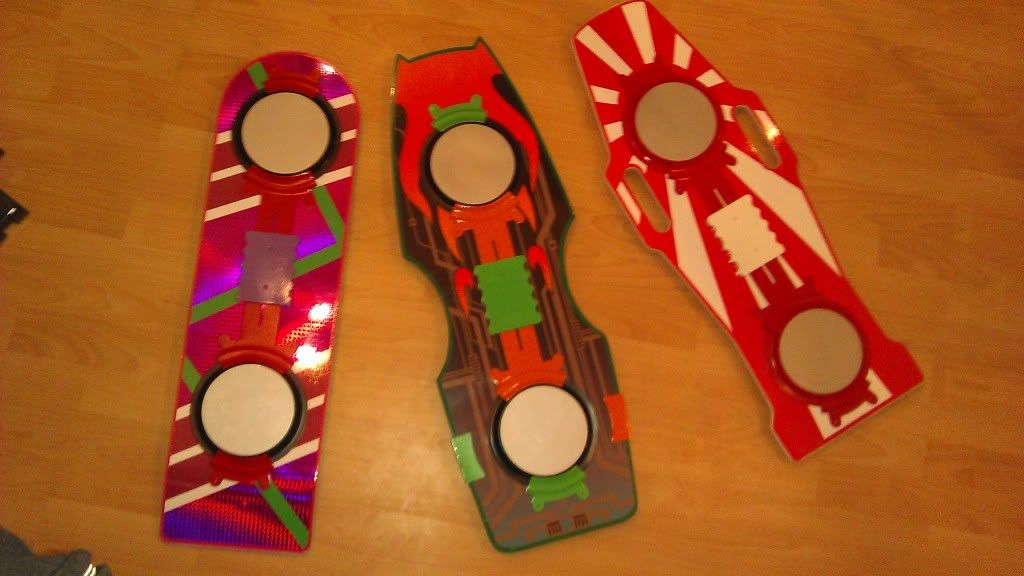
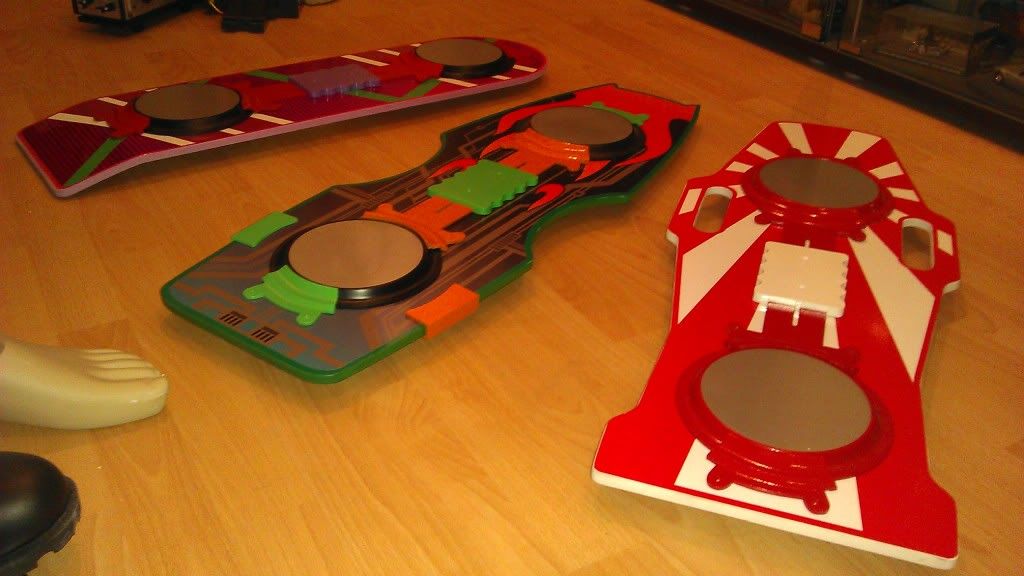
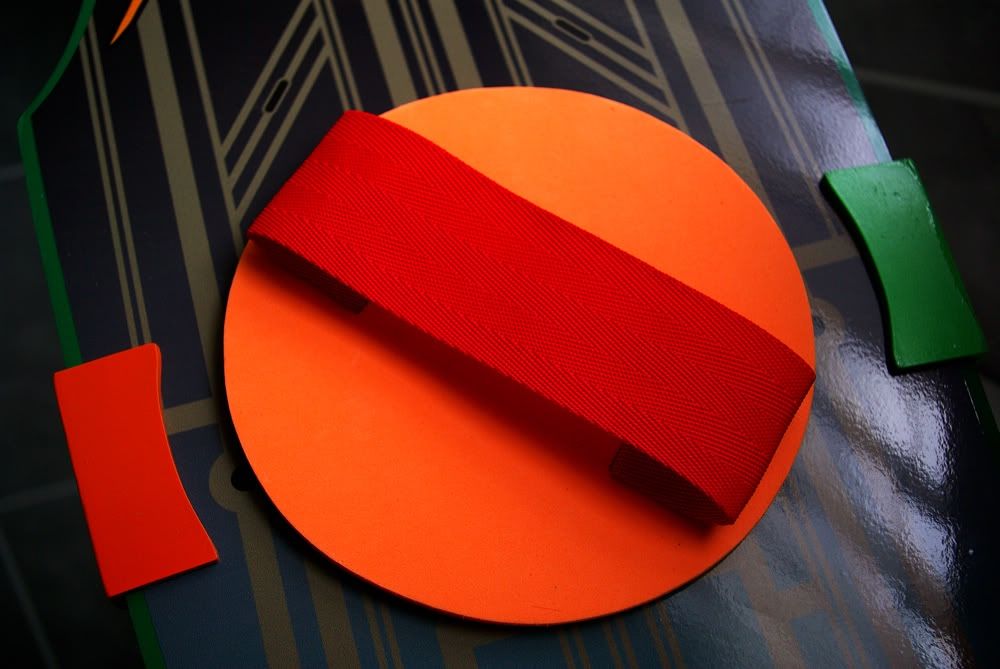
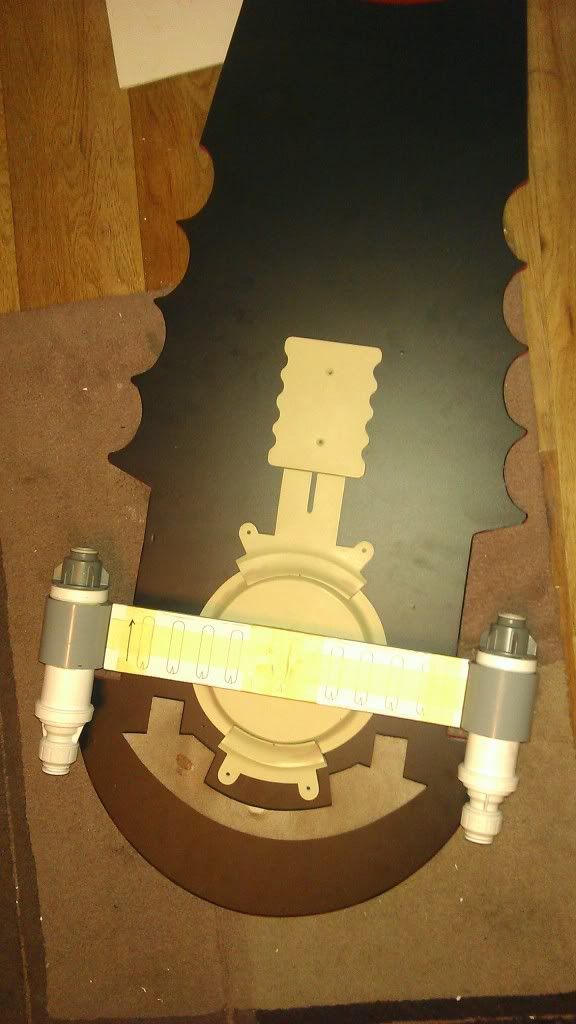
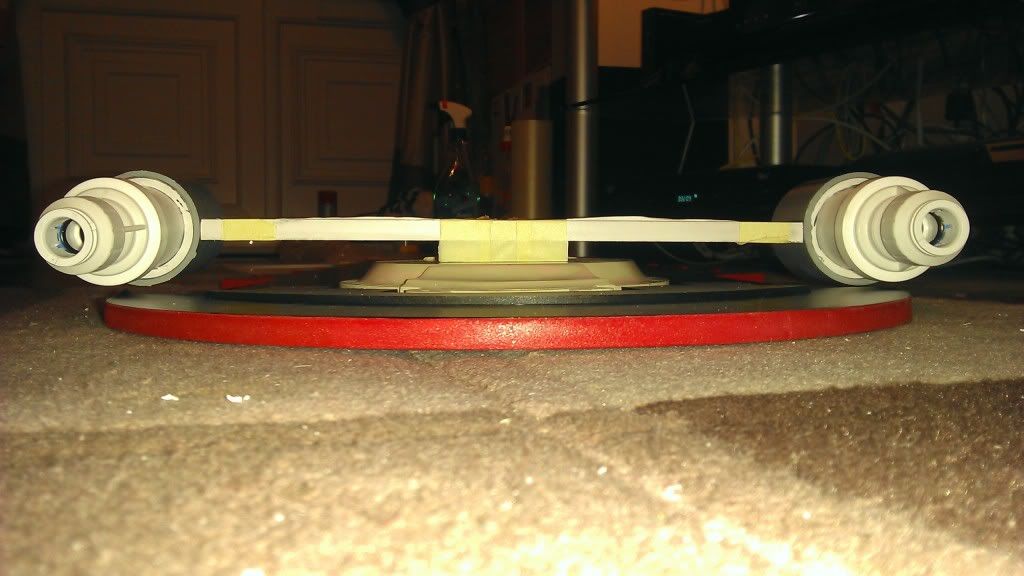
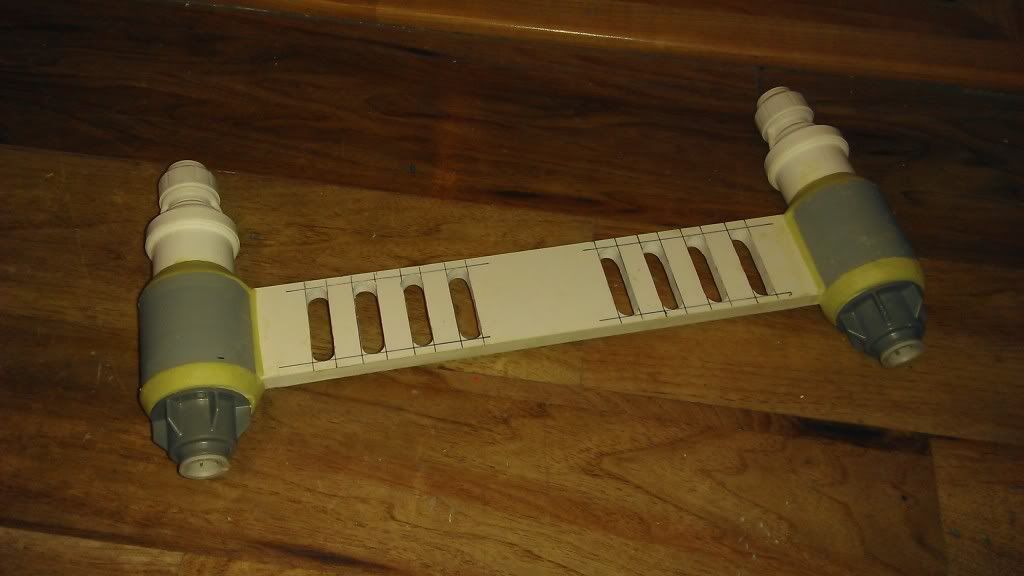
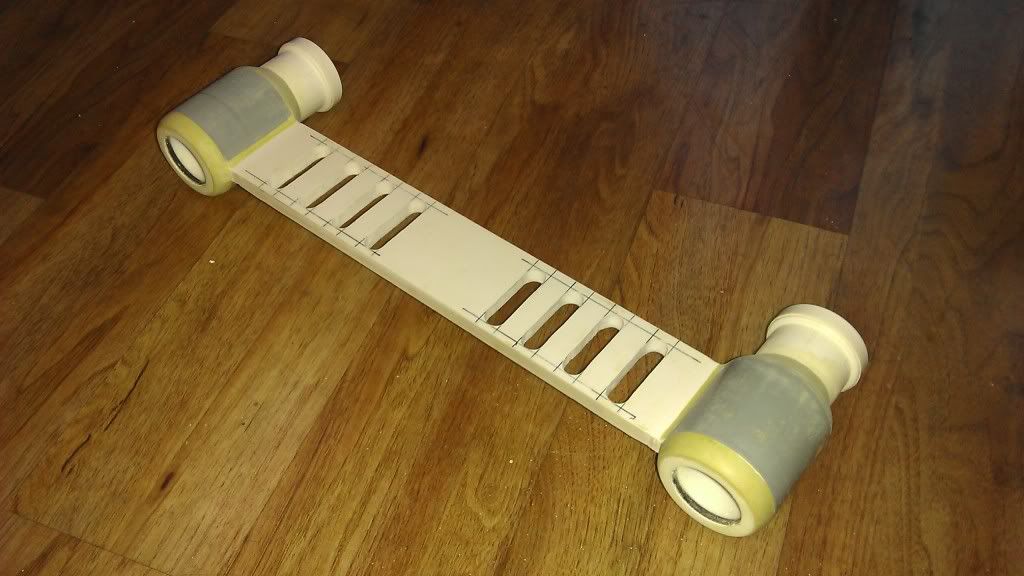
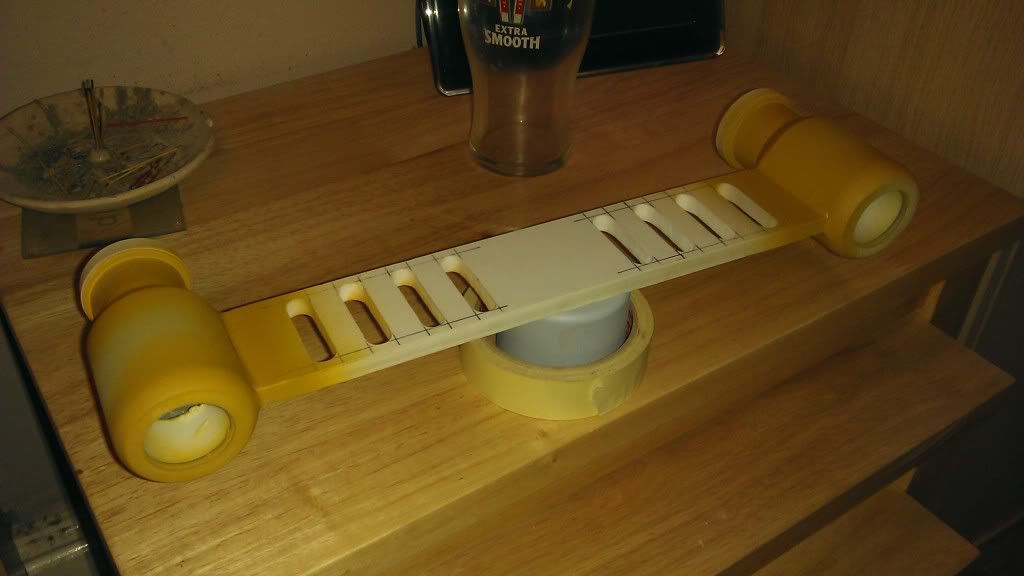
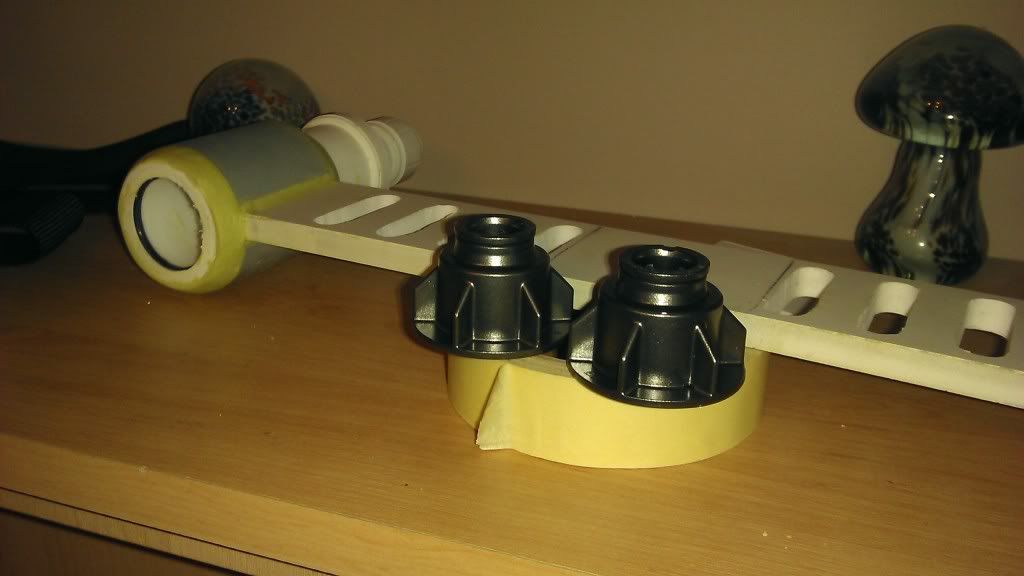
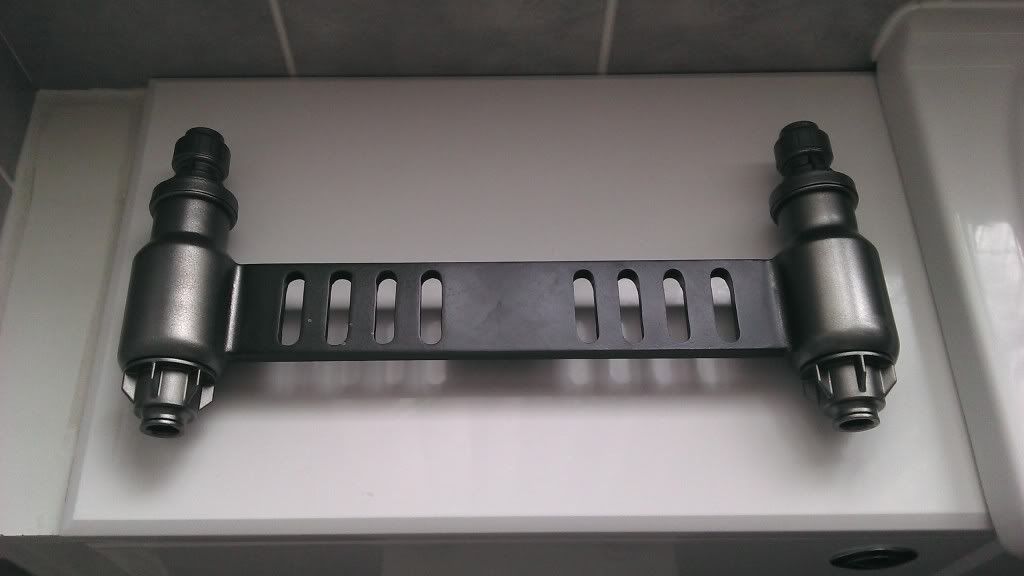
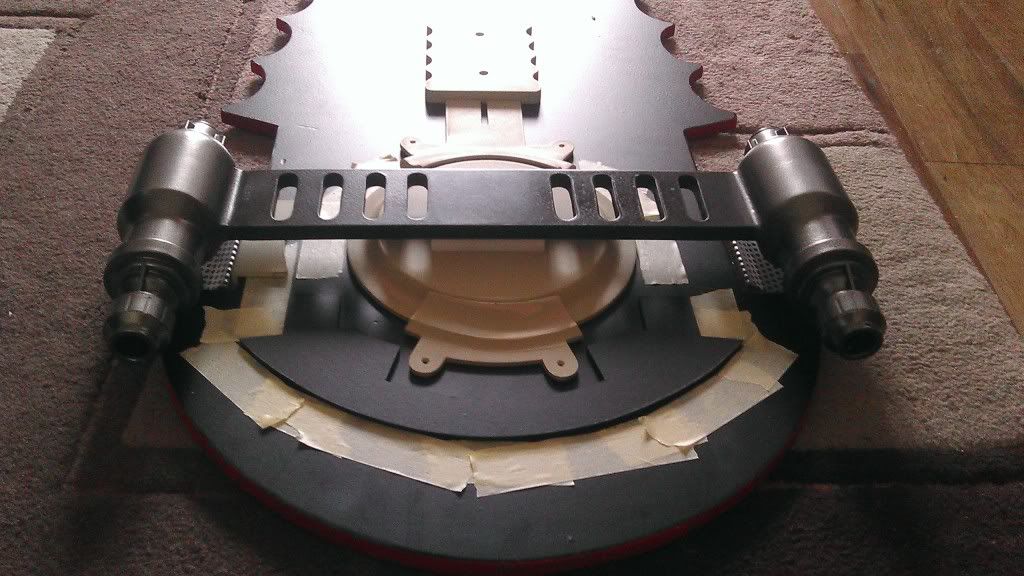
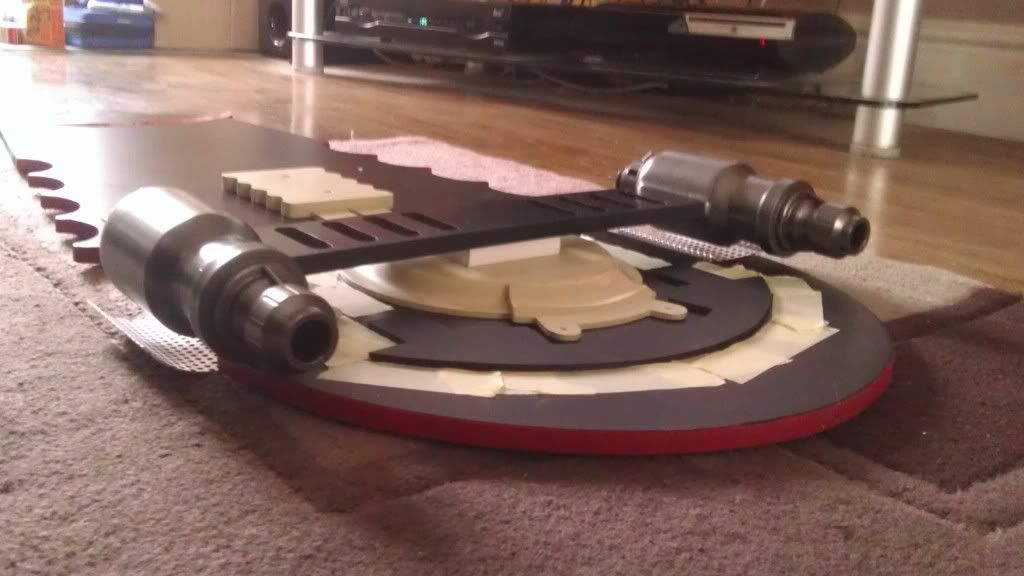
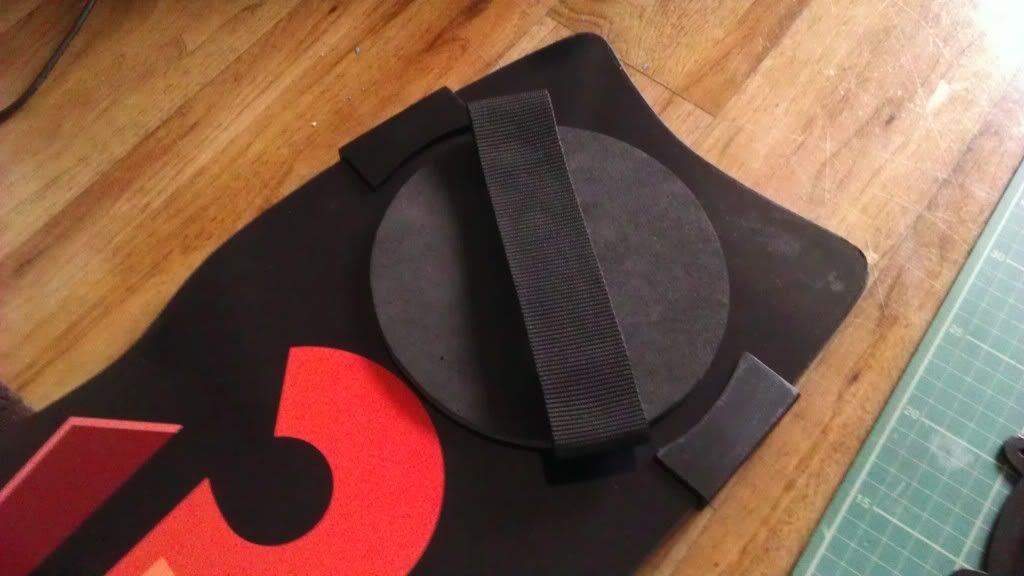
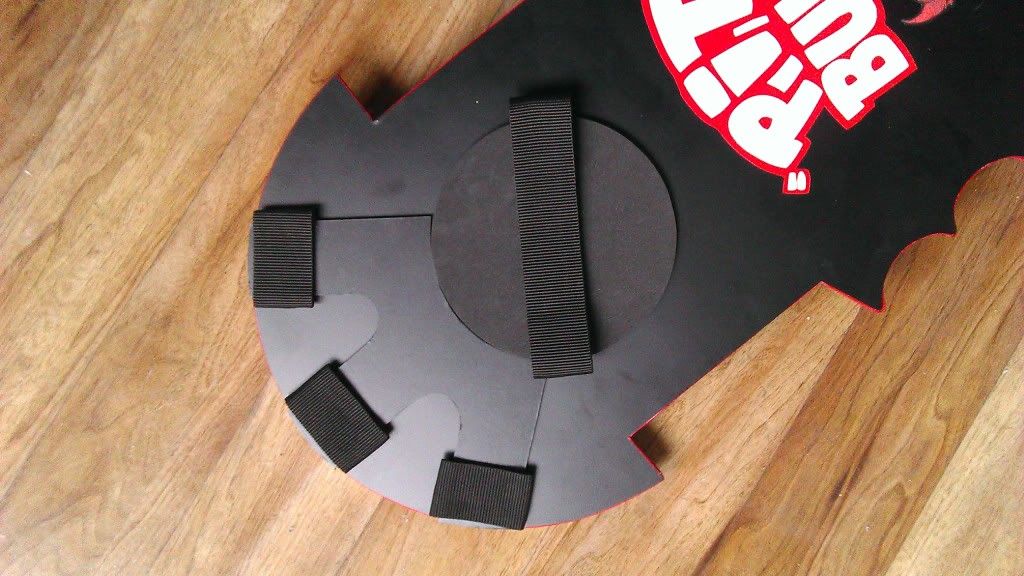
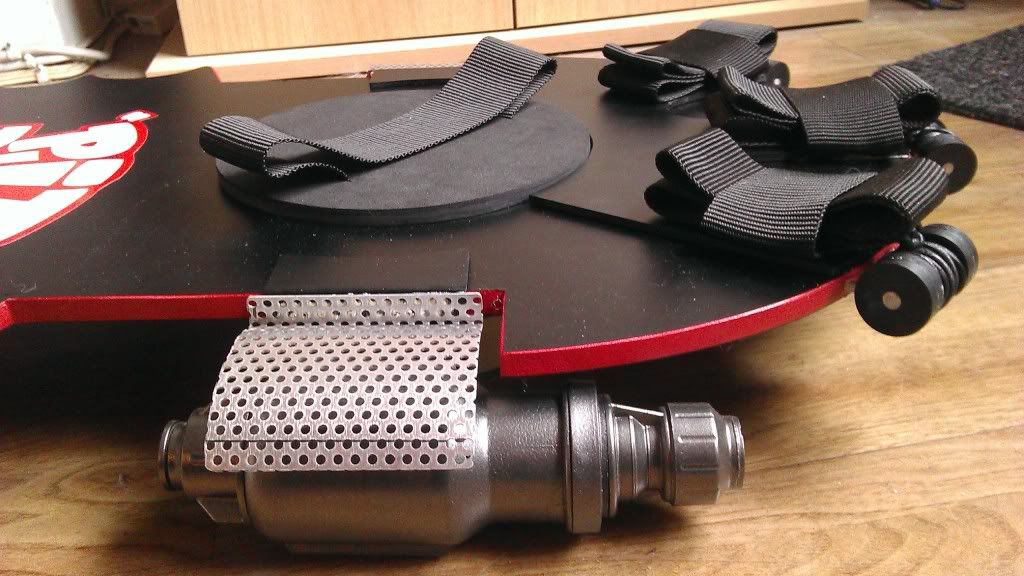
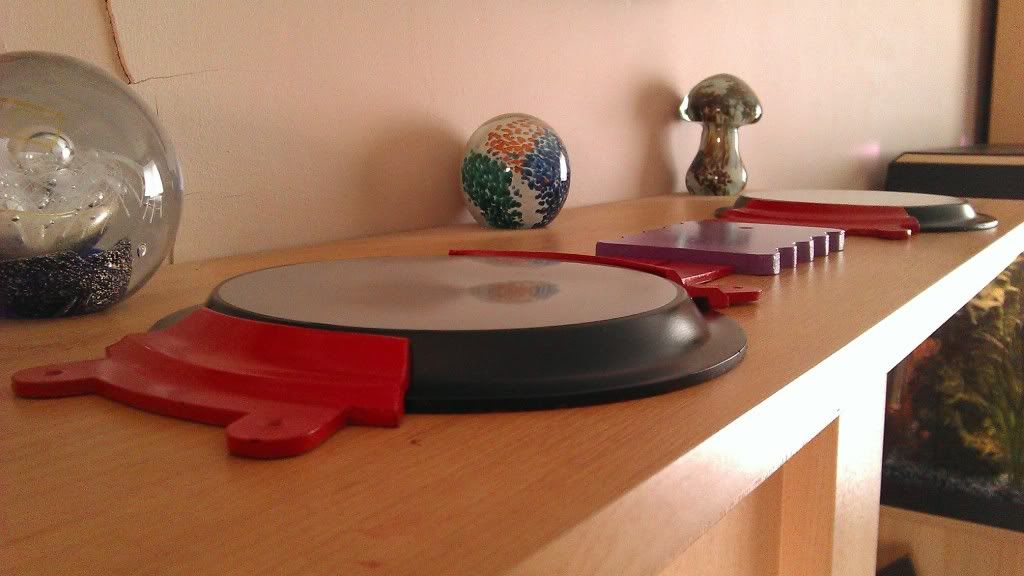
and showing the thicknesess of the parts:
IMAG1016.jpg


casting will commence again tomorrow for some more parts, will need some more resin to do them all and more paint for the other boards.

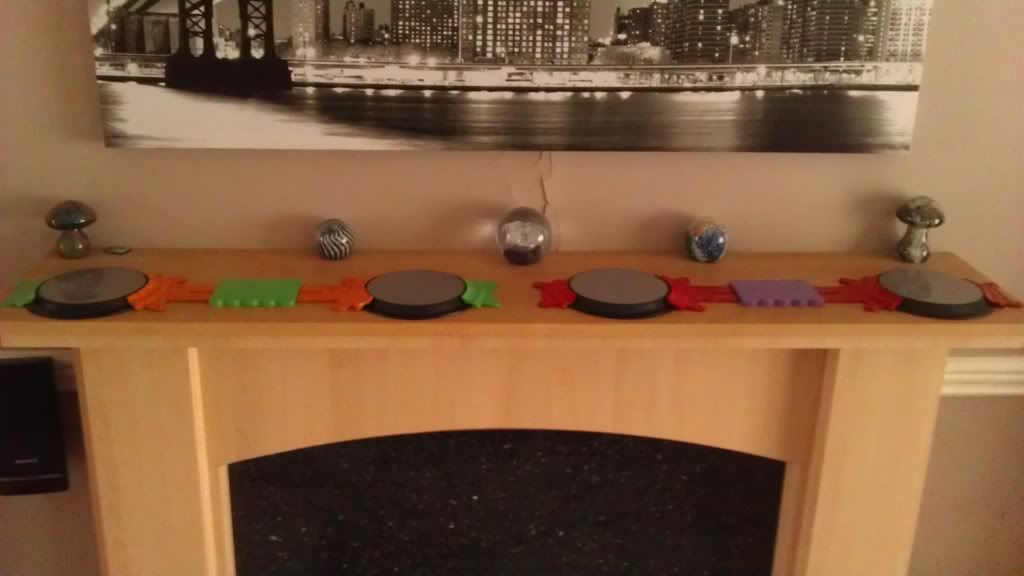
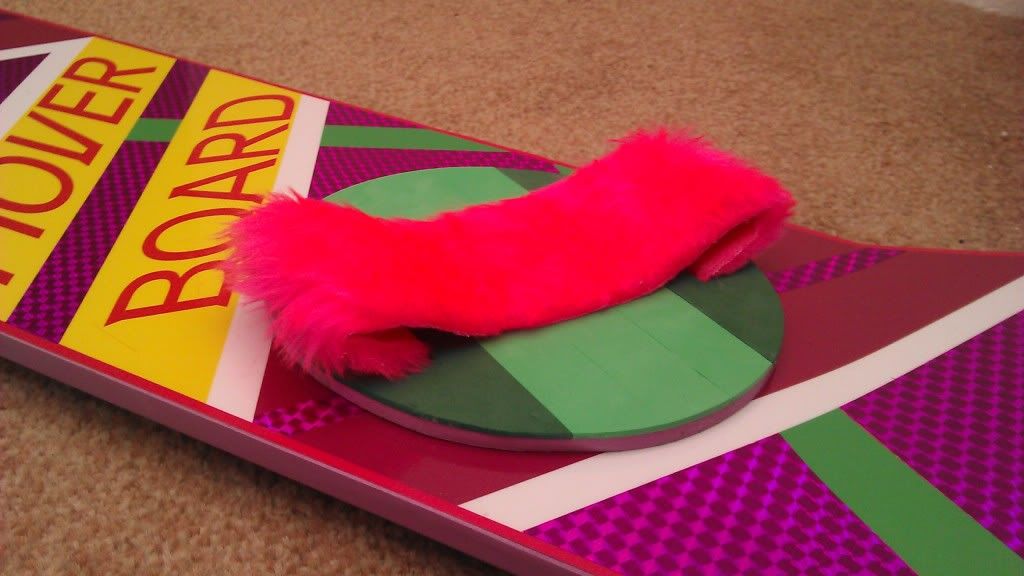
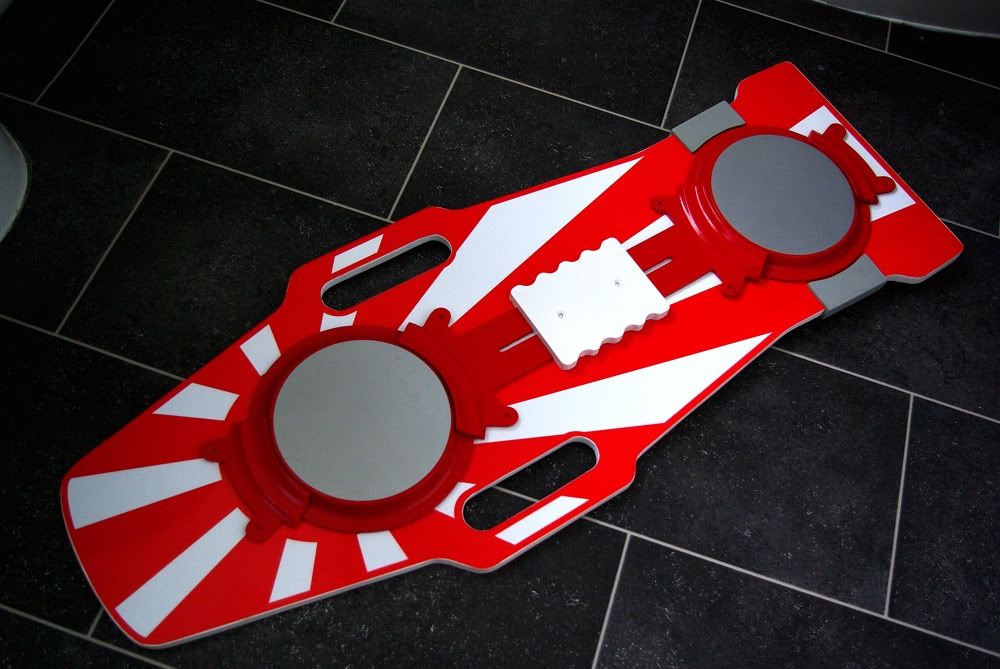
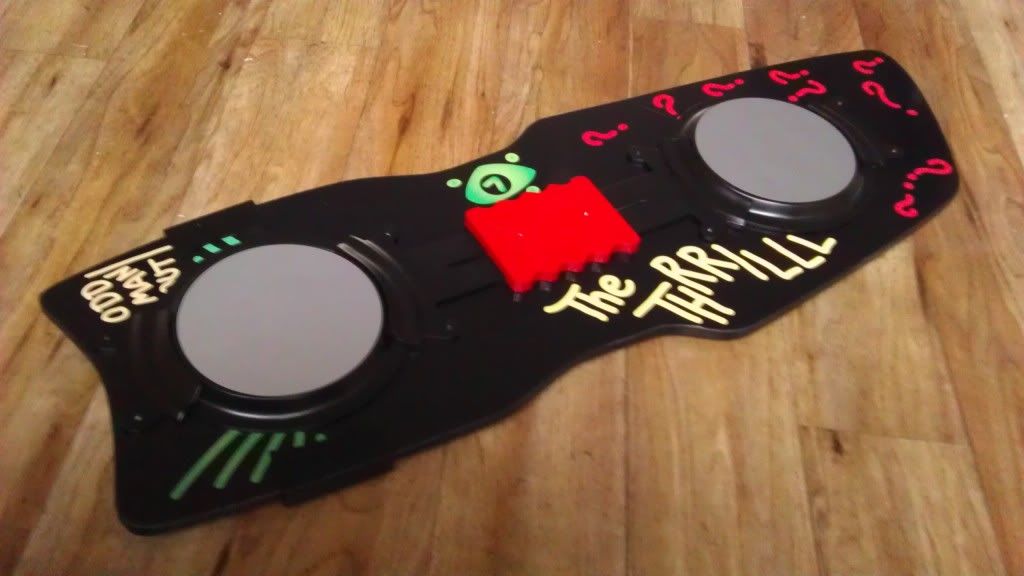
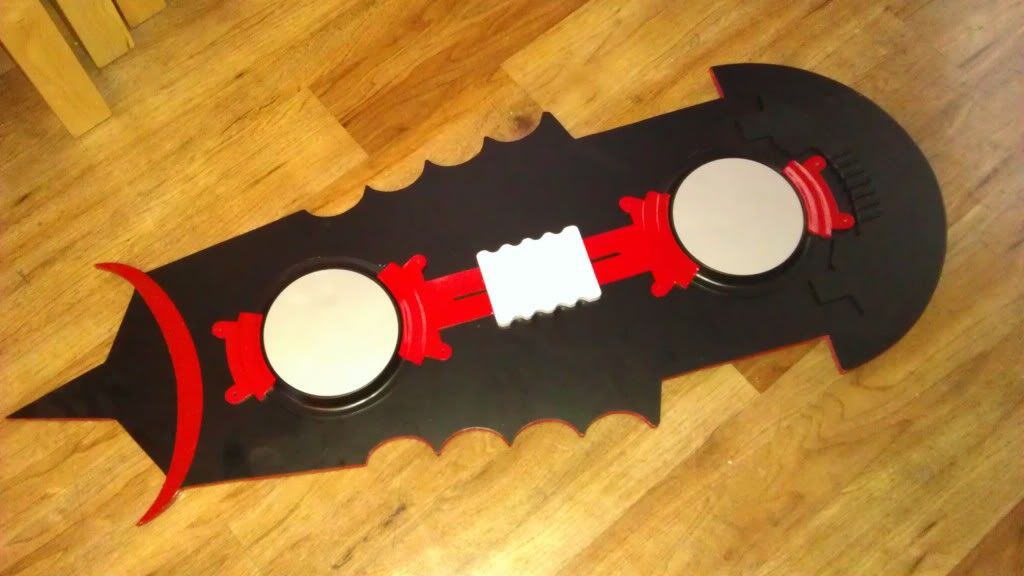
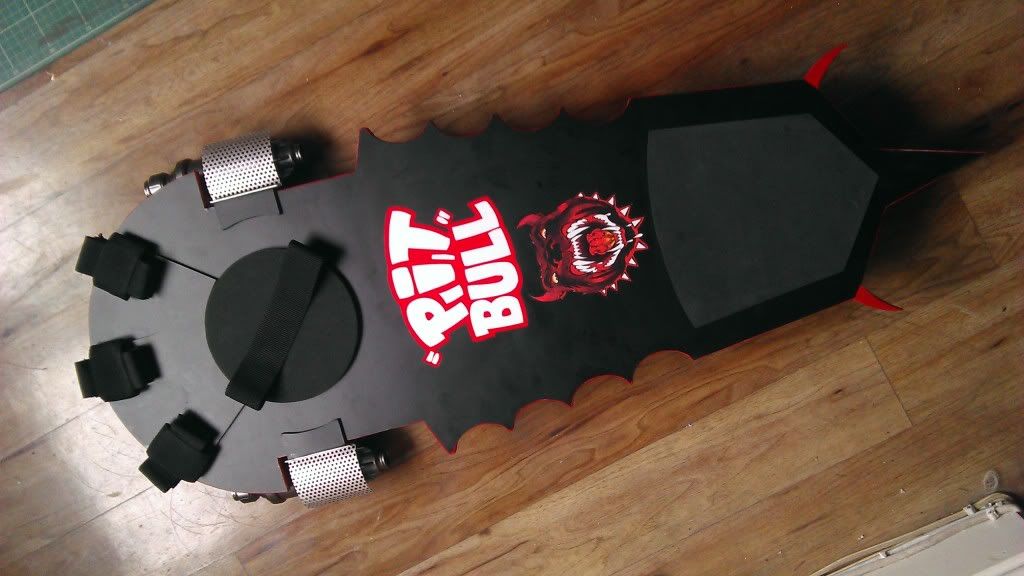
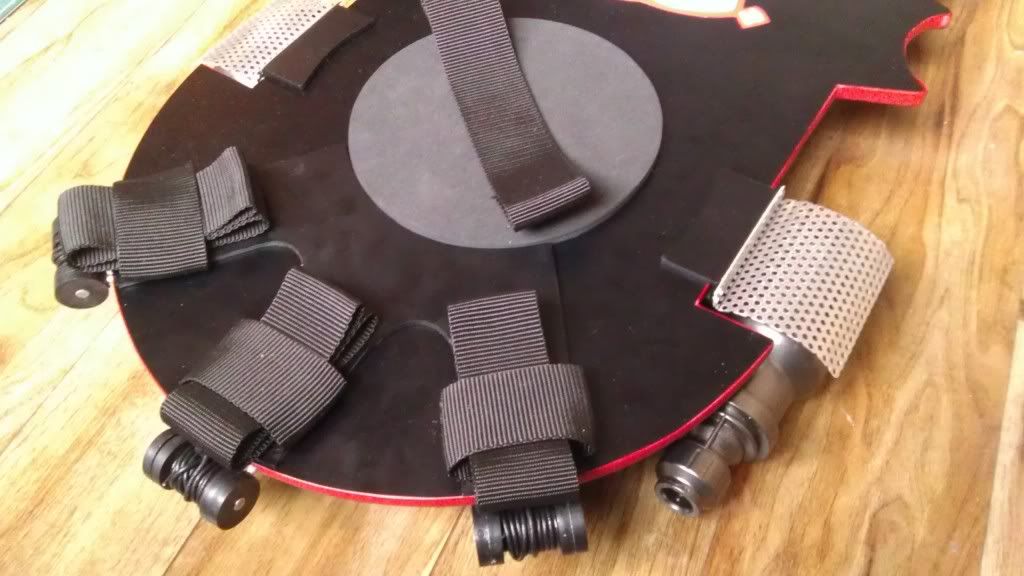
final pic of the current build status showing all the reflections:
IMAG1018.jpg
 
Last edited:
Superb effort yet again..
Have you still stuck with foam body of the board or have/ are you going to re worked it with wood??

Thanks for the awesome update
 
im keeping the foam, i dont have the tooling to do this in wood and get thefinish i would be happy with, esp as making 5 boards in wood would be very time consuming. if i had someone with cnc machinery then that would help.
 
I know what you mean and uk customs would kindly add a huge customs tax if you got it done through a US rpfer

I do know lurtz100 on here a fellow uk member used a uk based CNC company to make a couple of statue bases might be worth dropping him a PM
 
i dont want to be paying for set up and cnc ing to be honest - someone would have to create the artwork ready for a machine to cut - times that by 5 boards and its money i dont wish to spend. i know hoverboard.org has 3 of the 5 boards ready to go, but lack of interest meant 2 of the boards simply never made it despite him prototyping rising sun and no tech boards.

customs is hit and miss - in the 4 times i have been caught i have also got away with it 4 times ;)
 
Yeh as many posts I've read before have mentioned people are normally only intrested in Marty mcflys board! So Sadly the other boards don't get a look it.. Thanks for the lead on the mags I've sent a pm to the chap!!
I've missed customs a few times on smaller items but anything from a bust up the tax on so i try to keep an eye out for items in the uk like the mags so I don't get a customs charge :)
 
decided after work id bond the bottom bits on, 2 bits still to paint on the rising sun board before i stick them on, but the bottom of 3 boards is about done, just the screws to be added, then work will commence on more casting next month
IMAG1039.jpg

IMAG1040.jpg

IMAG1041.jpg
 
Great Scott those are totally awesome!! Looks like you put in a lot of time into them and looks like it was worth it! Great job!!!
 
saturday is here, decided to go out and buy some bits from the local craft shop.

from work some 5mm foamex to cut to 170mm circles, i want a certain look to the foot pad sections as i dont want to paint them, from looking at pics online i feel i have acheived something similar that im very happy with, also got some black webbing, and some bits and bobs i did a swap with (many thanks .... you know whom you are)

so todays progress:

the 5mm foamex hand cut and sanded:
IMAG1050.jpg


the foam from the craft shop:
IMAG1051.jpg


started with the rising sun board first, the foam comes with a peel away adhesive which was ideal, so stuck and trimmed:
IMAG1052.jpg


the material to use as the foot belt:
IMAG1053.jpg


2 slits cut through the foamex - this is to push through the slit so it holds in place:
IMAG1054.jpg


and a bit of double sided tape to give it the shape i want:
IMAG1055.jpg


finished:
IMAG1056.jpg


the same process with the no tech and the marty parts, i sprayed the edges the relevent colours to take the edge off the white edge, plasticote paint - i love it:
IMAG1057.jpg

IMAG1060.jpg


and foamed:
IMAG1058.jpg


and placed on the board:
IMAG1059.jpg


time to sort the marty one now:
IMAG1061.jpg


and 2 colours of green foam, i decided to cut the lighter green into 25mm strips so it had some texture to it:
IMAG1063.jpg


marked the slits - careful not to stick the masking tape too well as it pulls off a layer of the foam:
IMAG1064.jpg


to give it some shape i used the leftover bit of red webbing material and spray glued it to the fluffy pink, here it is in position:
IMAG1066.jpg


also finished off the board with the grey edge sections:
IMAG1068.jpg


so thats 2 boards now finished, decided to take some hi res images, i will continue with the question mark board and the pitbul soon. while i had the camera out i brought out my mags too.
IMGP0094.jpg

IMGP0097.jpg

IMGP0099.jpg

IMGP0100.jpg

IMGP0101.jpg

IMGP0102.jpg

IMGP0104.jpg

IMGP0105.jpg

IMGP0106.jpg

IMGP0107.jpg

IMGP0108.jpg

IMGP0109.jpg

IMGP0110.jpg

IMGP0111.jpg

IMGP0112.jpg

IMGP0113.jpg

IMGP0115.jpg

IMGP0116.jpg

IMGP0118.jpg

IMGP0119.jpg

IMGP0121.jpg


glad i used 10mm foamex as a base board, these things have nearly doubled in weight giving a fantastic feel to them in your hand now, a few have pm'd me regarding kits - if there is sufficient interest i will, but the 100% interest has to be there.
 
Last edited:
while i await a better resin (polytek gave me grief on this project) it was time to tackle the one board i have neglected to build up......pitbull.

so on with the story:
made the foot rests - opted once again for the foam as it gave the greyish black without needing to use paint - wet and dry would have been my original choice but not in terms of finish:
IMAG1088.jpg

IMAG1092.jpg


now the pain - the engines, tubing and piping was the best option, but locating suitable parts that fitted each other was a nightmare - eventually after 5 shops i found suitable parts to recreate them. the plan was to make one and mold it - but the cost to do that outwieghed the cost to make it.

so with the choice to make them both the cost was 25 pounds, 15 mins with a dremel and all the parts lined up with each other, milliput being the key for the little angles i wanted, so armed with a pepped file i went on the hunt:
IMAG1094.jpg


in the meantime some trim items were made:
IMAG1095.jpg


the webbing was lined up:
IMAG1096.jpg


and positioned on the board and then painted:
IMAG1097.jpg

IMAG1098.jpg


found the pipe that i figured i could bodge to make a suitable engine:
IMAG1111.jpg


joined up and with the pep file - close enough for me:
IMAG1108.jpg

IMAG1107.jpg

IMAG1109.jpg


made the bar to support the engines:
IMAG1110.jpg


assembly begins:
IMAG1114.jpg

IMAG1115.jpg


and trial fitted all the parts:
IMAG1116.jpg

IMAG1117.jpg

IMAG1119.jpg


armed with gorilla glue, milliput and some misting water the relevent bits are glued:
IMAG1132.jpg

IMAG1145.jpg

IMAG1146.jpg

IMAG1148.jpg


the first sanding back was completed - all looking nice:
IMAG1156.jpg

IMAG1159.jpg


and hit with some hi build after sanding:
IMAG1161.jpg


paint time - one of my fav plasticote colours........pewter, it gives a nice metal look to it esp on a basecoat of black:
IMAG1153.jpg


in the daylight:
IMAG1155.jpg


rear engine parts in primer:
IMAG1160.jpg


all the push in engine parts painted:
IMAG1164.jpg
 
the engine section all sanded and primed, pretty much no problems on the prep:
IMAG1167.jpg


base coat of matt black to pull out the pewter colour (if i dont do this over black it comes out more silvery)
IMAG1169.jpg


pewter colour added, some minor detail bits to put on the jets but essentially there done:
IMAG1172.jpg

IMAG1175.jpg

IMAG1176.jpg

IMAG1171.jpg


took my bargin ali sheet and proceeded to mark it up for cutting:
IMAG1178.jpg


put the bend it thanks to a closed door, dremel to trim it down.....job done for the shields:
IMAG1179.jpg


and the build process roughly assembled to check the parts:
IMAG1180.jpg

IMAG1184.jpg

IMAG1181.jpg
 
Last edited:
update again..... been a few weekd since i built anything......mainly as the resin i had so far was constantly weeping, major headache and the supplier said occasionally they get a batch with weeps. this put me off the product totally and he suggested a resin which didnt have the weeping issue.

so it was ordered last week and it arrived, immediately i cast all the remaining parts for the last 2 boards:
IMAG1282.jpg

IMAG1283.jpg

IMAG1284.jpg


now for the test - does this stuff weep - well just like the product states ...no weep. All the remaining resin parts primed and painted up:
IMAG1288.jpg


pitbull top, and question mark board bottom:
IMAG1291.jpg


question mark board first, the footpad:
IMAG1292.jpg


and parts glued on:
IMAG1294.jpg

IMAG1296.jpg


now the one i been gagging to do, pitbull board so first up the footpad and the front strap section fitted:
IMAG1293.jpg


and the bottom components fitted:
IMAG1298.jpg


heat shields put togeather:
IMAG1302.jpg


engine section glueing, went with gorilla glue on this build:
IMAG1303.jpg


so all the bottom and top board parts are on:
IMAG1311.jpg

IMAG1309.jpg

IMAG1310.jpg

IMAG1312.jpg

IMAG1313.jpg


now theres one detail to do, the front straps need to look like it has some sort of strap and cable. a user on her was kind enough to give me some resin greeblies to which i dremeled the bejesus out of them to get the shape i required, a quick trip to the local diy shops to get some 6mm rod and 5mm rod, some bootlaces.

after the parts were dremeled into circles, sanded down alot the 6mm rod was cut and the 5mm also cut so i had a way to fit it to the board with a peg system, bootlaces wrapped around and attached to the straps...

and bingo that last job done:
IMAG1314.jpg

IMAG1315.jpg

IMAG1316.jpg

IMAG1317.jpg

IMAG1318.jpg

IMAG1320.jpg

IMAG1319.jpg


the footpad is the same colour as the lower one - i have terrible pight in the house, so thats it - all the hoverboards are finished, time now to finish off the colonial marine with a couple of bits, no new projects in mind as of yet so feet up time
 
mainly as the resin i had so far was constantly weeping, major headache and the supplier said occasionally they get a batch with weeps. this put me off the product totally and he suggested a resin which didnt have the weeping issue.

Weeping?

I ordered a load of polytek resin from MBfibreglass and had no problems with it. I was going to order more for a run I'm doing.

What product number were you using?

What / where did you buy instead?

, thanks
 
polytek 60 - steve i think it was at mb spoke to me and he said it happens about once every 9 months - so he recommended polytek sg2000 - have to say it was thicker (almost man juice consistancy if im having to campare it to something) , but i prefered it to work with
 
polytek 60 - steve i think it was at mb spoke to me and he said it happens about once every 9 months - so he recommended polytek sg2000 - have to say it was thicker (almost man juice consistancy if im having to campare it to something) , but i prefered it to work with

okay good, I've been using the polytek sg2000 simply because their website said it was better if I intended to paint it (when are you not?)

,ty
 
Back
Top