LuckyS7evine
Well-Known Member
Next

This forum is intended for interest gauging and active runs. Due to the transient nature of this forum, please keep all research and ongoing discussion in one of our main forums so your information is not lost.
Only Premium Members can start a new run.
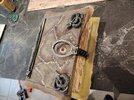

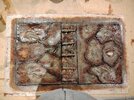

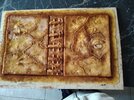
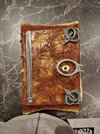
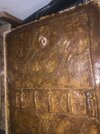
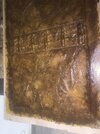
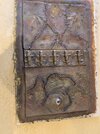
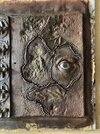
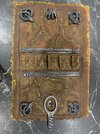
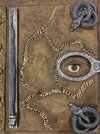
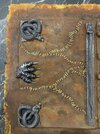
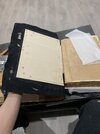
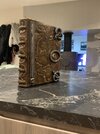
Is there any actual photos of what the pages look like? I haven’t really seen much on this thread.Recreation of the Hocus Pocus Book Pages
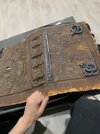
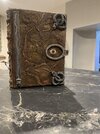
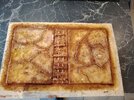
Reproducing the pages of the Hocus Pocus book was an exciting project that required a lot of research and meticulous work to achieve a result as faithful as possible to the original. My goal was to recreate these pages with an aged and authentic effect, combining digital resources with artisanal techniques.
Research and Resource Collection
It all started with an in-depth search for images on Google, where I gathered various visual references of the book. I used reverse image search to find higher-quality versions or variations of the pages that could help me better understand the graphic details. By browsing through various links and specialized websites, I was able to collect several images of the book’s pages, as well as decorative elements that matched the desired visual style.
Editing and Digital Layout
Once the images were gathered, I edited them using two main software tools:
- Photopea, an online image editor similar to Photoshop, allowed me to modify visuals, enhance the sharpness of illustrations, adjust contrasts, and add certain graphic details to stay true to the book’s style. I sometimes had to recreate certain patterns or artificially age elements to give them a more worn and antique look.
- Pages, a layout software, helped me organize the texts and adjust the placement of elements on each page. I carefully selected fonts that matched the book’s universe, searching for old-fashioned and handwritten typefaces to reinforce the mystical and medieval effect of the grimoire.
Arranging the text and images was a crucial step in achieving a balanced and credible result. I adjusted the size of the characters, added ornaments, and played with spacing to give the pages a harmonious look.
Fonts Used
- For the text: PentaGram’s Callygraphy Regular
- For the initials: Medieval Victoriana
Image Sources
- Google Images
- iStockphoto
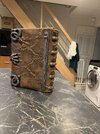
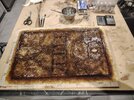
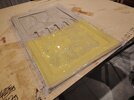
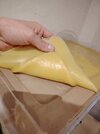
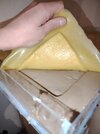
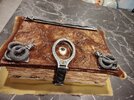
Printing on Handmade and Aged Pages
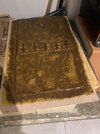
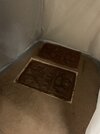
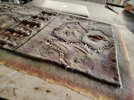
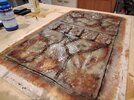
Once the layout was finalized, I printed the text on handmade and manually aged pages. These sheets were not made by me, but they added a unique charm to the project.
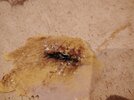
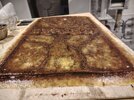
The pages were crafted using artisanal techniques, giving them an irregular and textured appearance that mimics old grimoires. They were then manually aged to give them a yellowed tint and an antique look, further enhancing the book's authenticity. This process ensures that each page is unique, with a natural worn effect that perfectly matches the desired aesthetic.
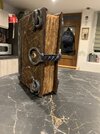
A Creative and Personalized Project
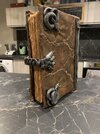
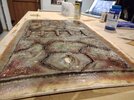
This recreation project allowed me to combine my skills in graphic design, image editing, and layout, while immersing myself in the fascinating world of Hocus Pocus. Each page was carefully designed to respect the book’s atmosphere, and the final result gives the impression of a genuine ancient artifact straight out of the movie.
If you are interested in my process or would like to know more about the tools and techniques I used, feel free to ask me any questions! I’d be happy to share my experience and discuss this project.
And if you recreate any pages, I’d love to see your work!

 www.instagram.com