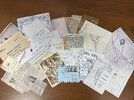
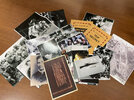
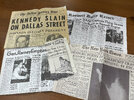
If anyone has been following my Adam Savage Book of Secrets Research Thread, you'll know I've been researching the filler pages used to fill the book for almost two years now. Well, my research has finally come to an end. With the help of Ross MacDonald, I've been able to source a majority of the filler pages throughout the book. By scouring the Library of Congress, National Archives, multiple historical databases, and public and private auctions, I've been able to put together a good sense of the book. My book will feature a combination of hero pages created by Ross, historical documents he used to create filler pages that are screen-accurate, and creative licensing on pages I was previously unaware of, yet still utilizing the actual handwritten correspondence from each President. As you know, if you've read Ross's book, he likes to fill his pages with the exact handwriting of each President. My copy is exactly 168 pages, as seen on several of the Disney Archive pages. While this copy has all the actual handwriting entries, I'm also creating another one that will be more conspiracy-based for each President, much like Taz/Sarednab's version.
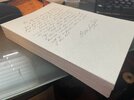
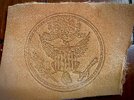
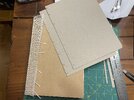
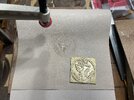
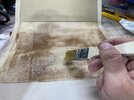
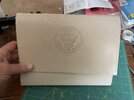
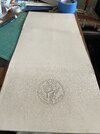
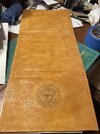
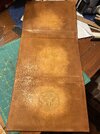
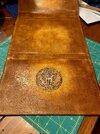
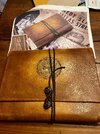
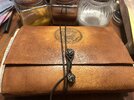
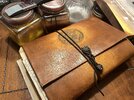
I was also able to get a brass stamp in the actual size to emboss the leather. I've been experimenting with scrap pieces. All the inserts are complete and need to be weathered.
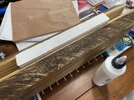
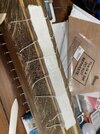
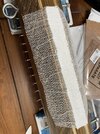
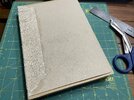
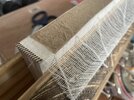
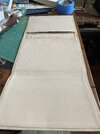
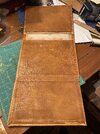
My next steps will involve creating a perfect binding on the spine, backed by Molle and heavy endpapers to tuck into the portfolio holders of the leather cover. I decided on perfect binding instead of sewing signatures because that is how Ross made his, so he could easily replace the pages during the production of National Treasure 2.
I created a short video on my channel showcasing the upcoming documentation video.
The Book of Secrets Project: First Look
I was also able to get a brass stamp in the actual size to emboss the leather. I've been experimenting with scrap pieces. All the inserts are complete and need to be weathered.
My next steps will involve creating a perfect binding on the spine, backed by Molle and heavy endpapers to tuck into the portfolio holders of the leather cover. I decided on perfect binding instead of sewing signatures because that is how Ross made his, so he could easily replace the pages during the production of National Treasure 2.
I created a short video on my channel showcasing the upcoming documentation video.
The Book of Secrets Project: First Look
Attachments

Last edited:

")