Archive&Future
Sr Member
Well as I'm sure the majority of you are aware, I've been working pretty tirelessly on producing a very comprehensive resin and PE upgrade kit for the MPC.
This long journey started way back in the depths of 2013, when I bought my first MPC Falcon.
At the time I didn't have huge plans for it and i know many keenly followed the progress of it; I have to say truthfully that without all the encouragement and advice of you fellow modellers, I would never have had the motivation to bring an upgrade kit to you, and to now attempt what I hope will be one of the most ambitious MPC Falcon conversions yet.
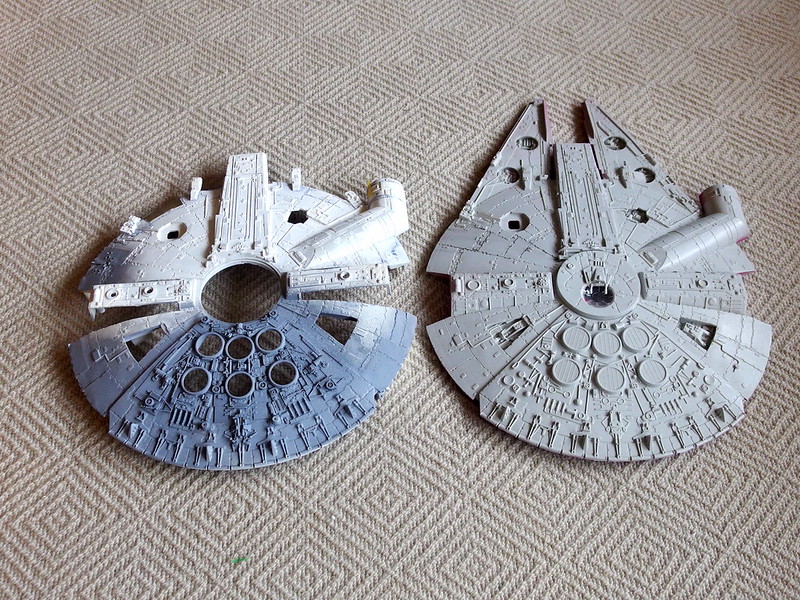
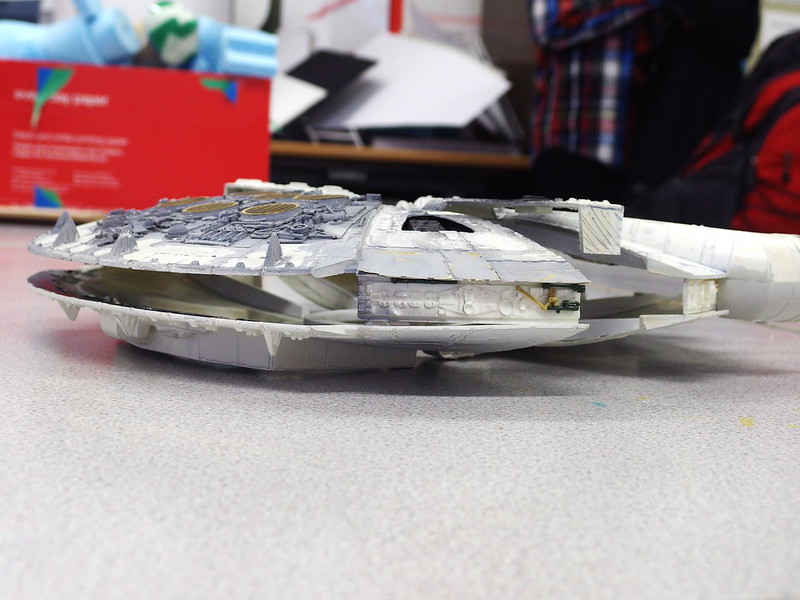
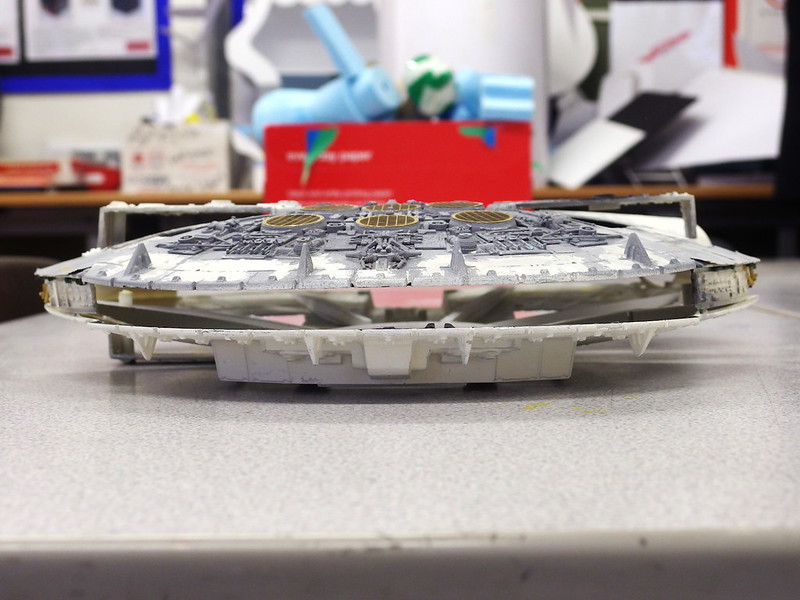
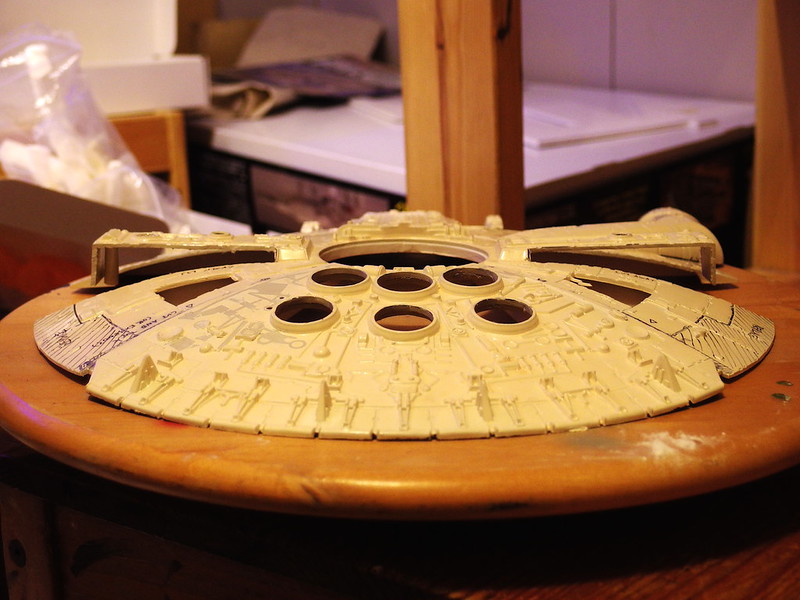
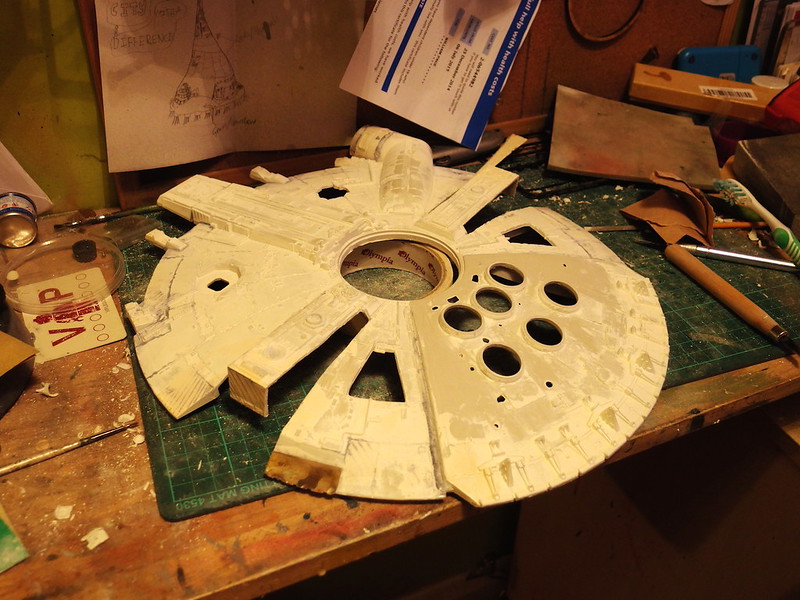
I'm basing my new conversion entirely from the ANH 5 footer that we know and love; so far I have fixed the hull curvature (a surprisingly easy correction), amended some proportion issues, and detailed the rear deck.
Obviously I will use my own resin upgrade kit for everything that it provides, with a little modification to some parts, seeing as I have adjusted the proportions of the kit.
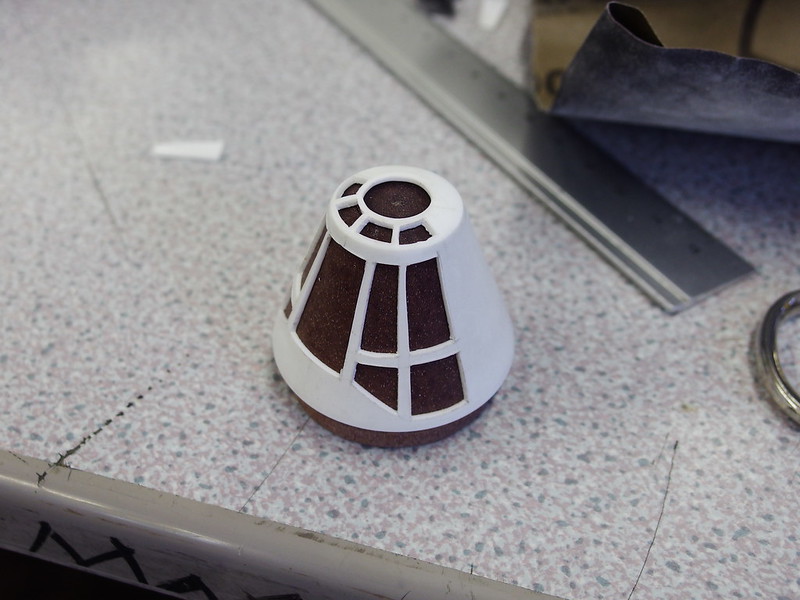
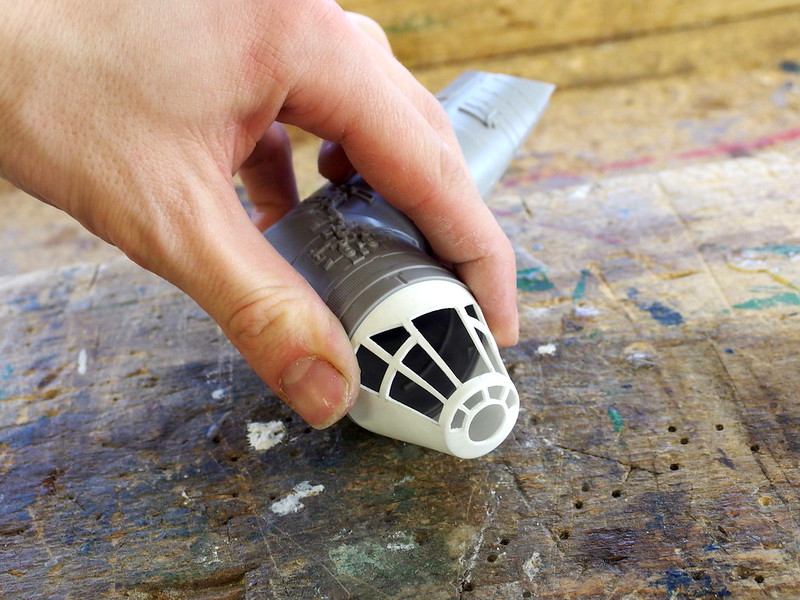
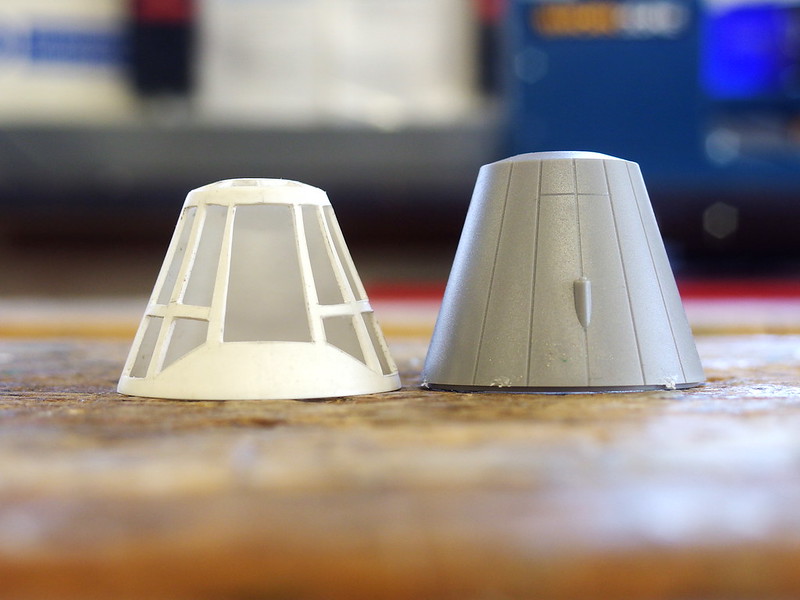
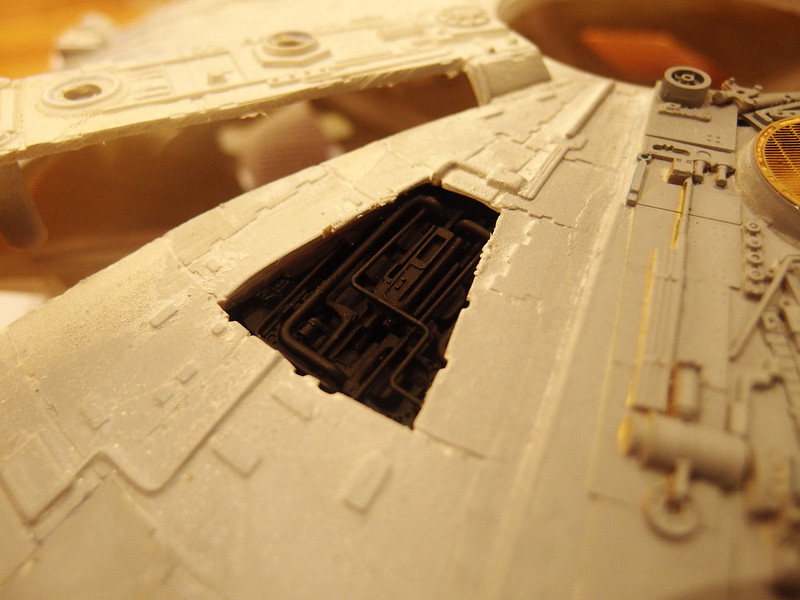
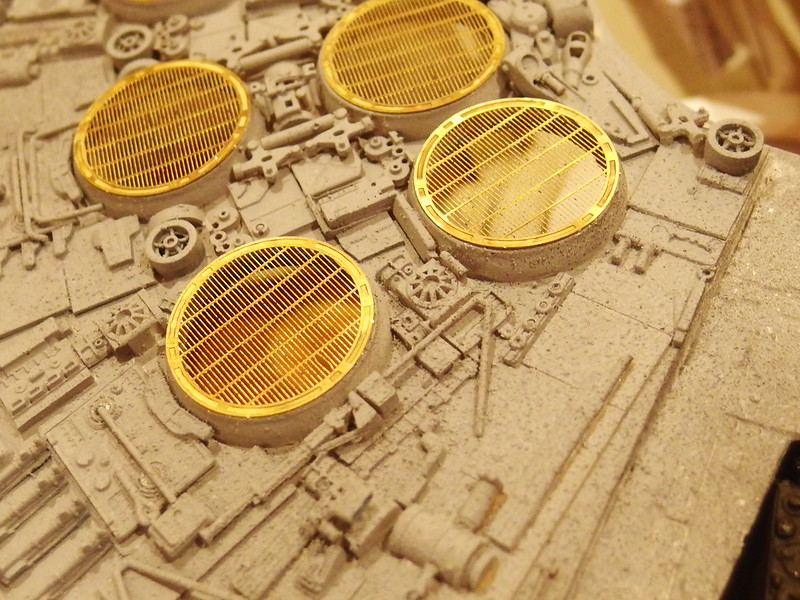
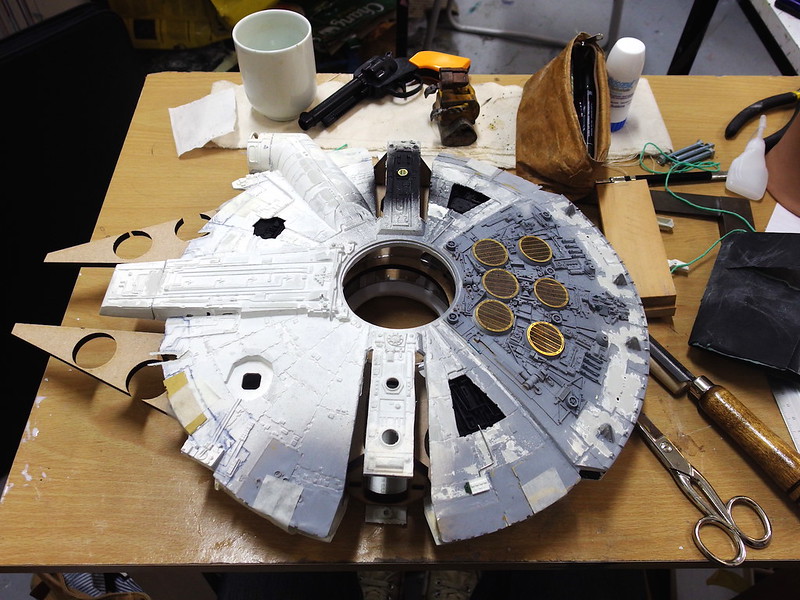
I bought this kit from ebay for something quite cheap, but i found on arrival that the whole thing had been given a really thick coat of gloss enamel. I decided to work with it as you will see later on, however I started off by removing the moulded engine vents

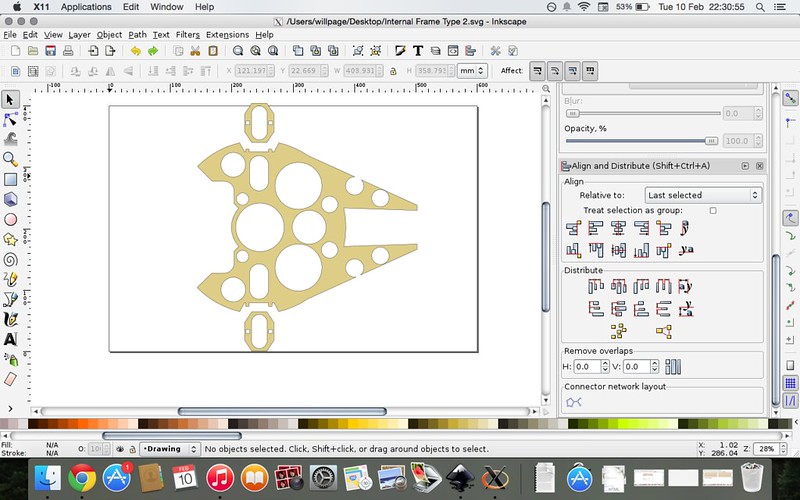
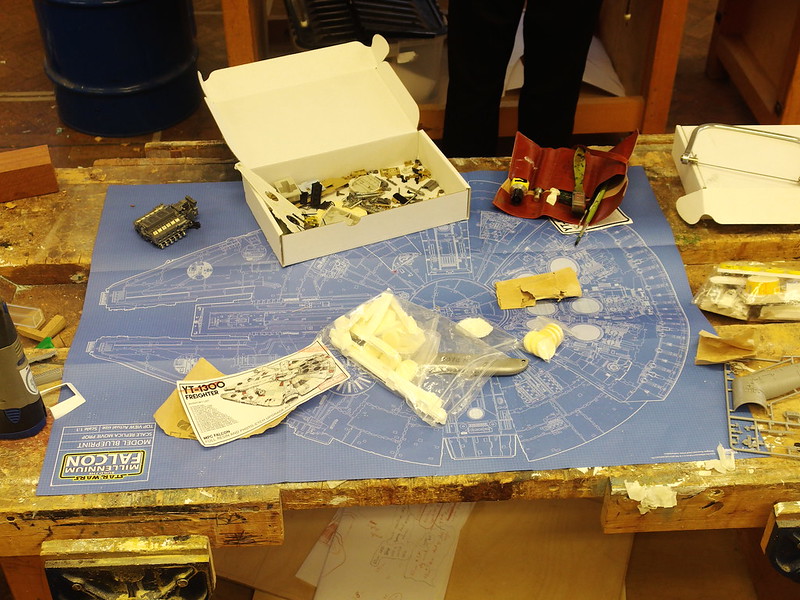
I then used the CG model of the 5 footer which I found in a thread on this site (I'll add a link in for it later, the name of the modeller whose excellent work this is temporarily escapes me) which I then scaled to the size of the MPC and printed out. This has actually been invaluable so far so I really recommend following blueprints and diagrams on projects like this
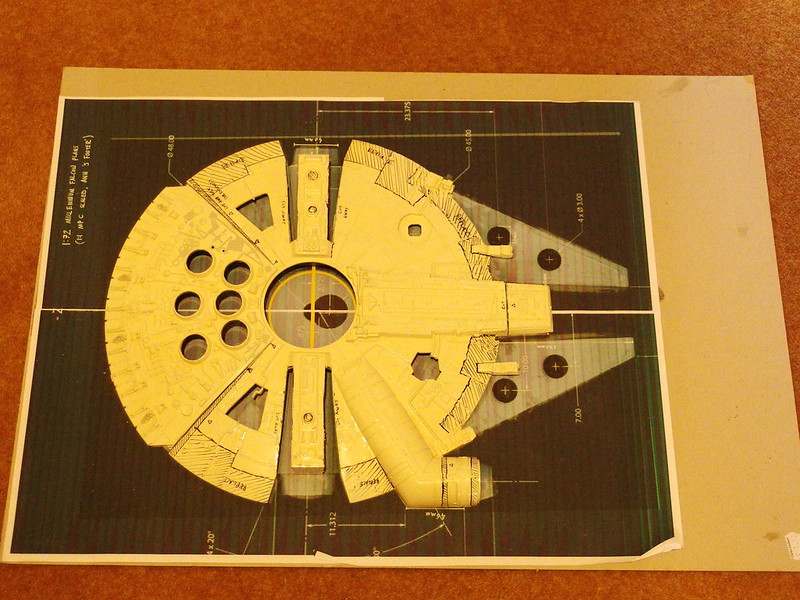

I adjusted the proportions accordingly, and worked out where were the best places to cut so that the hull curvature would only affect the hull. I also discovered that contrary to popular belief, the cockpit tunnel is in fact the correct size on this kit, what makes it look too small is the fact that the mandibles are too long, and so is the cockpit tunnel itself. So naturally I will correct this later.
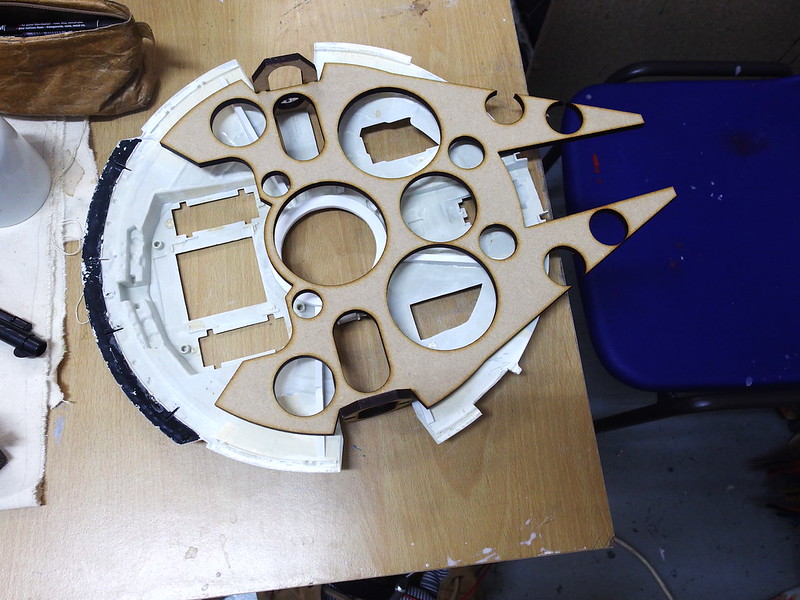
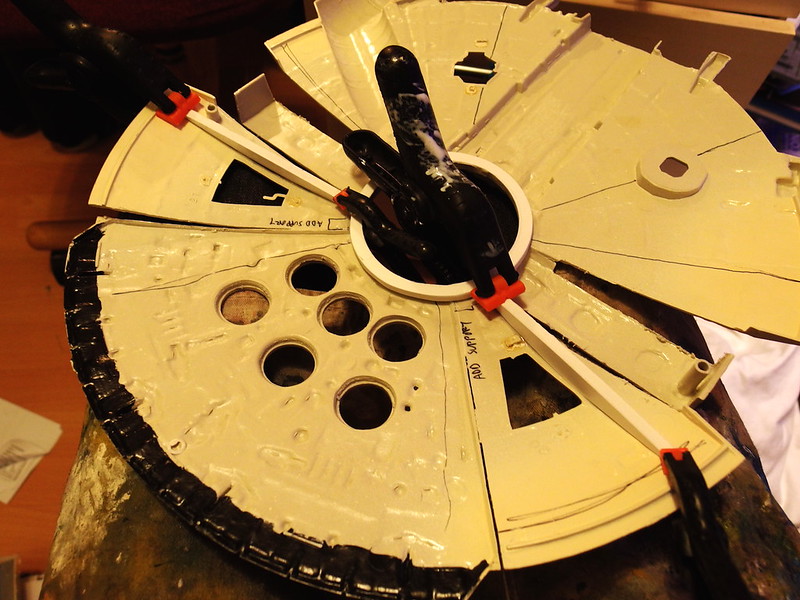
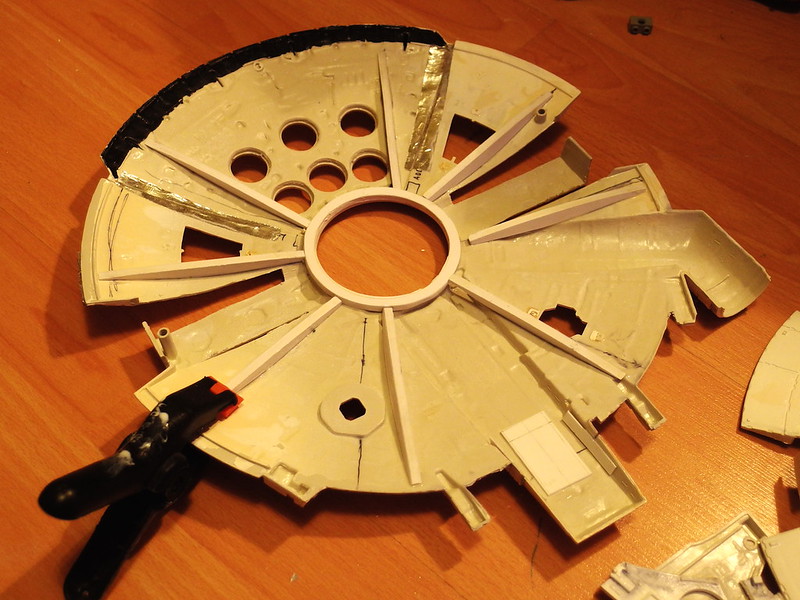
I next cut a set of foamex ribbing to form a frame that would correct the hull curvature. Most people shy away from this, but it's actually a very simple fix with this method, you just need a lot of clamps and that's about it. It also takes up next to no space inside the model, unlike the PVC piping frame which I've seen some do.

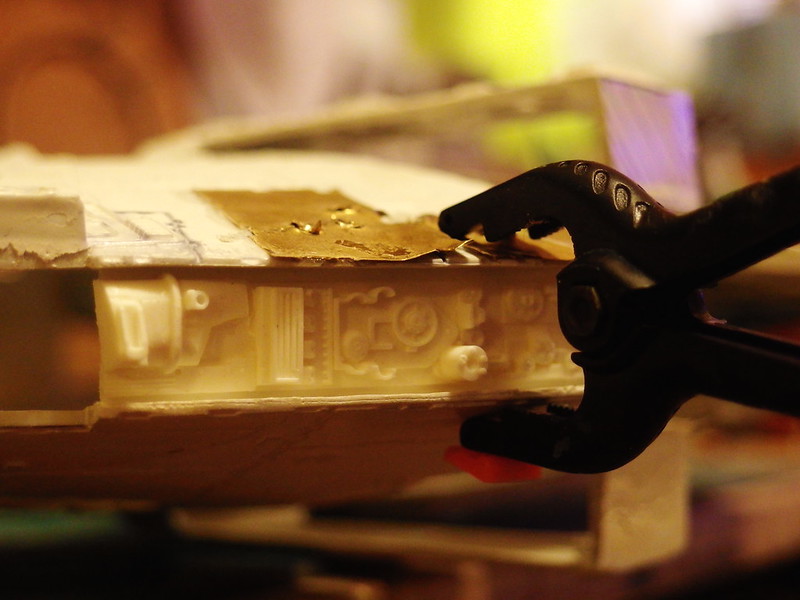
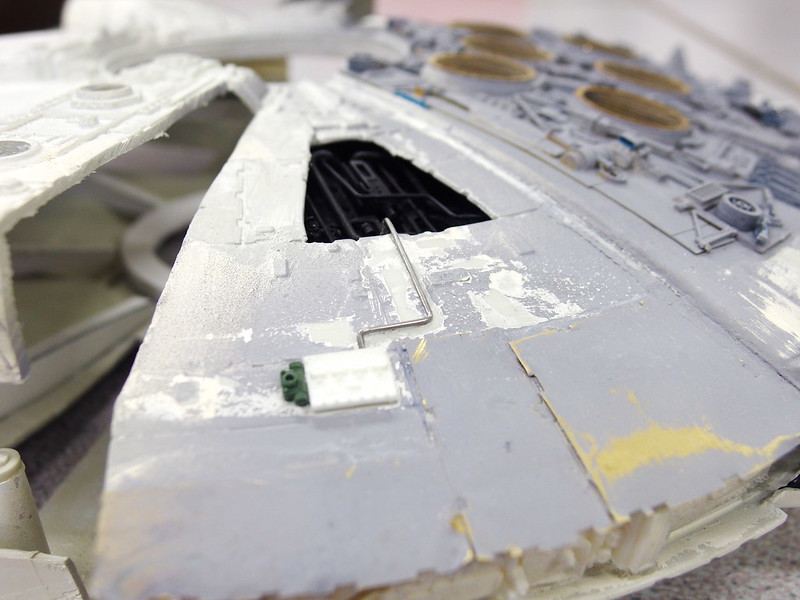
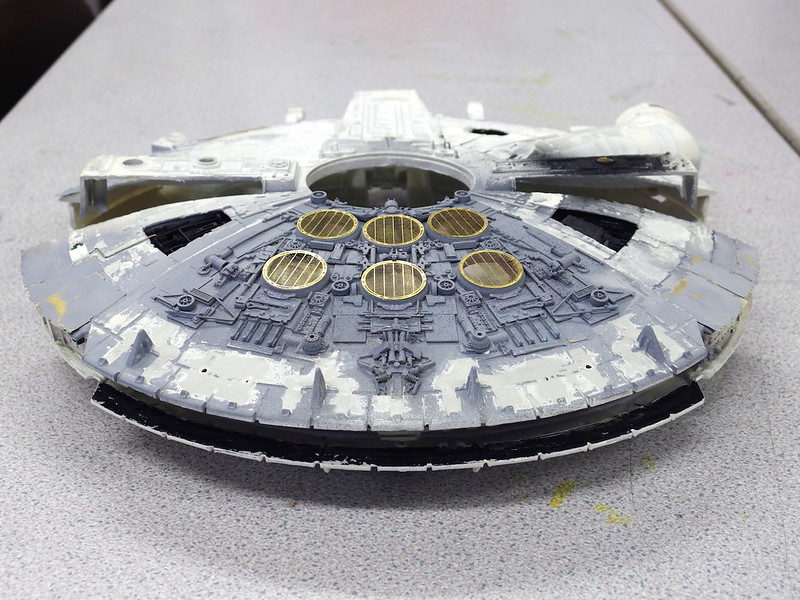
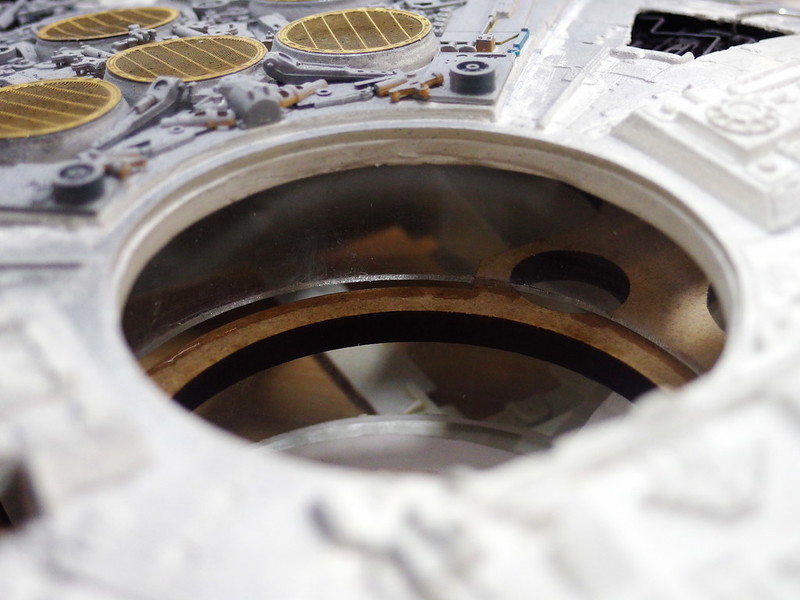
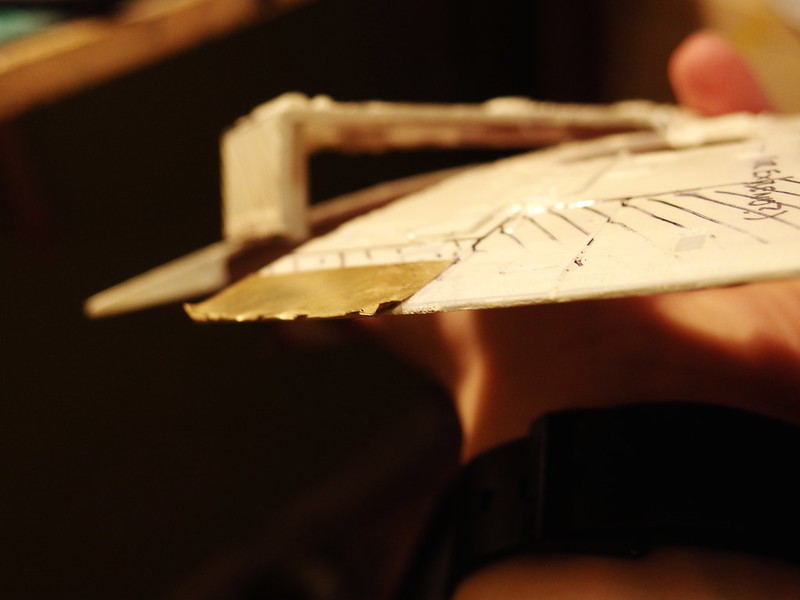
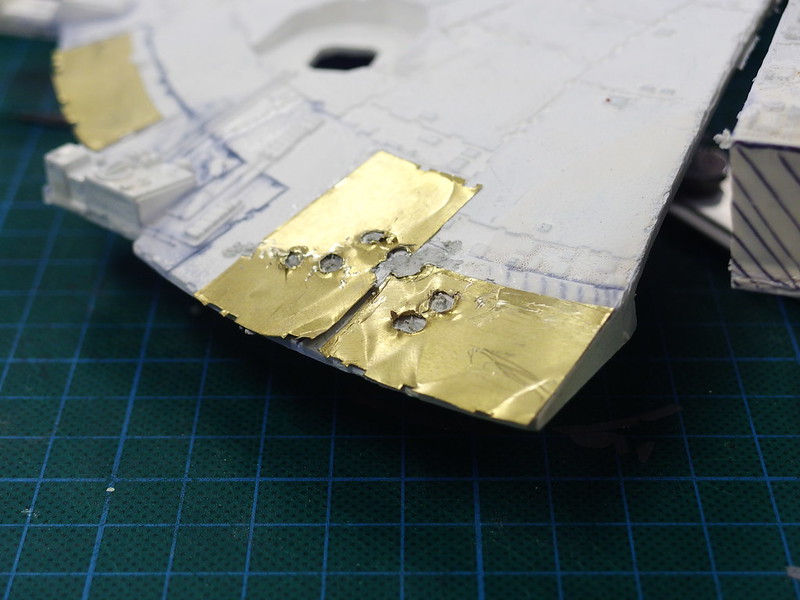
Now THIS is a bit I'm dead pleased with, I found a sheet of very thin brass, thin enough that I can cut it with scissors without too much hassle, and then I started to plate the outer rim of the ship with these new brass plates.
My reasoning? If you want it to look like damaged metal.....use damaged metal

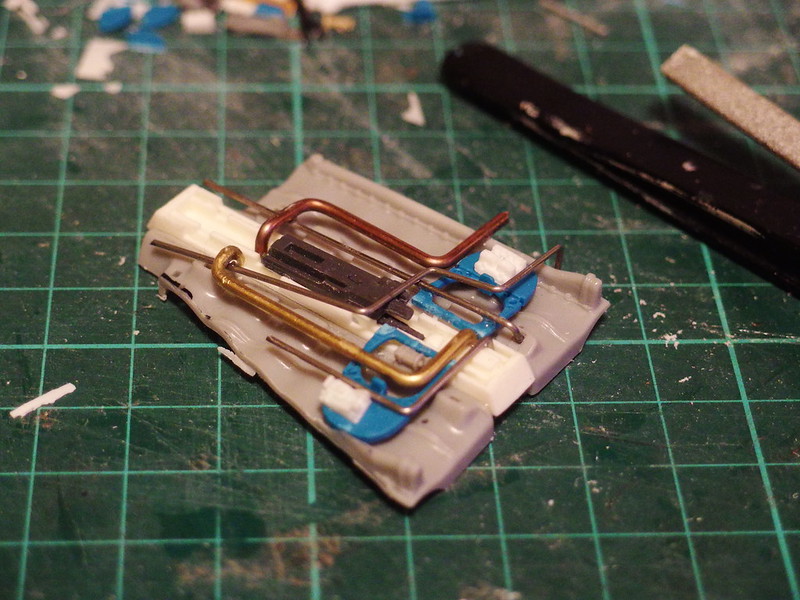
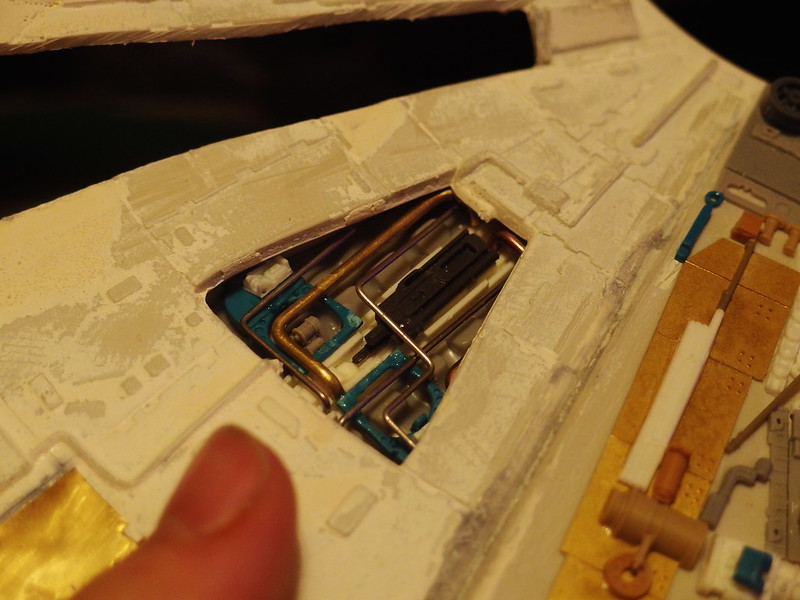
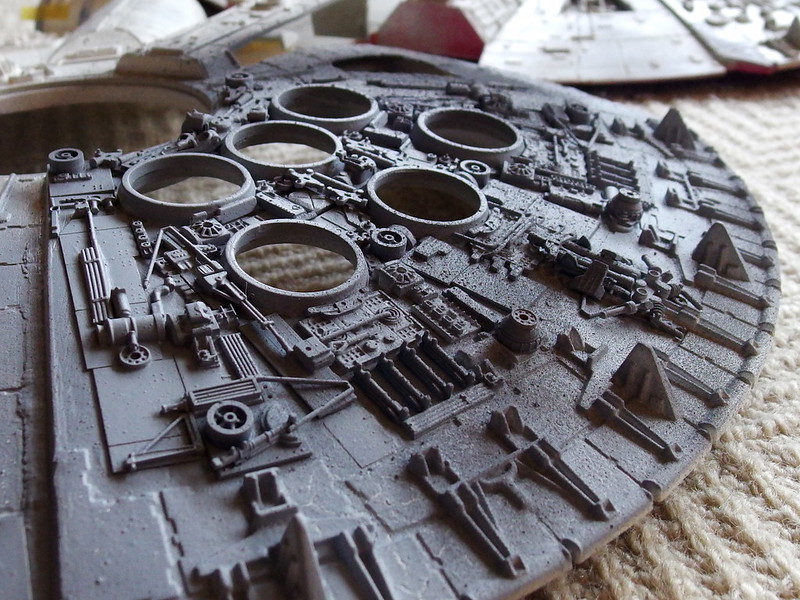
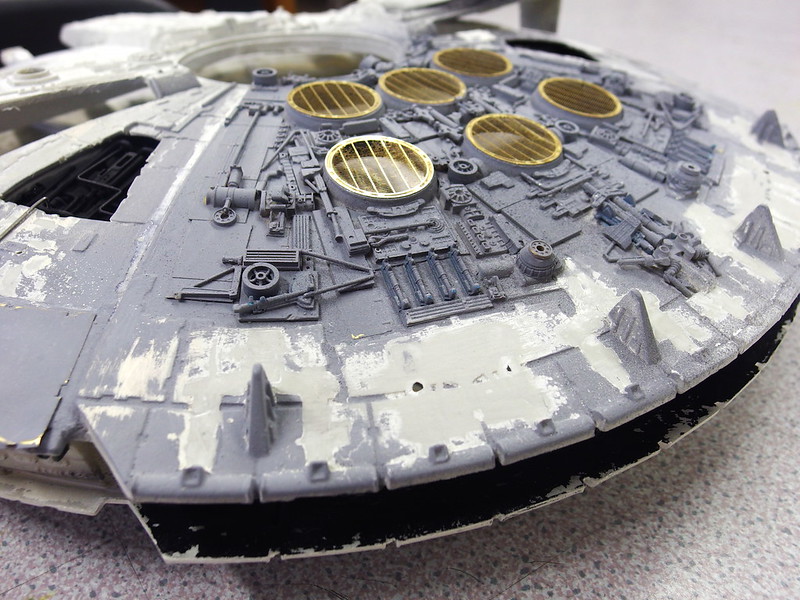
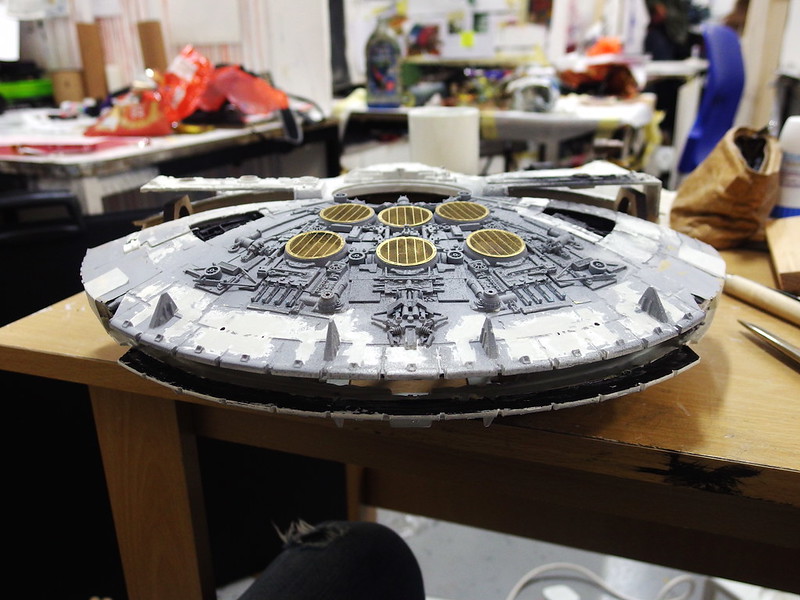
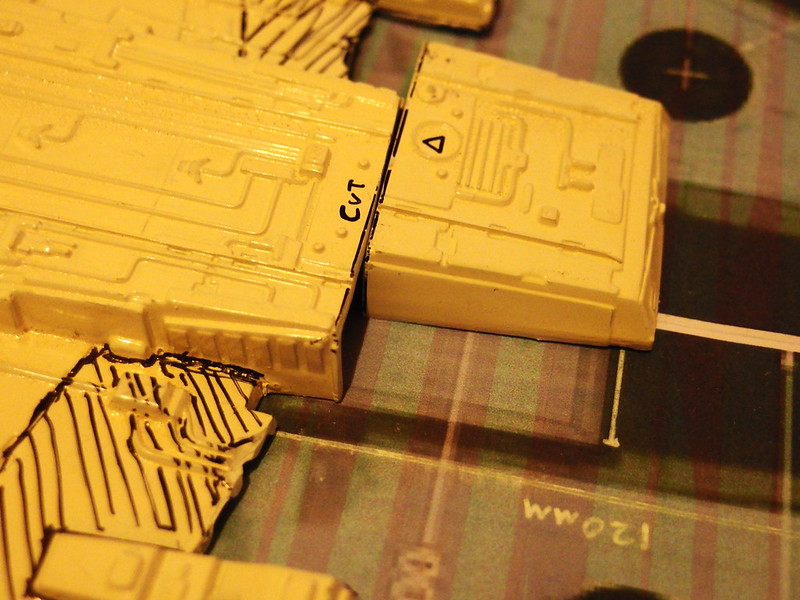
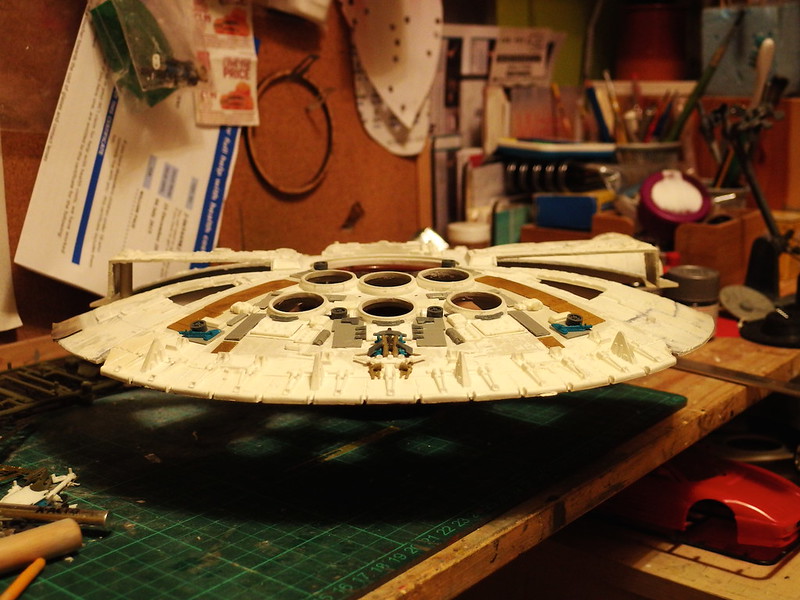
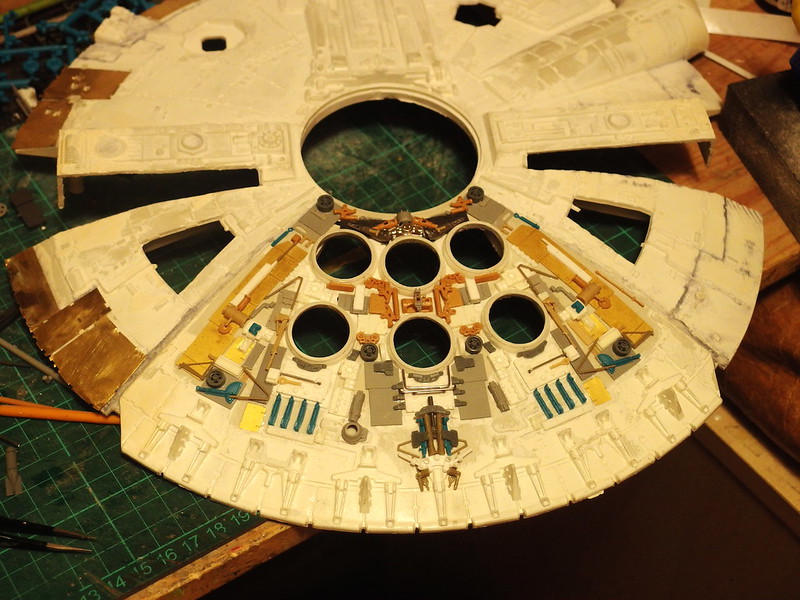
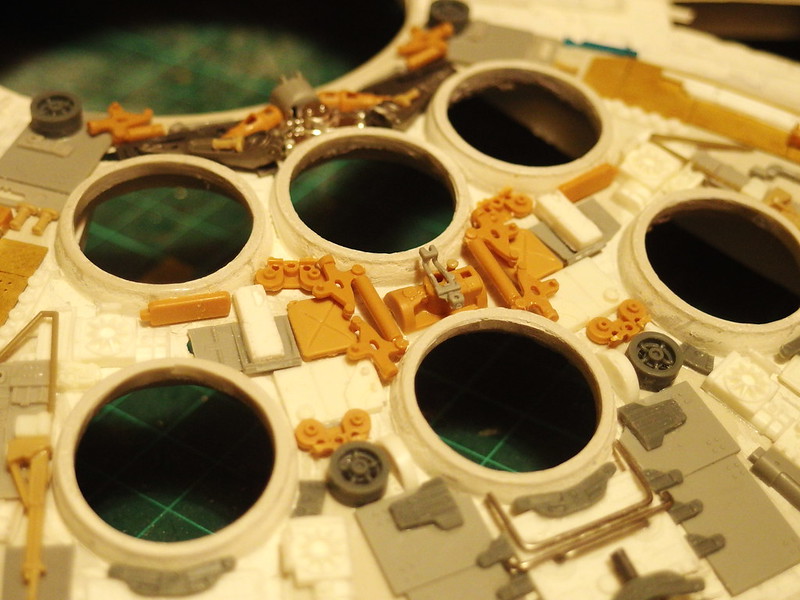
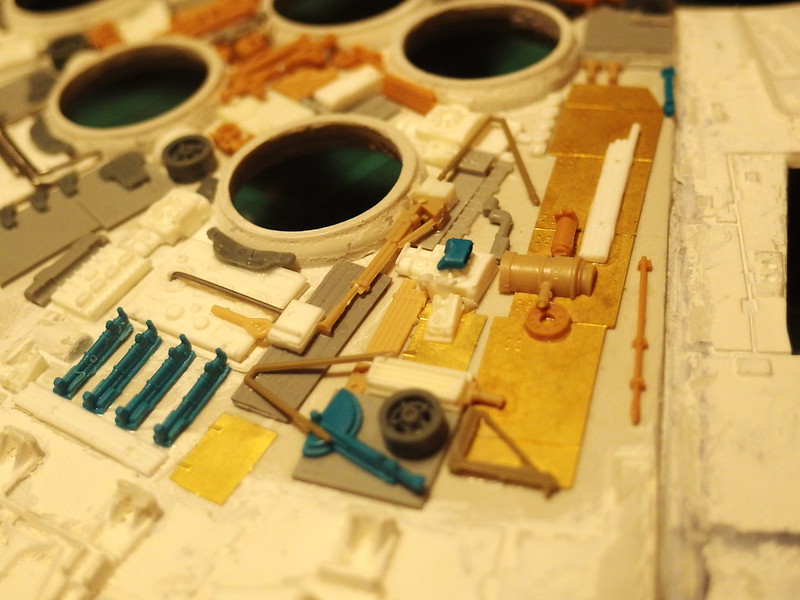
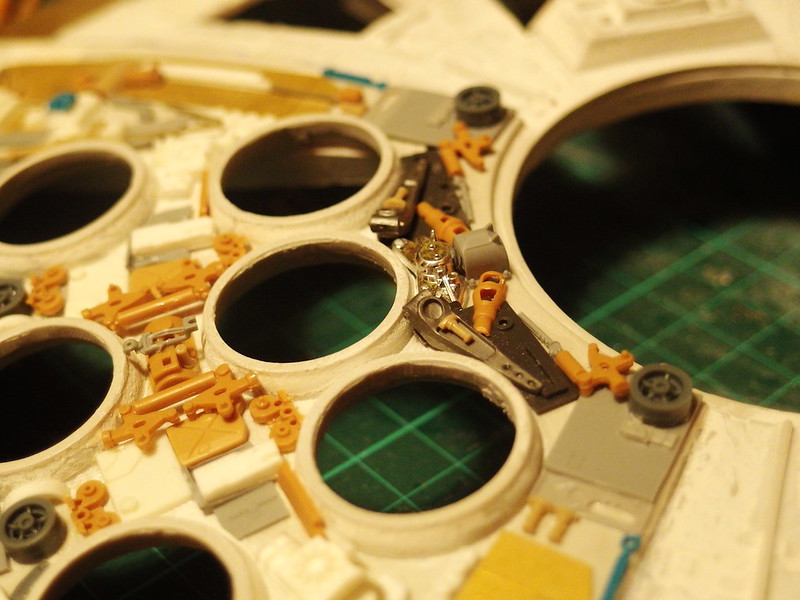
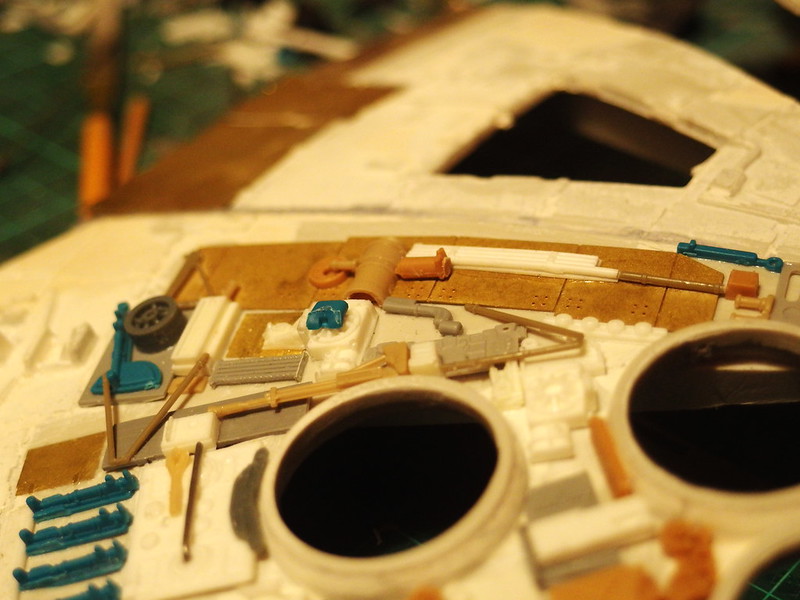
I spent an entire day carefully planing away the detail moulded on the engine deck. It's honestly such an arduous task but It has to be done. I sanded it as smooth as I could be bothered and then started kitbashing. I've been collecting kits in the correct scale, and also parts which just look useful, for several months now, so the detailing process only took three days or so but I am thoroughly proud of it. I'm not going to prime the model until I am absolutely sure it's ready for paint, so in the meantime you will also be able to draw inspiration from what I used.
I also just love the colour variations....it's so genuine and.....hands on yaknow??
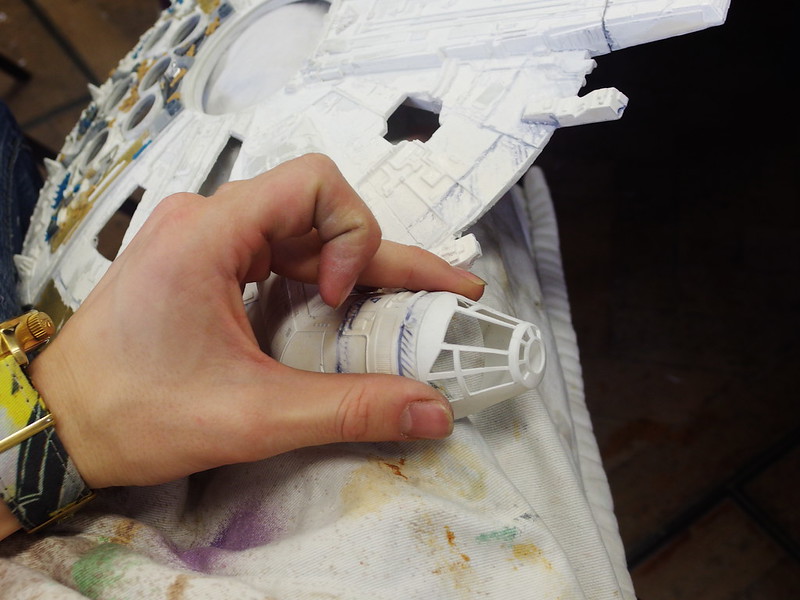
This is me and John working on three Falcon projects in our old school workshop

So that's where I'm at right now! I'm very excited by it all, so stay tuned.....
Oh and did I mention that it's going to have full lights, sound, servos and accelerometers?")
This long journey started way back in the depths of 2013, when I bought my first MPC Falcon.
At the time I didn't have huge plans for it and i know many keenly followed the progress of it; I have to say truthfully that without all the encouragement and advice of you fellow modellers, I would never have had the motivation to bring an upgrade kit to you, and to now attempt what I hope will be one of the most ambitious MPC Falcon conversions yet.
I'm basing my new conversion entirely from the ANH 5 footer that we know and love; so far I have fixed the hull curvature (a surprisingly easy correction), amended some proportion issues, and detailed the rear deck.
Obviously I will use my own resin upgrade kit for everything that it provides, with a little modification to some parts, seeing as I have adjusted the proportions of the kit.
I bought this kit from ebay for something quite cheap, but i found on arrival that the whole thing had been given a really thick coat of gloss enamel. I decided to work with it as you will see later on, however I started off by removing the moulded engine vents
I then used the CG model of the 5 footer which I found in a thread on this site (I'll add a link in for it later, the name of the modeller whose excellent work this is temporarily escapes me) which I then scaled to the size of the MPC and printed out. This has actually been invaluable so far so I really recommend following blueprints and diagrams on projects like this
I adjusted the proportions accordingly, and worked out where were the best places to cut so that the hull curvature would only affect the hull. I also discovered that contrary to popular belief, the cockpit tunnel is in fact the correct size on this kit, what makes it look too small is the fact that the mandibles are too long, and so is the cockpit tunnel itself. So naturally I will correct this later.
I next cut a set of foamex ribbing to form a frame that would correct the hull curvature. Most people shy away from this, but it's actually a very simple fix with this method, you just need a lot of clamps and that's about it. It also takes up next to no space inside the model, unlike the PVC piping frame which I've seen some do.
Now THIS is a bit I'm dead pleased with, I found a sheet of very thin brass, thin enough that I can cut it with scissors without too much hassle, and then I started to plate the outer rim of the ship with these new brass plates.
My reasoning? If you want it to look like damaged metal.....use damaged metal
I spent an entire day carefully planing away the detail moulded on the engine deck. It's honestly such an arduous task but It has to be done. I sanded it as smooth as I could be bothered and then started kitbashing. I've been collecting kits in the correct scale, and also parts which just look useful, for several months now, so the detailing process only took three days or so but I am thoroughly proud of it. I'm not going to prime the model until I am absolutely sure it's ready for paint, so in the meantime you will also be able to draw inspiration from what I used.
I also just love the colour variations....it's so genuine and.....hands on yaknow??
This is me and John working on three Falcon projects in our old school workshop
So that's where I'm at right now! I'm very excited by it all, so stay tuned.....
Oh and did I mention that it's going to have full lights, sound, servos and accelerometers?