Haystack Hair's MPC Millennium Falcon Conversion MK.II

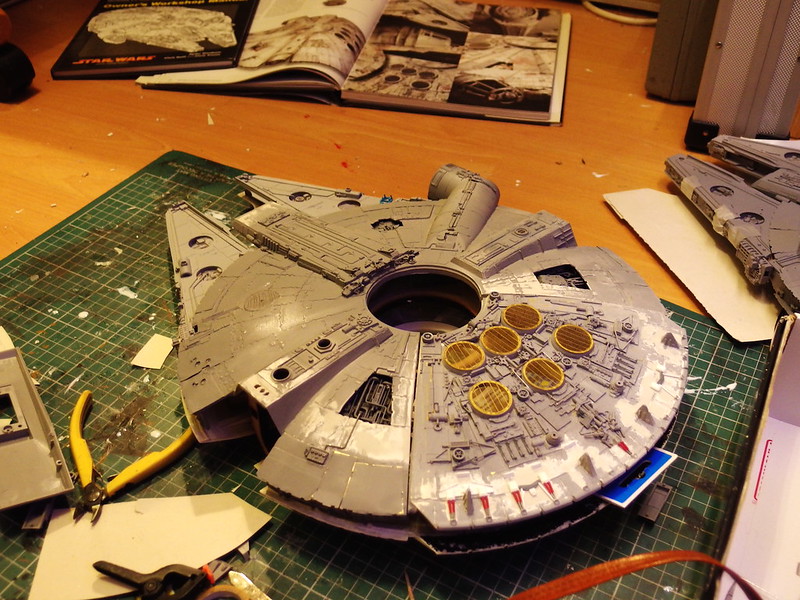
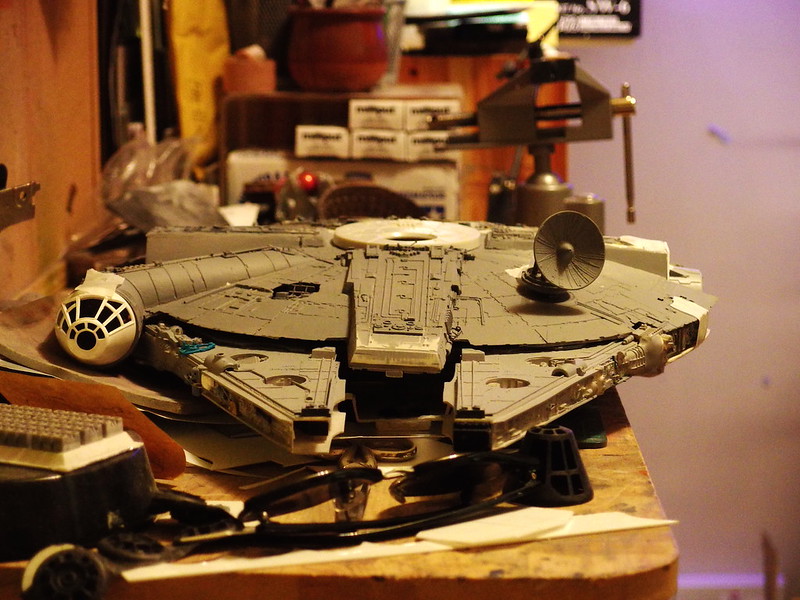
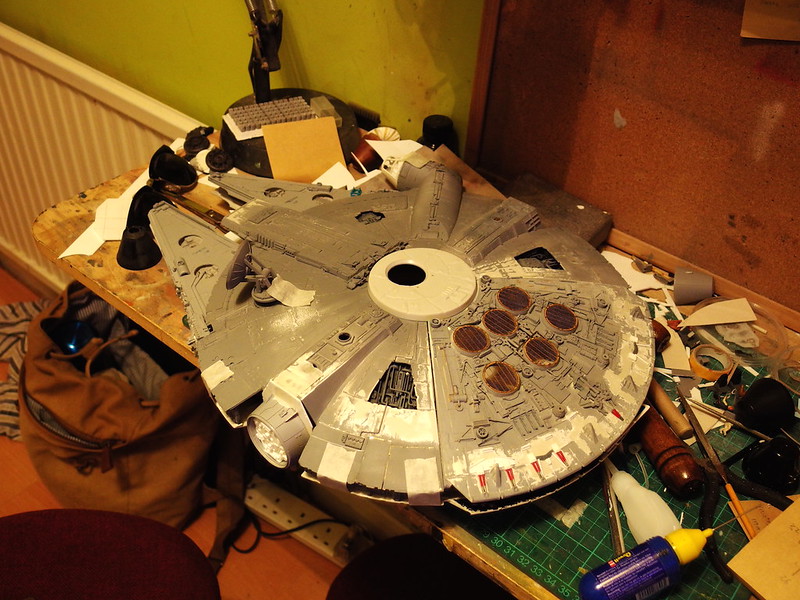
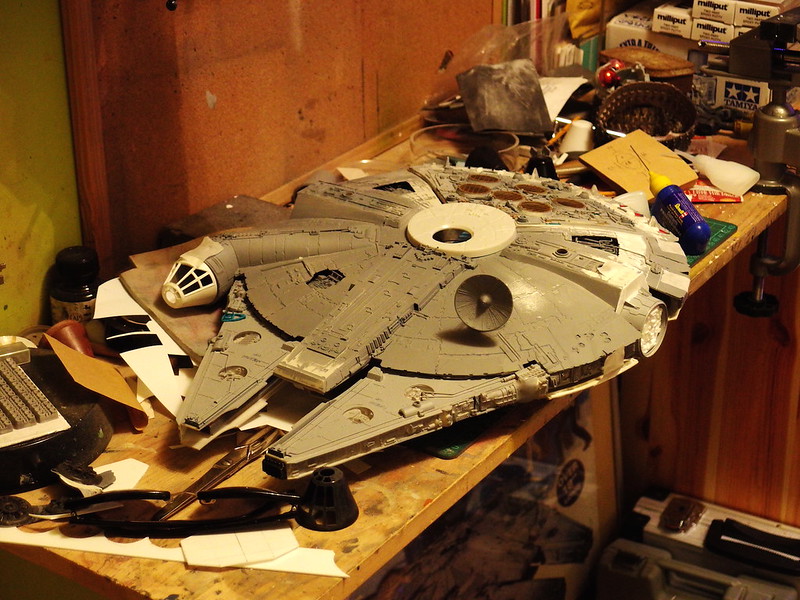
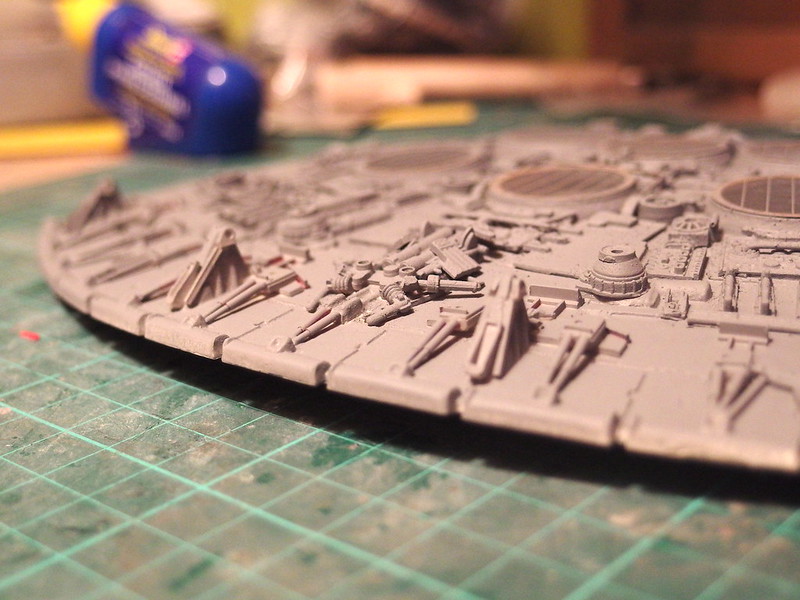
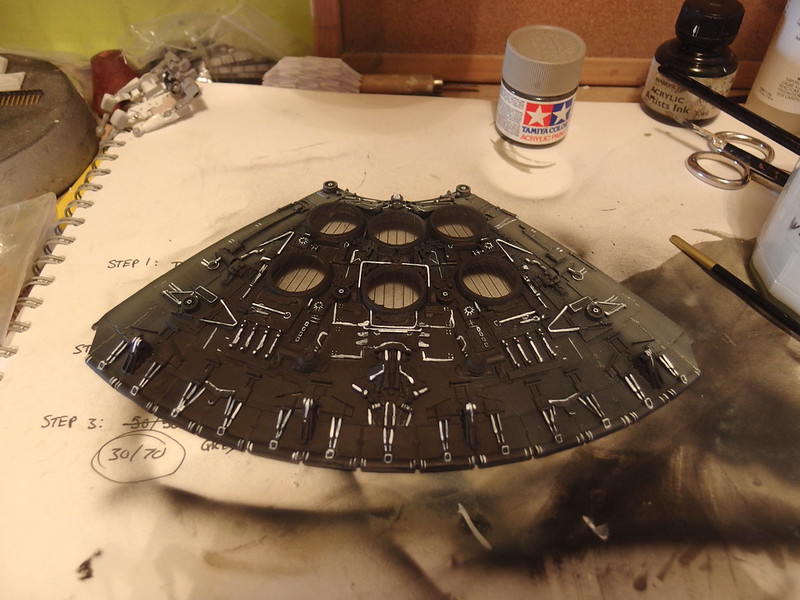
Dribs and drabs innit


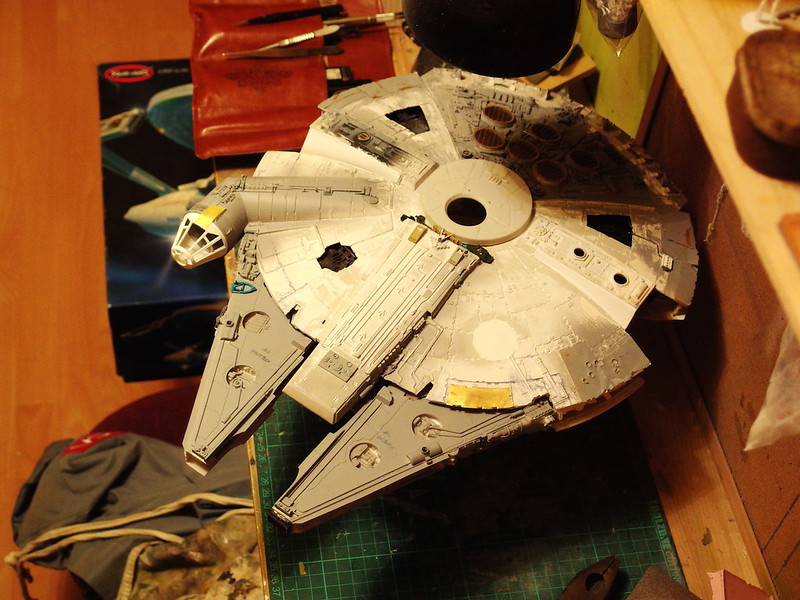
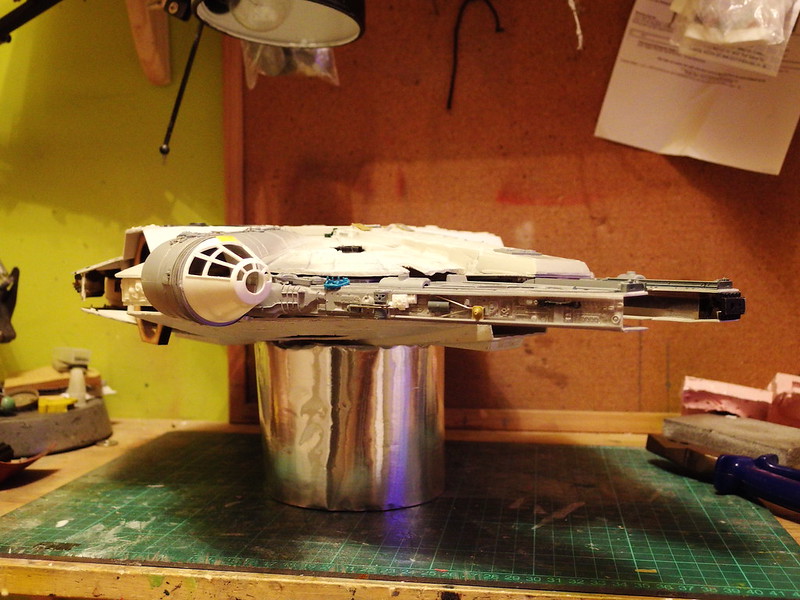
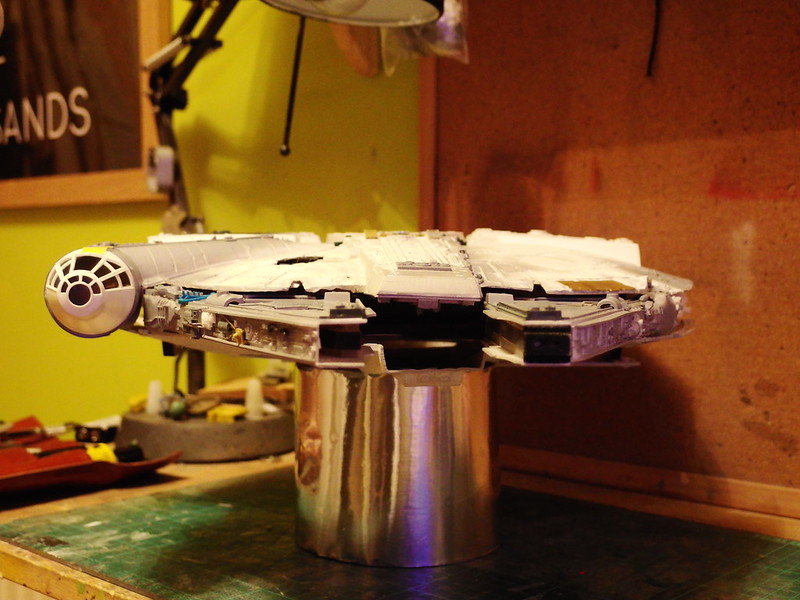
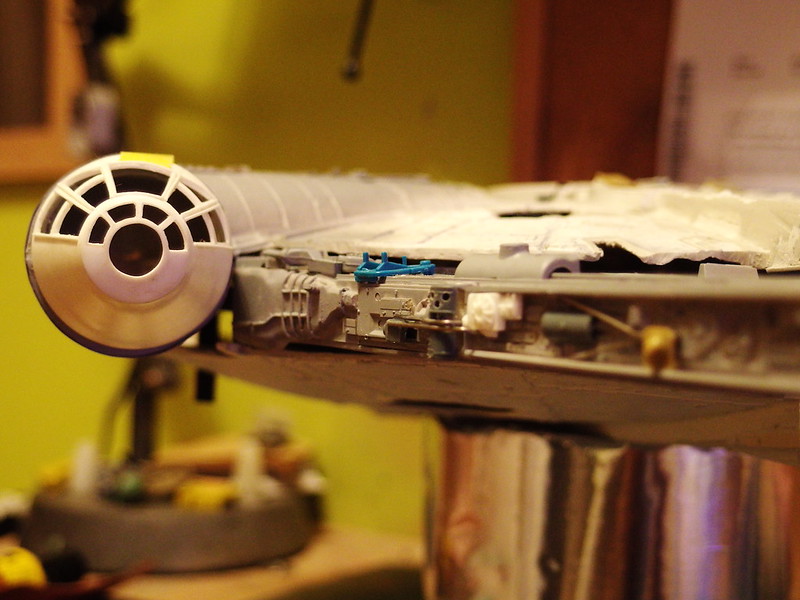
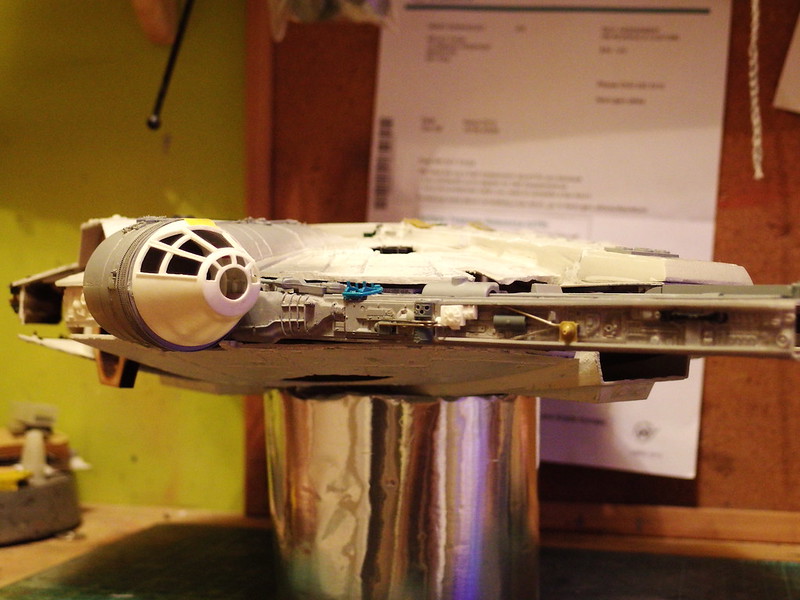
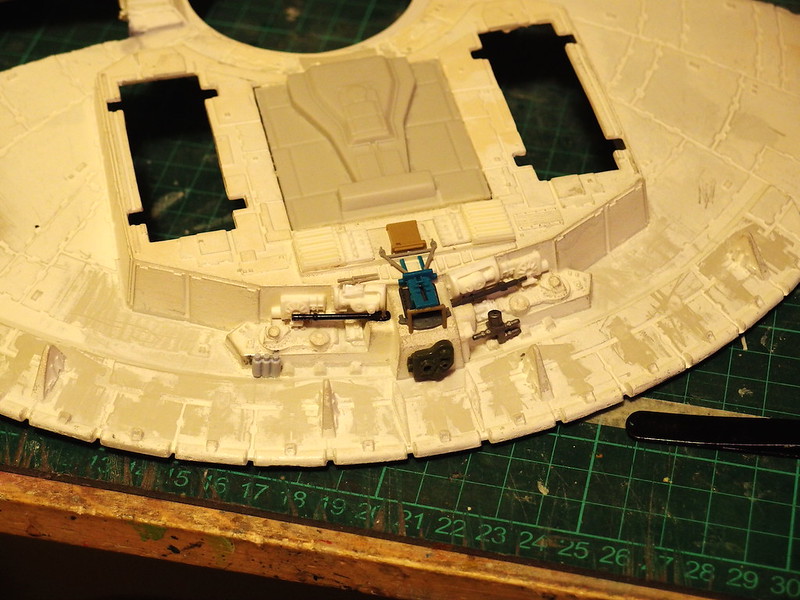
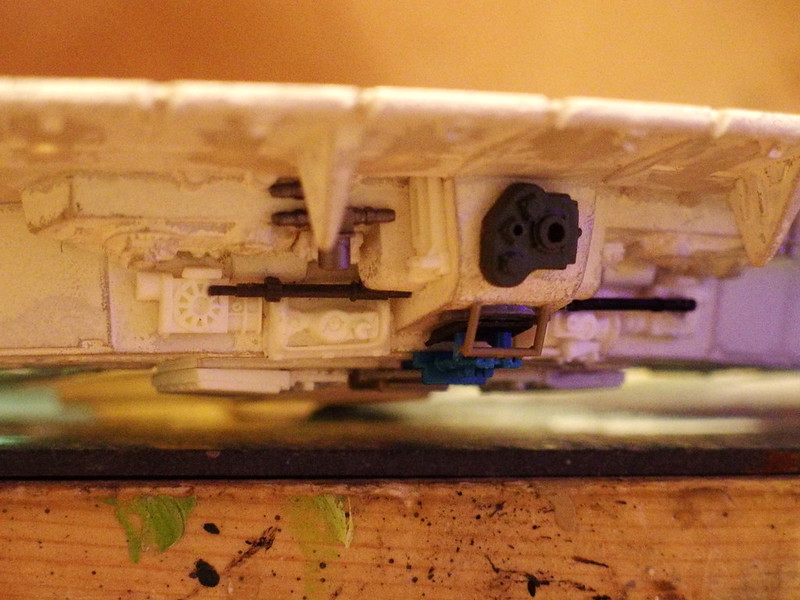
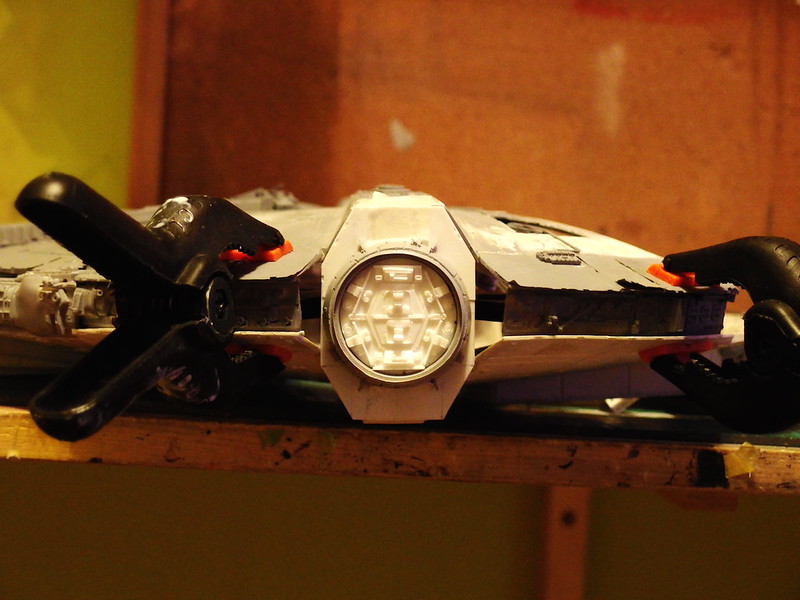
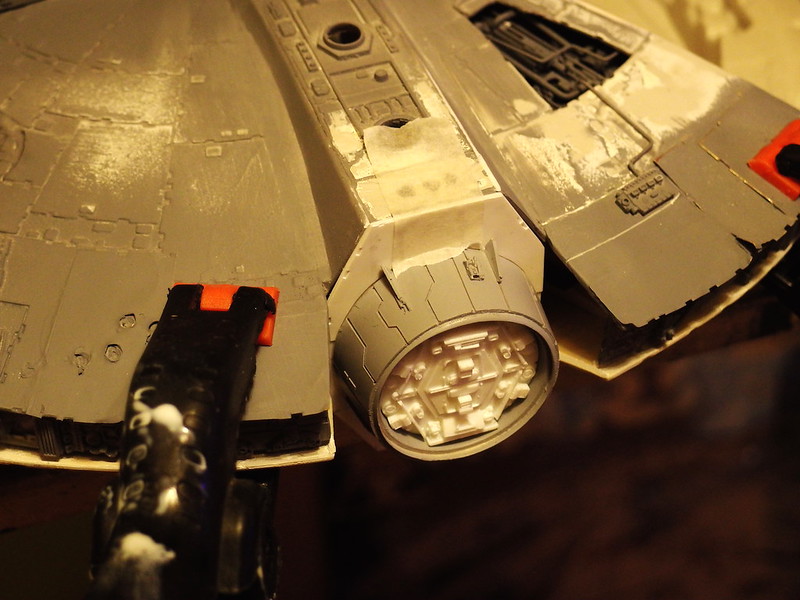
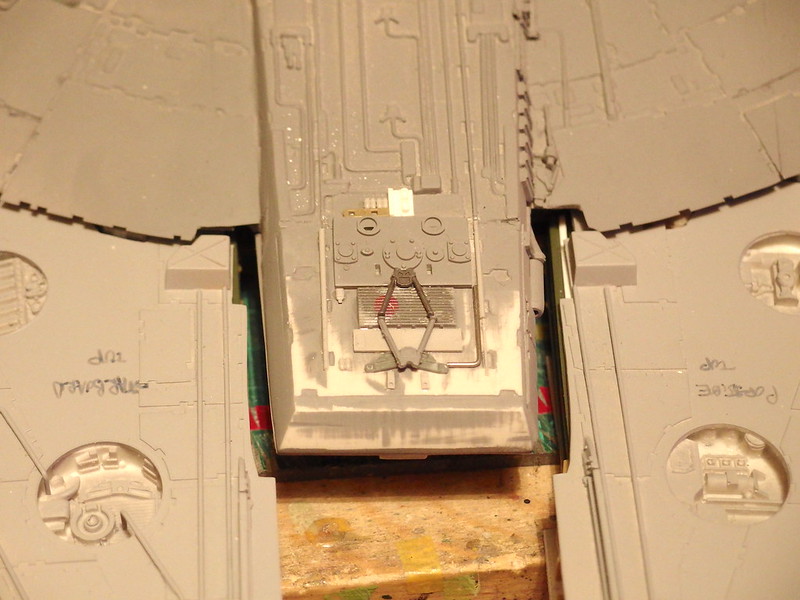
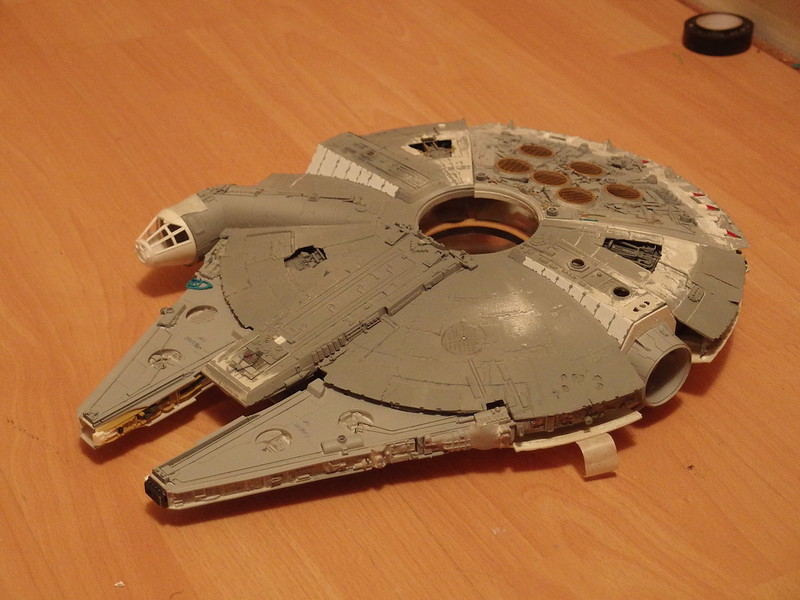
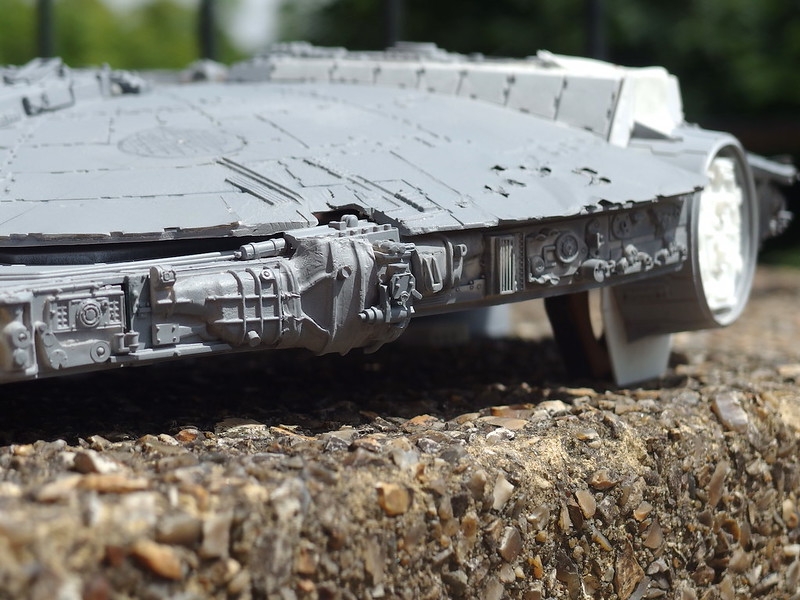
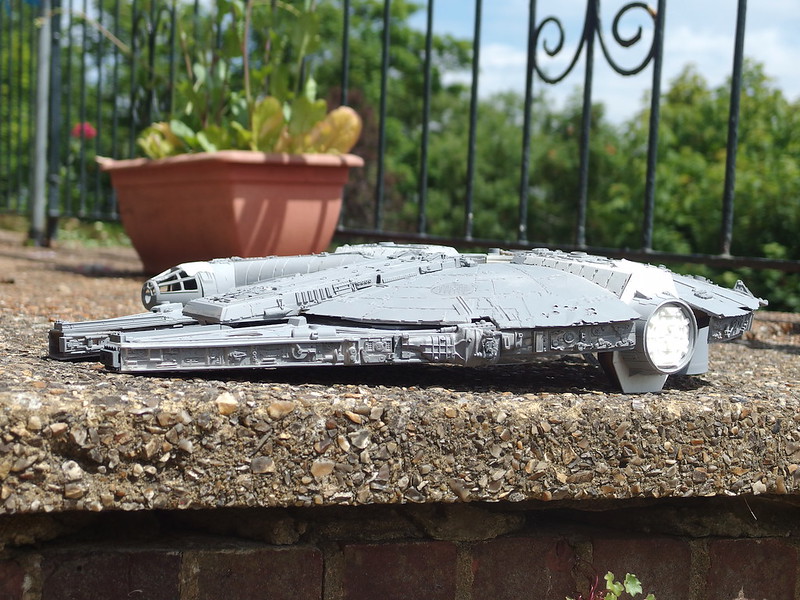
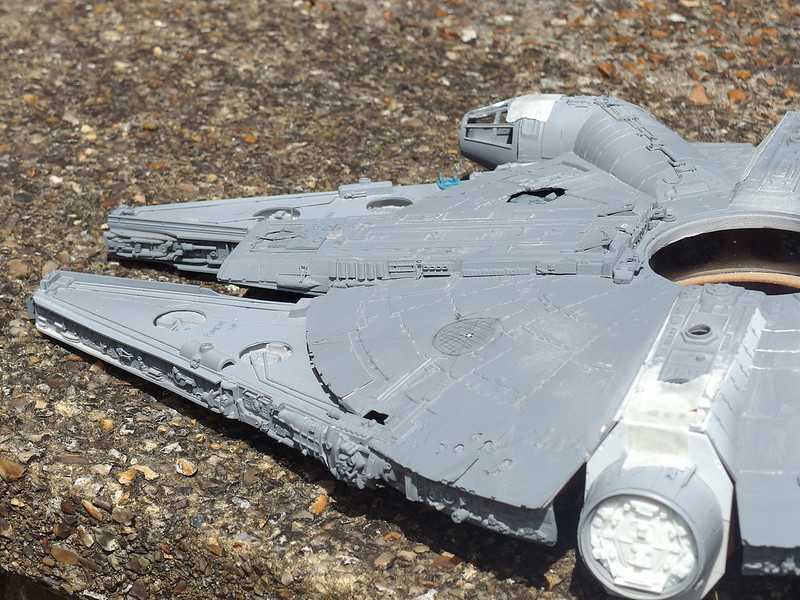
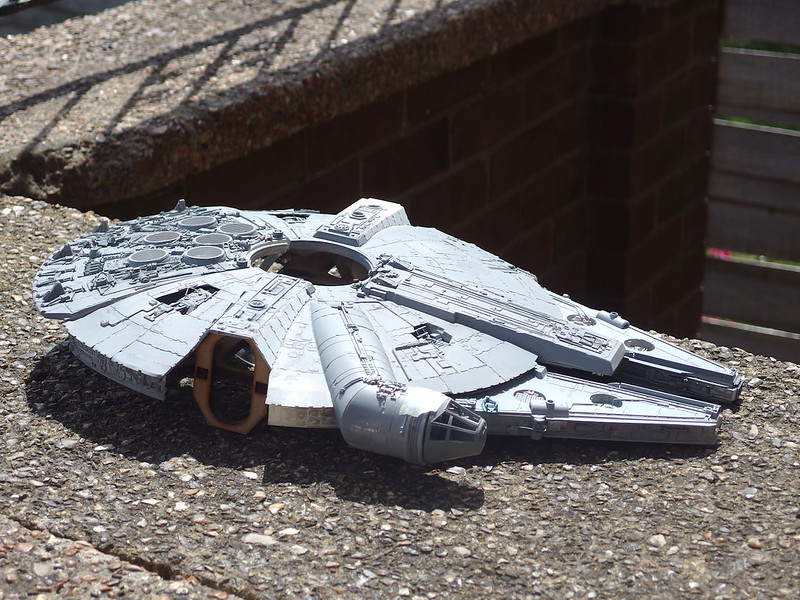
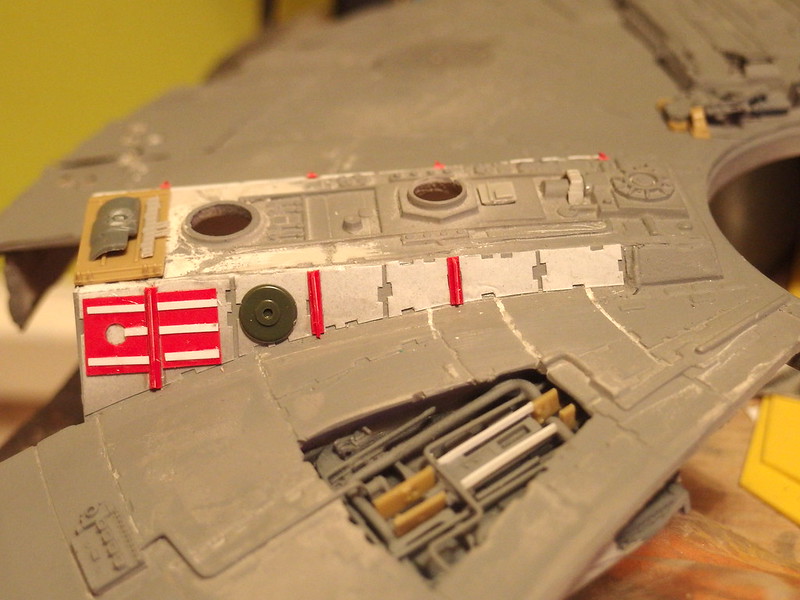
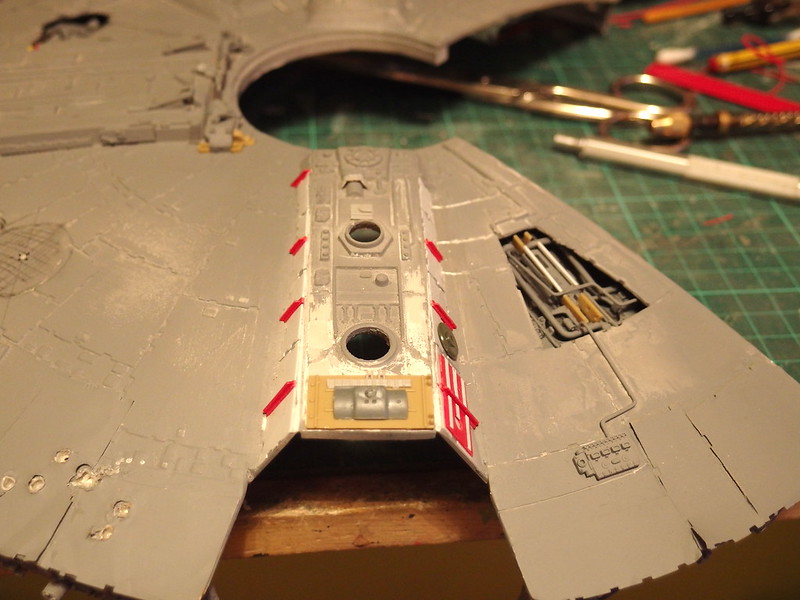
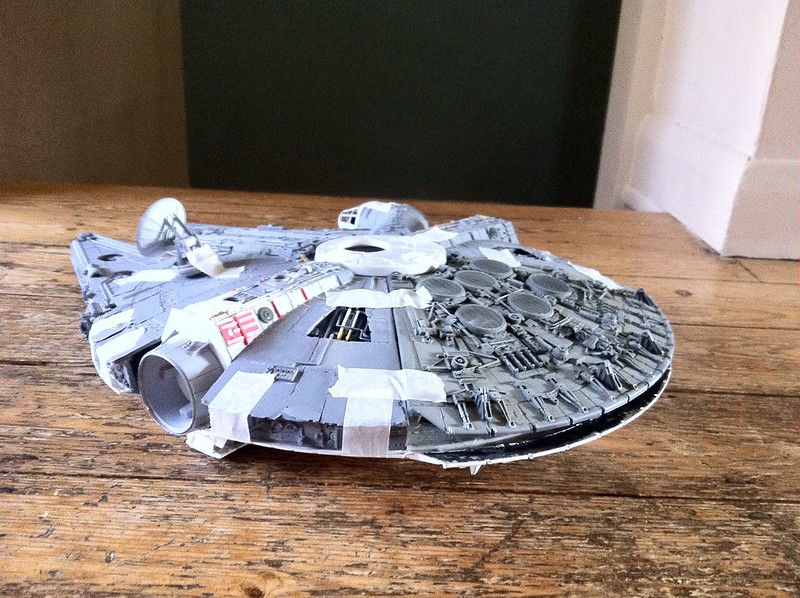
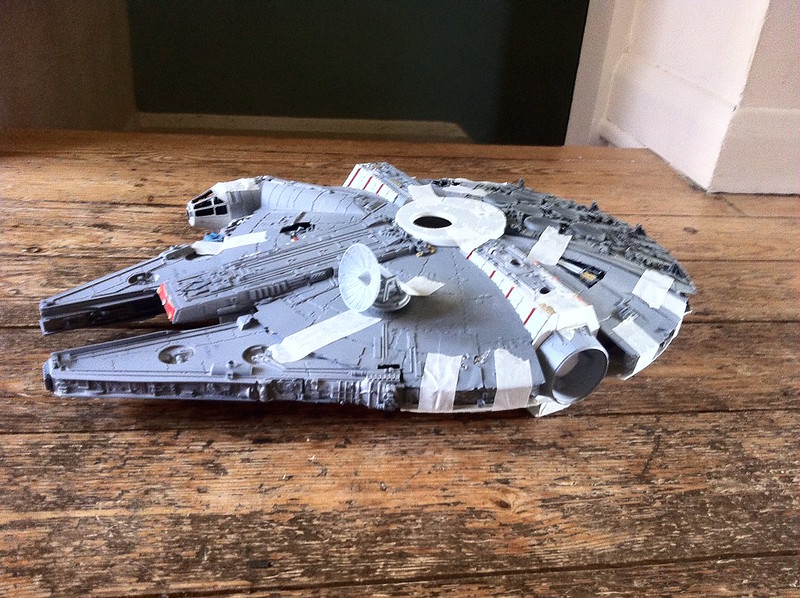
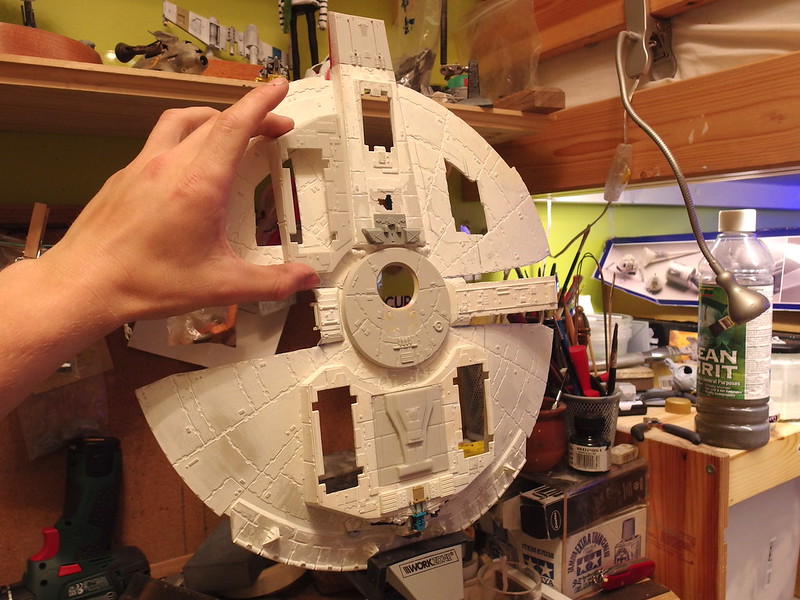
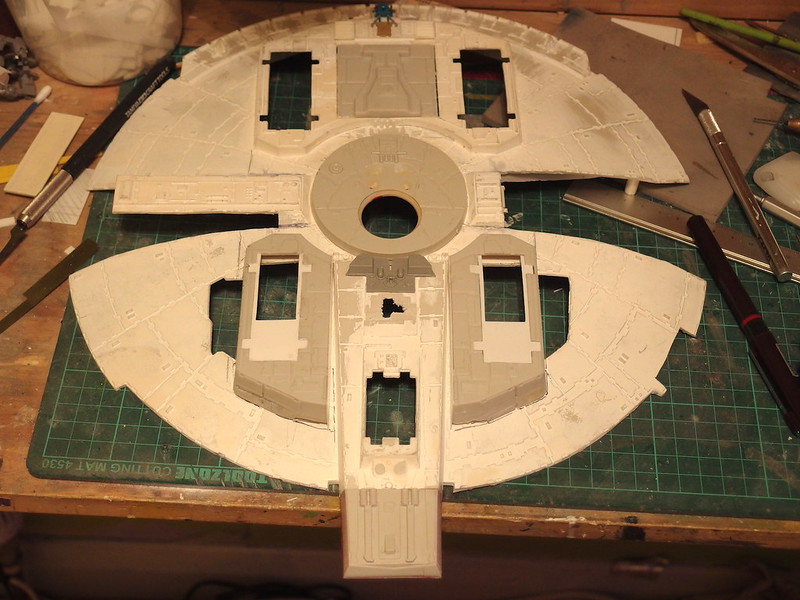
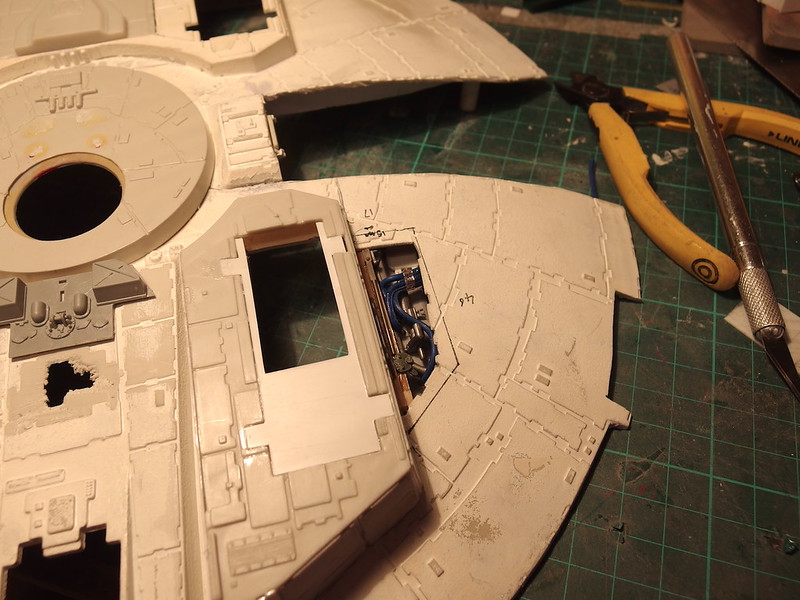
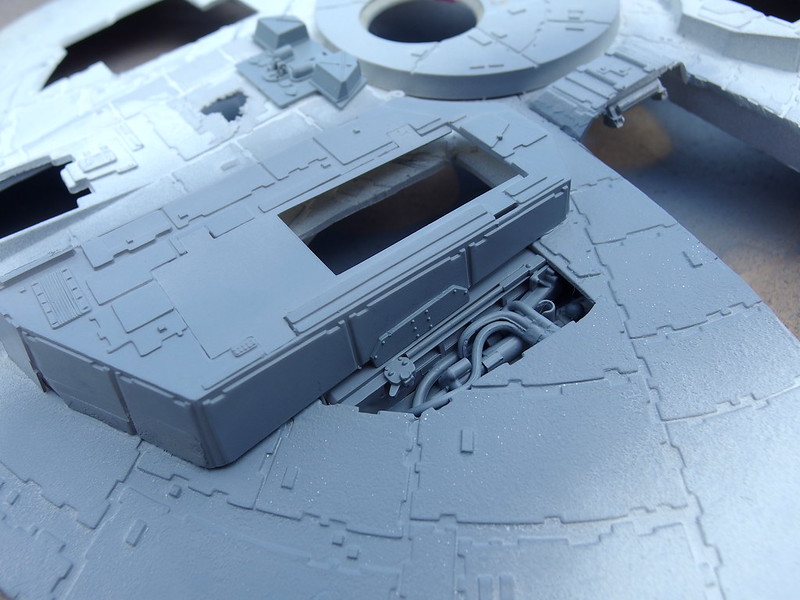
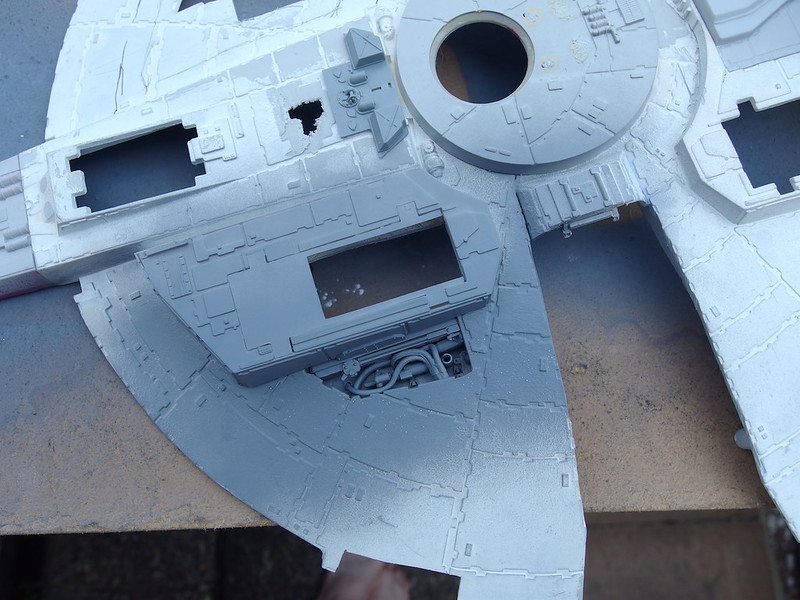
Any ideas on how to repair the wonky jawbox? It sits at a tilt, being higher on the starboard than the portside......It's all detailed and smoothed into place so I can't use a heatgun and I have no intention of cutting it off again. Maybe just hot water and a jig to keep it under tension for a few days?
 
Hair-man, is the JBox actually twisted (as in the top surface also has the twist)? If so, then it sounds like the sidewalls are either of two different heights or they aren't at the same angle relative to the top surface. Even if it is an untwisted 'lay', it seems the the only cure will be to cut the low side intersection joint with the hull and apply some corrective 'wedges' to bring it back up. This is assuming the mandibles are the same position relative to the hull and you're not suffering from the entire hull being out of alignment between the port & starboard sides. I recommend some precise direct measurements to compare your dims side to side to ensure the 'twist' isn't a symptom of some other misalignment.

Regards, Robert

The twist is because I shortened the jawbox by removing a segment, then splicing the two parts together, I must have glued it on wonky. The sidewalls are all the same height, 12mm because I'm using my resin kit. In some respects you're right, the top hull hasn't been attached properly as it's still all in progress, so it's just perched on top of the internal frame.
The issue mainly lies with being imprecise with how I spliced the box together
 
Well, that can happen when one is taking the bull by the horns... sometimes you can get a "scratch". Guess it comes down to how unhappy it makes you, I suppose. Just don't stop enjoying the process (since that is kind of the whole point...) If it starts to "suck", then it may be time to slap on some paint, put it on the shelf and move on wiser to the next challenge. (Sorry, just sharing some personal modeling philosophy...)
Regards, Robert

Yeah true, as I always say, it's the paintwork that makes a Falcon truly shine. Examining the photos again, it looks as if the hull isn't straight either, possibly because of the re-shaping it's had? Perhaps once the hull is completed with the shaping and clamped into place, the lopsidedness will disappear
 
Aye, there is that and a very good chance it is that things will straighten out when clamped up for final assembly. Perhaps dry run it and see if it improves or may be improved using a 'jig' to force it into shape while setting up?
R/ Robert
 
Today has very much been a Falcon kind of day, getting back to work on both the Finemolds commission build, and my own MPC.


Not a lot going on with this, just lots of little areas of correction and reworking needed, mostly adding new panelling and smoothing down rough areas.....Still a long way to go though


I finished detailing the Wankel rotary engine (I had resized it with Milliput earlier in the build) and dusted some primer onto the whole build to see where it's going.


Then this afternoon, I airbrushed the engine deck in black acrylic ink mixed with matte varnish (it gives an interesting colour quality that black paint just doesn't quite have)
and I 'under highlighted' all the areas I wanted to have a bit more depth, so I picked them out in a thin white paint with a small brush. I went over it with Tamiya Medium Grey after that, but in a fairly picky way, not just spray gunned on. The stripes where the exhaust burn marks are received less airbrushing....to keep the darker areas


I started fiddling around with the landing gear this afternoon. I've decided to go with extra ESB gear housings, since ANH is the only film which doesn't have them, I figured that adding them means I can swap out the radar dish if I want to. Also I find that the extra housings, although chunky, add a better visual balance to the Falcon, otherwise it feels a too back-heavy.


I took the new housings from another MPC kit by slicing off its' rear bay and splitting it in two.
I need to create some more of these styrene inserts to reduce the bay well size, and I'll hide the joins with extra plating.


My plan is to have them swappable between landing and flight versions, but equally I plan to have the bays lit.....it should be an interesting problem to fix.


Lastly I soldered one of my brass etch baffles and fitted it to the spare Finemolds landing struts I have


This thread is more than 7 years old.

Your message may be considered spam for the following reasons:

  1. This thread hasn't been active in some time. A new post in this thread might not contribute constructively to this discussion after so long.
If you wish to reply despite these issues, check the box below before replying.
Be aware that malicious compliance may result in more severe penalties.
Back
Top