crackerjazz
Sr Member
Thanks, Junk Pilot. Hey you gotta get some white styrene. Easier to work with.

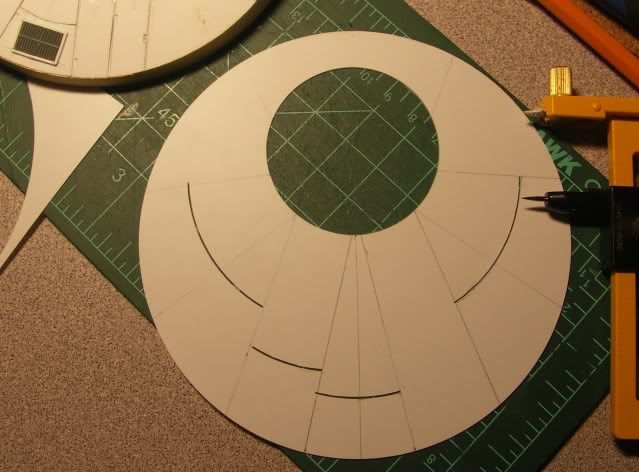
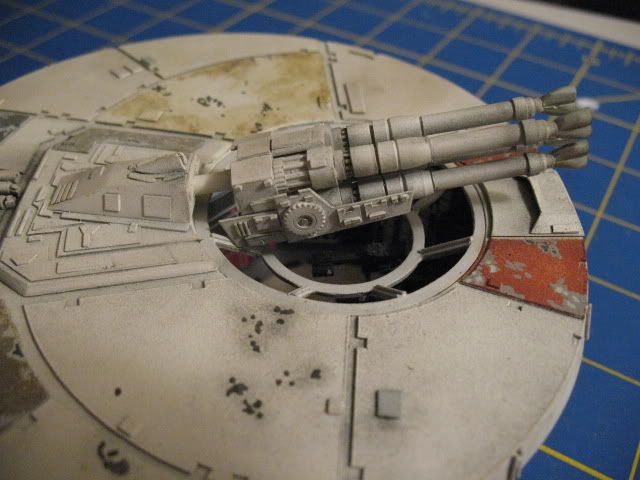
Still chipping away at it.
Still chipping away at it.


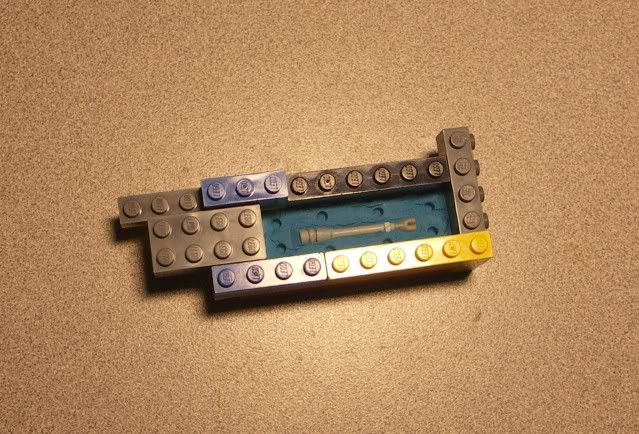
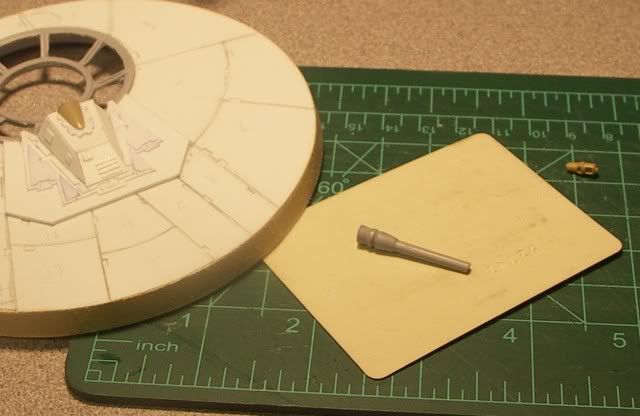
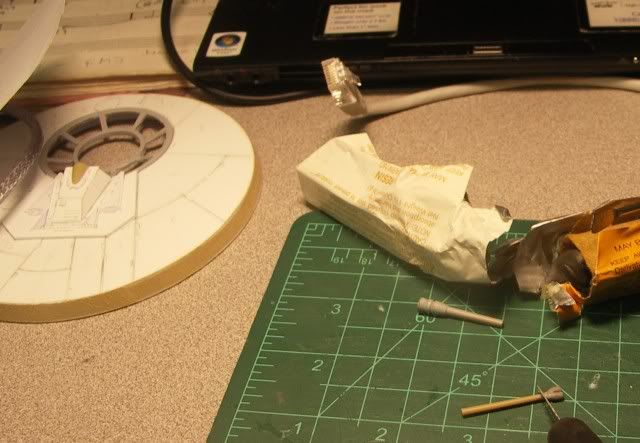
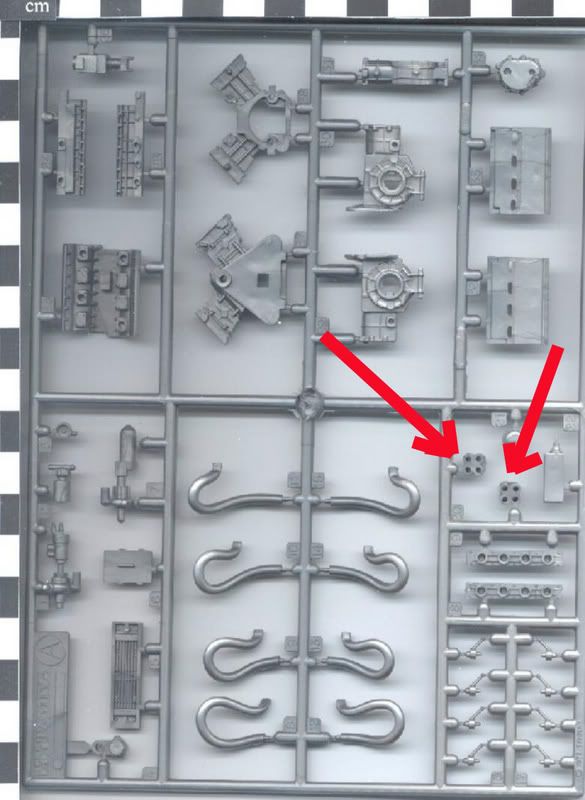
Found a donor that matches the little curved part that sits on top of the thingamajig.
 lol:lol
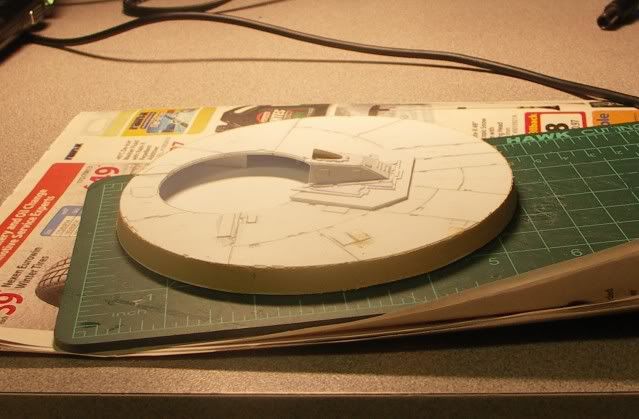
LOL
How are progressing Junk Pilot?
Ozzy

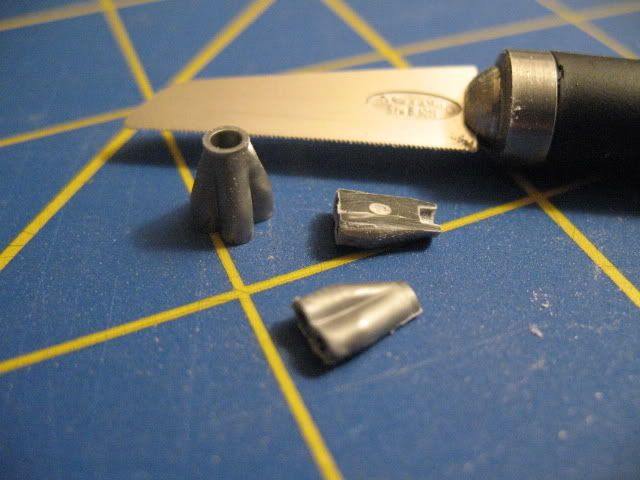
 . I still really need to learn your technique on how to make the flat-head cone -- I need it for the docking rings.
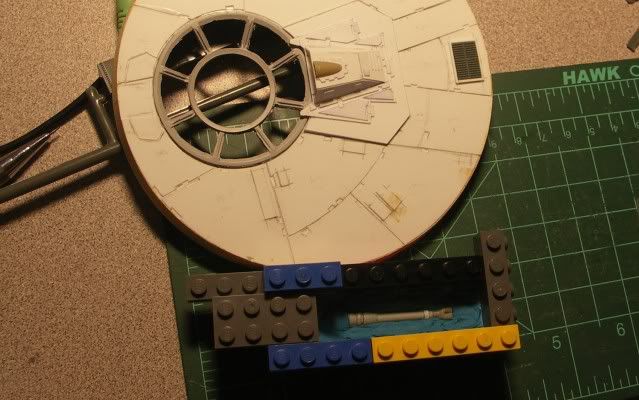
Would they be the 1/20th scale Tyrell parts or 1/12th?