Rodmart85
Active Member
Totally inspired by my friend Jospeh's great idea of adapting the Hasbro Legacy Falcon to studio scale standards I started my own conversion too:love.
I asked Joseph if It would be OK to post here as now we are sharing info and joined forces to complete this huge task that will test my 5 Footer calculations before I start building a 5 footer.
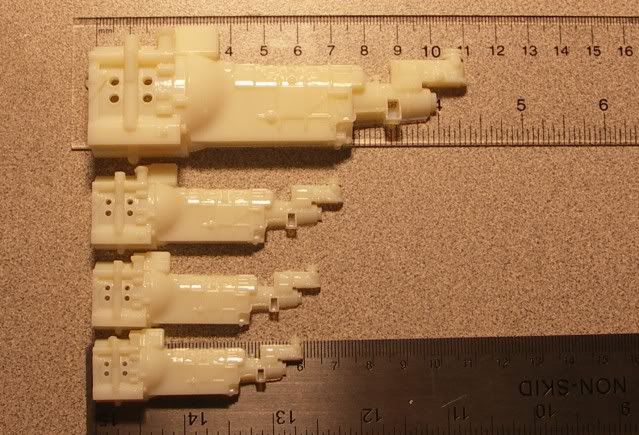
I must say that I am trying to make the Hasbro Falcon look more like the 5 footer that the 32" inch ESB's Falcon, even though to make an accurate transformation would mean to replace almost the whole hasbro toy for hand made parts, and as I have not got too much modeling time left with the Art2Models second studio scale kit I decided to keep the Hasbro length mandibles but changing the 90 degrees to 87,5 degrees and replaced just the middle jaws.
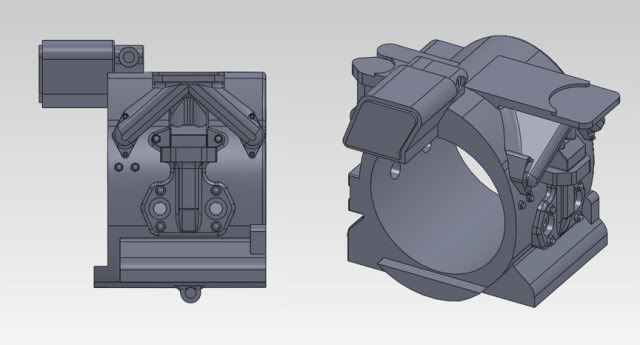
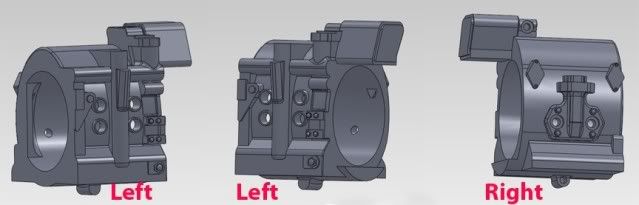
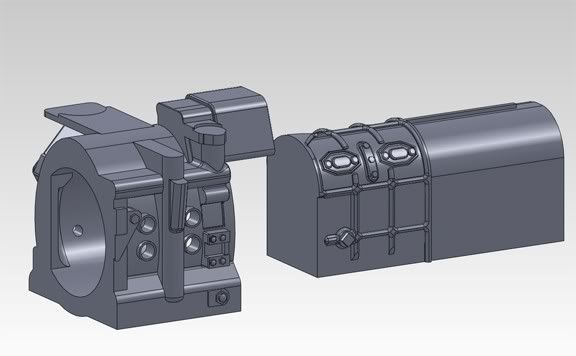
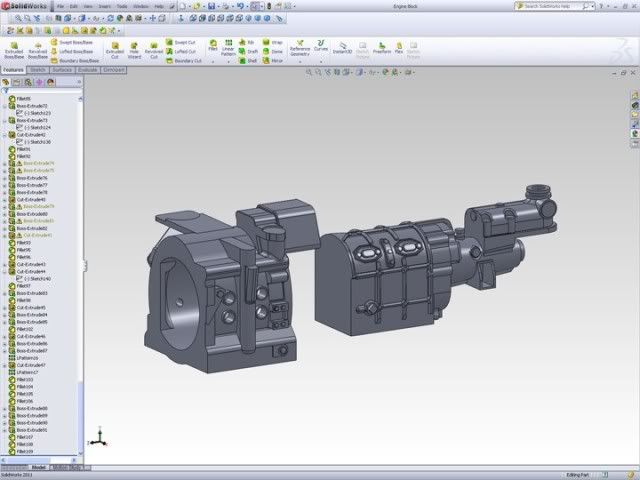
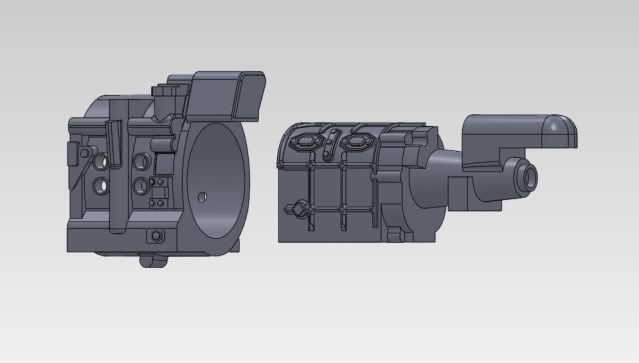
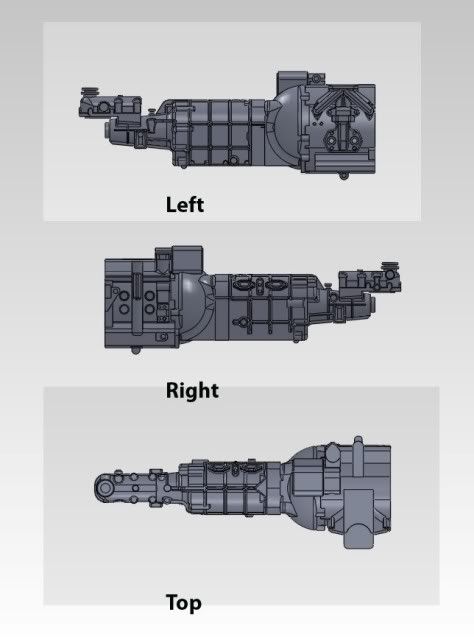
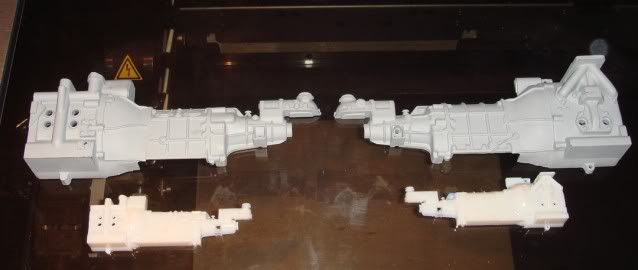
Here are my first pics of how the conversion is going:


Bests:
Rod
I asked Joseph if It would be OK to post here as now we are sharing info and joined forces to complete this huge task that will test my 5 Footer calculations before I start building a 5 footer.
I must say that I am trying to make the Hasbro Falcon look more like the 5 footer that the 32" inch ESB's Falcon, even though to make an accurate transformation would mean to replace almost the whole hasbro toy for hand made parts, and as I have not got too much modeling time left with the Art2Models second studio scale kit I decided to keep the Hasbro length mandibles but changing the 90 degrees to 87,5 degrees and replaced just the middle jaws.
Here are my first pics of how the conversion is going:


Bests:
Rod
") thumbsup
thumbsup