pandatrooper
Well-Known Member
The last piece (for now), the Air Mag logos!
I found a local friend with a laser cutter and I did up a vector for the Air Mag, and we cut them out of craft foam. I tried to make the logo a bit more accurate.
The grey foam was a slightly higher density than the white, but I used a combination of the white for the Nike and Grey for the Mags.

I painted the edges of the foam the same gray as the outsole, then used Zap a Gap CA to glue the letters down to the heel cup. Just laid down some pin stripe tape as a guide.
For those sticking the letters down, I suggest lining up the upper left corner of the "A" in MAG with the center of the heel cup, then glue it down. Then glue the "M" and "G".
For the Nike, the right side of the "I" is lined up with the right side of the "M", they follow the upwards angle. Then line up the rest of the letters.
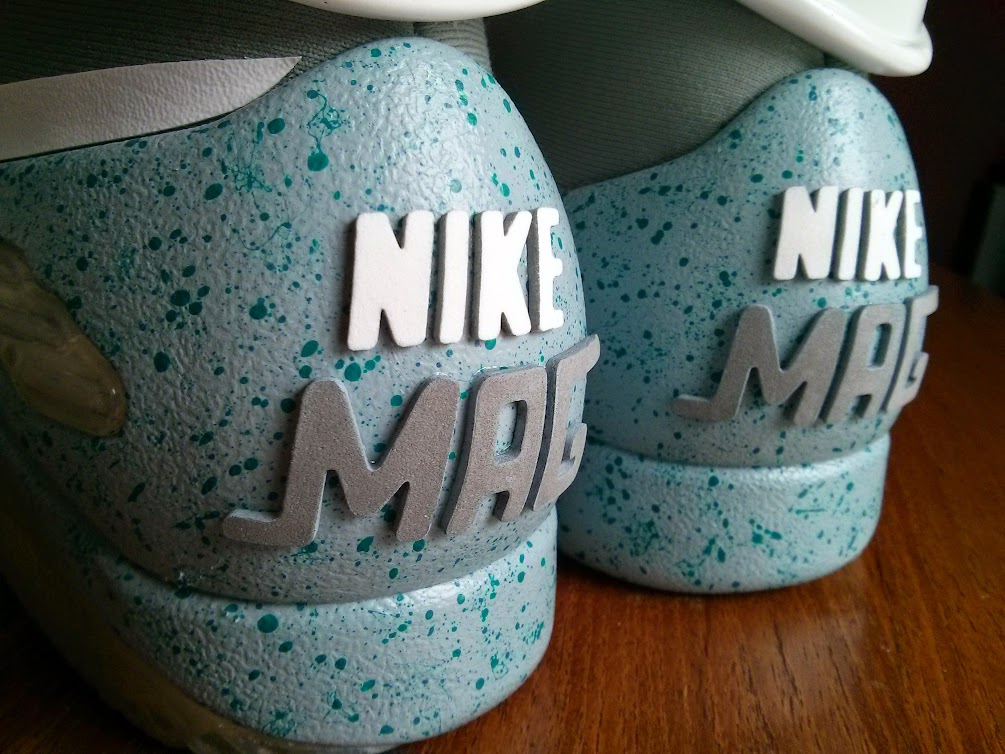
After sticking everything down, I painted two coats of white acrylic for the Nike and for the MAG one coat of white, then two coats of the splatter teal color. I added a touch of blue and white to the Mag as I thought the splatter was a bit dark and green. Clear coated everything with a satin acrylic medium. All done!

I found a local friend with a laser cutter and I did up a vector for the Air Mag, and we cut them out of craft foam. I tried to make the logo a bit more accurate.
The grey foam was a slightly higher density than the white, but I used a combination of the white for the Nike and Grey for the Mags.
I painted the edges of the foam the same gray as the outsole, then used Zap a Gap CA to glue the letters down to the heel cup. Just laid down some pin stripe tape as a guide.
For those sticking the letters down, I suggest lining up the upper left corner of the "A" in MAG with the center of the heel cup, then glue it down. Then glue the "M" and "G".
For the Nike, the right side of the "I" is lined up with the right side of the "M", they follow the upwards angle. Then line up the rest of the letters.
After sticking everything down, I painted two coats of white acrylic for the Nike and for the MAG one coat of white, then two coats of the splatter teal color. I added a touch of blue and white to the Mag as I thought the splatter was a bit dark and green. Clear coated everything with a satin acrylic medium. All done!


