Franz Joseph Tech Manual Phaser

robn1

Master Member
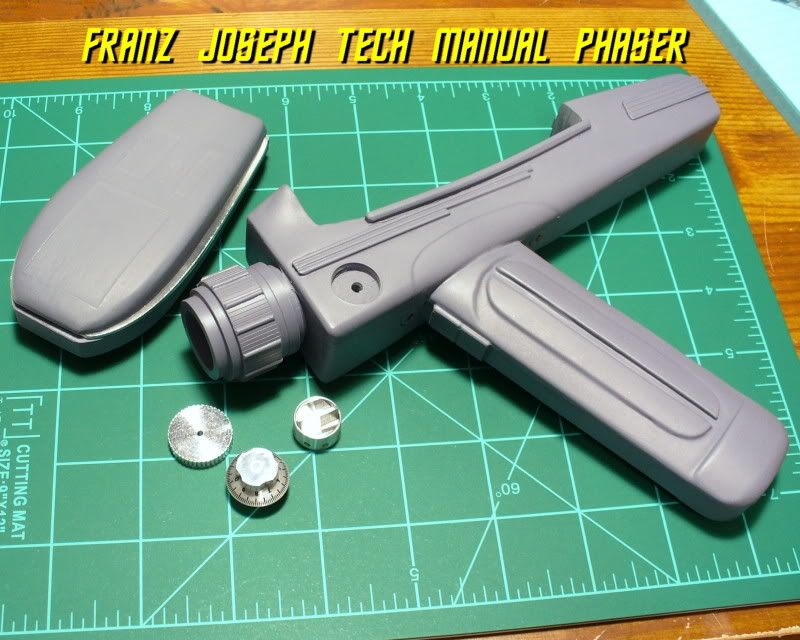
I've started building the Tech Manual phaser, a t.mustachio kit. This will have a few mods added: an aluminum
thumb wheel, aluminum ten turn that clicks when turned, working side knob, P1 retainer/ release, and working
trigger/ safety buttons. The side knob was made with the ratchet effect, but I'll have to build the mechanism for
the ten turn from scratch. I'll also be making an aluminum face plate and emitter for the P1.
01-FJ.jpg


02-FJ.jpg


03-FJ.jpg
 
i have the same kit. it looks so good unpainted i have left it that way so far.
TM makes / made some fine kits.
john :cool
 
Thanks guys! Yeah TM did a great job on this, he made the masters from balsa wood. Unfortunately the roto molding left a hefty build up of resin in the front that I have to grind out.

No progress yet today, but I should have more tomorrow.
 
I'm still looking for my Phaser Keychain from about 5 years ago to put into this kit.

Until then, the purple kit sits quietly in a box.
 
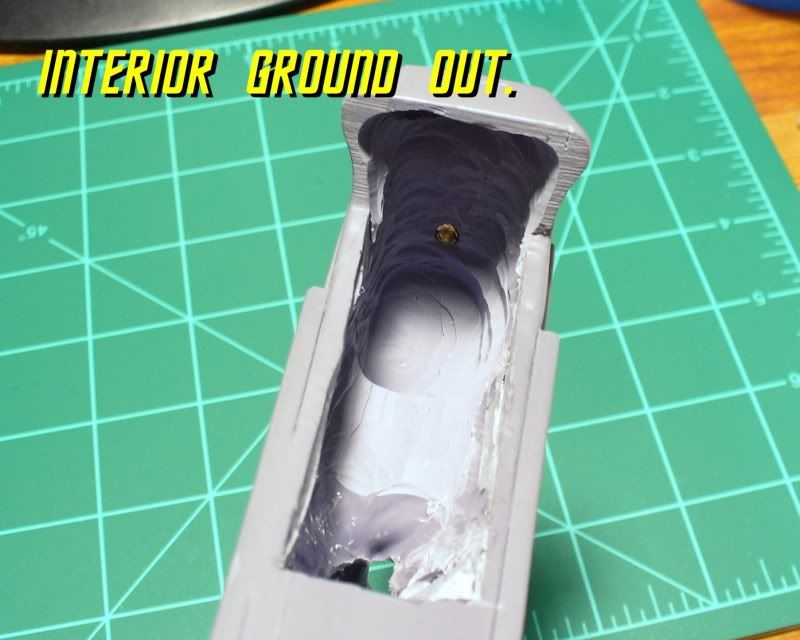
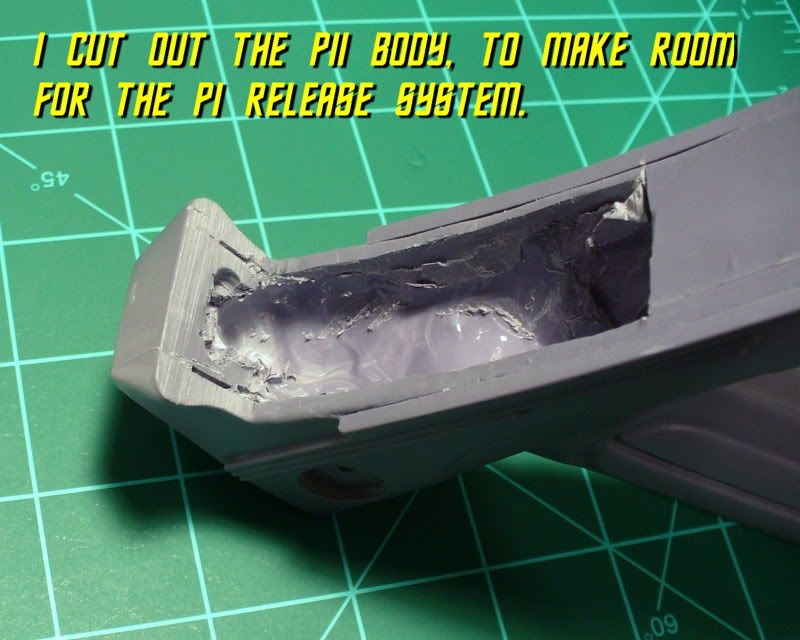
I haven't got much done the last couple of days, but I did some grinding.
I still need to follow up with a fine bit, to clean up the edges.
04-FJ.jpg
 
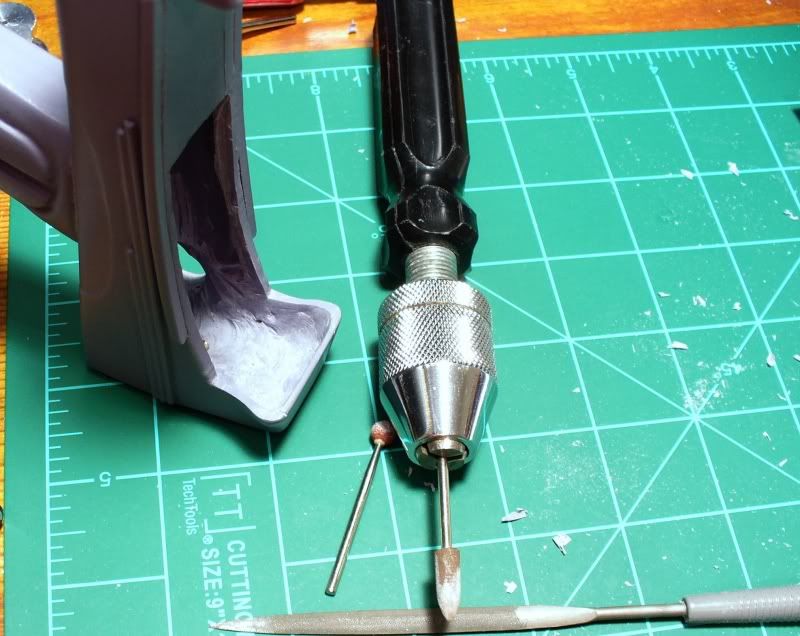
I've been cleaning up the inside front of the P2. This will be visible when the P1
is removed, so I want it as clean as I can get it. I used files, and sanding bits in
a pin vise to smooth out the resin.
05-FJ.jpg


I think I have a pretty good idea for the P1 retention system, something similar
to the mechanism in the original hero prop to extend the emitter tube. I figure
on a brass collar, that will slide on a brass tube, with a spring. More on that in a
few days.
 
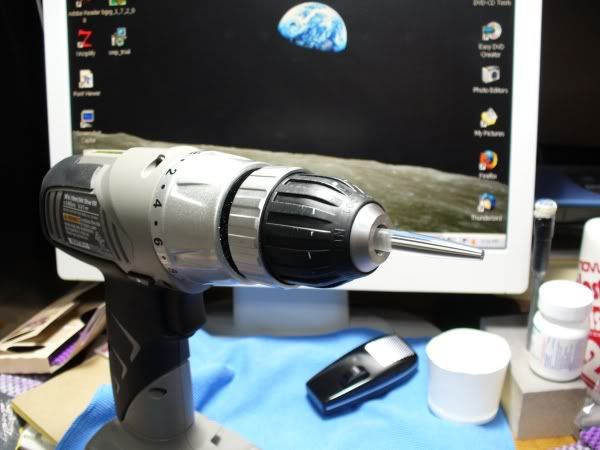
The front of your drill there would make a pretty good P2 emitter! :eek

:lol I've had that vise for almost 20 years, and I can never look at it without thinking that! It would look cool on an early concept phaser.

I used my cordless drill when shaping a mid grade tip, it looked pretty cool too :cool
PhaserDrill.jpg
 
The release for the P1 has been kicking my butt the last couple weeks,
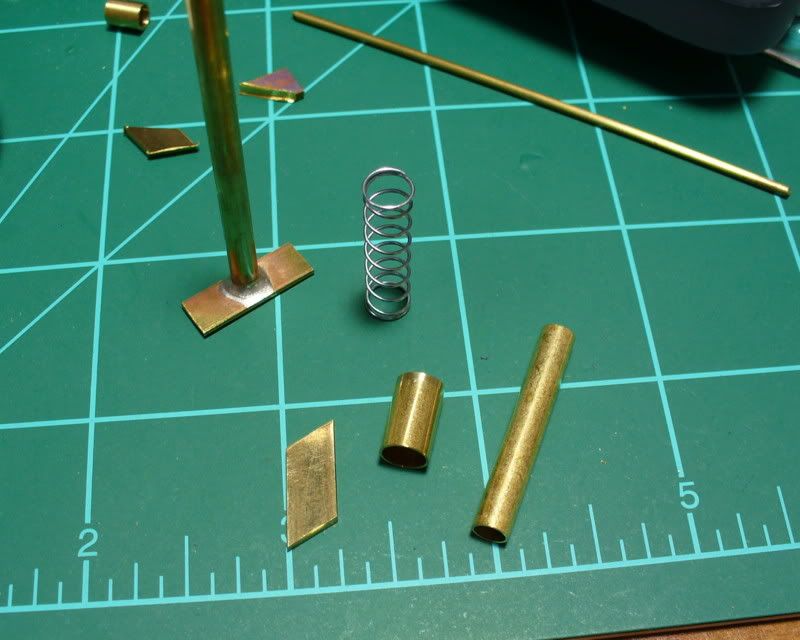
but I think I finally got it. Here's the parts, cut from brass.
06-FJ.jpg


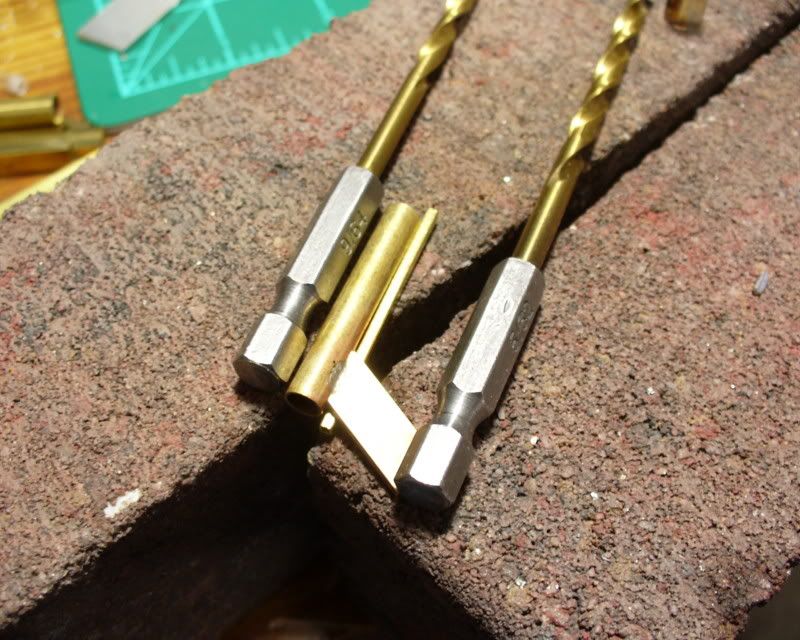
Soldering the slide. The drill bits are there to keep them in place.
07-FJ.jpg


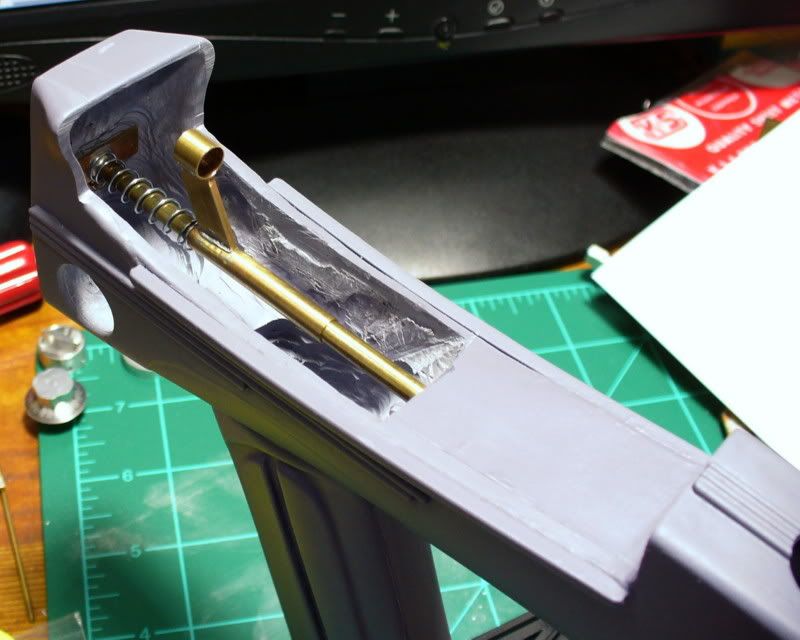
And here's the release in place in the P2.
08-FJ.jpg


I had to make the slide a little tall. On the original the low mounted emitter
hump pushed on the tab, allowing the rest of the mechanism to sit clear of the
P1. On the FJ there is no hump, and the emitter is mounted on the center line.
FJP1-Side.jpg


I had to put the tab on a tall riser to keep everything clear. The brass tube on
the tab will have a plastic peg that will seat in the P1 emitter, this will hold the
P1 front in place. The spring will push the P1 back, the forward angle of the P2
saddle area will hold the rear down, with a small peg to keep it centered.
 
Moving along...

The locking mechanism must engage the front of the P1, so I need to finish that before I can continue with it. I'll be making the thumb wheel turn, and making a face plate and emitter tube from aluminum.

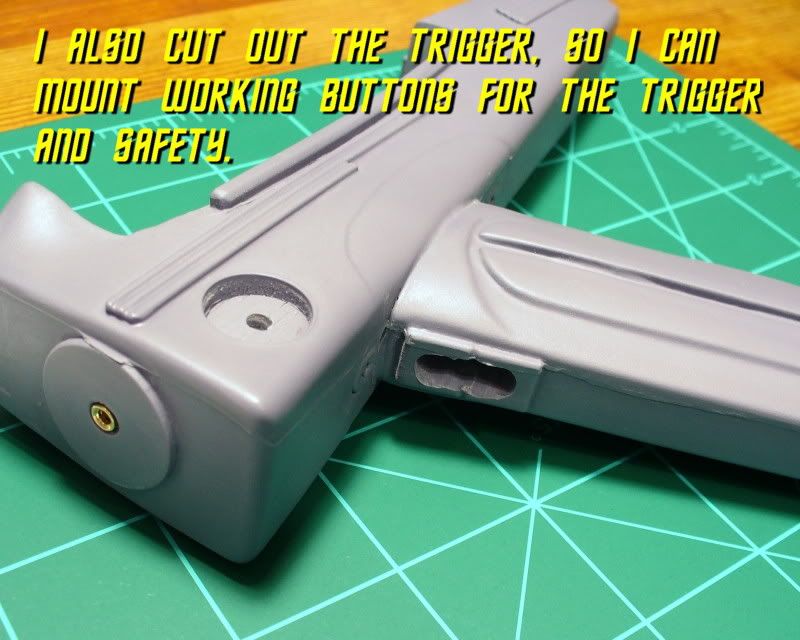
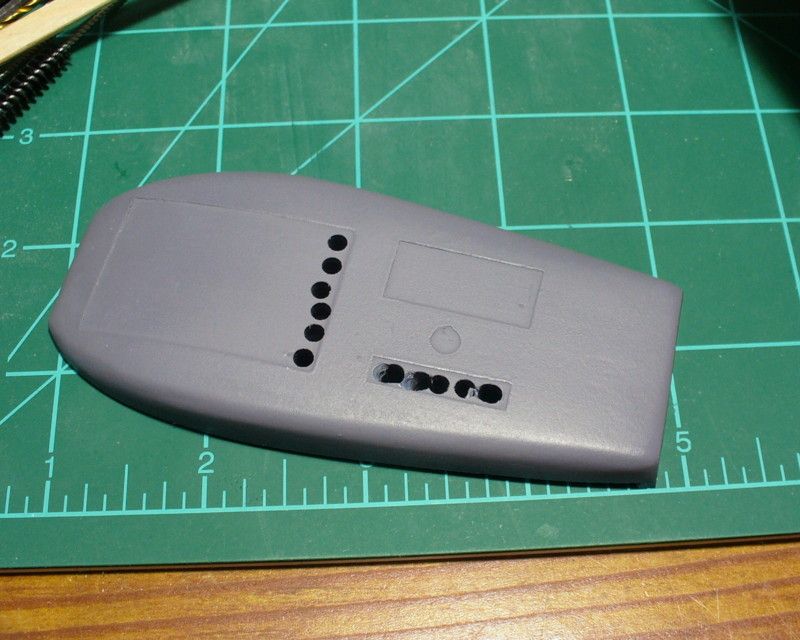
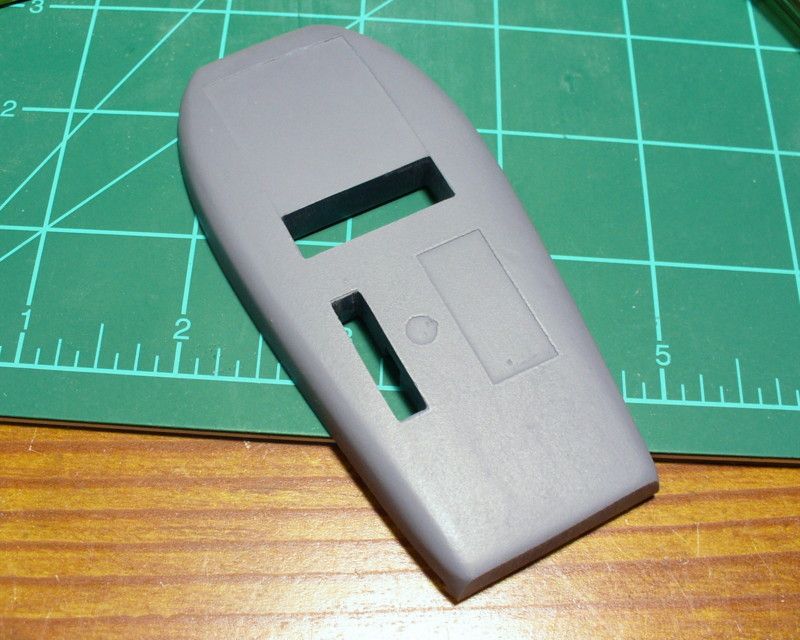
I drilled out the openings for the wheel and the trigger button.
09-FJ.jpg


Then ground them out with my Dremel.
10-FJ.jpg


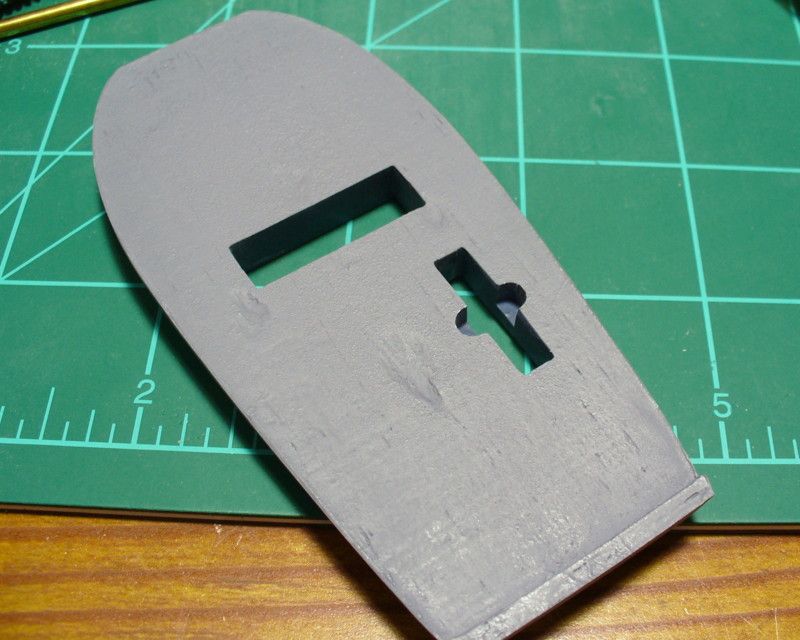
I ground out mounting holes for the thumb wheel axle.
11-FJ.jpg


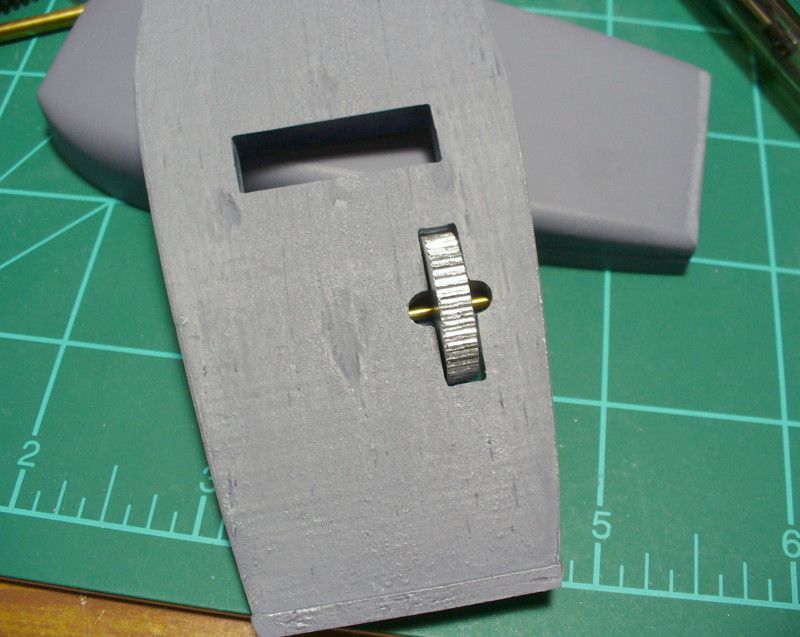
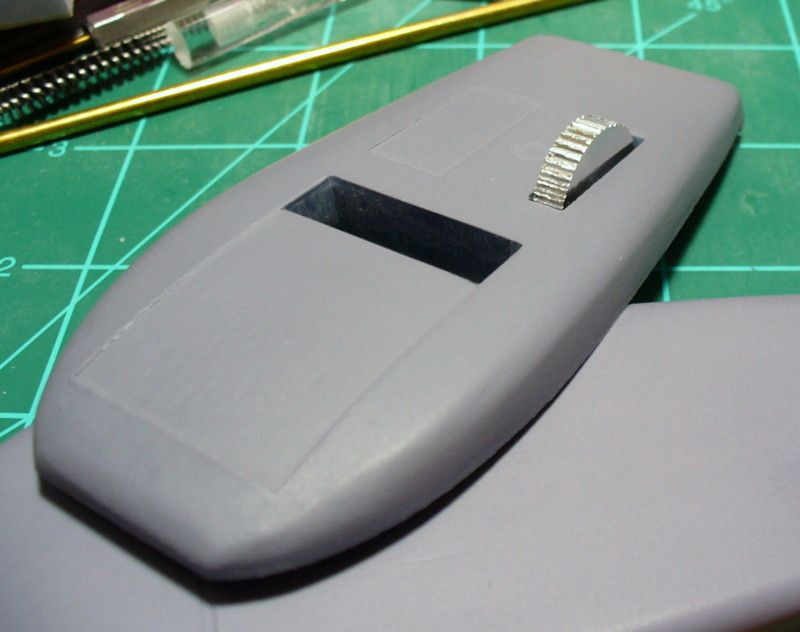
Here's the wheel in place. It won't "do" anything, just turn.
12-FJ.jpg


13-FJ.jpg


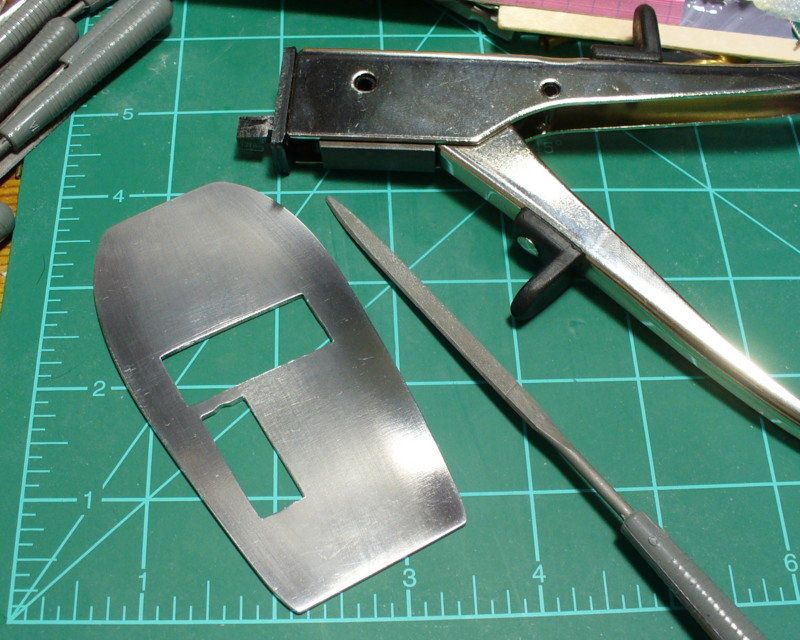
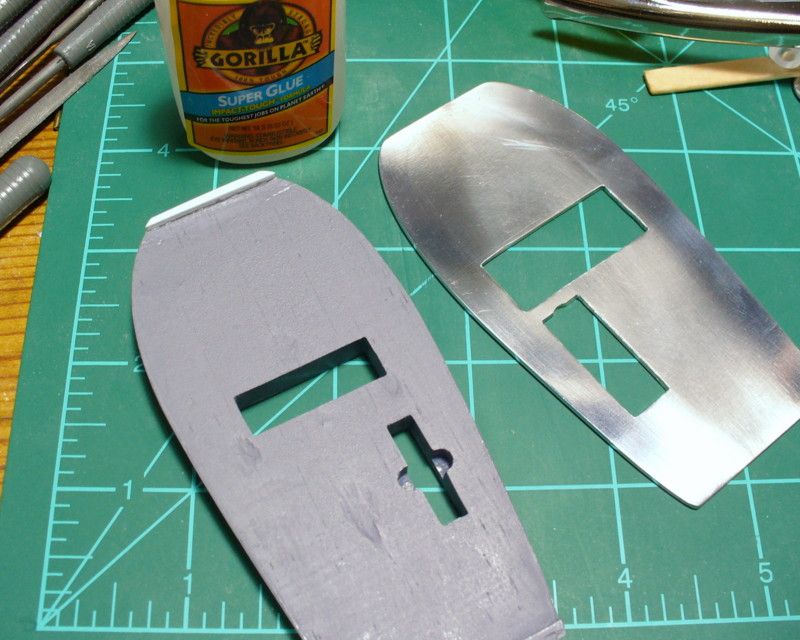
I also cut out the corresponding openings in the mid plate.
14-FJ.jpg


I also need to grind out the bottom shell for the thumb wheel.
 
Could you put a small piece of plastic between the p1 halves to make the wheel "click"?

-Gary

I thought about something like that. I assume you mean a thin piece of sheet that would be scrapped by the ridges on the wheel? That would make it click, but the wheel is aluminum and would wear down the plastic over time.
 
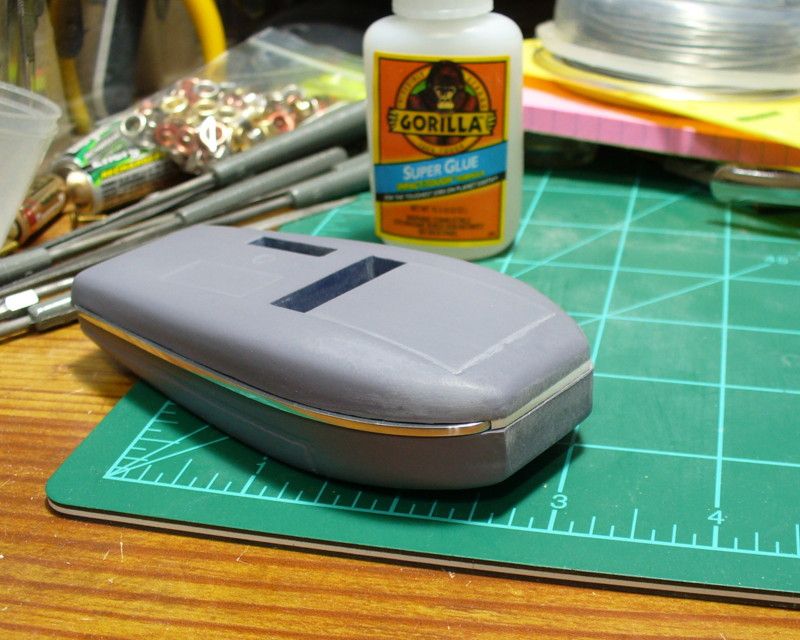
Did just a little bit more. Since the P1 will be removable I needed to finish off the front end. I added a strip of styrene to fill the gap in front of the mid plate. I also did some touch up work on the mid plate edges.
15-FJ.jpg


16-FJ.jpg
 
Back
Top