ESB AT-ST Turkey Walker (Chicken to the talented)

Status
Not open for further replies.
Julien,
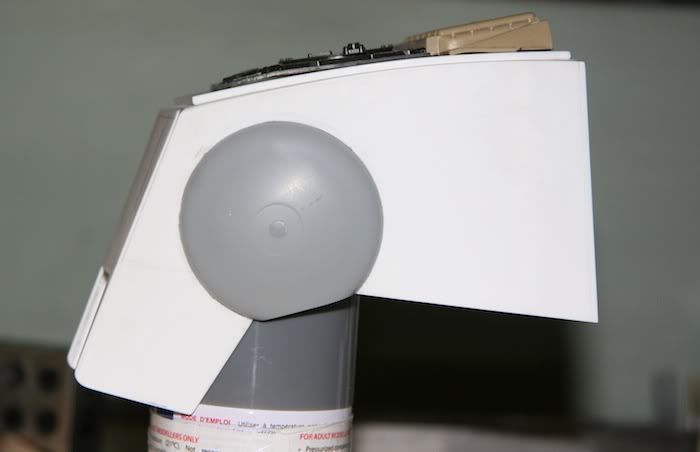
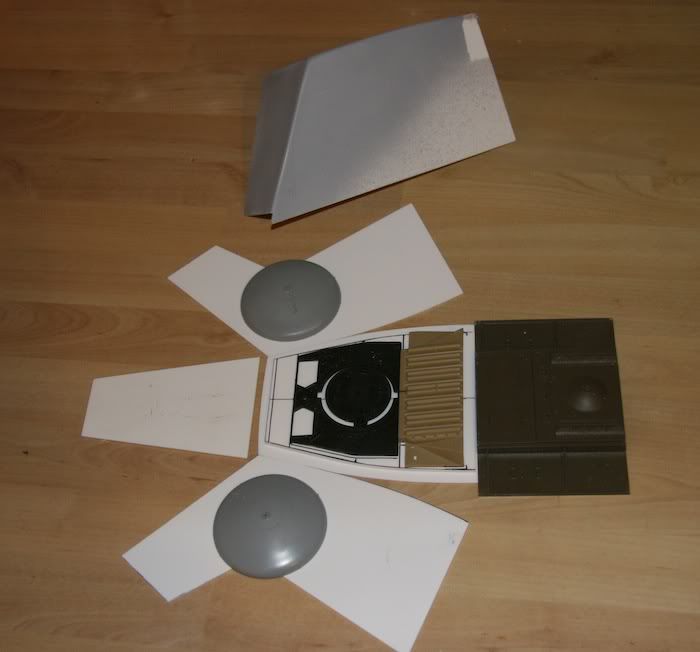
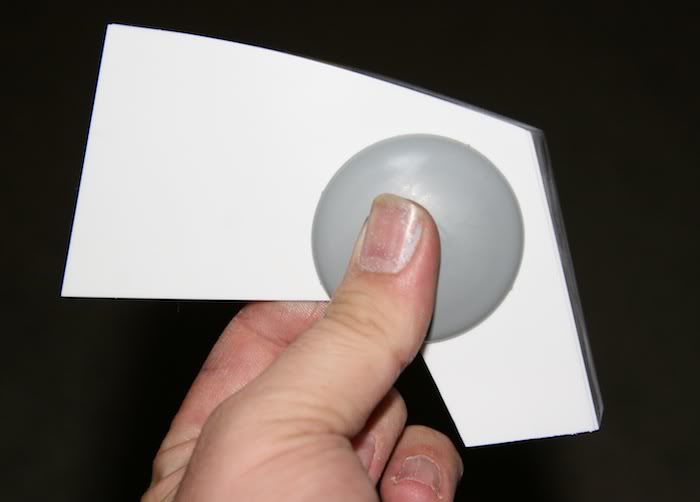
Yeah, these are what mine look like....(pic from StudioScale.com).....I know this only shows one side but both sides look alike. The one on the SS model has that extra circular detail where the dimple is on the second part below.

EDIT: Removed my suspicion of sanded inner sides of Fruehauf parts. Got a better angle of it.

1-4.jpg


Quincy,
My, bad, I forgot about that part.

Joe
 
Last edited:
The correct part comes from the 1/25 flatbed (which also donates the rails at the trailing edges of the legs). It does not come from the tanker.

The vintage Titan has the correct part with dimple -not sure about the reissue. Mine vintage is correct, as near as I can tell...
 
Julien, Allan.....I see that now on the Fruehauf part. I must've been on crack or something when I was looking at your builds! That's probably what I get for spending the whole day pouring over kits, scans and reference! Made my brain all screwy! :unsure :lol

Joe
 
Just made a super rough mock up of the head to practise assembling etc, I have to admit I have no confidence with this but having seen some quickly botched results I think I can get a decent head, maybe it wont be a turkey after all???
 
Just made a super rough mock up of the head to practise assembling etc, I have to admit I have no confidence with this but having seen some quickly botched results I think I can get a decent head, maybe it wont be a turkey after all???

Pics man, pics i say!

Lee
 
I duno mate, I didn't even measure anything. I just cut n sanded by eye. If badly made parts go together then my reckoning is decent parts should be a dream. I hope?
 
I really need to sort out my sleep pattern, on the upside though I like working at night.

Here's the parts laid out with the test I did last night
IMG_0062.jpg


And what I've done tonight, the curve across the brow is there but not as much as I'd like. Not bad for a first attempt!!!

IMG_0063-1.jpg

IMG_0065-1.jpg

IMG_0066-1.jpg


It still needs some sanding and has only just been put together and quickly cleaned, the rear corner doesn't want to stay glued, hence the tape!! I pretty damn pleased with it so far and it seems to be pretty close in size.
 
Guy, just one more time, adjust that brow curve, and your on it id say.
I know i bang on about the brow, but its a huge part of the overall profile for me, looks like youll go third draft lucky like i did.

Lee
 
IMG_0066-1.jpg


It still needs some sanding and has only just been put together and quickly cleaned, the rear corner doesn't want to stay glued, hence the tape!! I pretty damn pleased with it so far and it seems to be pretty close in size.

Looking good Guy. Bending and gluing the .06 plastic drove me nuts. My whole head was covered in tape and still popping a part. That and the itch to play with my new vac former is why I decided to vac mine.
 
slow is the key, imo.
i did it an inch at a time.
use a machinist square, push both plates towards it so their outer edges are flush on the outside, add a little CA, wait, move on --- repeat.
after fully cured, come back with the welder and do a double insure swipe.

lastly, jason turned me onto some mess-free carbon paper from dick blick (forget the name). I would cut my face/template, and trace it onto the carbon paper, onto the plastic sheet -- then mist it with dullcote (so it doesn't rub off), then cut & glue away. In addition, all the donor markings are already there (they may need slight adjustings to your taste/eye), but beats measuring everything a thousand times

IMG_6626-vi.jpg

all the blue lines are from the described carbon paper transfer
 
It can be a pain to bond the head plates, but i didnt get any lifting, just a good seam of thick CA, taped it TIGHT, allow to dry fully, then a run of liquid CA down the backside of the join.

I dropped my head several times during the process, but it never once wanted to part ways, the key is the tight clamping with the masking tape to get that air free grip.
Did the same with my snowspeeder canopy that is like 1mm styrene, fiddly, but it came out spot on.

Quincy is about right though, going a bit at a time, clamp/tape as you go, and as tight as possible.

lee

i shoulda taped if i was smarter. i just muscled down and pushed the plates together with one hand, and used the other hand to push against the machinist square to keep things flush. (live and learn)
 
I didn't spare the tape. I probably need to invest in better CA. You can see my attempt here, down in front of the aramature. It is the only picture I have of it, it hit the trash not long after that prop party.

DSC01906.JPG
 
Well, finally got a head I like, 4 attempts, 2 of which where fine but then I ballsed em up.

I may well do a second battle damaged head that can be swapped out for Fun and only fun. It seems a shame to waste the head clones that are lying around the Kitchen looking sorry for themselves.
 
Guy thats sounding good, post up some pics when you can. Regarding the damaged head, AWESOME idea, id love to try that, kind of akin to the damaged ATATRon done a while, cant recall the guy who did it.

Would be a cool thing to have a head blown away, rusting, even with some swap out damaged rusted chassis parts too, not studio cannon, but, surely us anal rivet counting studio scalers are allowed some artistic fun?

lee
 
Mate the only thing I'm counting with this build is the hours wasted at the moment. Yeh kind seems a waste. I think I'll make the chin guns removable and improv the rest of the head with similar Rebel blast accuracy, cough cough!!
 
Michael mate, I learnt so much doing that A wing, its all helping with this build bud, still screwing up and starting over but every time I get better.

Here's where its at this afternoon, I've got the top plate glued down, I curved it by dropping it in boiling water the rocking it over the rounded corner of the kitchen worktop, worked a treat, should've curved it just a tad more though so I had to push the centre down. Still it worked really well. I'm gunna try n cut out the bottom plate now then all 6 sides are done. There is a little filler on the curve at the front as I had the same problem with this one as my last one. When I'm taping up it pushed the left side panel forward slightly which lift the from left corner away. It was workable so I felt making another head would drive me mad. Nothing will be noticeable when painted though.

IMG_0067.jpg


IMG_0069-1.jpg


IMG_0071-2.jpg
 
looks awesome mate .... going the right way

I've just returned from the iPMS Nationals here in Denmark .... I scored a handful of new donorkits for the Kentucky Fried Walker .... and I got a bit further with the head ... should be ready to receive the first donorparts within a couple of days.
 
Thanks Niels, be great to see an update when you can?


Small update, the plastruct dishes just weren't sat flat on the side walls so I had to think of a way of clamping it that gave an even pressure around the disc but no pressure on any of my joins, I came up with this simple method! Seems to have worked so far!!!!

Clamps.jpg


The top are just placed in these shots, not glued. I'm a bit unsure about the height of the chin gun Jaw cutout, I think mine may be a bit shallow at the mo?

IMG_0074-2.jpg


IMG_0075-1.jpg


IMG_0076-1.jpg
 
Status
Not open for further replies.
Back
Top