russellsch
Master Member
Gorgeous work, as always, my friend! 
What company did you use for the custom paint?Well I finally had some Detention Block Blue lacquer made app and put into spray cans!
View attachment 1705225
Uh-oh! Did the magic blue smoke come out?
yeah, I don't think you can fry the leds themselves thankfully. but for info, I'm testing all the lights before shipping them and for that I just take a random phone charger, apply each wire by hand on the contacts of the phone charger and it lights up. You can test again that they are still working with the same method Chadno thank goodness!
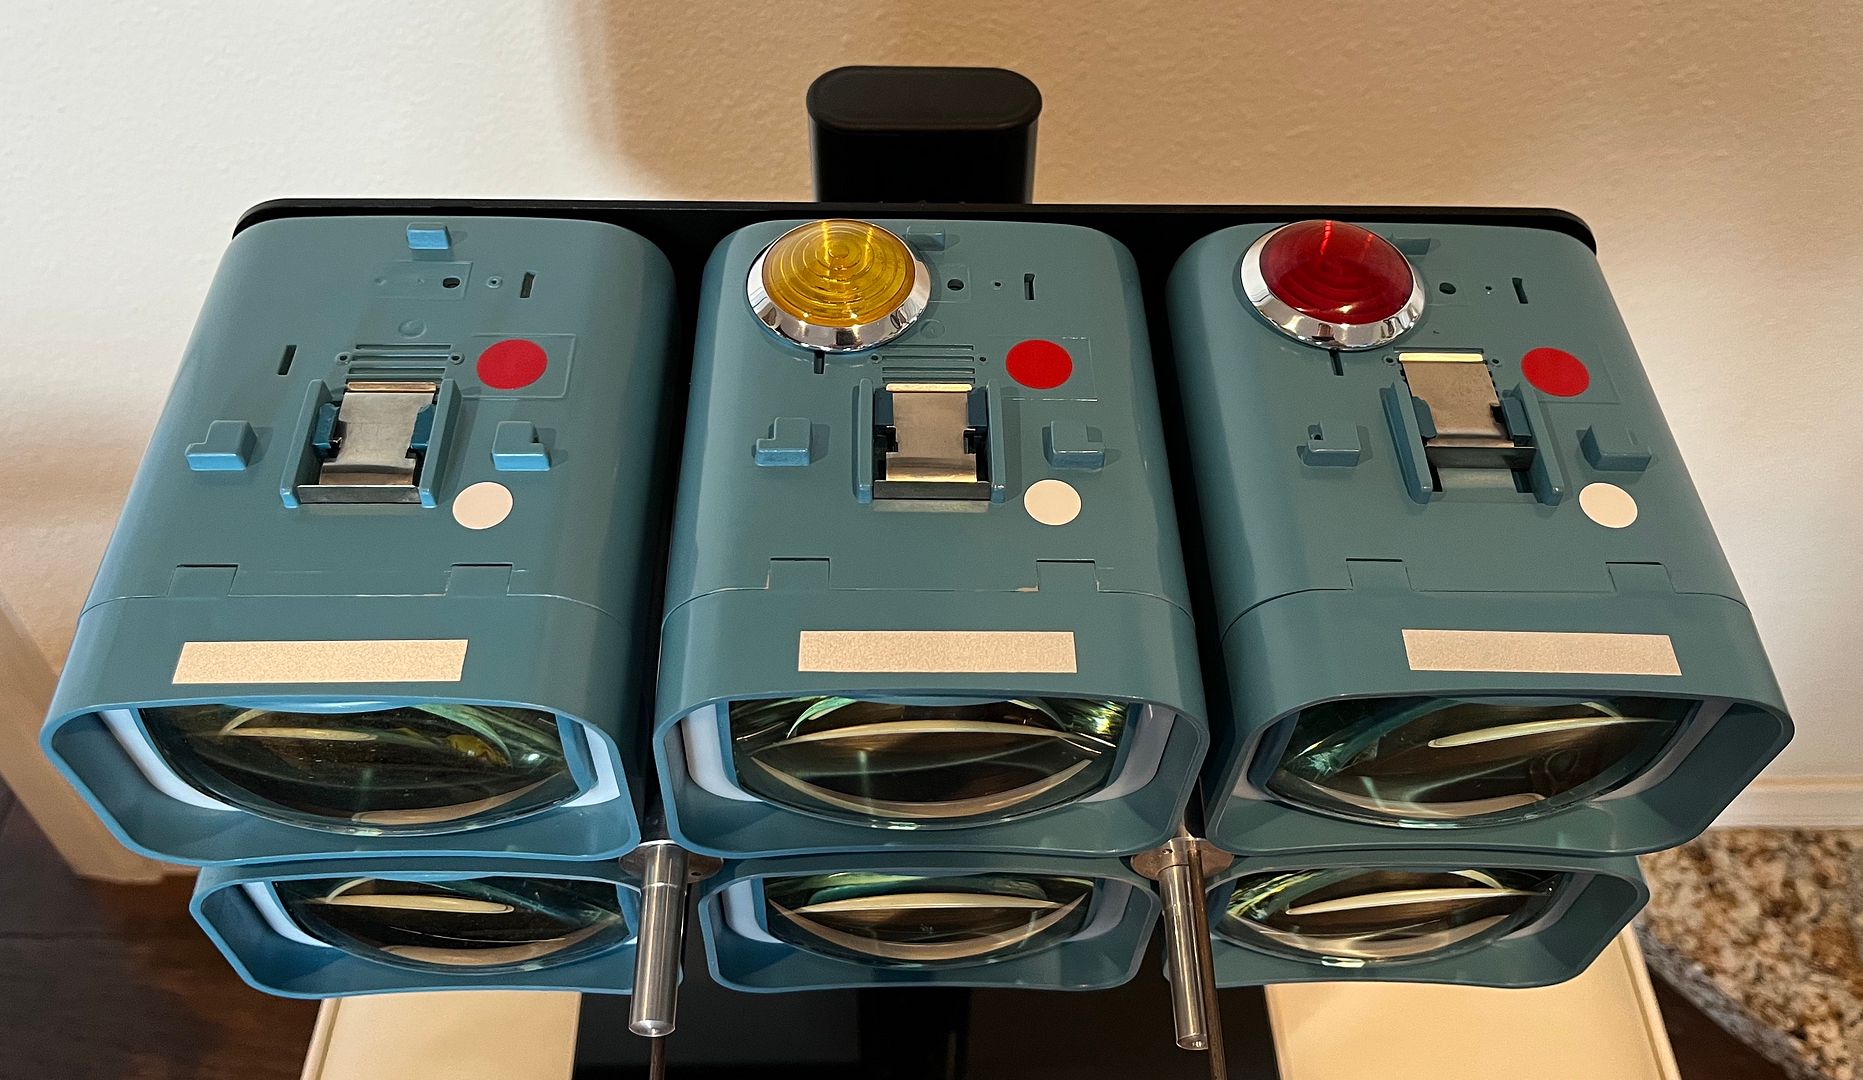
that looks awesome!ATTACH=full]1709288[/ATTACH]
The LEDs come from china sadly, I make all my parts myself but in this case, I guess most LEDs come from china anyways. It looks illogical to me as well that the black wire is positive but it looks like a lot of LEDs come like this now for some reason... It is what it is I guess...that looks awesome!
I’m glad there was no damage. I know reversing on LEDs is no problem, but thought the problem may have been something back on the arduino that was reversed. Is it not common in Europe to have black be ground? I would have made the same mistake!
Ah, that makes more sense, what a mess. So these are on the LEDs that are pre-wired with the resistors, right? Fortunately, that’s not likely to cause any damage, as you mentioned.The LEDs come from china sadly, I make all my parts myself but in this case, I guess most LEDs come from china anyways. It looks illogical to me as well that the black wire is positive but it looks like a lot of LEDs come like this now for some reason... It is what it is I guess...
Cheers
Yes the LEDs are prewired with a resistor and come that way. I didn't assemble those.Ah, that makes more sense, what a mess. So these are on the LEDs that are pre-wired with the resistors, right? Fortunately, that’s not likely to cause any damage, as you mentioned.
‘Say, does anyone make those white lens surrounds for the fronts of the viewers? That is such a clean look.