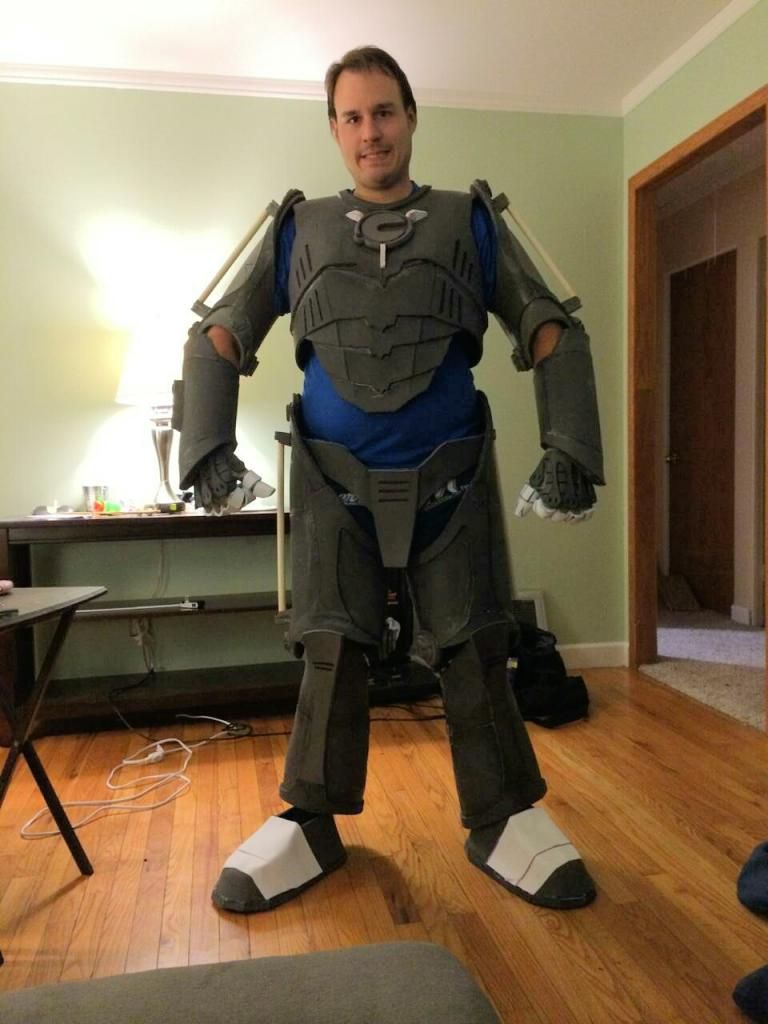
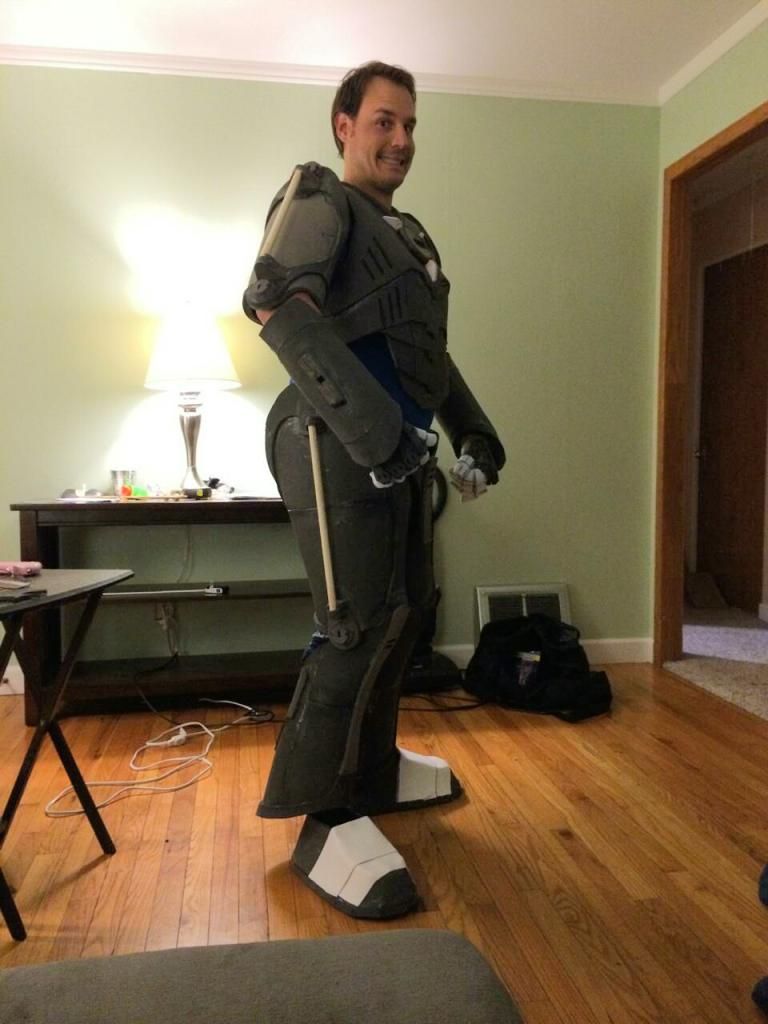
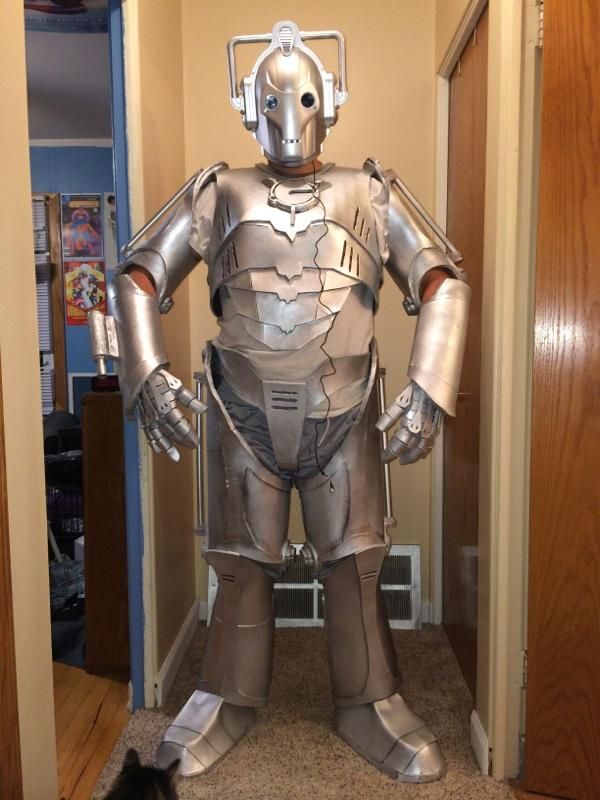
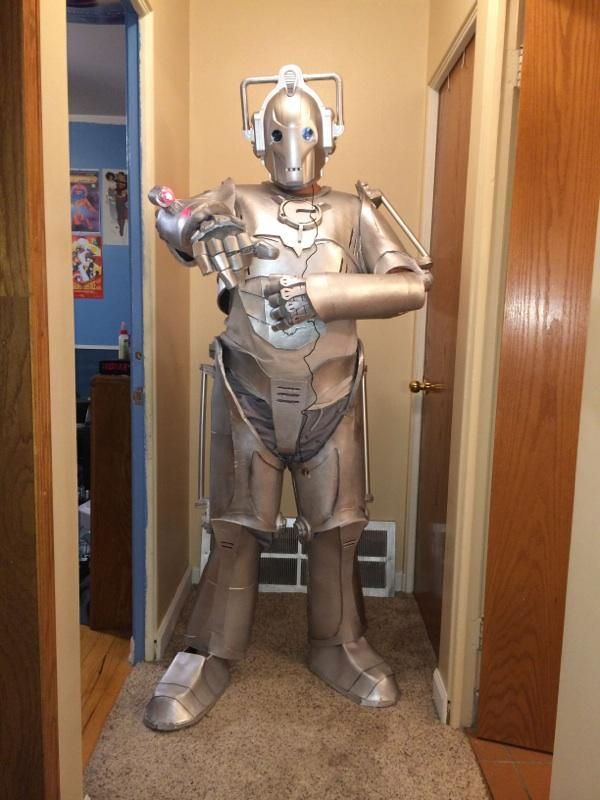
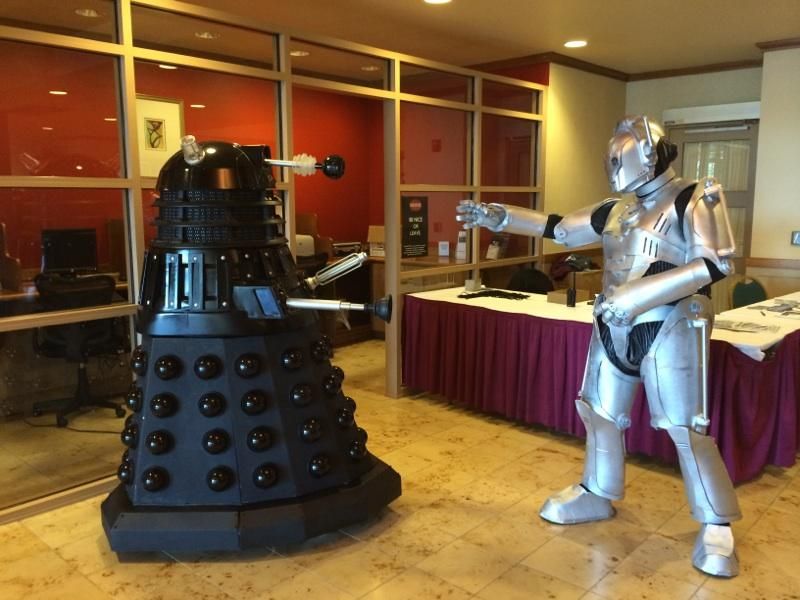
Cyberman in FOAM!!! - WITH PATTERNS!!

My daughter decided a month ago that she wanted to go as a cyberman. I managed to find one of the British cyberman speaking masks on eBay, but I had no idea how I would put together the rest of the costume for her. Then I stumbled across this thread in my Google searching. So glad I did!

Thank you so much for posting the patterns. I downloaded them without paying at first, because I had no idea if I would even be able to work with them. I have no experience with foam costuming. Now that I'm so far into it, I went back and downloaded them again and paid, because I couldn't have gotten this far without your patterns. I wasn't sure how I was going to be able to scale them down at first. But as luck would have it, she is about 75% your height (55 inches to your 73 inches) so printing it on 8.5 x 11 paper scaled it just right. I'm using 6mm foam sheets because I wanted something lighter for her, and it seems to be working out. Being pressed for time, I'm starting off just trying to get the basic elements done. I'll add details as I've got time for them.

Anyway, here it is so far.
cybergirl.jpg

Working on the legs next. If anyone has some images of the legs as they go together, I would like to see them. The seams are a bit curvy so I expect there is some bending that needs to happen.
 
Wylkln the leg seams are curvy to give the leg it's shape
Picture 7.jpgPicture 9.jpg
If you have a heat gun it will help to bend the pieces into shape.
 
Some pics of my WIP Cyberman. Used some of the JFCustom patterns and some of Wondersquid's patterns. Going to be adding cabling to the undersuit this weekend and create a neck seal as well.



Hey @abwchris: What sort of topcoating/Color/spray (?) have you use?

I first heat sealed the foam, then coated the foam in two layers of regular plastidip. From there I used metallic silver Krylon spray paint to cover it, 3 coats IIRC. After that I used silver metalizer plastidip and spritzed two coats of that on, and finished the armor with one coat of plastidip glossifier.
 
No problem Wylkyn. I was the same when it was flat but when I heated them up and
moulded them it all fell into place
 
I first heat sealed the foam, then coated the foam in two layers of regular plastidip. From there I used metallic silver Krylon spray paint to cover it, 3 coats IIRC. After that I used silver metalizer plastidip and spritzed two coats of that on, and finished the armor with one coat of plastidip glossifier.

Thanks for the informations. I found a german seller for plastiDip, so I used it, too and coated it today. When I'm finished, I will post some photos :)
 
Is there anything that anyone does to keep the arm and leg pieces from moving around? Or do they rely on being tight to the body to keep from shifting? I'm finding that the upper arms tend to turn a bit as my daughter moves around, and same with the legs. I was just wondering if anyone else experienced this issue, and if so...is there some trick to keeping things in place I don't know about? I was wondering if some Velcro on the inside would do it, or two-sided tape or something similar?
 
I made a fabric joiner between upper and lower parts, both arms and legs. I glued it in and used tubing to make it look like the joints. This stiffens movement, but does keep things fairly centered and straight.
 
How much does the fabric stiffen the joints? Is it uncomfortable over a long period of say 4-6 hours? I was thinking about doing something similar and any information would be helpful.
Thank you, Darryl
 
UPDATE!! - With halloween fast approaching I figured I might try to get this done in time. I have been working on the Nightmare in Silver Cyberman for months, but since my schedule is crazy, the best I can muster is a few hours here and there. That's also why there is no progress photos of the arms.

Cyberman 2103 parts by Mal Keller, on Flickr
The mess of parts that I did in a few days.

Cyberman 2013 Calf by Mal Keller, on Flickr
The lower Calfs.

Cyberman 2013 Forearm 1 by Mal Keller, on Flickr
Cyberman 2013 Forearm 2 by Mal Keller, on Flickr
Cyberman 2013 Forearm 3 by Mal Keller, on Flickr
The forearms in detail.

Cyberman 2013 Shoulder by Mal Keller, on Flickr
The shoulders attached to the upper arms.

I figure the thighs will be one of the hardest parts of this build, so I am going to show nearly every step to create them. Follow closely!
Step1 - Cut out all the parts for the thighs, make sure to pay attention to bevel instructions. Also, it's a good time to burn in all your detail lines with a wood burner.
Cyberman 2013 Thigh 2 by Mal Keller, on Flickr

Step2 - build the layered details
Cyberman 2013 Thigh 1 by Mal Keller, on Flickr
Cyberman 2013 Thigh 4 by Mal Keller, on Flickr
Cyberman 2013 Thigh 18 by Mal Keller, on Flickr

Then attach them to that part of the thigh.
Cyberman 2013 Thigh 5 by Mal Keller, on Flickr
Cyberman 2013 Thigh 16 by Mal Keller, on Flickr
Cyberman 2013 Thigh 21 by Mal Keller, on Flickr

Step3 - Cut and glue off-set the details that will blend into the layered areas you just made. Be careful to glue them at the right depths to match.
Cyberman 2013 Thigh 7 by Mal Keller, on Flickr
Cyberman 2013 Thigh 8 by Mal Keller, on Flickr
Cyberman 2013 Thigh 16 by Mal Keller, on Flickr

Step4 - Glue the pieces that blend to each other together, take care to line up all the details right!
Cyberman 2013 Thigh 9 by Mal Keller, on Flickr
Cyberman 2013 Thigh 17 by Mal Keller, on Flickr

Here is what it looks like from the inside to help illustrate the "stepped" effect.
Cyberman 2013 Thigh 10 by Mal Keller, on Flickr

Step5 - Make the Tube detail bolts. Start with the top bevel pieces.
Cyberman 2013 Thigh 12 by Mal Keller, on Flickr
Cyberman 2013 Thigh 13 by Mal Keller, on Flickr

These get glued down and the bevels forced down to create a rounded shape. Then they are glued to a thicker foam to hold the shape and raise the height.
Cyberman 2013 Thigh 14 by Mal Keller, on Flickr
Cyberman 2013 Thigh 15 by Mal Keller, on Flickr

I used a bandsaw to trim them clean around the edges, I know not everyone can do this, but use what's at your disposal to get the same effect, just be SAFE about the cutting.
Cyberman 2013 Thigh 19 by Mal Keller, on Flickr
Cyberman 2013 Thigh 20 by Mal Keller, on Flickr

Next I glue a trim around it to hide the rough edge. I used soft 1/4" L-200.
Cyberman 2013 Thigh 23 by Mal Keller, on Flickr
Cyberman 2013 Thigh 24 by Mal Keller, on Flickr

Step6 - Glue the final part in place in the front, this one is tricky, it lines up with the inside edge of "stepped" detail, but doesn't match the outside edge. Just follow the bottom edge first for alignment. It will take some patience, but you can get it to look like this.
Cyberman 2013 Thigh 25 by Mal Keller, on Flickr

The last step is the tubes on the sides, I'll get to that shortly. I hope I can hustle myself fast enough to enter the Halloween contest, what do you think? :)
 
cybergirl1.jpg
cybergirl2.jpg
Just wanted to upload a couple of pics of my daughter's costume...my first foam costume, and I think it went fairly well, all things considered. I had to leave out some detail work, like the bars on the arms and legs. Just ran out of time. And the gloves ended up being spray-painted gardening gloves with the design drawn on with a Sharpie. I think I've reached the "Screw it...good enough" stage. Heh, heh.

Anyway, thanks for the great pattern and all the good advice!
 
Back
Top