Capn_Jack_Savvy
Sr Member
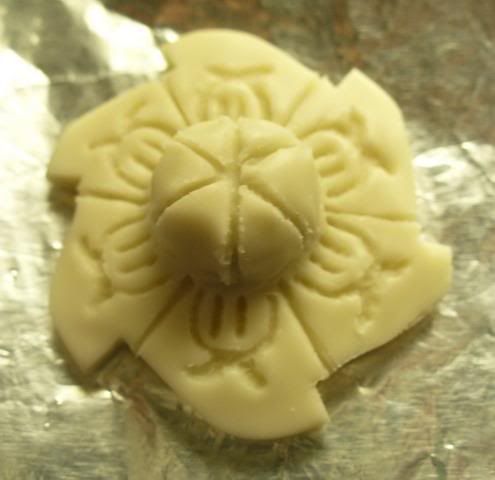
I am trying to cold cast an item that is about the size of a silver dollar coin. It is a charm that is going to be brass color.
My question is what is the best way to get the brass metallic powder to show through the surface of the charm? The surface is going to be very bumpy with a sculpted image so I know using steel wool will only bring out the surface brass on the raised parts.
Is it better to add a thick paste of resin / brass powder to the mold first, let it cure, than add colored resin on the back (like on Smooth On's website video for the large bronze piece they made) or completely mix the brass powder into the resin and pour into the mold?
The second method for me is not working too well for another piece I am cold casting because the metal powder doesn't stay even in the resin when mixed and poured AND just when I think the resin is at the top of the mold it dries over the edge....some sort of expansion going on.
Other techniques I have seen done with Sculpey clay is to put the powder directly into the mold and press the clay into the mold. Can this be done with cold casting too? Sprinkle the metallic powder into your mold to ensure that it is in all the nooks and crannies. Next pour your resin into the mold.
The other strange thing is that the metallic brass powder makes the piece come out pukie green rather than true brass color.
Sorry so long and so many questions but I am a "cold casting noob!" But getting really good at mold creations!!!:love


