Thanks for offering these, Seneca! Excited to receive mine. Your post got me motivated to spend this morning digging into my mystery box setup.
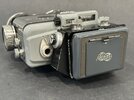
I was lucky enough to snag one of the female pieces from Cantina_Dude's haul ... thanks to you for pulling that together, Dude! I forgot to snap a photo of the pieces before I painted them, but here is one of CD's, pre-paint:
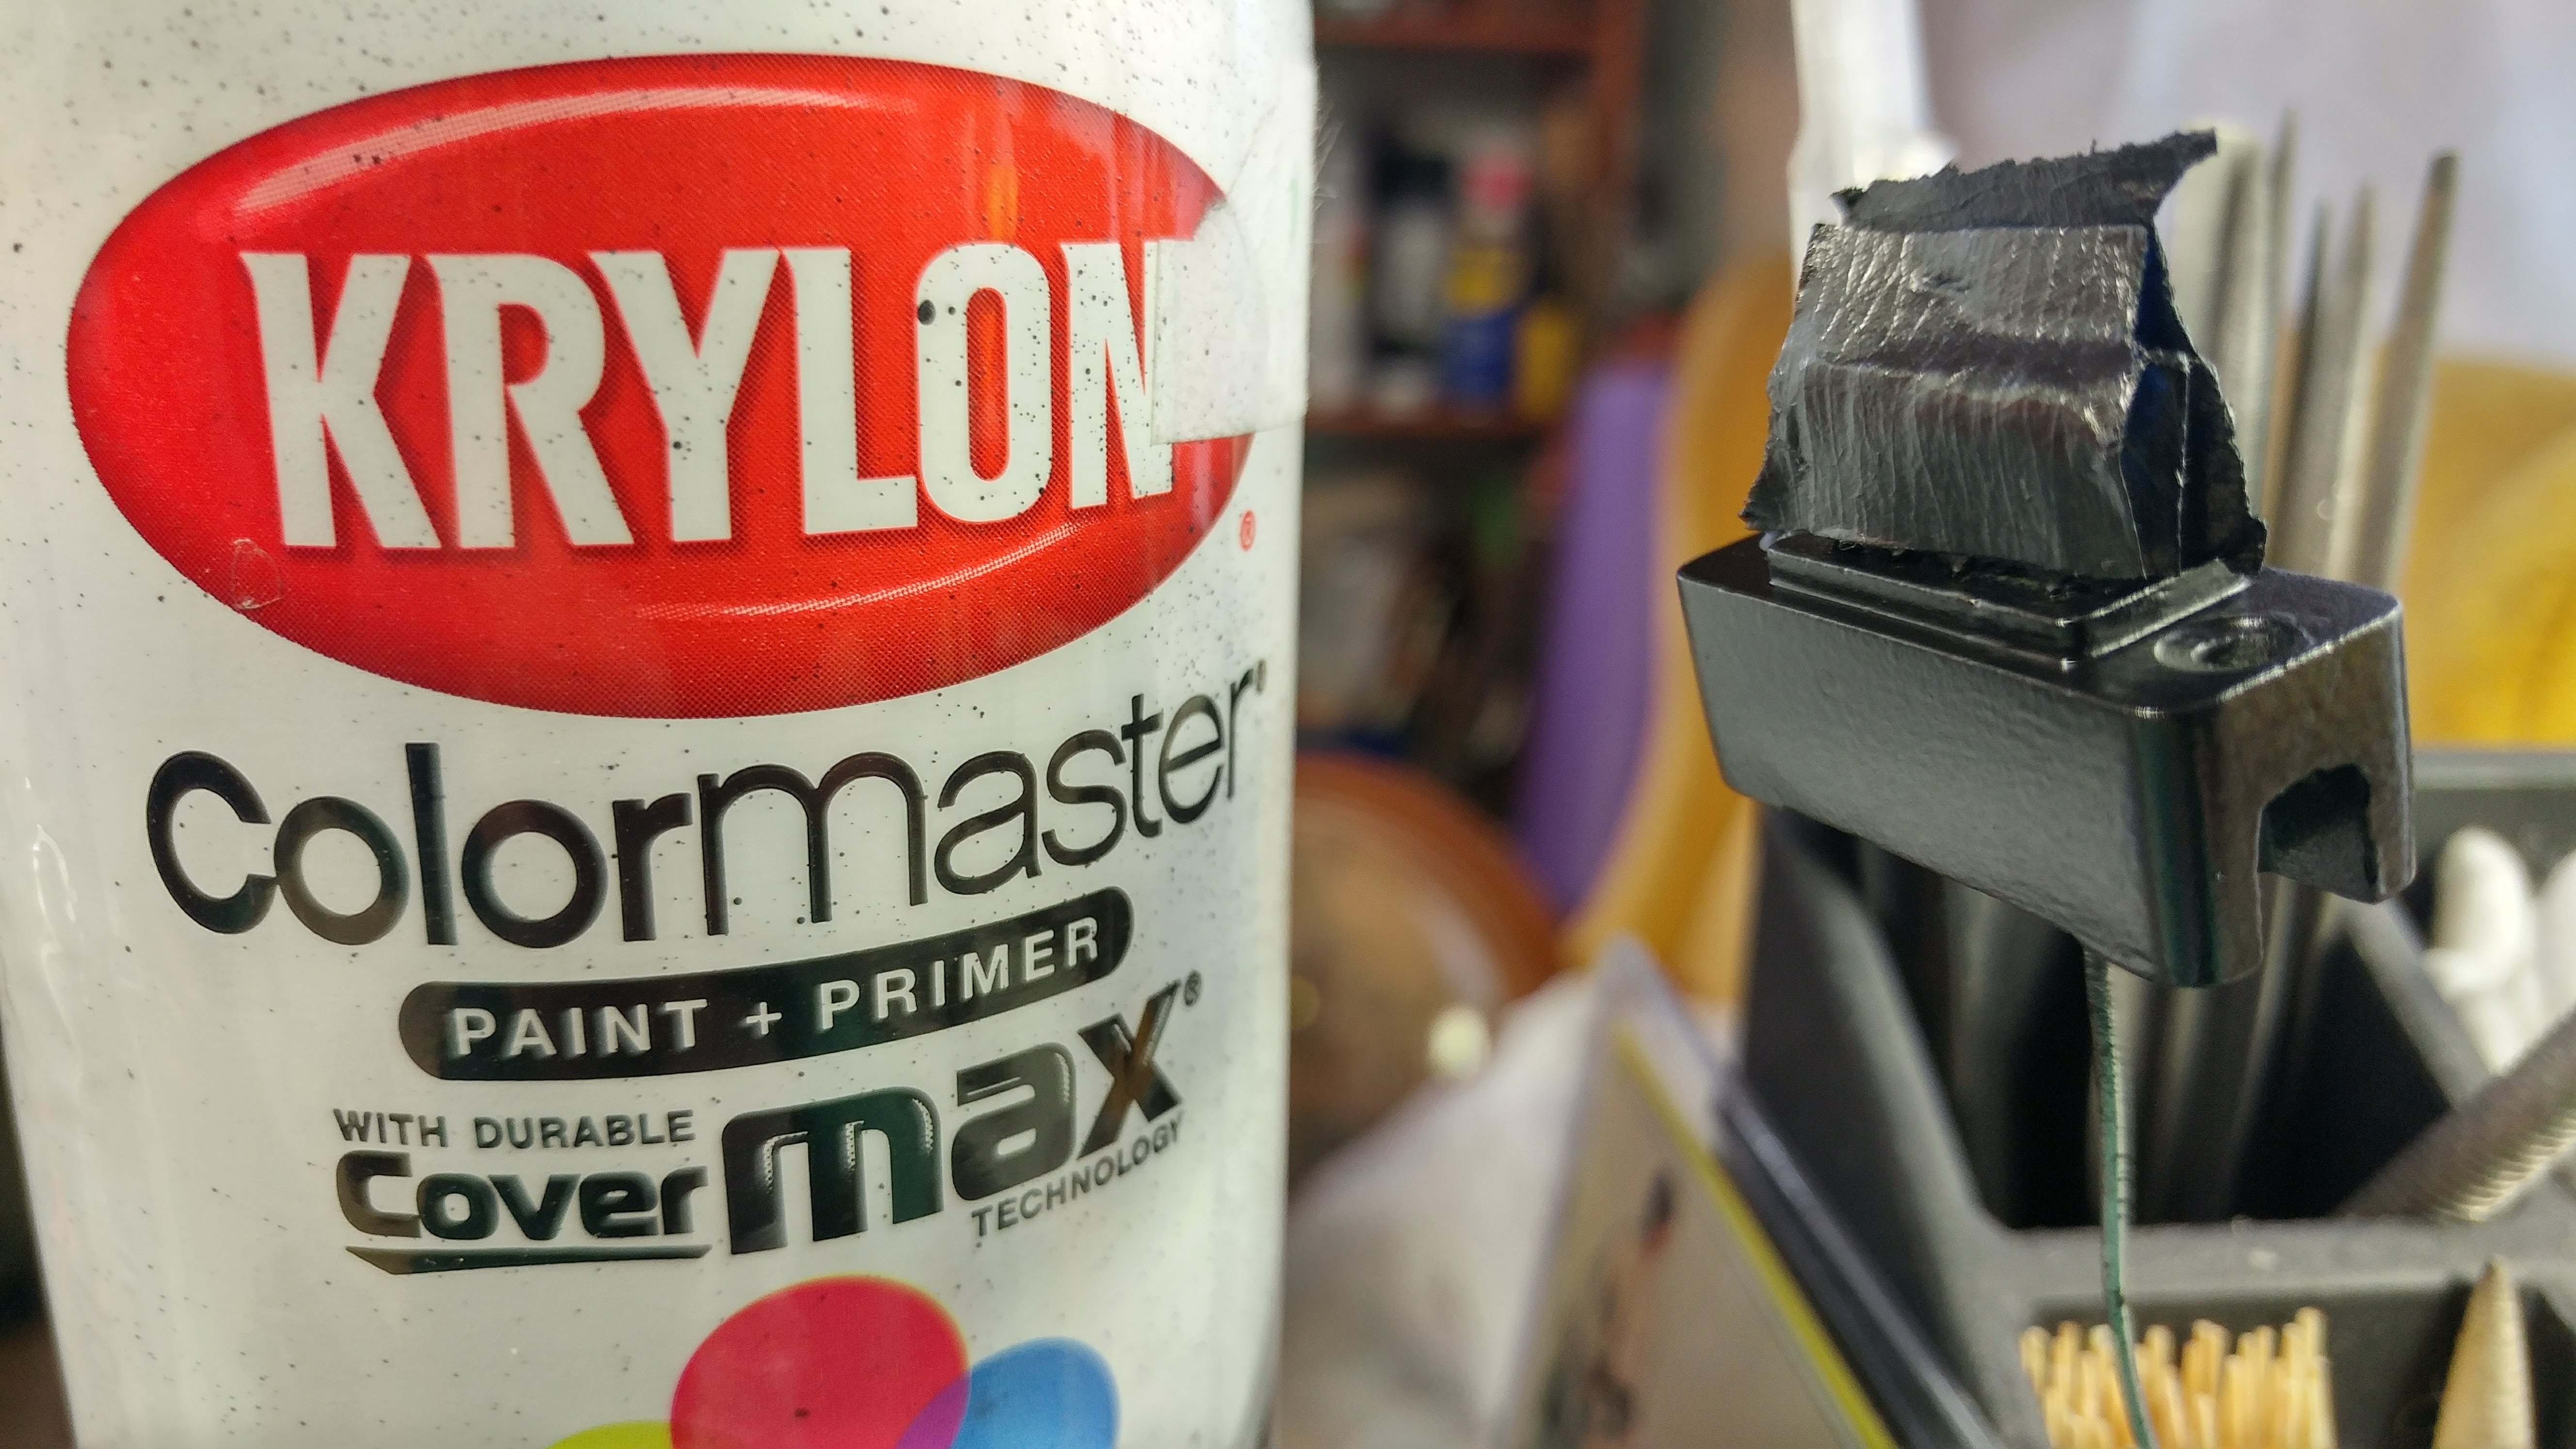
After some satin black:
As far as the Mystery Box M
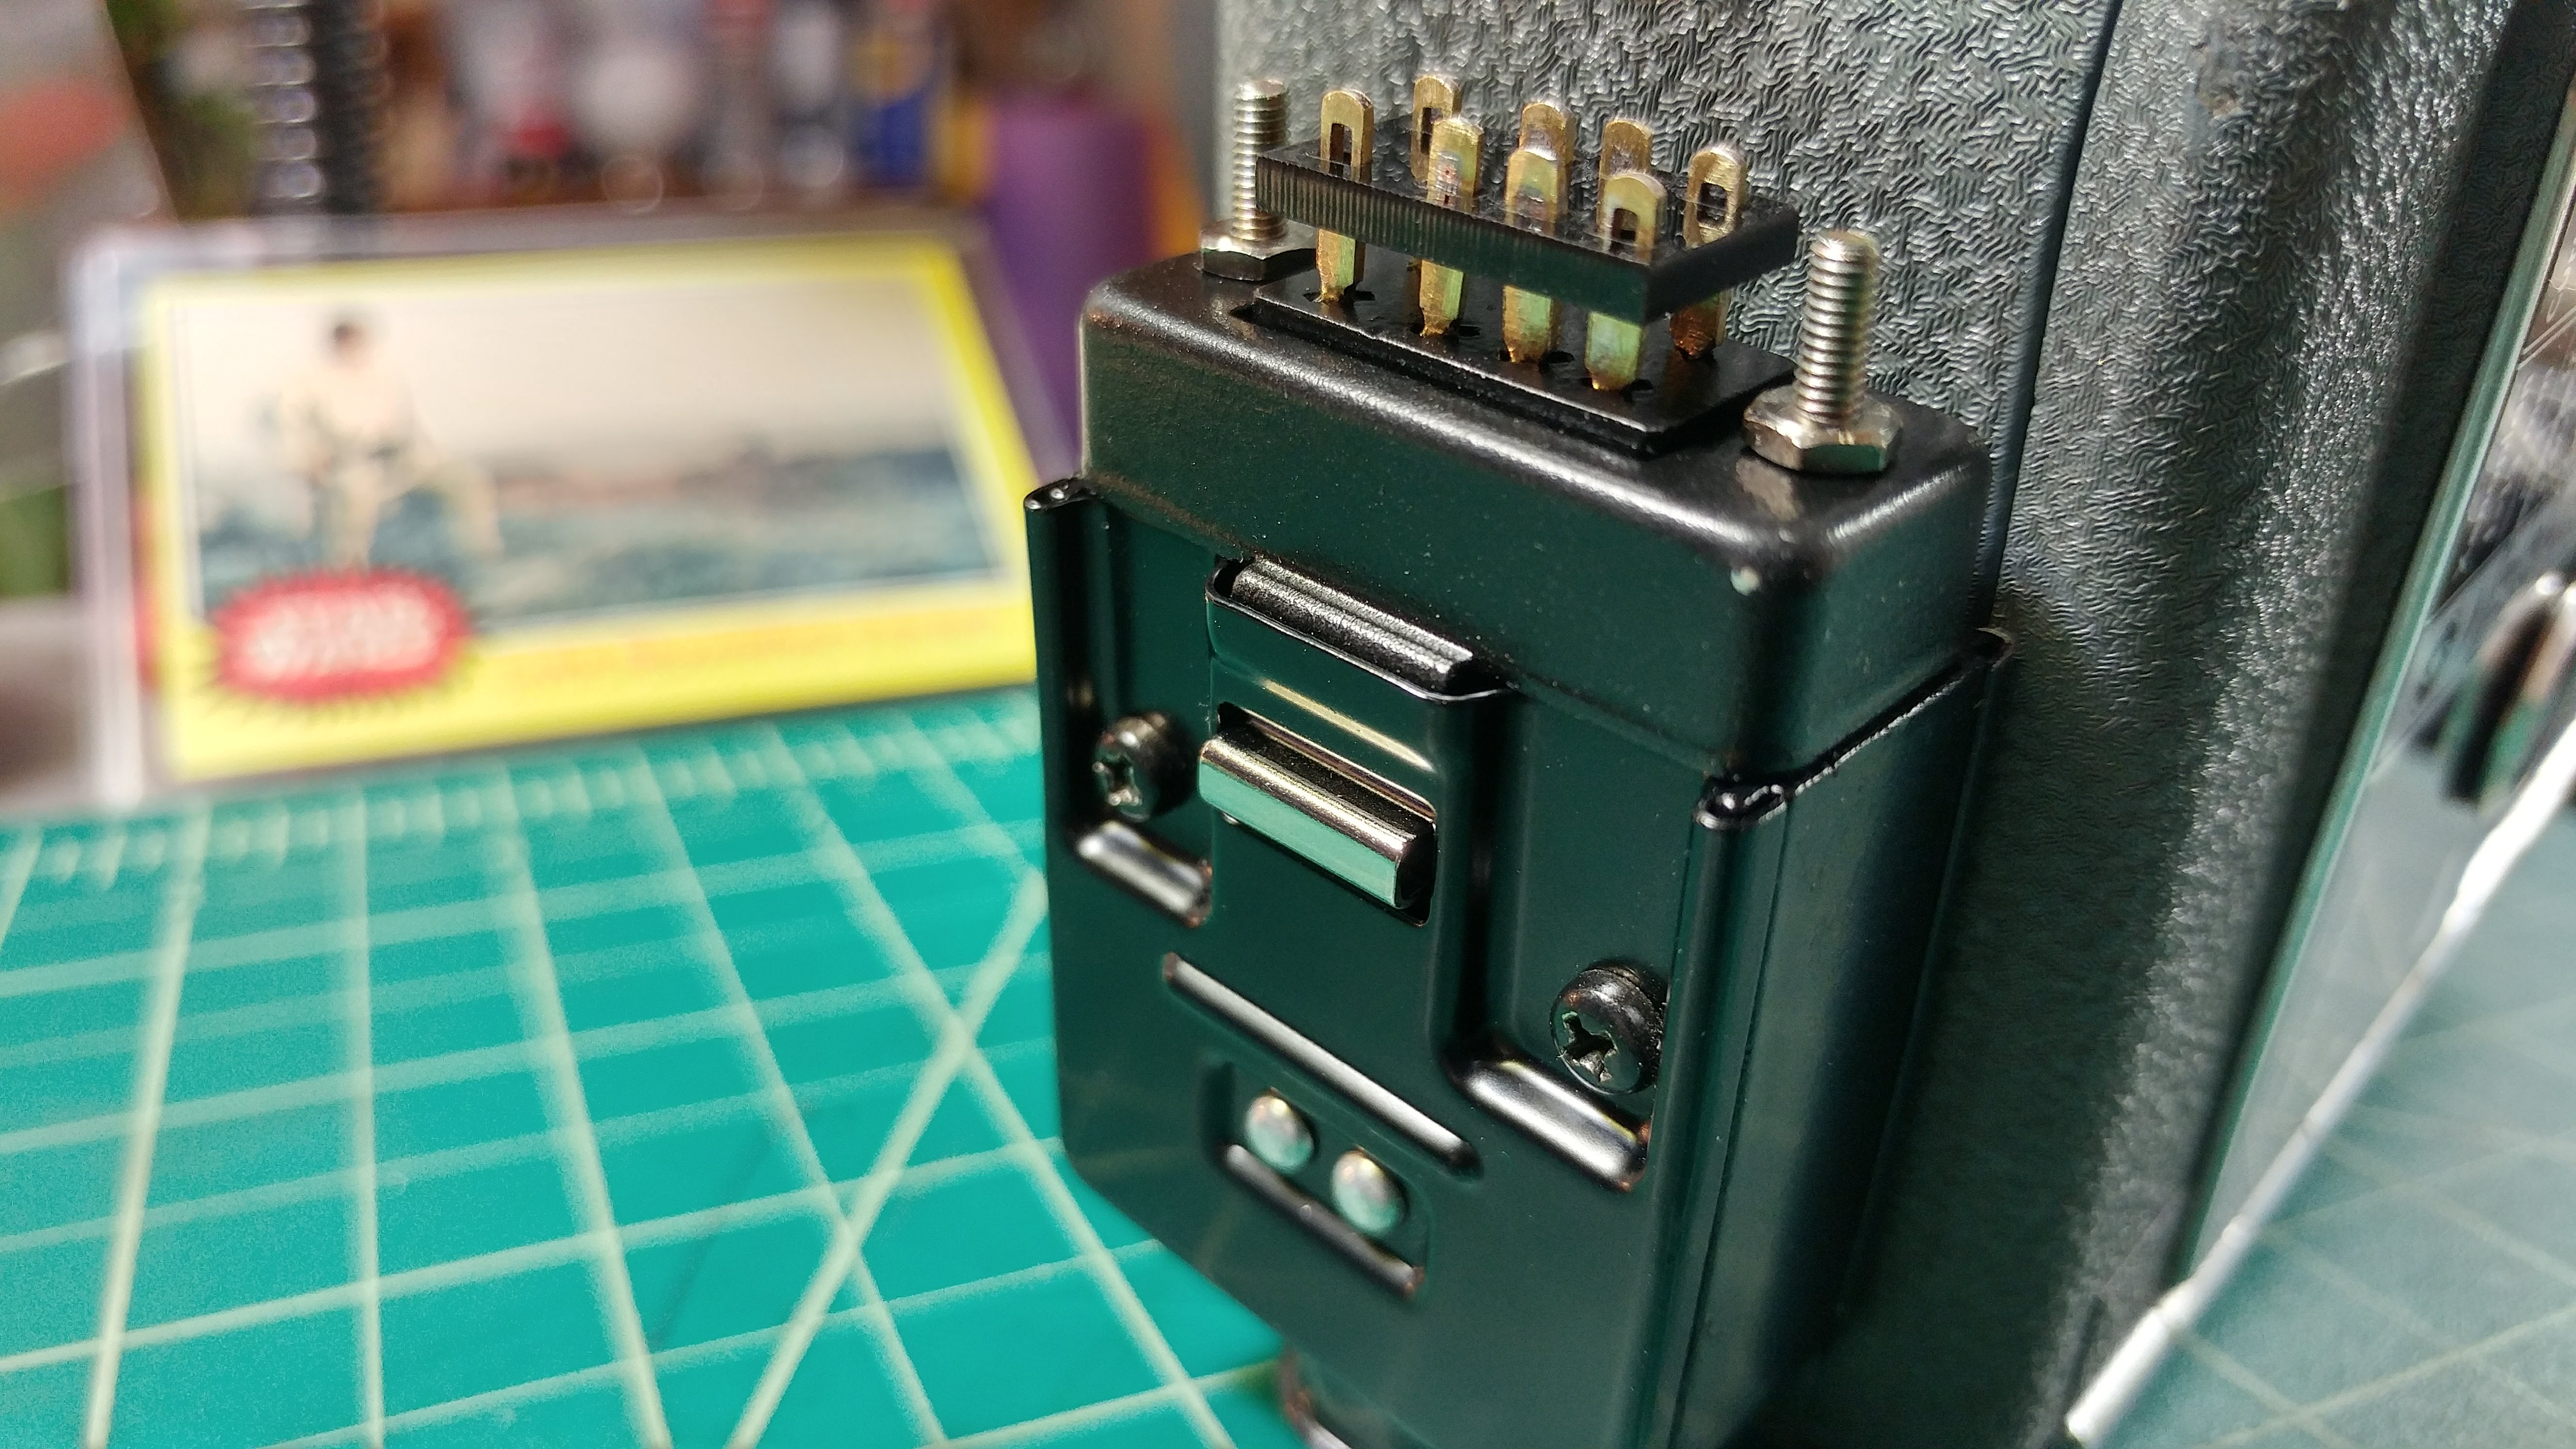
ale part goes, I've been seeing that most folks are opting to remove one of the face plates in order to mount the box flush to the Eumig body (with the added benefit of saving a plate) but I think I'm going to take a different approach, if it works out. When mounted to the Eumig with just one plate, the mystery box doesn't seem quite complete to me. Part of the "frame" of the box seems to be missing, when viewed from a top or bottom angle. Because of this, I'm opting to modify the rear plate to sit flush on the Eumig. I'm in the camp that believes the long tab faceplate to be more accurate than the narrow tab faceplate. I have a wide-tab, and multiple narrow-tabs, so what I opted to do was this:
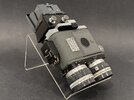
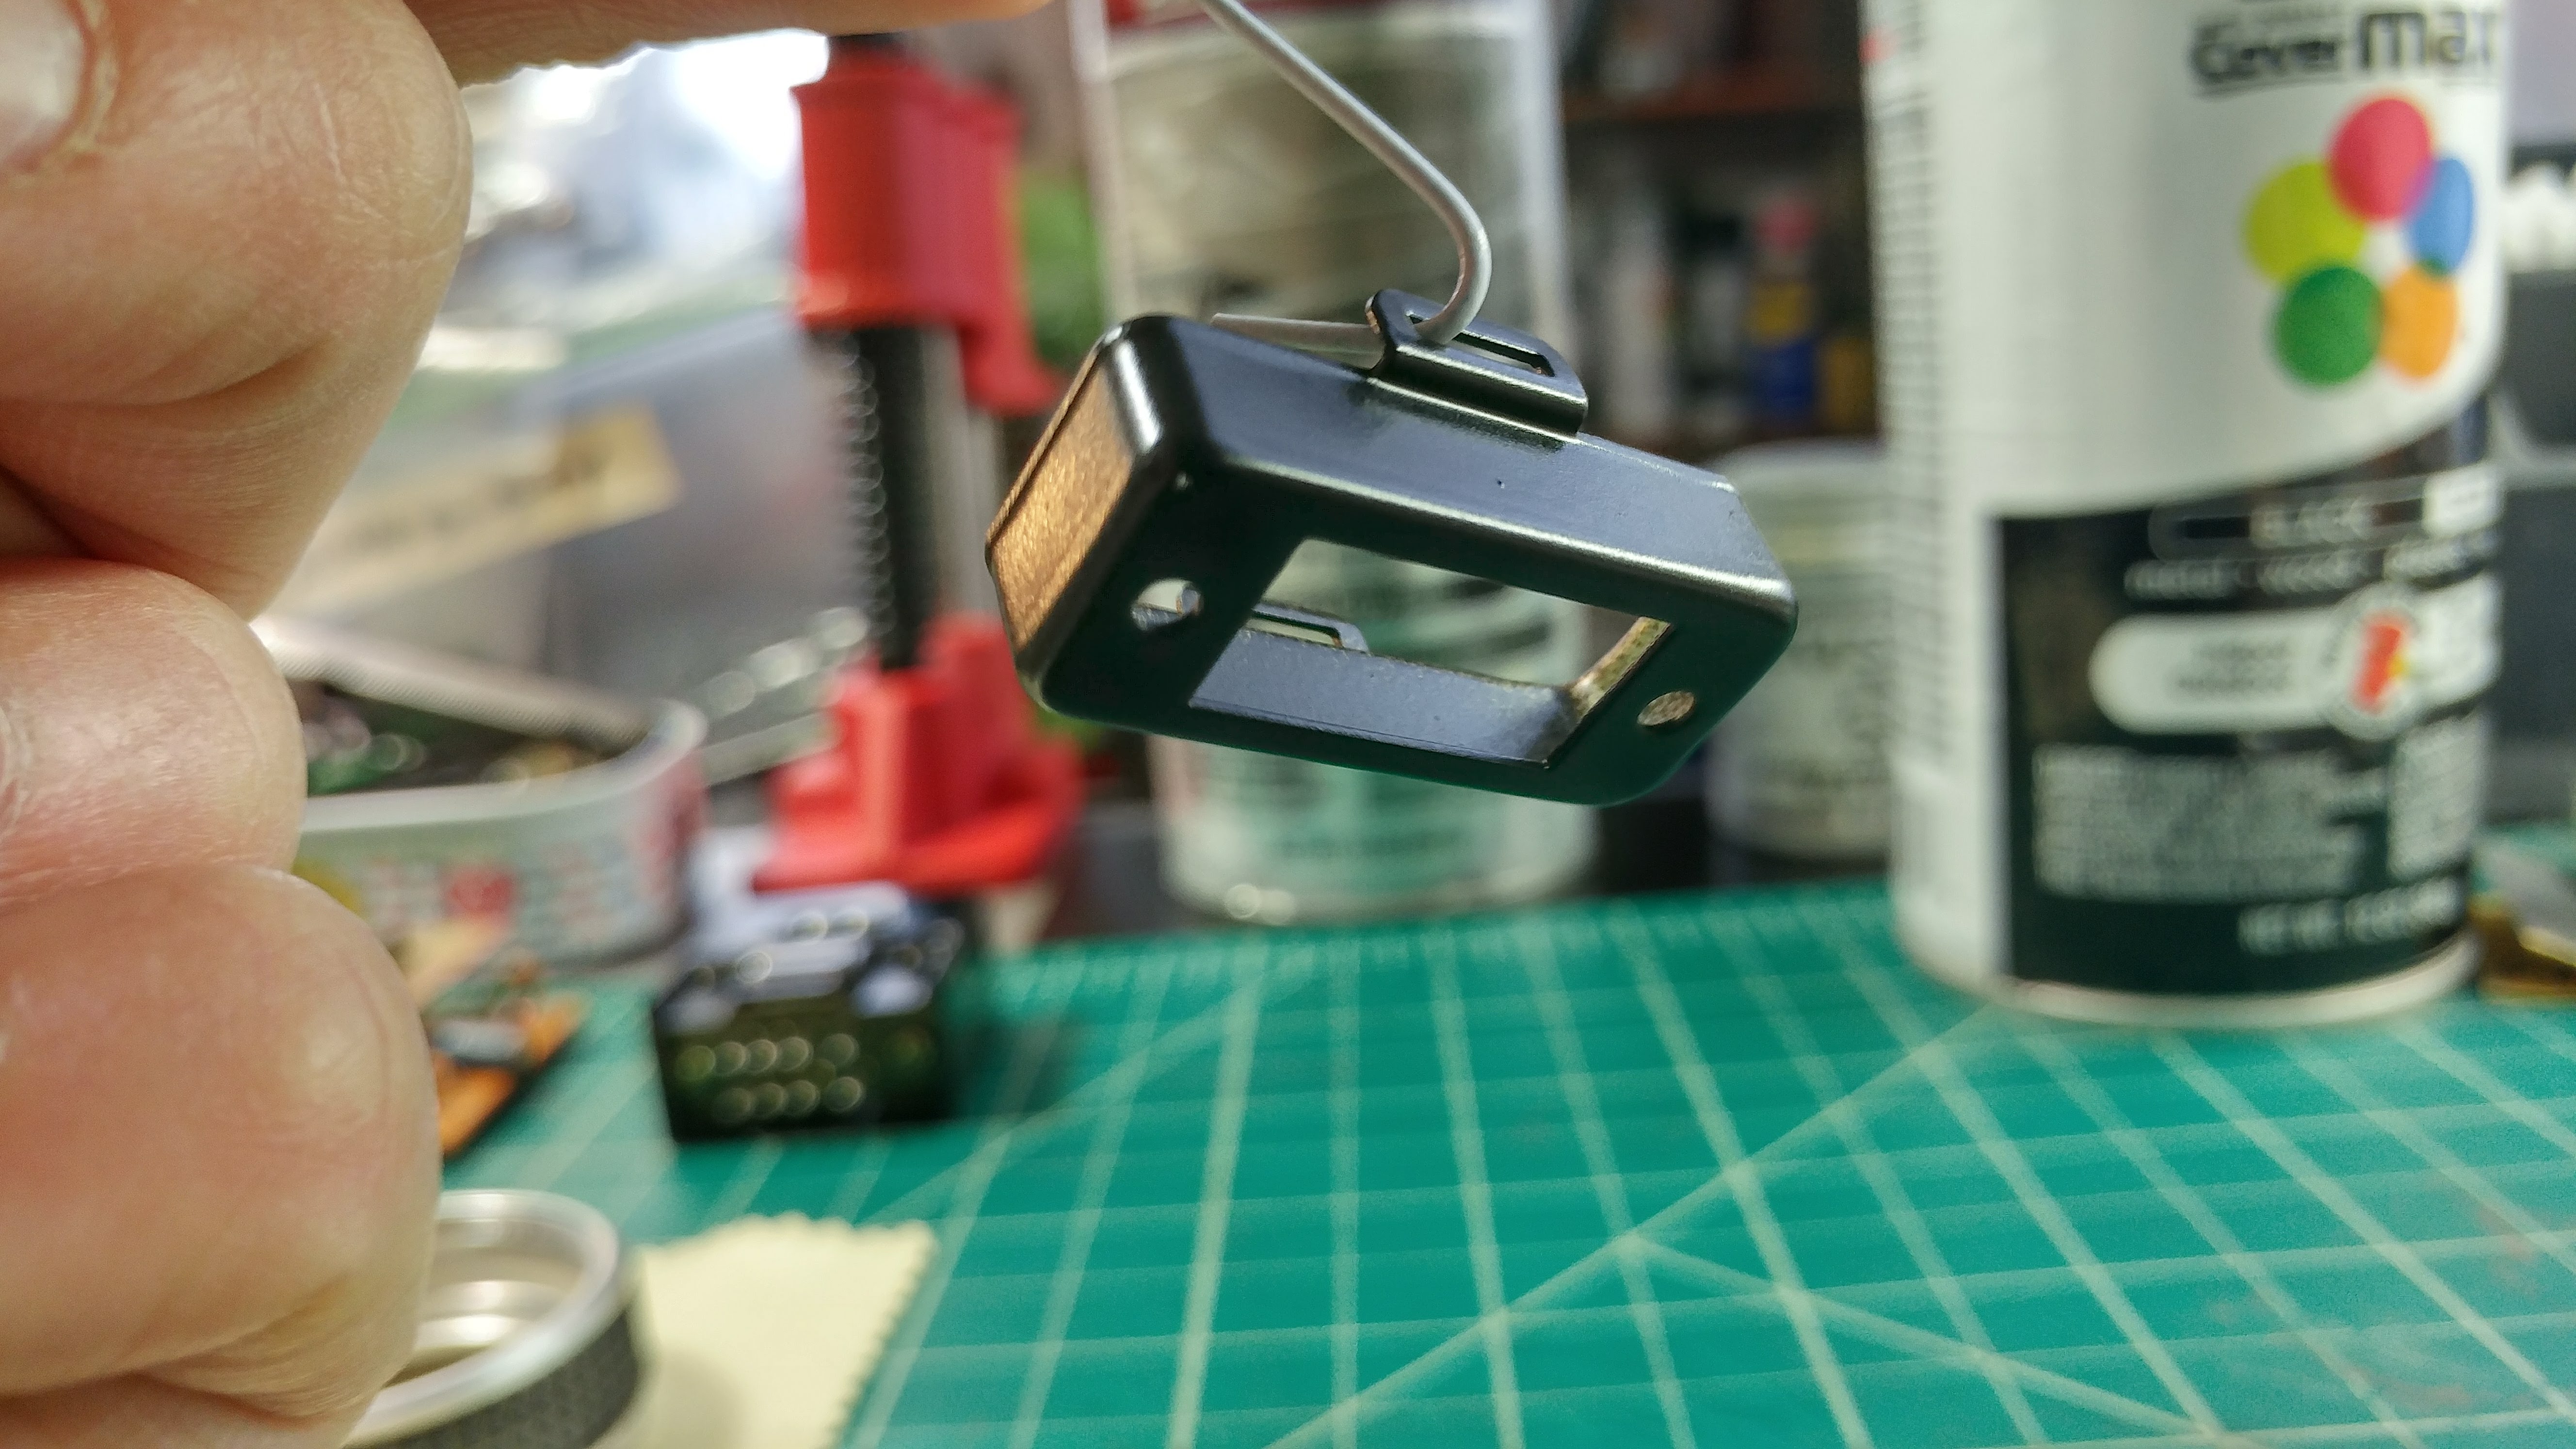
Front of Mystery Box with wide tab faceplate, and screws painted satin black:
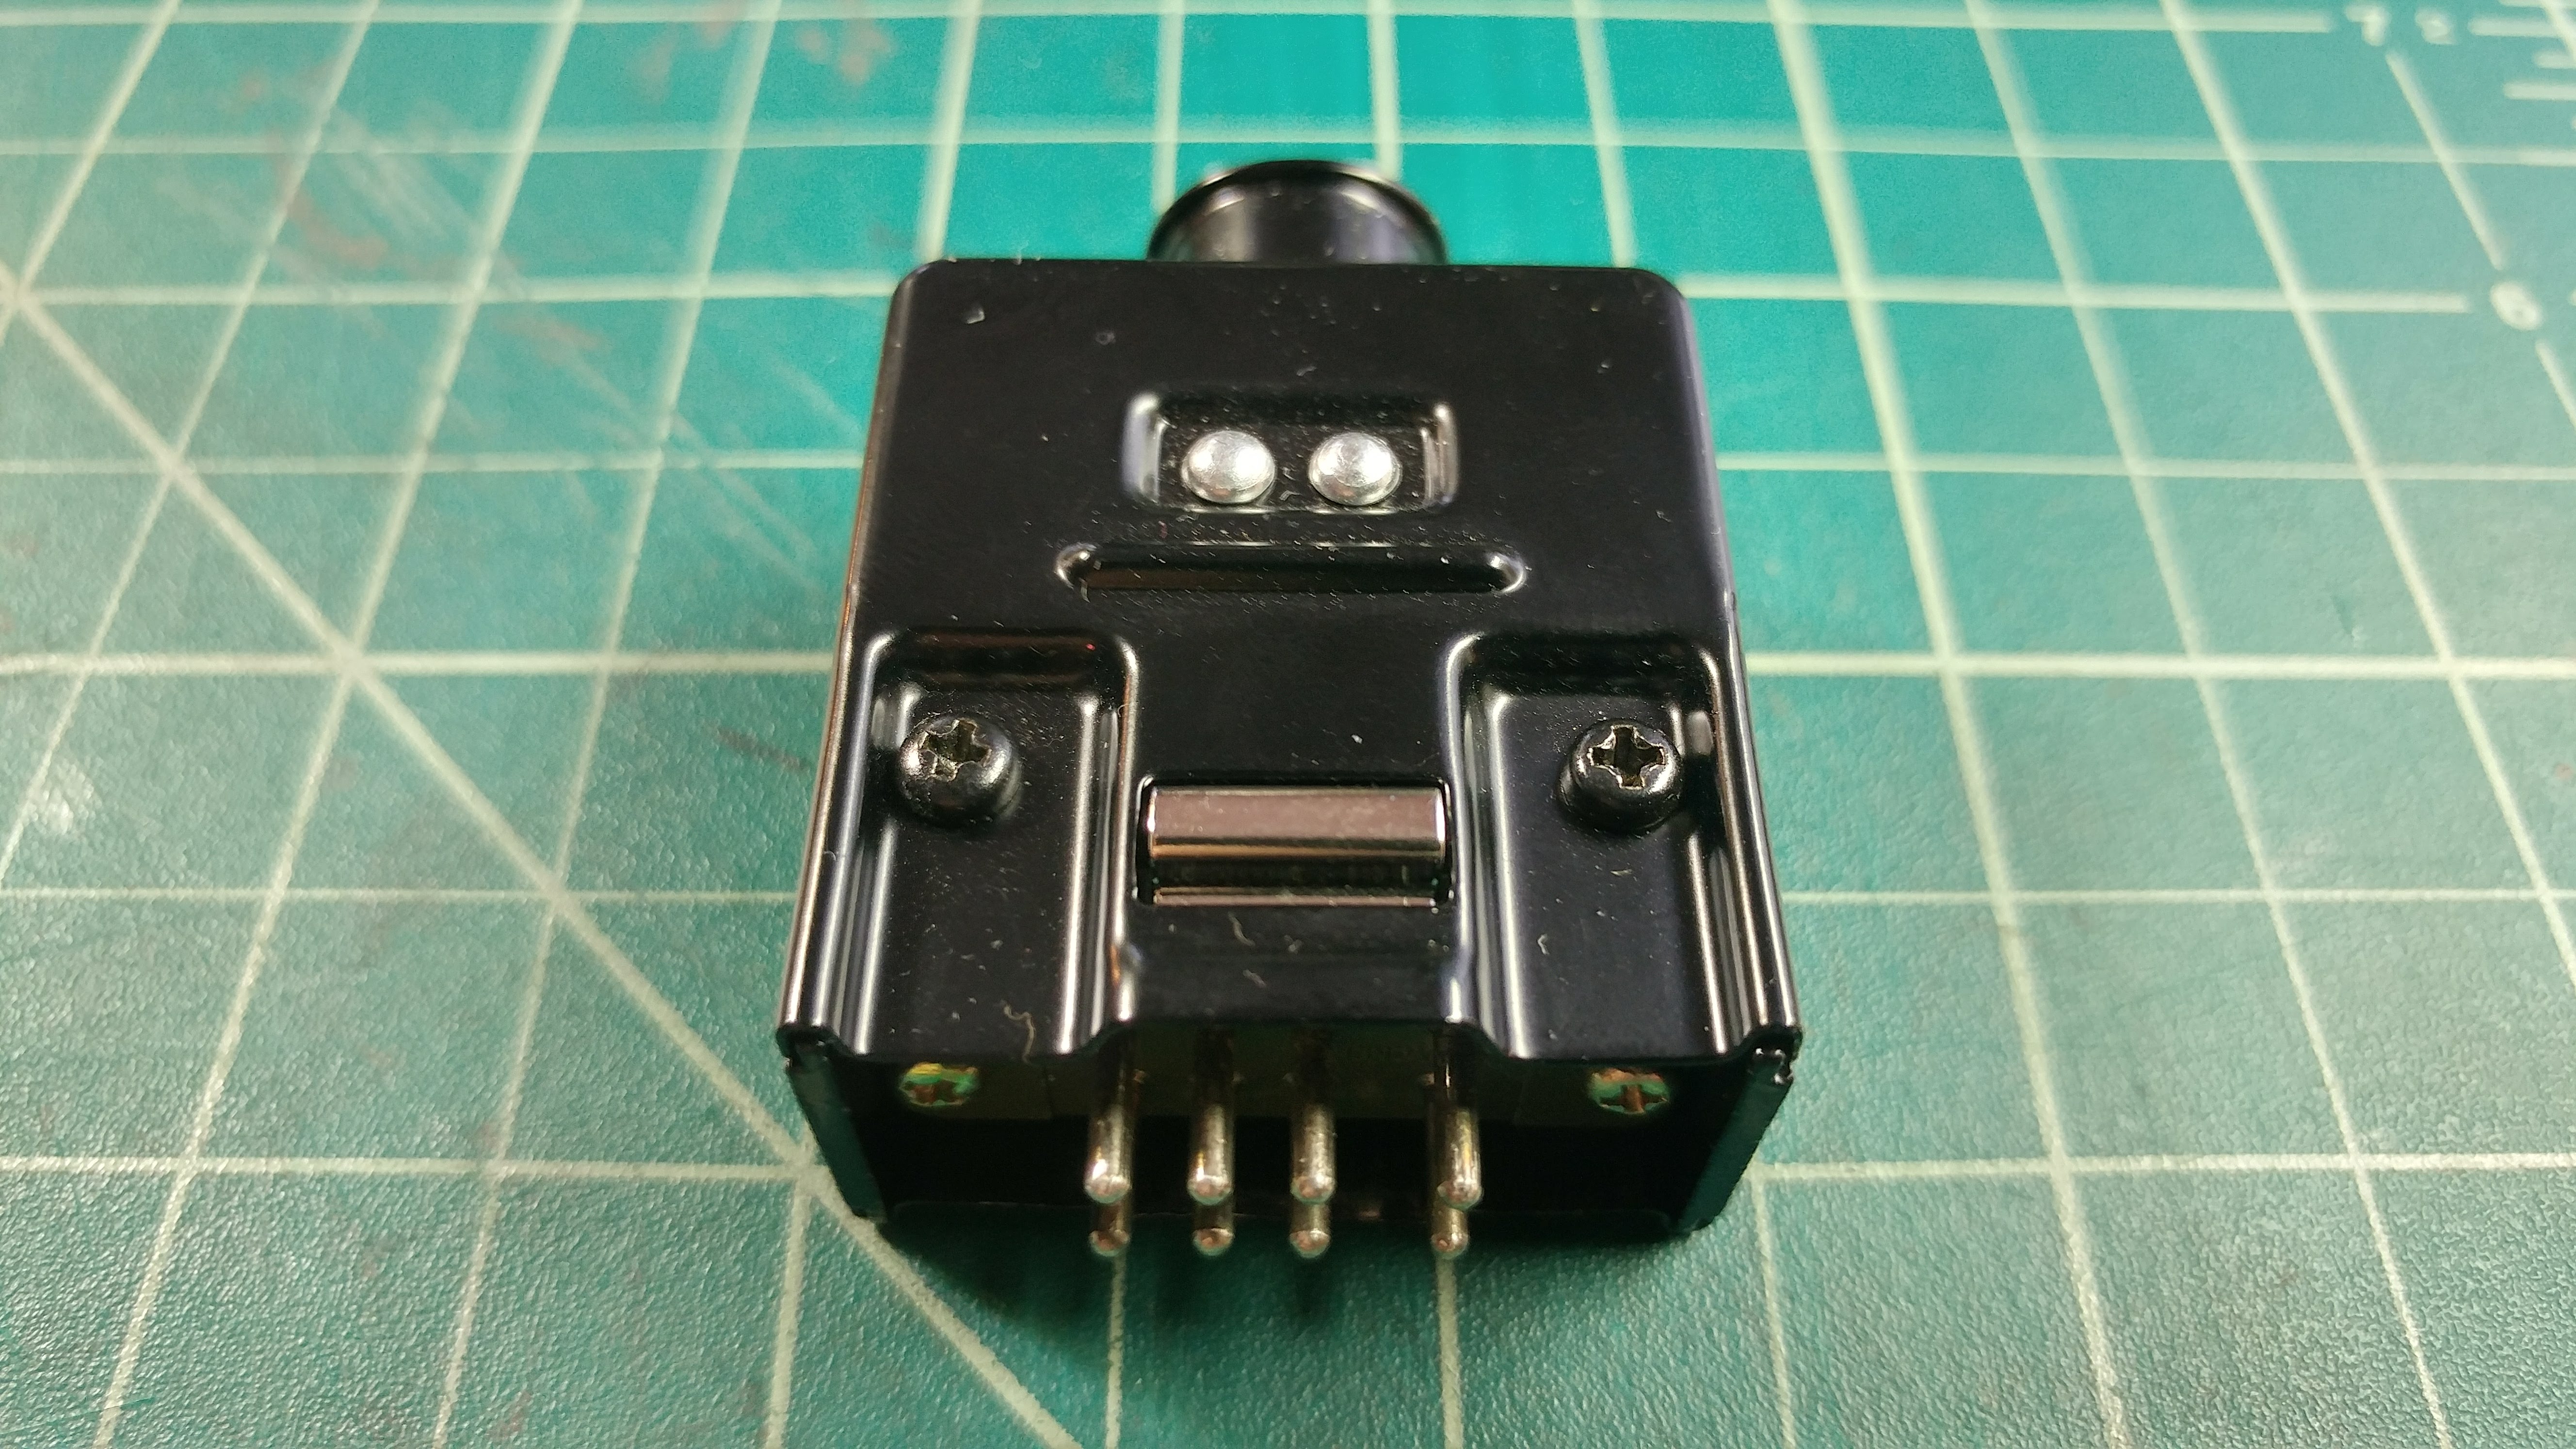
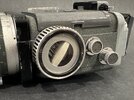
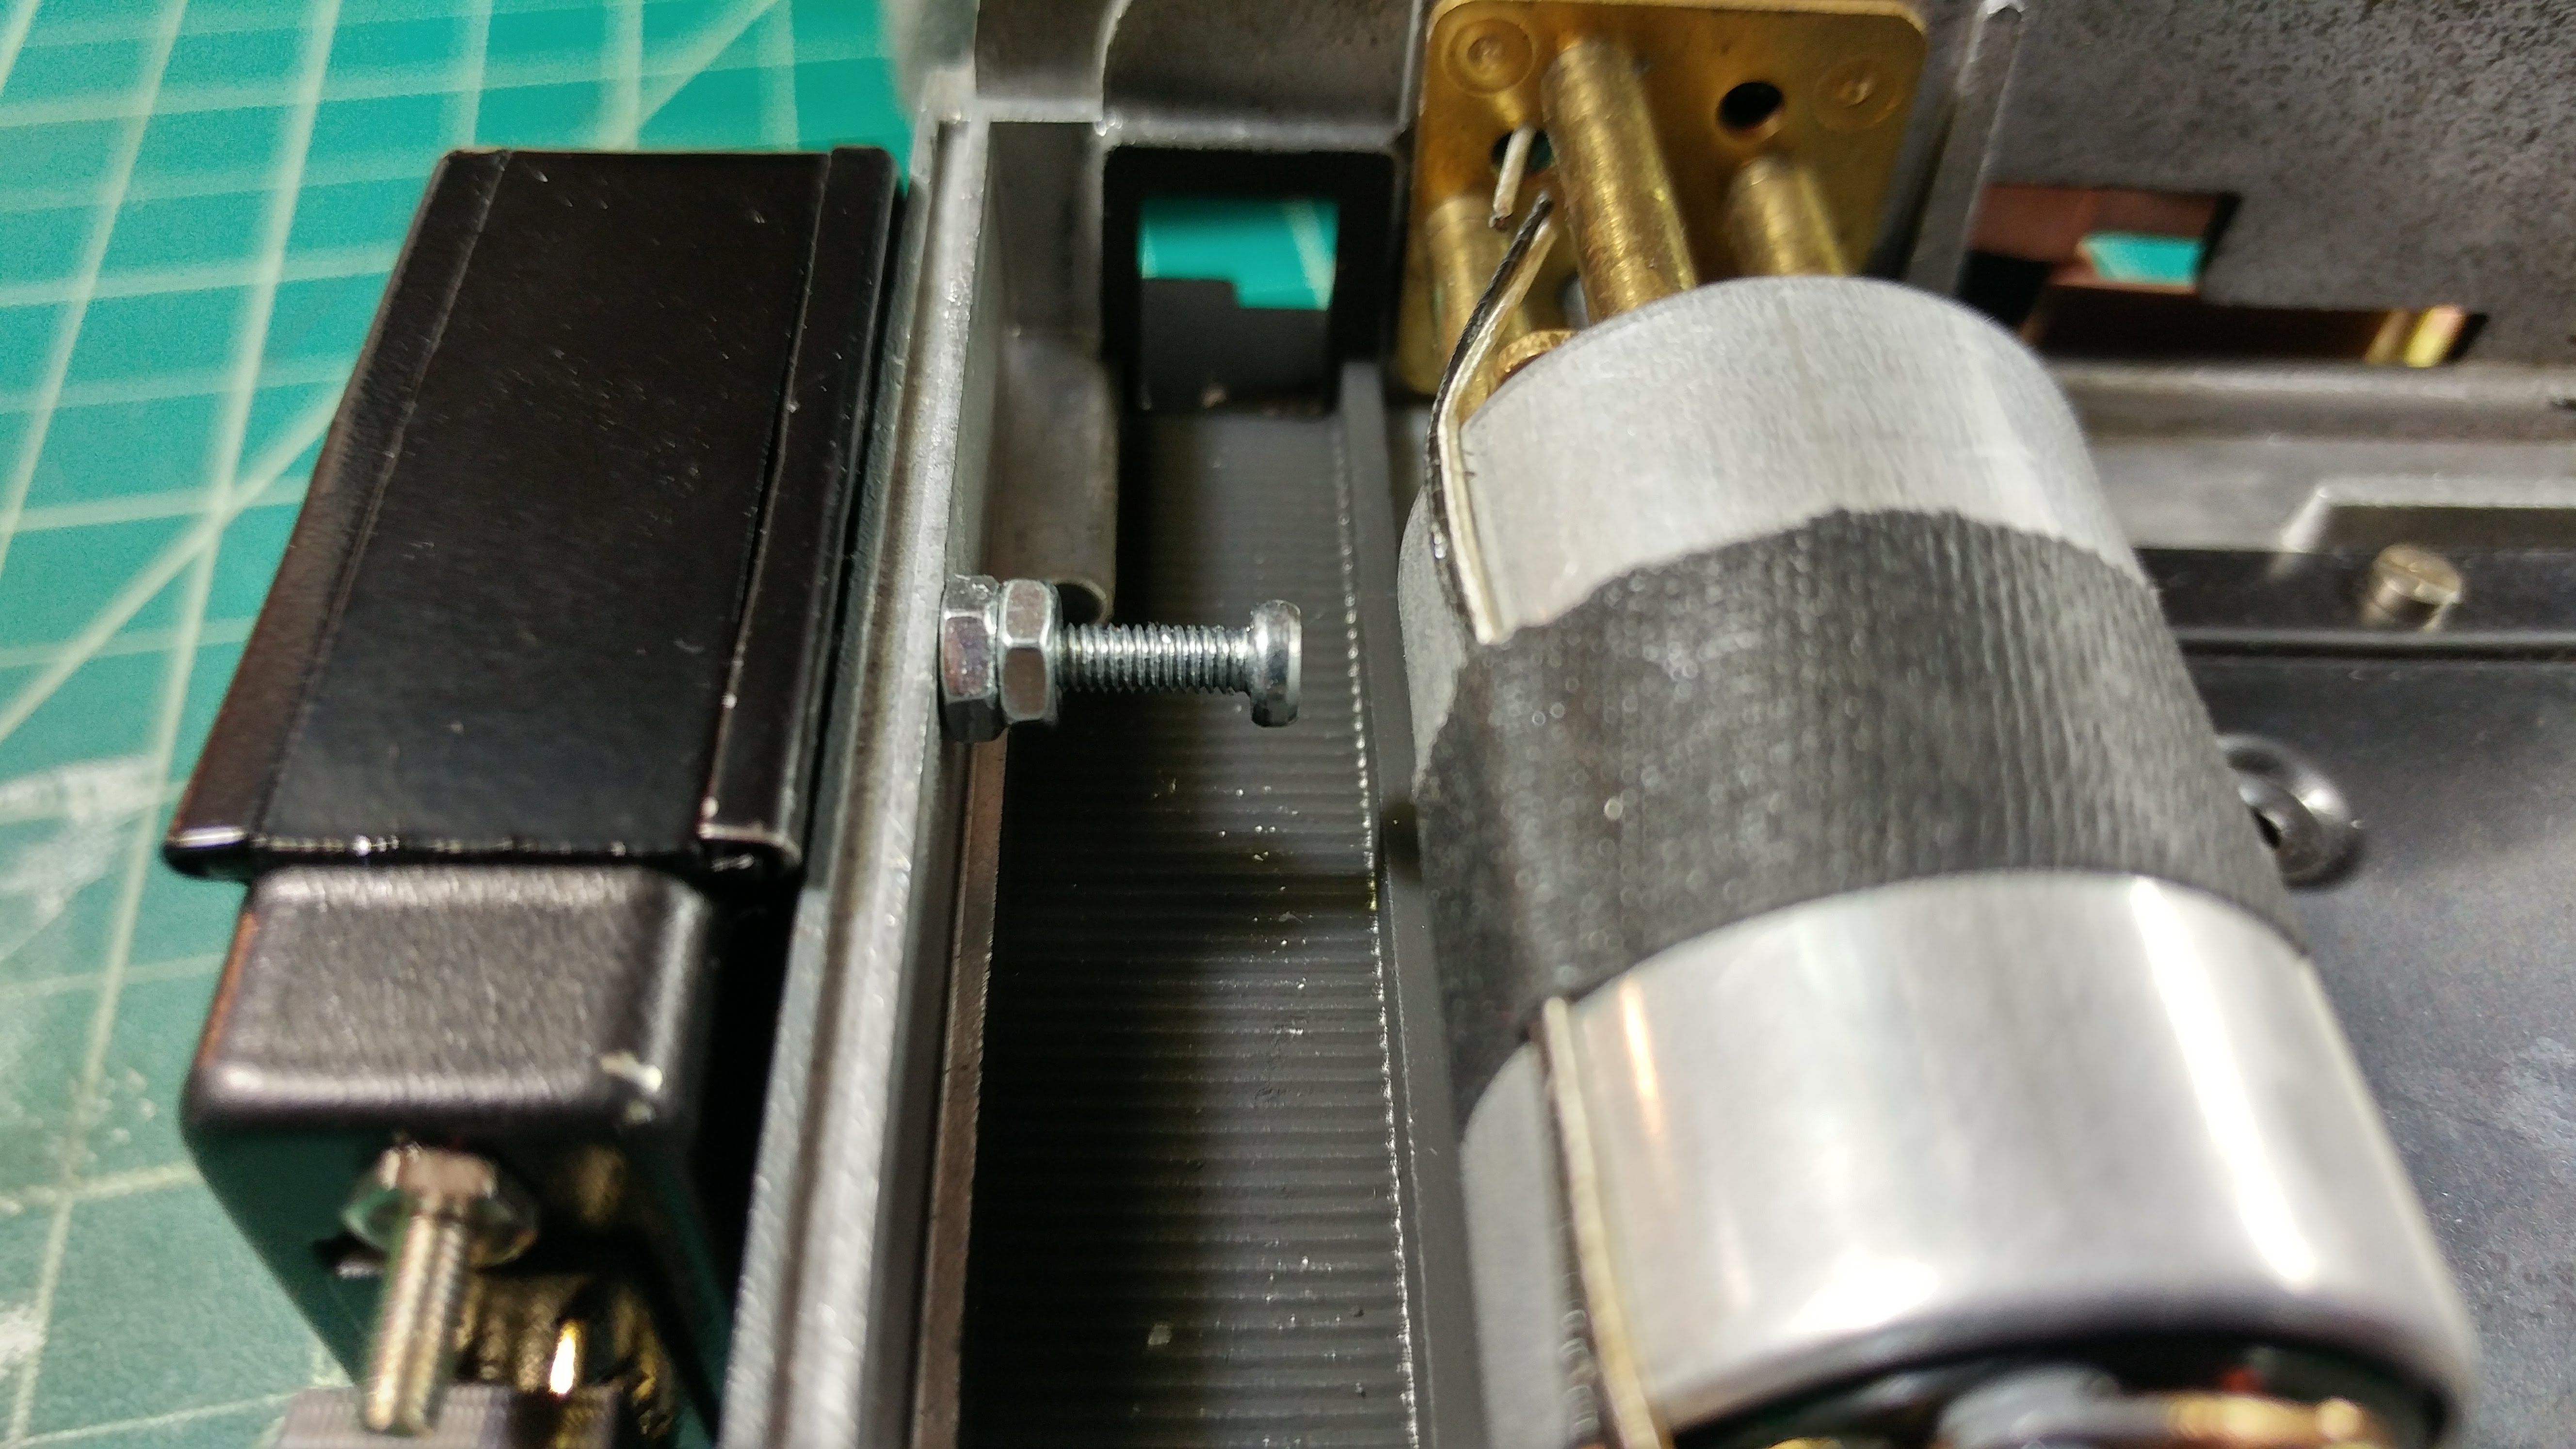
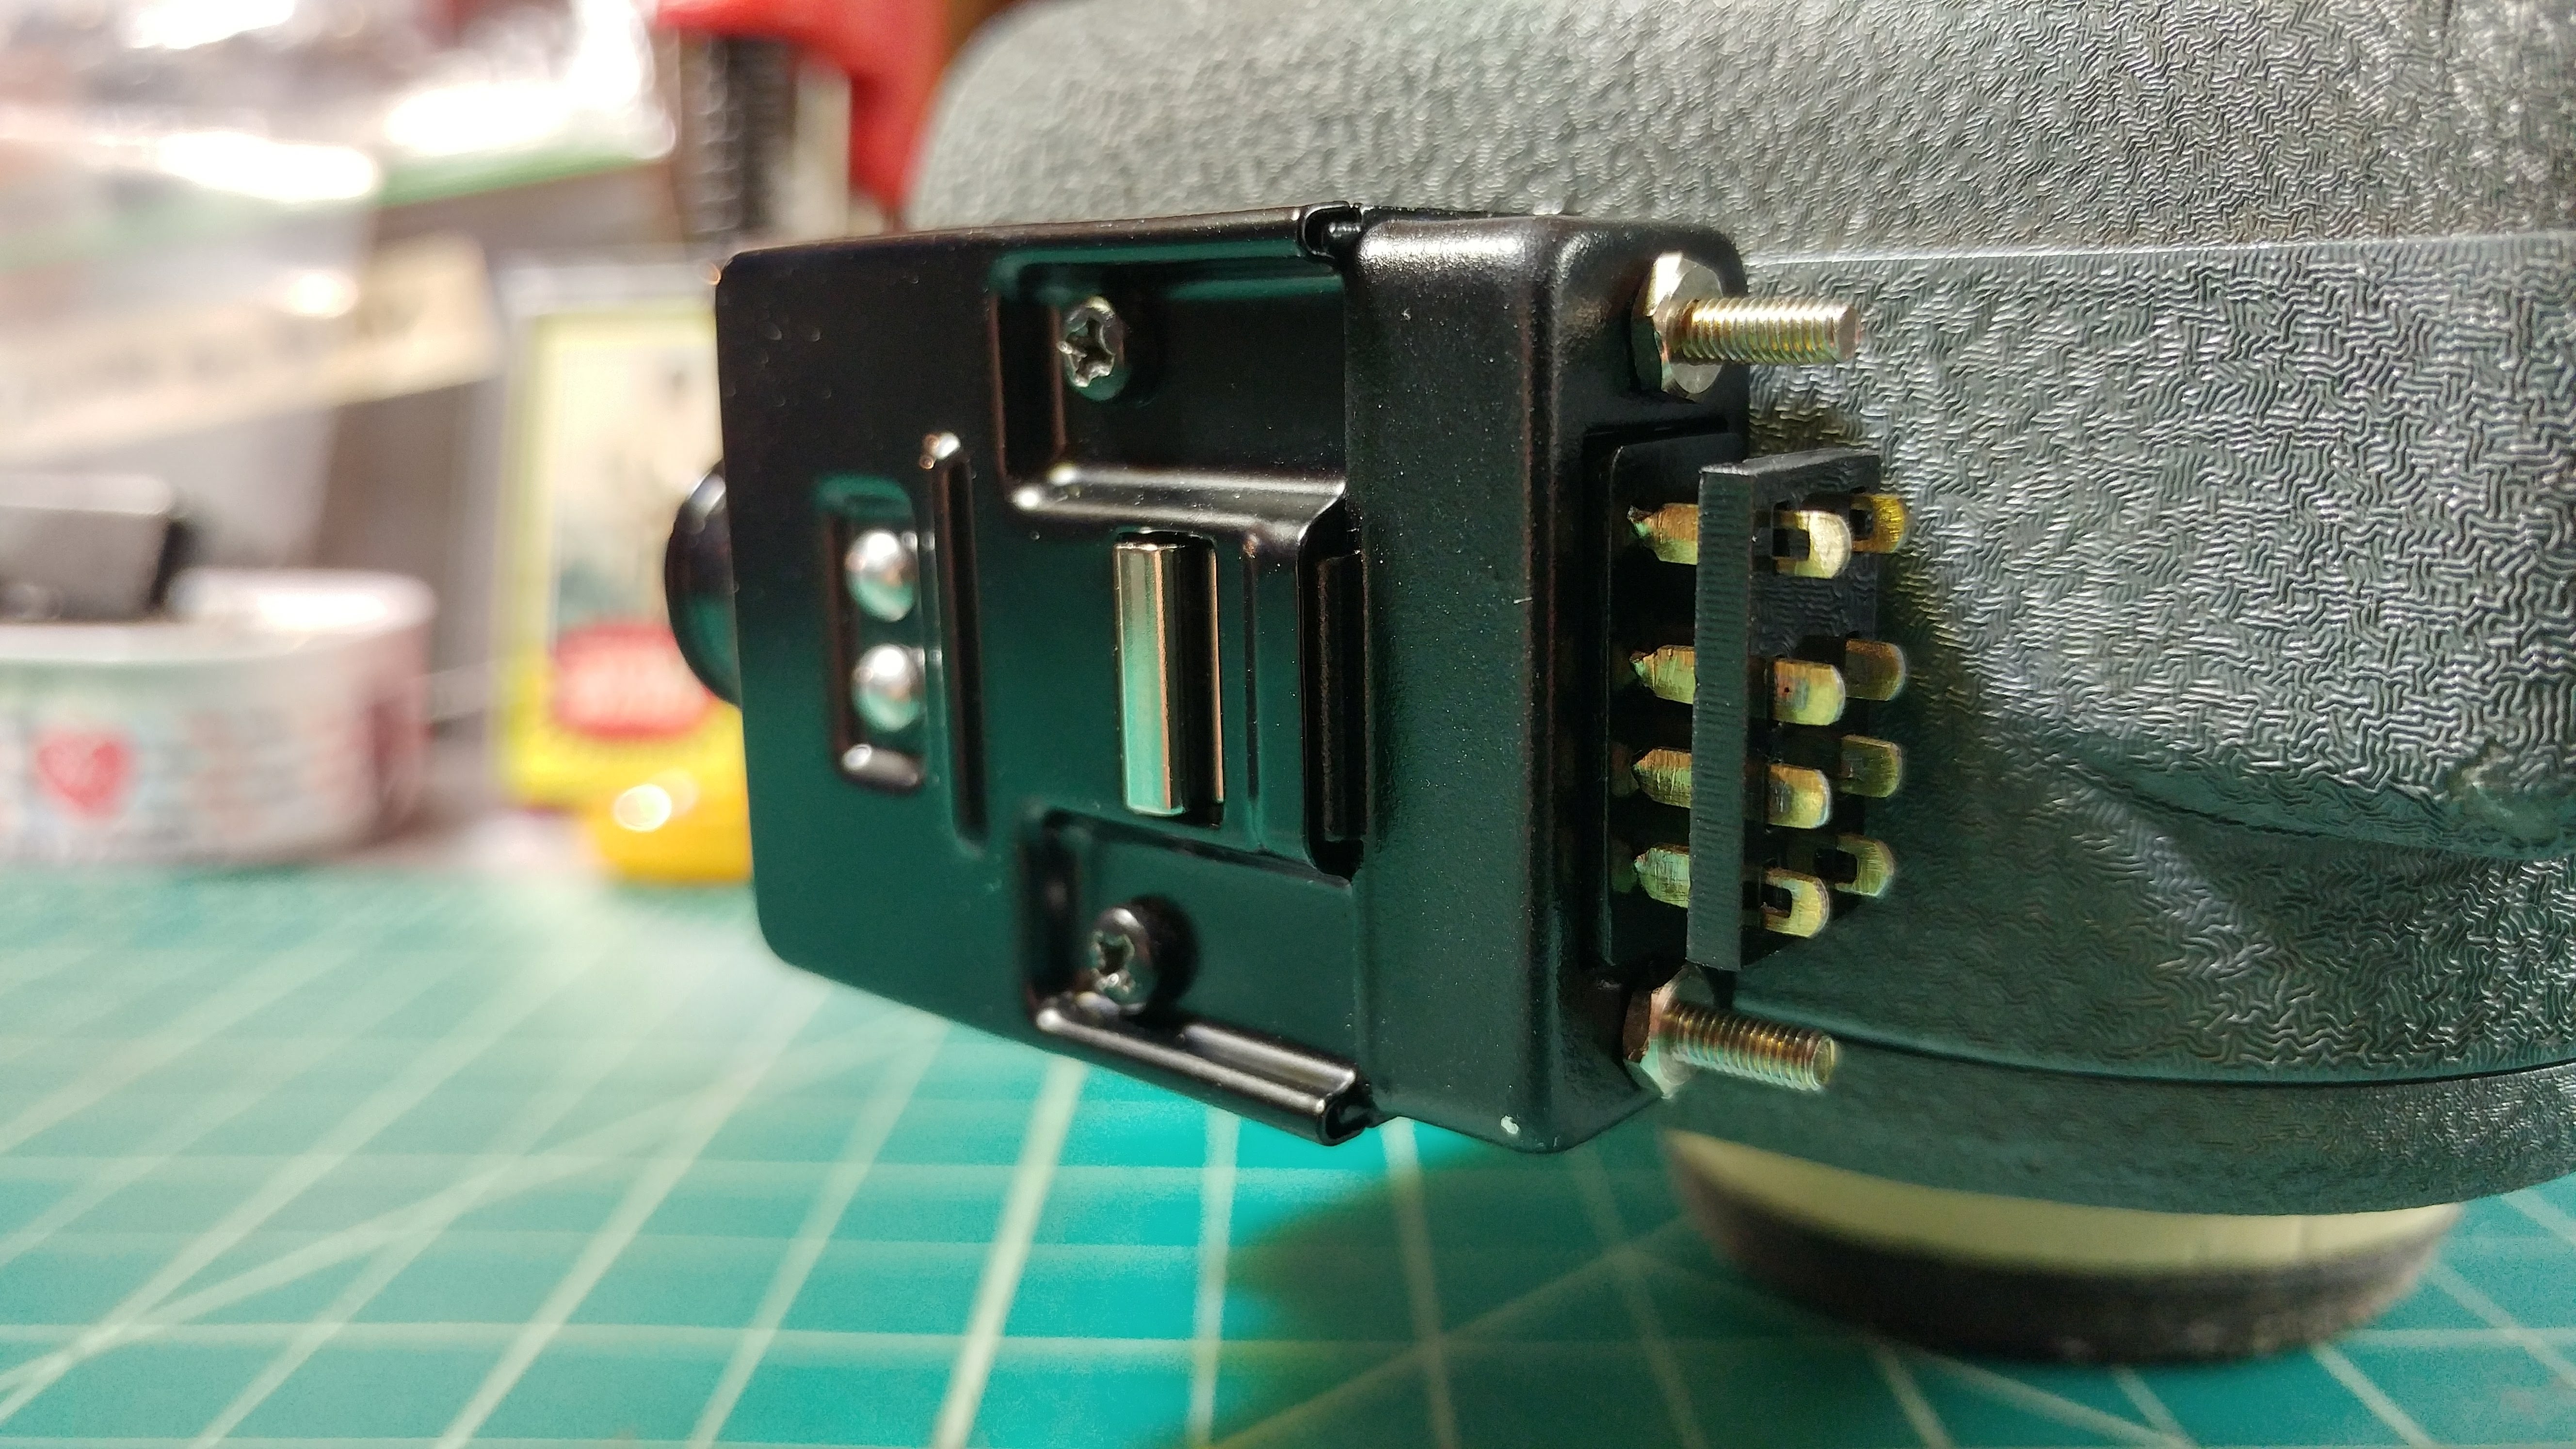
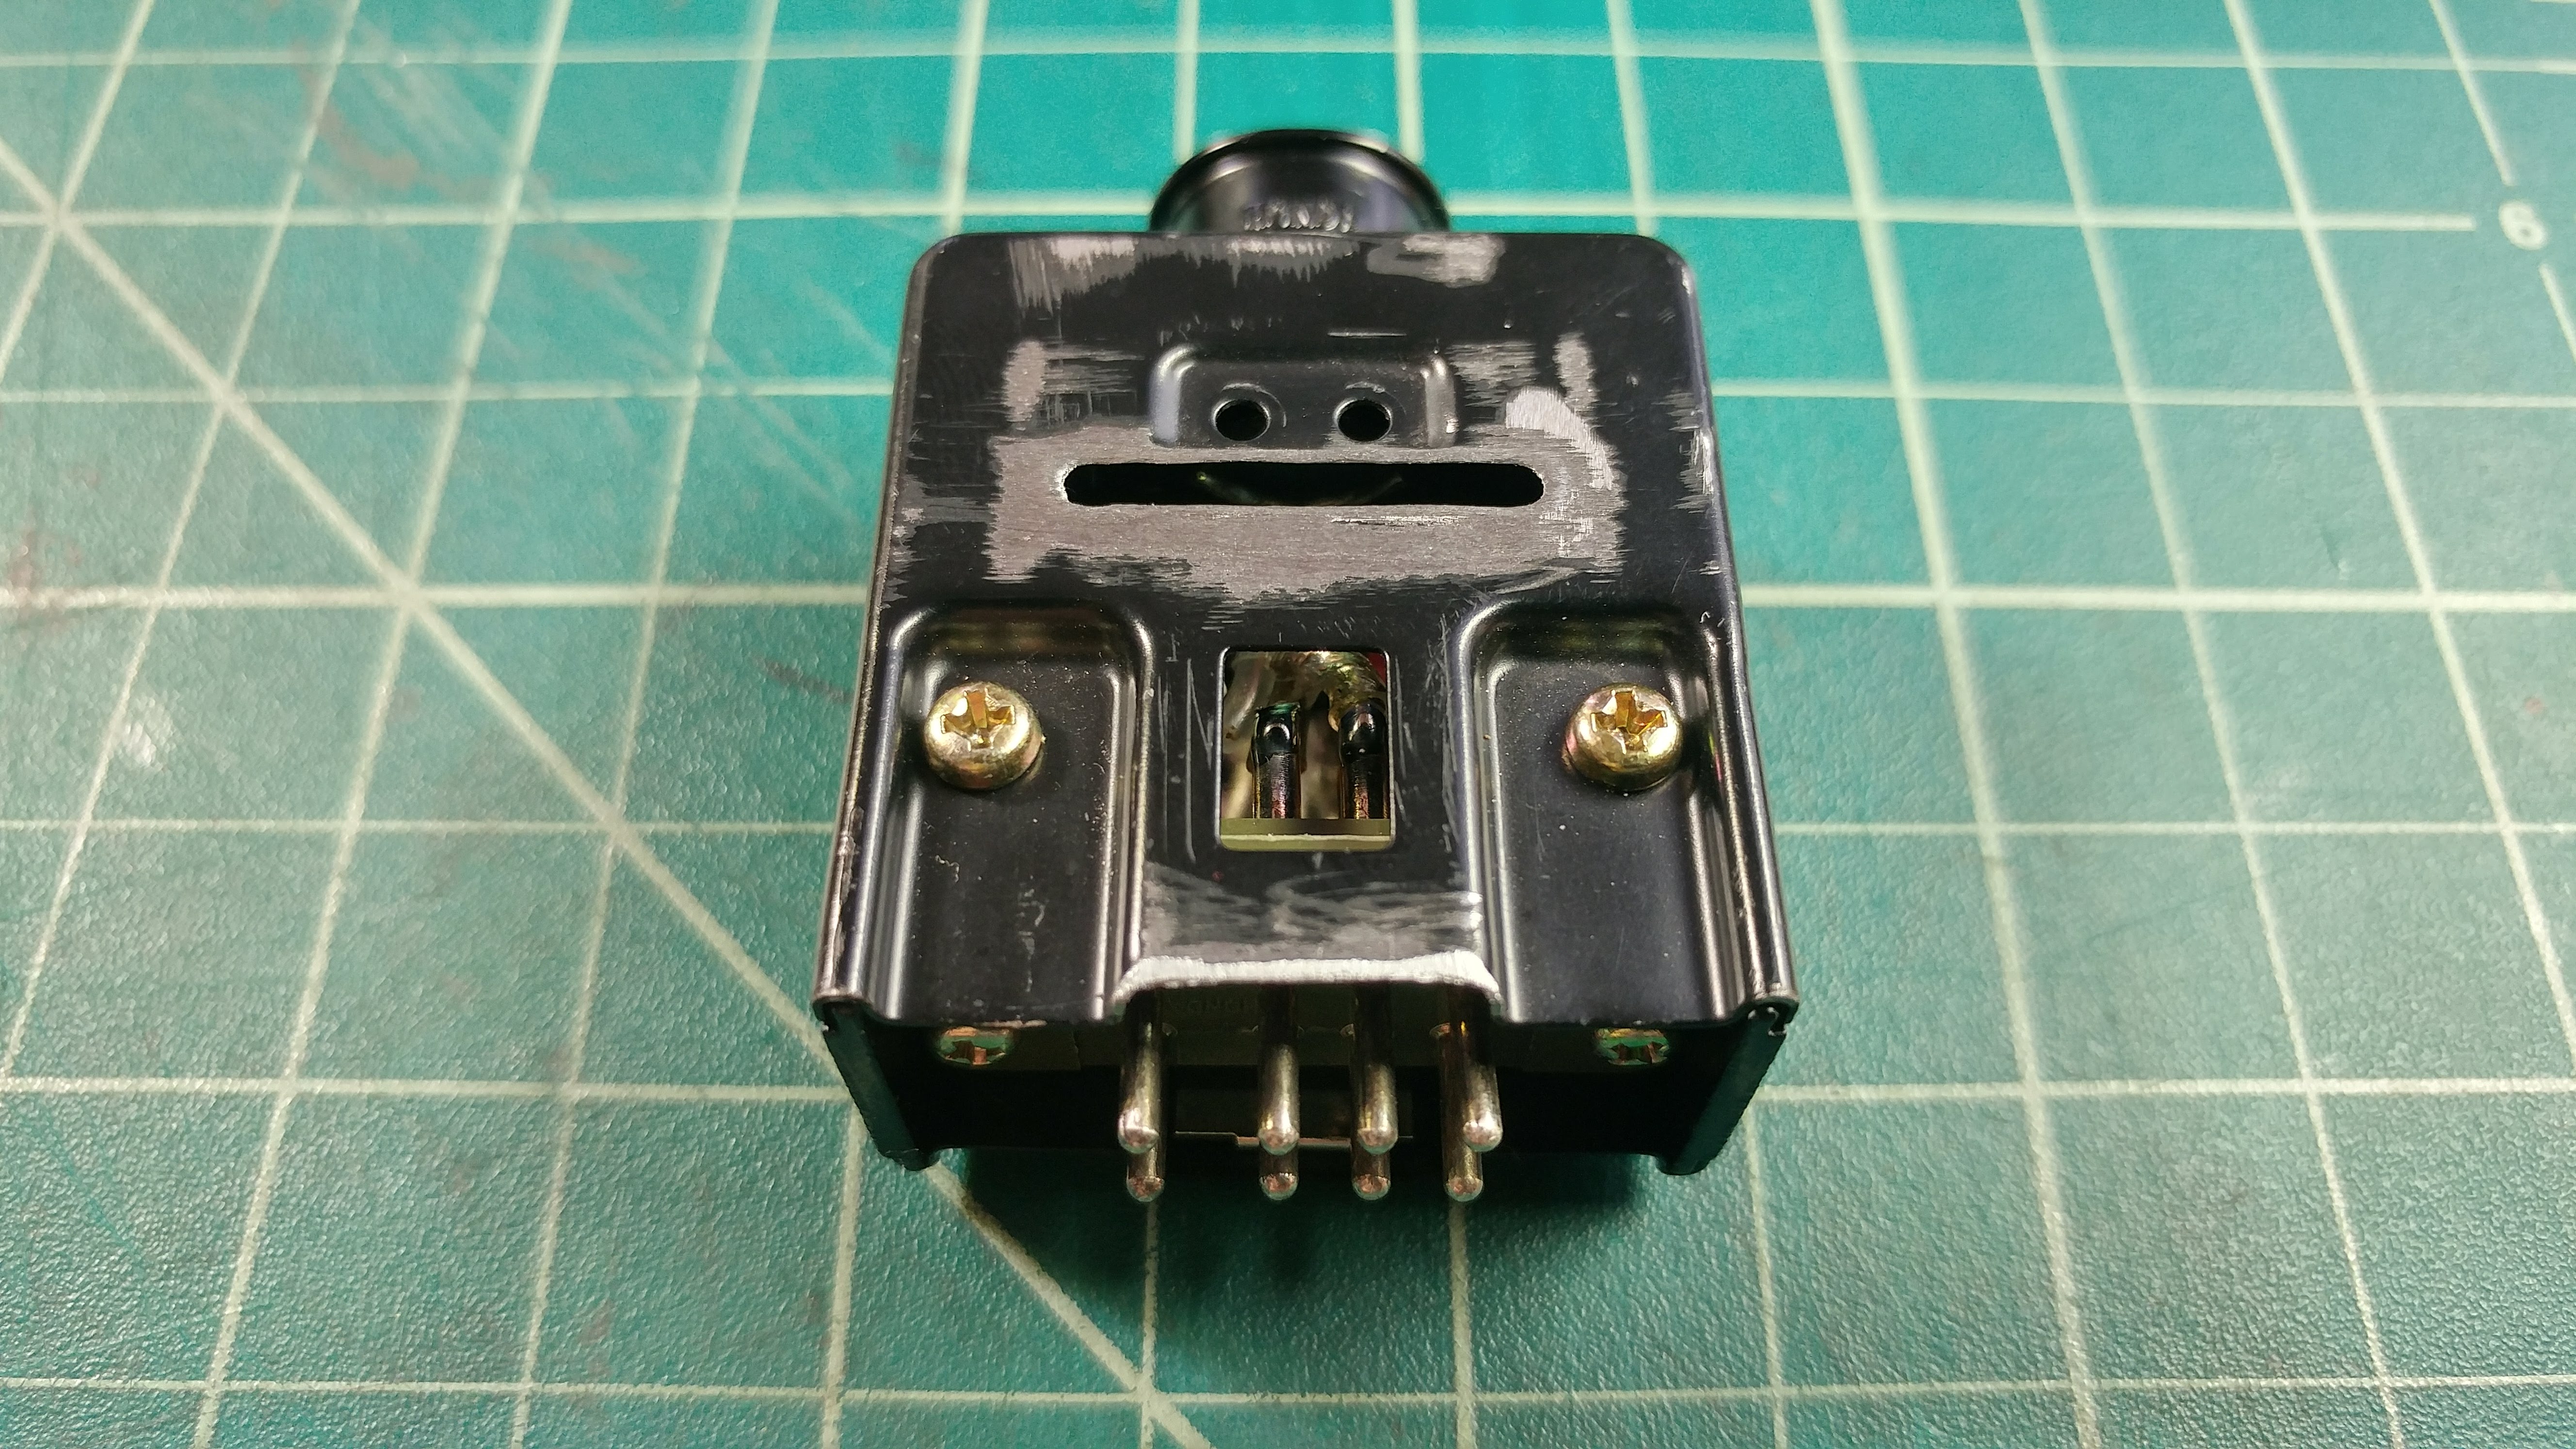
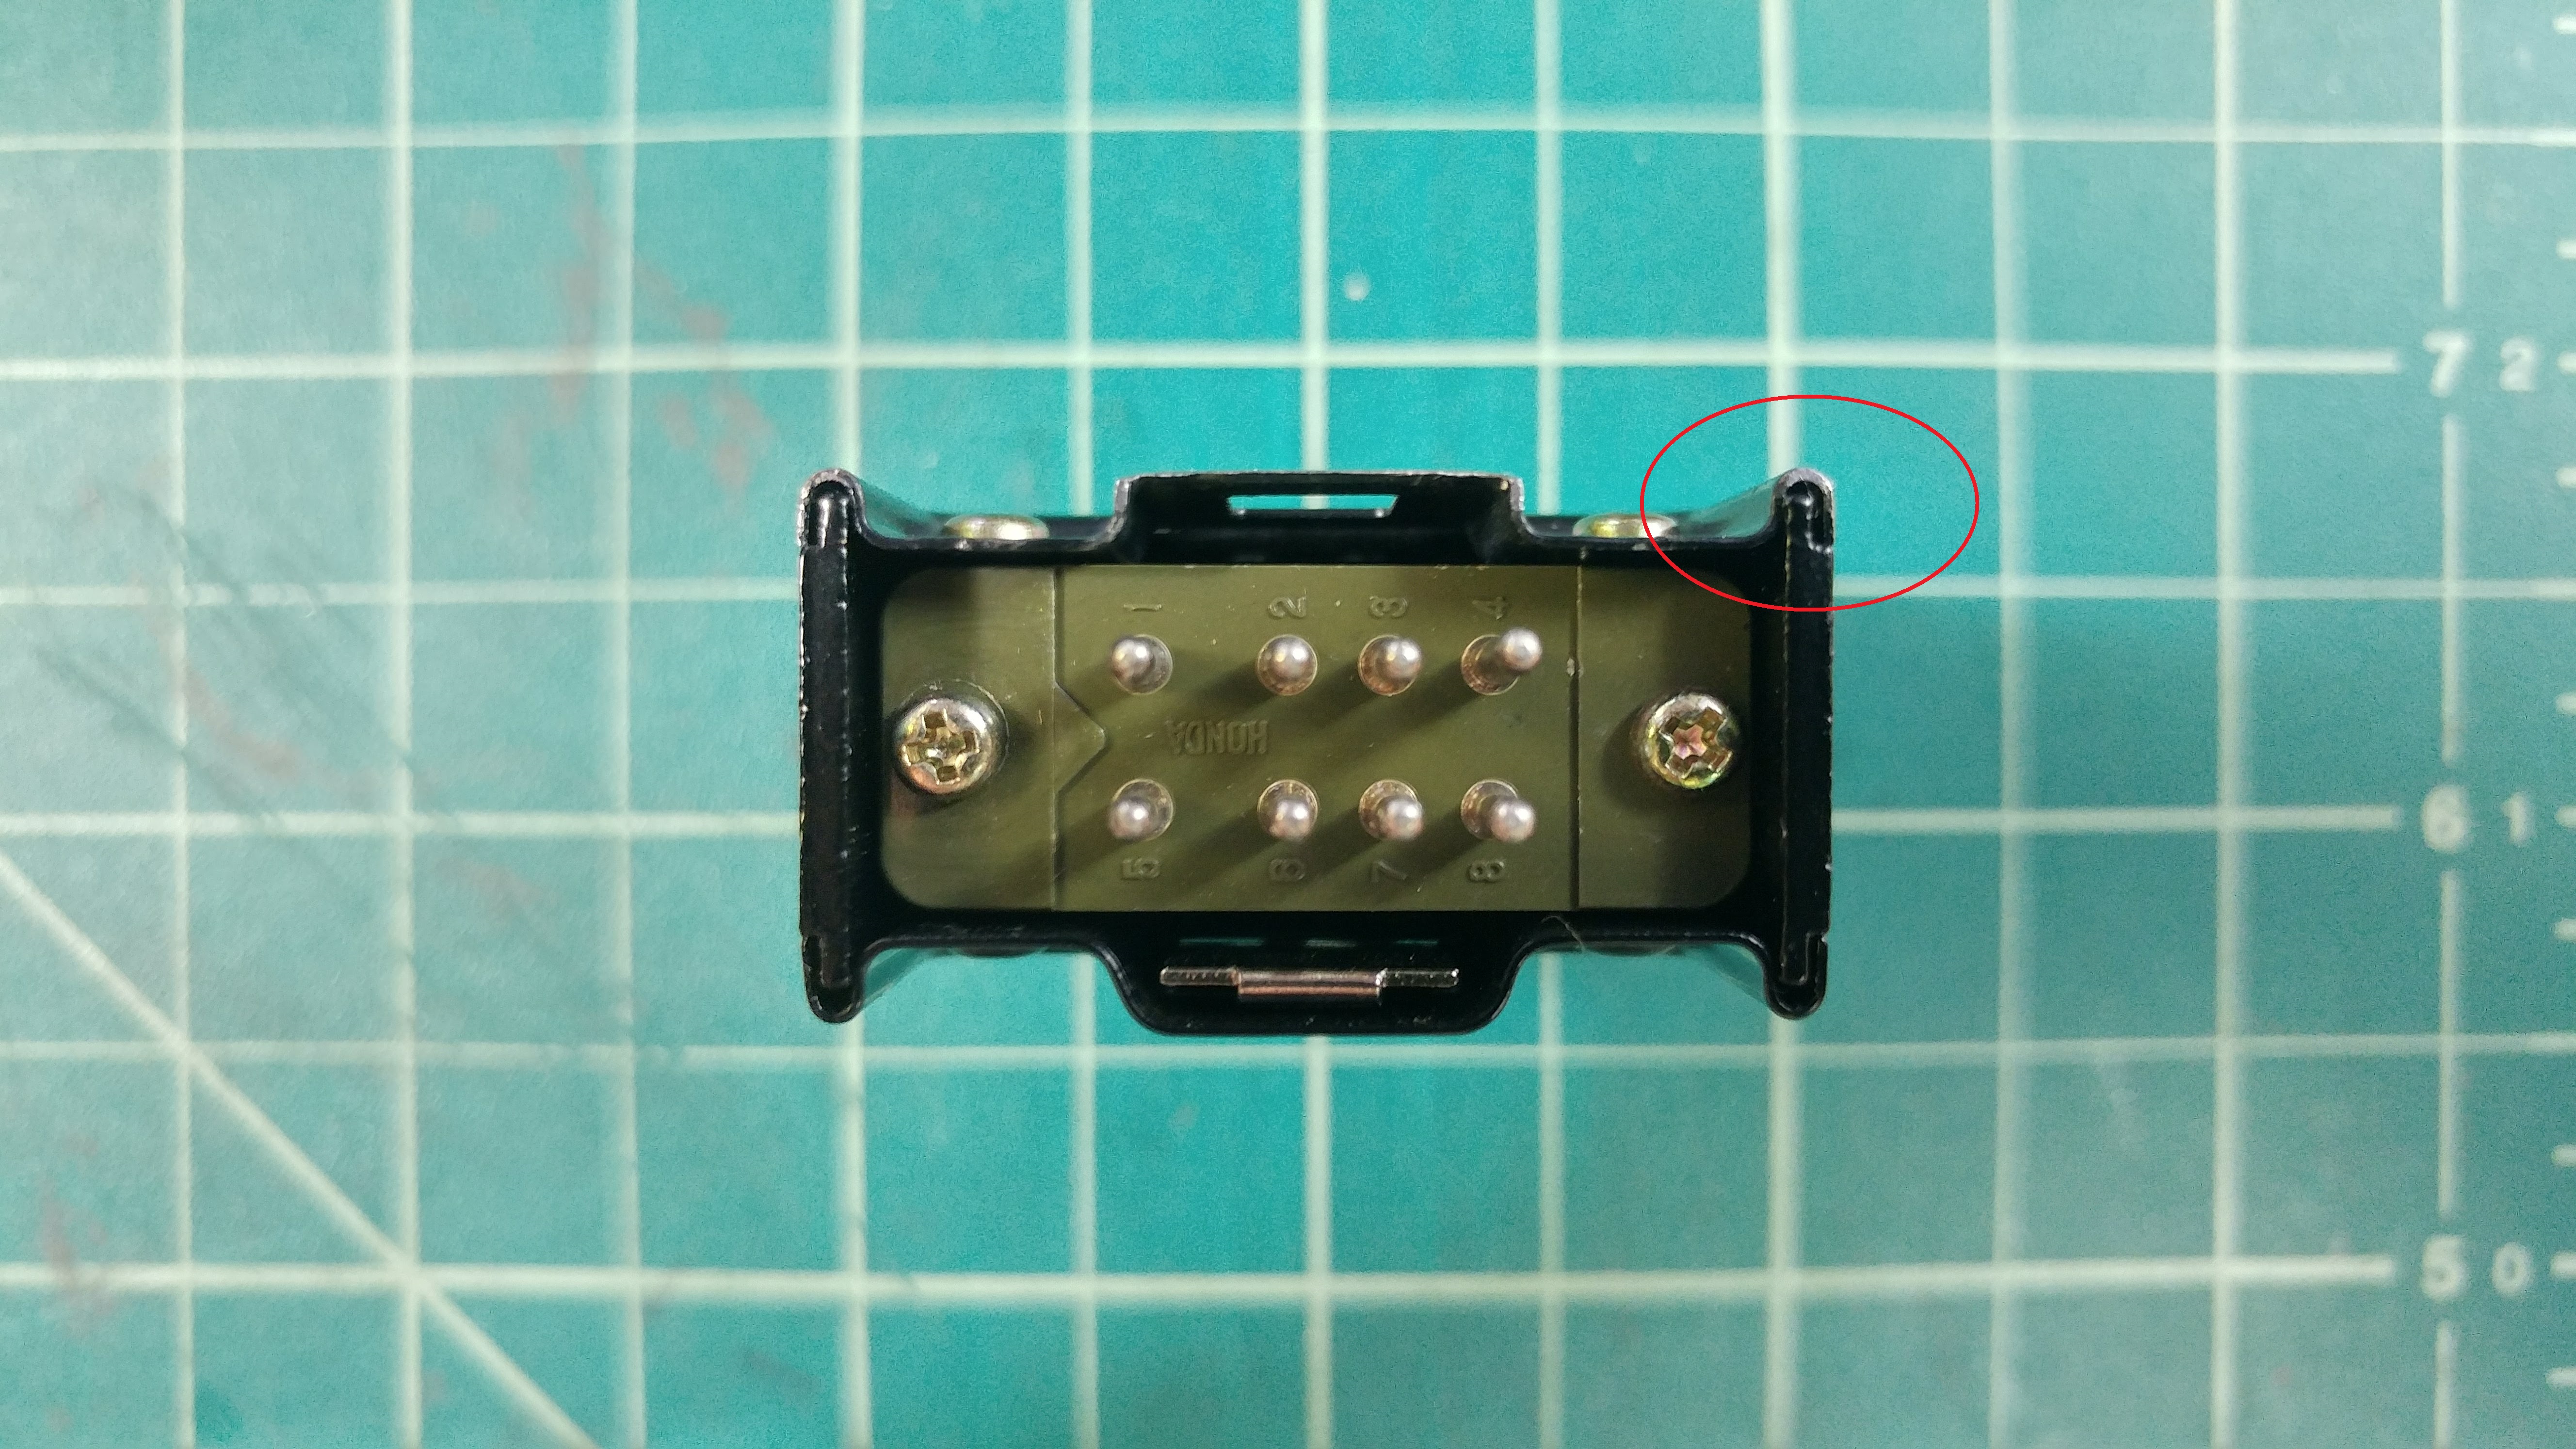
Rear Mystery Box faceplate, to be mounted to the Eumig body. I used one of my narrow-tabs for the backside, as they are more expendable and still fit the wide-tab (Honda) frame. I used some pliers to remove the metal push-clip, punched out the two little round, silver-domed pieces and used a dremel to remove the raised lip in the faceplate:
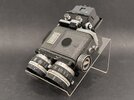
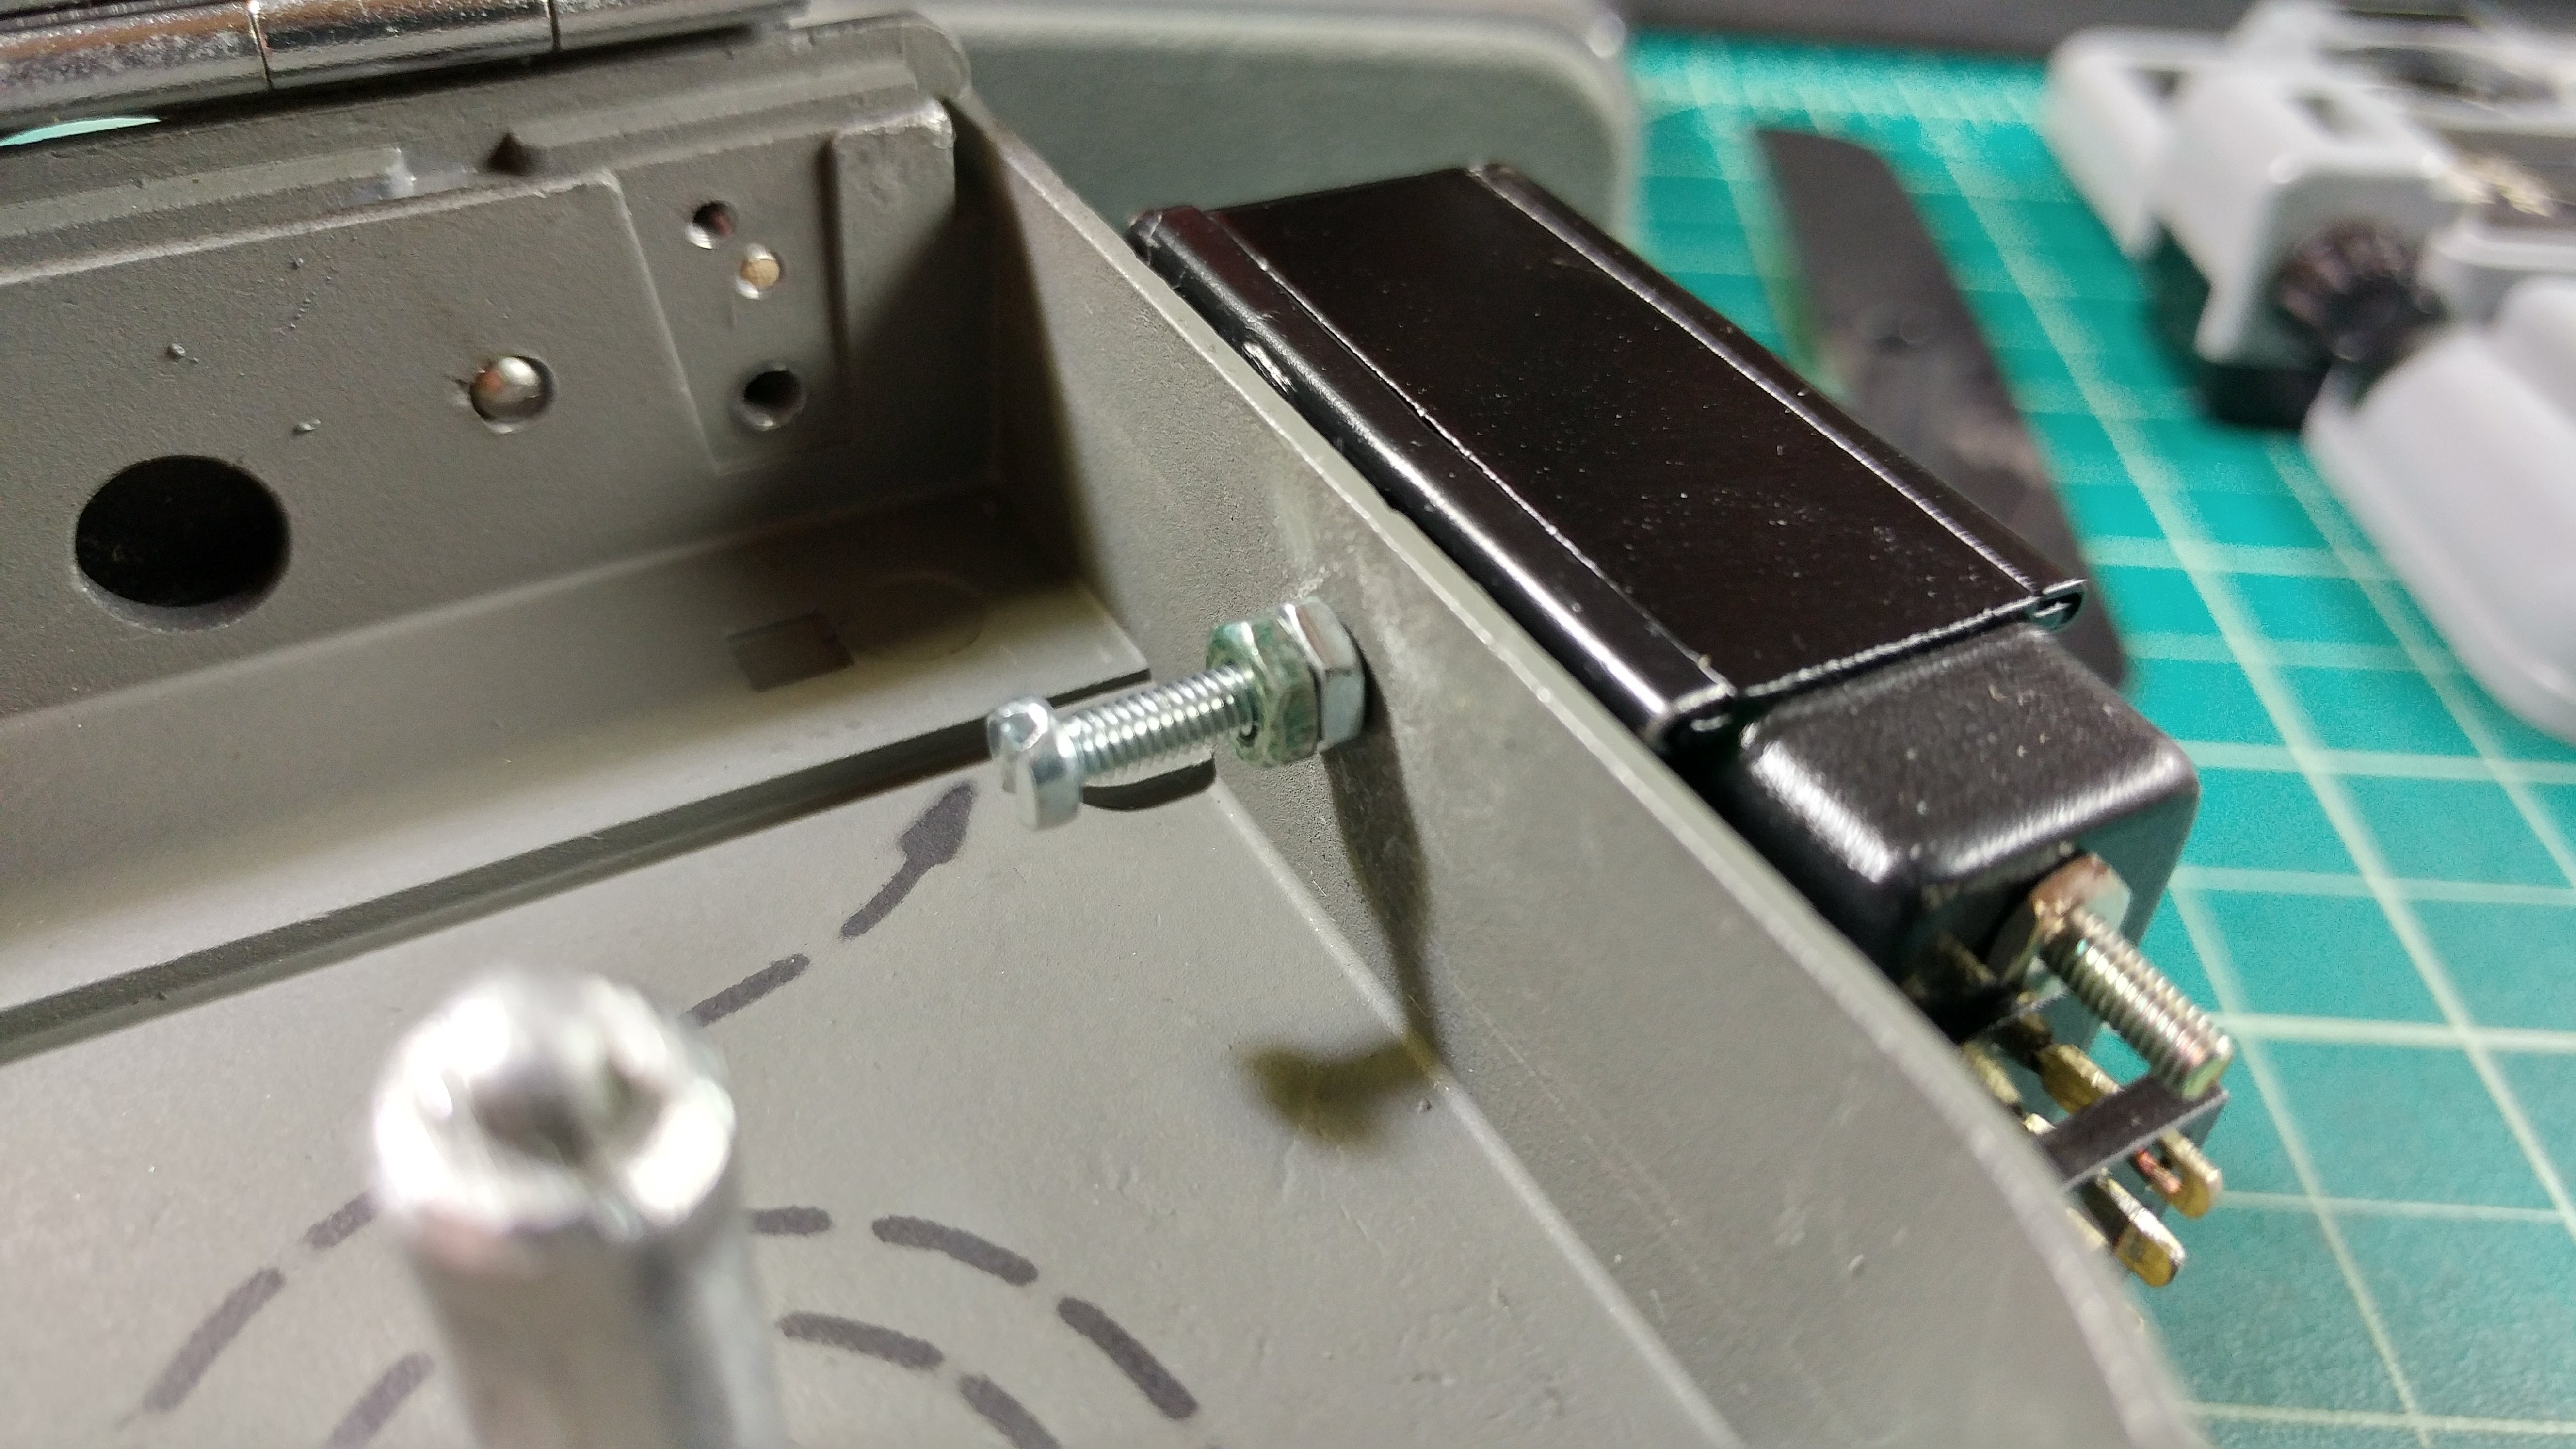
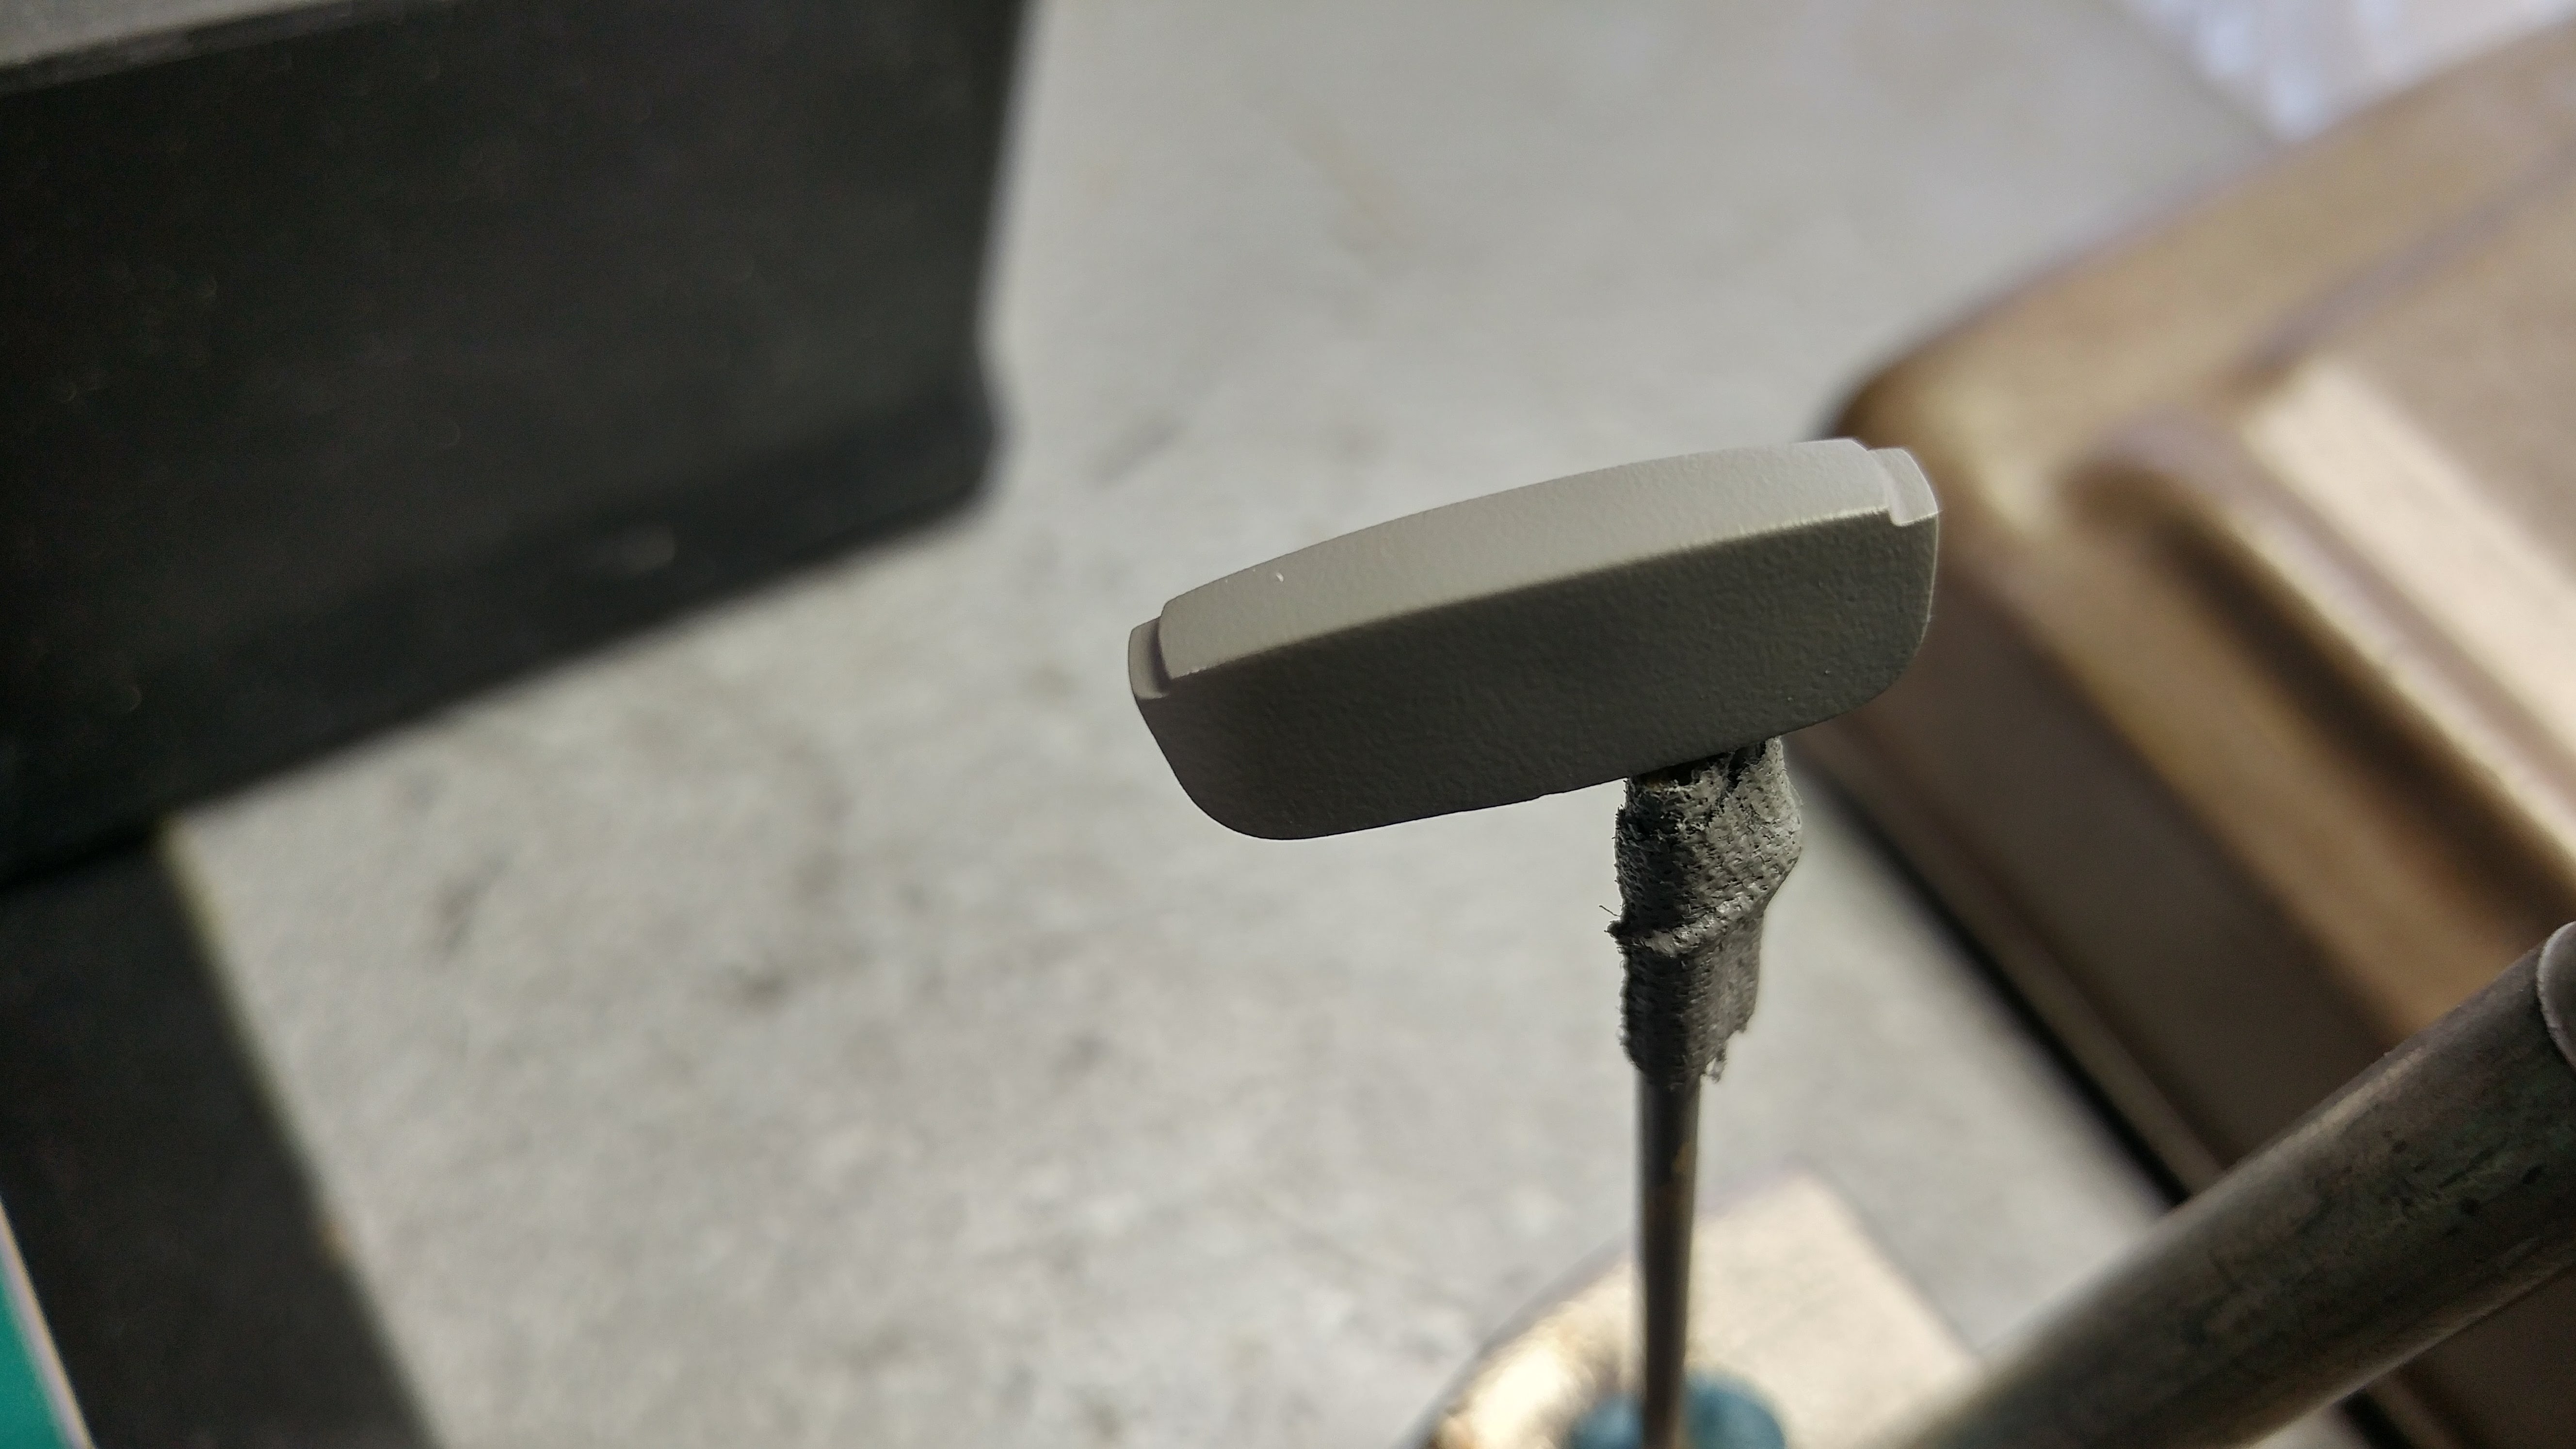
Here is a comparison of how my setup sits (left) vs. with the rear plate removed (right):
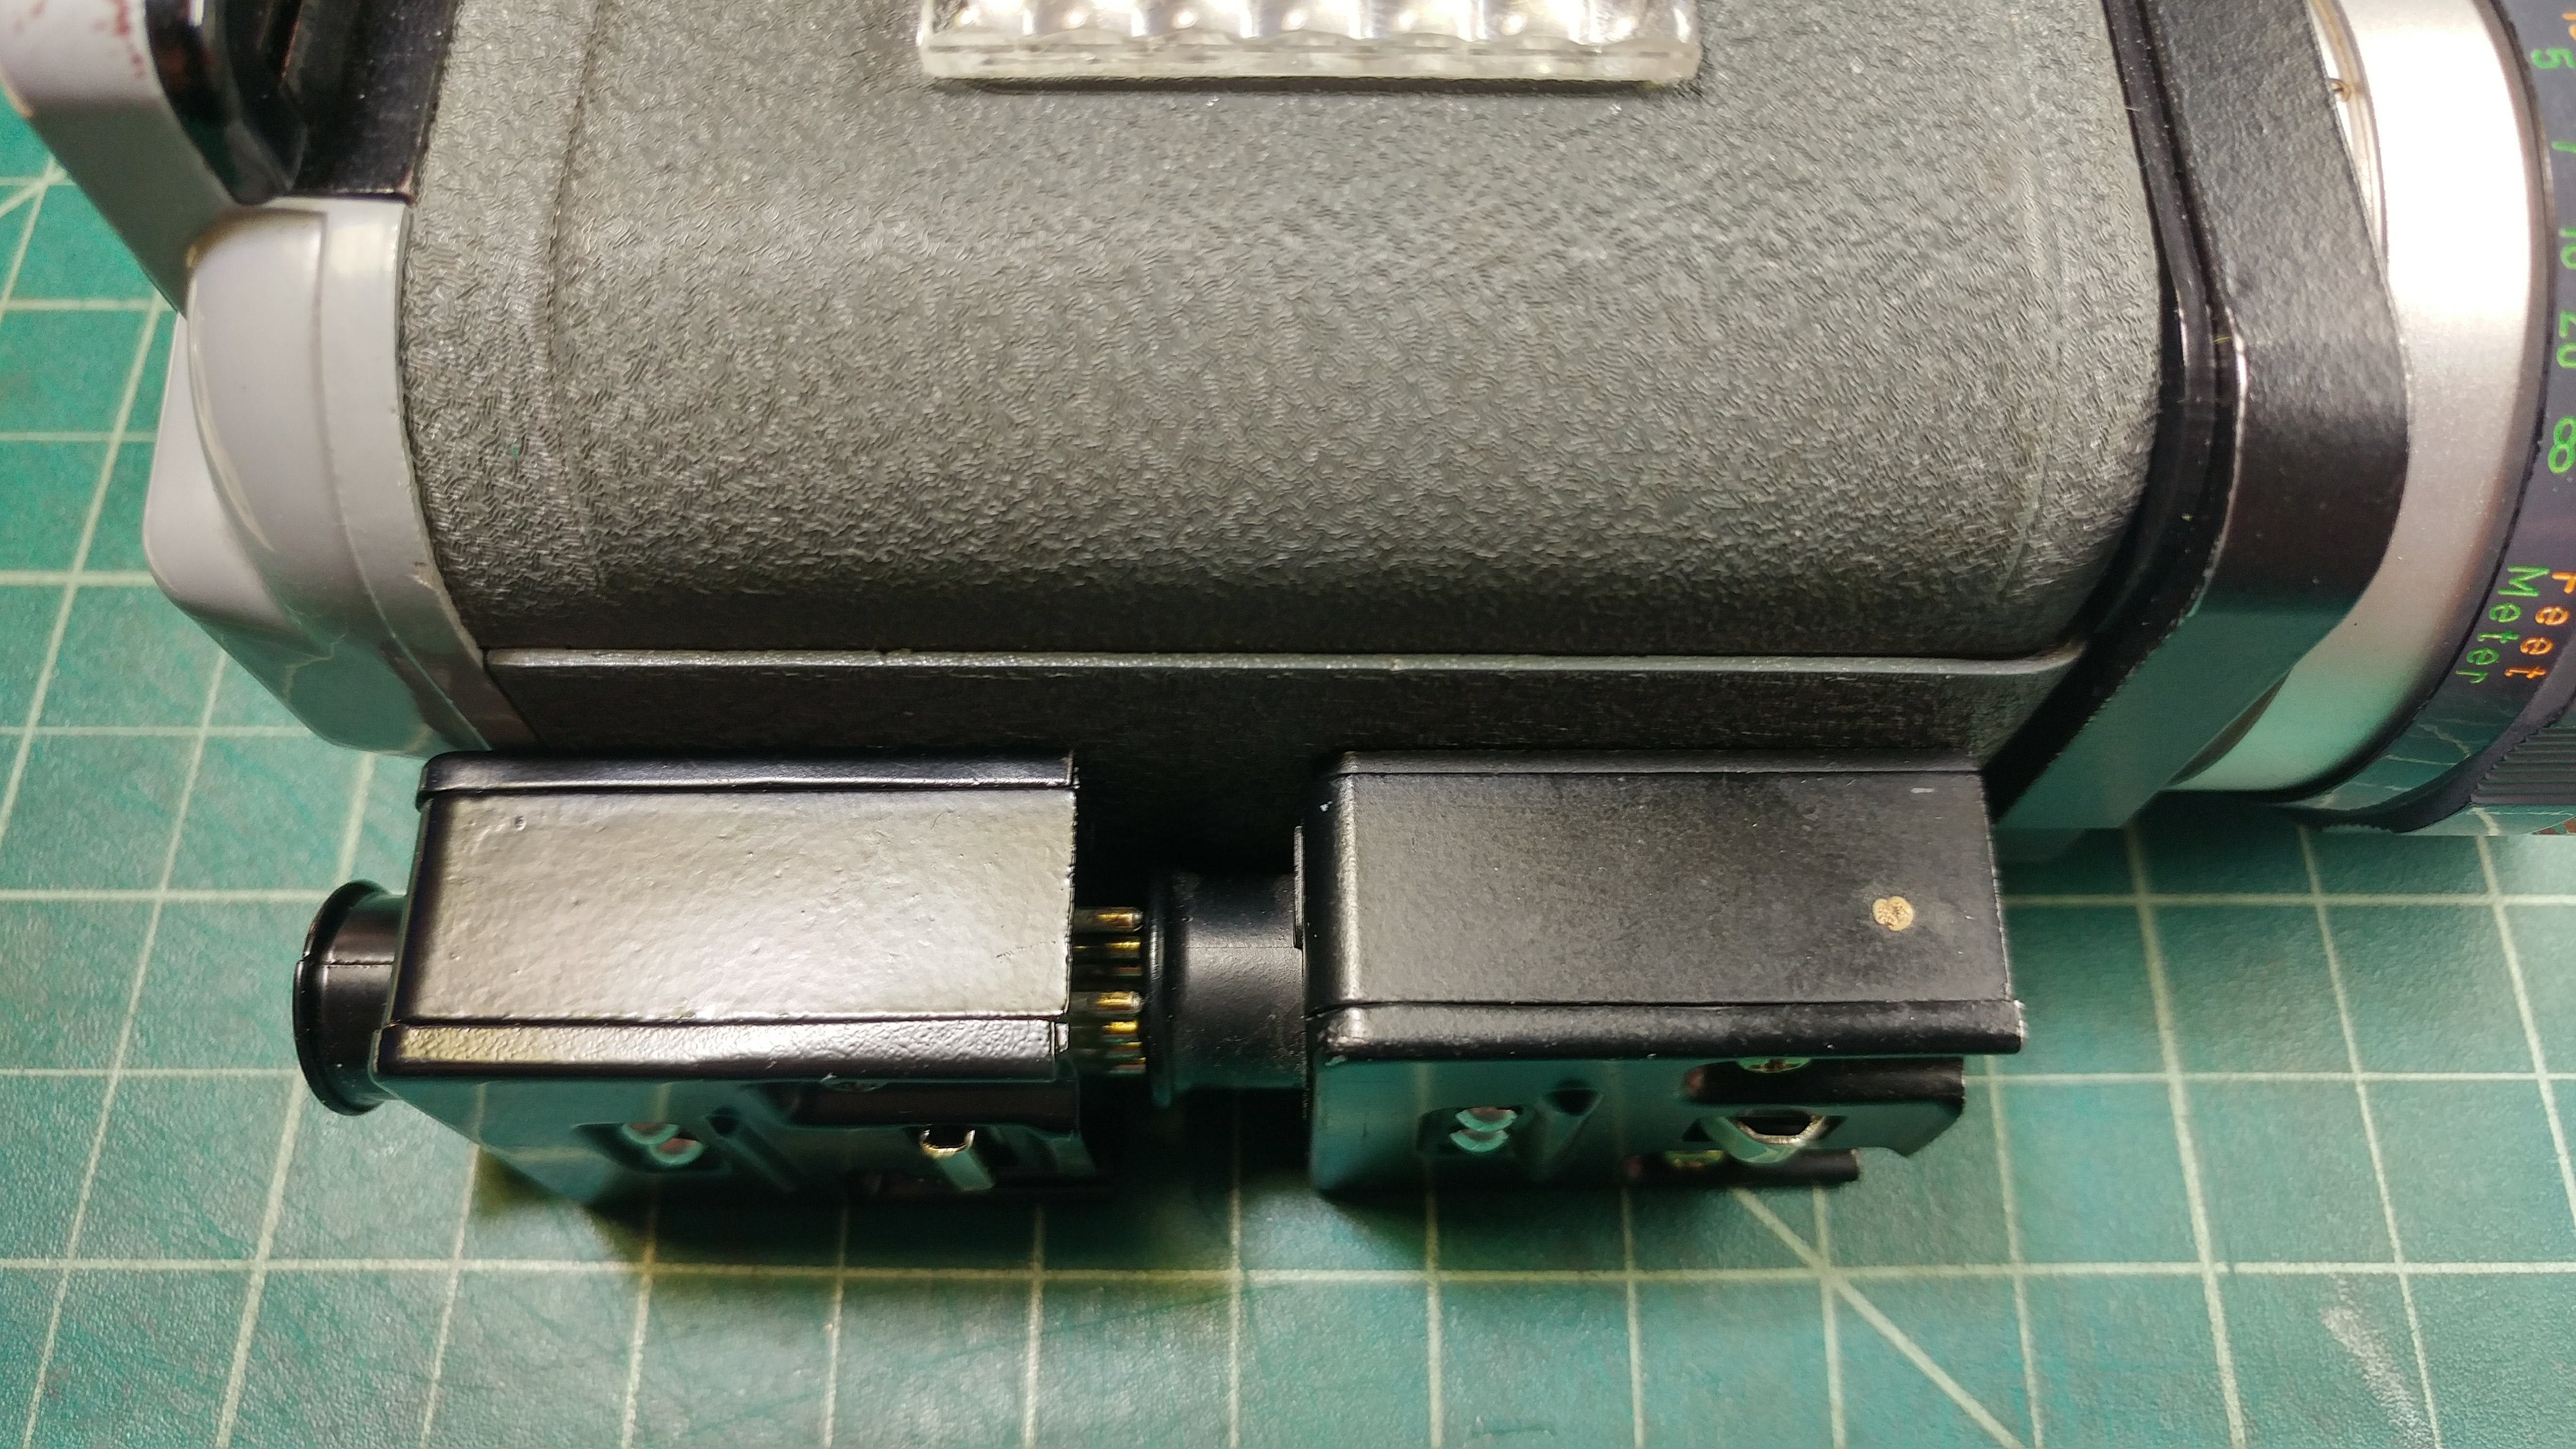
You can see that my setup sits just about one millimeter higher, and (in my opinion) looks better. The photo below shows just how little of a difference in height this setup gives, if you look at the raised-lip in the circled area:
Once all the pieces dry, I'll slap it together and continue to await Seneca's pin-plate. I plan to use the longer screws from the scrapped narrow-tab mystery box to mount the whole setup to the Eumig. The plan is to drill two holes in the side of the Eumig for these screws to pass through (from the inside out) which will thread into the mystery box through the two holes in the rear faceplate. Stay tuned for that!
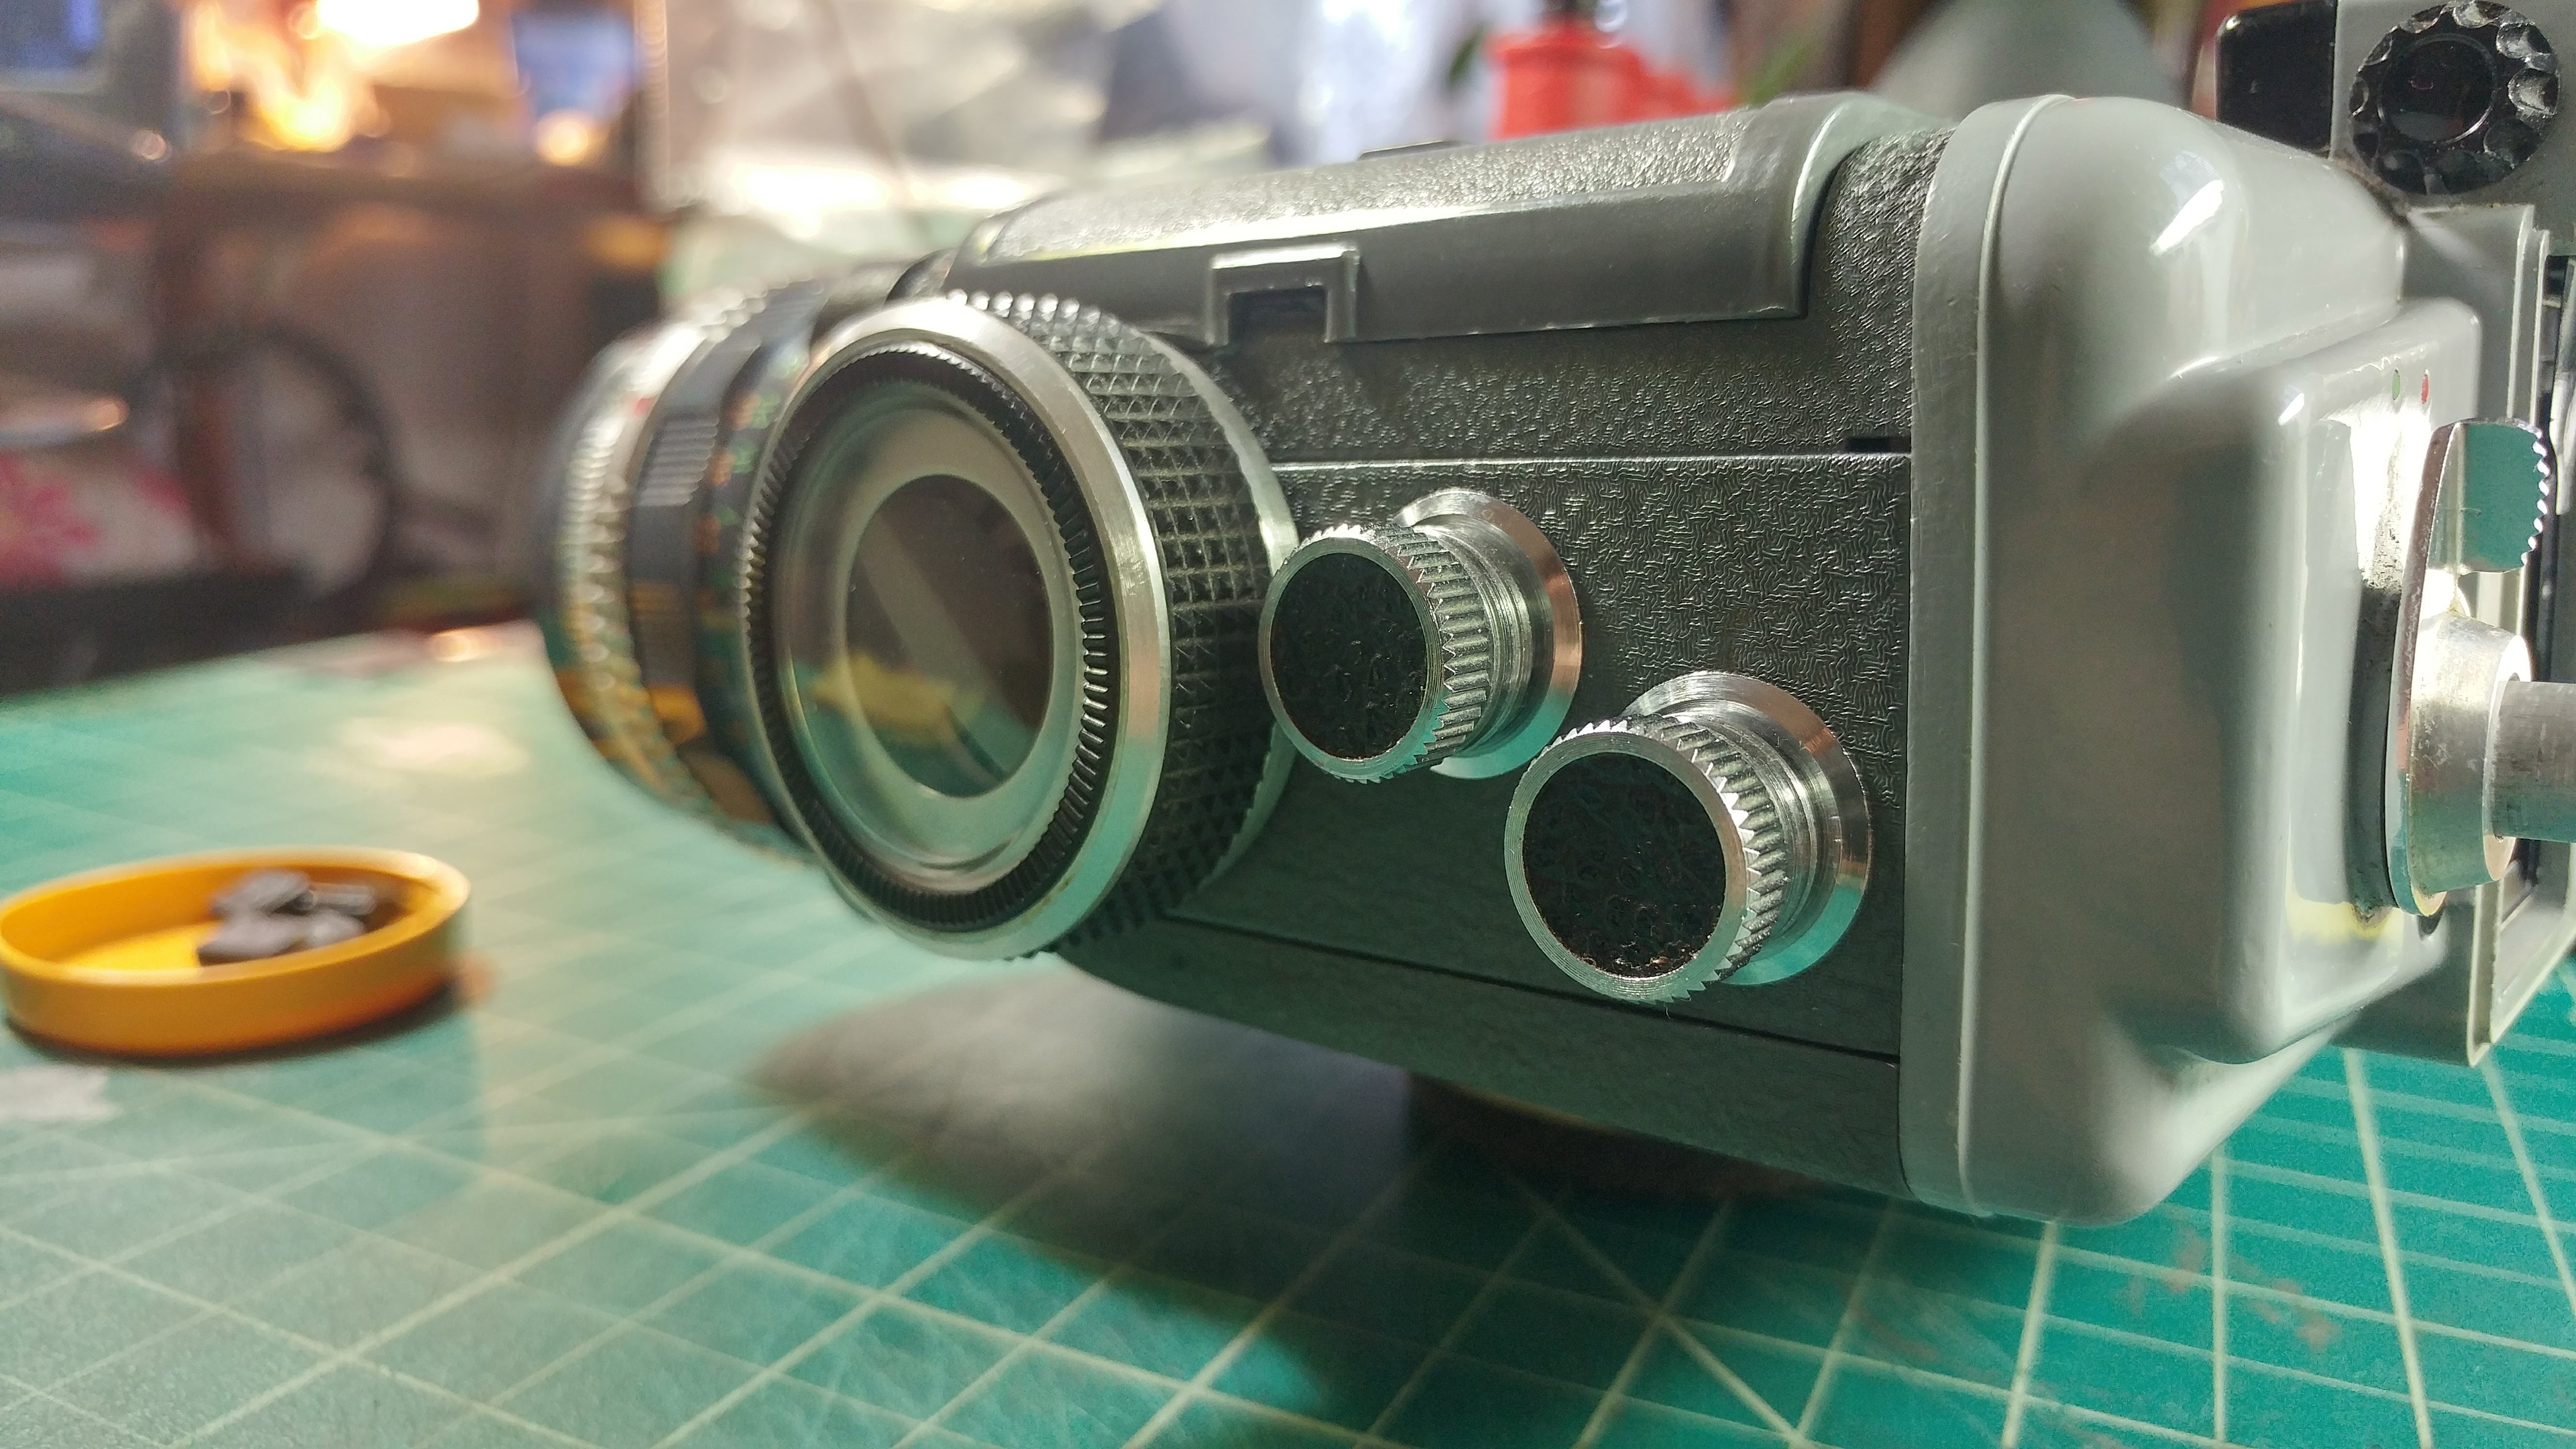
On another note, after a good amount of fiddling with my macros for the past few months of no progress, I began getting some play in the Seagull knob's internals. I can't have that, so I opened it back up and plan to epoxy all of the internals in place. I also took this opportunity to notch/re-paint the B&H crossbar to allow the Seagull aluminum disk to sit lower (something I had passed up on, but came to see the need for):
Excited to re-assemble/mount that knob and be done with it once and for all. Thanks for reading, hope to post progress soon!