Boromir, Full Costume Build (Pic Heavy)

This is a great costume, love the movies and your stuff looks top notch. I will definitely be following this to see you finish.
It's incredible the detail your putting into it, looks like you'll know how to do chain mail and leather work by the end of it :)

Fantastic work sir!
 
What a great idea for making the stamp!!! It looks amazing. Again, thanks for the in progress, I'm learning so much here...
 
What size chain mail links did you use?
I used 3/8" 12g rings.


It was a nice day outside today so I set up some tables in the yard and started to work on a few more bits and pieces :D

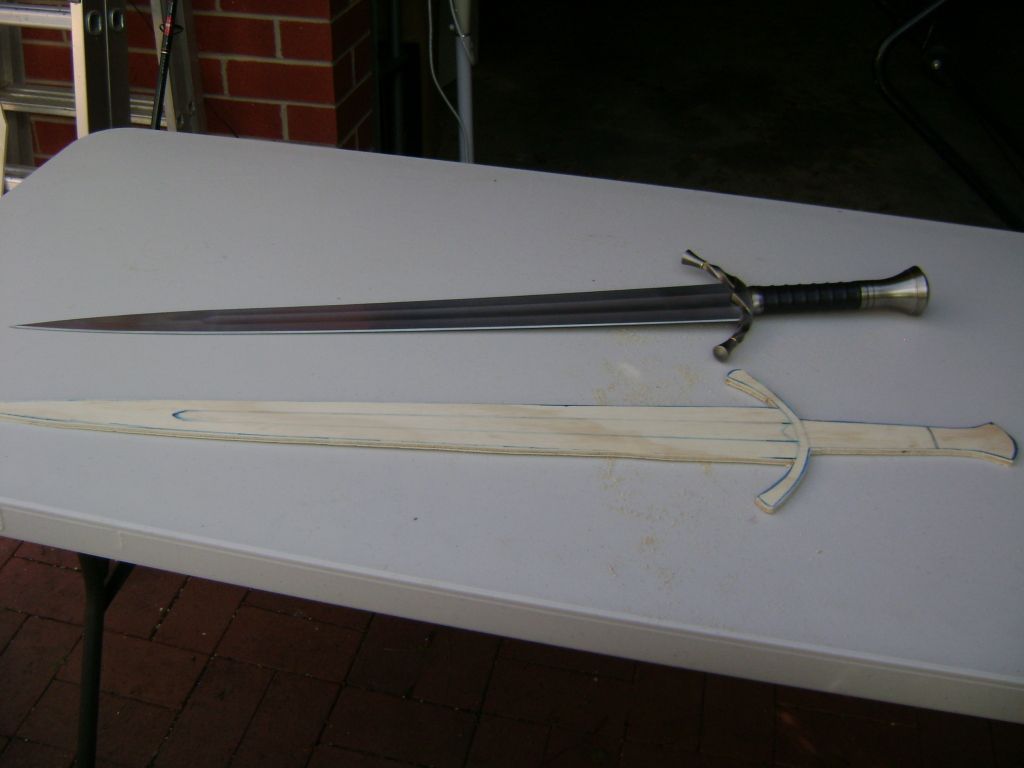
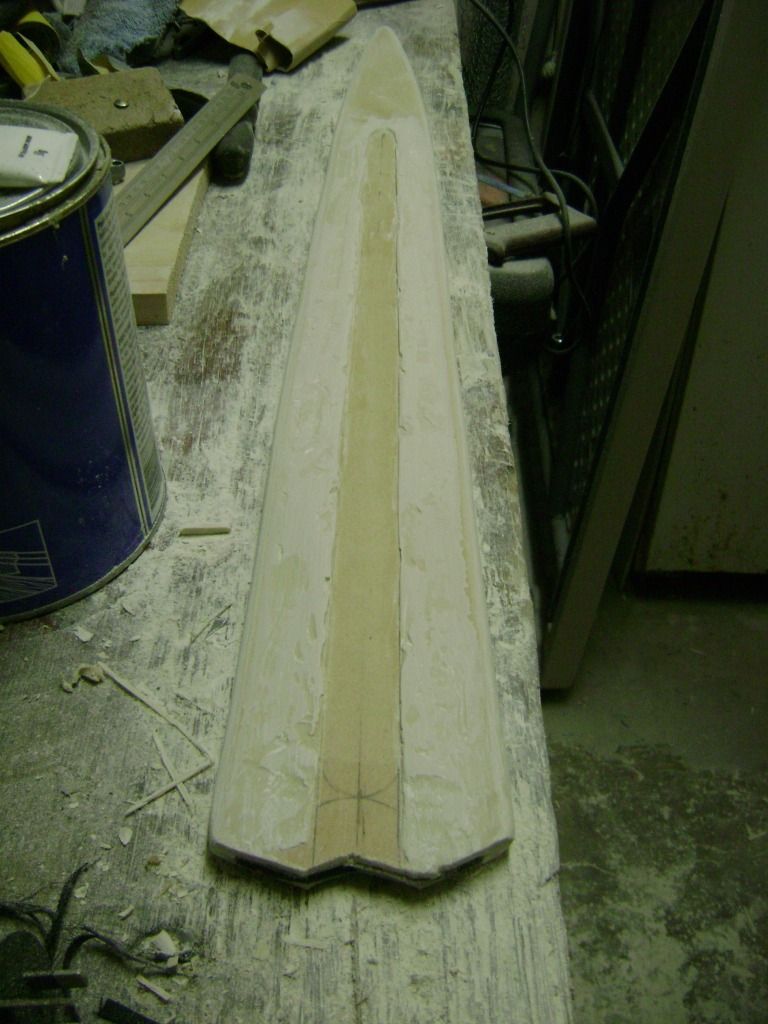
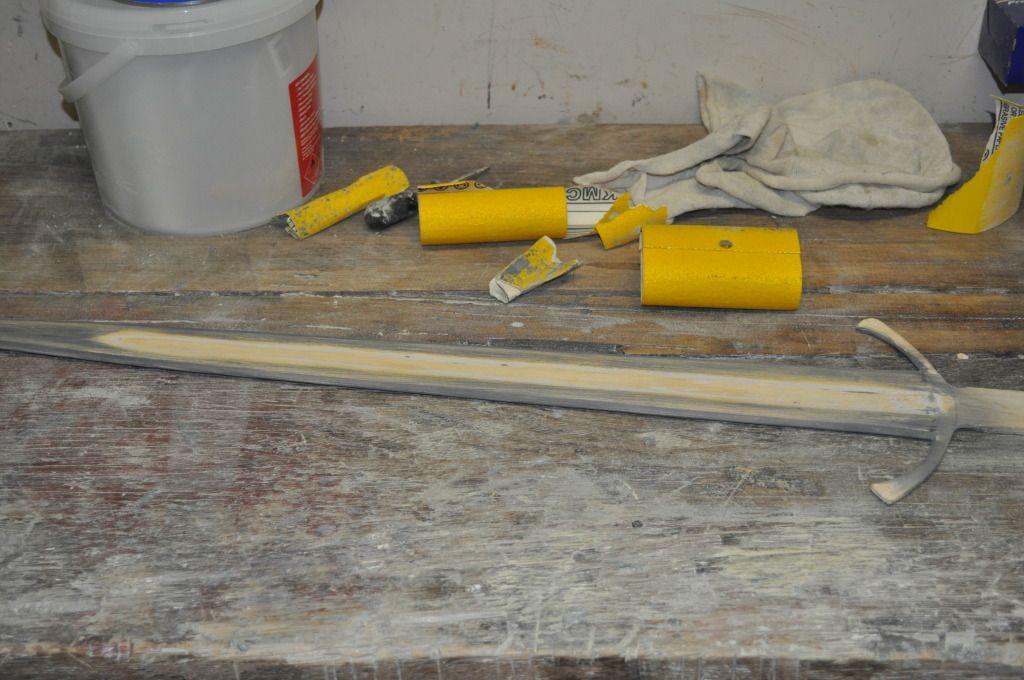
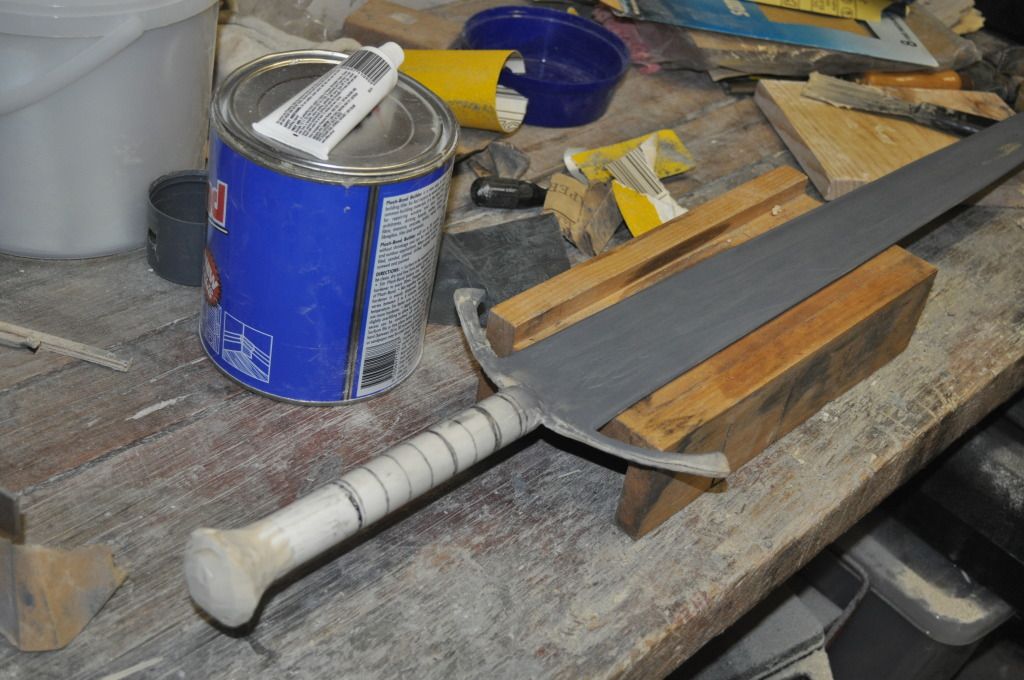
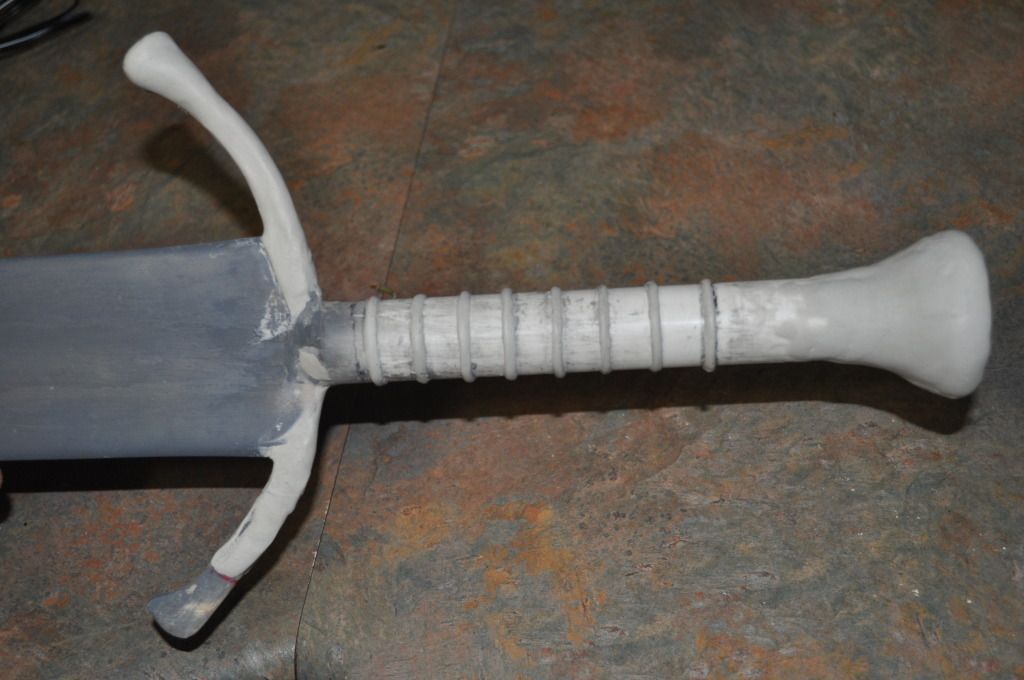
For the wooden sword I'm going to need I made a paper template from my UC Boromir Sword then traced that onto some 7mm ply wood which was cut out with a Jigsaw.
Here it is next to my UC sword for comparison, freshly cut out, yet to be sanded and detailed, etc:
DSC09378.jpg


Also cut out some wood for the scabbard but no pics of that yet.


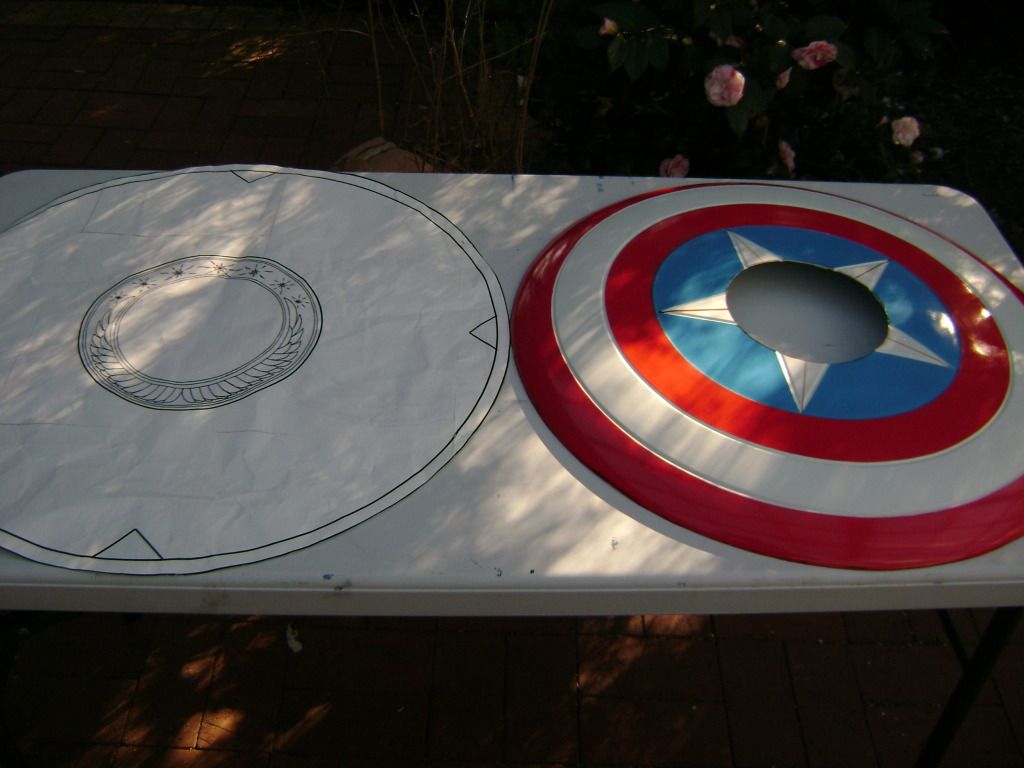
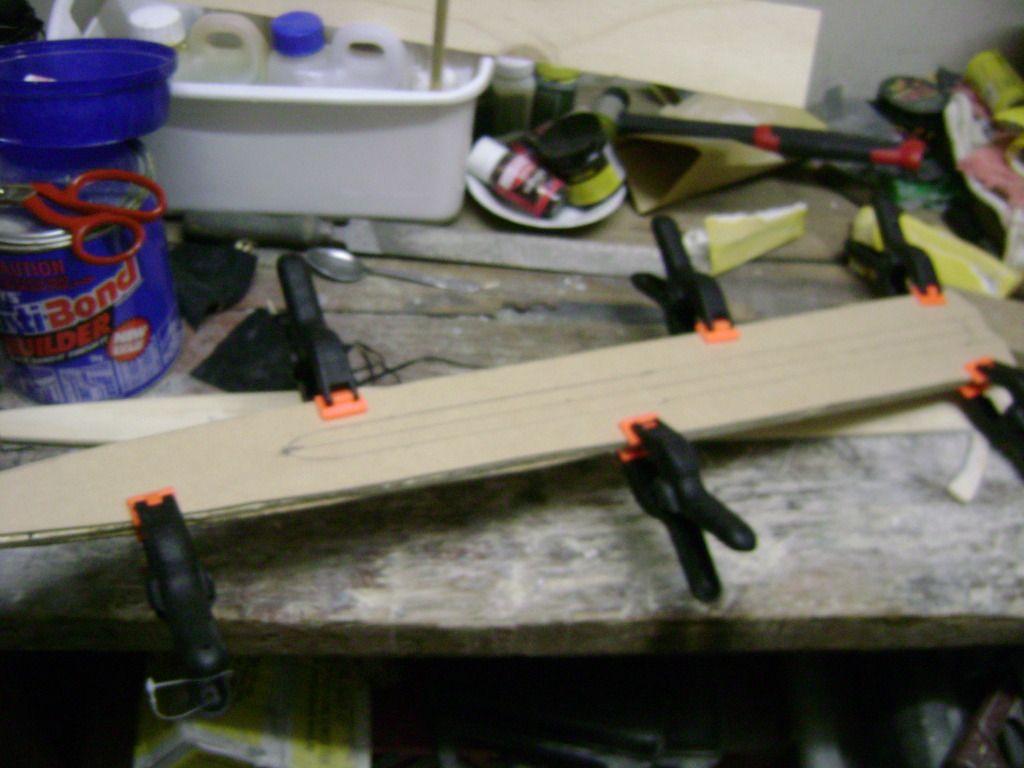
I then went on to make a start on the Shield as well. It turns out the template I drew up for it months ago was the exact size of the 24" plastic Captain America Shields that are floating around so I picked up one of those to convert into Boromir's.

So far I've cut an inch off the edge where it bent downwards too much and cut out the middle where the boss will be going.
Here it is next to my template:
DSC09381.jpg


The plan is to coat it in fiberglass to add a little more thickness and stop it from being so flexible.


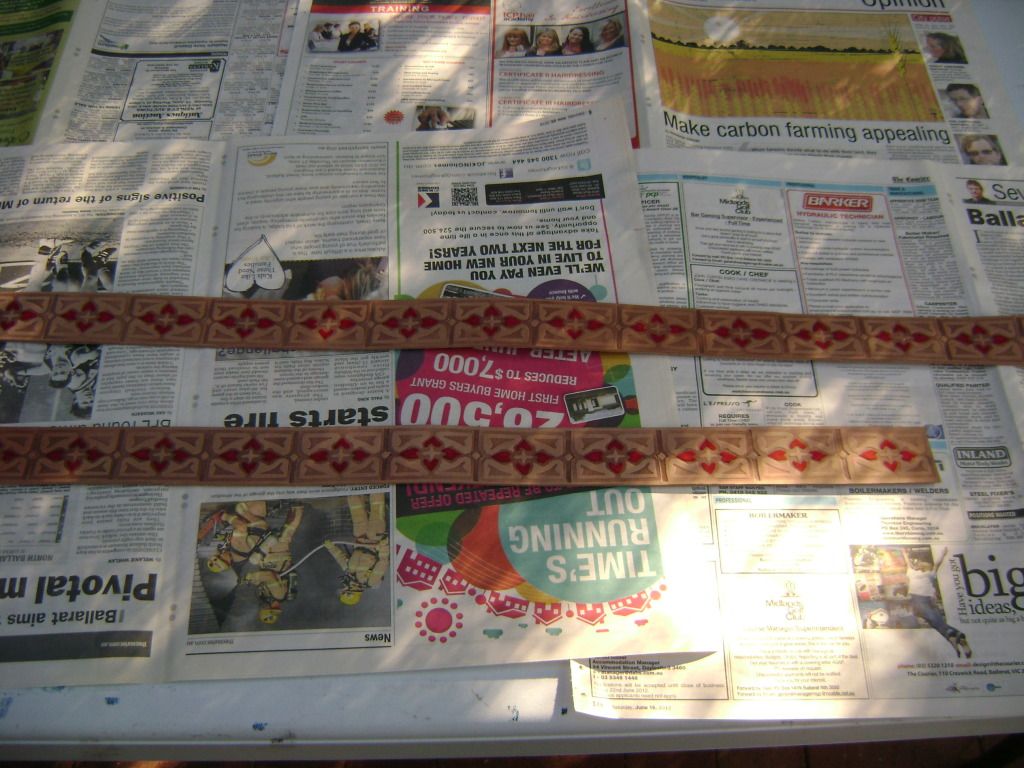
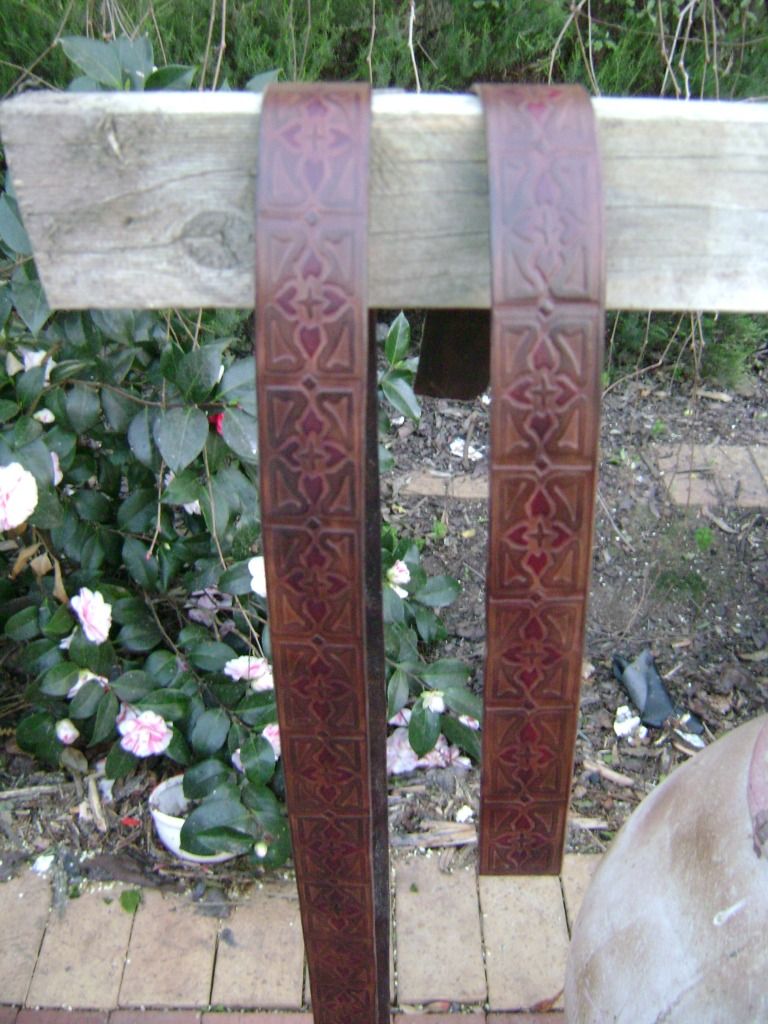
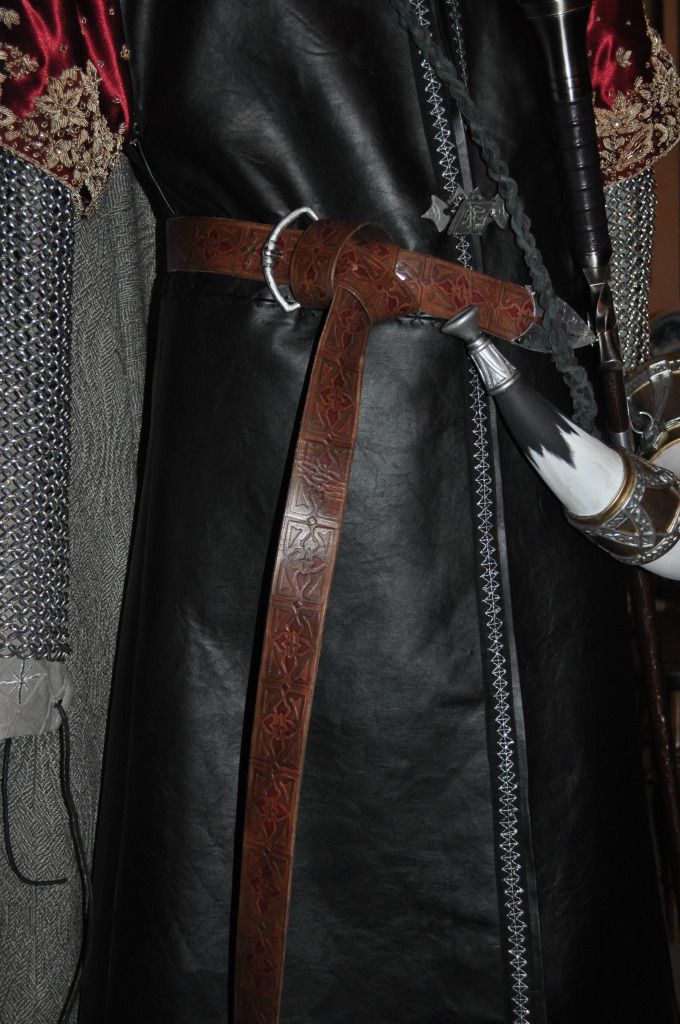
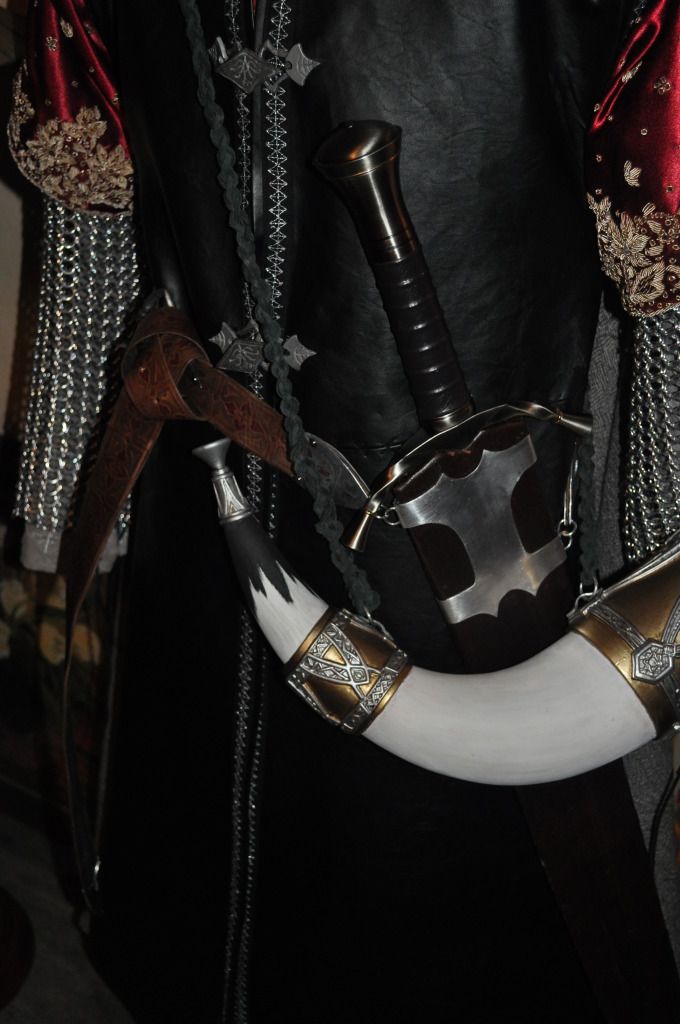
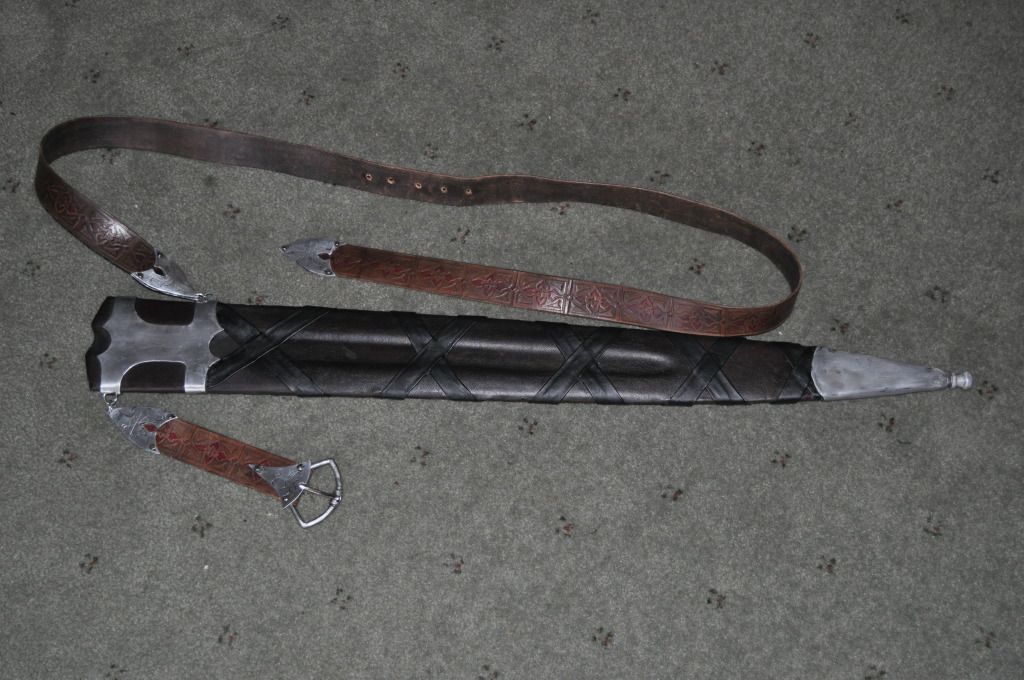
The other thing I did today was get the belts dyed.
The first thing I did was colour the red details in (I cheated and used a red permanent marker :p):
DSC09382.jpg


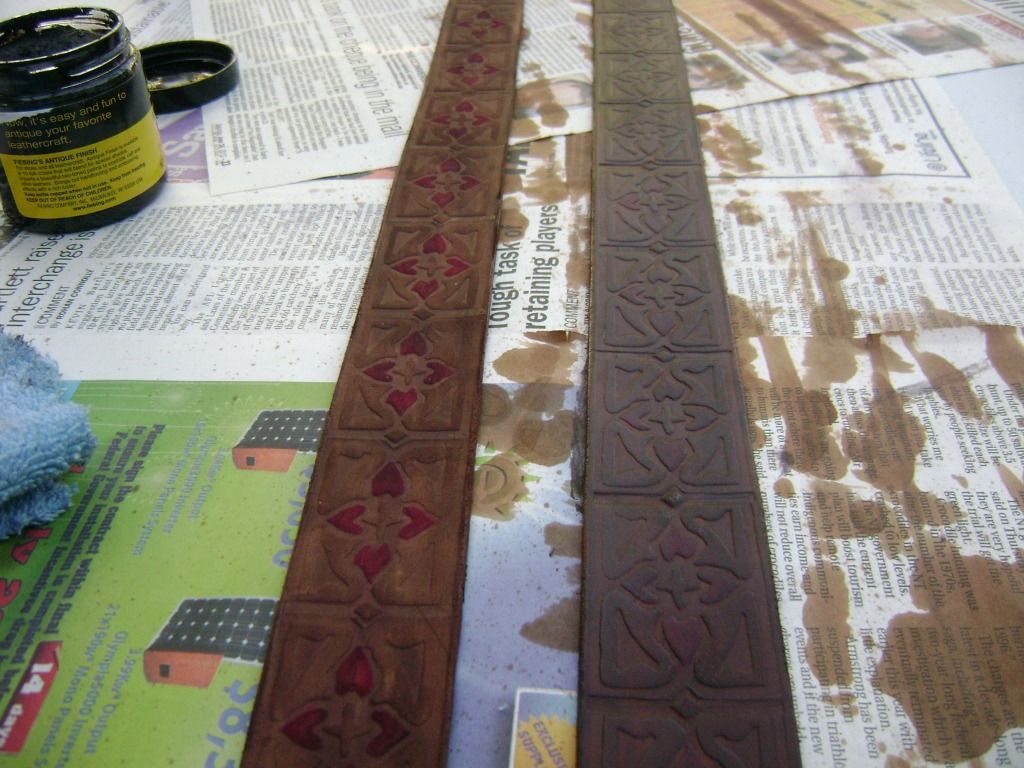
Then I went over it all with a dark brown dye. Once that was on I buffed on some antique paste.
Here's one before and one after the antique coat:
DSC09386.jpg


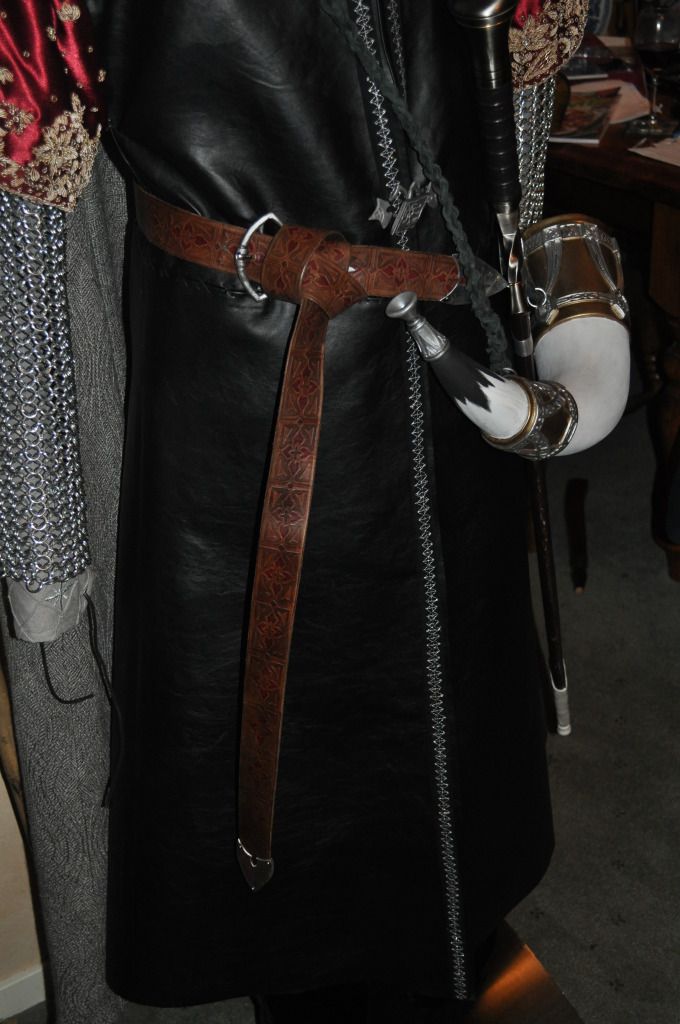
Then I went over everything with a coat of Carnauba Creme to finish and seal it:
DSC09388.jpg


I'm really happy with them so far considering I've never really worked with leather before :D.

I just need to cast up a buckle, punch some holes and make some cap pieces to finish them off.
 
That belt turned out so beautiful... I love seeing how people just starting out with a medium can still get amazing results. I know I keep gushing in this thread, but I've made this costume before (a much, much weaker version) so it has a special place in my heart and to see it done so perfectly is keeping me coming back. :D

Also - what a great find on the shield!! I'm sitting on the edge of my seat waiting to see what you do with it. *hehehe*
 
You should be happy with those results! Really terrific work throughout this thread. Can't wait to see it all come together!
 
I've just got a few progress photos to share of the scabbard tonight.


I started by making the wooden core using two thin cut out pieces of 3mm MDF with a the middle layer made up of the 7mm ply I'm making the wooden sword out of. I glued one side and middle pieces together, sanded and shaped it until I was happy with it then lined the inner sides with some thin faux suede stuff I had lying around to stop any chance of it scratching my blades:
DSC09389.jpg


Then I glued the other side on and left clamped until it had set:
DSC09390.jpg

(Sorry for the blurry pic)

Then I used bondo on the ends to help give it nice rounded smooth edges and to make the bevelled bit down the center of the front piece:
DSC09393.jpg


After a lot of filling and sanding to get it all as smooth and straight as I could I covered it up with a faux leather I had in a perfect colour (I know its not real leather but it saved me buying a different weight hide and dying it):
ScabbardProgress.jpg


My UC Sword fits in nicely, though slightly loose. The wooden one i'm working on fits in nice and tightly which is what will mainly be used with it anyway while the metal one will live on the wall with it's plaque ;).


So just need to make and add the leather cross wrap bits and the metal top and end details to finish this off (And of course a little aging and weathing :p).
 
This is the most fascinating thread I've seen around here in a while. Thanks for sharing all of your techniques. I'm learning a lot!
 
Love!

Also love the insight into making the wooden version of the sword. I'm paying close attention to this, as I want to make Hadhafang the same way!
 
Wow, you cut that sword with a jigsaw? Impressive.

That belt is so jewel-like. I agree with everyone else, the styrene stamp gave you really nice results.
 
To say this is impressive work...would be an understatement! I have always loved Boromir's costume, and it is so awesome to finally see someone make it with such attention to detail!
Seriously amazing work - looking forward to more updates!
 
The belt is done!

DSC_0880_zps09bcae30.jpg


DSC_0879_zpsf84e966a.jpg


DSC_0881_zps27417270.jpg


The scabbard just needs the black leather strips wrapped over it and a bit of weathering/ageing and that's done too.


I did have a lot more in progress pics of the belt pieces being put together and all the metal work bits for the scabbard top and belt caps but my camera died on me and havn't been able to retrieve them yet :(

Just a few more bits to go and only 3 weeks until my deadline so it's crunch time! :p
 
Thanks guys :)

So I got the Scabbard finished off and weathered up a bit and here's how it turned out:
DSC_0885.jpg


So then I moved on to working on the sword again.
I shaped it and sanded and primed and filled an sanded over and over until the course sanding scratches were gone and the majority of wood grain wasn't visible through the paint. I also needed to get a nice groove down the middle of each side:
DSC_0878.jpg


Then I started work on the hilt detailing. First I cut back the handle section and slid a piece of PVC pipe over it to get a perfect round grip, then I started bulking up the pommel section with some bondo:
DSC_0882.jpg


I then took to it with some two part Apoxie Sculpt which is a lot easier to shape with but has a slow 24 hour cure time.
Here's how far I got with it tonight:
DSC_0883.jpg


I still need to do quite a lot but I need to wait for this to set before I build it up anymore.

I should get some more work done tomorrow, hopfully start on Fibreglassing the shield if I have enough time and the weather clears up outside, so stay tuned for more progress pics! :).
 
Back
Top